When you click on links to various merchants on this site and make a purchase, this can result in this site earning a commission. Affiliate programs and affiliations include, but are not limited to, the eBay Partner Network.
thanks man, your work is awesome bro. Gonna test em out tonight, i tried last night but the stock headlight harness is too short so i couldnt pull the projector out of the bay to see if the cut off was still funny, but it seems the theory on the bulb may be correct. will update tonight
Last edited by clintb3astwood; 03-02-2015 at 11:31 AM.
Hey gens1s whats up bud. had a question, can the D2S 3.0 Projectors be modded, for sharper cutoff and lowered shield like you did for me on my Lexus Rx projectors?
Hey gens1s whats up bud. had a question, can the D2S 3.0 Projectors be modded, for sharper cutoff and lowered shield like you did for me on my Lexus Rx projectors?
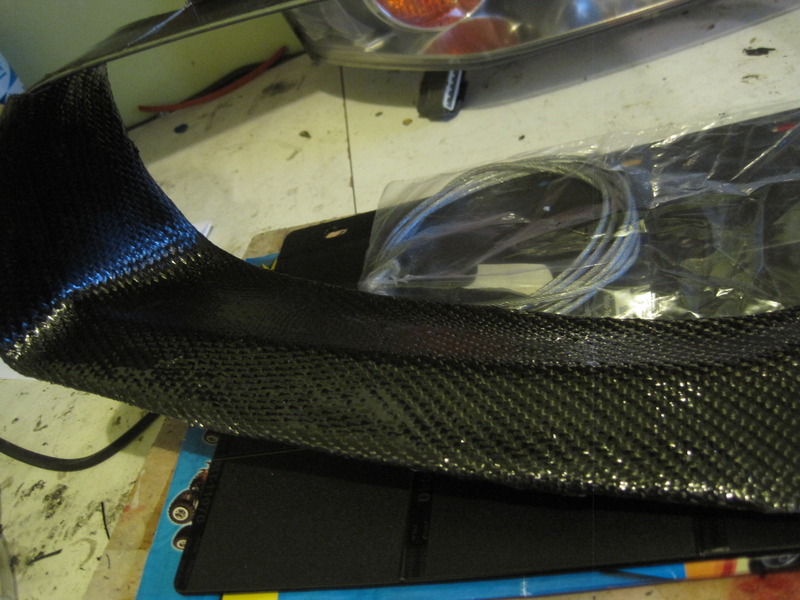
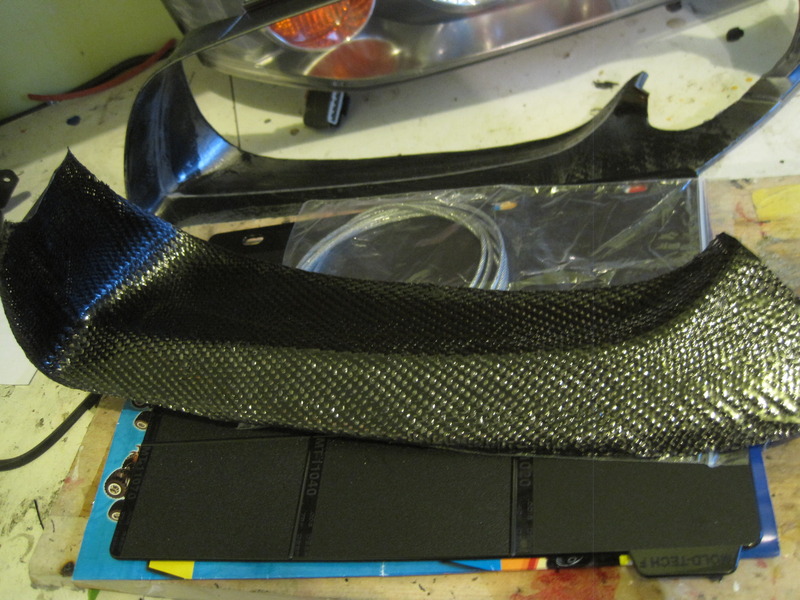
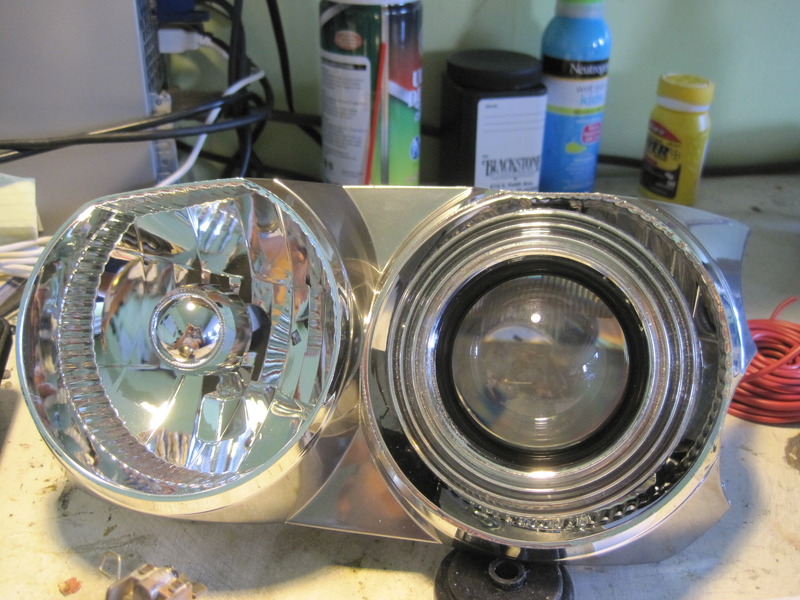
Finally, I found a pair of mis-matched 5.5 gen headlights (one OEM, one DEPO) to retrofit. Nothing crazy here, just going for a clean look with single Bi-X projectors. I do plan to wrap the bezel with Carbon Fiber weave.
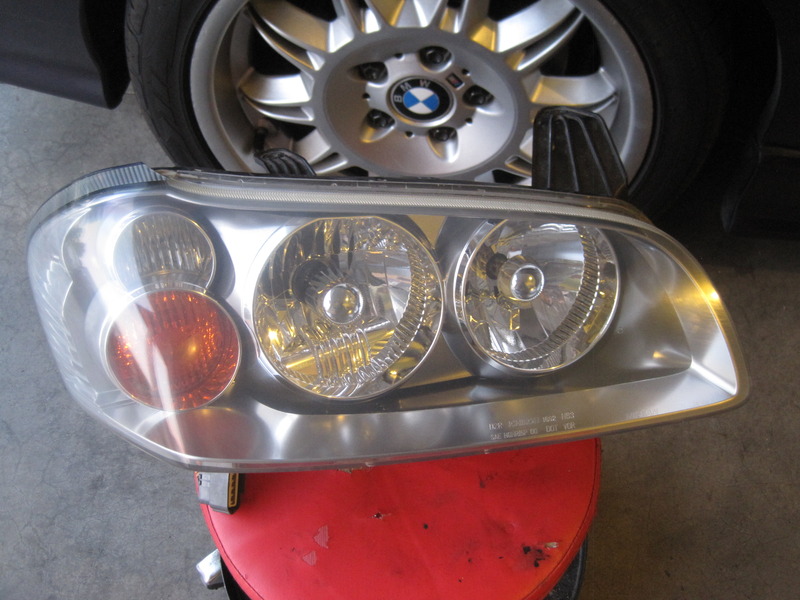
Hey Genesis, love your retros in this thread. Quick question for you - how do you remove the OEM reflector housing in the 02-03 headlights? It looks like there's three mounting points for adjustments. I've removed the one at the bottom in the middle and the one on the side next to the turn signal, but the last one at the top (between the high and low beam bowls) is giving me problems. Any insight would be greatly appreciated! Thanks!
Hey Genesis, love your retros in this thread. Quick question for you - how do you remove the OEM reflector housing in the 02-03 headlights? It looks like there's three mounting points for adjustments. I've removed the one at the bottom in the middle and the one on the side next to the turn signal, but the last one at the top (between the high and low beam bowls) is giving me problems. Any insight would be greatly appreciated! Thanks!
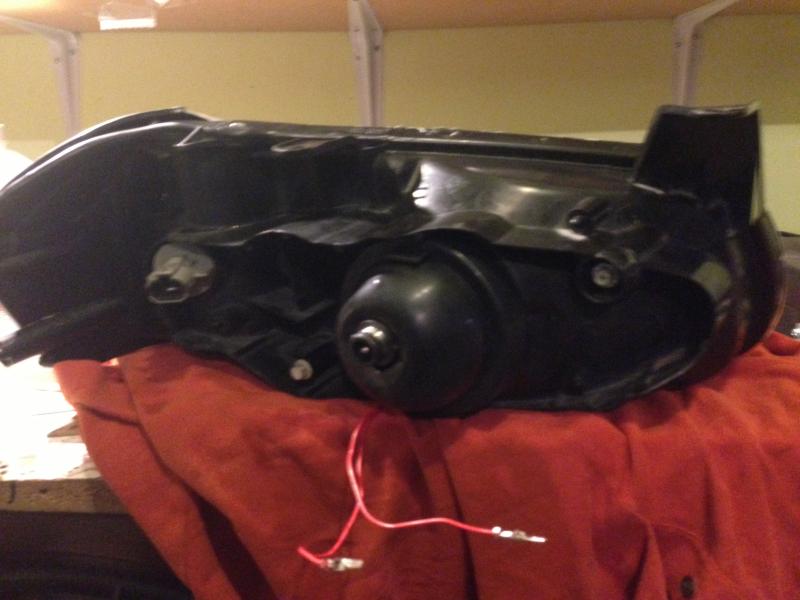
Not easy, it's pretty dumb setup imo. You'll see the white plastic ball socket attached to the reflector, there are 2 small plastic tabs that hold the ball to the ball socket, you need to bend these tap then yank the reflector out of the ball post. Not easy, but with a little patience it can be done. The setup makes sure that the reflector would never back out, but I don't think its necessary since the reflector is very light.
Thanks for that. I thought for sure I was going to destroy the white plastic piece on the ball socket. I was finally able to get it free using a slightly different method. I had some long reach needlenose pliers that were bent at the end and I was able to fit them behind the reflector housing and grab the metal part. I then used a little bit of leverage and it popped right out.
A few other things came up in the meantime, so my little project has been put on hold for the time being. Your thread inspired me to do a quad retrofit. Still unsure how it's going to come out. haha.
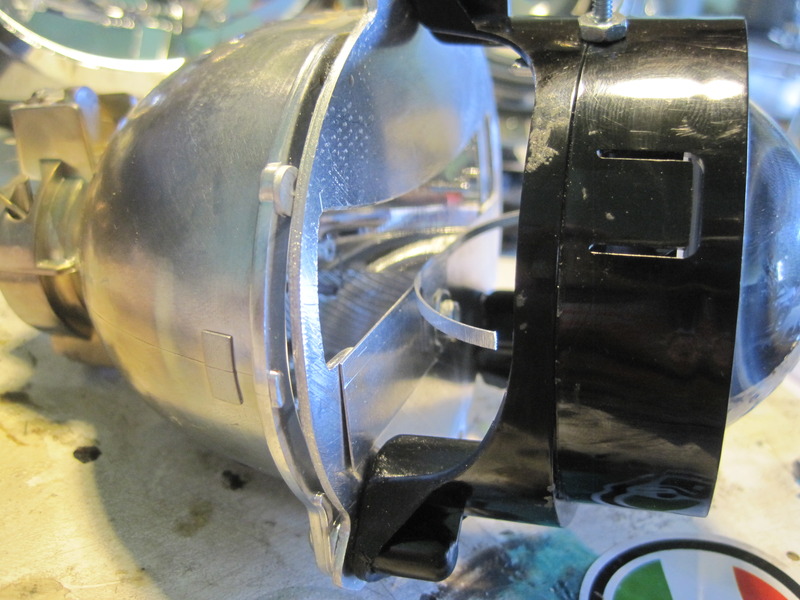
Had a little time this weekend to work on this retro.The projectors are RX330 non AFS with clear lens. These projectors with custom curved shield should come alive.
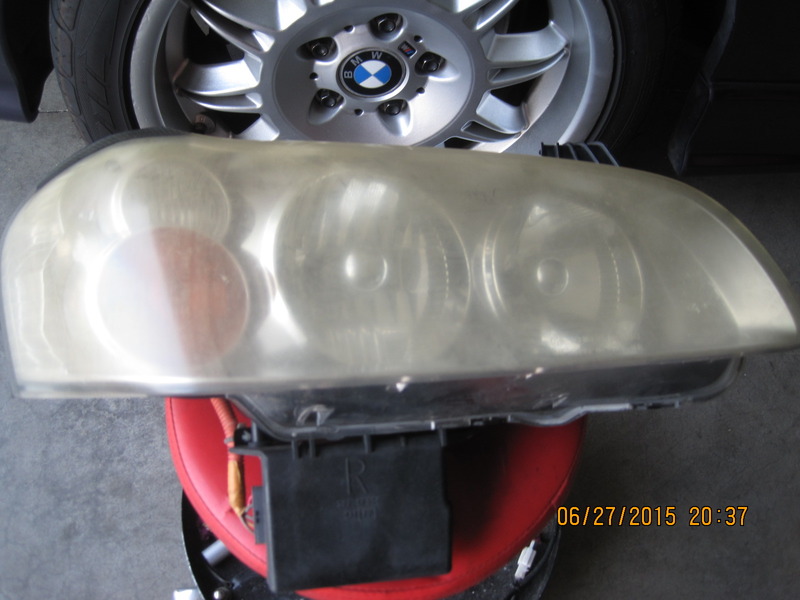
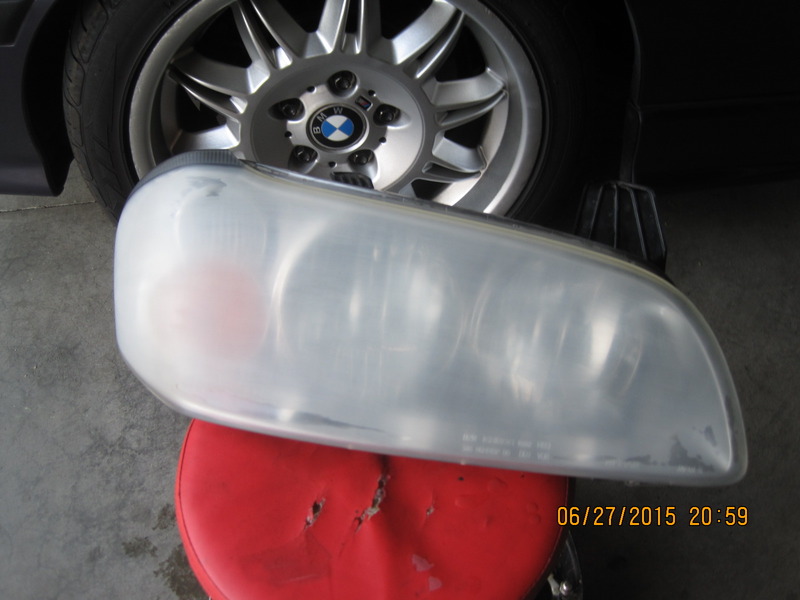
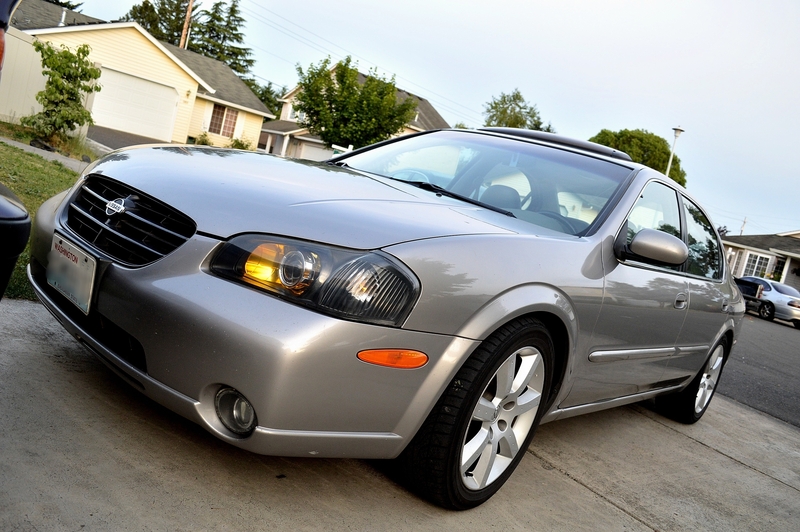
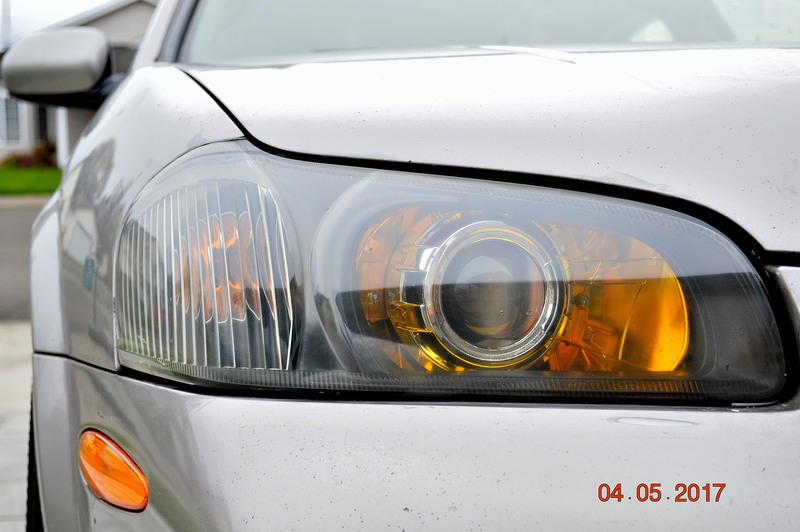
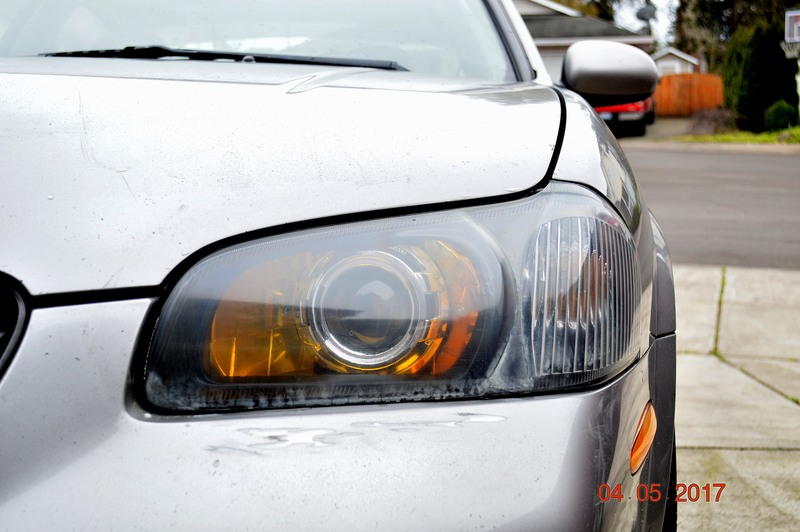
I have been MIA for awhile now, been too busy with growing family and never had a chance to do anything with the car or headlights. Today I finally decided to polish these after about 2.5 years of daily driving since it was built. The right side lens was thoroughly caked that even after much of wet sanding, I couldn't get it decent. I think the plastic was just done. The left side turned out much better. These headlights been thru tons of rain and high water and never had any issue, not even a slight condensation. This was one of the best builts I've done in term of reliability and performance. This is also the most OEM looking built since the projectors were pushed back as far as possible while maintaining OEM adjustments.
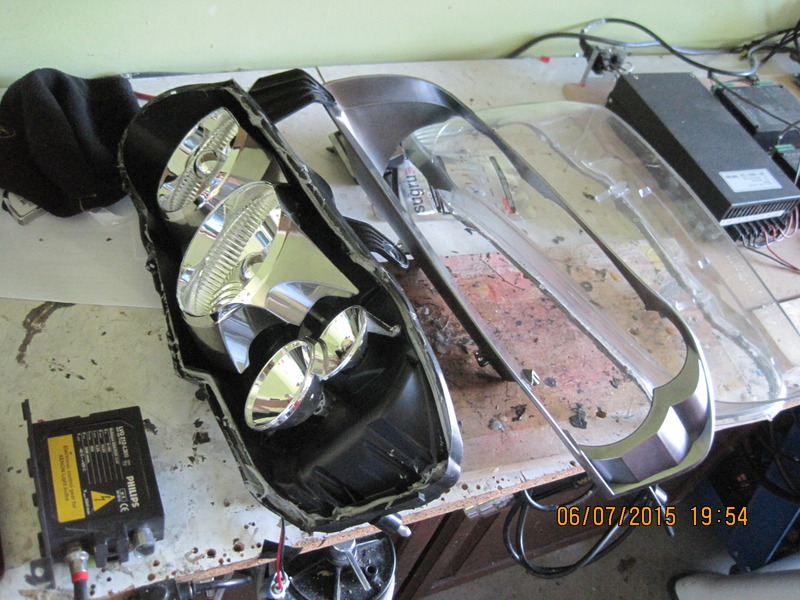
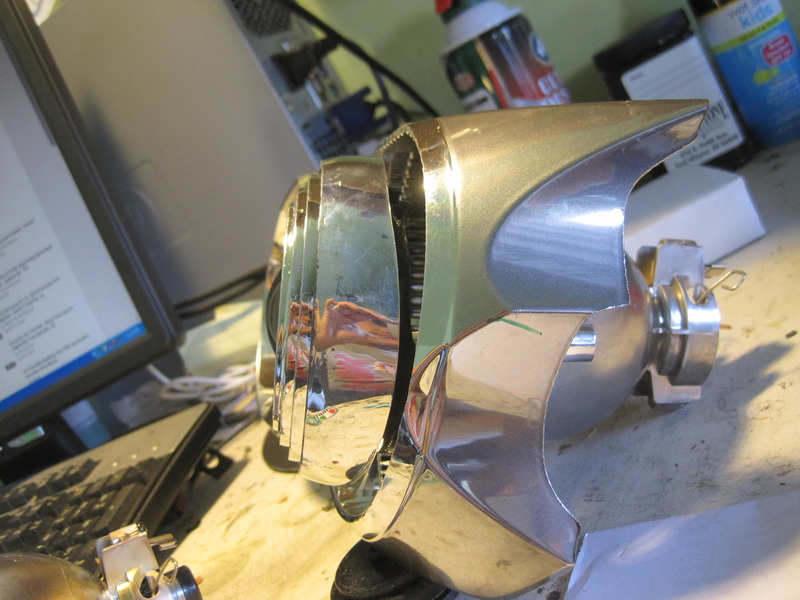
It's time to refresh the lens of the retrofit headlight I did few years ago. Tried to keep polishing it but it just not worth it. Got the aftermarket headlights from Ebay and used the front lens and bezel to replace the old, foggy, scratched up lens.
Tried to sand it down and ended up ruining it.
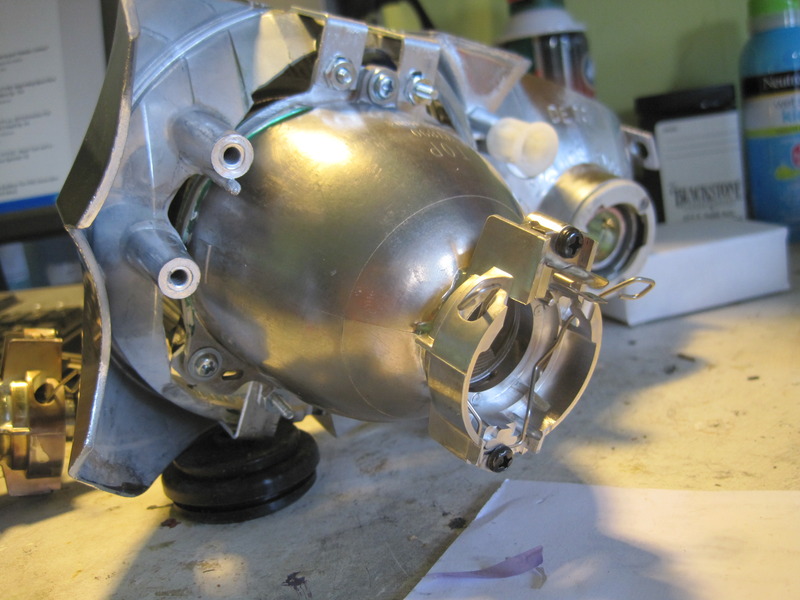
After about 4 years, the inside components were in great condition. The projectors and shrouds were still fully secured to the reflector housing.
Used flat head screw driver to remove the old glue as much as you can.
Measured the gap/recess on the housing and create a bead of the rubber sealant at about the same size of the gap. In this case, it was about 5/16" wide. It doesn't need to be so thick, 1/16" thick of rubber sealant should be enough. The goal is to make sure that you have enough sealant to cover the gap. Too much sealant will cause the lens to not seat properly and could cause water/moisture leak.
Used a heat gun to heat the sealant up and spread it around the gap with flat head screw driver
Placed the lens in place, installed all the screws, and clamp the lens to housing good. Ideally you do this at least 4 hours. Used the heat gun to over the seam while the lens is clamped to the housing to soften the sealant and push it into all crevices. You should see the sealant oozing out.
Done and ready to install.Took me about 3 hours to do the pair (include removing the new lens from new headlights).
so u had to buy another pair of lights to get the donor lesnes?
Yes, brand new set @ Ebay for $61 shipped. I re-used the old plastic OEM housing. Aftermarket headlights are only good for the internal and the lens IMO, the main housing is so thin than it warped too much under heat and it's a nightmare to try to seal it.
Yes, brand new set @ Ebay for $61 shipped. I re-used the old plastic OEM housing. Aftermarket headlights are only good for the internal and the lens IMO, the main housing is so thin than it warped too much under heat and it's a nightmare to try to seal it.
def def ! just wanted to make sure, i guess its easier for $61 than complete lense refinish of existing, looks great
It's mostly moisture and condensation problems. The plastic is so thin that it is hard to seal it properly during assembly and heat cycle, hot housing+cool front lens+moist air = condensation.
 02-27-2015, 06:13 PM