8th Gen Non-Bose System upgrade (Build)
#43
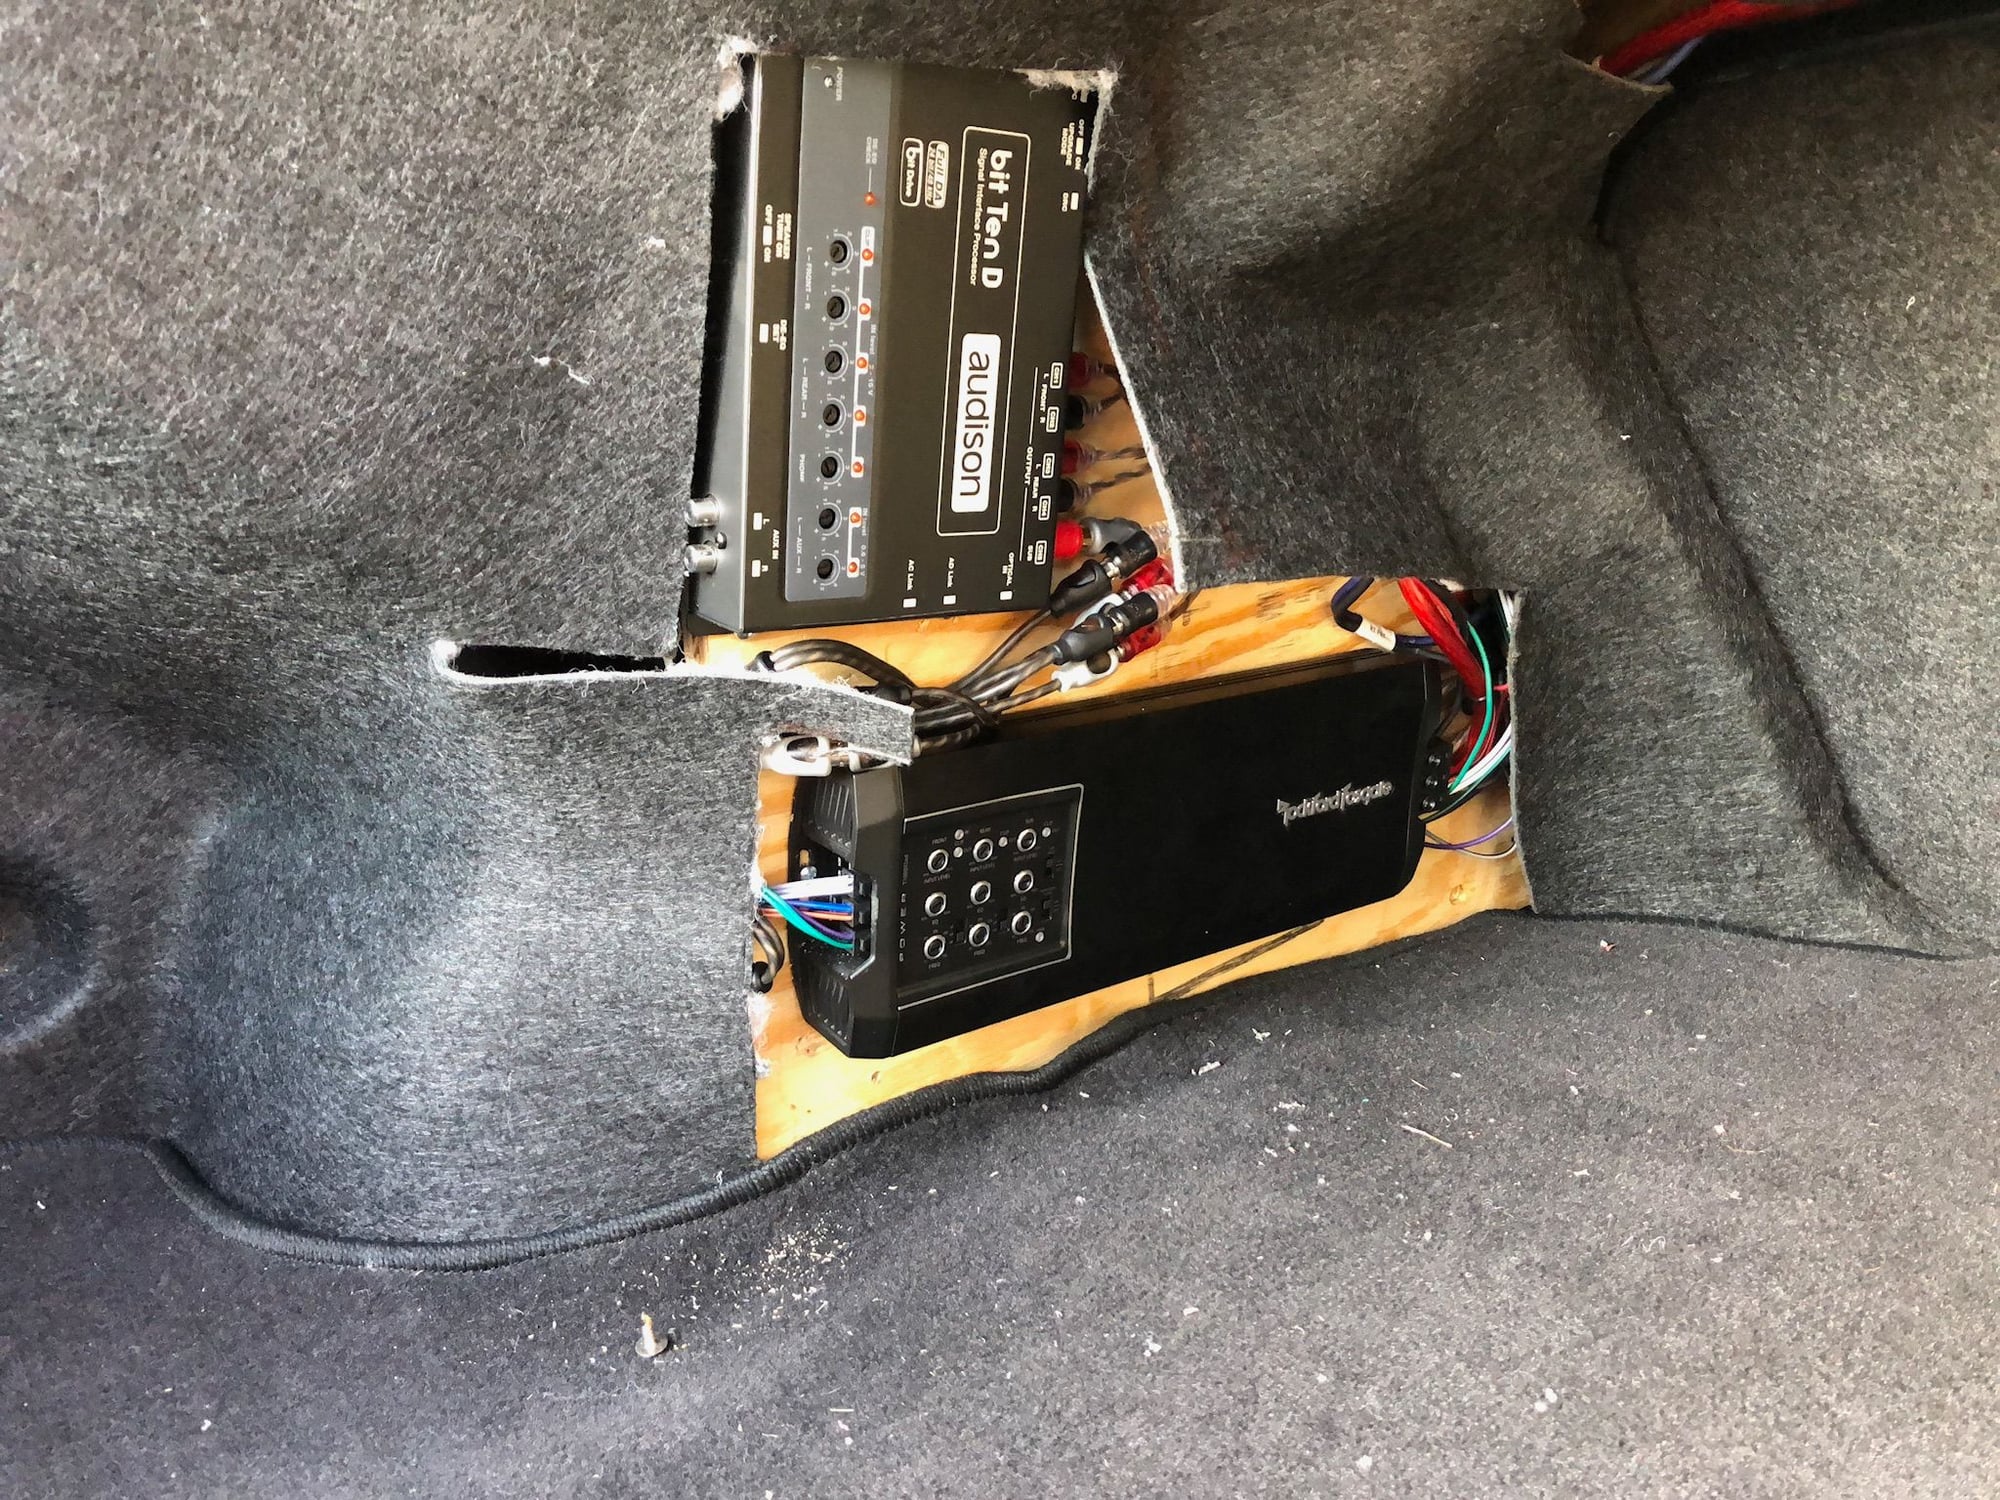
I made a bracket that connects to the seat back brackets, and a support behind the carpeted shroud. mounted a piece of 3/4 ply to the bracket, which is what the amp and signal processor are screwed to. The amp sticks out enough to breathe and the signal processor didn't really have any requirements for airflow, as it doesn't really consume much power.
#46
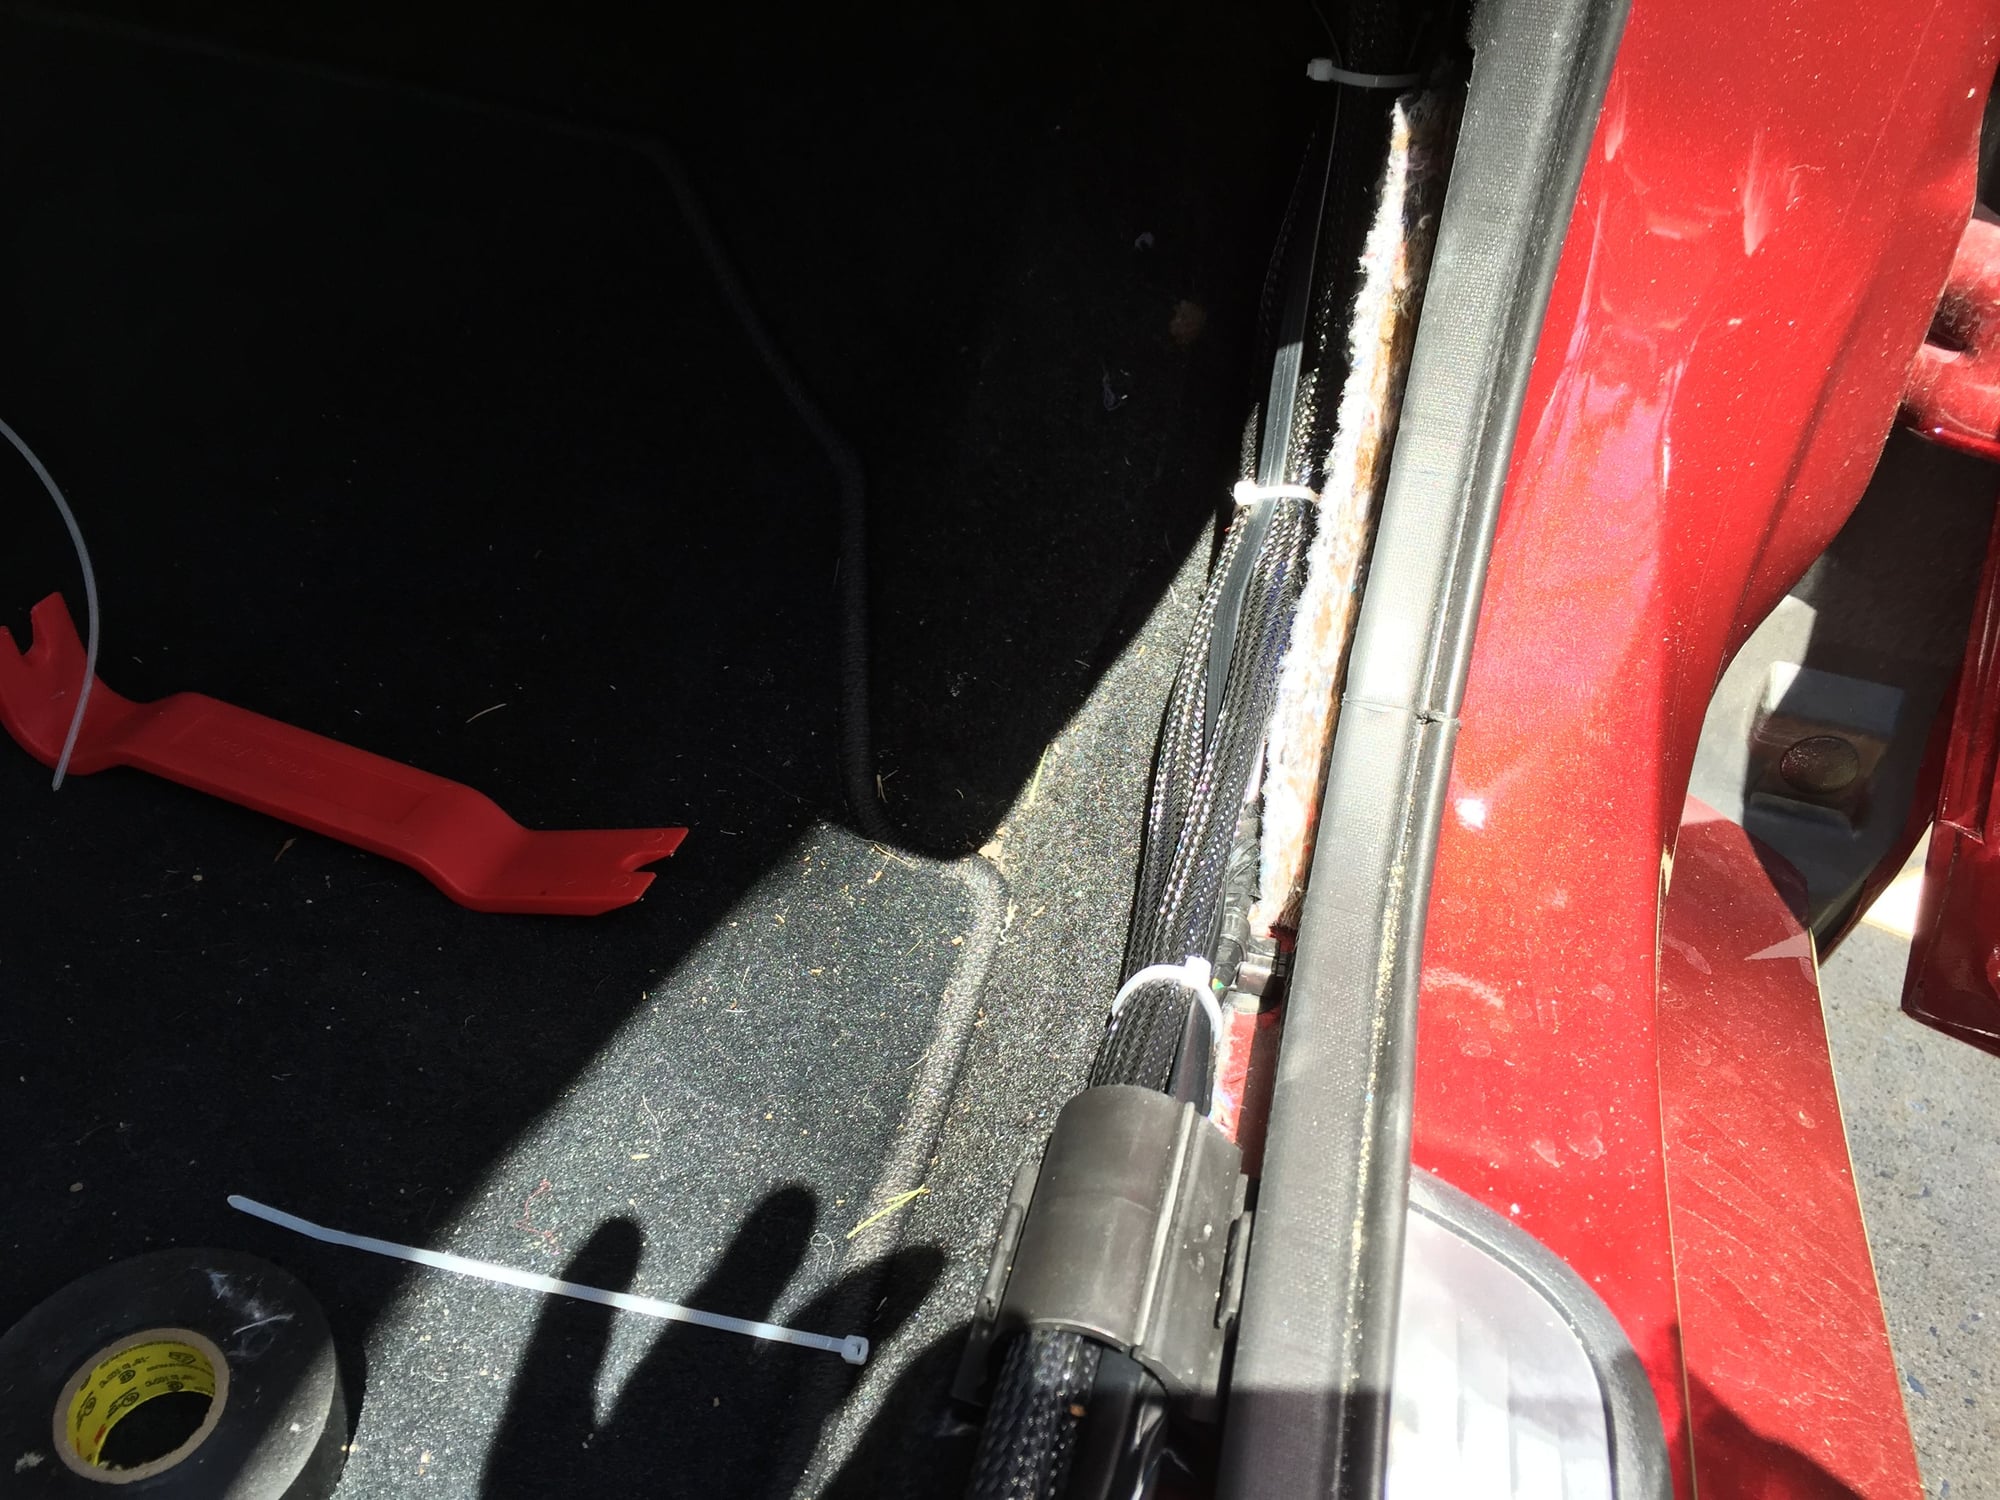
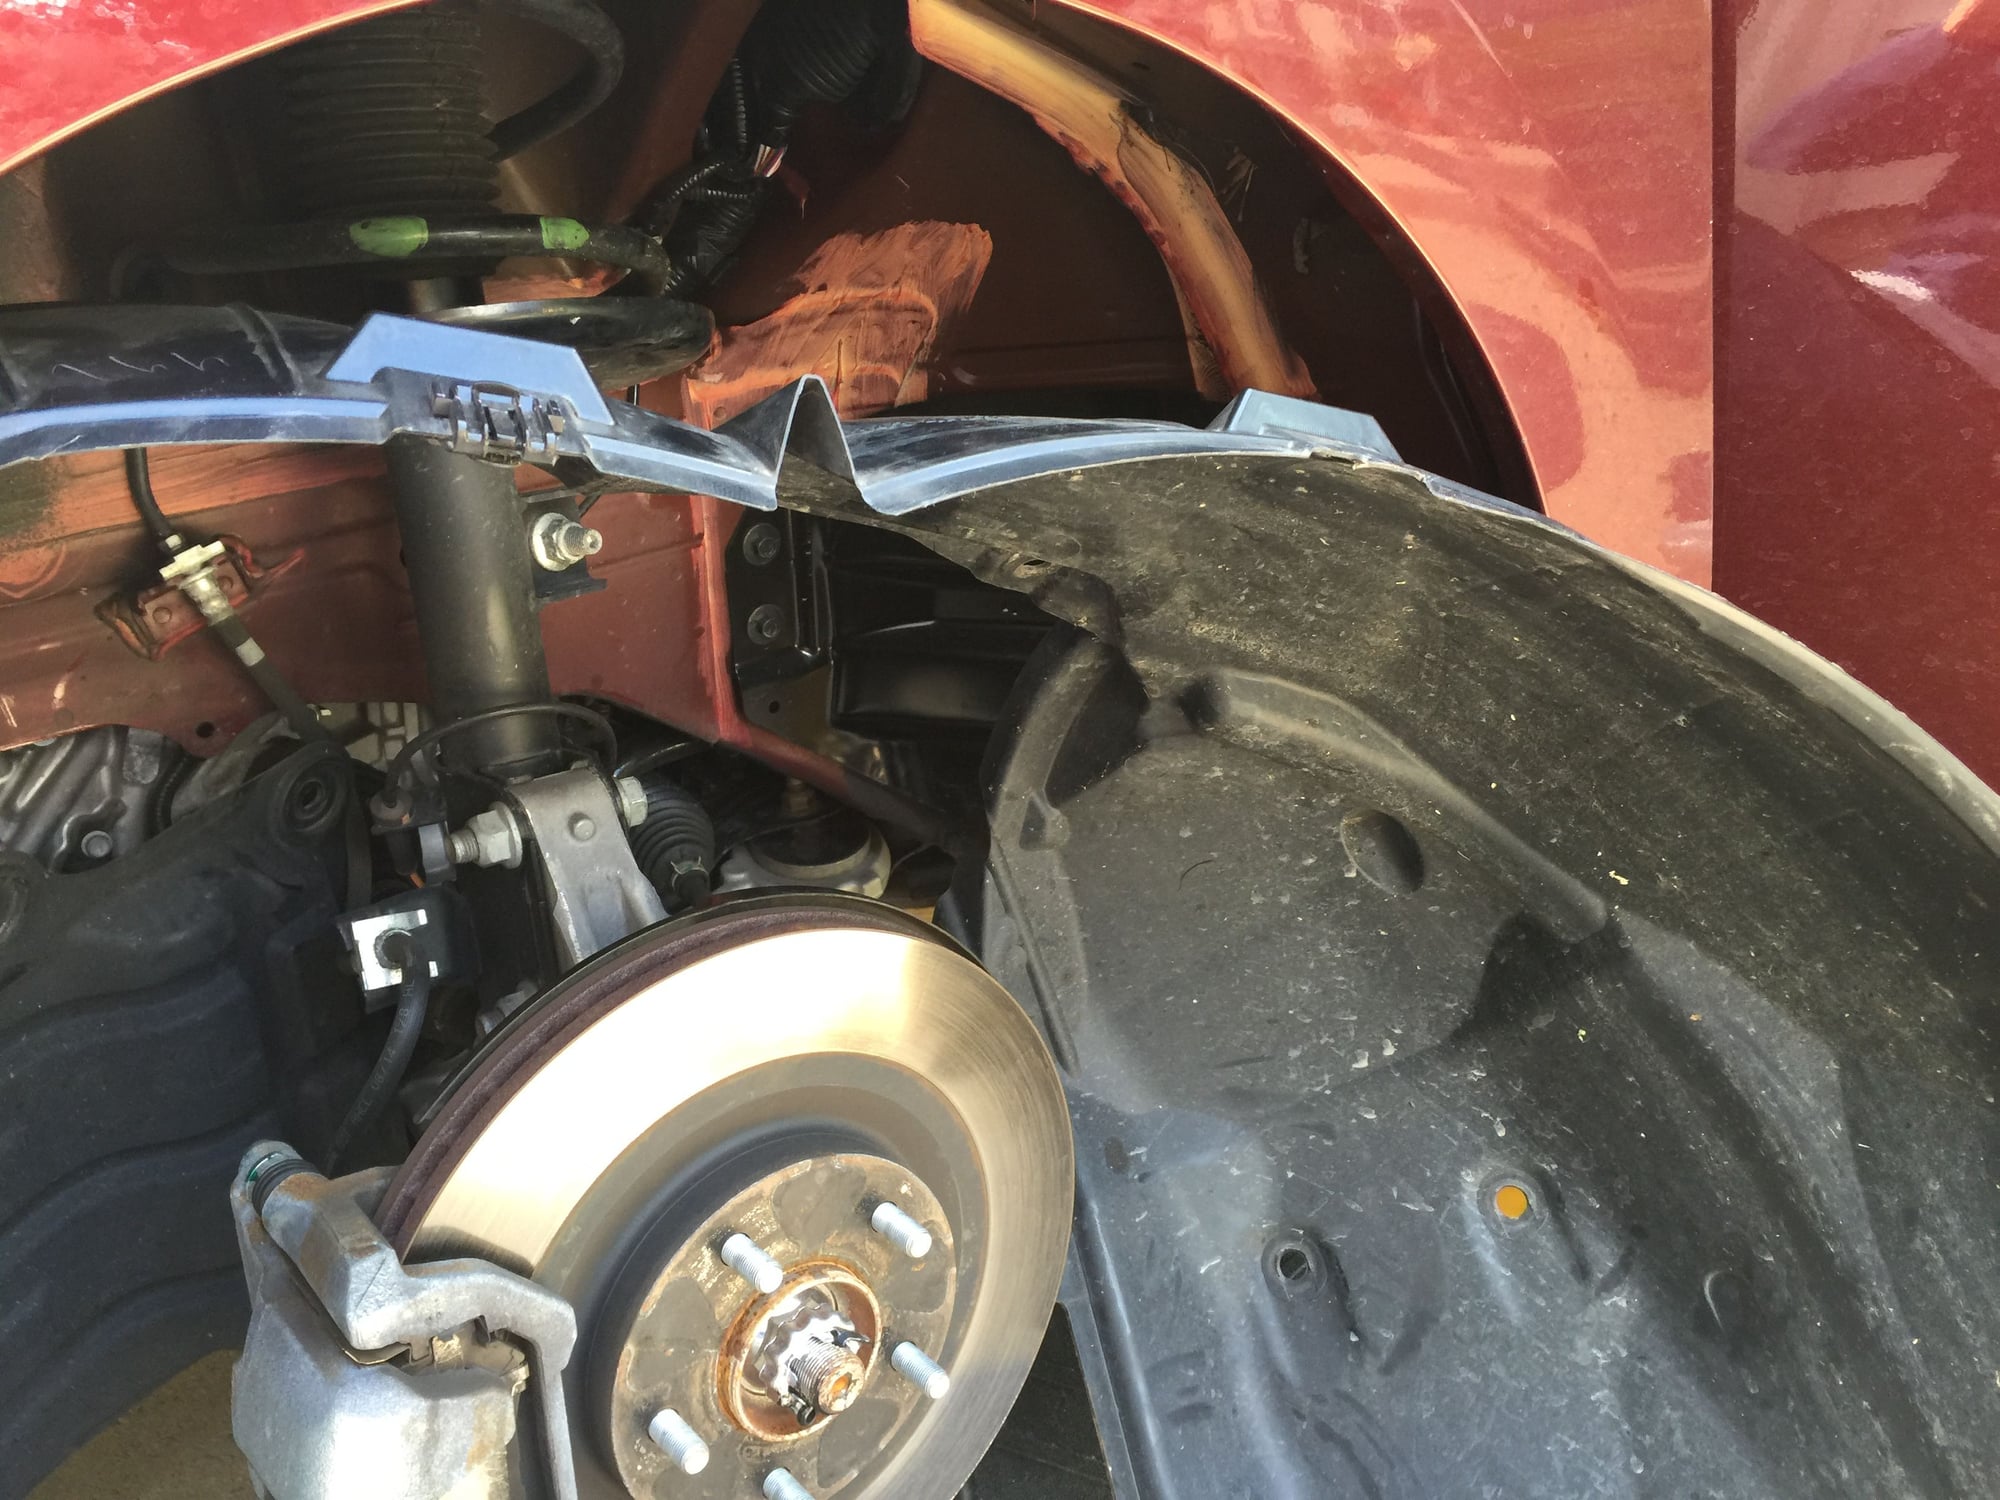
There are two places you can route the power and ground through the drivers side fire wall. One spot is through the hood release cable grommet. There is enough room to fit a 4 gauge wire next to the release cable. The other spot is through the bundle of cables above the release cable. On the interior side, you'll have to puncture the rubber boot, but on the exterior side, you just need to remove the electrical tape that seals the boot. For the remote turn on, signal, an speaker wires, there are cable ways built into the rocker panels on both sides of the car running from the front door to the rear door.
I have pictures somewhere, I'll attach them when I find them
I have pictures somewhere, I'll attach them when I find them
#47
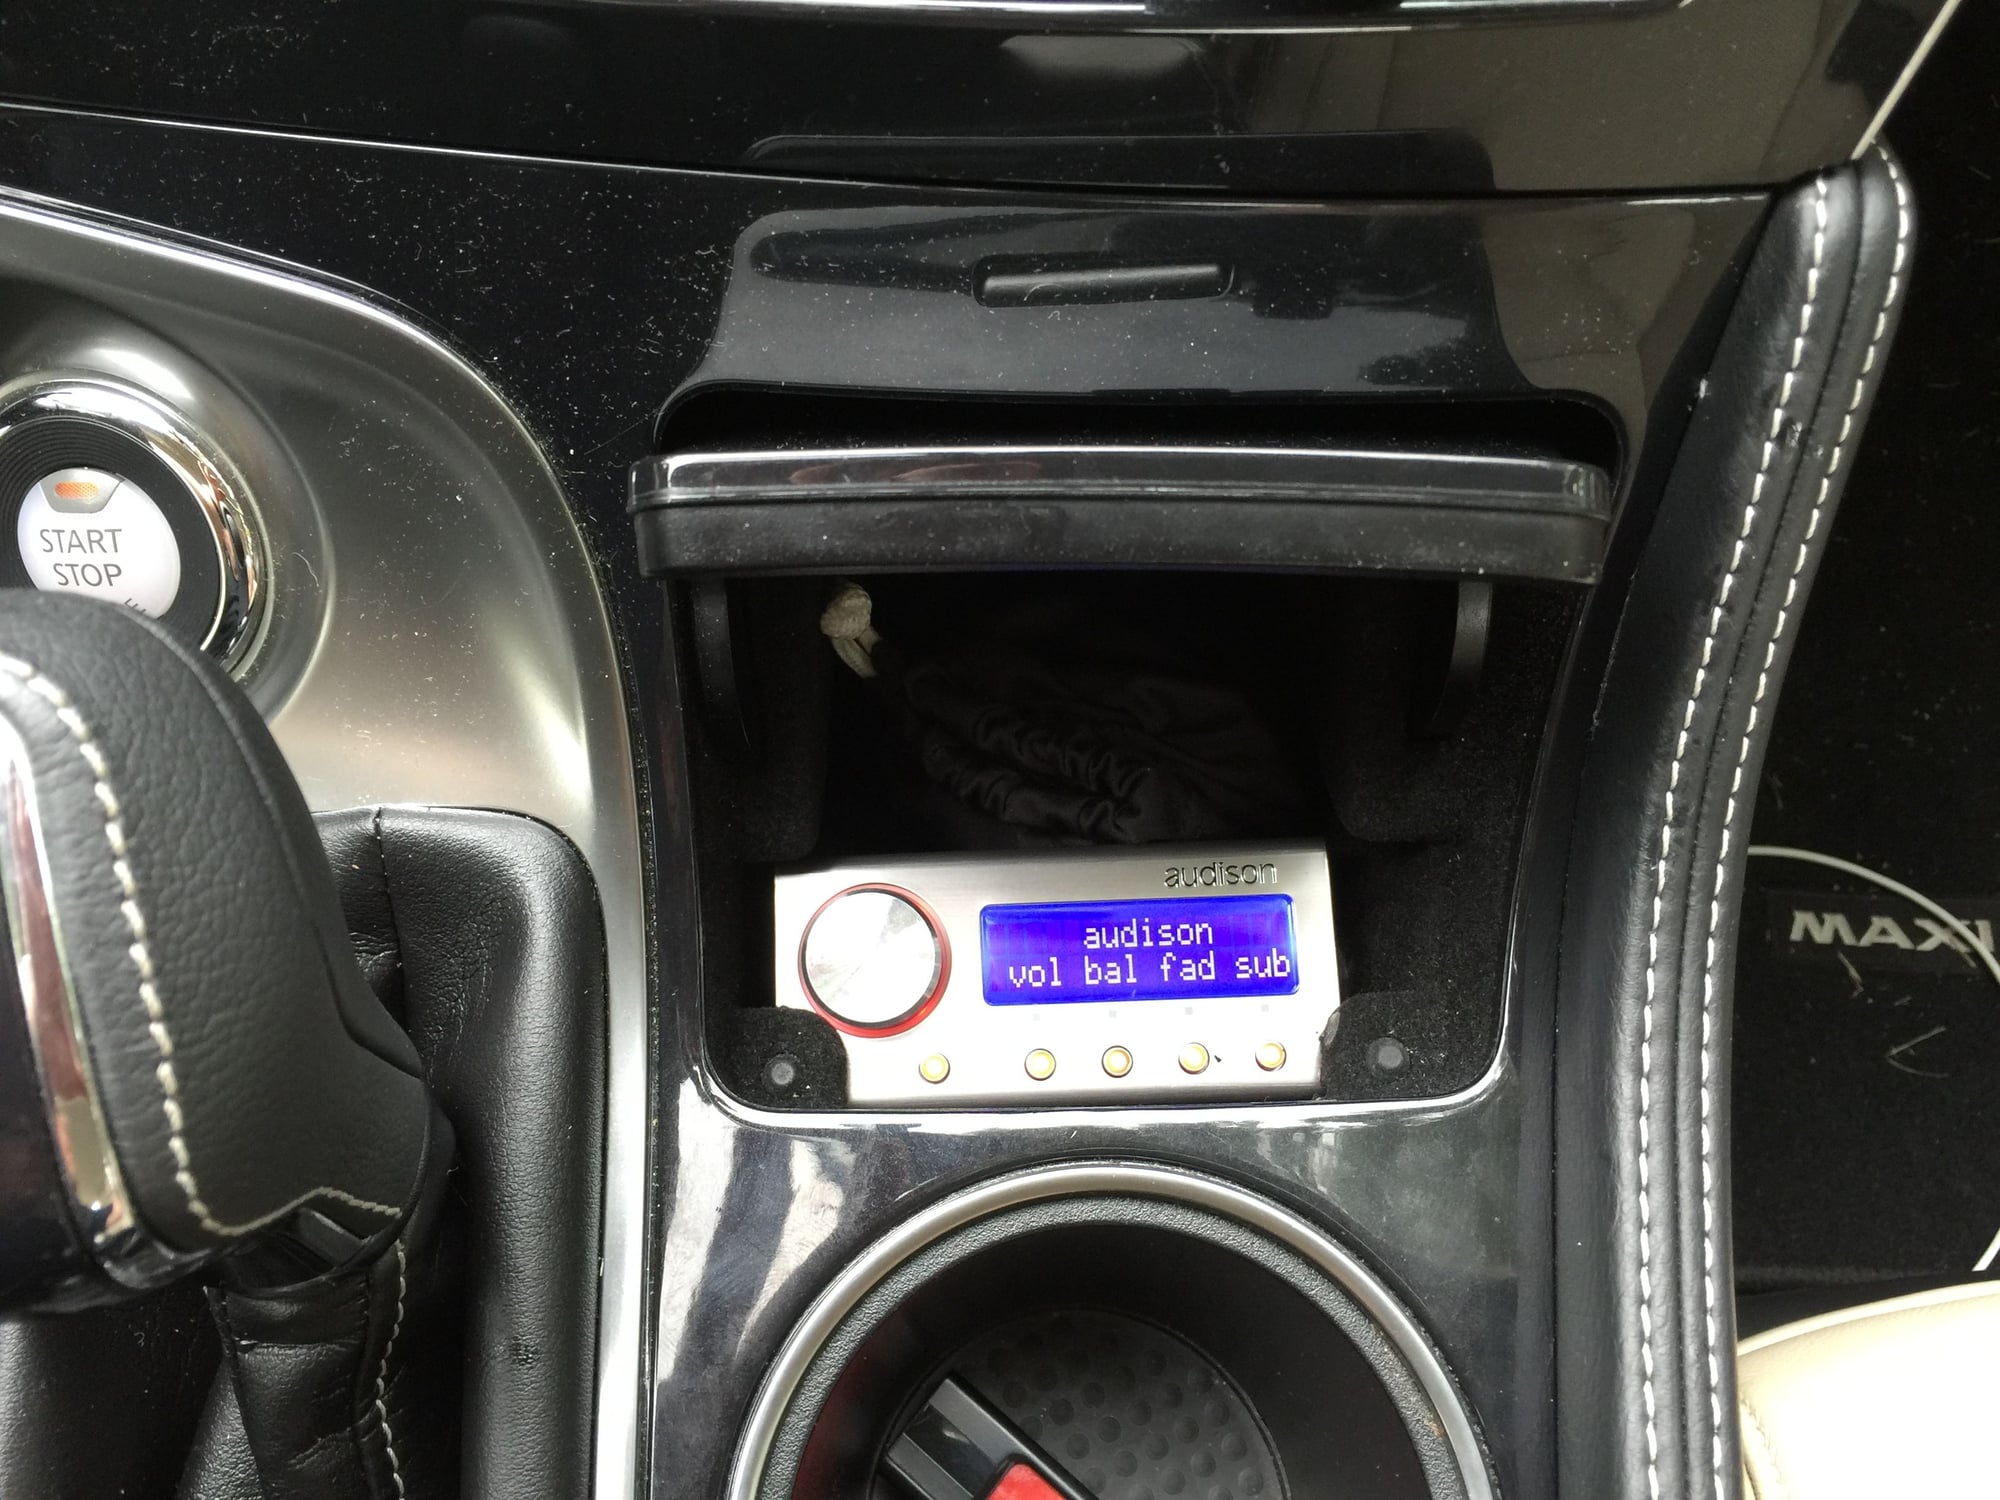
the control for the signal processor fits great in this cup. there is still room for my phone and sunglasses.
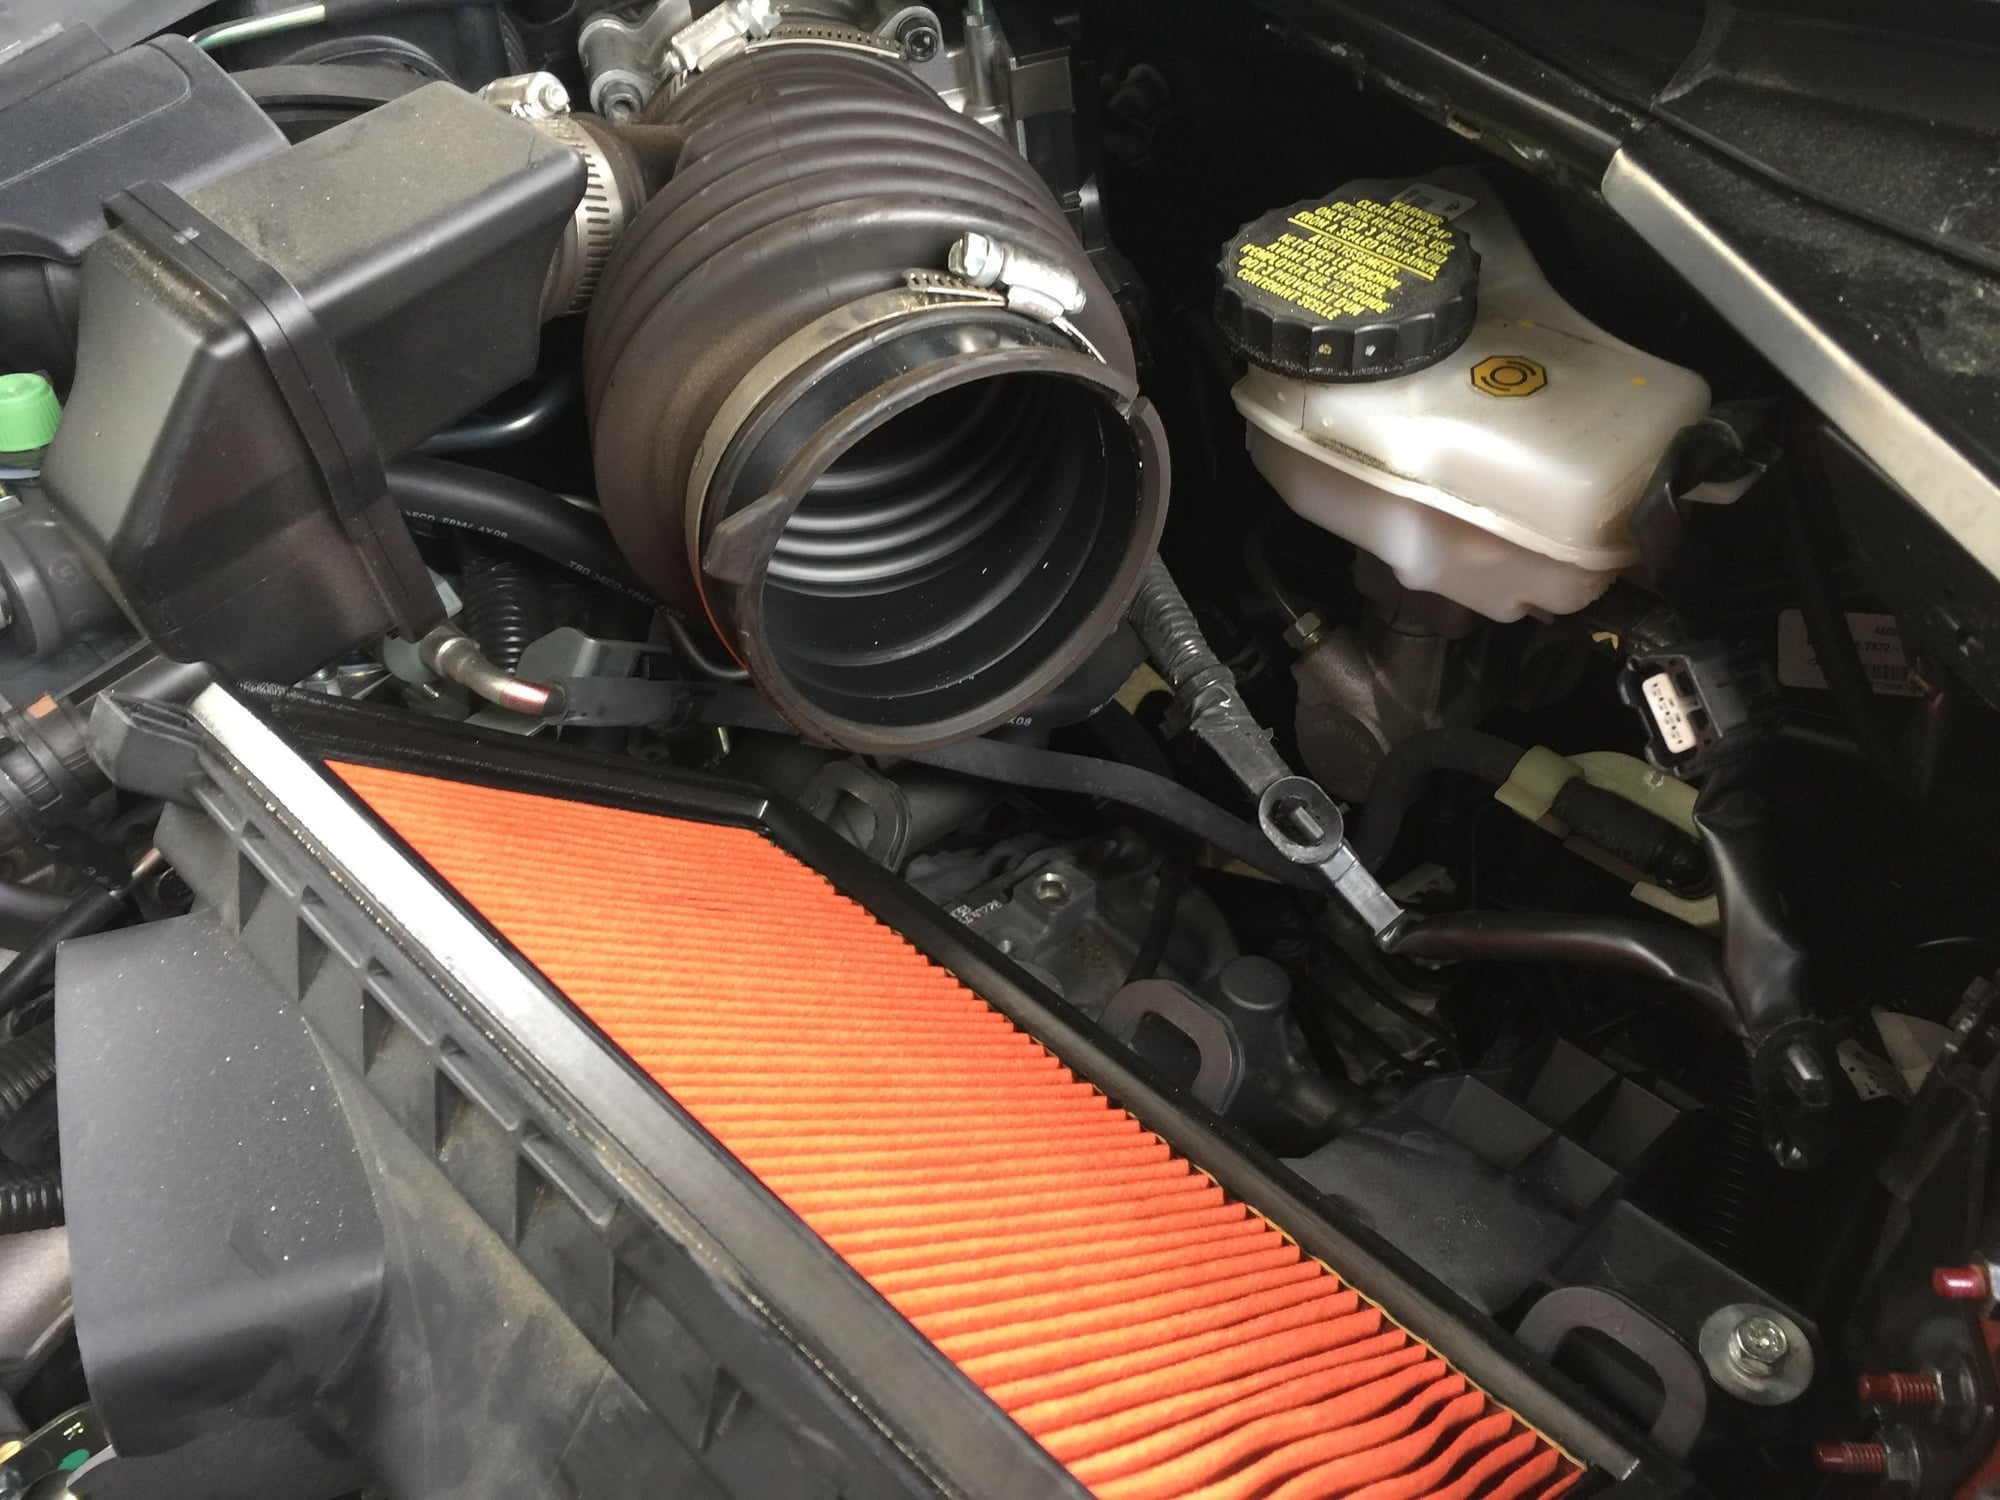
the air cleaner box needs to come off to run the power and ground cables.

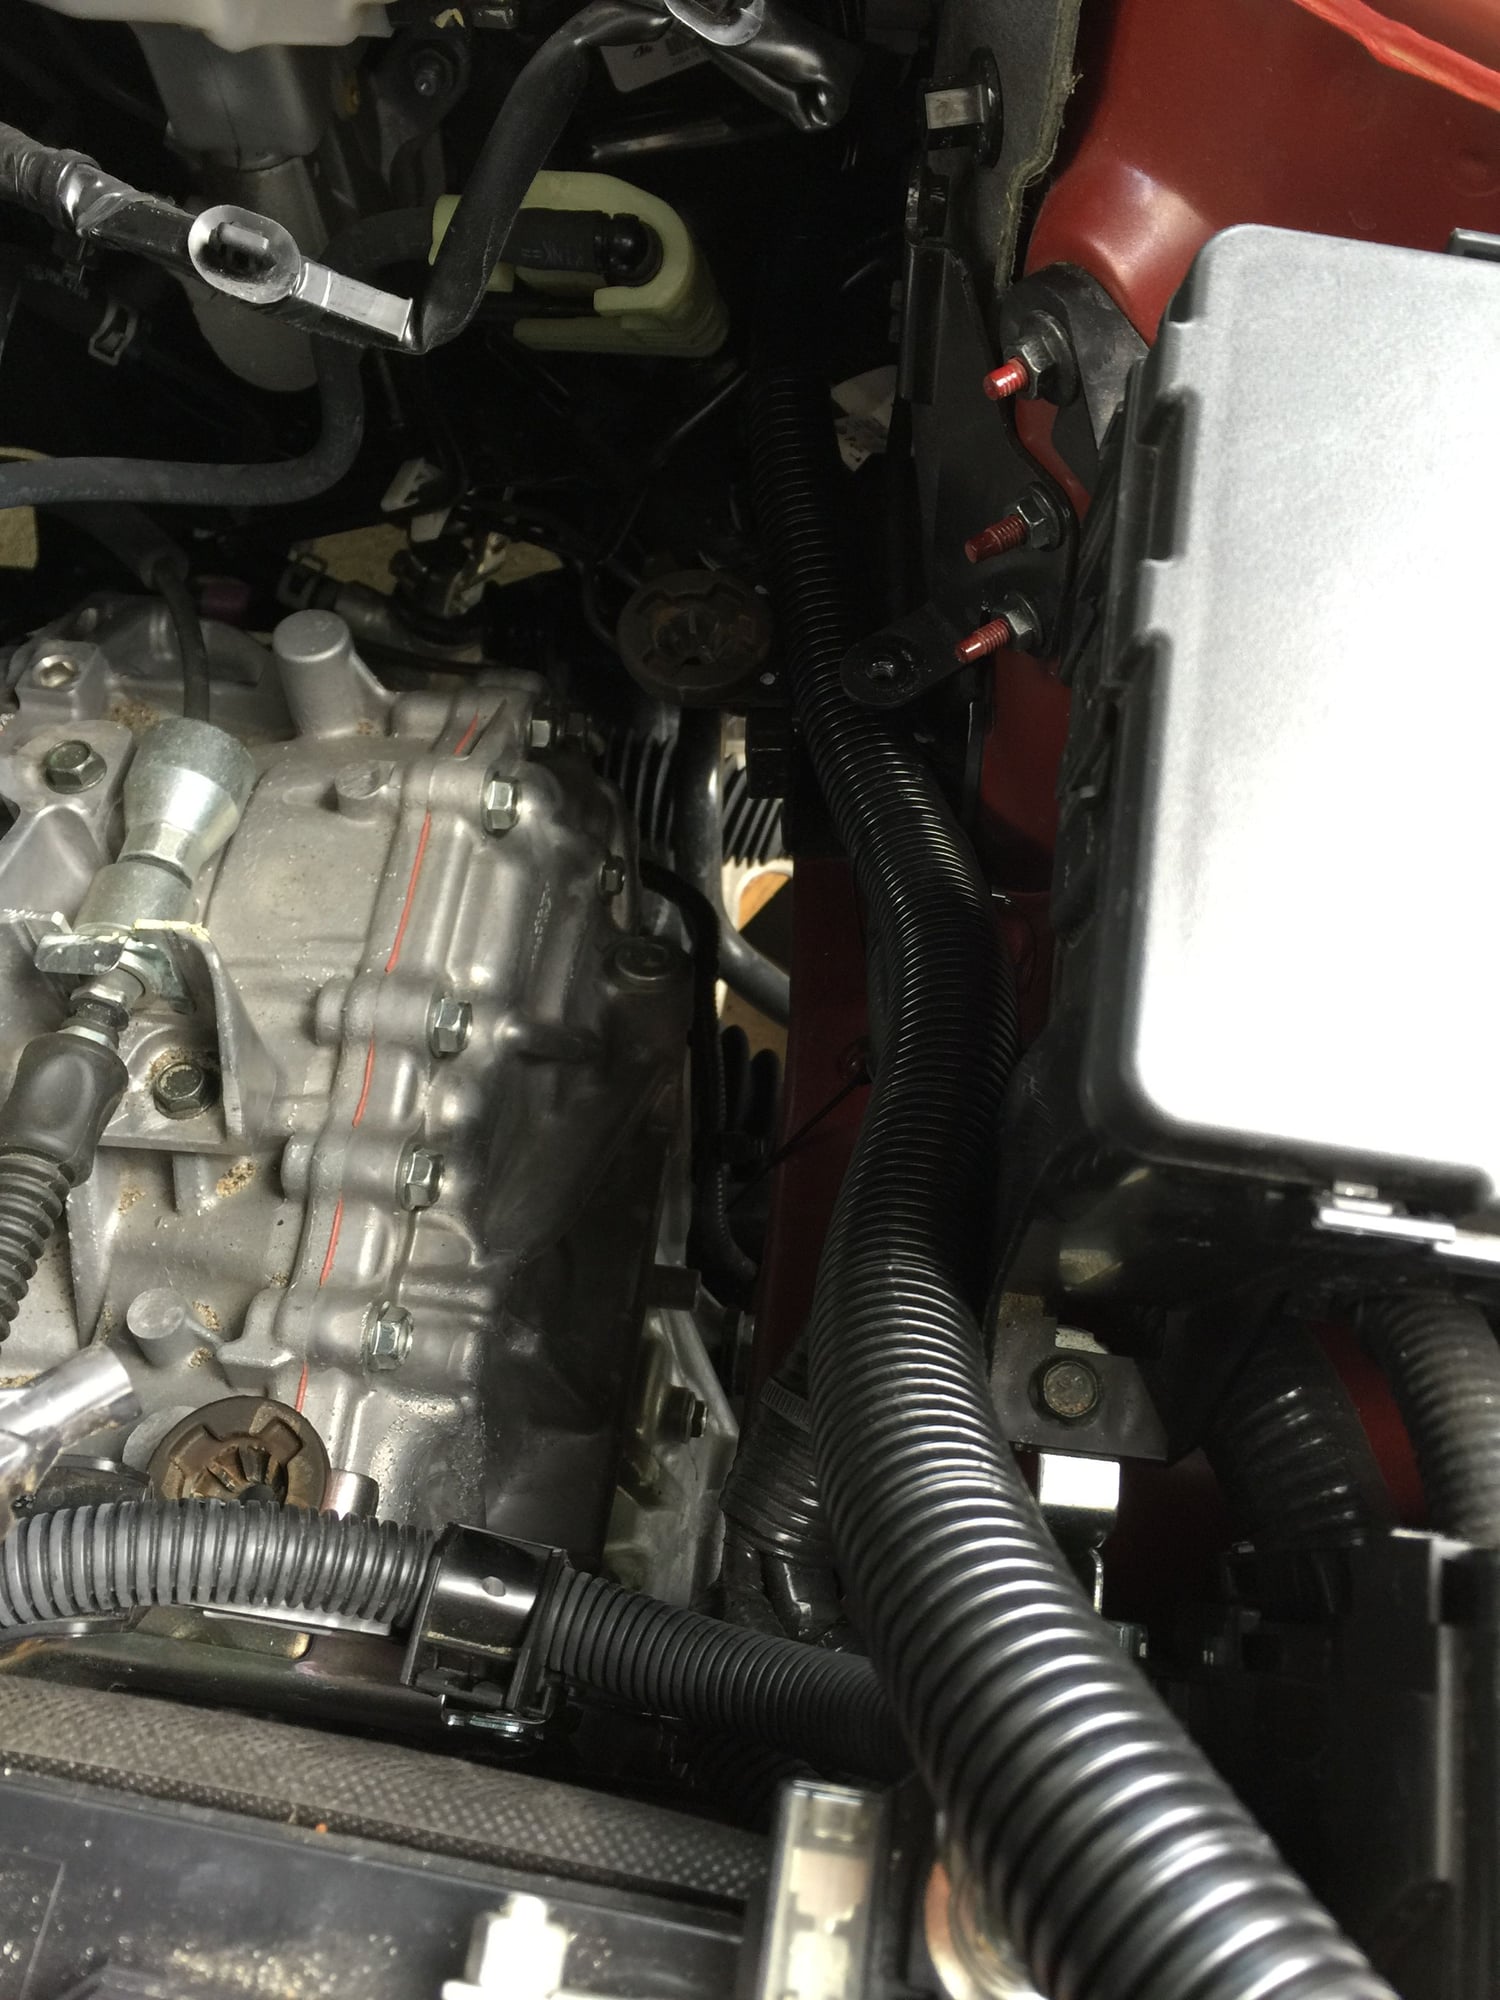
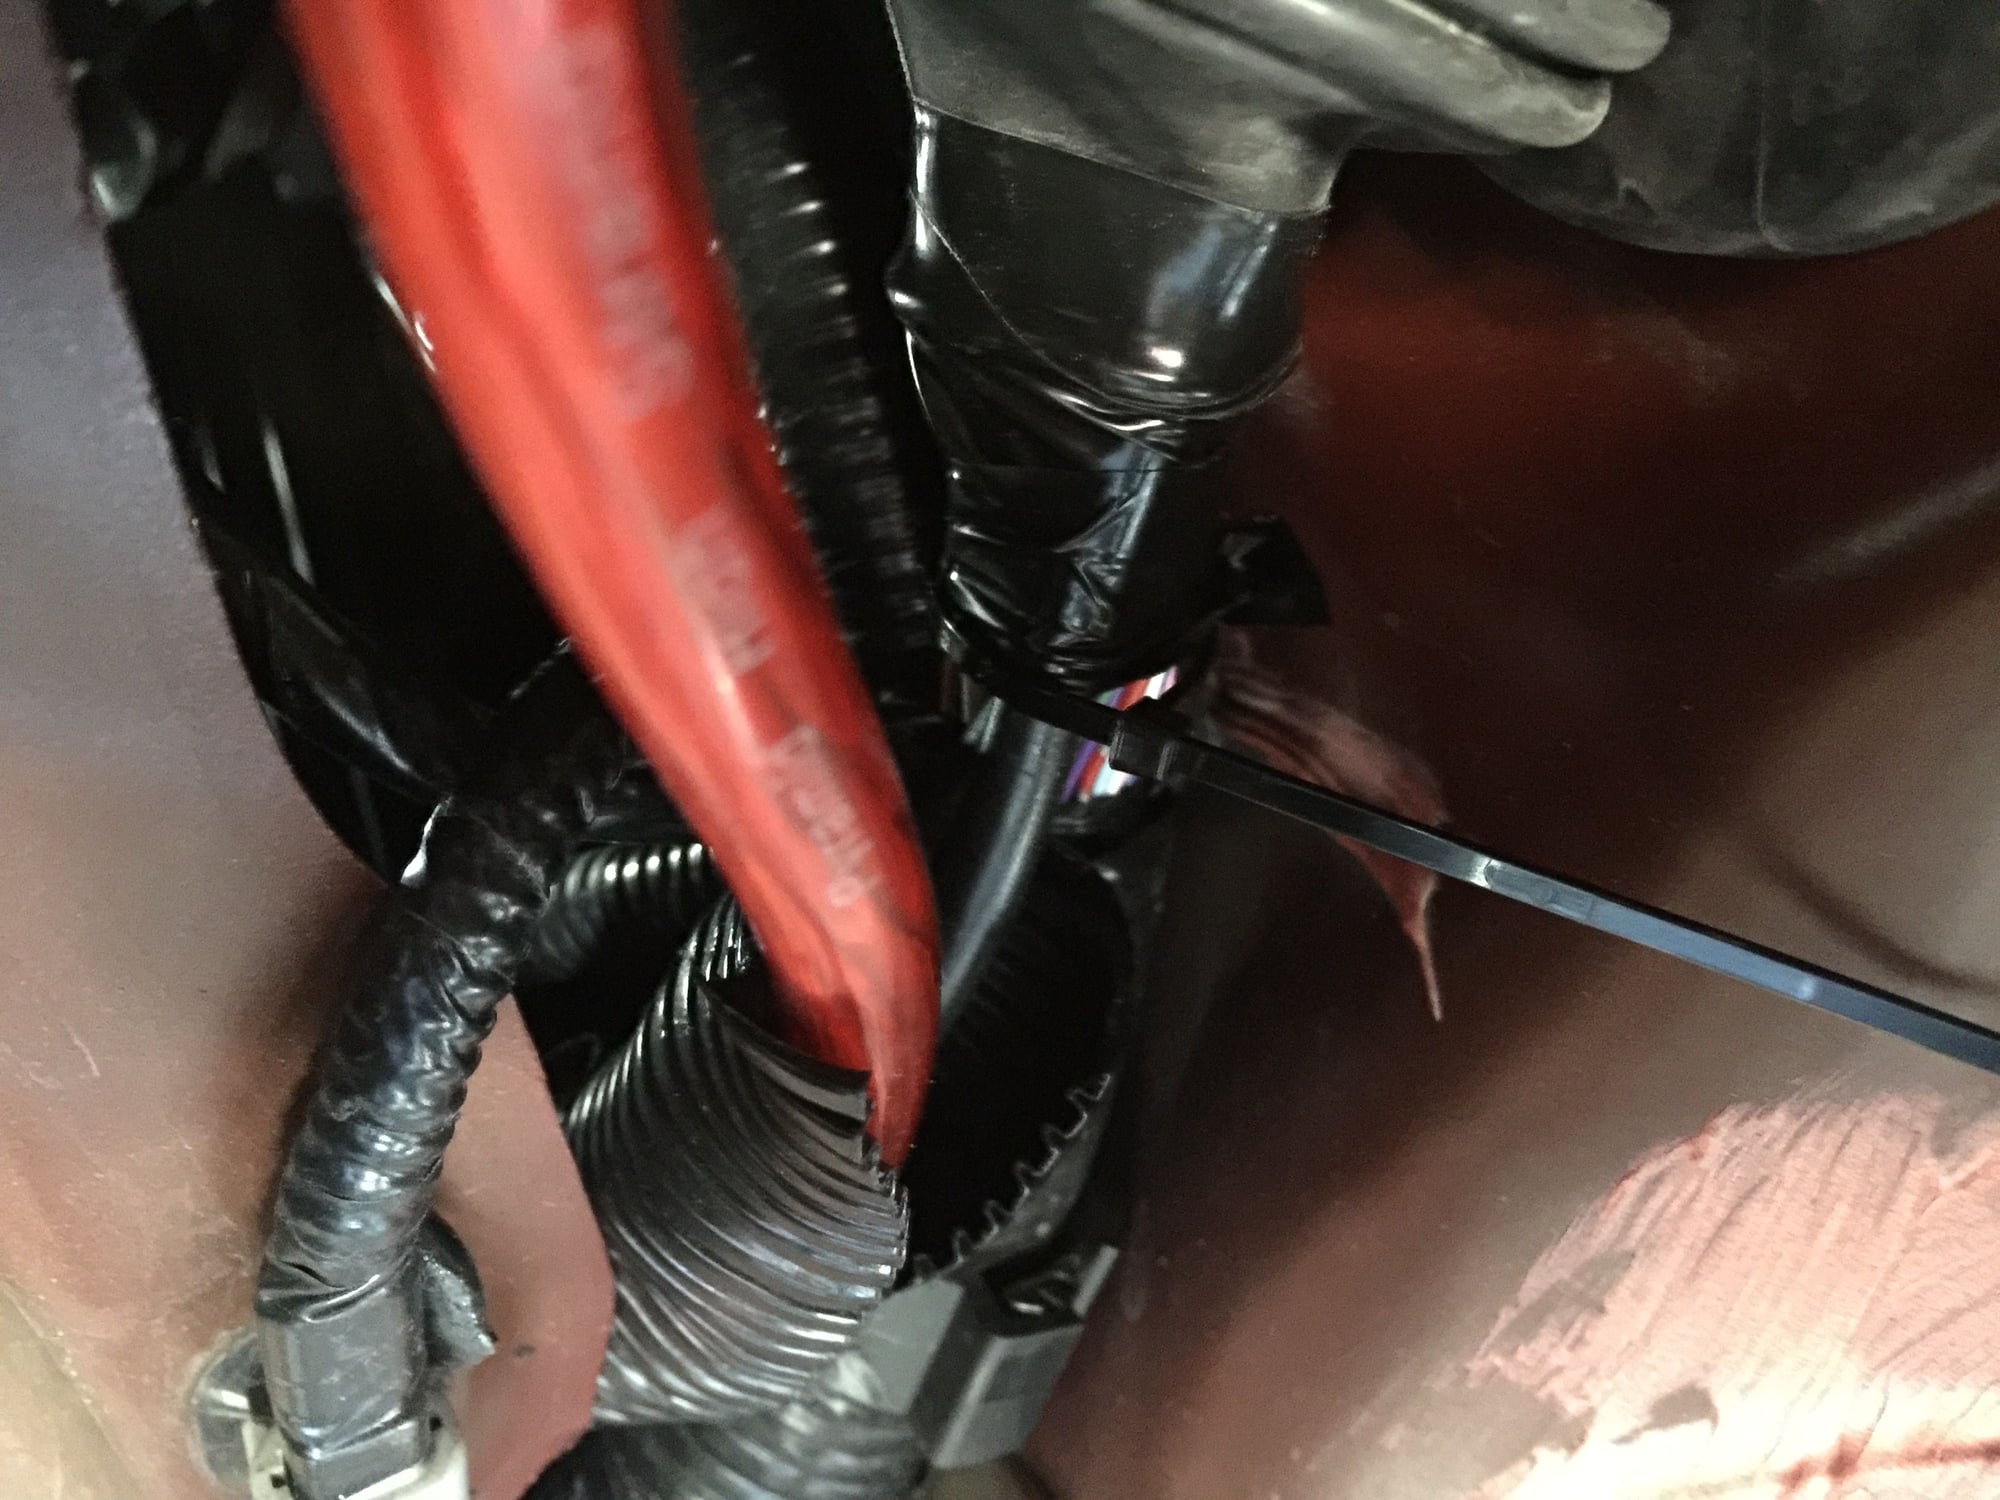
this is after the ground wires were run through the rubber boot

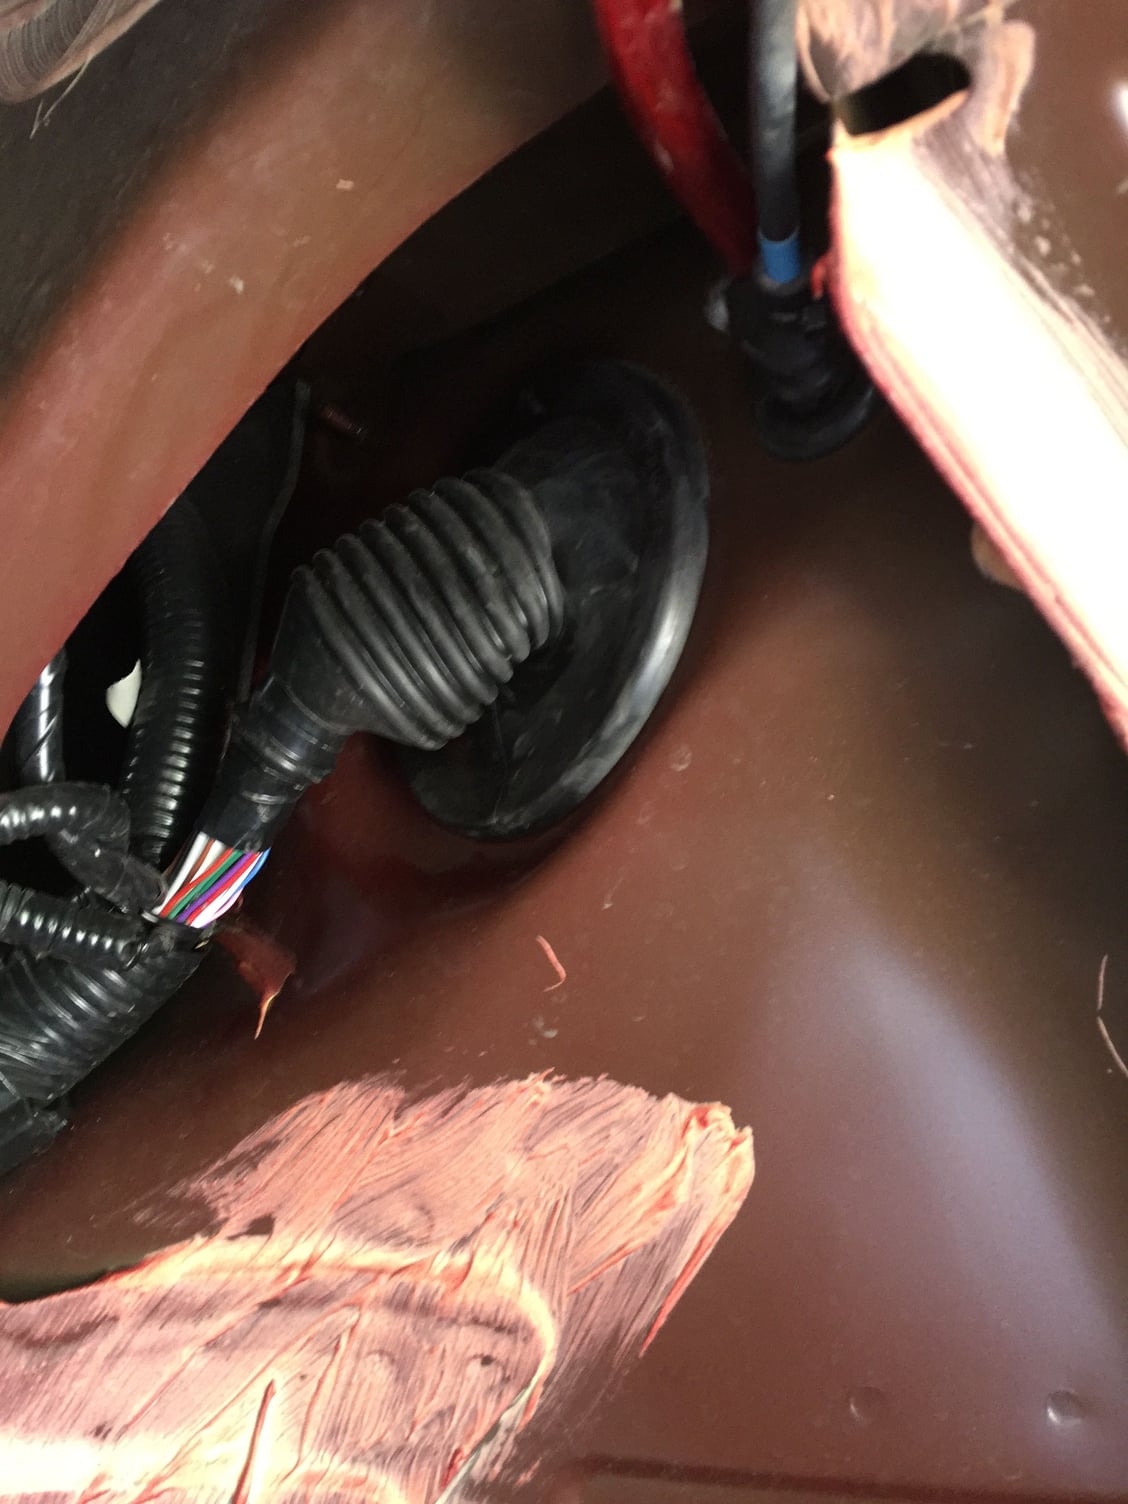
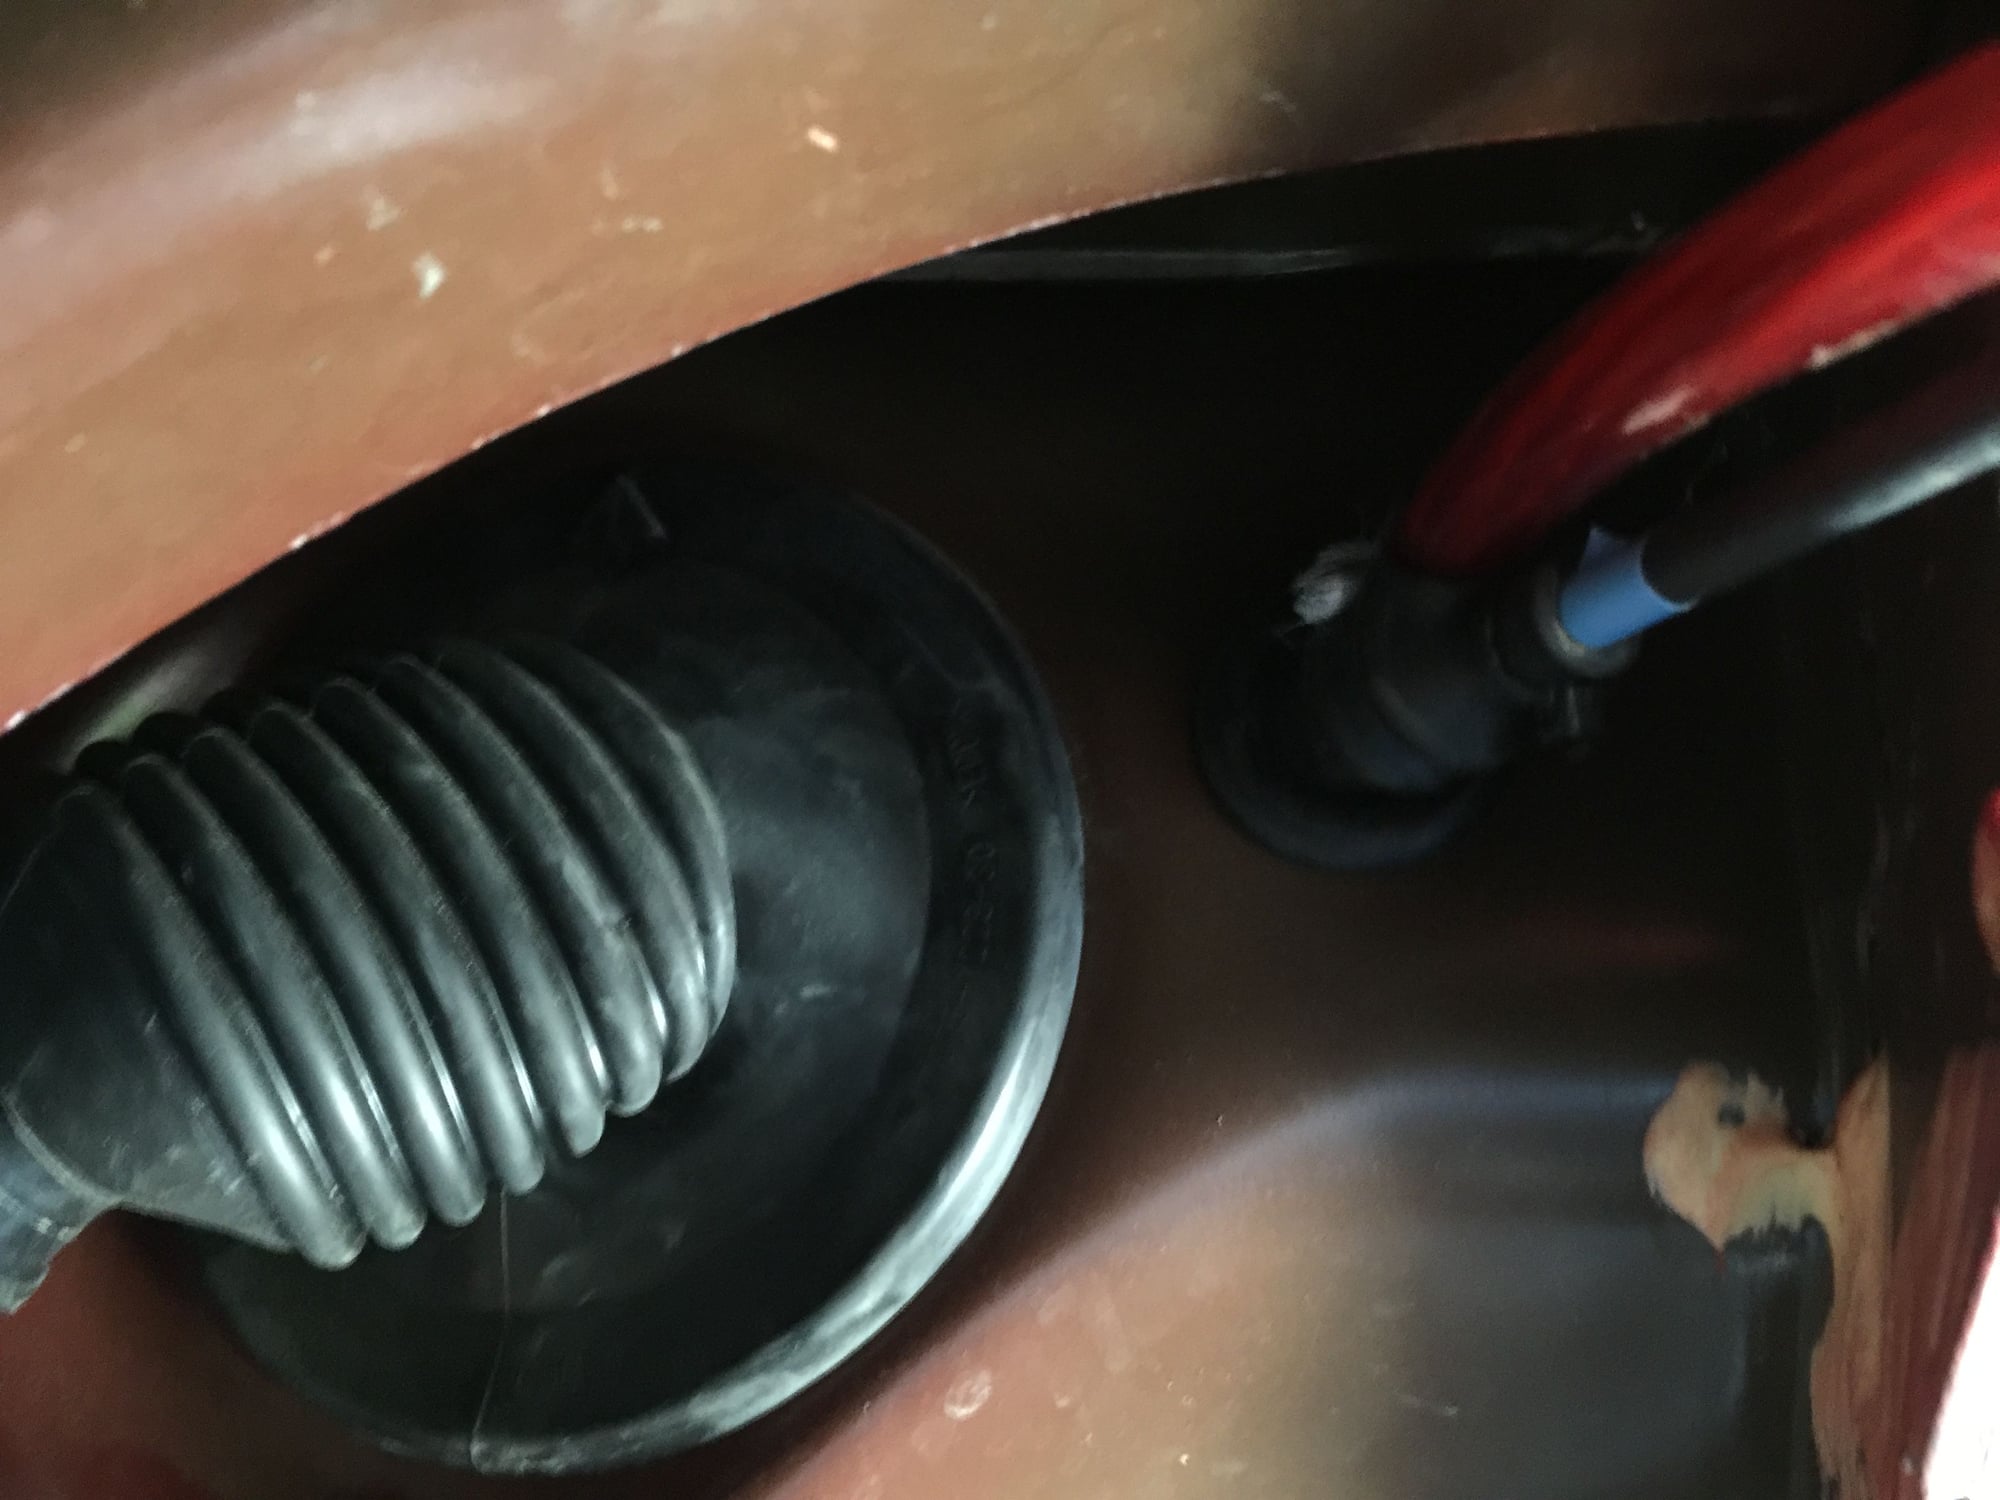
to the right is the exit for the hood release cable
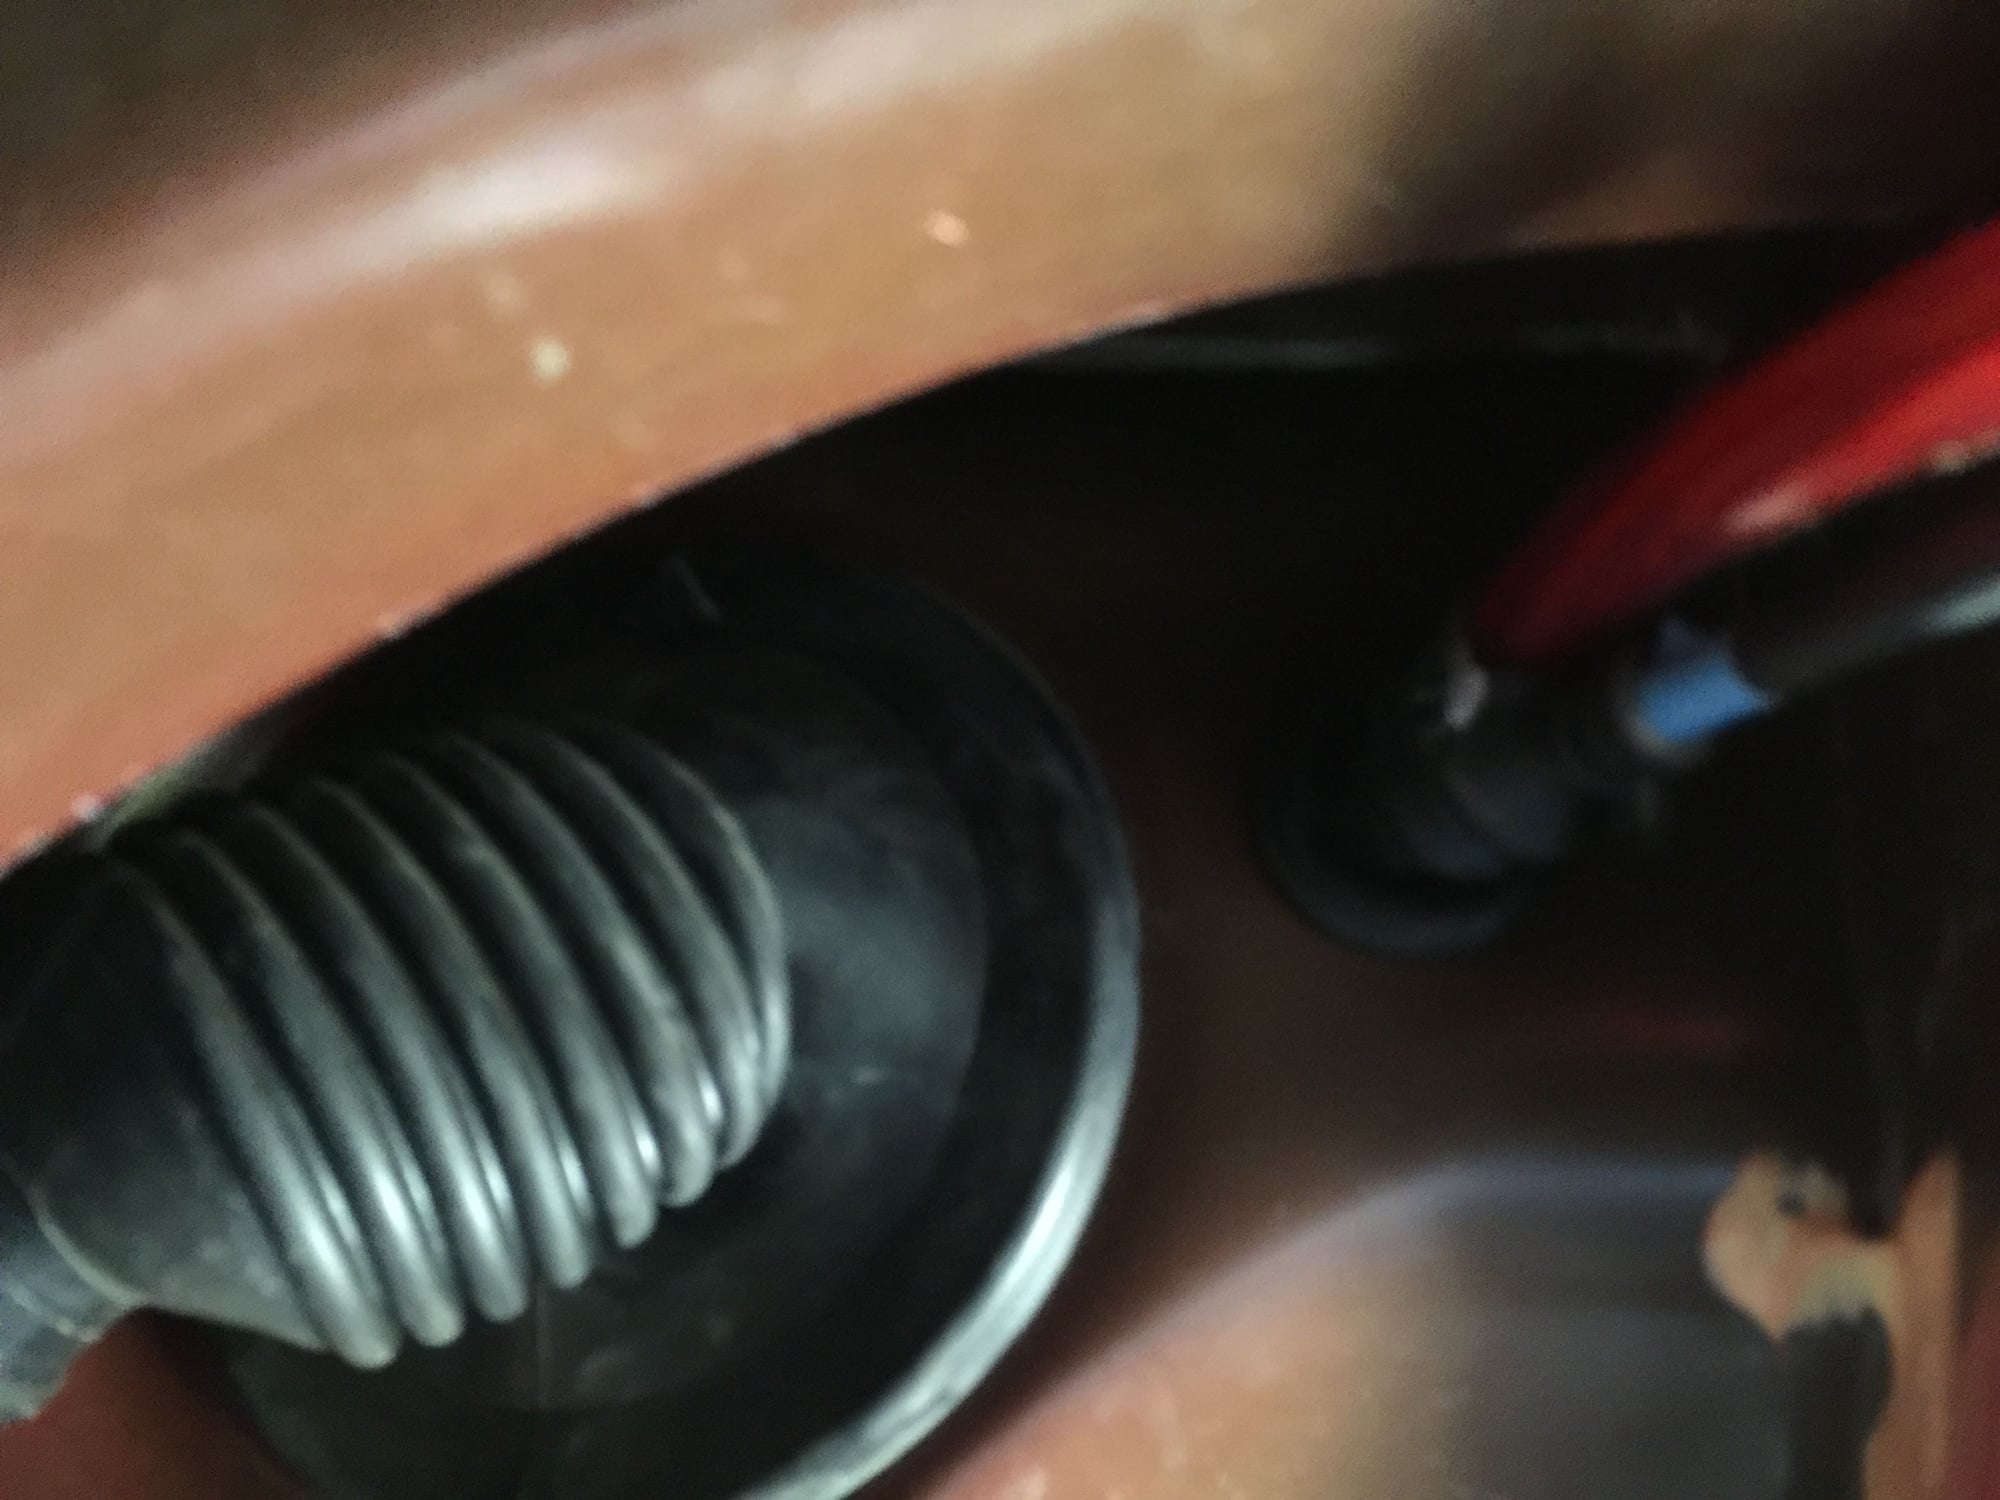
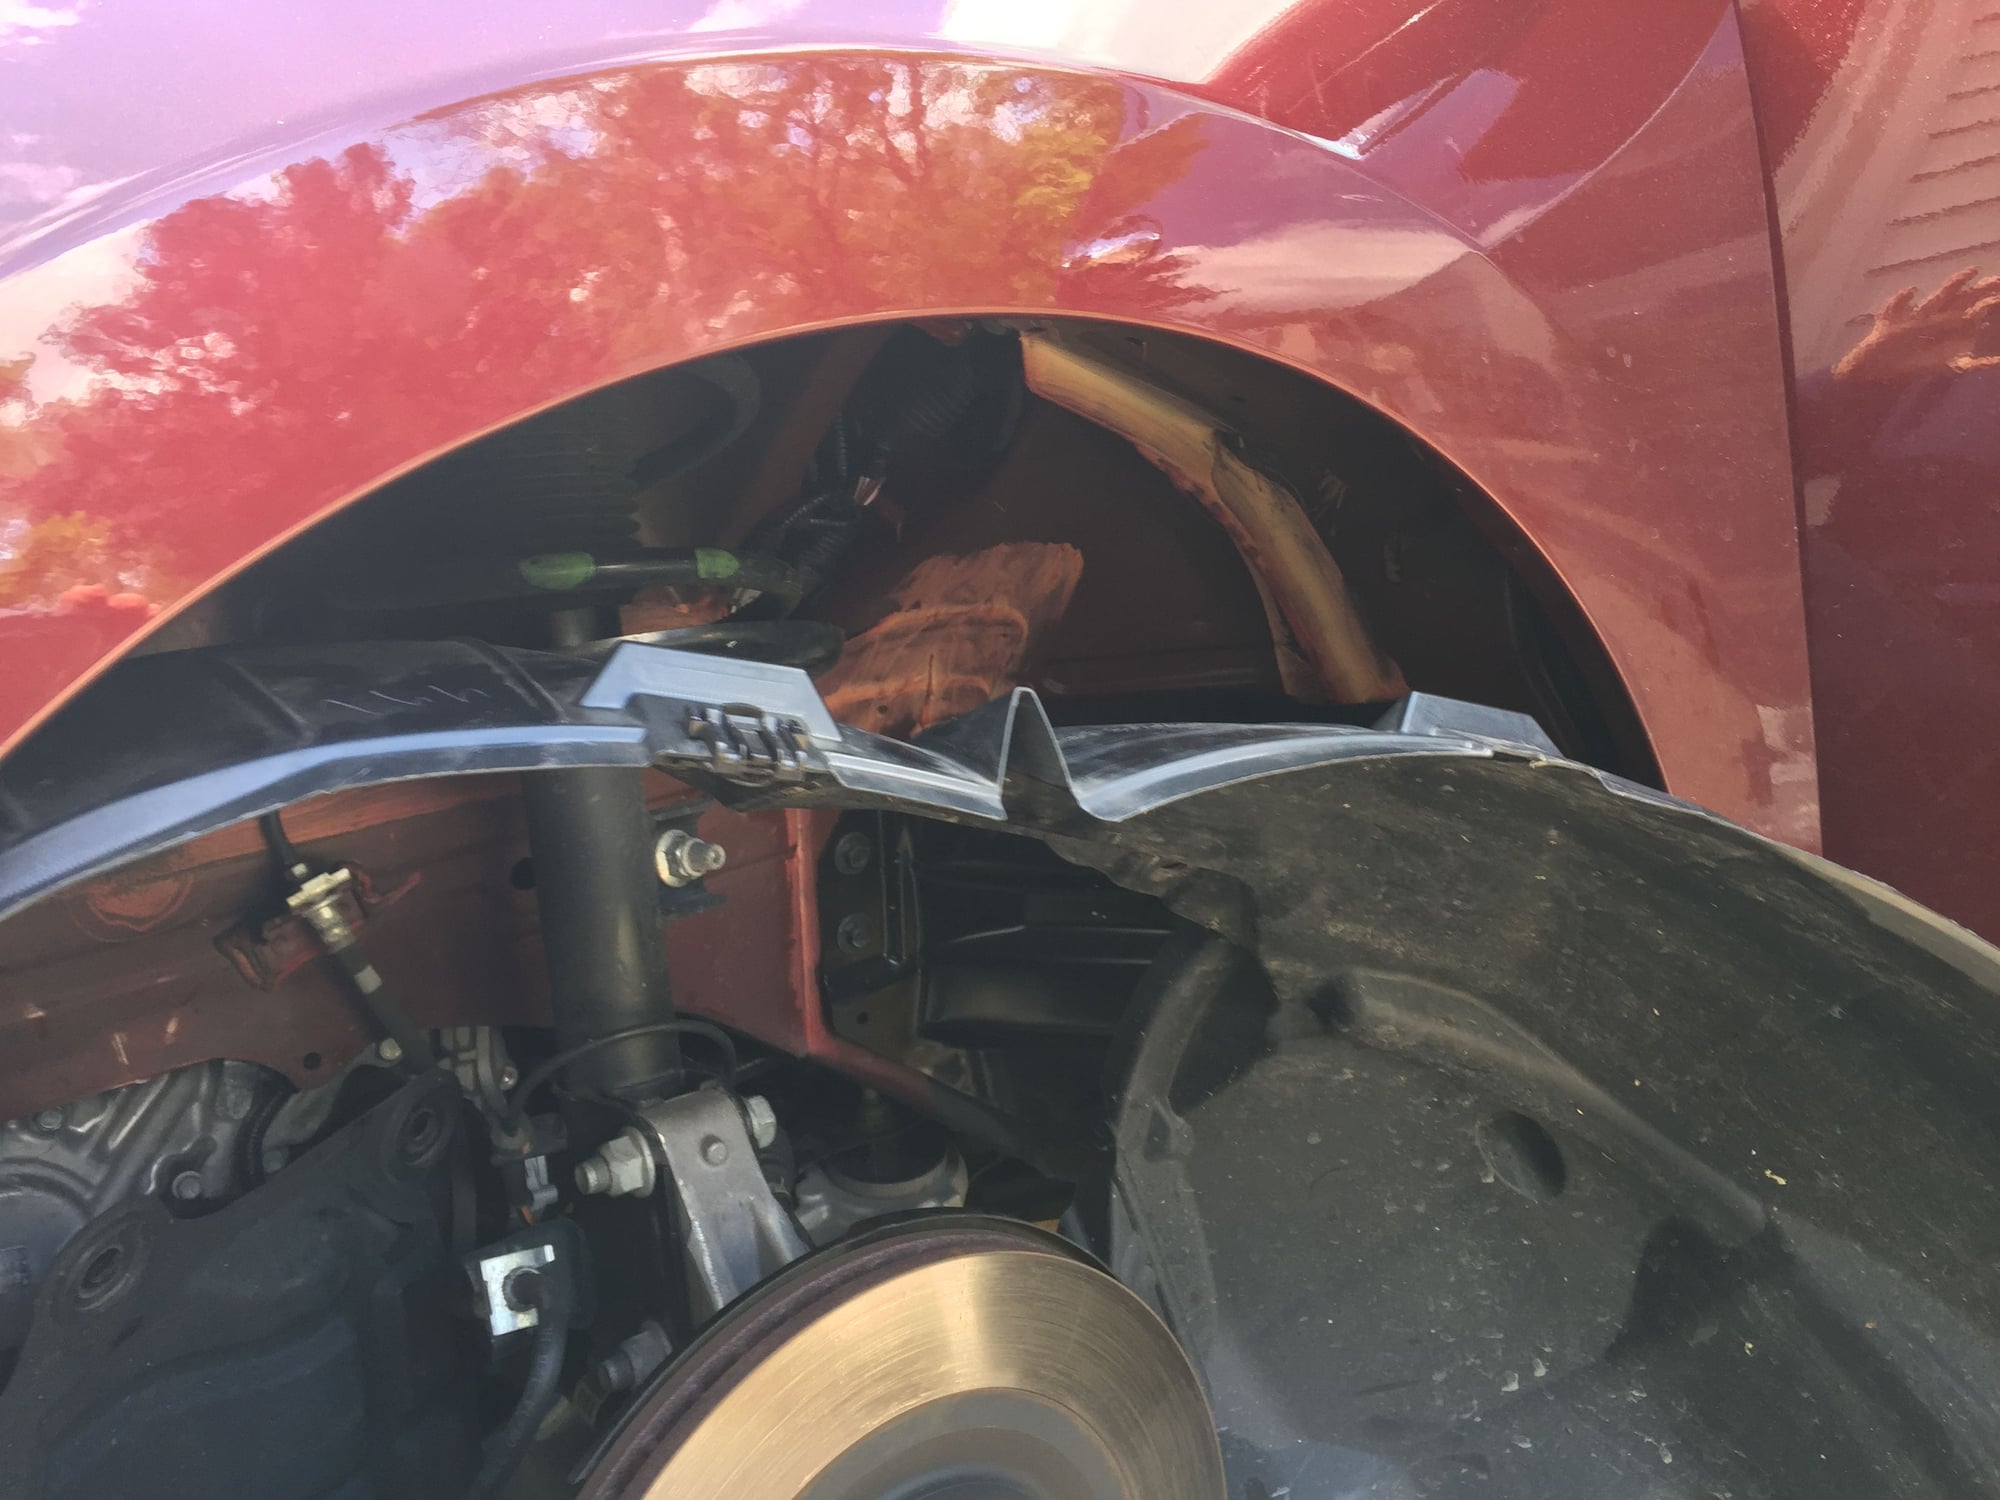
to access the two exits, you'll need to remove the drivers side tire, and wheel well shroud
#49
There are two places you can route the power and ground through the drivers side fire wall. One spot is through the hood release cable grommet. There is enough room to fit a 4 gauge wire next to the release cable. The other spot is through the bundle of cables above the release cable. On the interior side, you'll have to puncture the rubber boot, but on the exterior side, you just need to remove the electrical tape that seals the boot. For the remote turn on, signal, an speaker wires, there are cable ways built into the rocker panels on both sides of the car running from the front door to the rear door.
I have pictures somewhere, I'll attach them when I find them
I have pictures somewhere, I'll attach them when I find them
One more question - How did you connect the RCA cable to rear speakers? I believe there's a rca cable adapter, right?
#52
I tapped into the speaker outputs from the receiver and ran them directly to the signal processor which is right next to the amp in the trunk. The only rca cables involved, go right to the amp from the sig. processor
#53
What size speakers did u use in the rear deck? I am upgrading my speakers also i removed the rear deck and once i removed the 6x9s i see they have the adapter bracket built on my aftermarket 6x9s didn't line up with the factory bolt holes. And all the places i checked no one has a speaker bracket.
#55
Just got a 2016 SL two days ago and this post is really helping me decide what to do about the sound system. It definitely sounds ok at the moment, but I want to keep the stock head unit and redo everything else. Thank you so much for documenting all this!
I am sure its here in the forum somewhere, but if you have a link to the wiring diagram, that would be excellent. Thanks again!
I am sure its here in the forum somewhere, but if you have a link to the wiring diagram, that would be excellent. Thanks again!
#56
http://www.nicoclub.com/FSM/Maxima/2...2016%20Maxima/
It takes a little while to figure out which is which. I downloaded all of them, and they have helped on other projects.
It takes a little while to figure out which is which. I downloaded all of them, and they have helped on other projects.
Last edited by tommie70; 04-04-2017 at 03:56 PM.
#57
I do have an update to this system, I replaced the Rockford prime amplifier with the 1000w fosgate 5 ch power amp. I will provide pictures when I get time to fix the trunk shroud. It's really ugly right now
http://www.rockfordfosgate.com/produ...ails/t1000x5ad
http://www.rockfordfosgate.com/produ...ails/t1000x5ad
#58
Thank you!
http://www.nicoclub.com/FSM/Maxima/2...2016%20Maxima/
It takes a little while to figure out which is which. I downloaded all of them, and they have helped on other projects.
It takes a little while to figure out which is which. I downloaded all of them, and they have helped on other projects.
#59
That's exactly the amp that I had in mind, and I'm just trying to figure out how to wire it up. I was going to run the fronts and rears at 4ohms, and then the subs wired at 1ohm... but then I realized that there are 2 outputs for the sub and not just one. So I'm trying to figure out if I can bridge those two outputs and run two DVC 4ohm subs at 1ohm,, just run that config to one output and ignore the other, or run 2 DVC 2ohm subs at 1ohm each to each output.
I do have an update to this system, I replaced the Rockford prime amplifier with the 1000w fosgate 5 ch power amp. I will provide pictures when I get time to fix the trunk shroud. It's really ugly right now
http://www.rockfordfosgate.com/produ...ails/t1000x5ad
http://www.rockfordfosgate.com/produ...ails/t1000x5ad
#60
Wiring question
Where did you tap into for the amp remote turn on wire? Did you use a fuse tap on one of the fuse boxes or just connect it directly to a wire? I bought a surprise sub and amp for the wife and am looking to install it myself.
#61
Speaker sizes
can anyone list all the sizes of speakers that are in the 17 maxima non bose setup. I am getting a bunch of mix information and all i know is their are 2 pairs od 6x9
one set on each front door and one set on back deck I am working to upgrade everything from stock but i have 0 idea of the sizes
some say its 6.5 in the rear door so i went and bought alpine 6x5 type r but bestbuy where im having everything installed (only because i really dont have the time dont hate me lol)
said that its 3 1/2?
im so confused so if anyone can help me that would be awesome
#62
can anyone list all the sizes of speakers that are in the 17 maxima non bose setup. I am getting a bunch of mix information and all i know is their are 2 pairs od 6x9
one set on each front door and one set on back deck I am working to upgrade everything from stock but i have 0 idea of the sizes
some say its 6.5 in the rear door so i went and bought alpine 6x5 type r but bestbuy where im having everything installed (only because i really dont have the time dont hate me lol)
said that its 3 1/2?
im so confused so if anyone can help me that would be awesome
one set on each front door and one set on back deck I am working to upgrade everything from stock but i have 0 idea of the sizes
some say its 6.5 in the rear door so i went and bought alpine 6x5 type r but bestbuy where im having everything installed (only because i really dont have the time dont hate me lol)
said that its 3 1/2?
im so confused so if anyone can help me that would be awesome
#63
For some reason, I don’t get an email when there is activity on my subscribed posts. Sorry, I am super late answering but it might help others. Chase361 is correct about the 6X9s in the door and rear deck, and to confirm 3 1/2 in the rear door. I didn’t bother putting anything in the rear doors or dash. With that said, if you are comfortable customizing, you could very easily put 8” in the doors and rear deck. I thought about it, and I’m glad I didn’t because even the 6 1/2s rattle the door skins like crazy. I spent hours chasing down all the errant noises coming from the doors. A few hundred in dynomat, and and some well placed foam rubber finally solved it.
#64
That's exactly the amp that I had in mind, and I'm just trying to figure out how to wire it up. I was going to run the fronts and rears at 4ohms, and then the subs wired at 1ohm... but then I realized that there are 2 outputs for the sub and not just one. So I'm trying to figure out if I can bridge those two outputs and run two DVC 4ohm subs at 1ohm,, just run that config to one output and ignore the other, or run 2 DVC 2ohm subs at 1ohm each to each output.
#65
The signal processor I bought has a circuit that detects the presence of signal and turns the amp on. A fuse tap would work too, and that was what I was going to use until I saw the Bit tenís specs.
#66
tommie70,
Thank you so much for going first. Do you have a GoFundMe page? I think all us '16-'17 owners owe you.
I haven't studied your power wiring pictures yet, but did you run ground all the way back to the battery, or did you install a chassis ground? Where did you connect your + wire, battery terminal (there's so much connected there already)?
Those factory enclosures in the front doors are a bit of good news. Like you showed us, a little plywood and a jig saw will allow us to install any speaker we want.
#69
Thank you very much, logicallysick. My local Nissan dealer didn't even know what I was talking about. With all those files, now I know why the CD-ROM version is $330.
For those that are interested, Section INT has instructions for removing various interior panels, like door finishers and trim pieces. There are lots of referenced sections, though, so you'll end up with several sections to wade through before you have a complete instruction about how to do something.
For those that are interested, Section INT has instructions for removing various interior panels, like door finishers and trim pieces. There are lots of referenced sections, though, so you'll end up with several sections to wade through before you have a complete instruction about how to do something.
#71
#73
Wow, still using that cheap foam surround material
The rest of the world has moved on to butyl rubber surrounds that don't decay within 5 years. Disappointed to see that is what is in my 2016 Maxima. No excuse for that, Nissan.
#74
Thanks very much for the great installation walk through!
I am the recent owner of a slightly used 2017. Love the car, the stereo not so much. I am planning an upgrade along the same lines that you did. Keeping the head unit, but adding new speakers at the four corners and a new amp to drive them. My biggest sticking point right now is how to connect my 4 channel amp to the head unit.
Do you have a wire list for what wires are what output signal from the head unit?
Thanks, JimmyK
#76
Hey Tommie,
How did you route/install your bass ****? I am installing a aftermarket sub and trying to figure out the easiest way to run the bass ****. I like your mounting point btw.
How did you route/install your bass ****? I am installing a aftermarket sub and trying to figure out the easiest way to run the bass ****. I like your mounting point btw.
I ran 16 gauge wire directly to the connector in the back of the AV unit to feed signal to the amp. This may have been overkill but the factory speaker wires are small. to do this I cut the wires right at the connector and soldered them to the heavier wire.
All of the wires are run through braided shroud.
The amp control is mounted in the accessory cup. its not visible, but the drill snagged and made an ugly opening.
All of the wires are run through braided shroud.
The amp control is mounted in the accessory cup. its not visible, but the drill snagged and made an ugly opening.
#78
I did, thanks. I've got the JL Audio DSP connected and working, one amp installed, and the speakers in the front doors and in the rear deck replaced. Someday I will install my second amp, replace the small speakers in the rear doors and change out the rear deck speakers for mini-subs.
#79
Tommie70,
Thanks very much for the great installation walk through!
I am the recent owner of a slightly used 2017. Love the car, the stereo not so much. I am planning an upgrade along the same lines that you did. Keeping the head unit, but adding new speakers at the four corners and a new amp to drive them. My biggest sticking point right now is how to connect my 4 channel amp to the head unit.
Do you have a wire list for what wires are what output signal from the head unit?
Thanks, JimmyK
I also connected my amp directly to the factory head unit. You can see my install thread here:
https://maxima.org/forums/8th-genera...o-install.html
You can find wiring diagrams in the Service Manual. Maxima.org member logicallysick posted a link to a website where the whole manual is posted (see post 68 in this thread). It makes it much easier to take things apart and put them back together when you have good instructions. When connecting to the factory head, be careful. There are two connectors that are identical and it really screws up your car if you reinstall them reversed like I did. I ended up having my car towed in for service. Service on the car's electrical system is expensive (even though I told the tech EXACTLY what I did). I did get compliments about my install, though.
Last edited by macdonjh; 08-25-2018 at 05:16 AM.
#80
The door finishers were a snap. There are two bolts, one behind the door latch and one inside the door pull. After the bolts are removed, carefully work around the perimeter and snap the door finisher off. the trim tools come in handy again. the control panel is pressed in, just pry it up and it comes out. be careful with the little red light at the bottom of the door. you can easily break the clips that hold it on.
This reveals the gigantic, enormous, cavernous opening for the door speaker. I think Crutchfield tells you a 5 1/4 speaker is the only thing that fits because they only sell an adapter for a 5 1/4. I bet you could put an 8" speaker in there if you made an enclosure for it. I certainly would have gone bigger if I knew this up front. I have 6 1/2 inch speakers, and this is the biggest you can go without changing the stock enclosure. you'll have to make adapters out of wood if you want to put anything other than a 6X9 in. You could go with a 5 1/4 and buy the adapter from Crutchfield, but why?
This reveals the gigantic, enormous, cavernous opening for the door speaker. I think Crutchfield tells you a 5 1/4 speaker is the only thing that fits because they only sell an adapter for a 5 1/4. I bet you could put an 8" speaker in there if you made an enclosure for it. I certainly would have gone bigger if I knew this up front. I have 6 1/2 inch speakers, and this is the biggest you can go without changing the stock enclosure. you'll have to make adapters out of wood if you want to put anything other than a 6X9 in. You could go with a 5 1/4 and buy the adapter from Crutchfield, but why?


