My 2000 Infiniti I30t project...
 02-26-2012, 11:49 AM
#41
Member
Thread Starter

Join Date: Jan 2012
Posts: 229
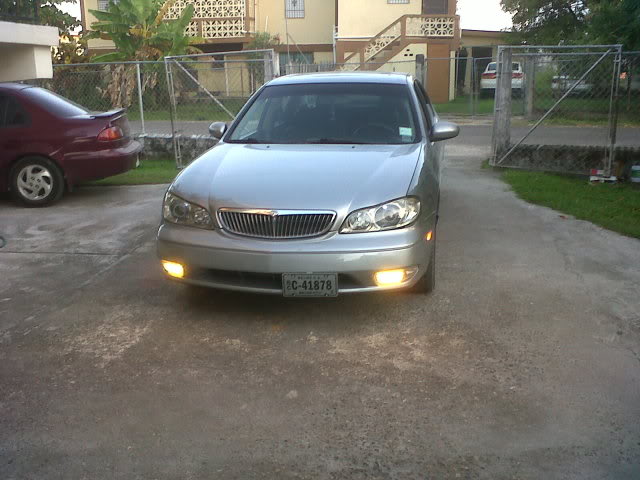
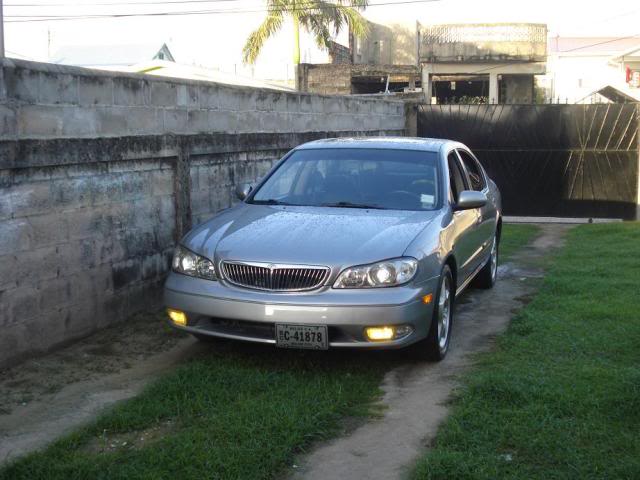
Been trying to slowly make progression on the I30t on a very limited budget.
Empty boxes...
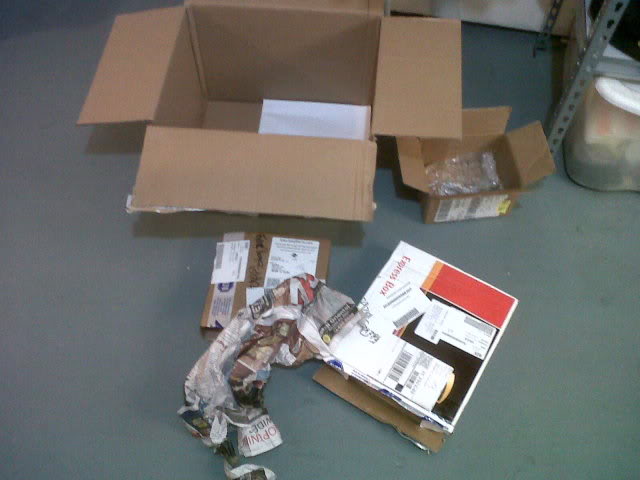
PARTS...
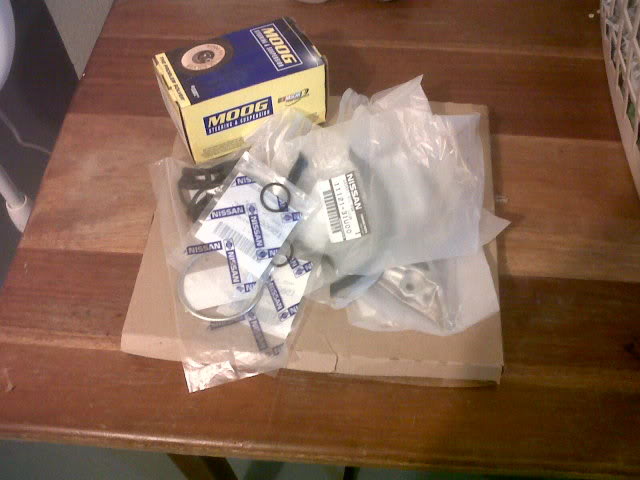
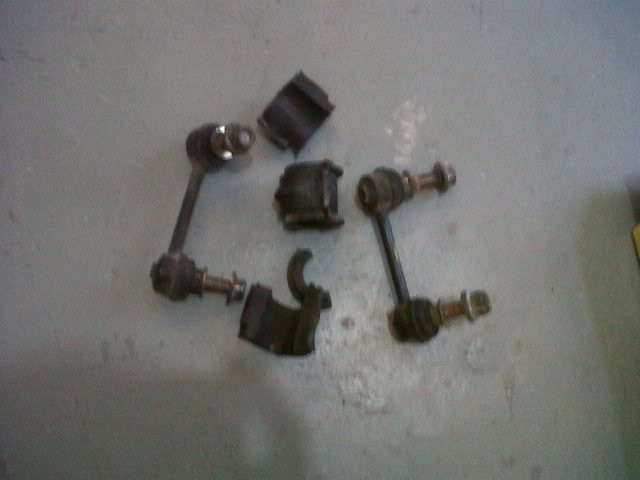
Surely needed to be changed
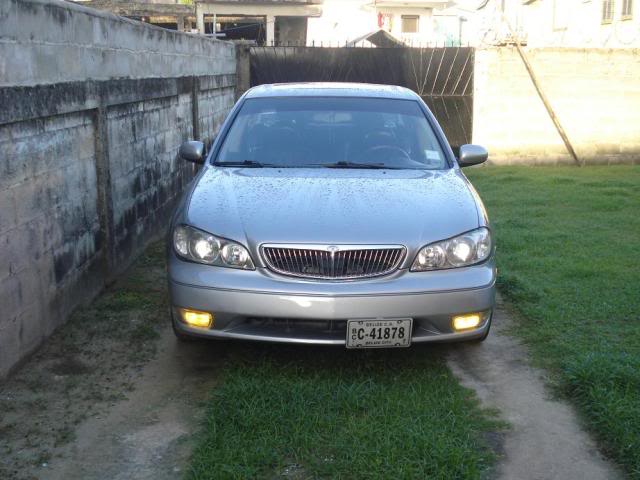
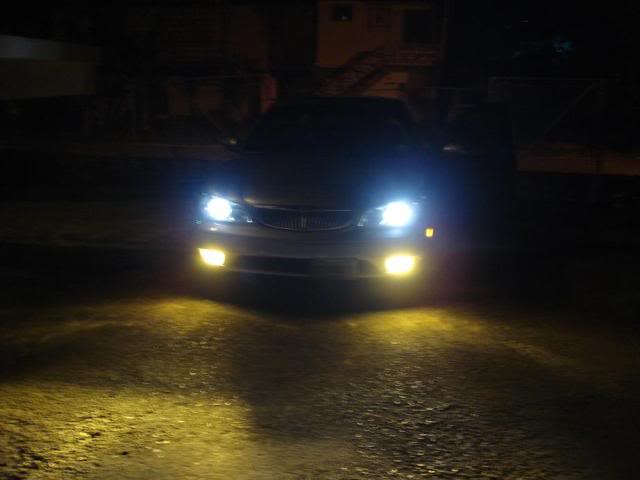
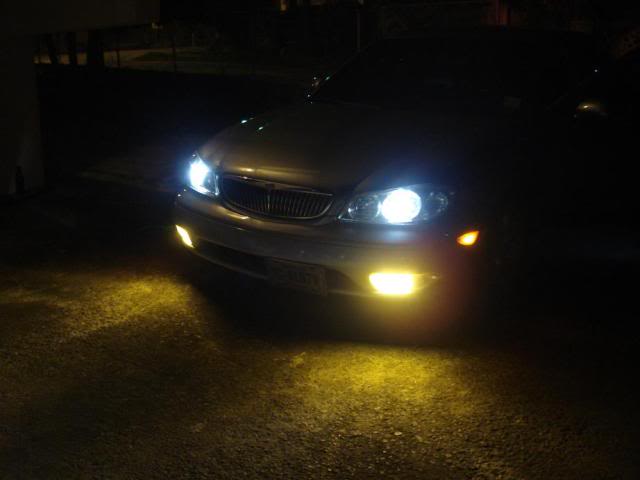
Put in 3k Eurolite bulbs, surely not as yellow as I'd want but I can't find capsules anywhere.
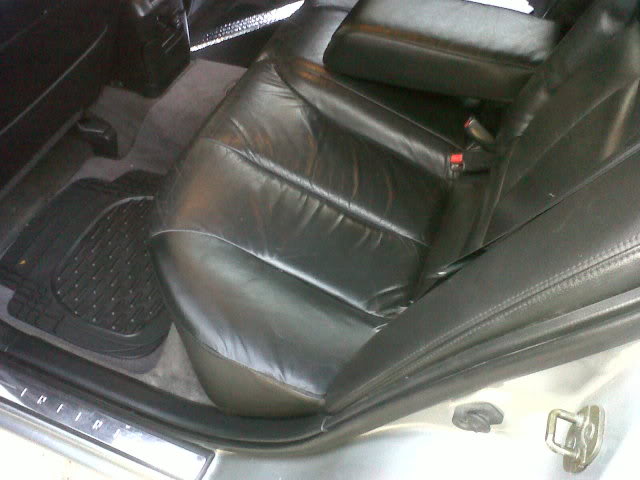
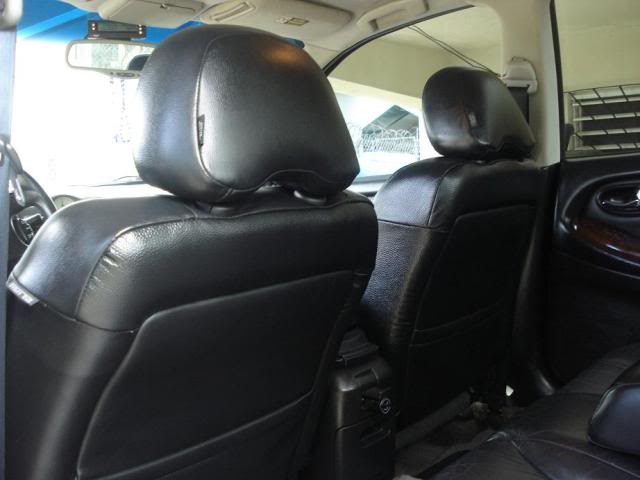
Had to repair a rip in the rear seat on the outer panel. It seems one side was already changed so I did both sides to match.
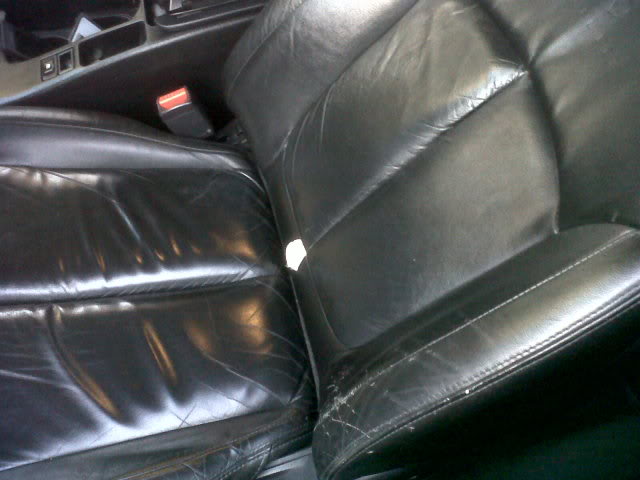
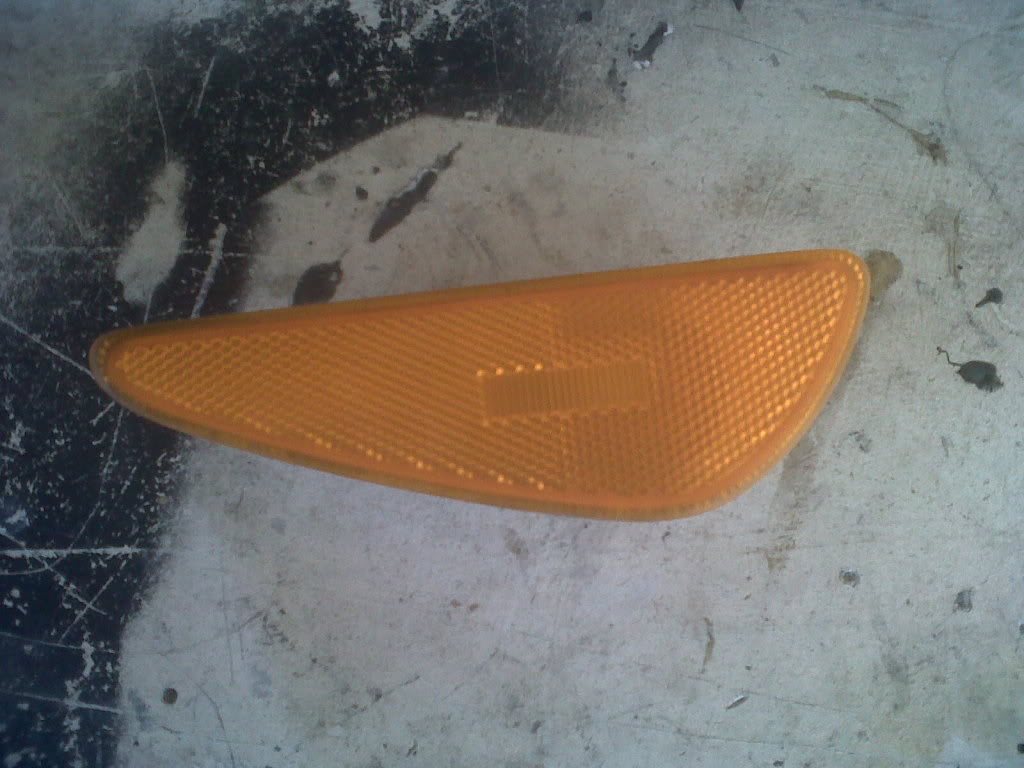
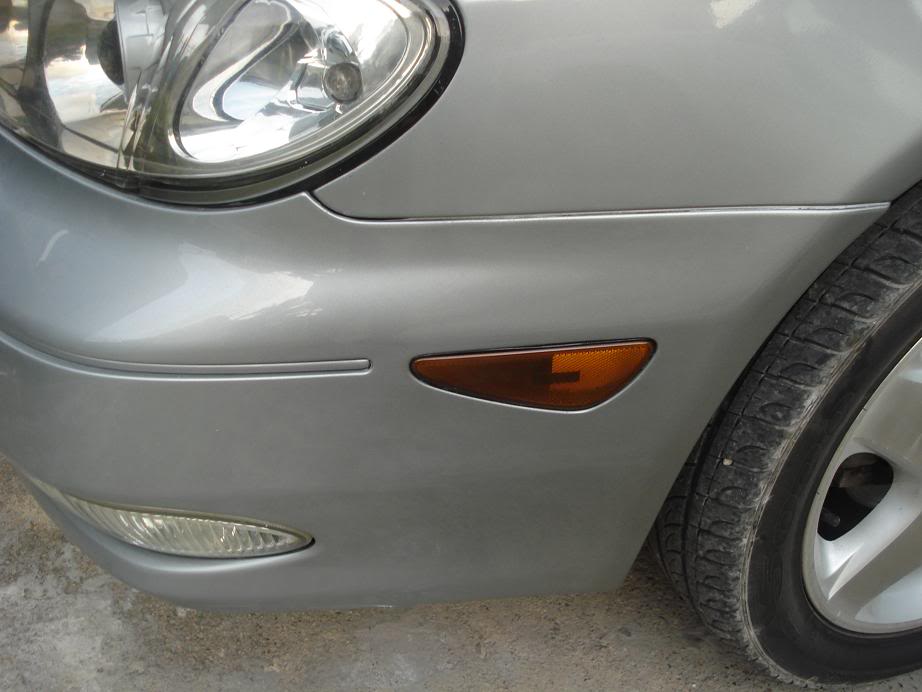
Next will be this panel on both sides...
Empty boxes...
PARTS...
Surely needed to be changed
Put in 3k Eurolite bulbs, surely not as yellow as I'd want but I can't find capsules anywhere.
Had to repair a rip in the rear seat on the outer panel. It seems one side was already changed so I did both sides to match.
Next will be this panel on both sides...

 02-28-2012, 05:51 PM
#43
Member
Thread Starter
Join Date: Jan 2012
Posts: 229
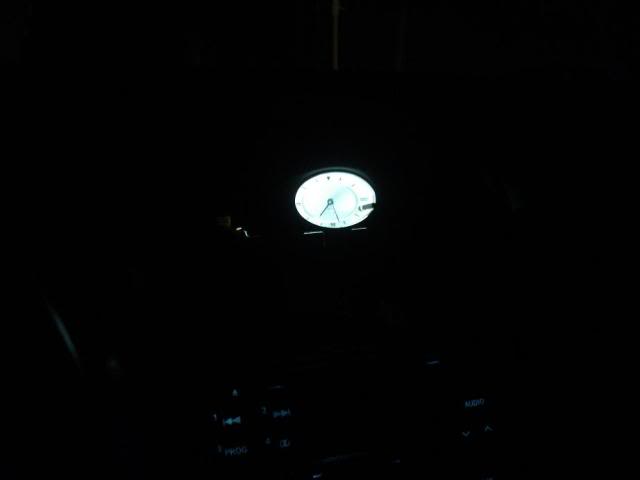
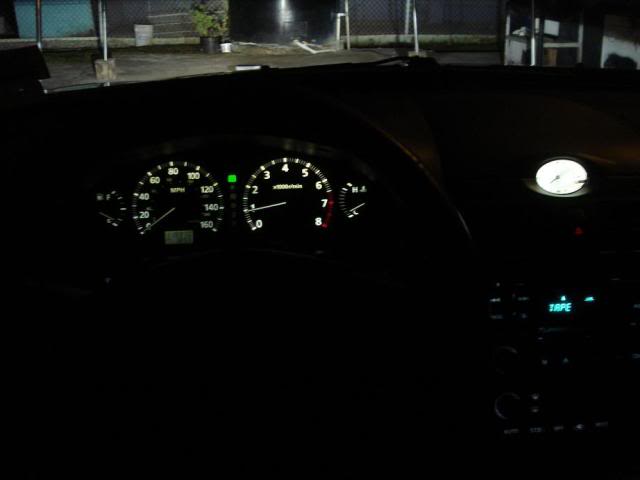
Finally got my clock lighted. I really didn't want to import 2 LED bulbs just to get this thing lit up. It would have cost me more than the bulbs to get them here and I could not find the regular bulbs locally. Well I had two pre-wired surface mount LED from Oznium left over from a project.They fit in the opening nicely and I just used some epoxy to hold them in place. They are warm white and match the gauge almost perfectly. The pics do a sucky job at showing their true color as can be seen judging from the radio buttons.
03-04-2012, 11:27 AM
#44
Member
Thread Starter
Join Date: Jan 2012
Posts: 229
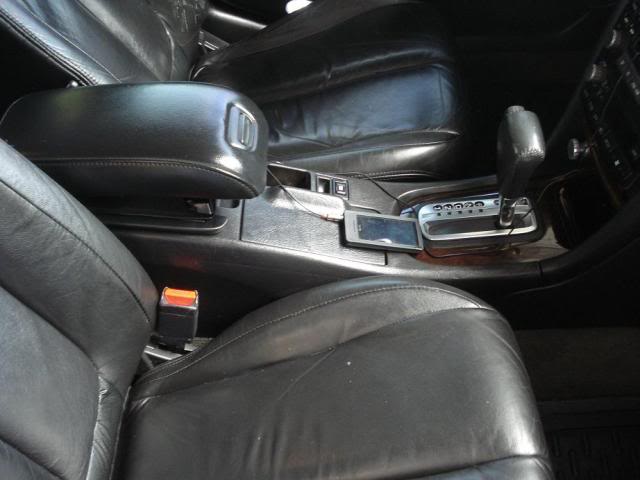
Got my front seats fixed yesterday. Replaced the lower portion of the seatbacks, the inner portion that faces the center console as well as the portion right below the headrest at the back of the seat.
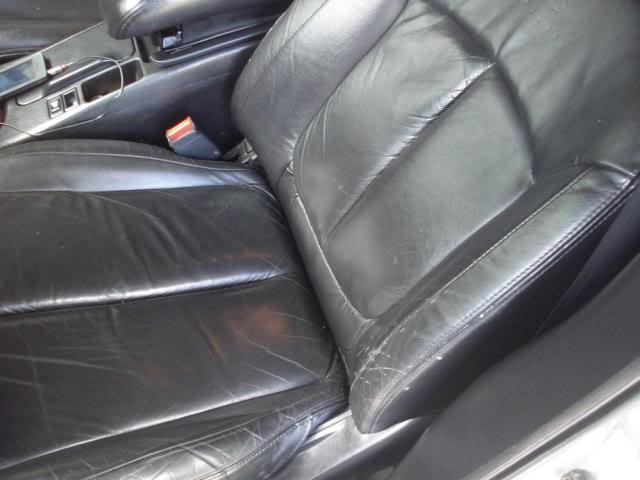
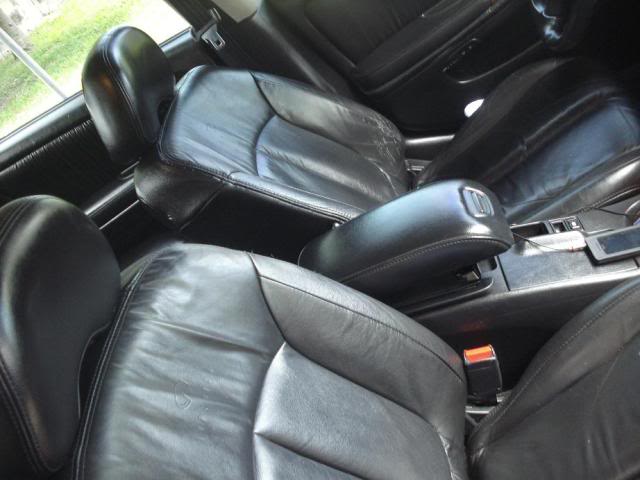
Fixed the storage lid so that it can now stay closed.
Fixed the storage lid so that it can now stay closed.
 03-04-2012, 07:11 PM
#47
Member

Join Date: Sep 2011
Location: Woodbridge VA
Posts: 138
man that a nice i30 I have same exact one but different interior if you lived around me I would hired you to get my hood and bumper aligned and especially get rid of that appliance paint that an auto body worker left on my hood and bumper lol
03-05-2012, 10:42 AM
#48
Member
Thread Starter
Join Date: Jan 2012
Posts: 229
^^^I just checked out your car domain page. I'm really liking your interior color. I want to swap my cornering lights to led also but I can't find the bulb size I need here. I also need to order the led panel for the dome light to finish off the interior.

 03-12-2012, 08:17 AM
#50
Member
Thread Starter
Join Date: Jan 2012
Posts: 229
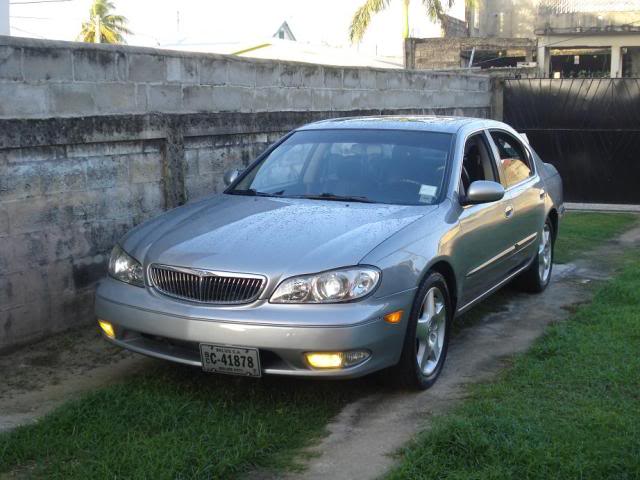
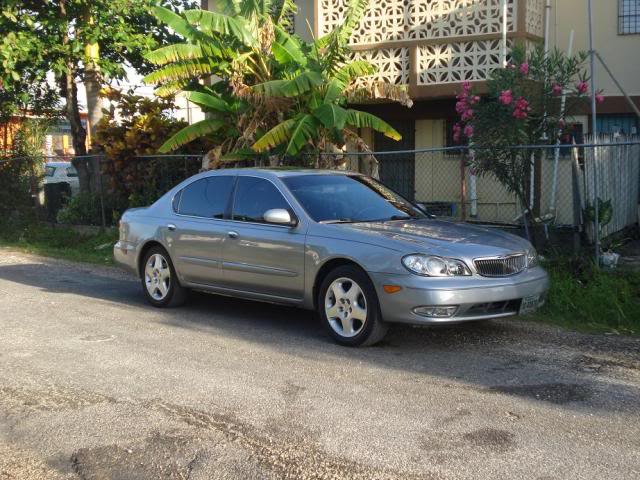
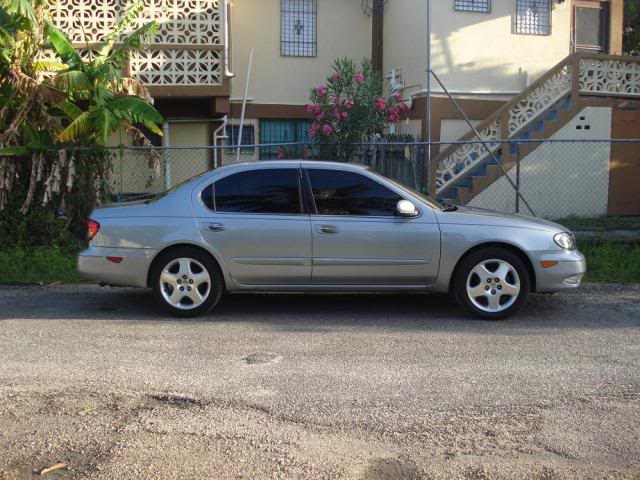
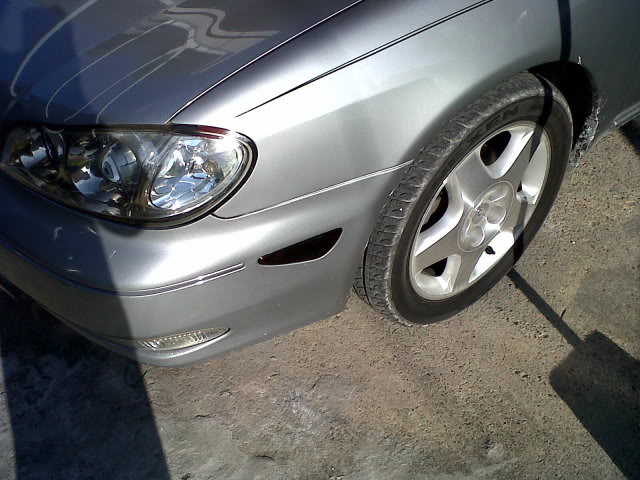
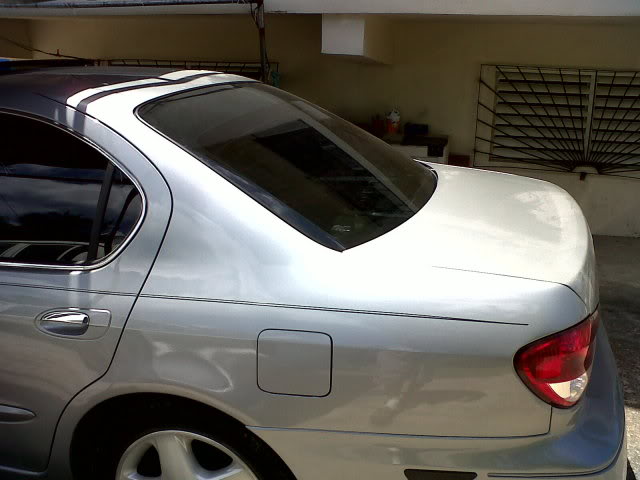
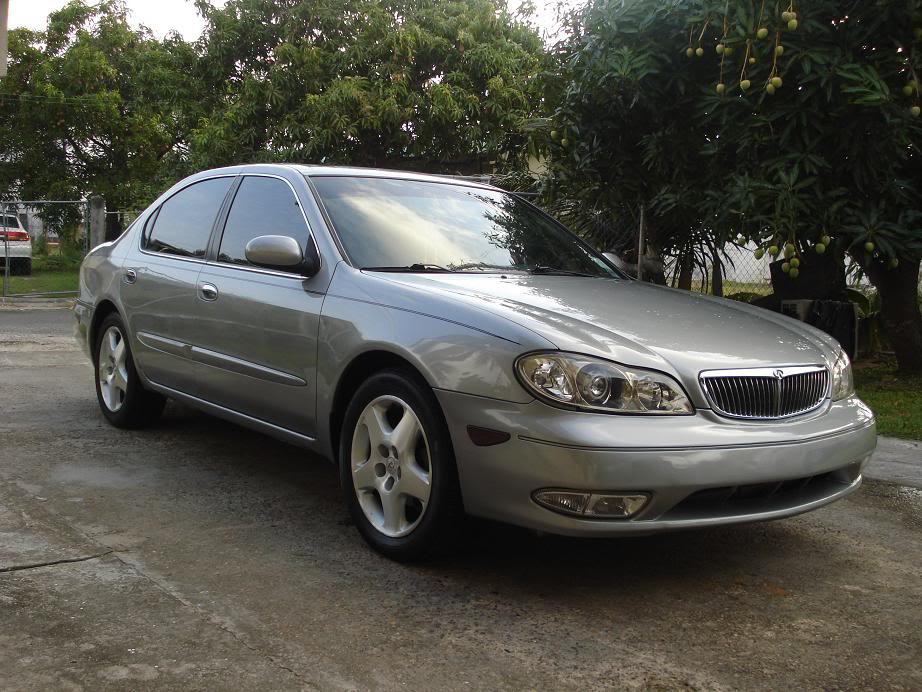
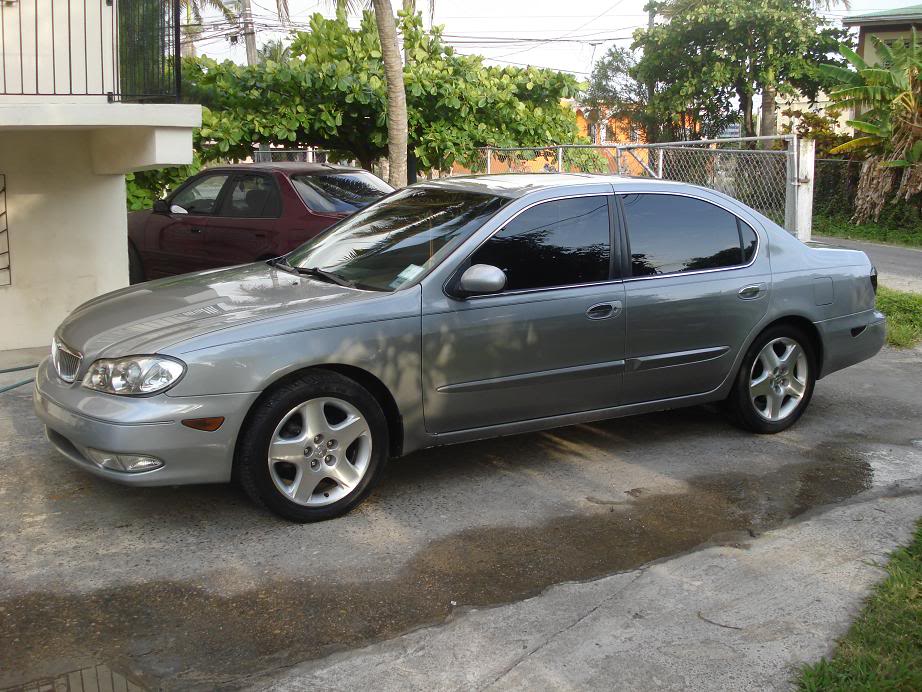
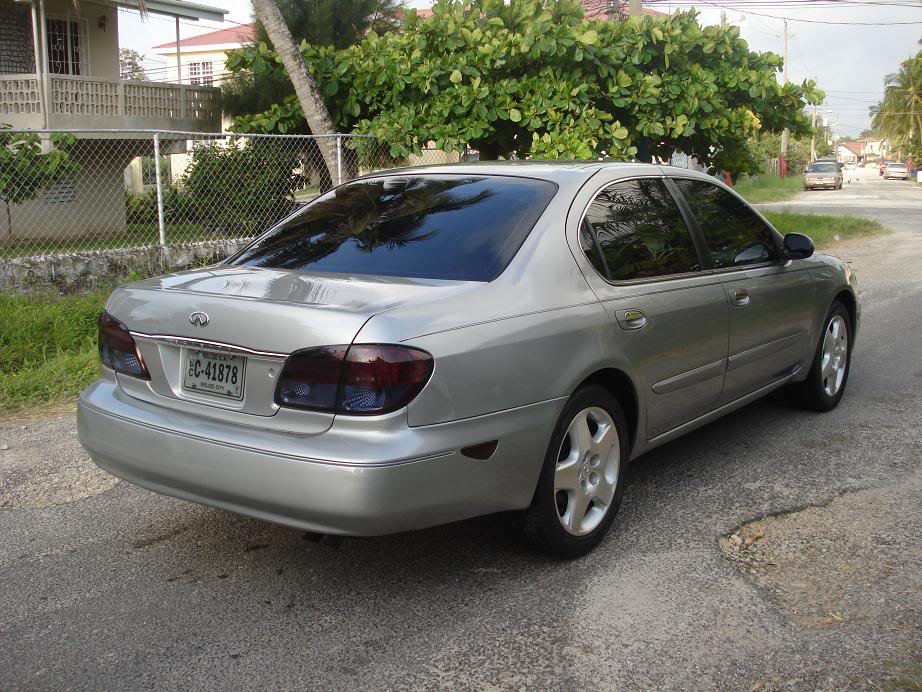
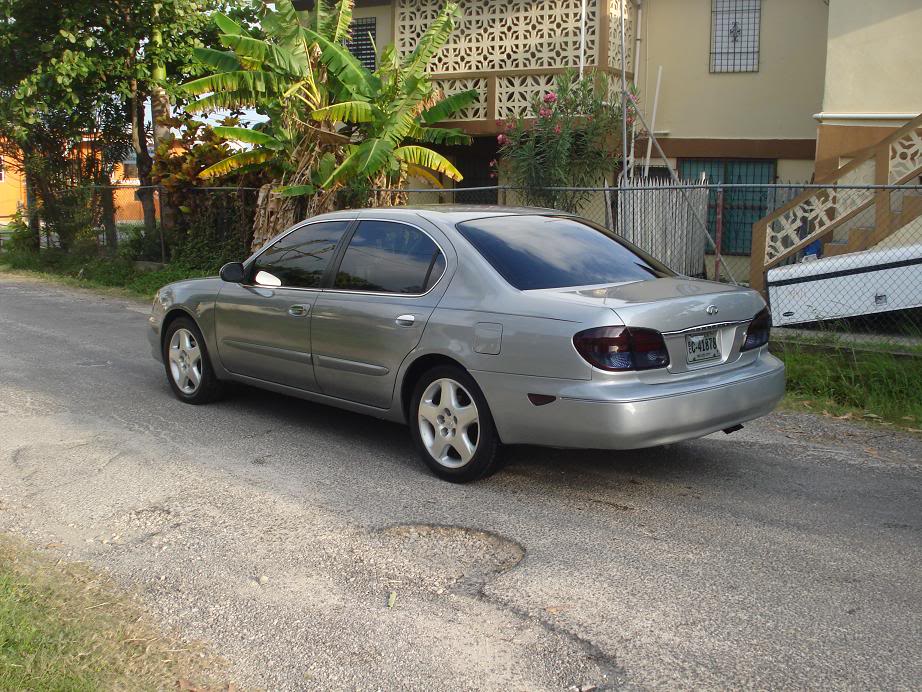
Finally got my mirrors painted and borrowed a cam to get some semi-decent pics. Plans for this week are to smoke the bumper lights and tint the rear glass. Eventually I will tint the clear sections on the tails since I think it cheapens the look of the car. I will also get the chrome door pillars for it, I'm not much a fan of chrome but the black covering on the pillars are dug up and coming off in some places due to the handiwork of a locksmith I'm assuming. Plus they will match the door handles and other stuff.
Early morning wet **** pics...
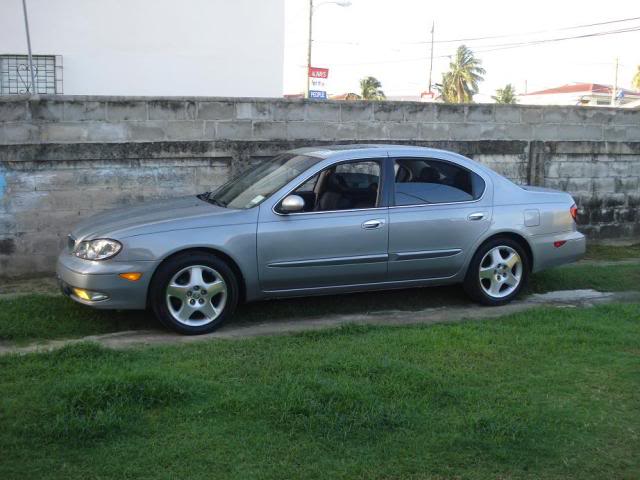
I've been debating buying an I35 cluster. I like the colors and setup of the I35 gauges, but i don't like that they are flat unlike the I30.
Early morning wet **** pics...
I've been debating buying an I35 cluster. I like the colors and setup of the I35 gauges, but i don't like that they are flat unlike the I30.
Last edited by dna59; 03-12-2012 at 08:19 AM.

 03-13-2012, 04:32 PM
#53
Member
Thread Starter
Join Date: Jan 2012
Posts: 229
Thanks guys...sometimes I really am amazed too how well it came out. This car has really challenged my resourcefulness since I'm on a very limited budget. I was suppose to get the bumper lights smoked today but the guy wasn't his shop when I went there. I had some aluminum parts laying around so I polished them up and threw 'em in.
Polished aluminum cig lighter
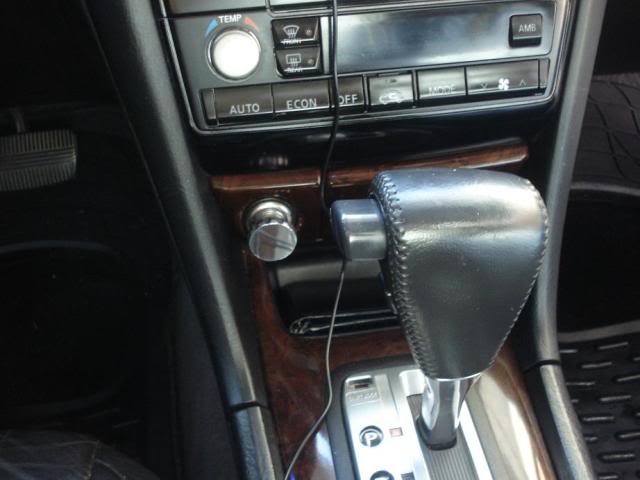
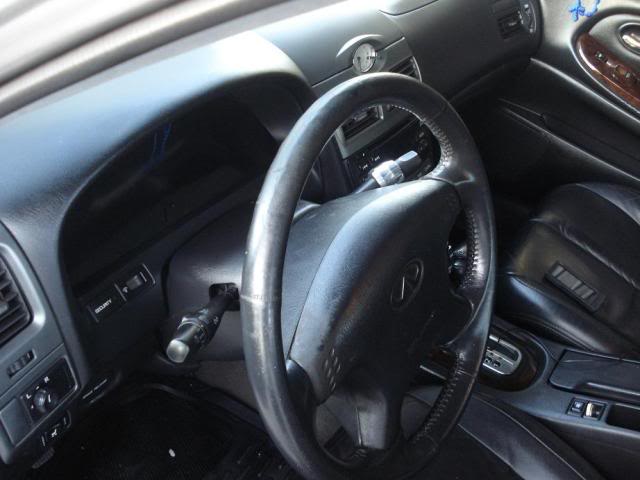
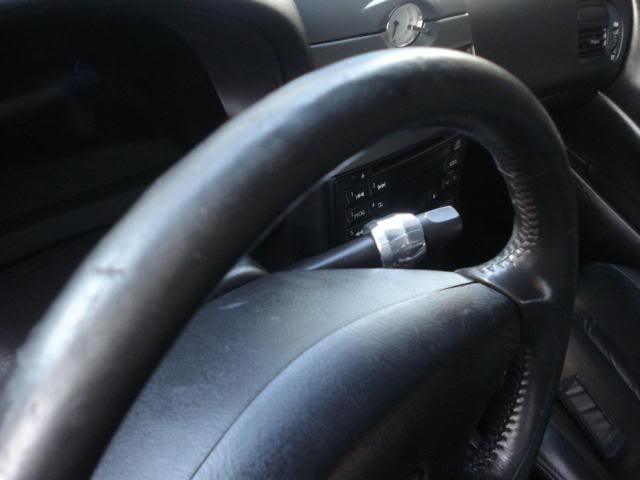
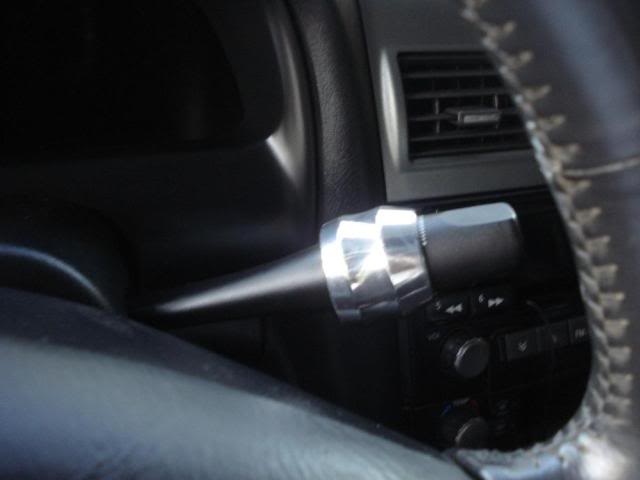
Polished aluminum bezel on the wiper stalk...I also had a blue LED for the ignition ring laying around so I threw that in too

Polished aluminum cig lighter
Polished aluminum bezel on the wiper stalk...I also had a blue LED for the ignition ring laying around so I threw that in too

 03-15-2012, 03:49 PM
#57
Member
Thread Starter
Join Date: Jan 2012
Posts: 229
UGAd13...this is the one of only two 2nd gen I3x here. My '00 I30 and one of my coworkers b/f has a '02 I35 in the same color. Caye Caulker is nice and cheaper of the 2 major cayes we have here. You'd definitely love it and the other caye, San Pedro is only less than an hour away by boat.
phatboislim...I will try to take some better pics when I get off work in a few
redcross...thanks, lets hope someday its as nice as yours
phatboislim...I will try to take some better pics when I get off work in a few
redcross...thanks, lets hope someday its as nice as yours
Last edited by dna59; 03-15-2012 at 03:54 PM.
 but thanks
  03-16-2012, 06:08 AM
#59
Member
Thread Starter
Join Date: Jan 2012
Posts: 229
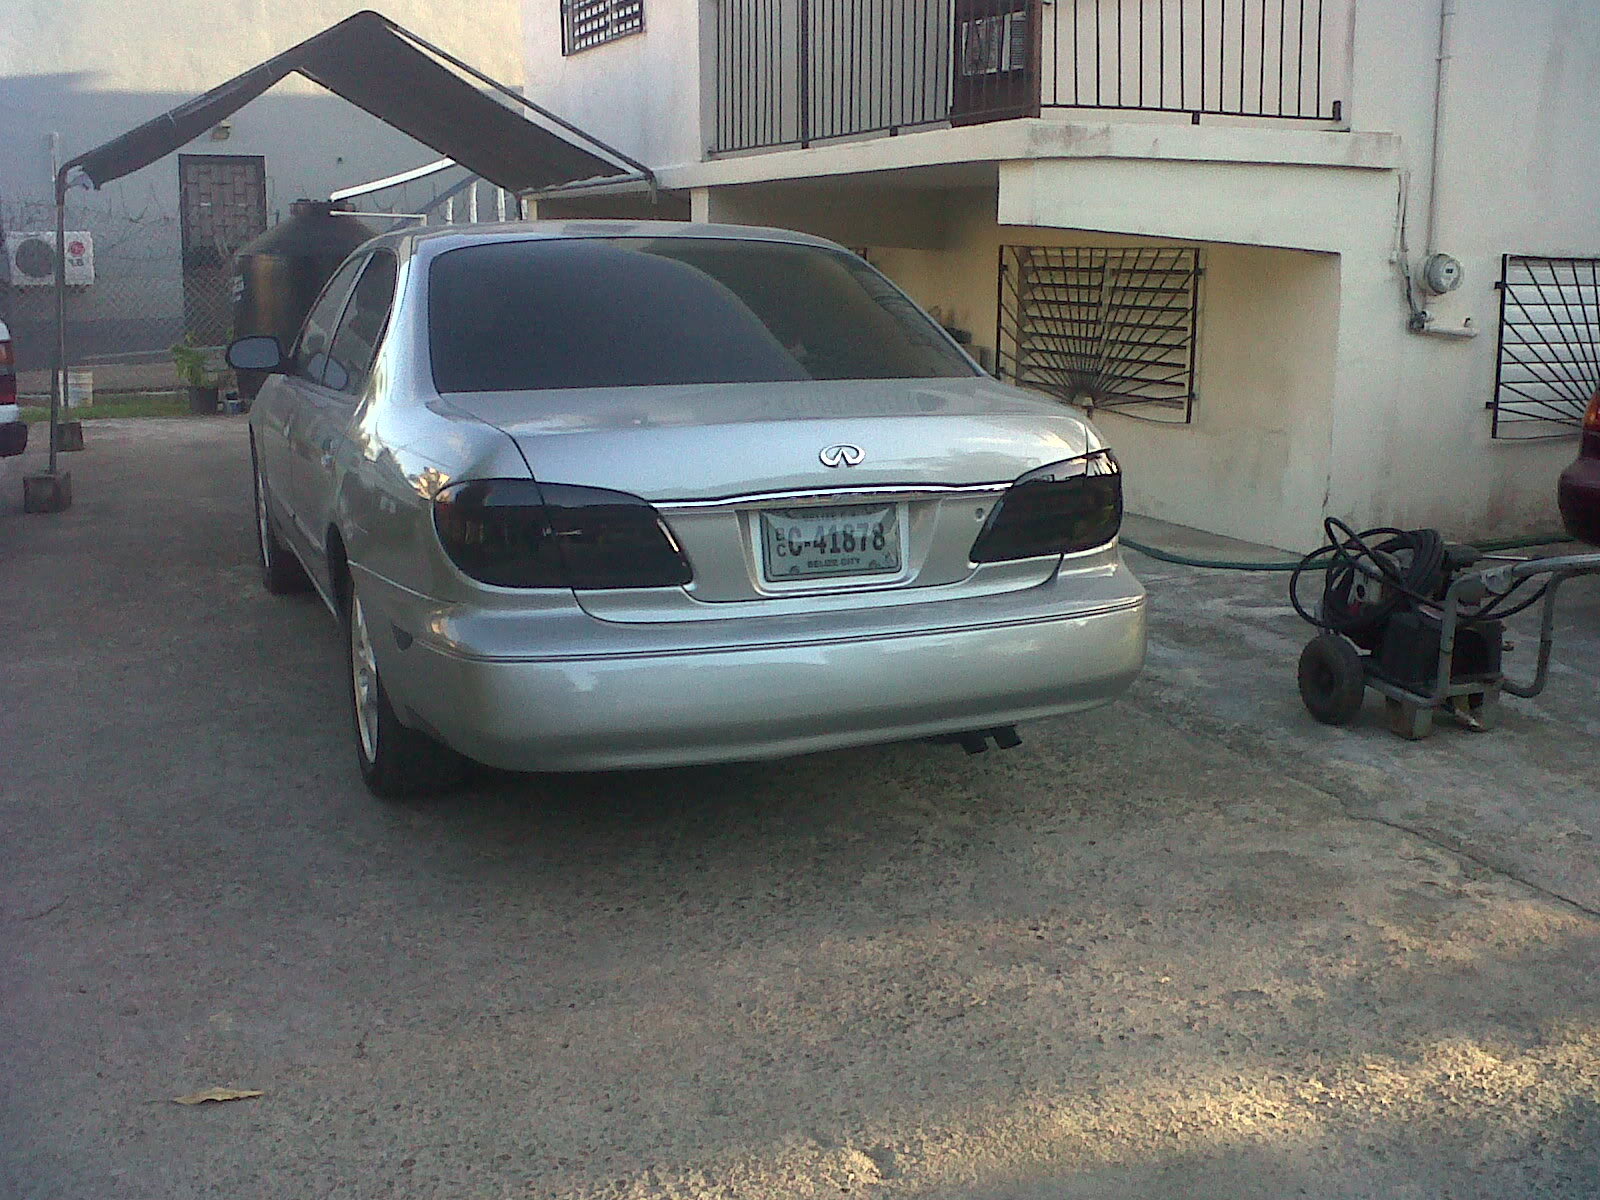
^^Haha...I've realized that very quick! This weekend I'm getting the rear glass tinted w/ 20%. So I will have to take out the rear deck later today so they have more access> I'm also getting the clear sections on the rear tails and bumper lights smoked.
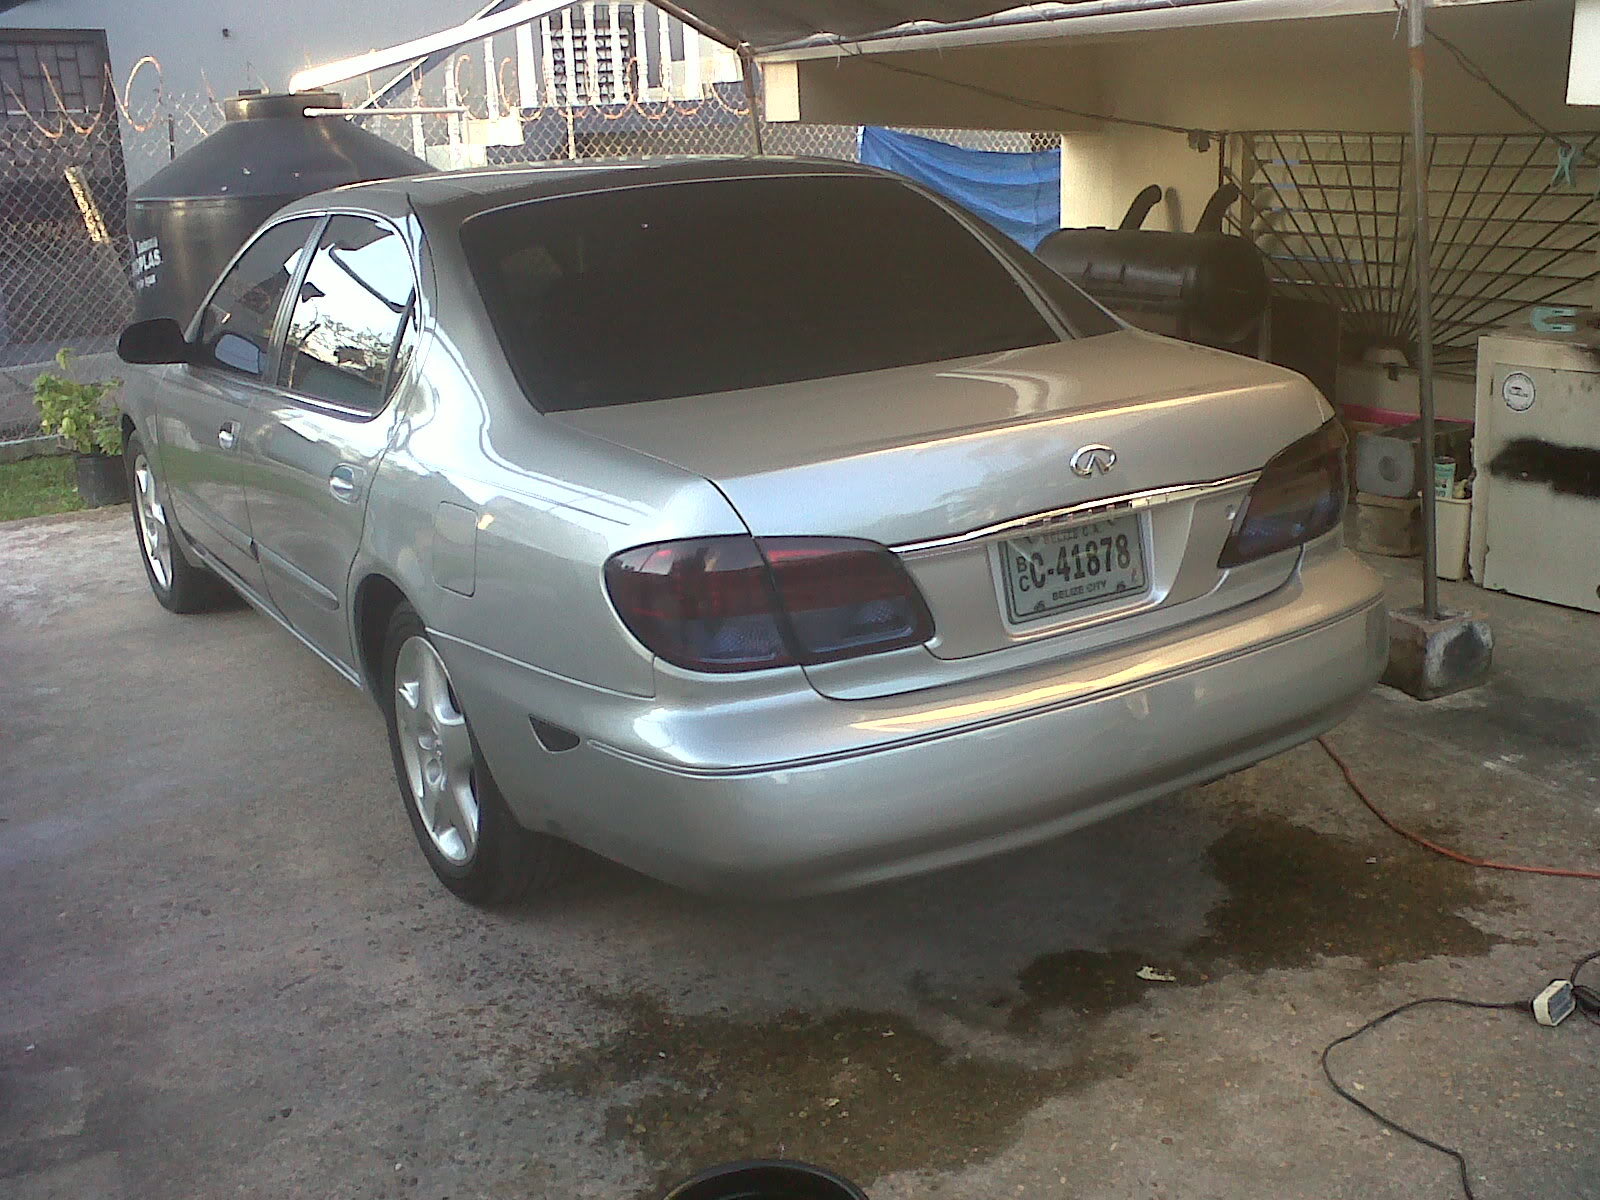
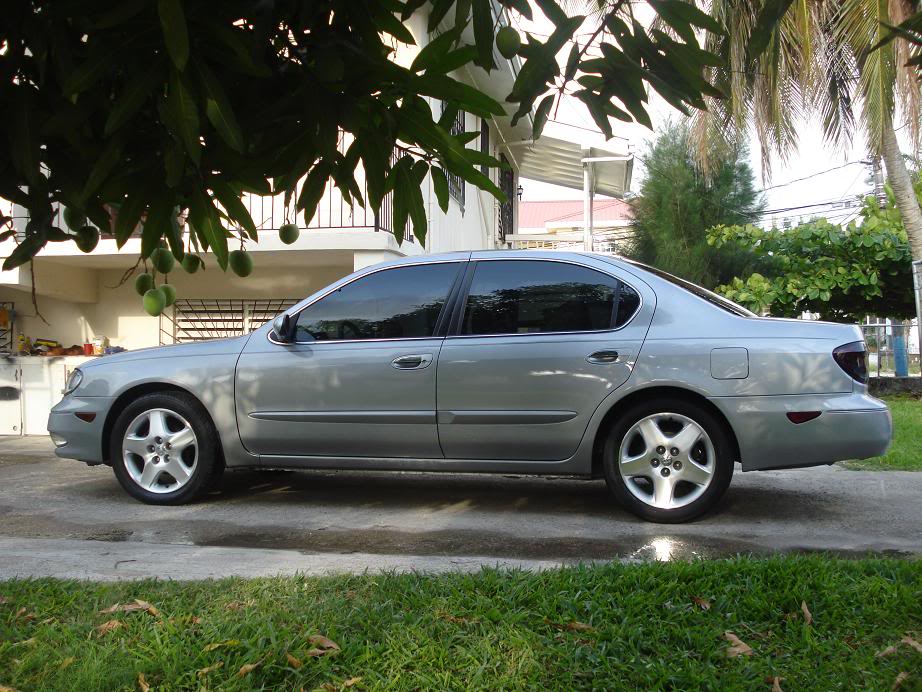
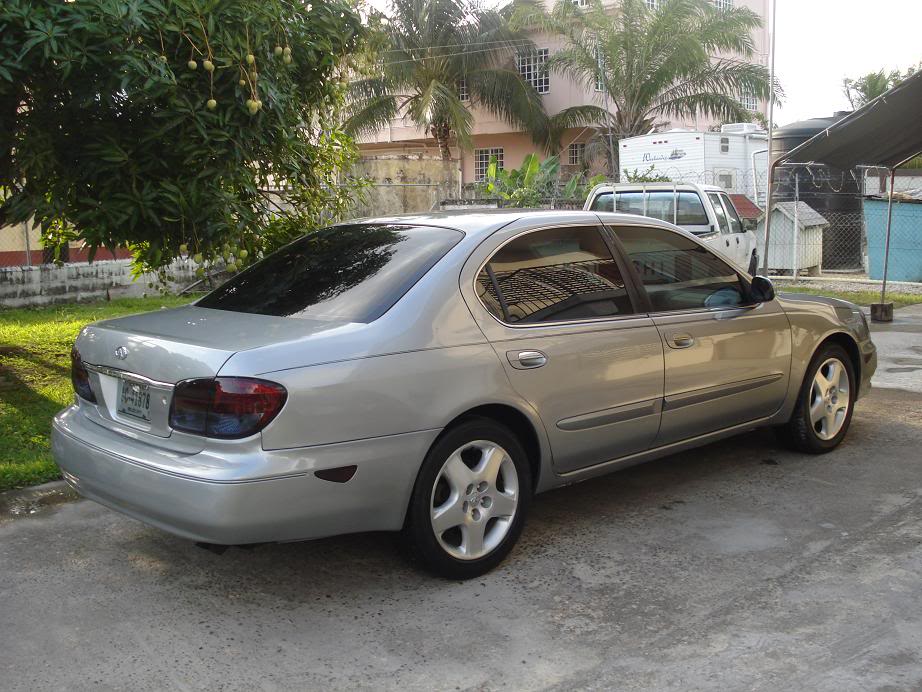
Phatboislim here are some more pics...

Phatboislim here are some more pics...
03-17-2012, 12:09 PM
#60
Member
Thread Starter
Join Date: Jan 2012
Posts: 229
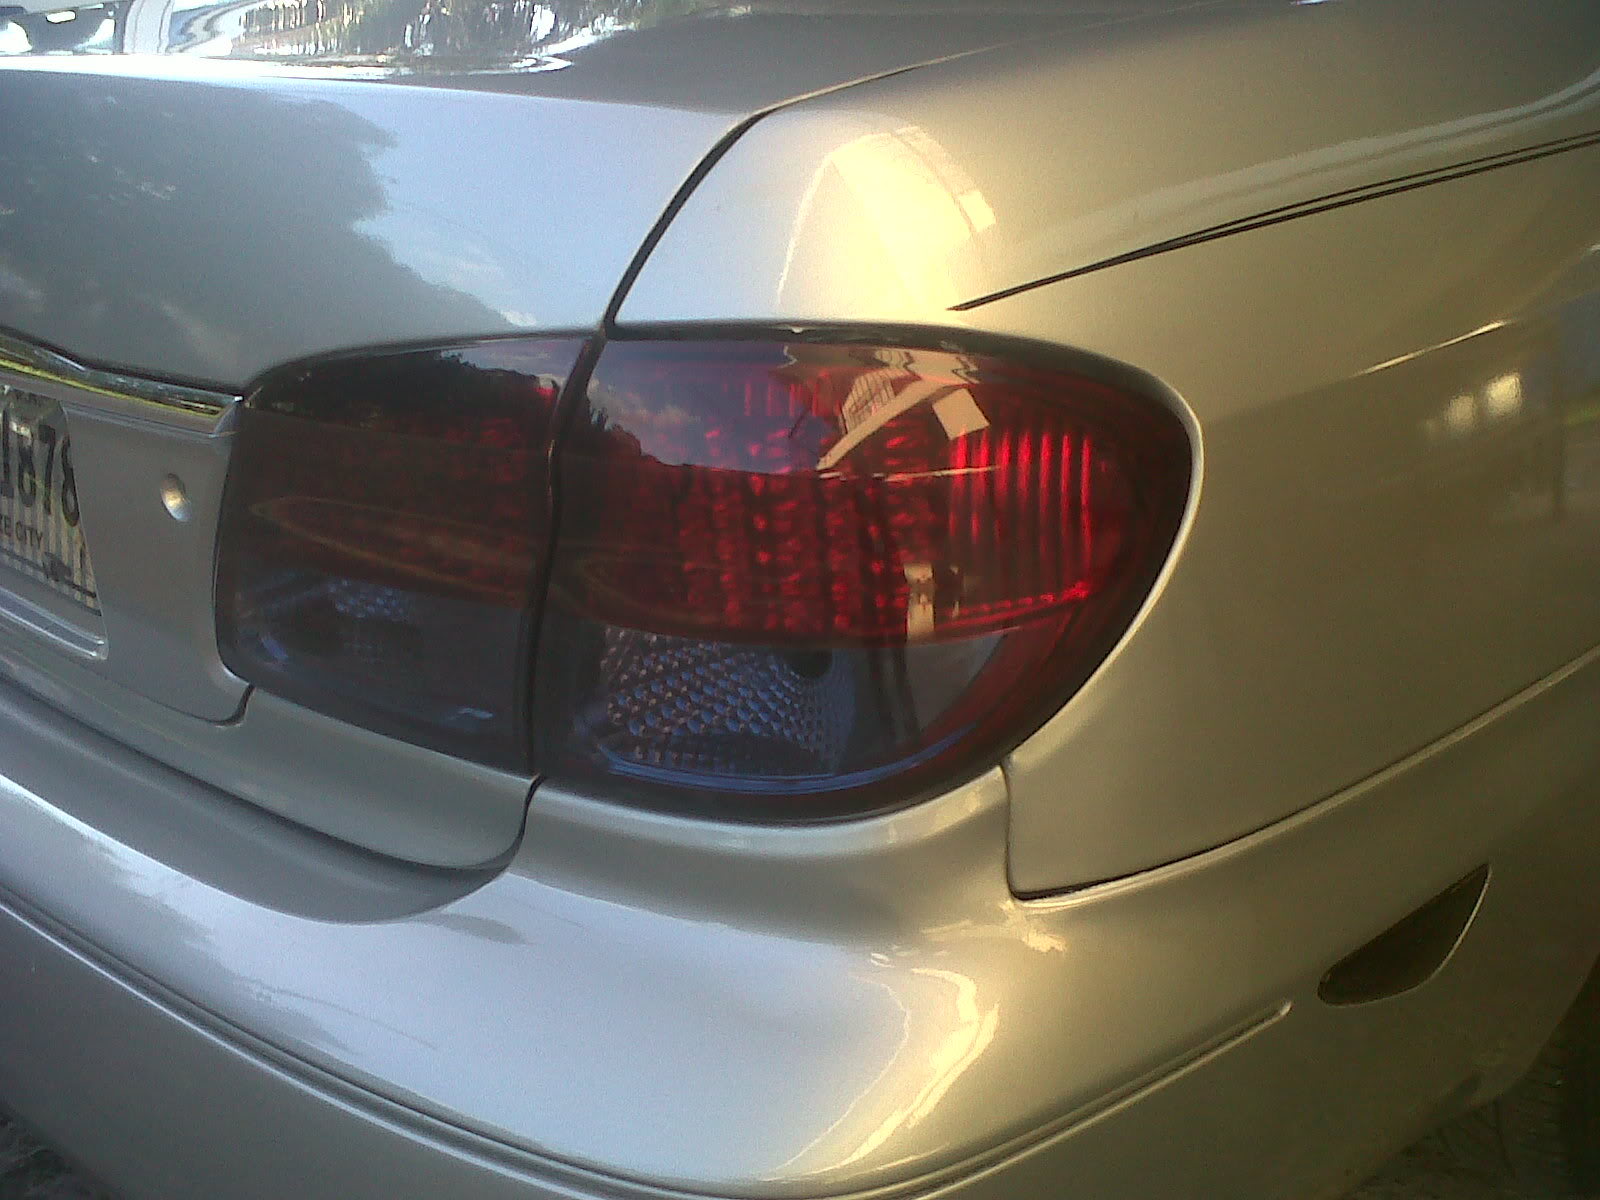
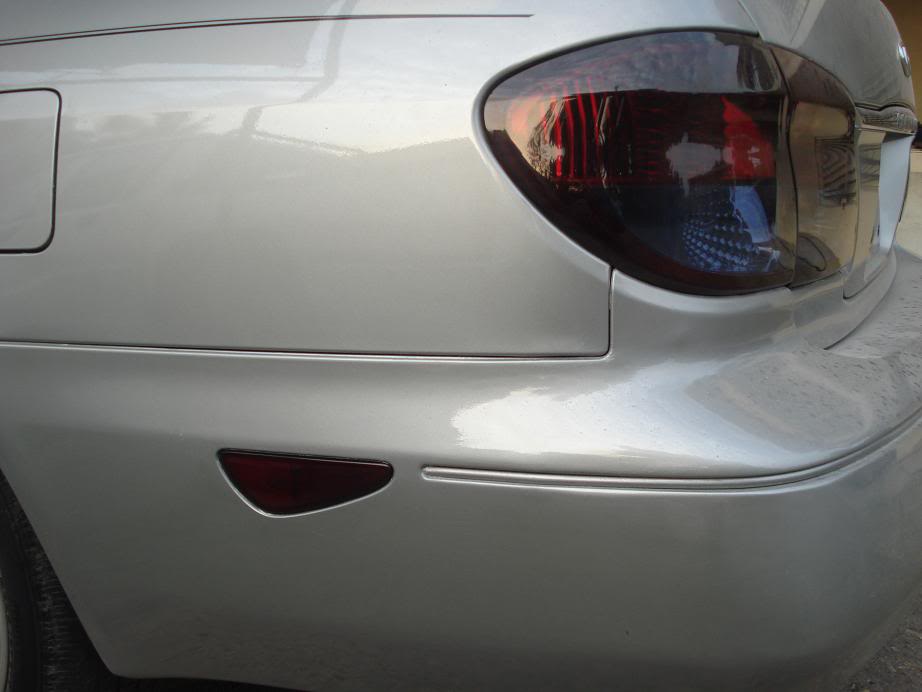
Got the bumper lights smoked, now I gotta get the tails done to match. what do you guys think? Lightly smoke the whole taillight or just do the clear sections as previously planned?
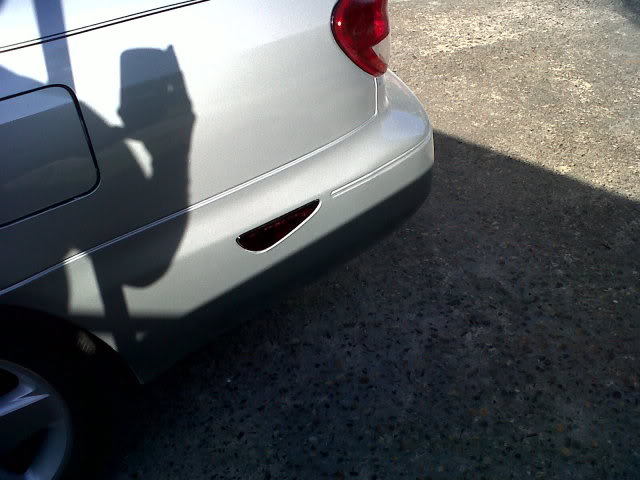
Taking out the rear deck panel to take it to tint...
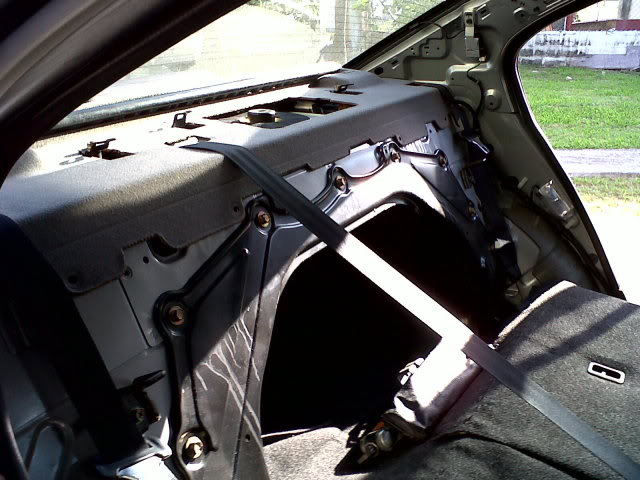
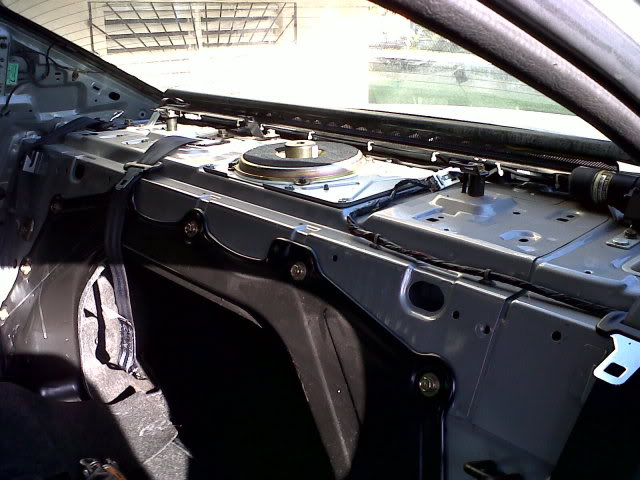
20%
Taking out the rear deck panel to take it to tint...
20%
03-28-2012, 05:11 PM
#61
Member
Thread Starter
Join Date: Jan 2012
Posts: 229
Finally got the tails tinted but not without a fight. I got the tails tinted on Saturday but it was not using candy paint, rather regular black paint. It turned out too dark and I hated how it looked. Four hours of sanding later i was back at square 1. Did them over and this time with candy black. Looks much better! However, now the bumperlights are too dark in relation to the tails and also weren't done with candy black so I will sand them down this weekend and do them over with candy black and lighter. The only reason I tinted them was because I hated how the clear section looked on the ebay tails and I personally thought they cheapened the look of the car so this was my way of fixing them. Eventually I still will swap back in OEM tails when I can afford them.
Sorry for the crappy cell phone pics
Take 1
Take 2....much better
Sorry for the crappy cell phone pics
Take 1
Take 2....much better
04-01-2012, 09:53 AM
#62
Member
Thread Starter
Join Date: Jan 2012
Posts: 229
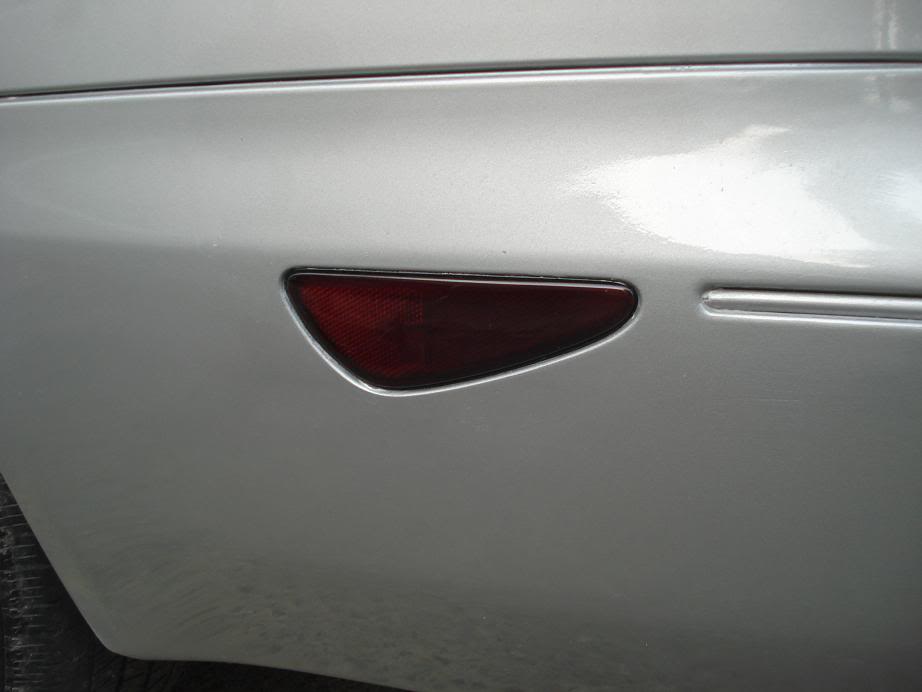
Finally got my lights all done! I popped out the bumper lights sanded off the tint that was too dark. I figured while I was at it I would sand off the words and such on them and have them just smooth. Now they are lightly tinted to match the tails.
 .
. 04-02-2012, 06:36 PM
#69
Member
Thread Starter
Join Date: Jan 2012
Posts: 229
^^^Yea it is...that's the main tell tale sign of the damage in the back. Haven't taken the time yet to fidle around with it. I think I'm now inclined to agree on a drop, bu something conservative. However, it isn't too high on the priority list, but atleast now its on the list.
04-02-2012, 07:42 PM
#70
You can't really tell tho.
Only reason I was able to notice it is because I had to play around with my taillights because the shop didn't put them in properly. Now it has become a habit for me to stare at it lol.
I'd save up for coilovers. Do it once and do it right .
.
Only reason I was able to notice it is because I had to play around with my taillights because the shop didn't put them in properly. Now it has become a habit for me to stare at it lol.
I'd save up for coilovers. Do it once and do it right
.
04-04-2012, 03:20 PM
#71

Very nice job rejuvenating that I30. Just curious, did you have any trouble putting those taillights in? The set I ordered off eBay came today and I was having a hard time getting the right-most light in. Decided I'd rather wash the car than screw with the light forever, and then the OEM one went right back in. Maybe I got a bad set?
04-05-2012, 05:53 AM
#72
Member
Thread Starter
Join Date: Jan 2012
Posts: 229
Honestly its hard for me to say since the mounting holes had to be altered due to the damage in the back. So in my case we had to make them fit, but all we had to do was open the holed up a bit. Maybe that's all you need to do.
04-06-2012, 09:55 PM
#76
Yea, sorry I meant to say the lips and the spare wheel well mainly. Pretty much what's normally visible.
Let me see if I can find a pic of mine
EDIT:
here it is..sloppy but you get the idea

Let me see if I can find a pic of mine
EDIT:
here it is..sloppy but you get the idea
Last edited by redcross631; 04-06-2012 at 10:37 PM.
04-07-2012, 05:03 AM
#77
Member
Thread Starter
Join Date: Jan 2012
Posts: 229
Thanks for the heads up, don't know why I didn't think of that before since I have don't it numerous time on my other vehicles. I guess i will do that today since I'm stuck at home for our Easter break with Salmonella. Need something to take my mind of it as I should have been in Houston today at a car show.
 04-07-2012, 06:32 AM
#79
Member
Thread Starter
Join Date: Jan 2012
Posts: 229
Hey dirty I used two of those brackets that come with those universal power door actuator. just bent them into somewhat of an "L". I got tired of seeing the plate so I took it back off. I can snap some pics of it if you want.
04-18-2012, 05:51 PM
#80
Member
Thread Starter
Join Date: Jan 2012
Posts: 229
My engine cover needed painted over and i wanted to brighten up the engine bay a bit. I'm not sure if I will keep the color or go w/ more of a titanium color. I left the Infiniti emblem chrome and sanded back down the lettering to keep them black.
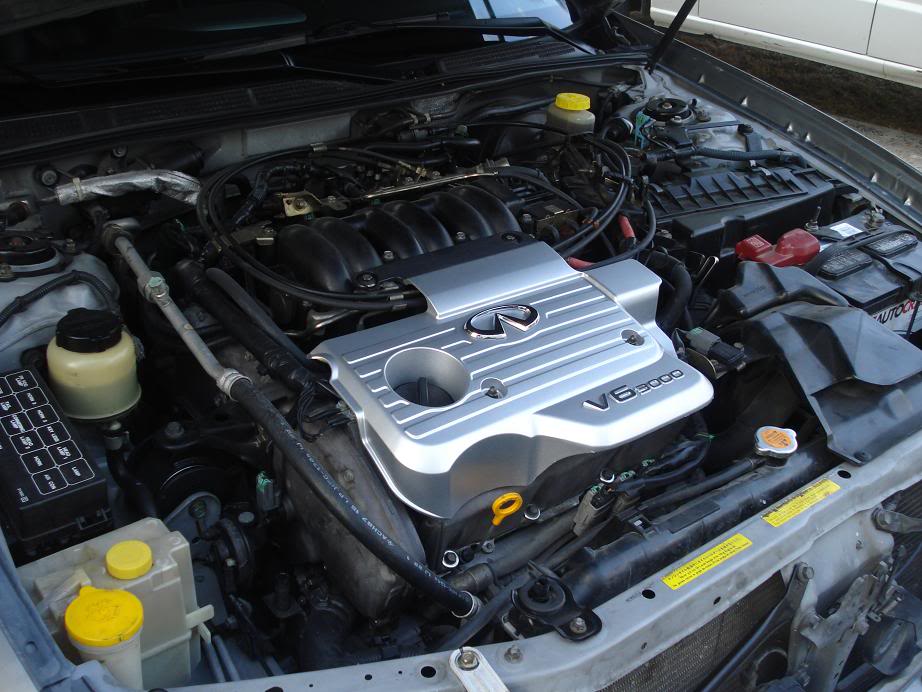
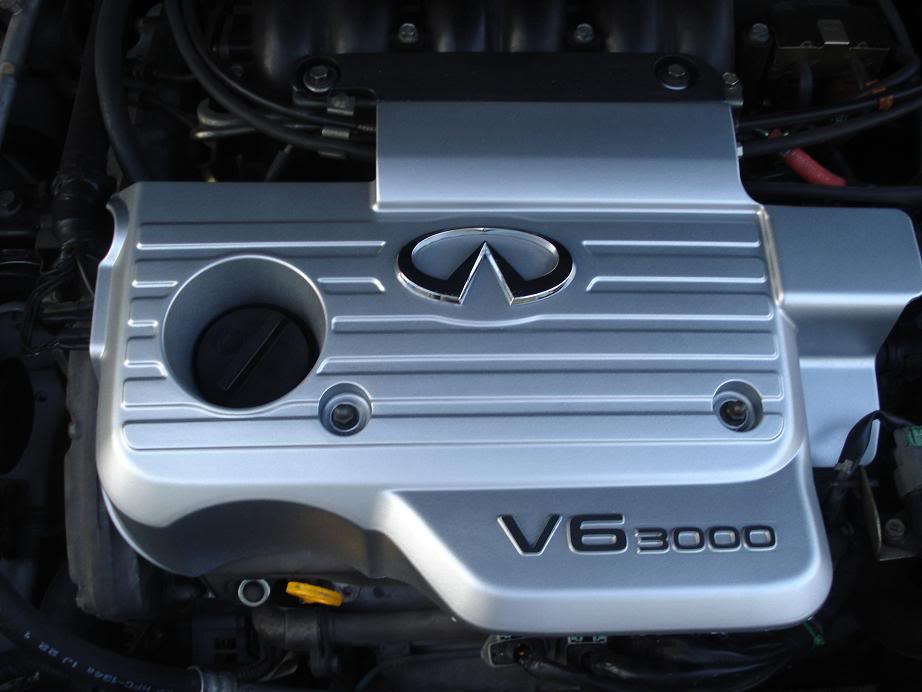
Threw on some OEM "4DSC" decals. With my tint it's very stealth as you won't see it until you get up close to the car.
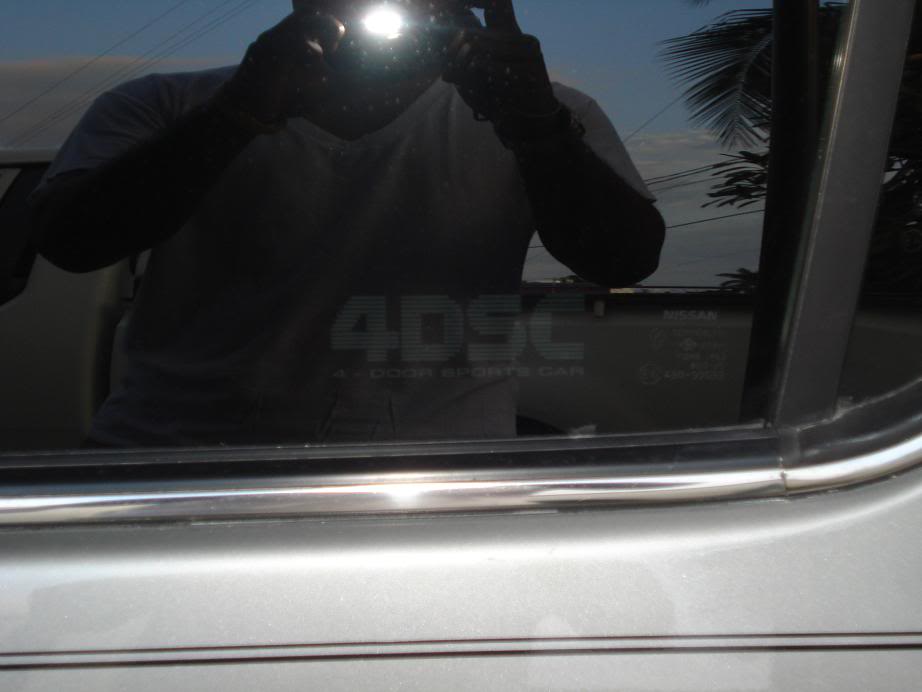
Threw on some OEM "4DSC" decals. With my tint it's very stealth as you won't see it until you get up close to the car.