When you click on links to various merchants on this site and make a purchase, this can result in this site earning a commission. Affiliate programs and affiliations include, but are not limited to, the eBay Partner Network.
The car has 200K miles and for the past few weeks, I've been hearing this whirling noise similar to bad bearing except I know it was not wheel bearing. It only happened on the first gear and slightly on the second gear under acceleration. The noise seemed louder with RPM increase.
Looking at the CV axle, it had quite a bit of play up and down although there was only slight oil seepage coming out of the CV axle seal. I could also hear rumbling noise at idle and when the clutch is did-engage, the noise went away, so it could be throw out bearing but it's unlikely.
I decided to pull the tranny out and replaced all bearings and seals. Reading the FSM, it looked like I need to remove the center support member, but I was able to get the tranny out without removing the center support member.
The toughest thing to do was removing the 2 shifter linkage rod support bolts.The rear engine mount nuts were in the way and couldn't really get anyleverage. I had to use offset head wrench to get them out few degree at a time. Once these 2 were out, the rest were pretty easy. There were 4 bolts going fromthe Engine to the tranny bell housing. I loosen the 3 14mm bolts on the bottomand left it hanging (the center support was on the way). One 17mm was on thetop of the rear engine mount and the only way to access it was using about 2'extension and did it from the passenger CV axle opening, this was zipped rightout using impact gun.
After this, I supported the tranny with tranny jack and got those 4 17mm boltsgoing from tranny to the engine and also the tranny mount bolt (4 14mm) out ofthere.
So now the tranny was only supported by the tranny jack. I then wiggled andpried the edges and there were 2 dowel pins about 1/2" long that thebell housing needed to escape.
At this point the tranny was completely separated and all I needed to do was lowering the tranny jack, angled the tranny to get it out of the way.
Tranny was so dirty from rear main seal leak....
So, it was possible to get them out without lowering the center crossmember. This would be very very hard without the tranny jack. The tranny isheavy but not as bad as I thought it would be. USE THICK gloves! The casting has tons of sharp edges.
I was doing this solo. This would have been disaster waiting to happen if Ididn't have the jack and had to man handle it, no way.
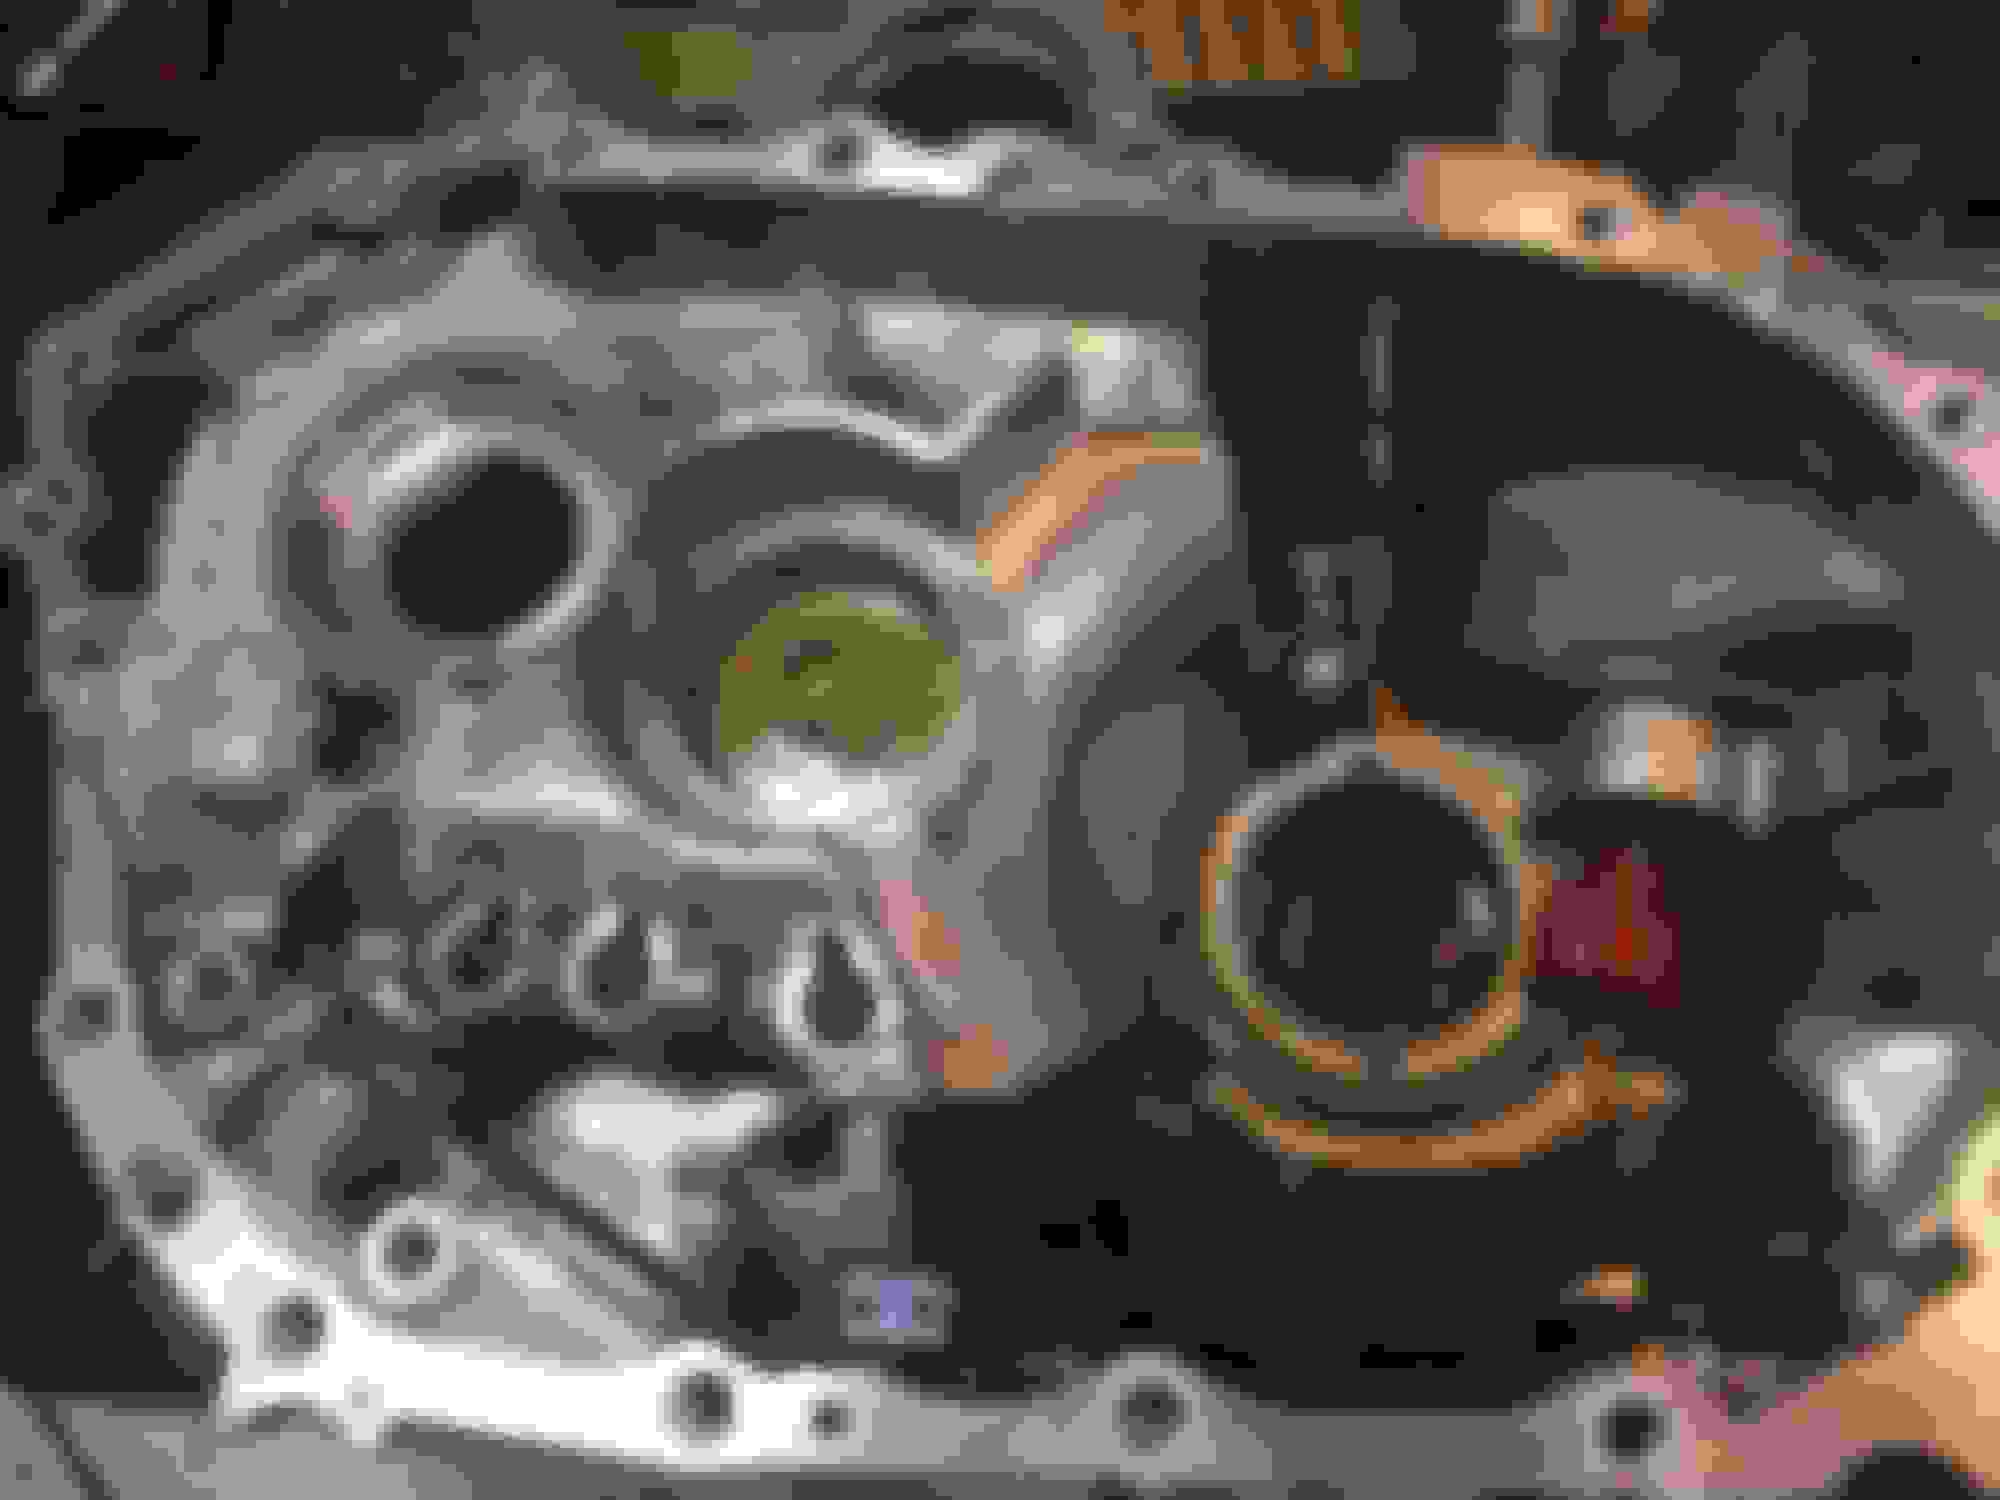
At the first glance the gears, synchos, and bearings looked pretty good considering it is 200K miles. Got the diff, main shaft, and input shaft disassembled. There are total of 9 ball detents came off the fork shifter shaftconfiguration. 7 are shown in the pic. Those 2 pin are the interlock shafts. I made a video to get moreof the detail captured. Will need to edit video and eventually post too.
Bellhousing side separated. Speedometer gear assemblies shown. Be careful removing the main shaft assembly so that you don’t damage that oil funnel. Input Shaft Seal and oil channel for the main shaft. Notice the orientation of the lip. Removing the front (tranny case side) main shaft bearing. Rear (bell housing side) main shaft bearing removed (didn’t need to be pressed out, just fell out). Rear (bell housing side) diff bearing removal. Not easy, since the speedo gear was on the way. You can see the lip got busted. Had to create different “lip” for the gear puller to grab.
Pulling the Diff Bearings Diff bearing shims. All the shims were installed in the tranny case side. Input shaft with old bearings/seal/shims and new bearings and seals next to it. The front bearing is significantly smaller than the rear one. Main shaft with old bearings/shims and new ones next to it. The front bearing is significantly smaller than the rear one.
Diff assy with old bearings and seal and new ones next to it. The bearing for the front and back is identical. The driver side seal is different than the passenger side one. The diameter is the same but the lip construction is different. Removing shifter rod seal. It was pretty easy to do. Bellhousing cleaned. Tranny case cleaned. New Bearings pressed in. Input shaft clearance is .050”. When setting up the dial indicator, make sure that the only thing that can move is the dial indicator and the shaft itself. Clamp and secure the tranny to the table or in my case to the hydraulic press frame. The idea is when you move the shaft axially, you don’t have any other components to move to affect your reading. Diff bearing clearance is .018”’
Edit: after comparing with the original shins that were installed on the diff bearing, I was suspicious that I didn’t installed the bearing all the way down. Made sure that the bearing is seated properly flush to the any step/lip/hard stop on the shaft. After rechecking the bearing position, my clearance on the diff is now .039”. Which correspond to the shims that came with it.
Measuring the main shaft axial bearing clearance to determine the preload shims value was a bit challenging. There was no way to get the dial indicator point to the shaft. The FSM had dfferent way to measure it using the Nissan Tool but I feel like the most accurate way to measure the clearance (preload) is to use the dial indicator. With this method, you only measure the actual movement of the bearing axially thus your measurement error is minimum. So I made a small 1/2" opening on the other side of the existing hole to aid for inserting dial indicator tip to measure clearance. Since the other side of the opening is closed, I could't grab the shaft and move it axially like I did on the input and diff shaft. I had to flip it up side down and push the main upward and measure the movement.
This small opening would also help to get the bearing race out of there if necessary. I'm going to use brass plug and some sealant to cap it. It is above oil fill level anyway, so it should be safe.
Here is the summary of my bearing preload shims measurement.
Input shaft axial bearing clearance: 0.050". Per FSM this would need 0.0488" shims. My original shims is 0.0495". I'm gong to reuse it since it is very close already. With my new setup, I would have a clearance of 0.0005" which is on the bottom spec of the required clearance per FSM (0.0004"-.002"). This made sense really. a regular ball bearing doesn't need a preload unlike the taper rolling bearing on the main shaft and input shaft.
Main Shaft axial bearing preload: The axial clearance is 0.040". Per FSM, I would need 0.0425" shims. I'm reusing the original shims that came with it, which measured 0.043". I should well within the 0.0024"-0.0043" preload spec per FSM.
Diff Bearing axial bearing preload: The axial clearance is 0.039". Per FSM, I would need 0.057" shims. The original shims that came with it measured at 0.055". I'm going to reuse it knowing that I would have less preload (0.016") technically, but still within the spec range of 0.0157"-0.0177".
I measured the old and new bearing thickness and they were very very close within tenths, so I'm not surprised that I can reuse the shims, in fact if my preload measurements were way off, I would have question the finding because it should be very close technically. This happend on the initial measurement of the diff bearing axial clearance that it was way off that what it should be based on the shims that were installed in there.
Finally got the tranny back together and installed. It was pretty easy with the tranny jack.
One note on installing the throw out bearing, make sure it is in correct orientation. It is possible to install it wrong without realizing it (not too obvious or poke yoked).
Took almost 5 qt of this liquid gold to fill her up.
Don’t wanna waste any!
Took it for drive and no more noise! All gears are working well, really didn’t notice any difference than before other than no whirling noise anymore.
All diff seals are working properly, no leaks. Pretty happy so far.
Flush the power steering fluid. This is how I did it.
1. Disconnect the low pressure line and attach it to a bucket or something to catch the fluid.
2. Plug the reservoir low pressure line. Probably don�t need to, but just didn�t want any drips.
3. Turn the steering wheel lock to lock till you don�t see any more fluid coming out..
4. Plug the low pressure line back in the reservoir.
5. Fill it with new ATF.
6. Turn the car on and quickly top off the reservoir. The pump
Is going to be noisy till all the fluid is circulated. Took about 1qt.
7. Turn the steering wheel lock to lock again to bleed the air.
8. Put the reservoir cap back on and you are good to go.
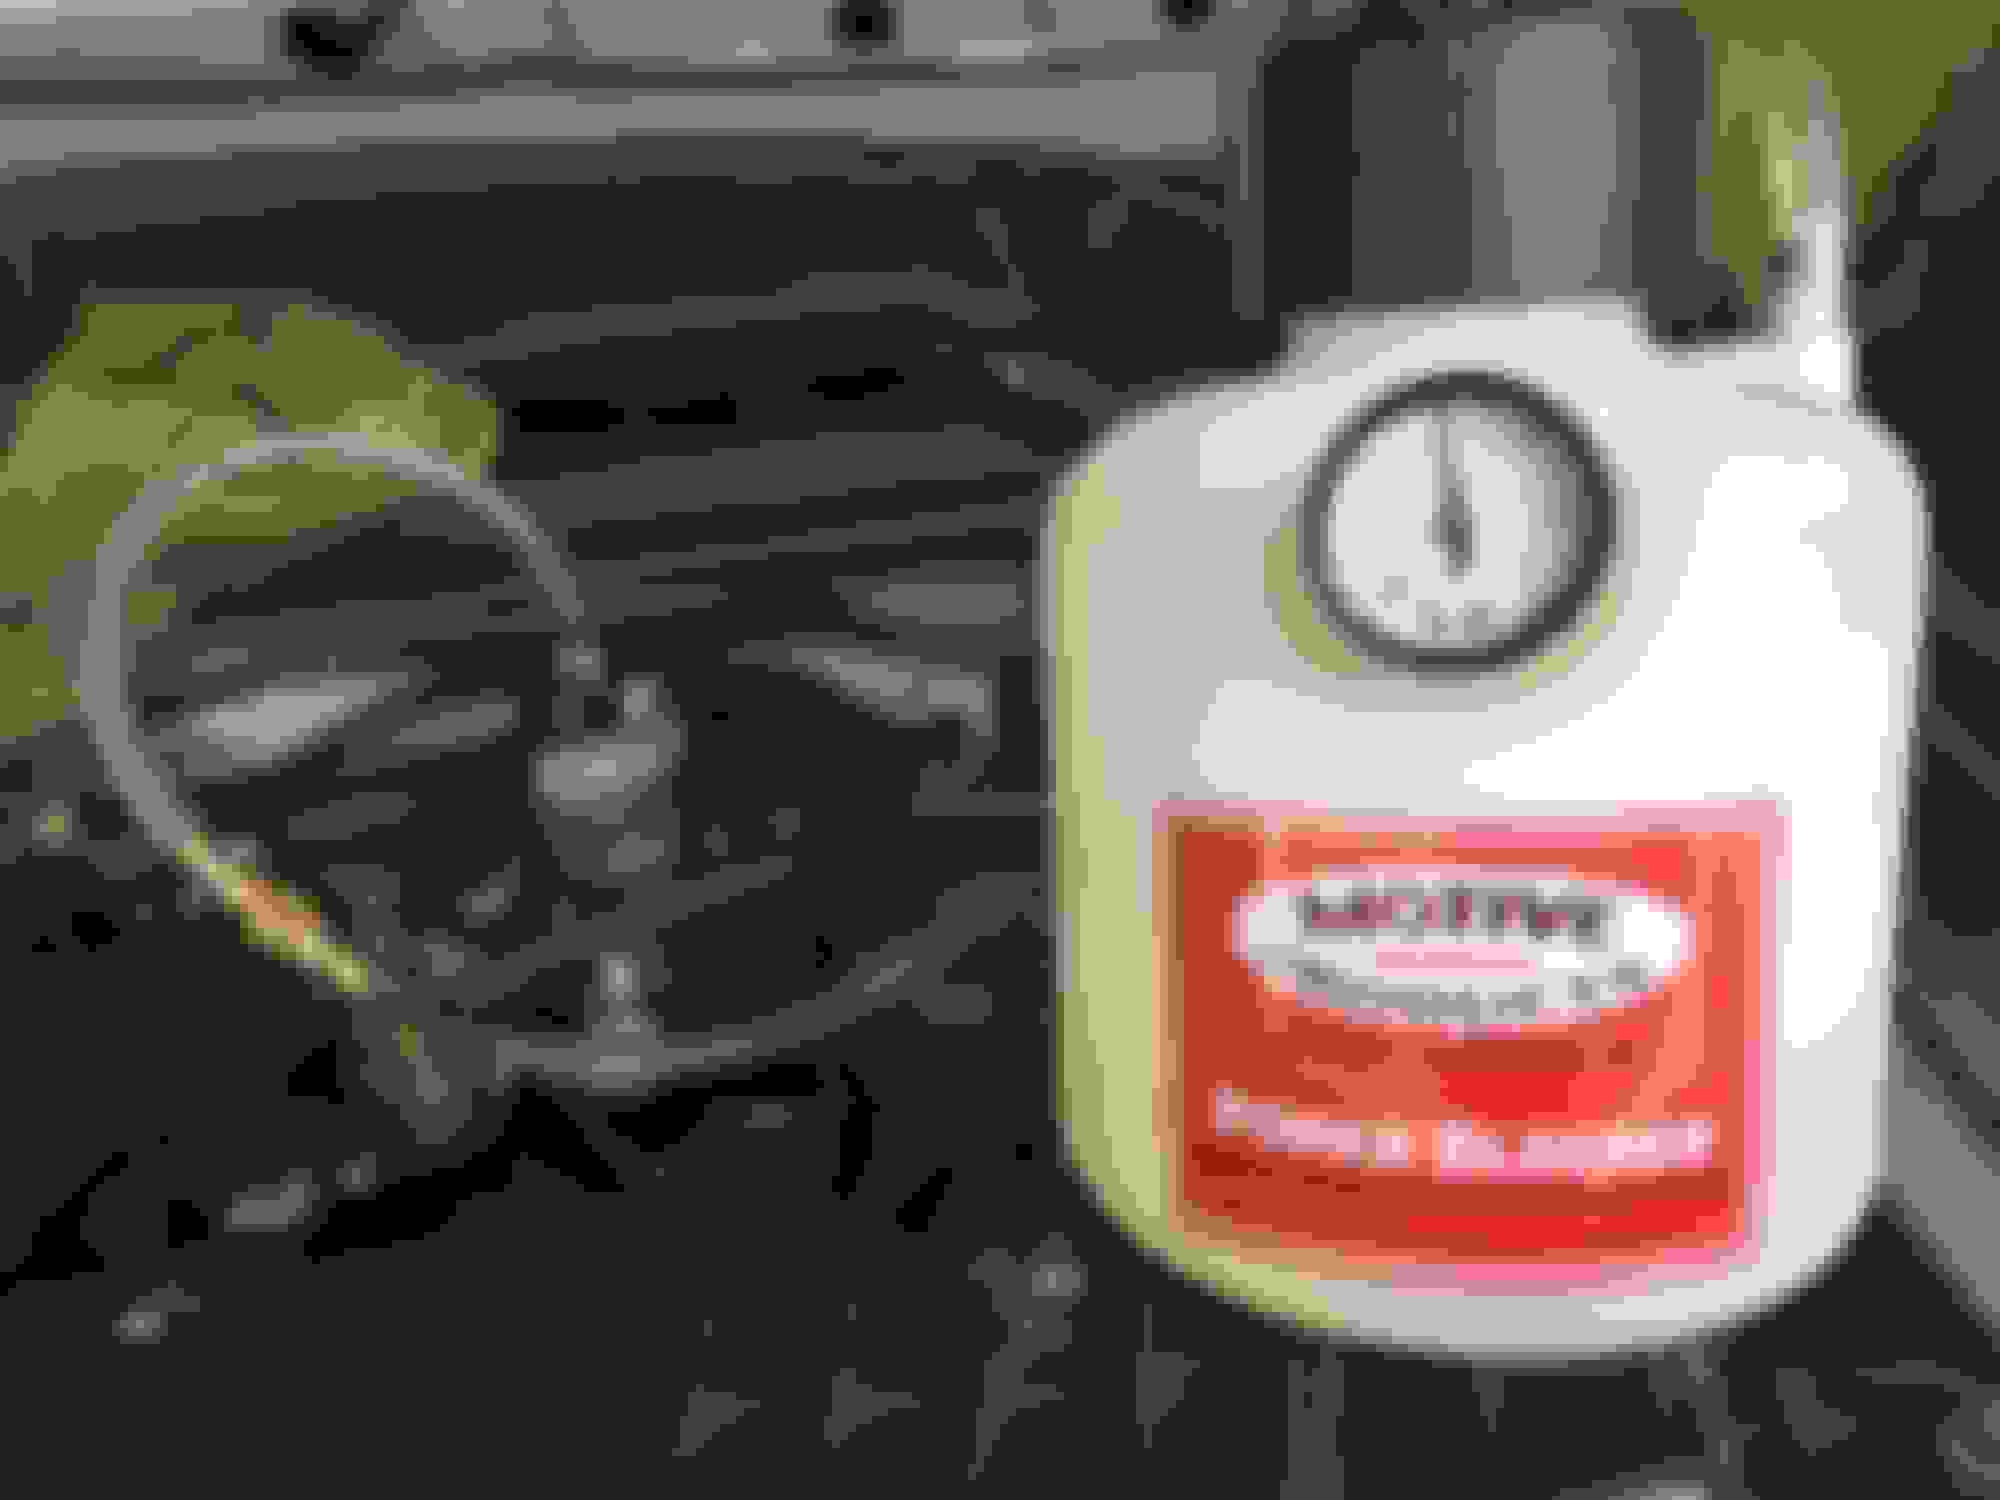
This motive bleeder works pretty good. You can just fill it with your fluid of choice, close the reservoir cap, pump it to 15 psi, and start the bleeding process. Wait till the new fluid comes out of the bleeder valve and you are good to go.
Replaced Master, slave, and made a shorter line from Master to Slave with new Nicopp brake line for quicker bleeding process.
Refer to this thread. https://maxima.org/forums/5th-genera...ml#post9178883
Car is officially back on the road again! looking forward for another 200K miles!
Can you describe the sound the trans was making and when did it make the noise?
It sounded like a throw out bearing failure but it was more consistent of low pitch whirling noise and it completely went away if you pressed the clutch pedal (disengage).
It’s not loud, you couldn’t hear with the window close but with window open and quite surrounding I could defenetly hear it. Happend on the 1st gear acceleration and initial 2nd gear. The driver side CV also had about 1/16” up and down play (grab it with your hand and move it up and down). After refresh, it was solid no play, with same old CV ( a couple years old).
I’ve hear wheel bearing noise, axle tick, valve tick, etc it didn’t sound like that.
All of this started about 500 miles after the clutch was replaced, but the tranny was always seaping out of the driver side CV - Diff seal for the longest time.
Here is bits and pieces that I captured in video during my refresh process. First time doing a video, so it's very low quality and definitely have a lot of stuff to learn.
 06-29-2018, 11:04 PM