When you click on links to various merchants on this site and make a purchase, this can result in this site earning a commission. Affiliate programs and affiliations include, but are not limited to, the eBay Partner Network.
If there is another sub-forum I should post this to, please let me know!
Long time putzer, first time installer. Before I go into the details of the build, I want to give a huge shoutout to a member here, Theslaking. His build log for a 2001 is what really gave me the confidence to start this project. Much of what I learned how to do came from that log, and I'm very grateful!
His build log can be found on DIYMobileAudio (and I believe it's on this forum, as well):
I realize that many posts have been made about sound deadening and interior upgrades, but I just wanted to add mine to the forum as a way of saying thank you to all the other members here who took the time to post such great write-ups on these cars. Also, I hope this post encourages others who have the 5th gen's to do cool stuff to them because yes, people still love these cars and are continuing to work on them!
So, in the fall of 2015, I picked up a 2003 with 135k miles on it for $5,000. A bit high, but it was in good shape, and the miles were insanely low for a 12 year old car. I did have to replace front struts and some other minor parts, but overall I was happy with the purchase.
Unfortunately, I quickly started to notice that there was a musty/moldy smell in the cabin. I chalked it up to a stain and tried a few things to get it out. After ripping out most of the cabin, I'm now convinced that it was in a flood, and the dealer I bought it from never reported it to CarFax. I'm finding minor rust spots at the bolt holes for the seats, door handles, and under the dash. I haven't pulled the carpet yet, but I'm pretty sure I'm going to find something growing under there.
So, that's why I'm doing such an extensive renovation on this car. Other than the smell, the car is in great shape. The body has no major rust, the engine runs strong (getting 26 mpg!), and the tranny is in good shape. I figure it's cheaper, and more fun, to reno the interior - instead of getting rid of it.
The other reason for the overhaul is that this model had the Bose stereo. As you all know, there is essentially no swapping components into or out of this system. It's either rip and replace all, or suck it up. (I now realize that the appropriate components can be swapped, with the proper research. Personally, I wanted all new gear, I just did not like any of the Bose components.) The pcb on the sub amp was blown, speakers were waterlogged, and I just couldn't stand all of that on top of having to listen to my music through a tape player.
So here we are!
Project goals:
Great sounding, affordable stereo system
Quieter cabin
NO SMELL!!
Gear for the stereo:
HU - JVC KW-V430BT
Front Speakers: Infinity Kappa 62.11cs comp
Rear Speakers: Infinity Kappa 52.11i
Sub: Infinity Kappa 10"
Amp: Kenwood X801-5
For the cabin:
CLD, CCF, MLV on doors, quarter panels, trunk and floor.
For the smell:
Super clean all exposed parts
Run an ozone generator
New carpet - OR - replace carpet with vinyl (something like DynaDeck)
More posts to follow with pics of the journey. Again, I can't thank you all enough for the knowledge given and time spent on such great write-ups in this forum. I'm definitely not an expert at this, so I won't be winning any style points for this build. Feedback welcome!
Last edited by YoungMike85; 12-03-2018 at 05:46 PM.
Reason: Clarification
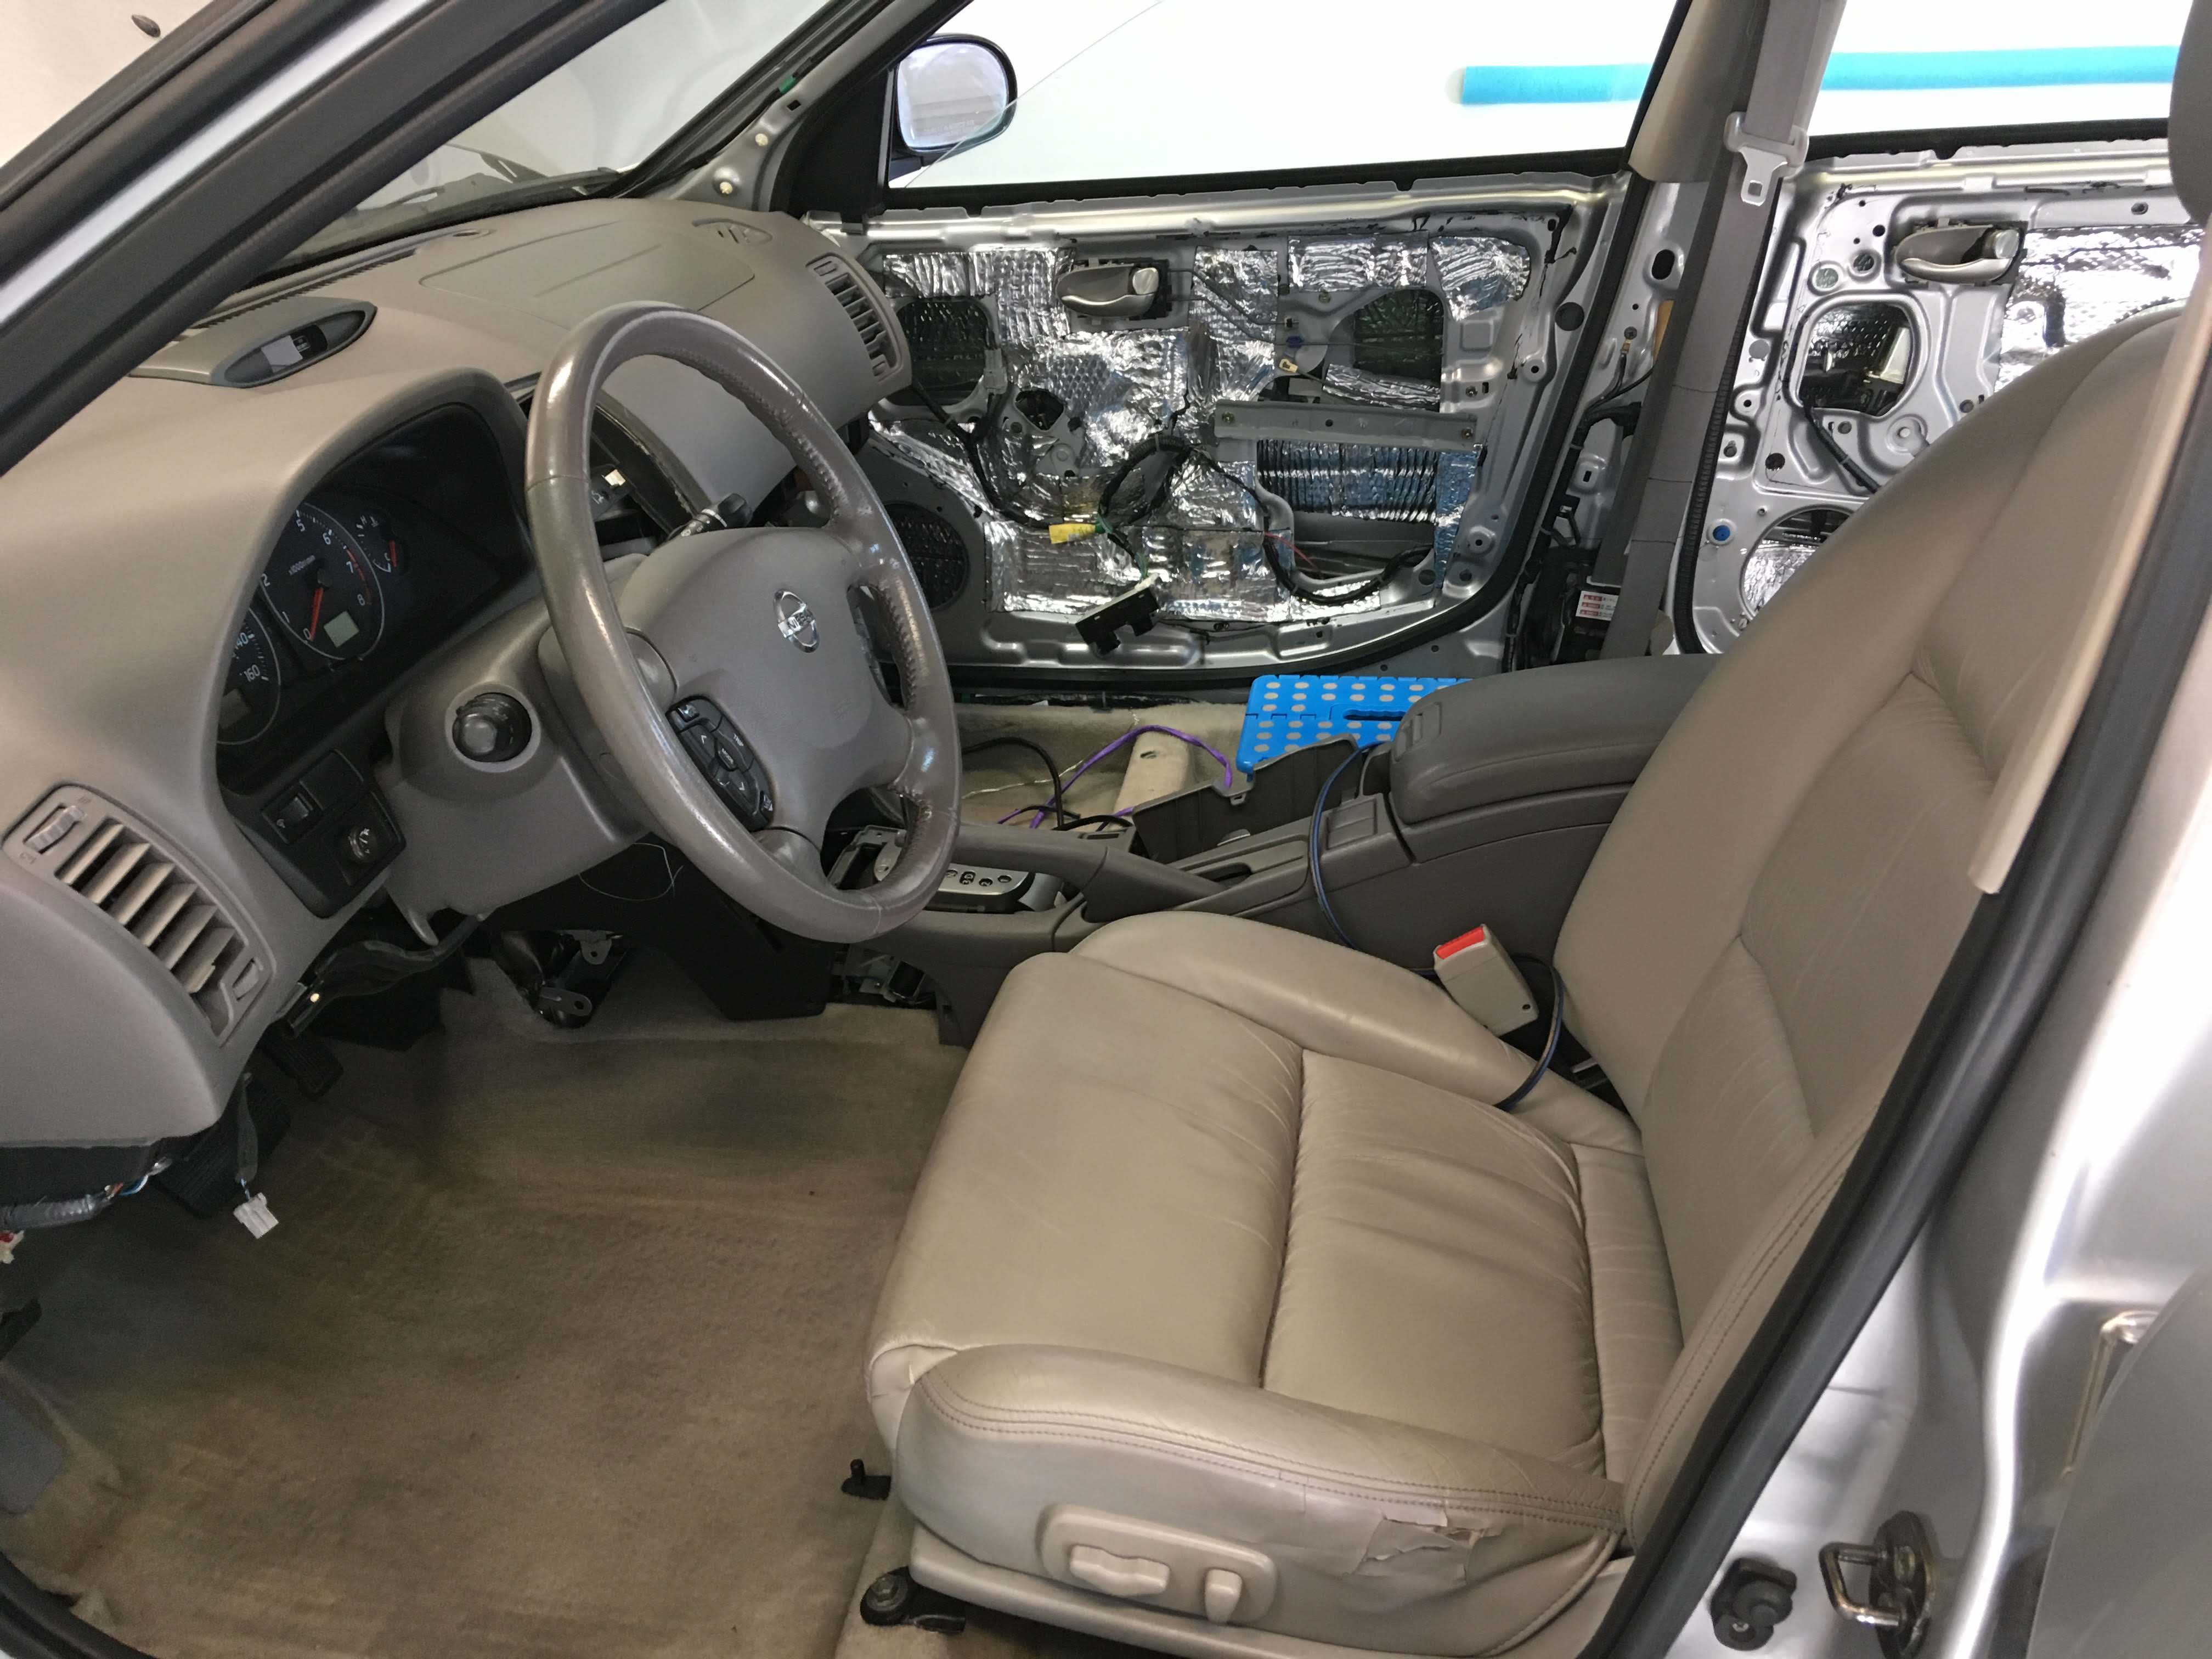
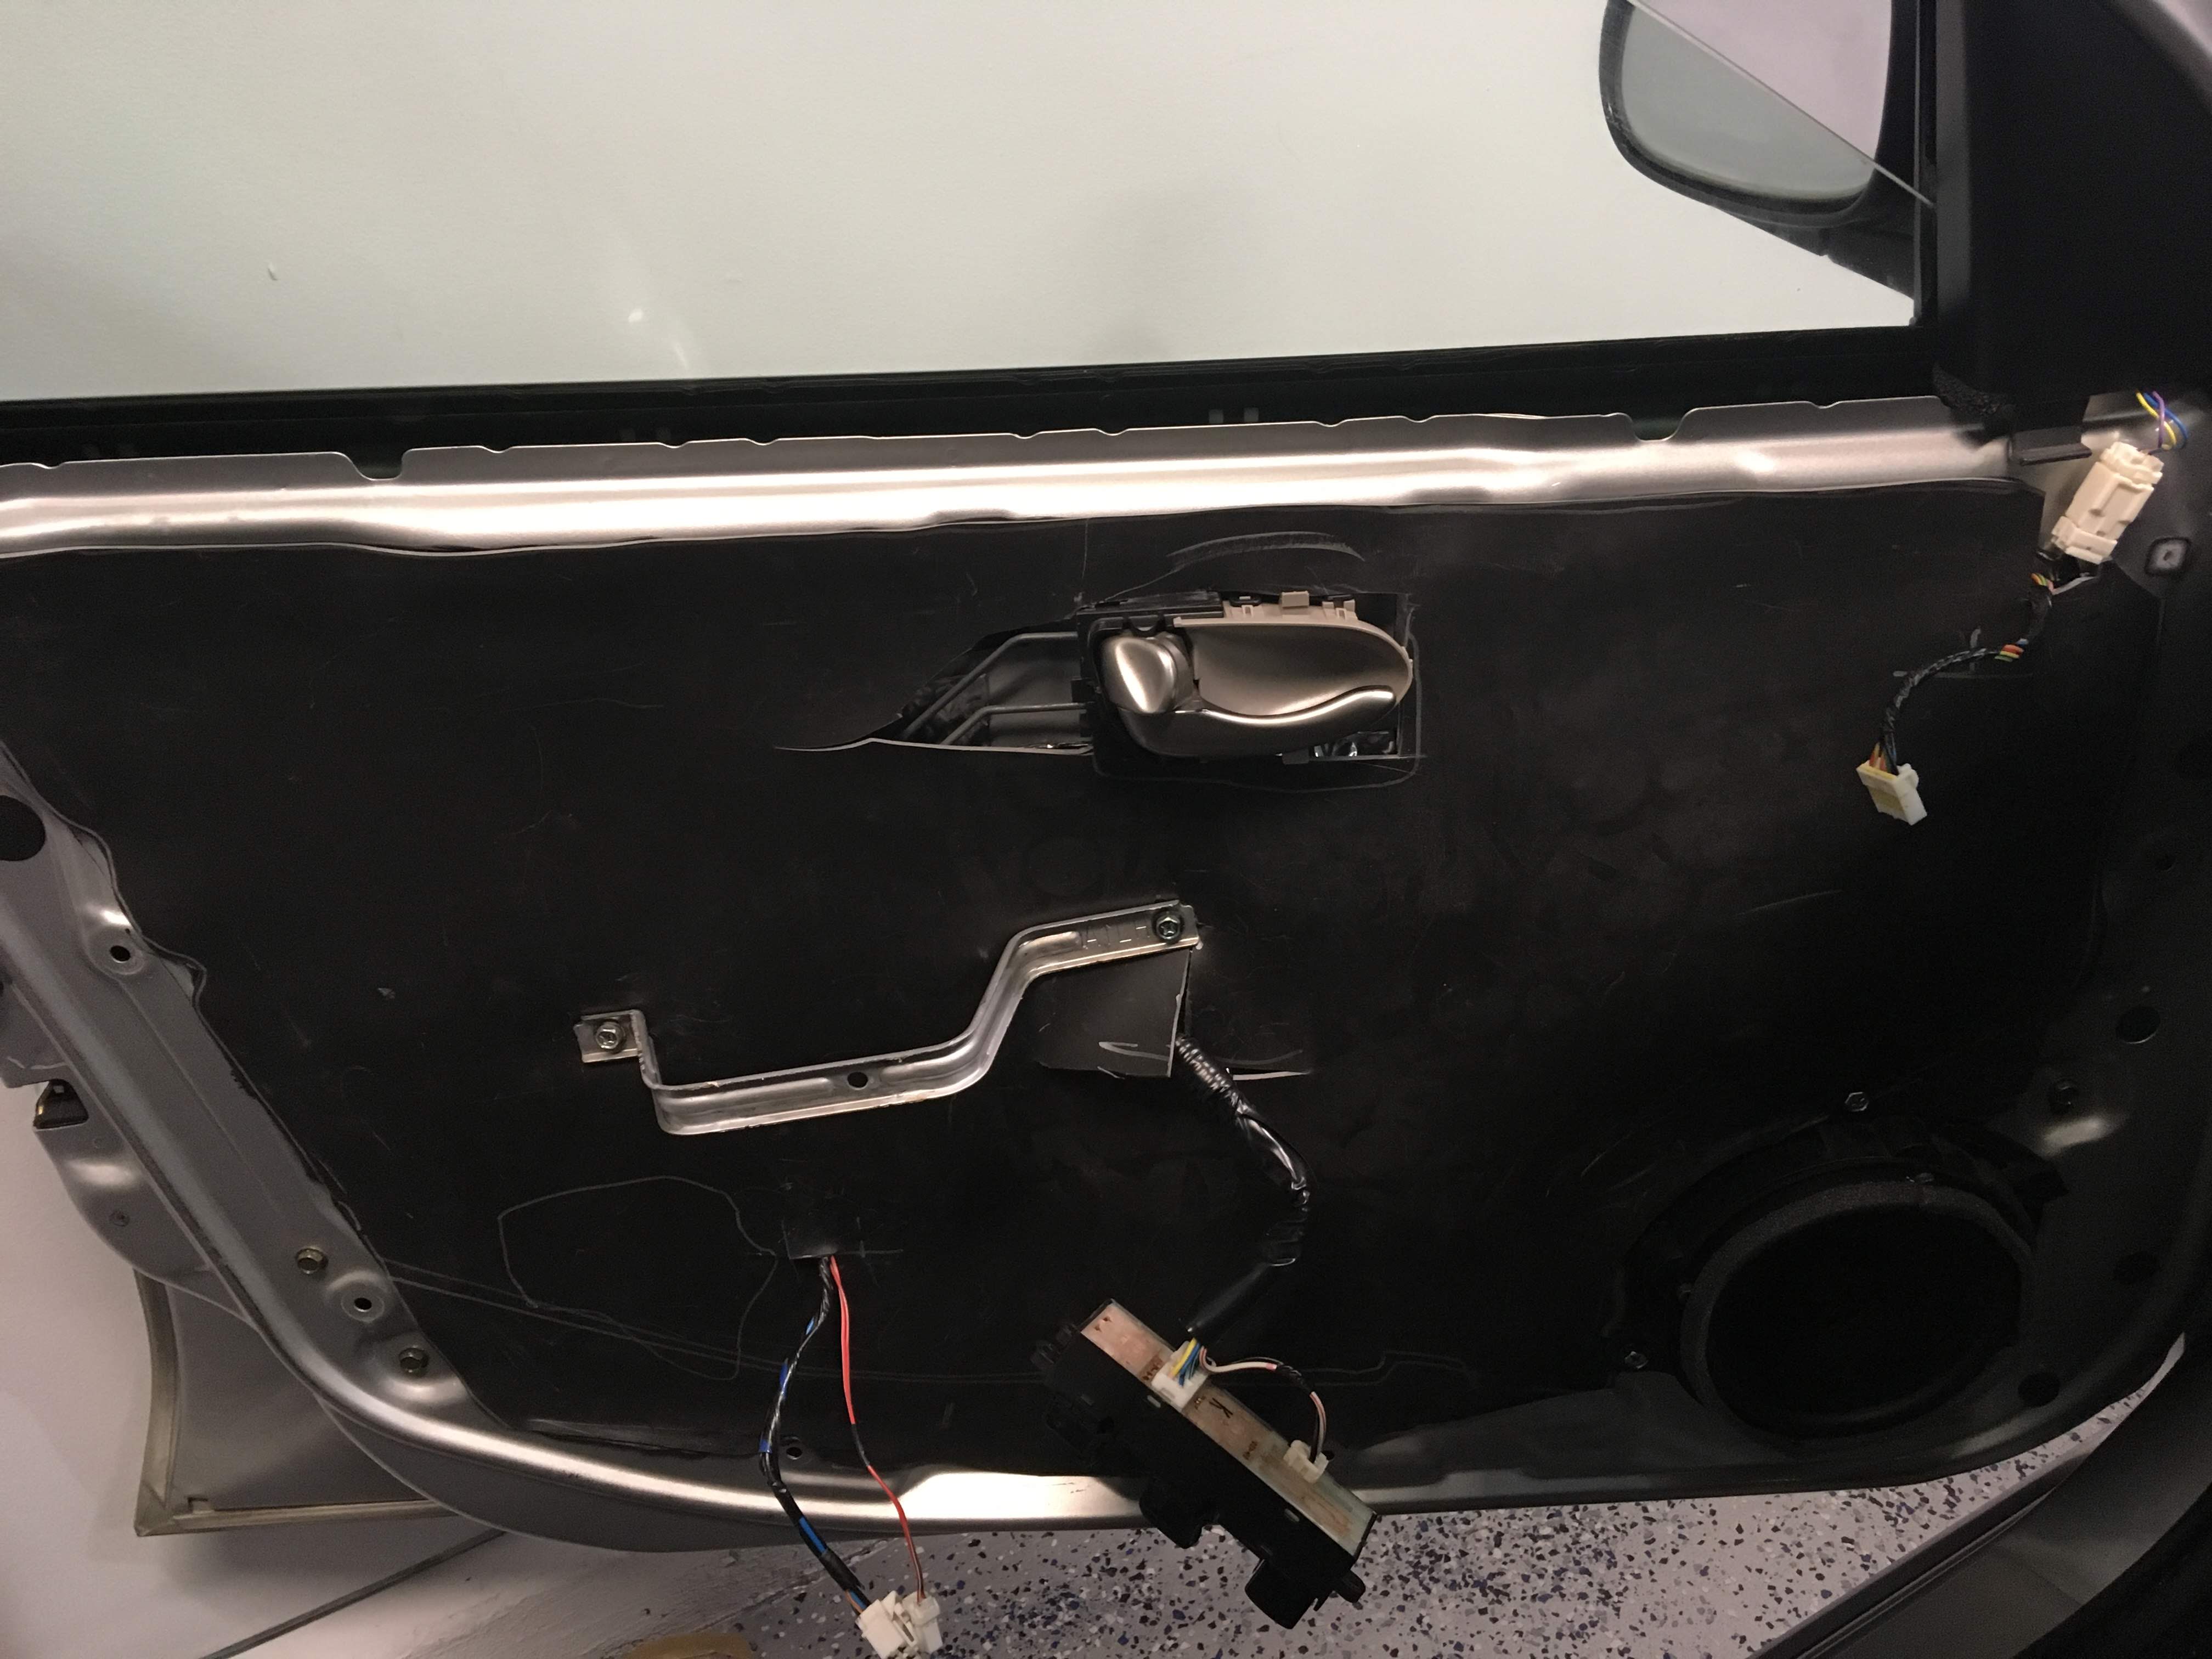
I got a little carried away with the CLD on the front passenger door. Luckily, I found SoundDeadenerShowdown and backed off the CLD about half way through.
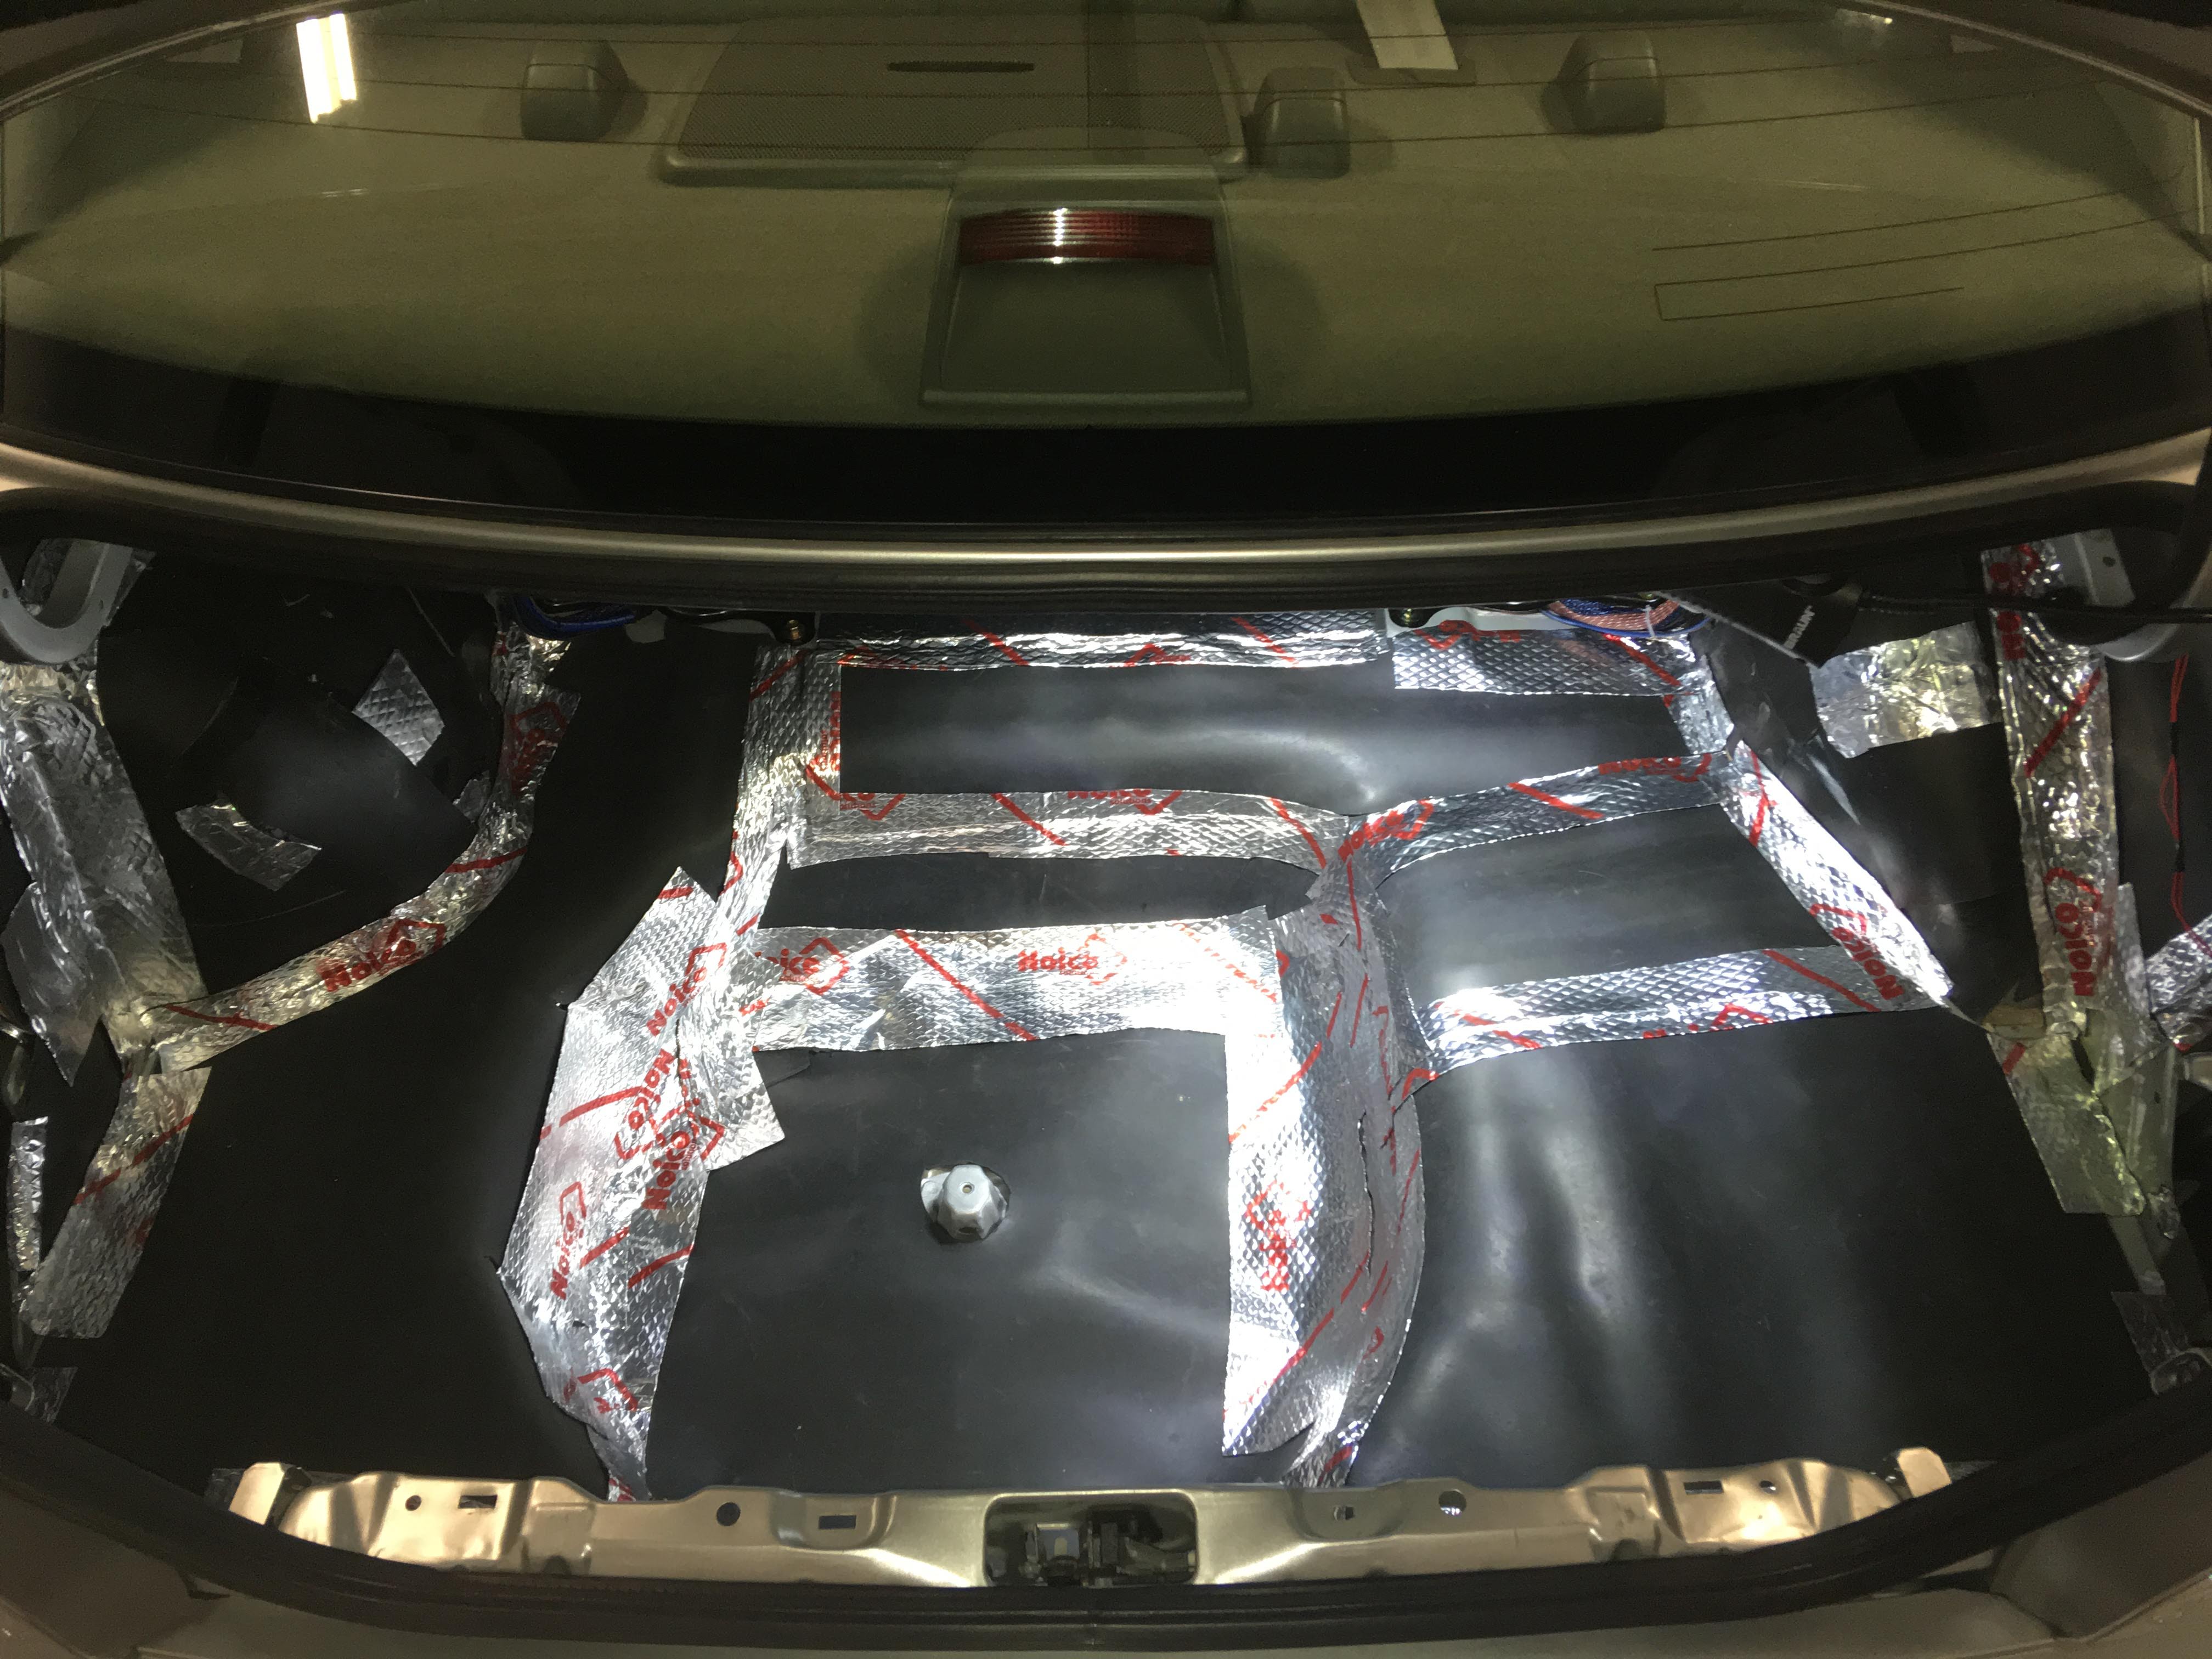
I know that a lot of people have a very strong opinion on the brand of CLD, but I don't really have a dog in that fight. I'm not taking this car to any competitions, I just need something that works. I chose to use Noico 80 mil CLD. I got 36 sq. ft. from Amazon for $64 shipped. It cuts fine, adheres well, and I've had no issues with it peeling off. All in all, I'm happy with it, and that was more than enough CLD for my needs.
Front:This image has been resized. Click this bar to view the full image. The original image is sized %1%2.This image has been resized. Click this bar to view the full image. The original image is sized %1%2.
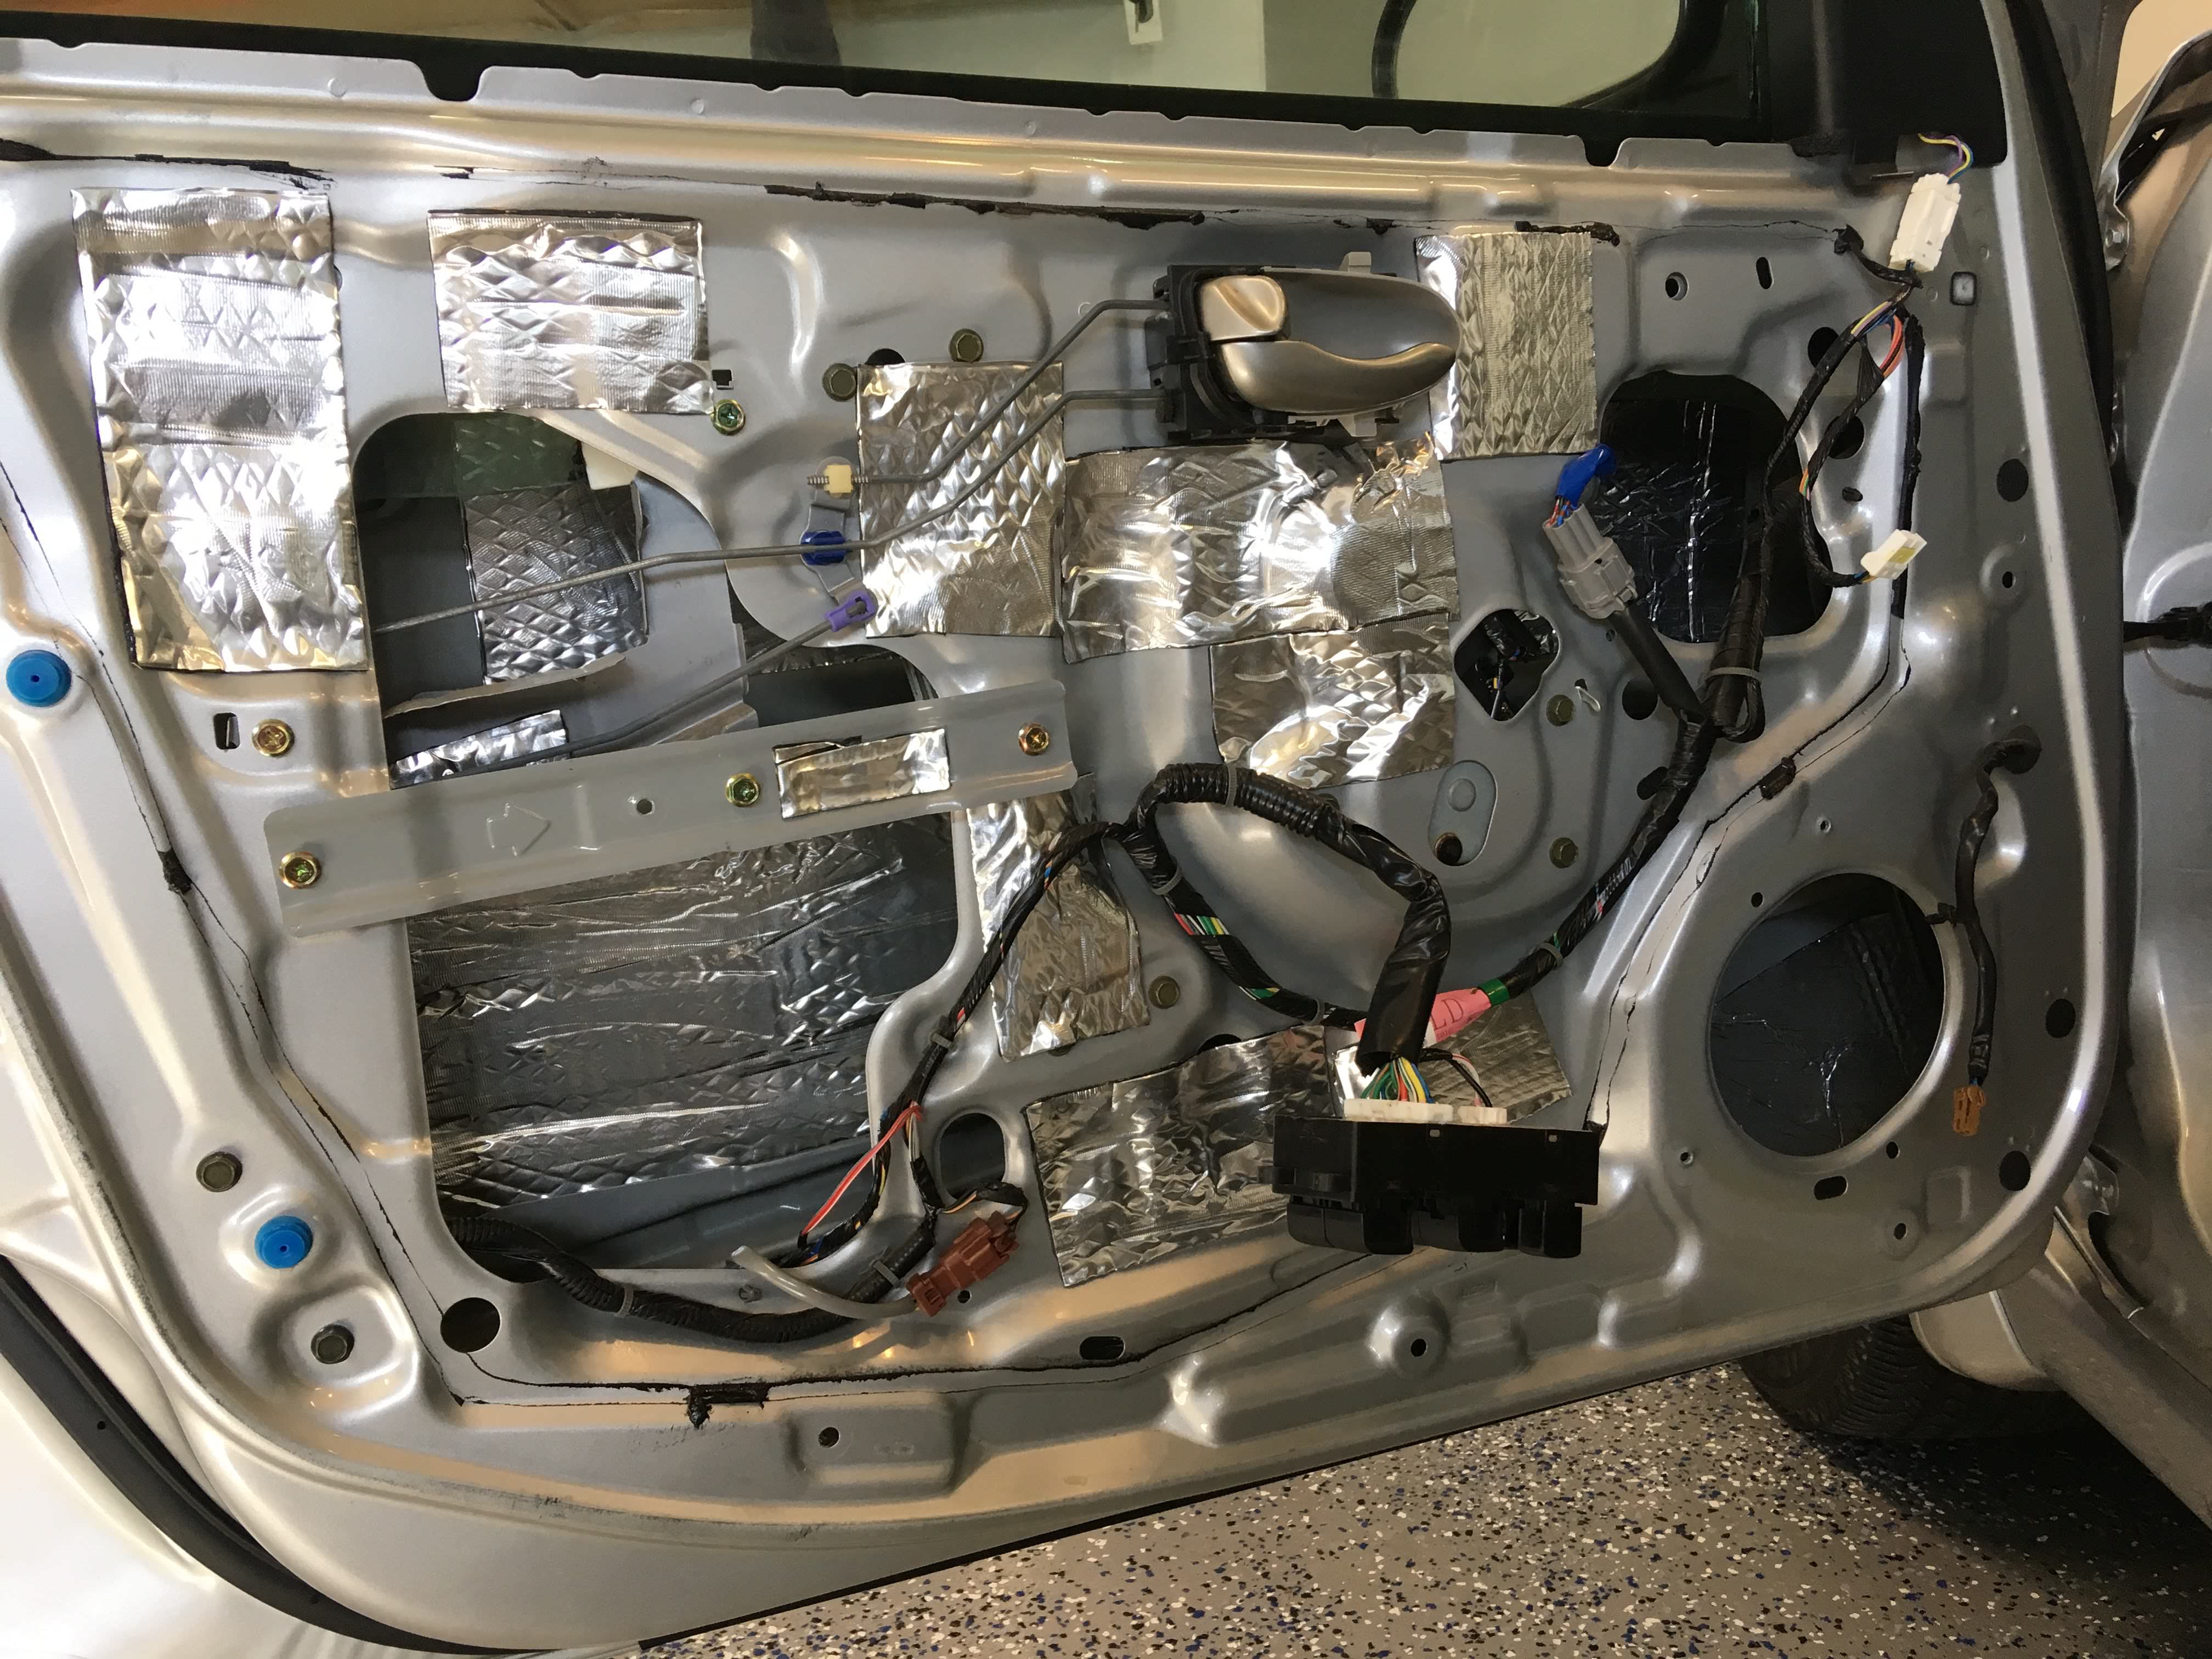
Front driver door:This image has been resized. Click this bar to view the full image. The original image is sized %1%2.
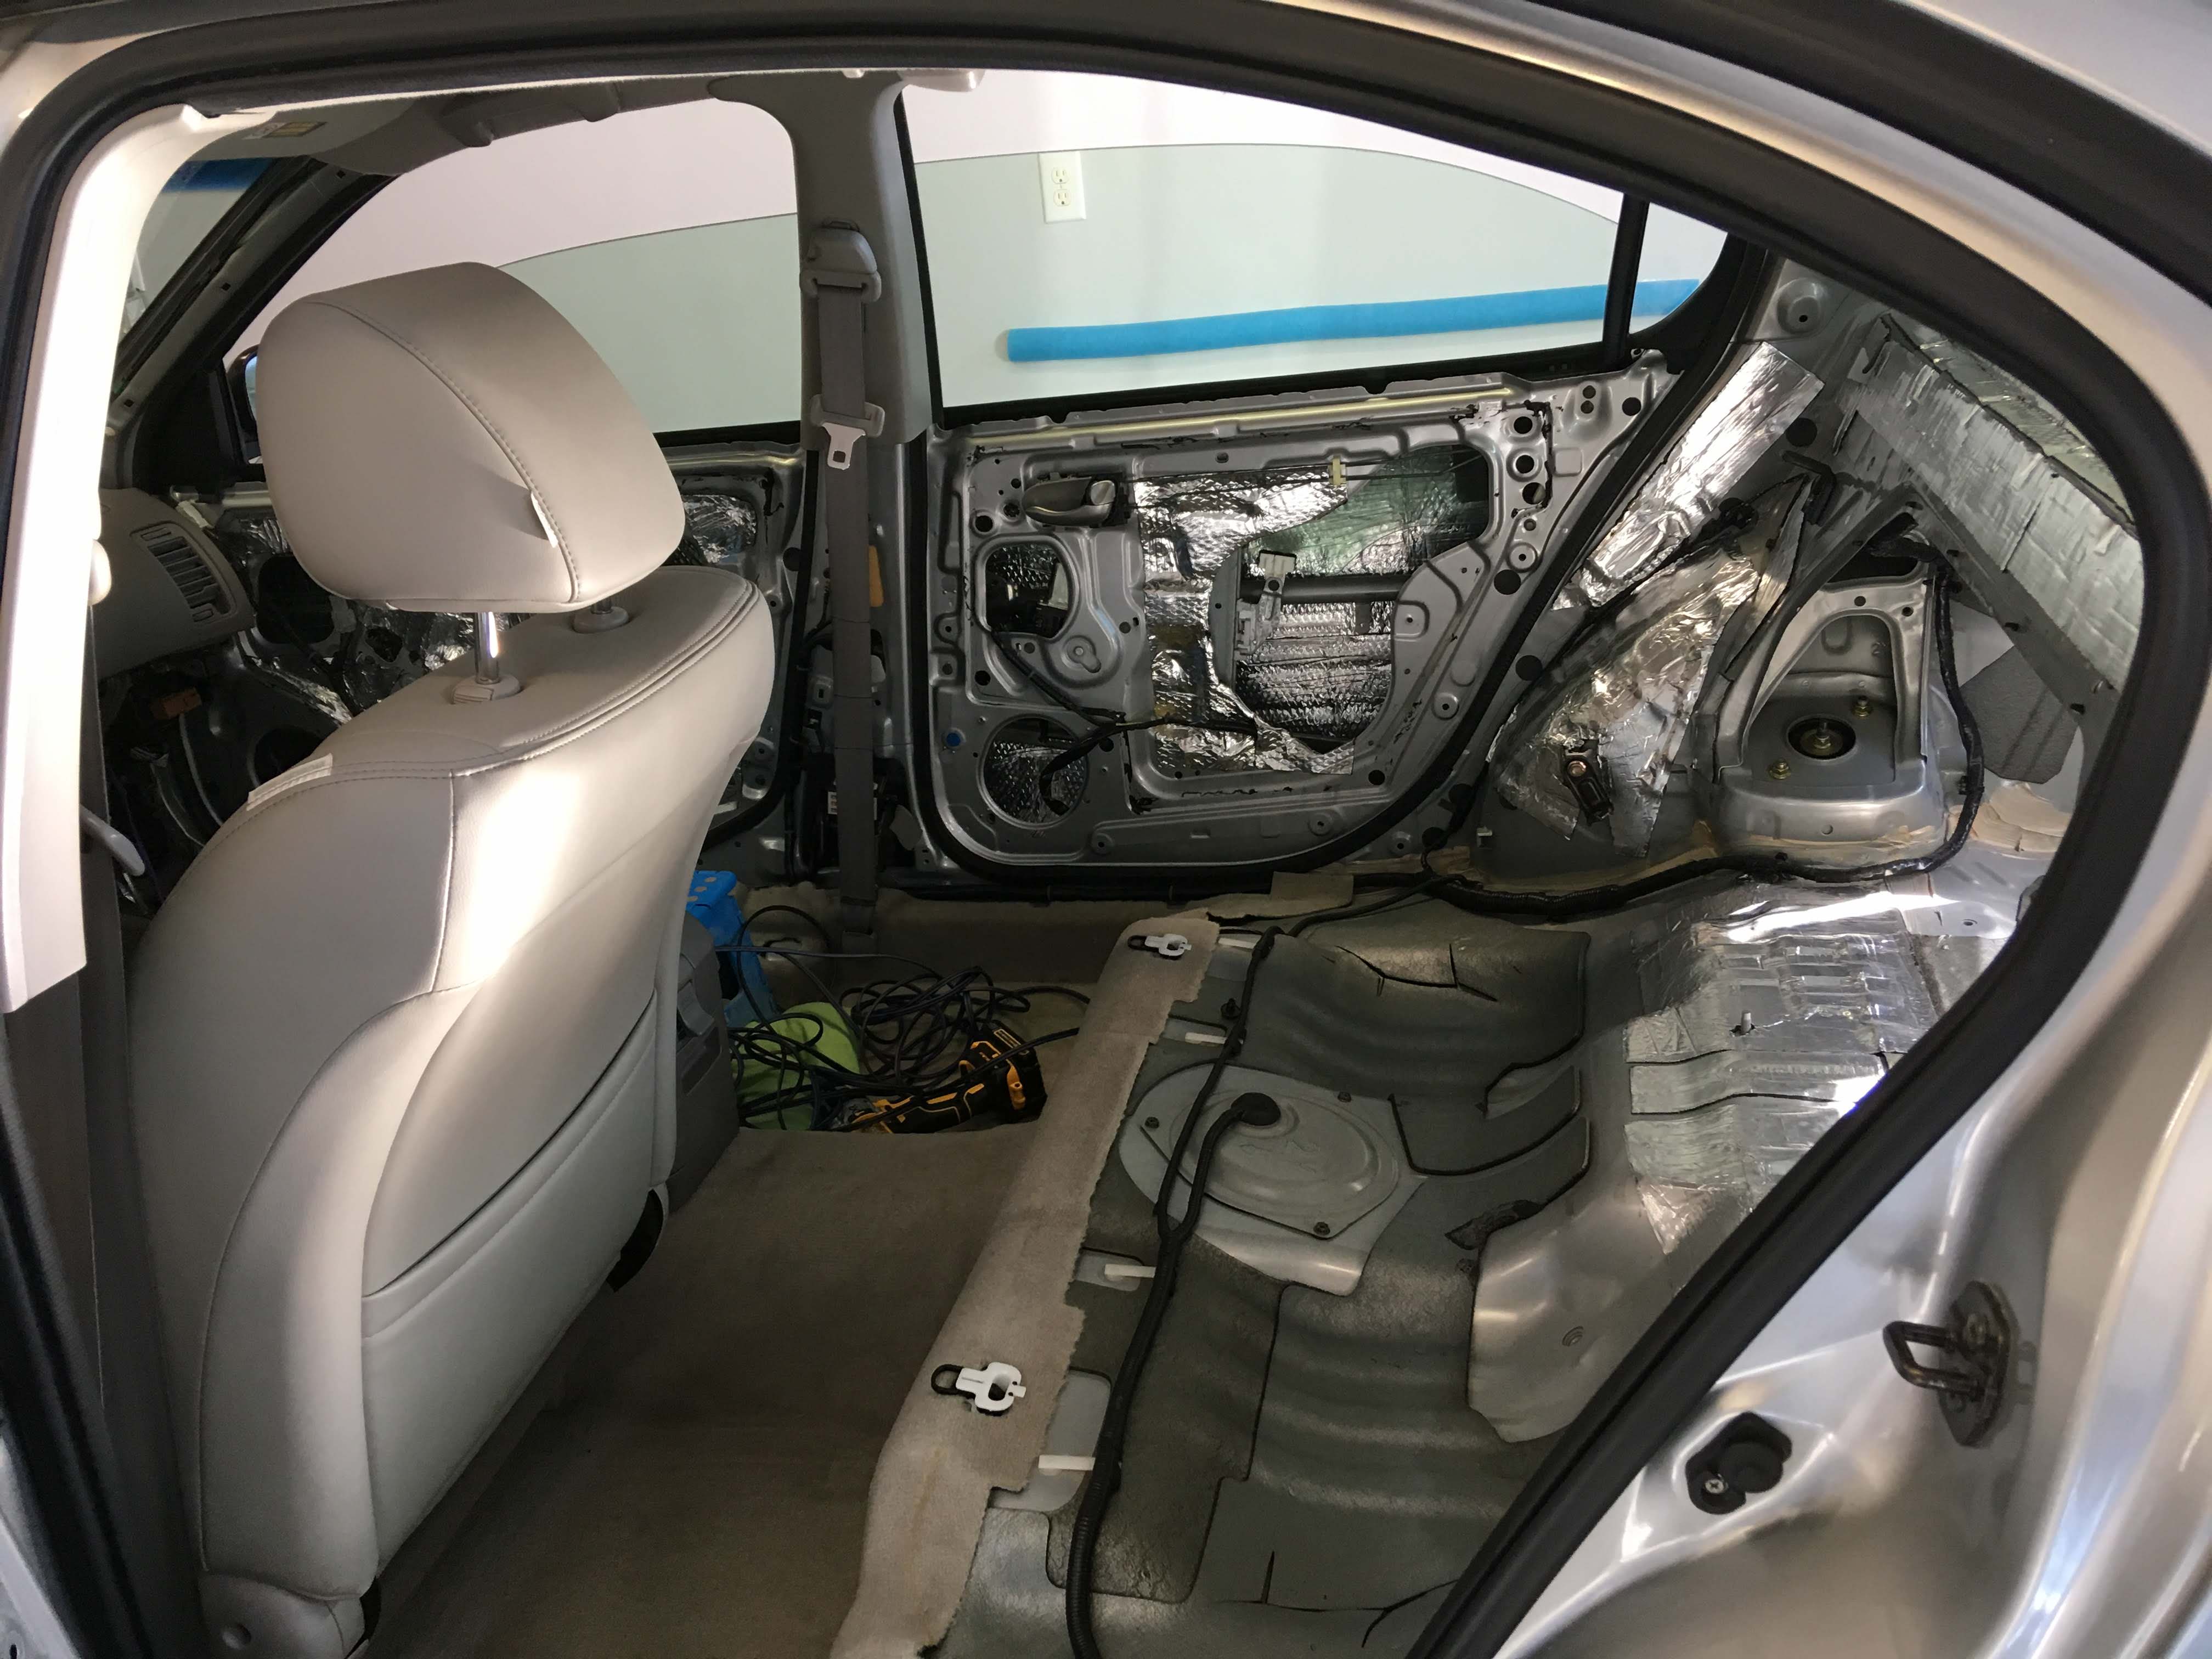
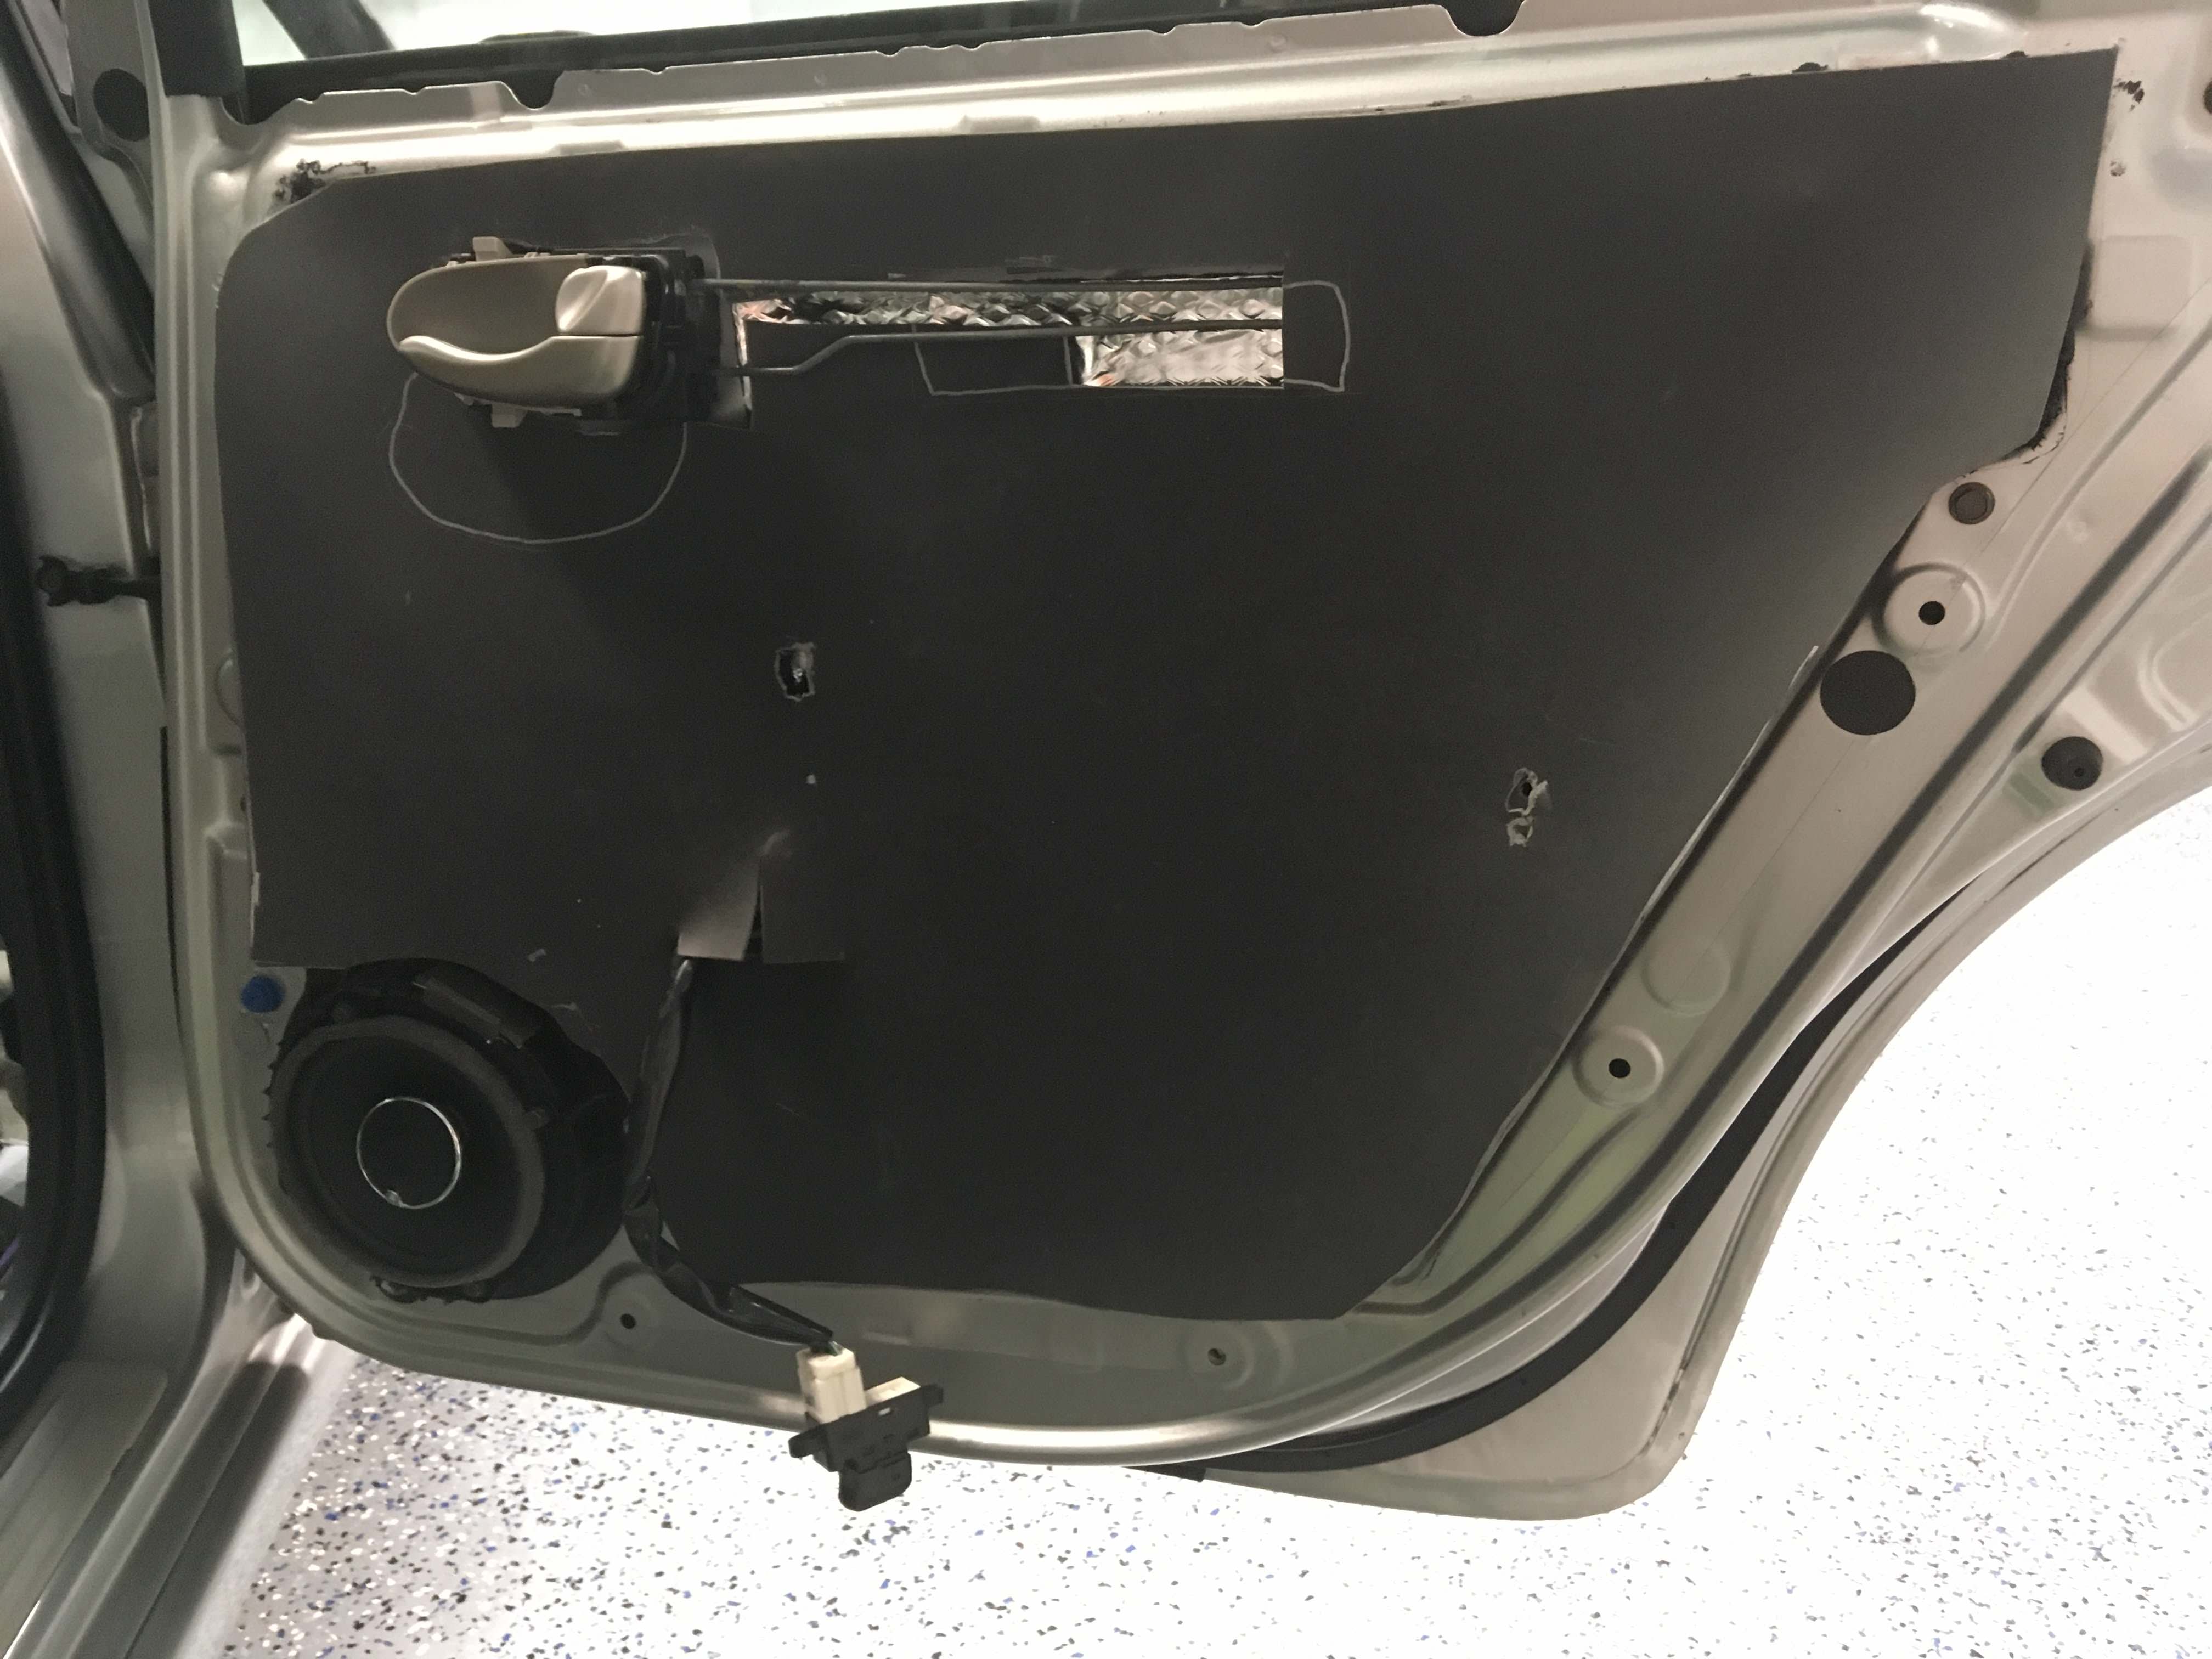
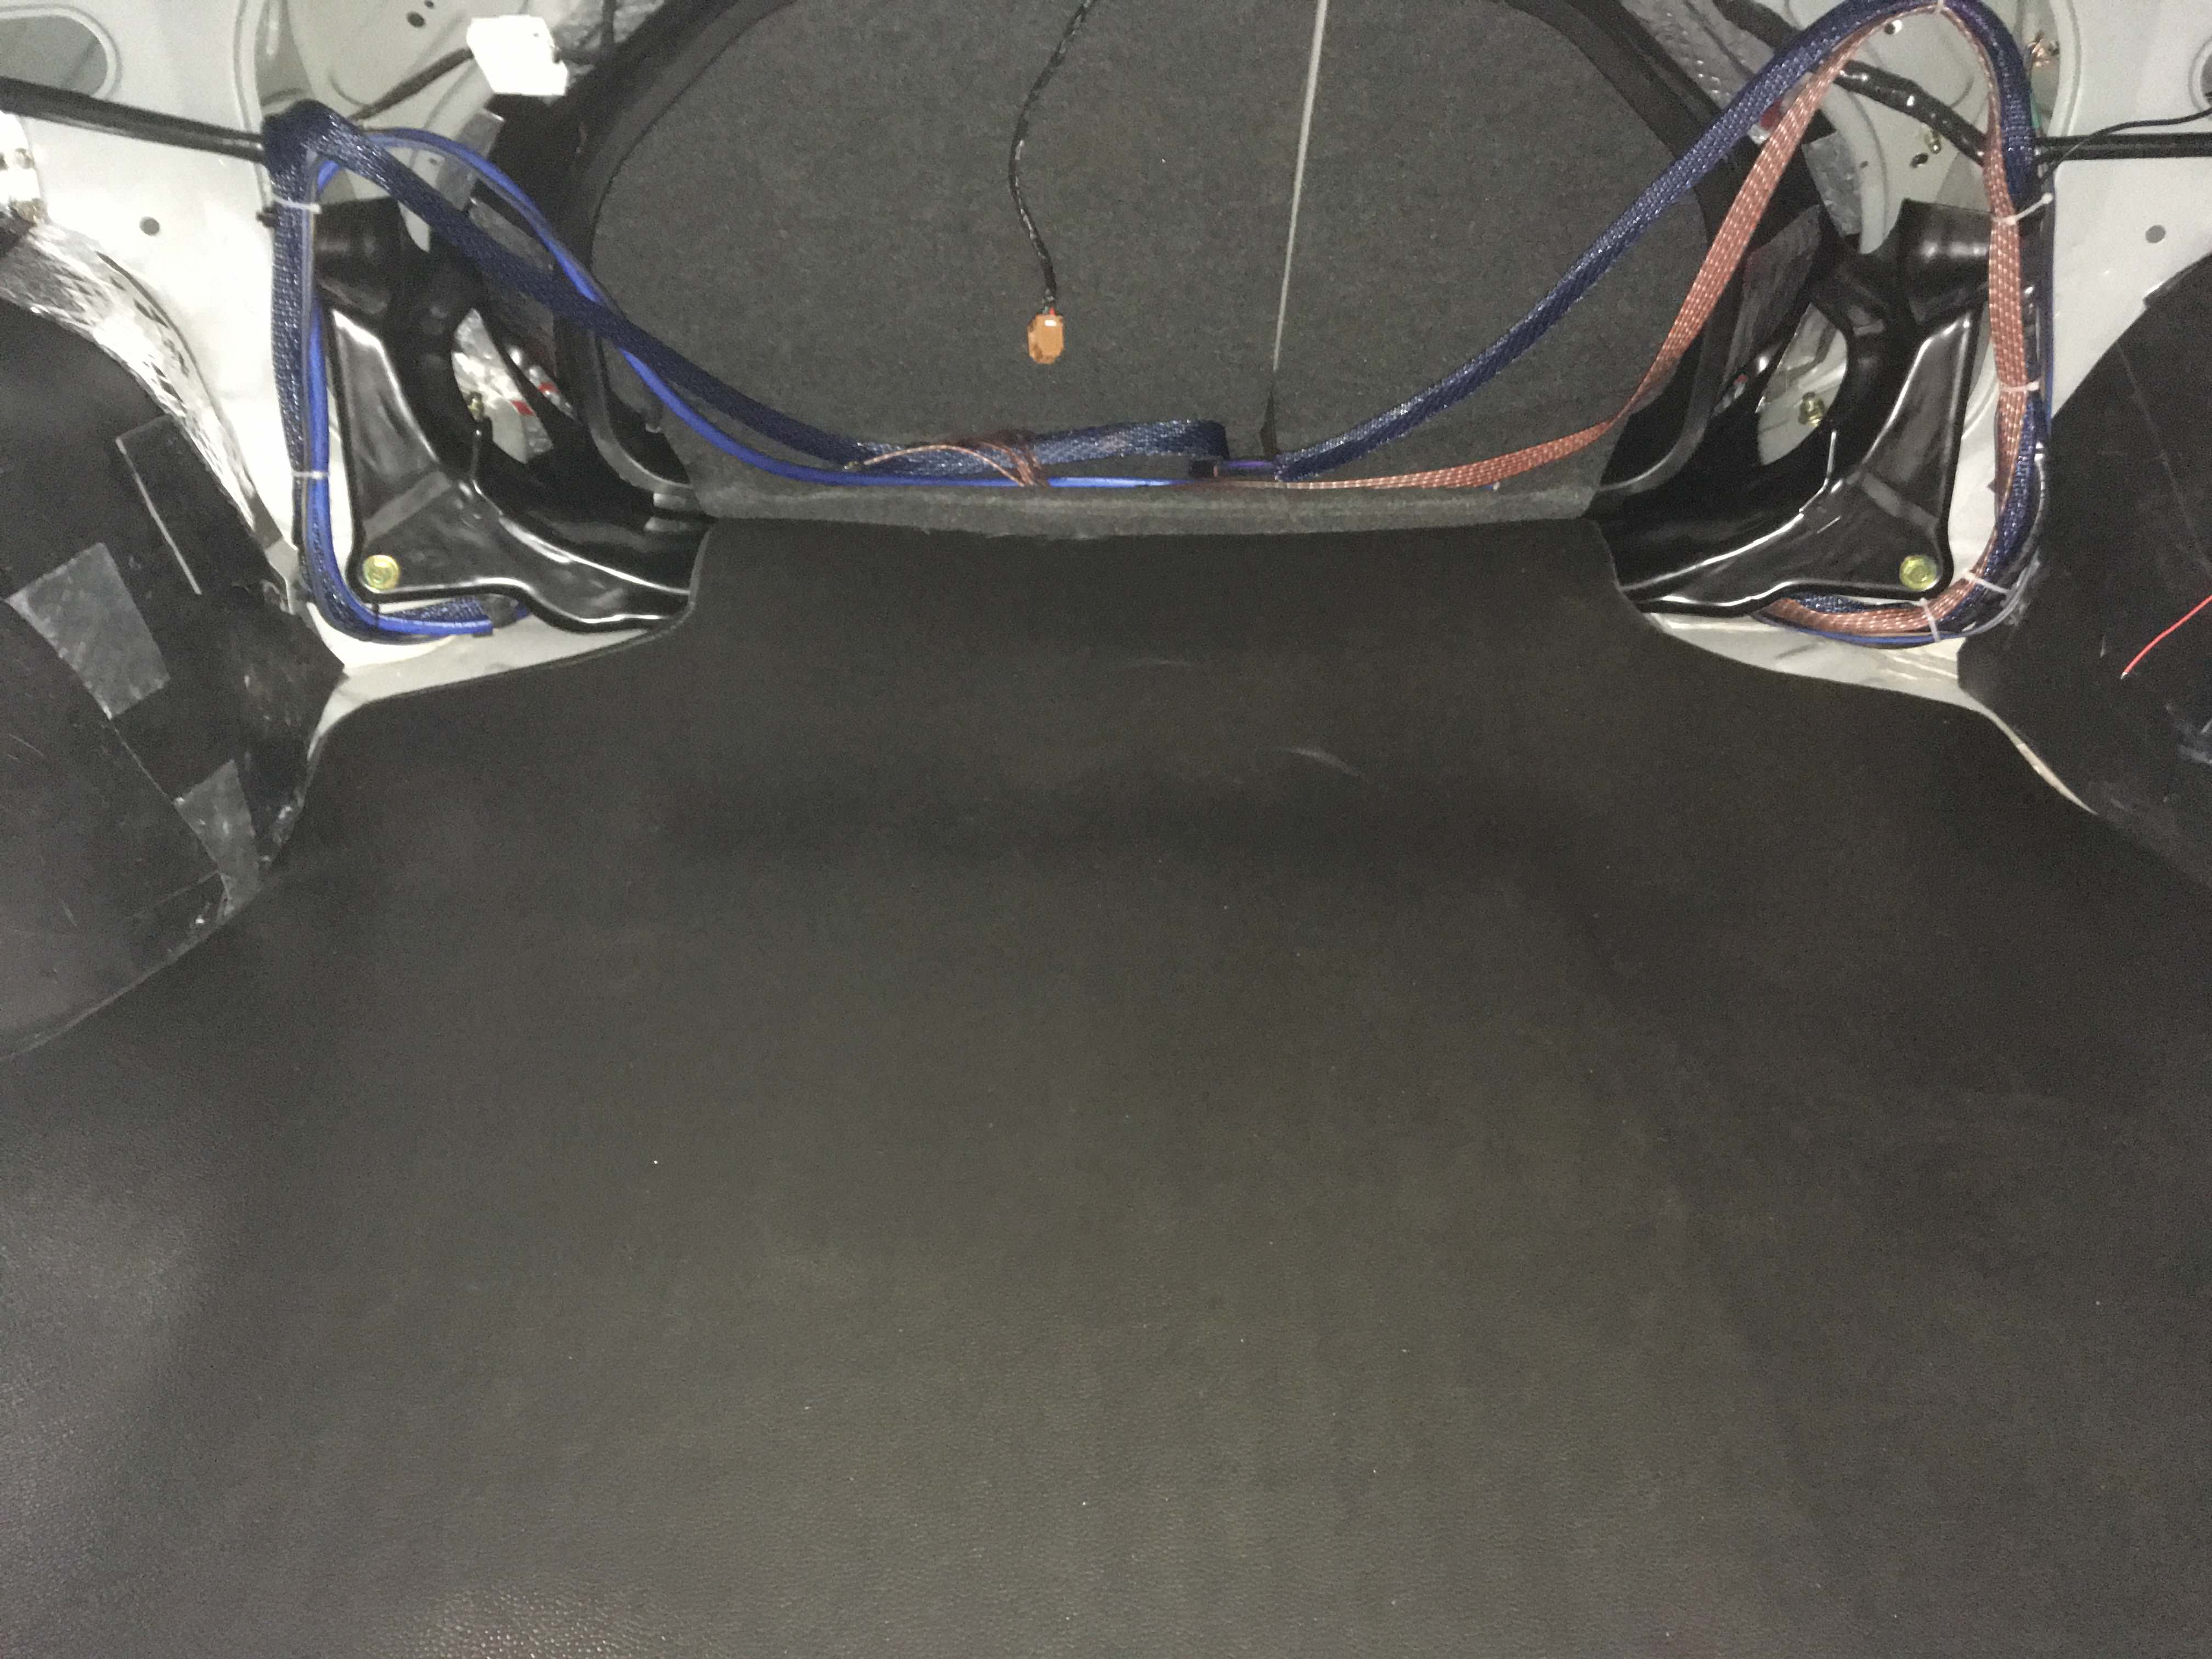
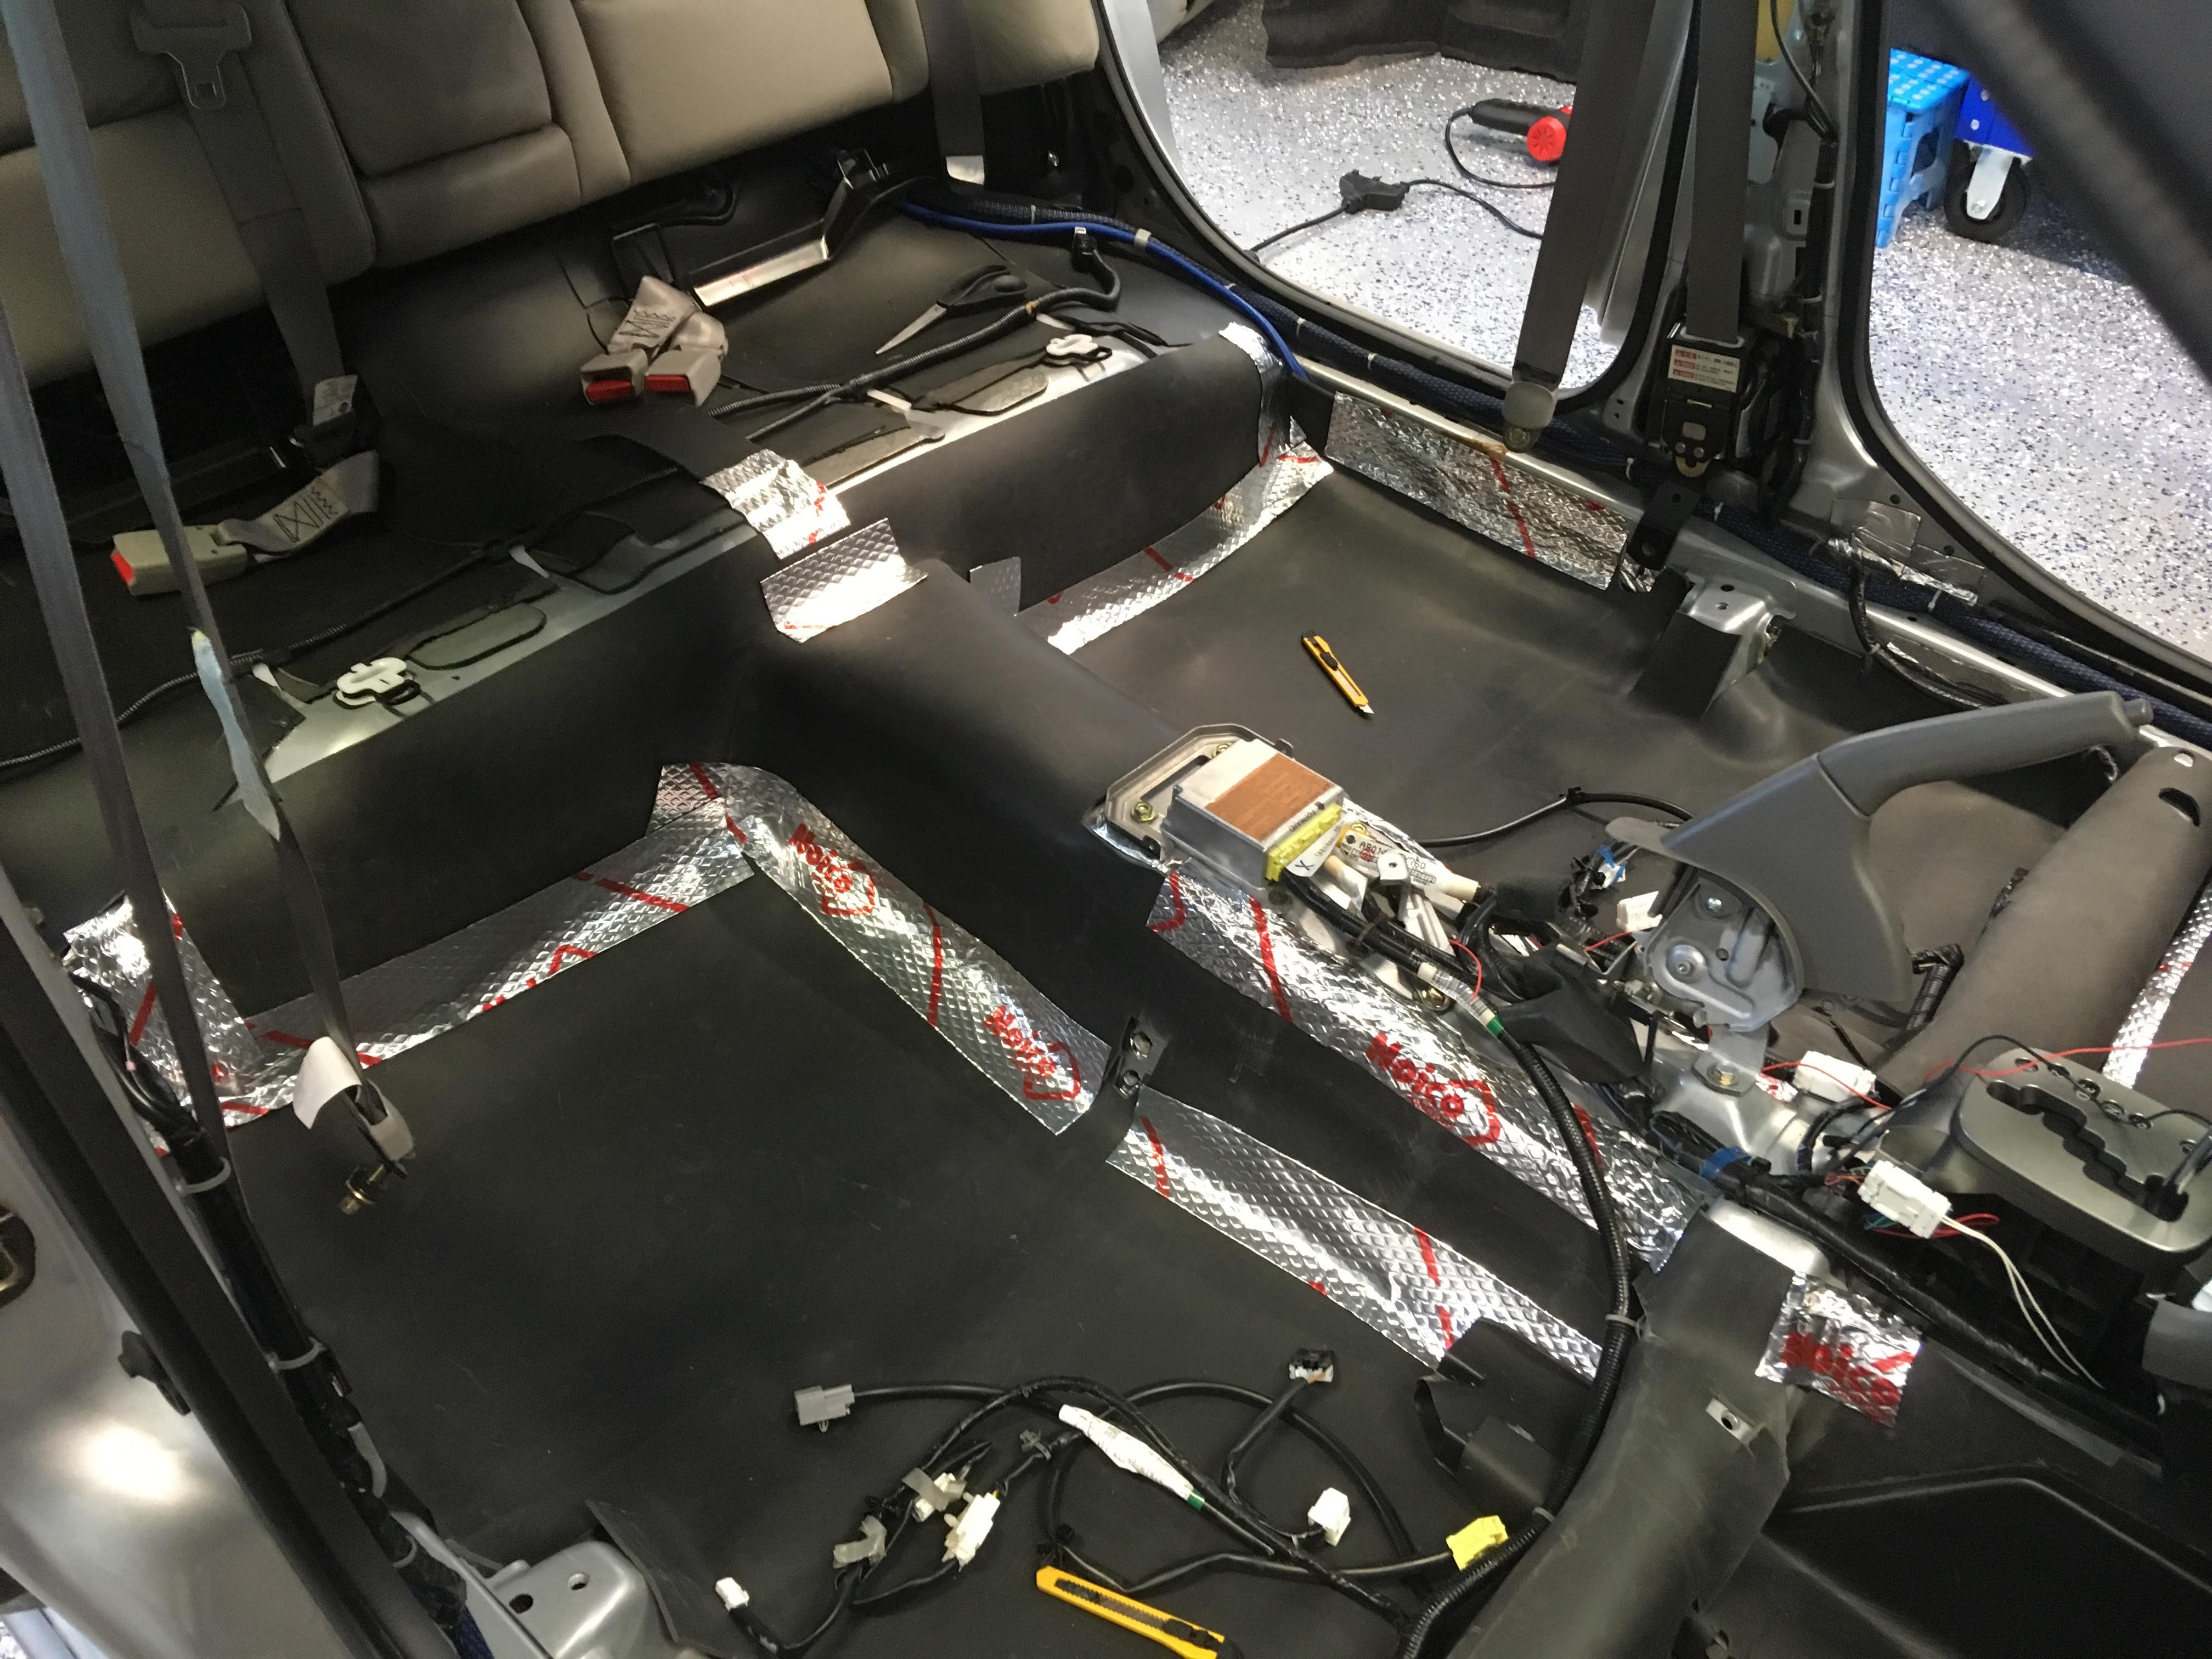
Rear:This image has been resized. Click this bar to view the full image. The original image is sized %1%2.This image has been resized. Click this bar to view the full image. The original image is sized %1%2.
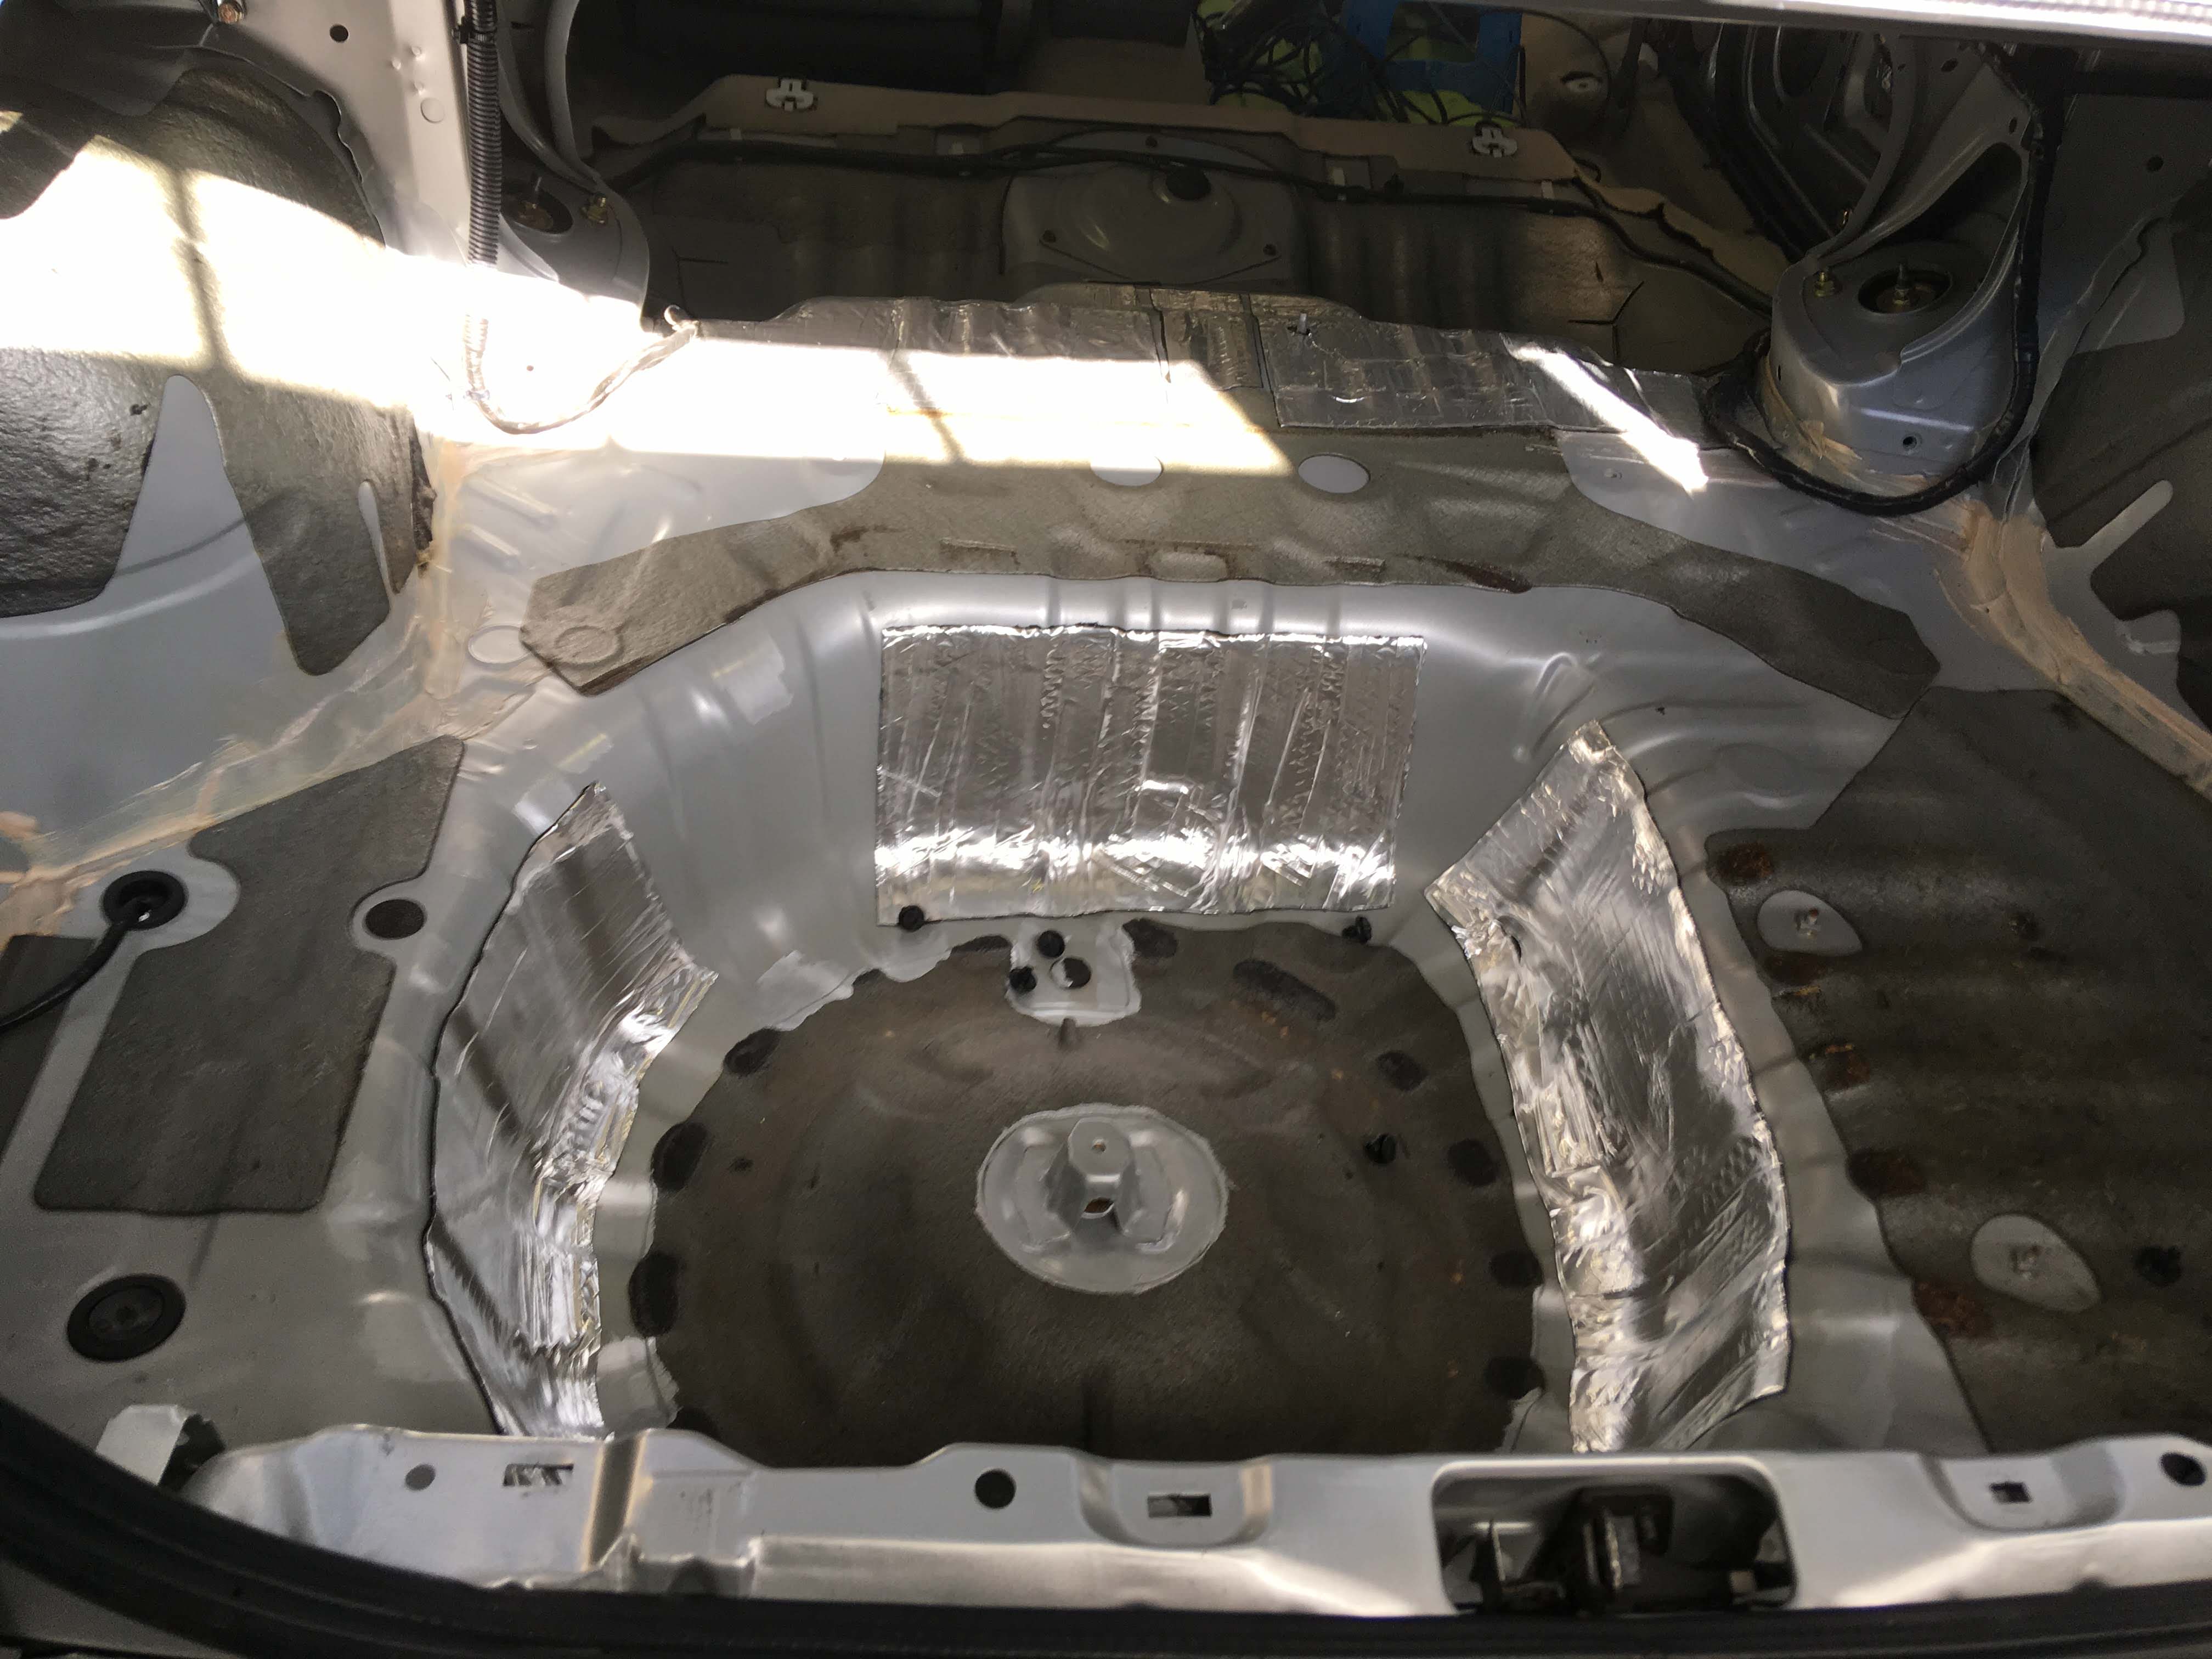
Trunk:This image has been resized. Click this bar to view the full image. The original image is sized %1%2.
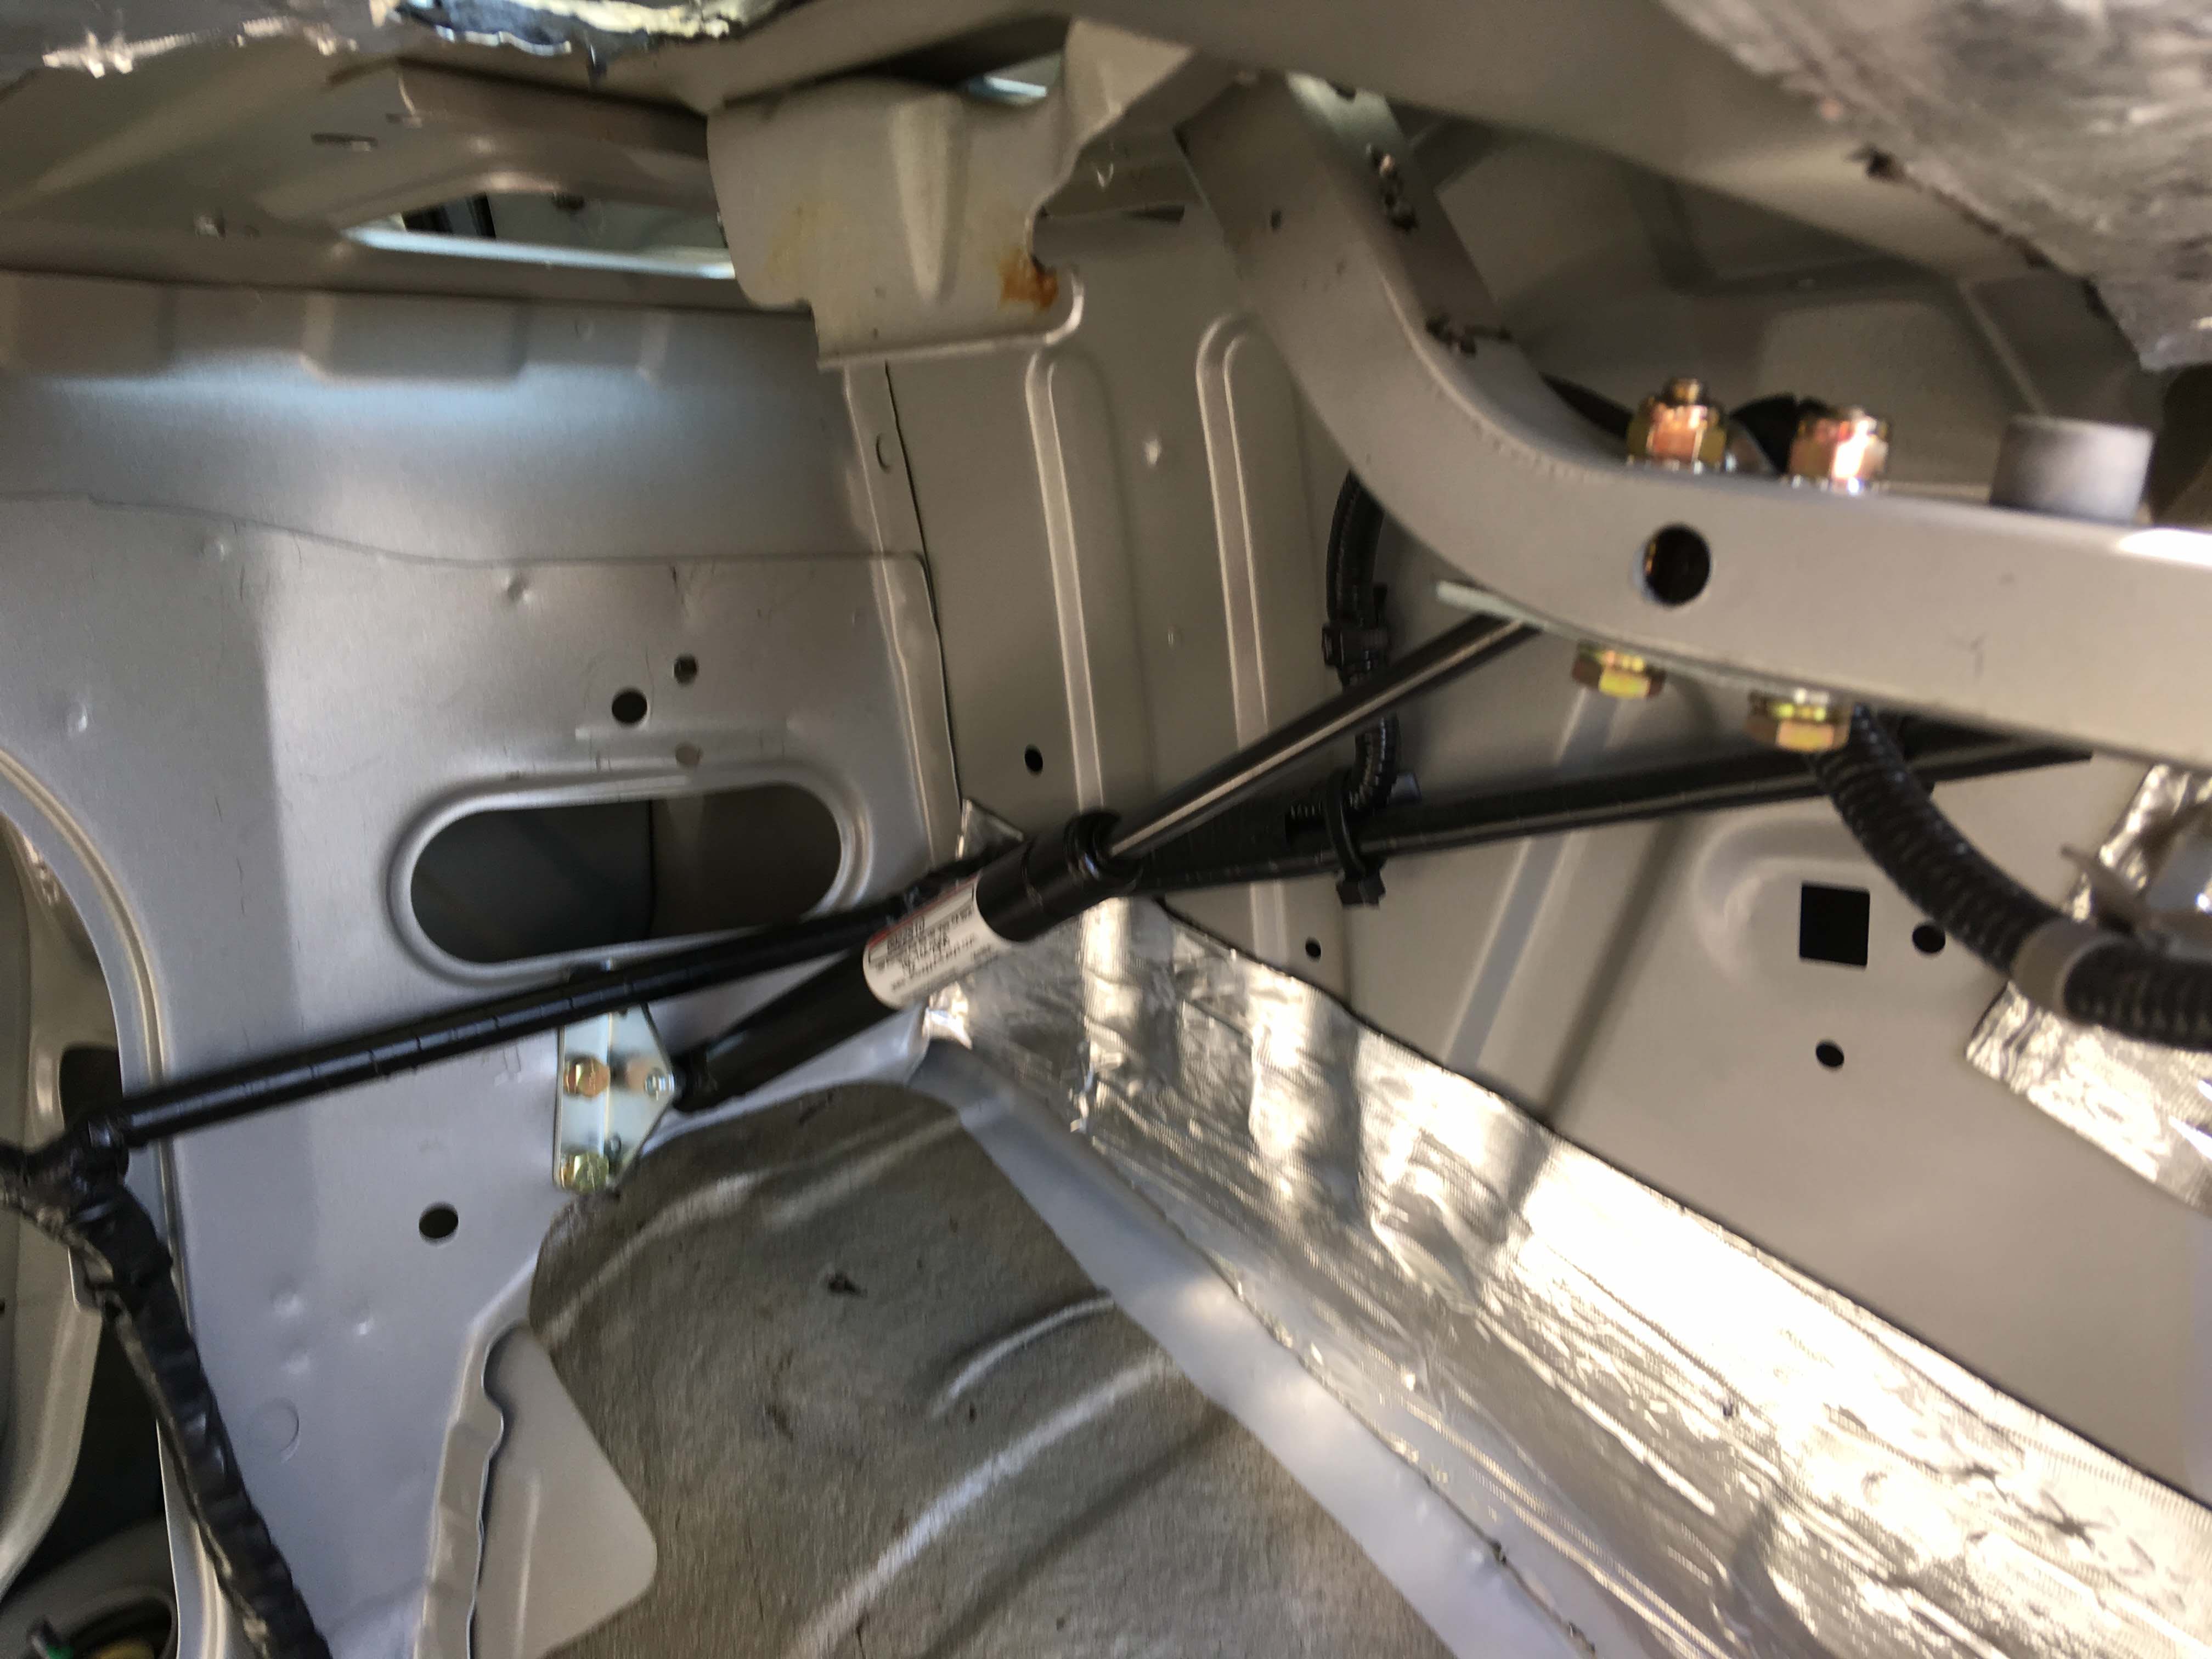
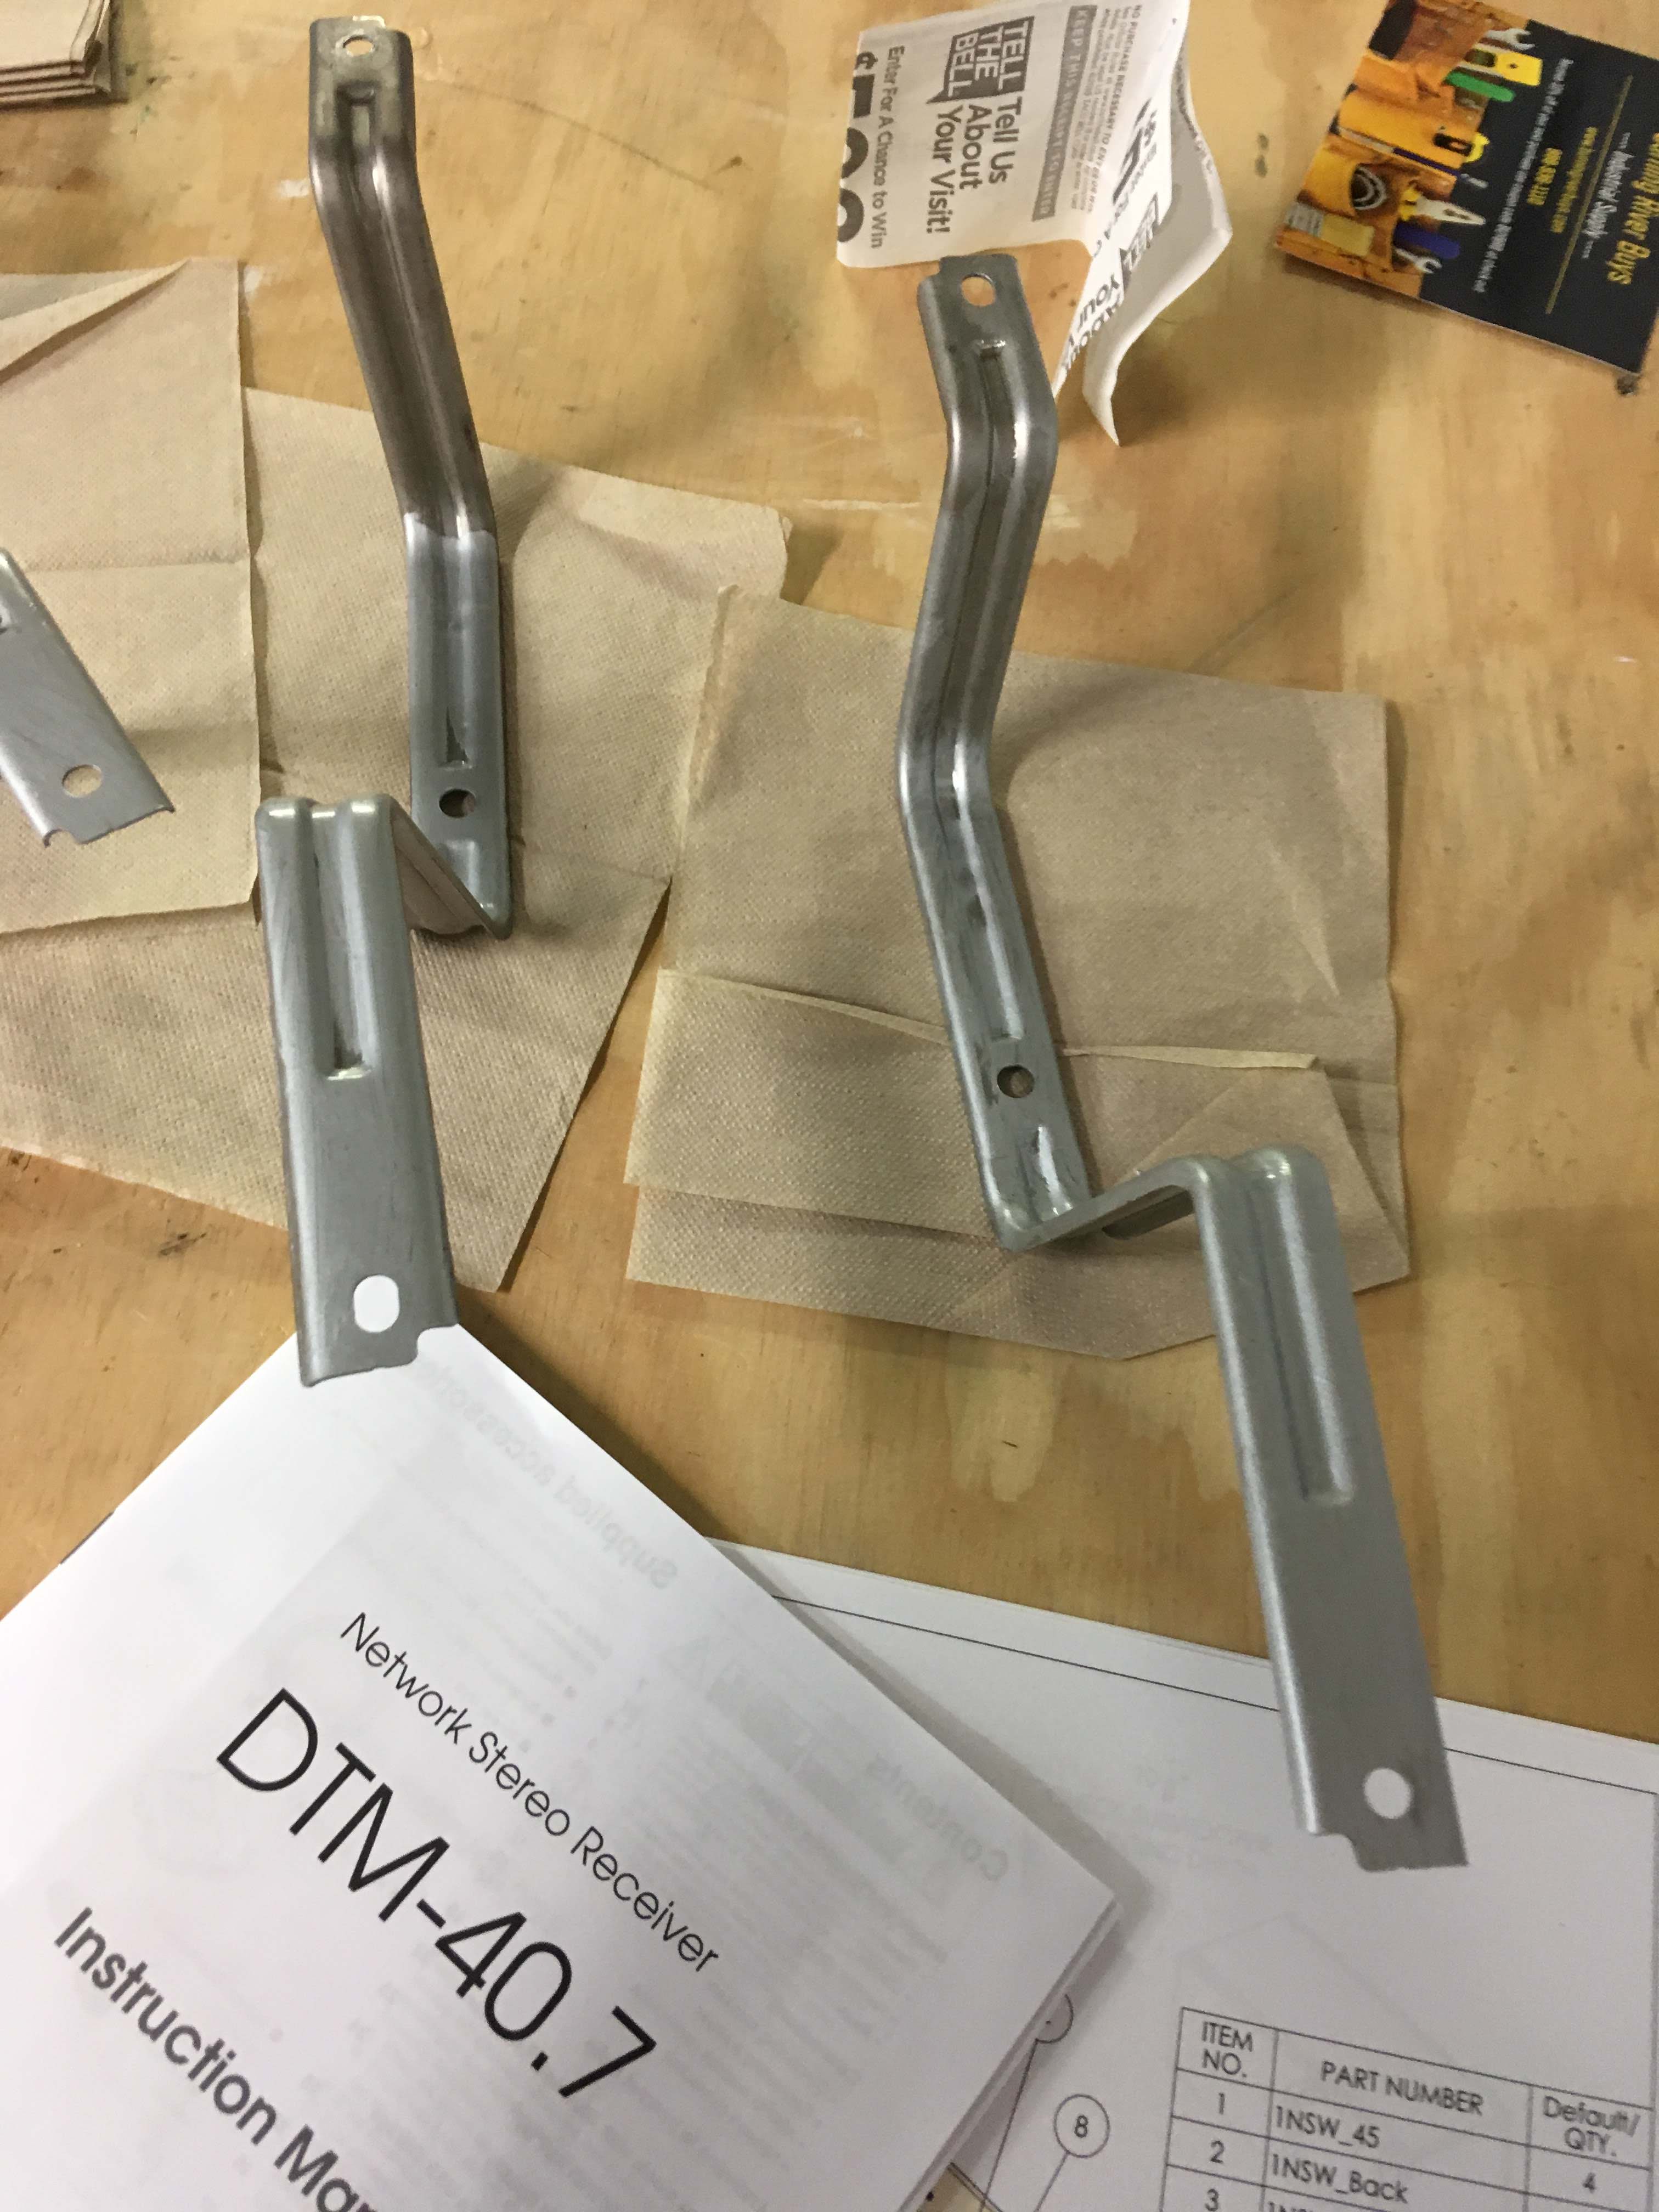
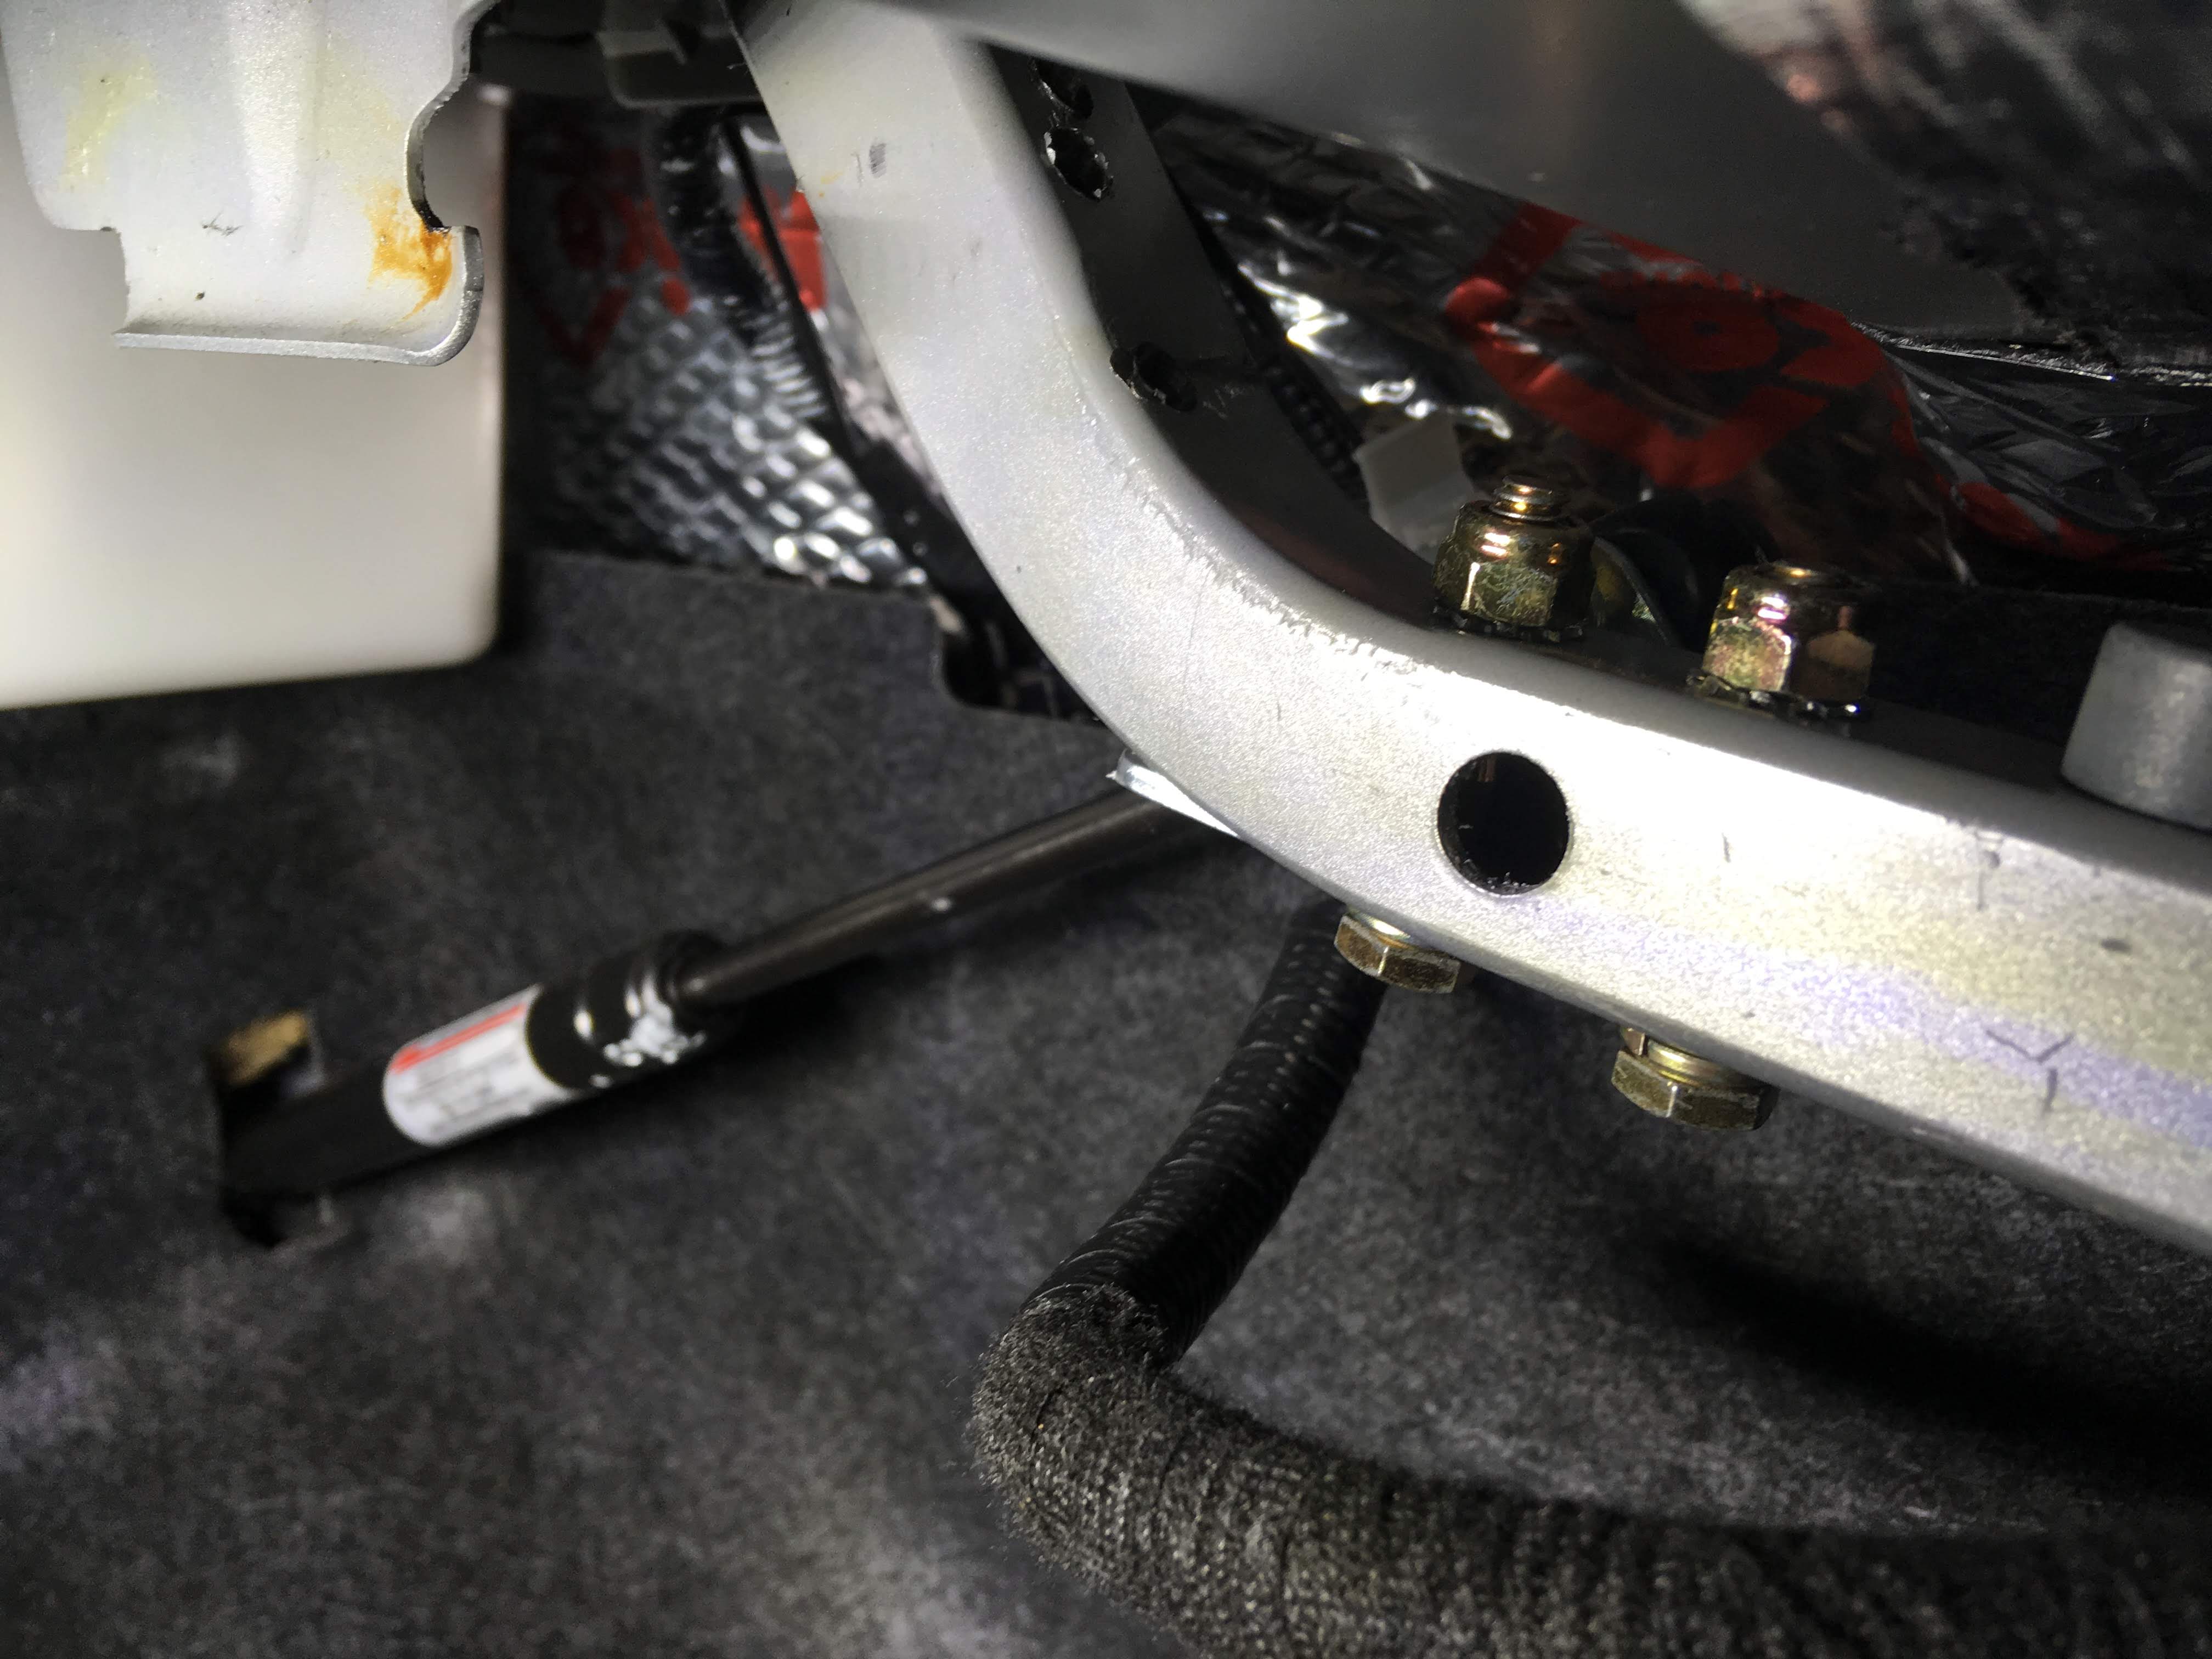
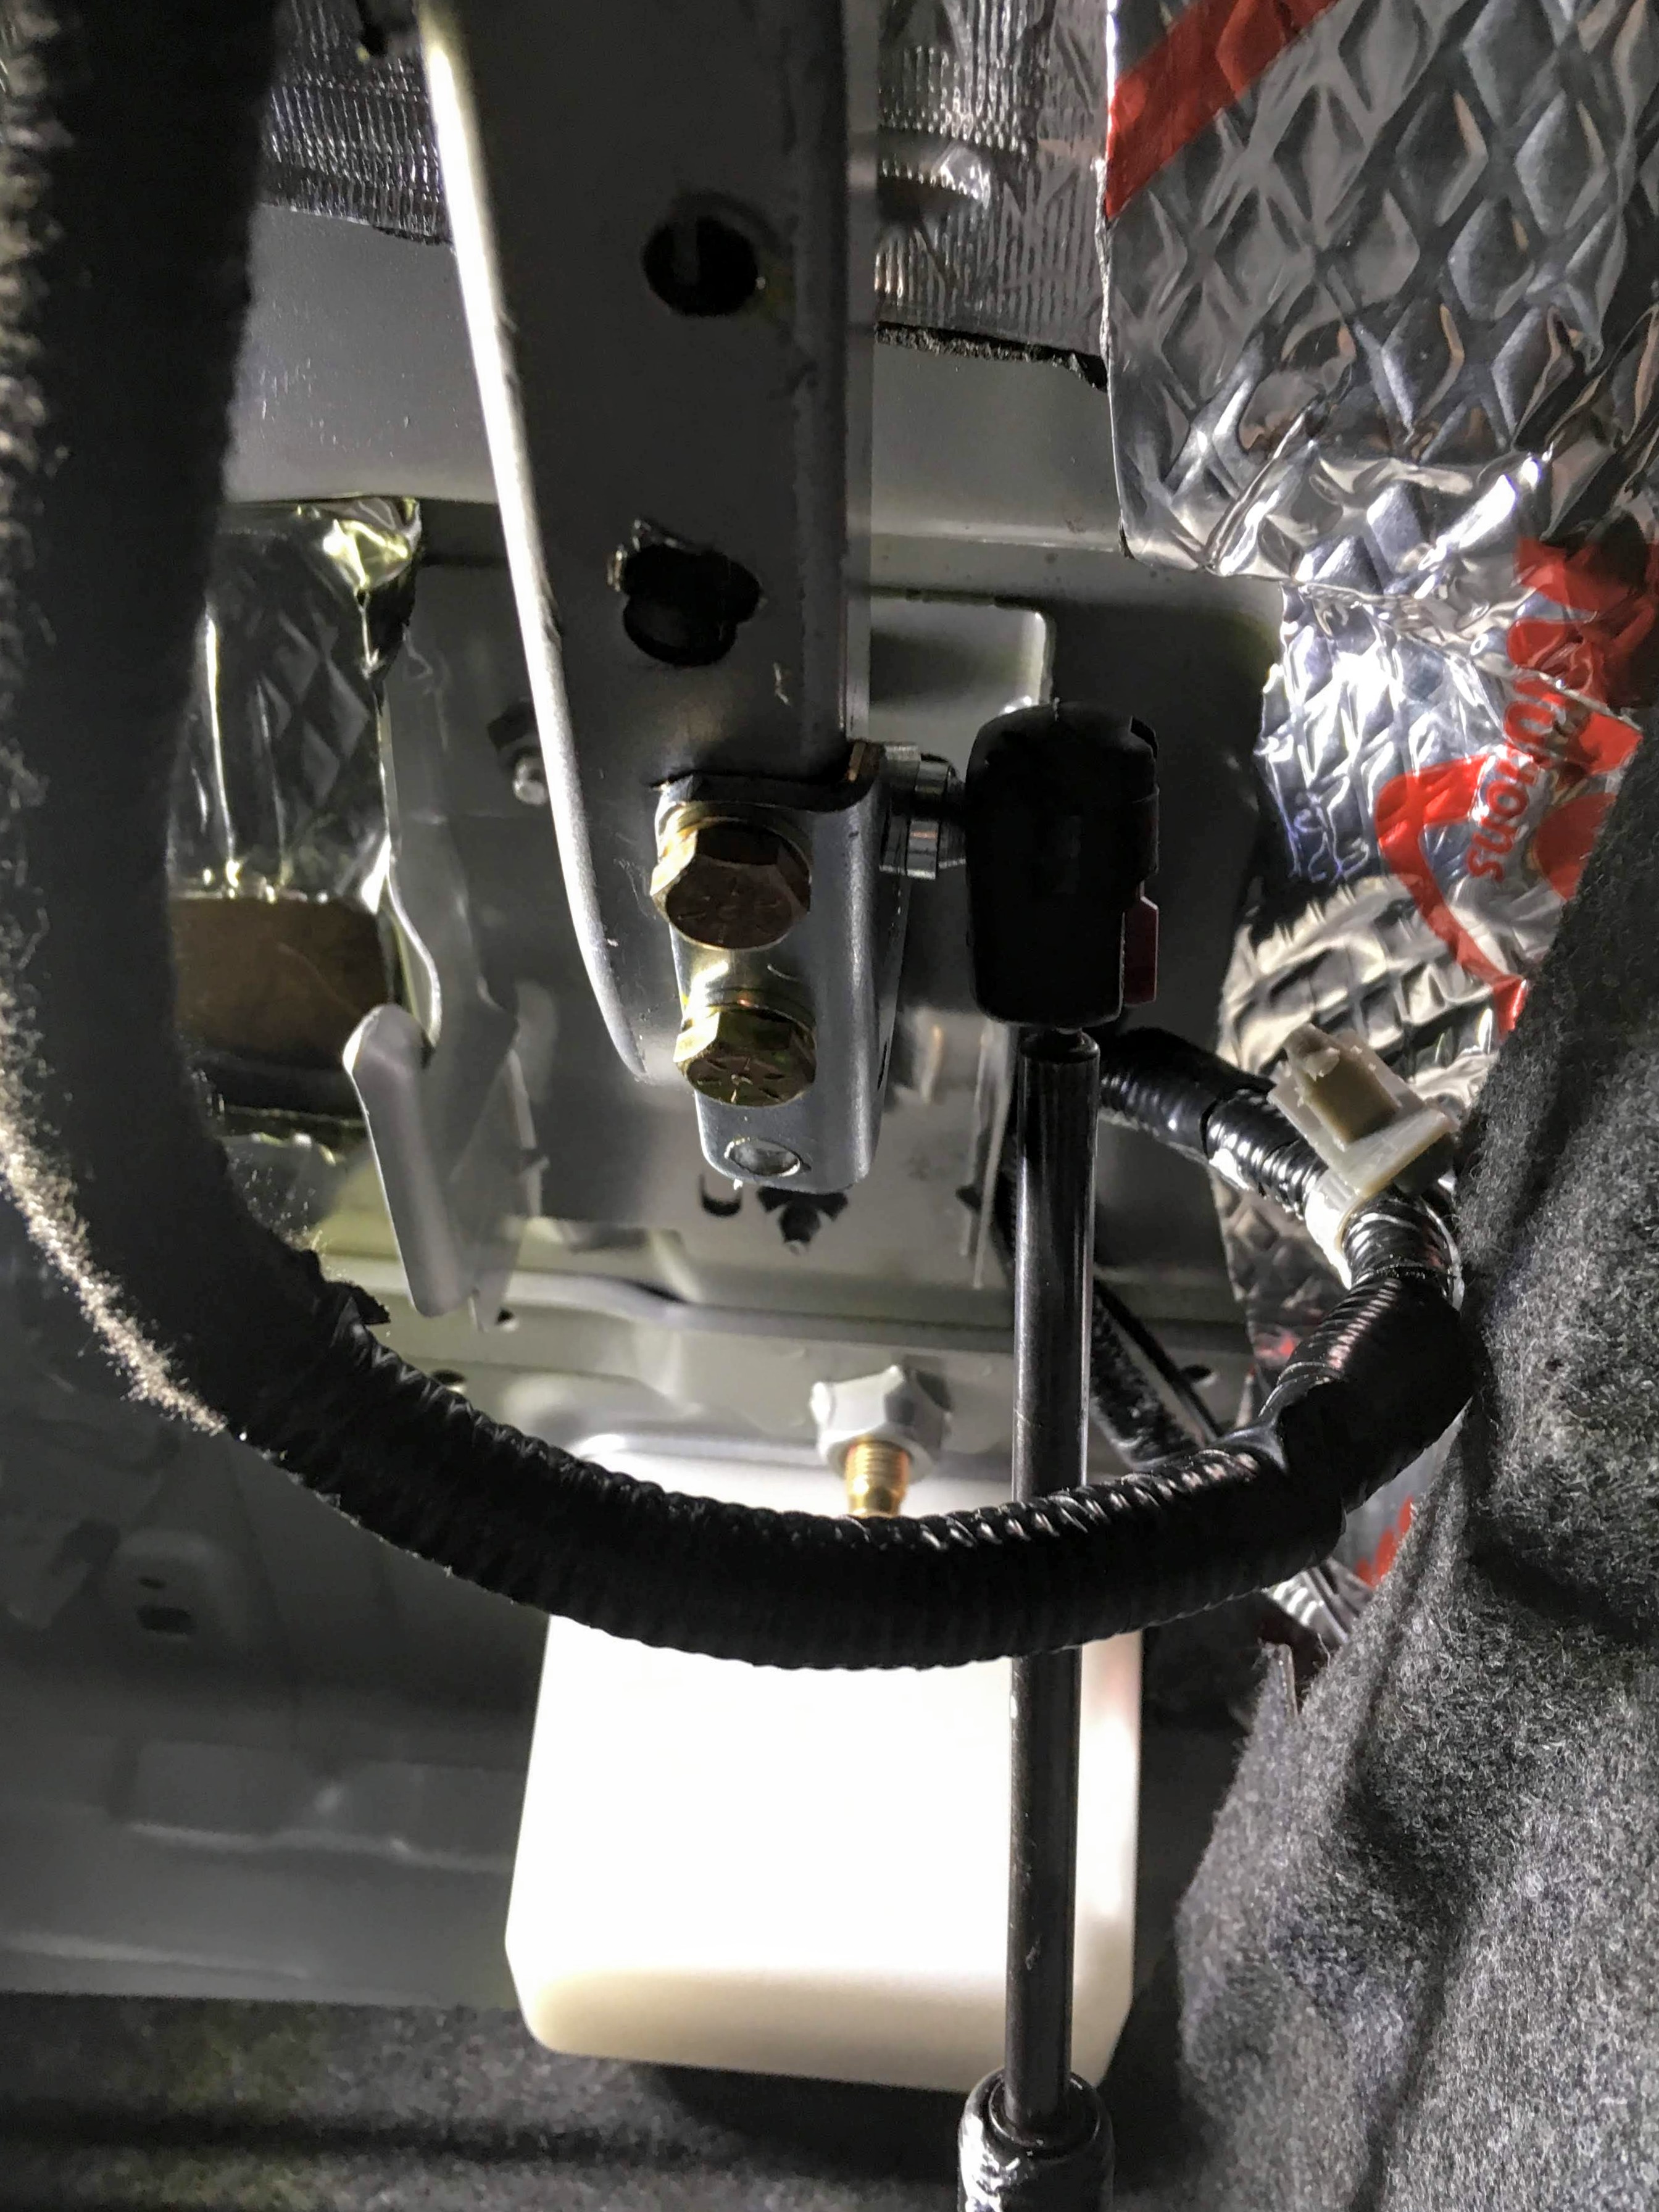
Also, while tooling around in the trunk, I cut the torsion bars off and replaced with gas struts:This image has been resized. Click this bar to view the full image. The original image is sized %1%2.
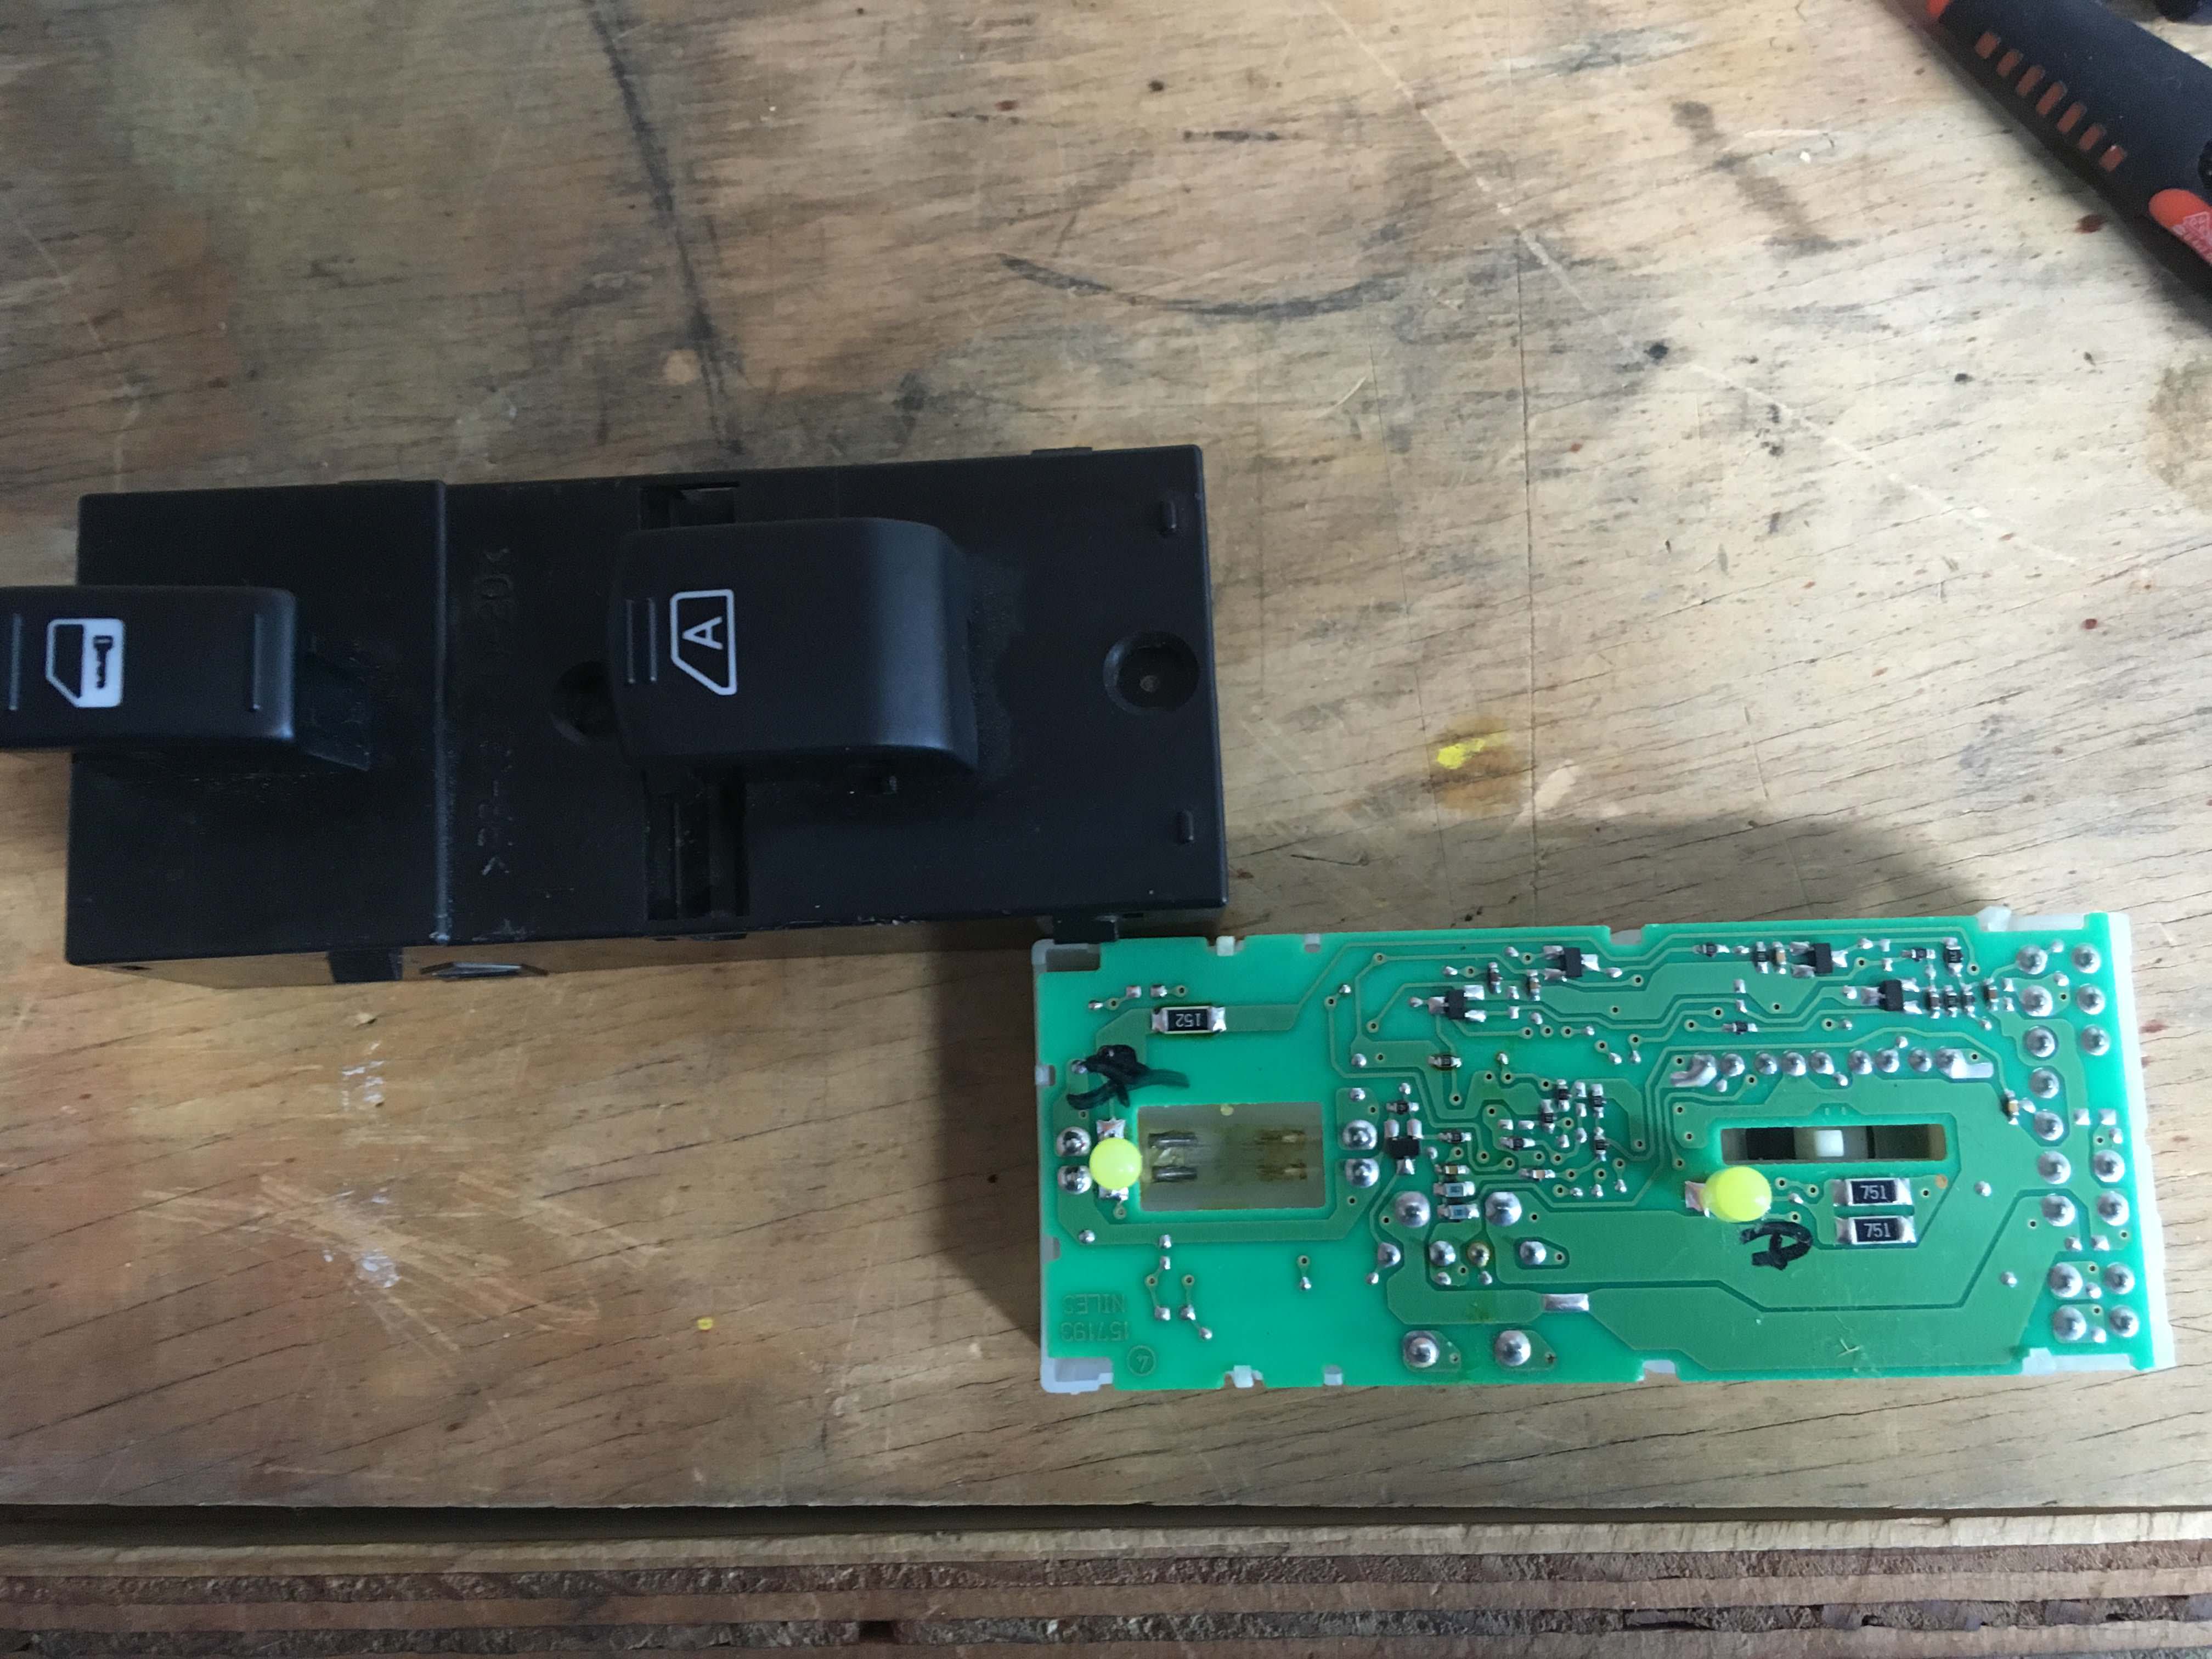
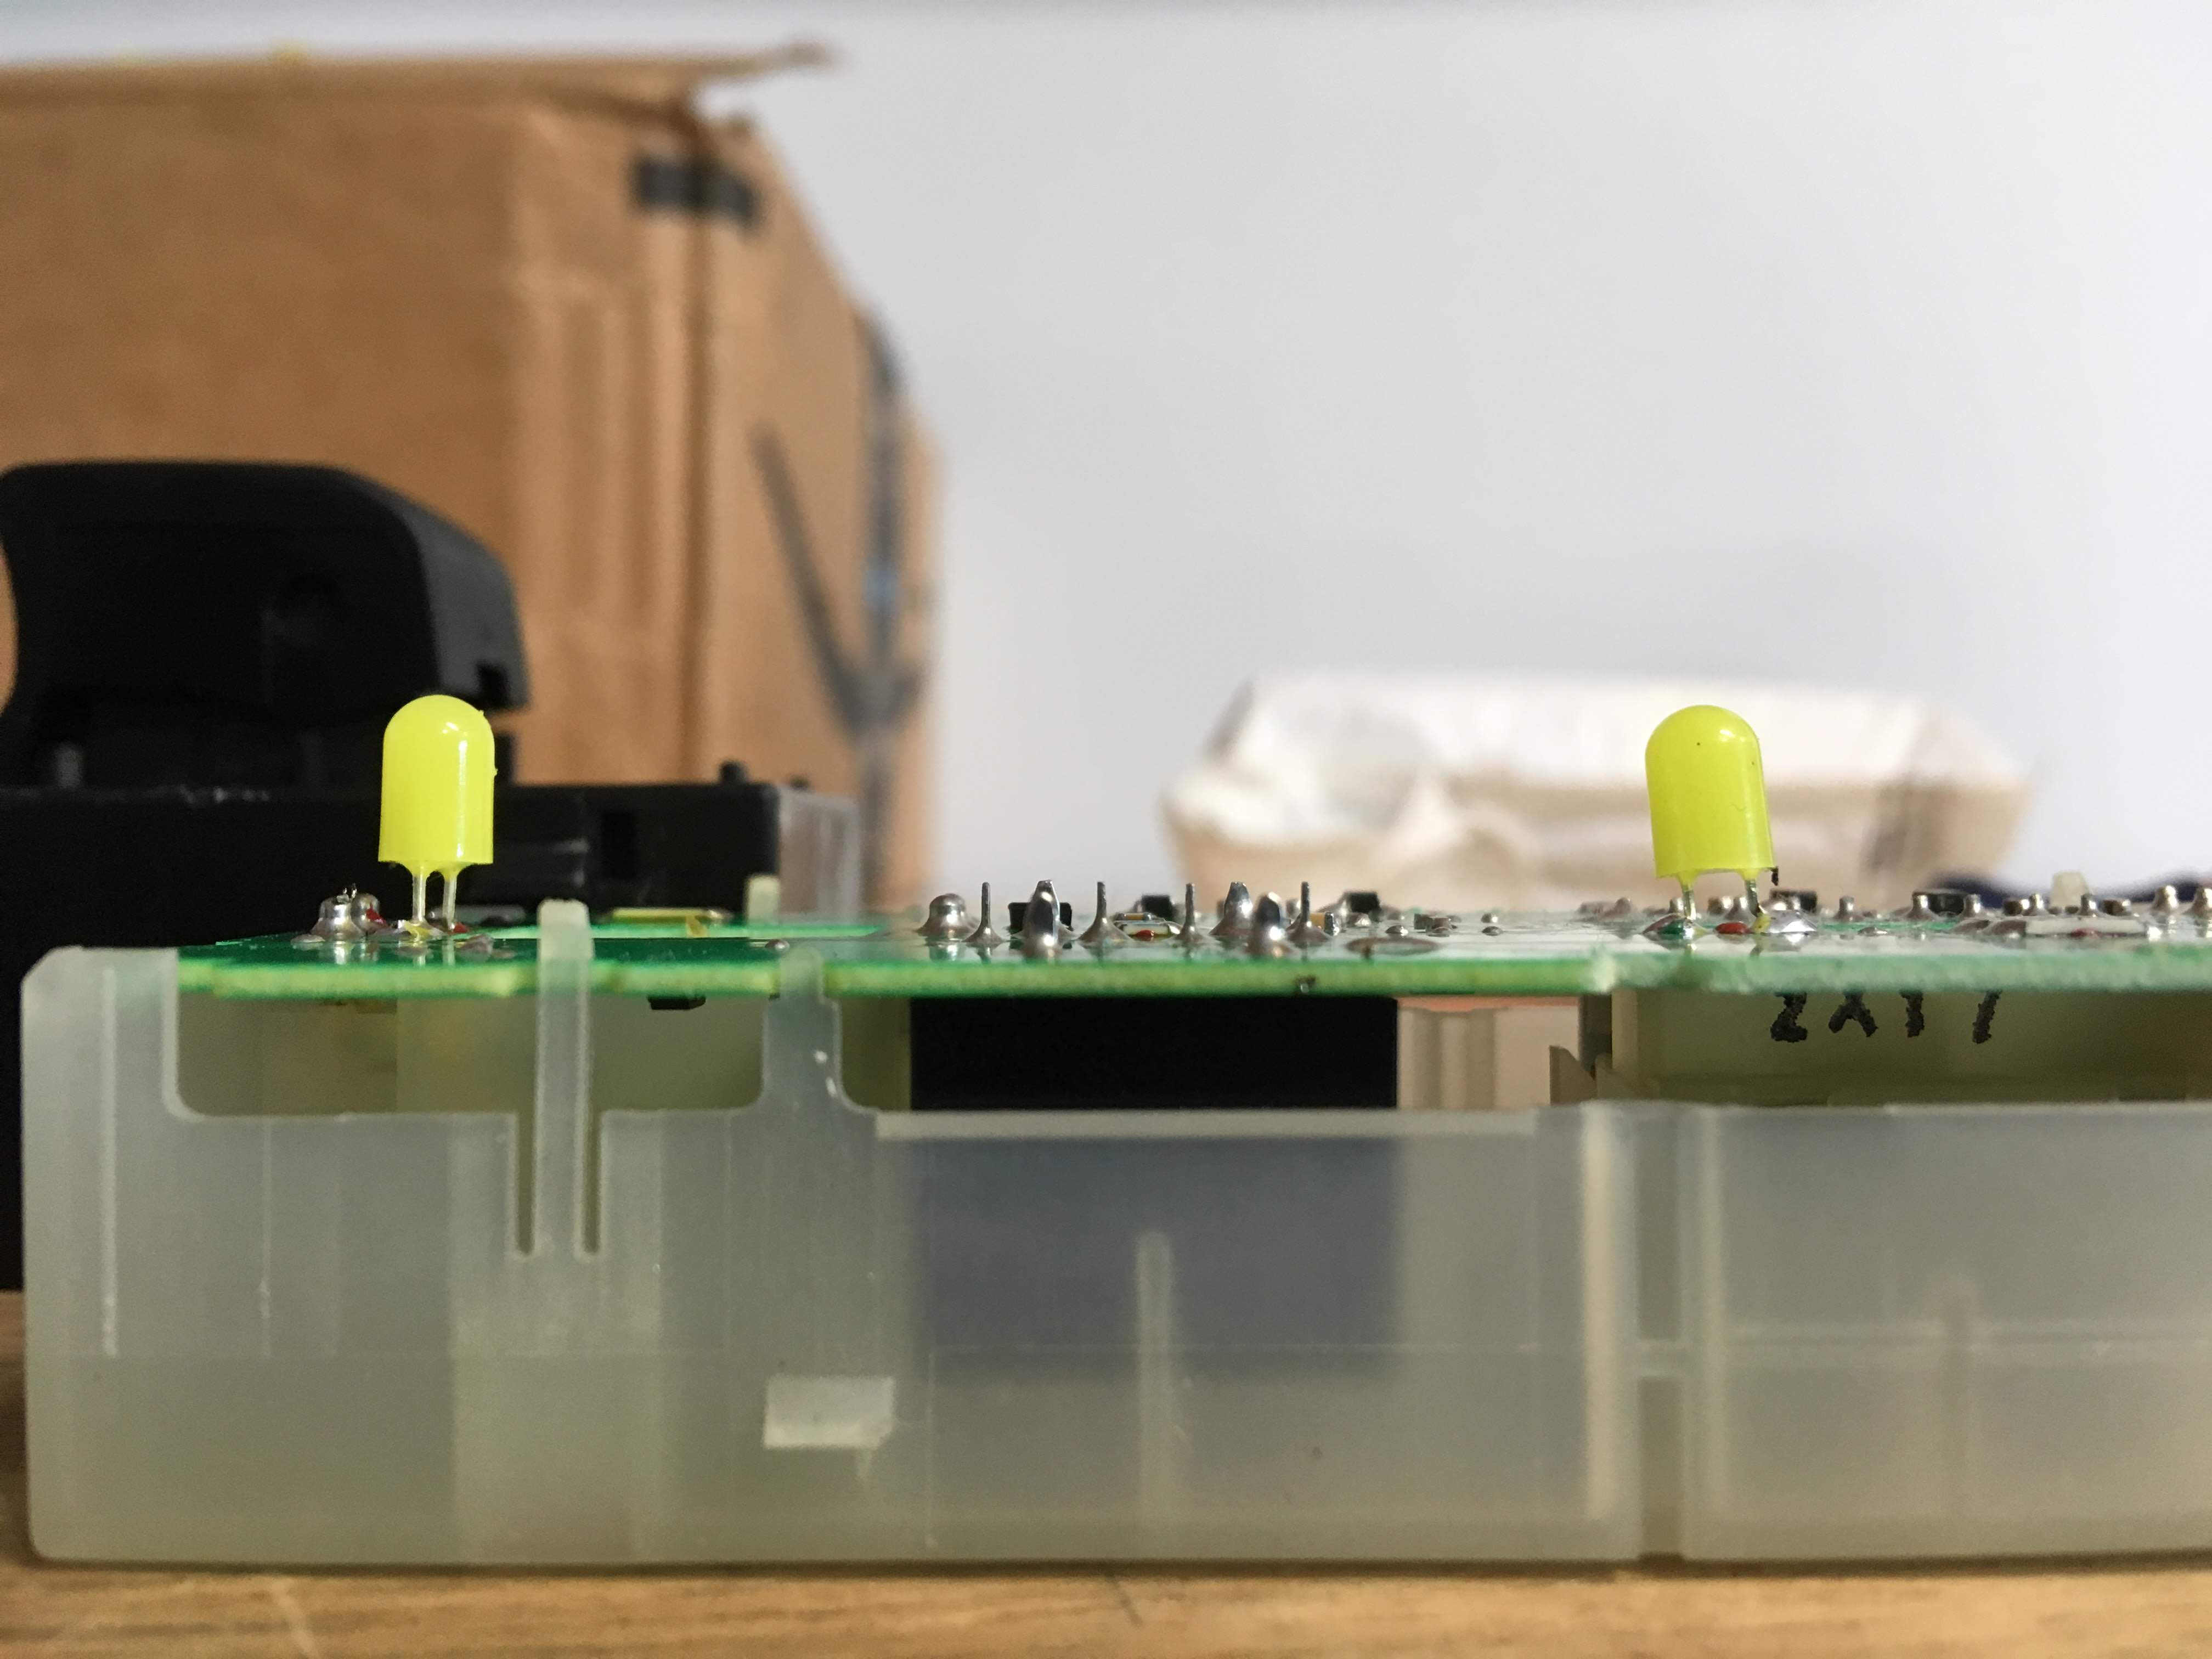
And replaced the LED's in the door switches:This image has been resized. Click this bar to view the full image. The original image is sized %1%2.This image has been resized. Click this bar to view the full image. The original image is sized %1%2.
Coming up next - installing the door speakersLast edited by bravesbaseball17; 1 Day Ago at 10:03 AM..
I chose to run new wire for all of the speakers. I decided to use 14 GA CCA. Mostly because I was price shopping, and not really paying attention to what I was doing. Again, I realize there are strongly held opinions about CCA - but the gauge I chose will definitely meet the current demands for the door speakers.
BUT - I did learn why I will go with 18 (or maaaaybe 16) gauge OFC wire in the future - running 14 gauge of ANYTHING through a Molex boot is a STONE *****.
Any way...
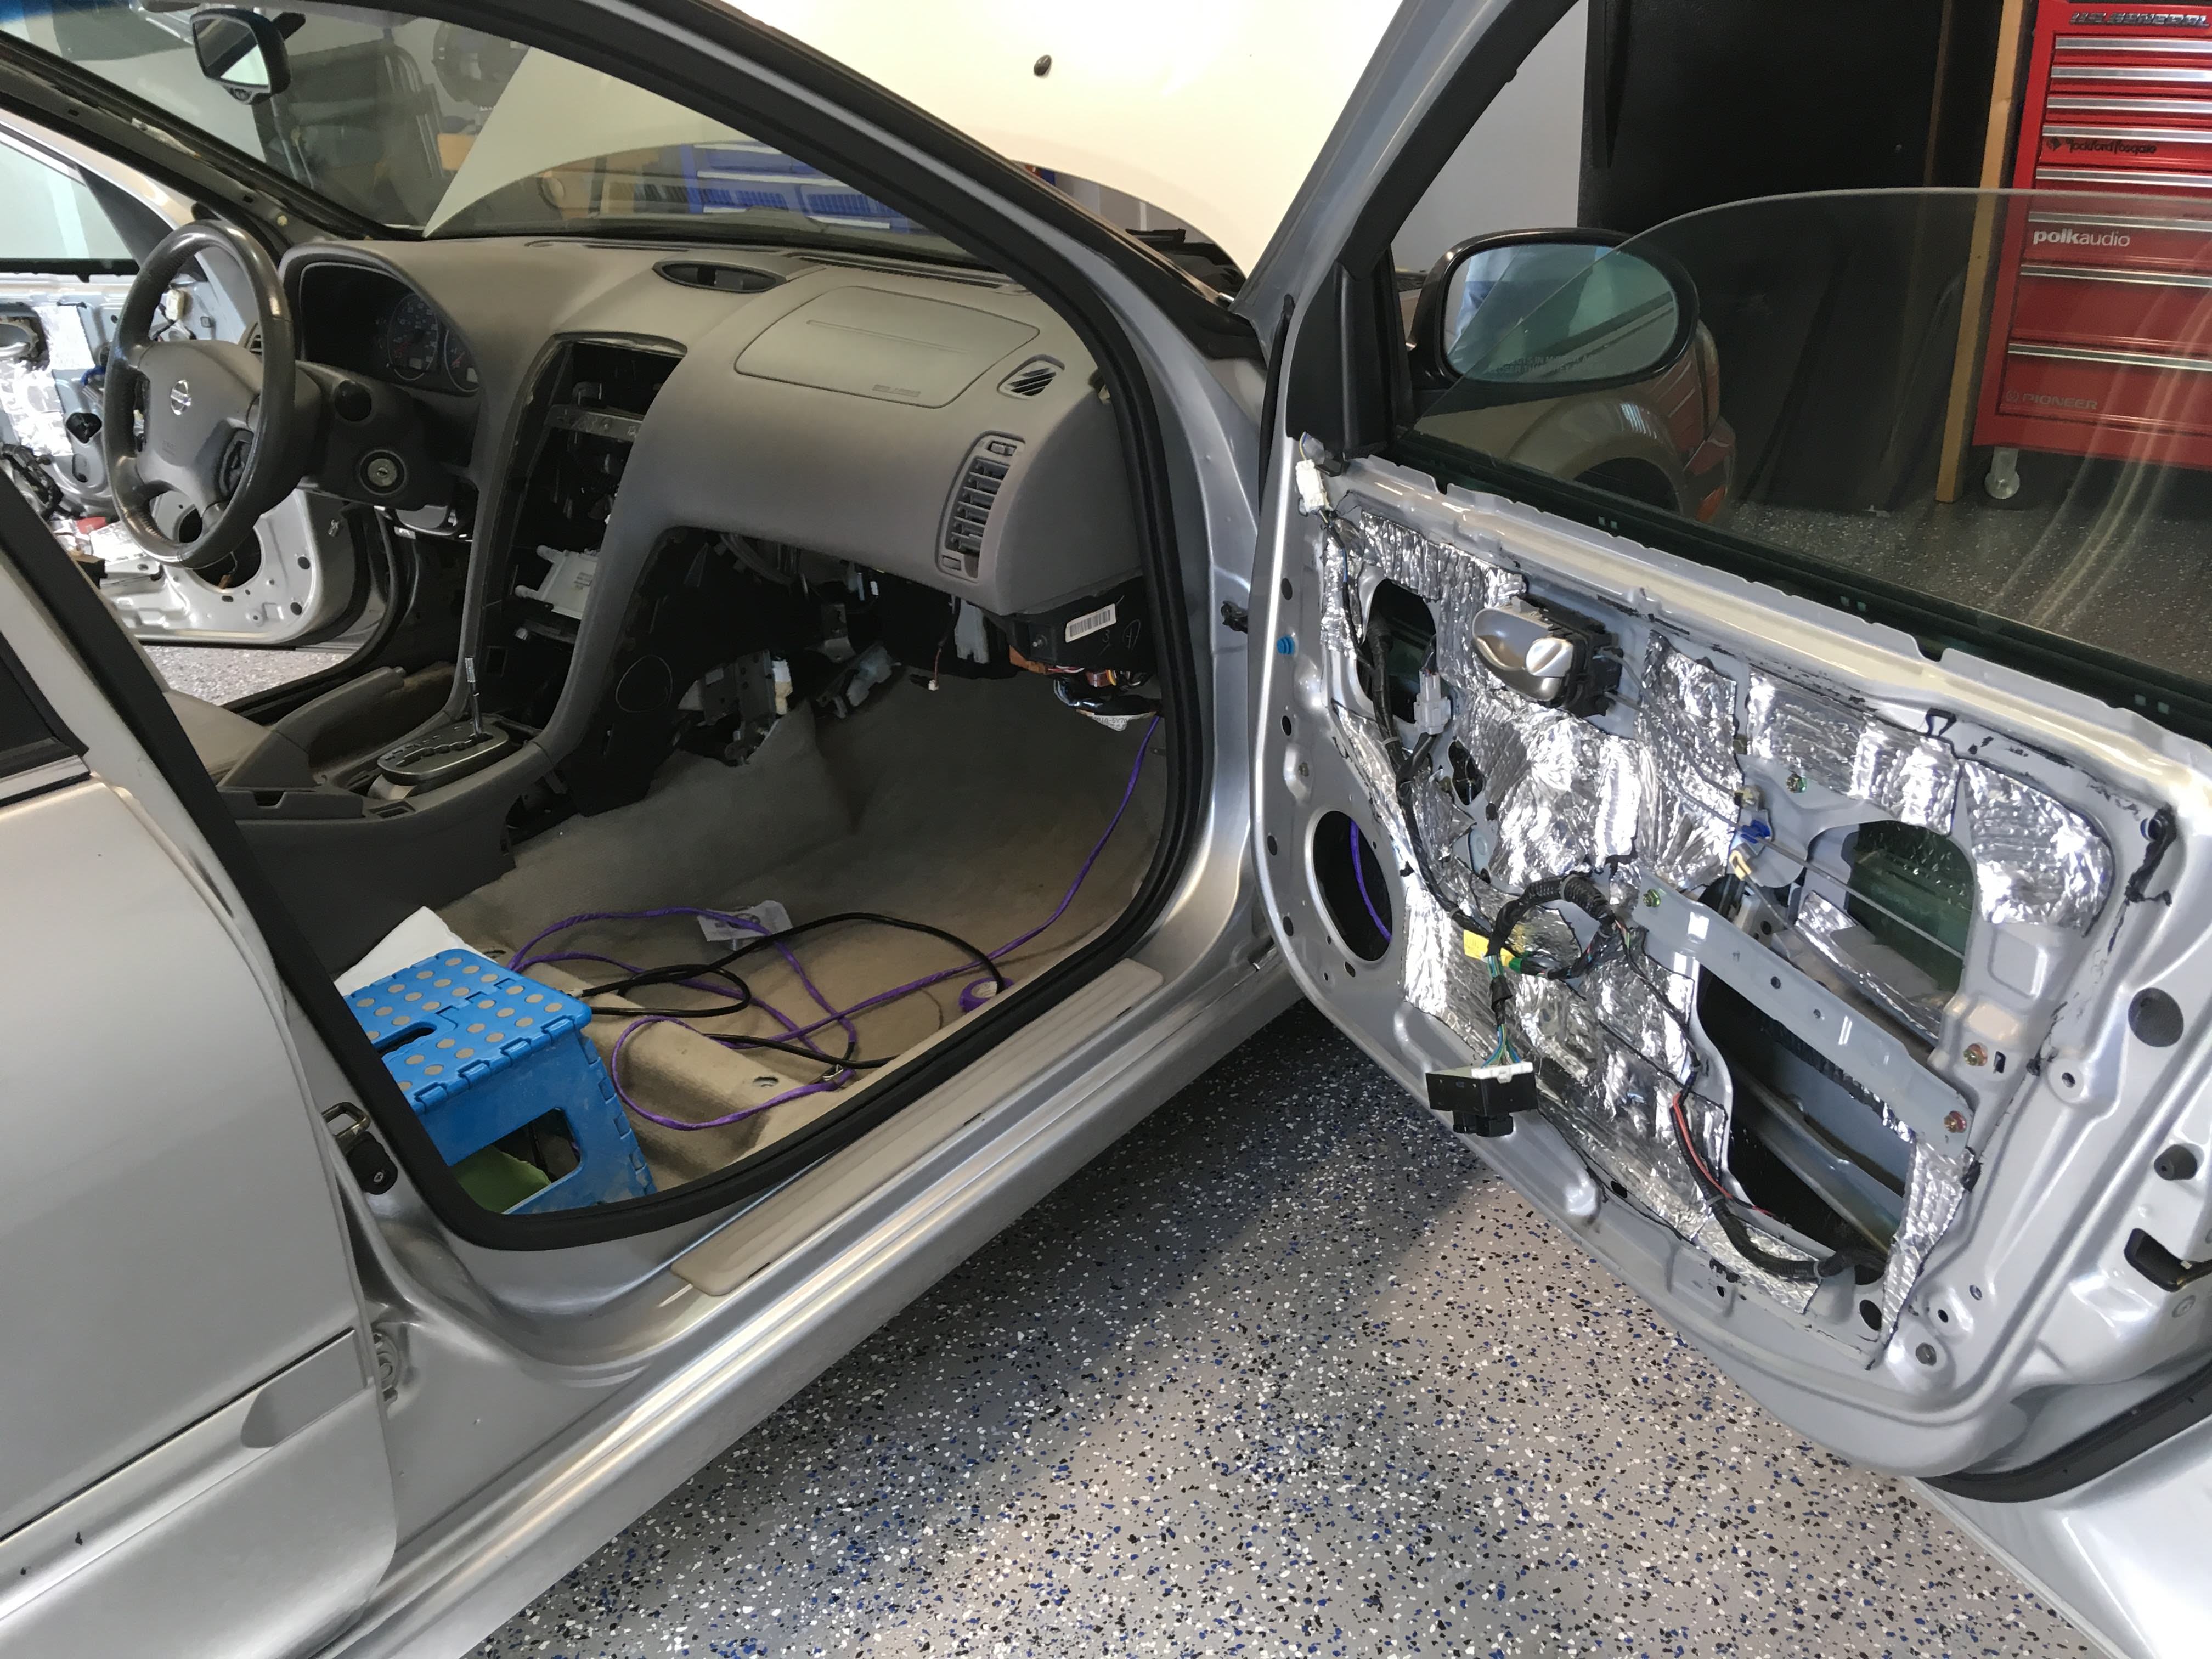
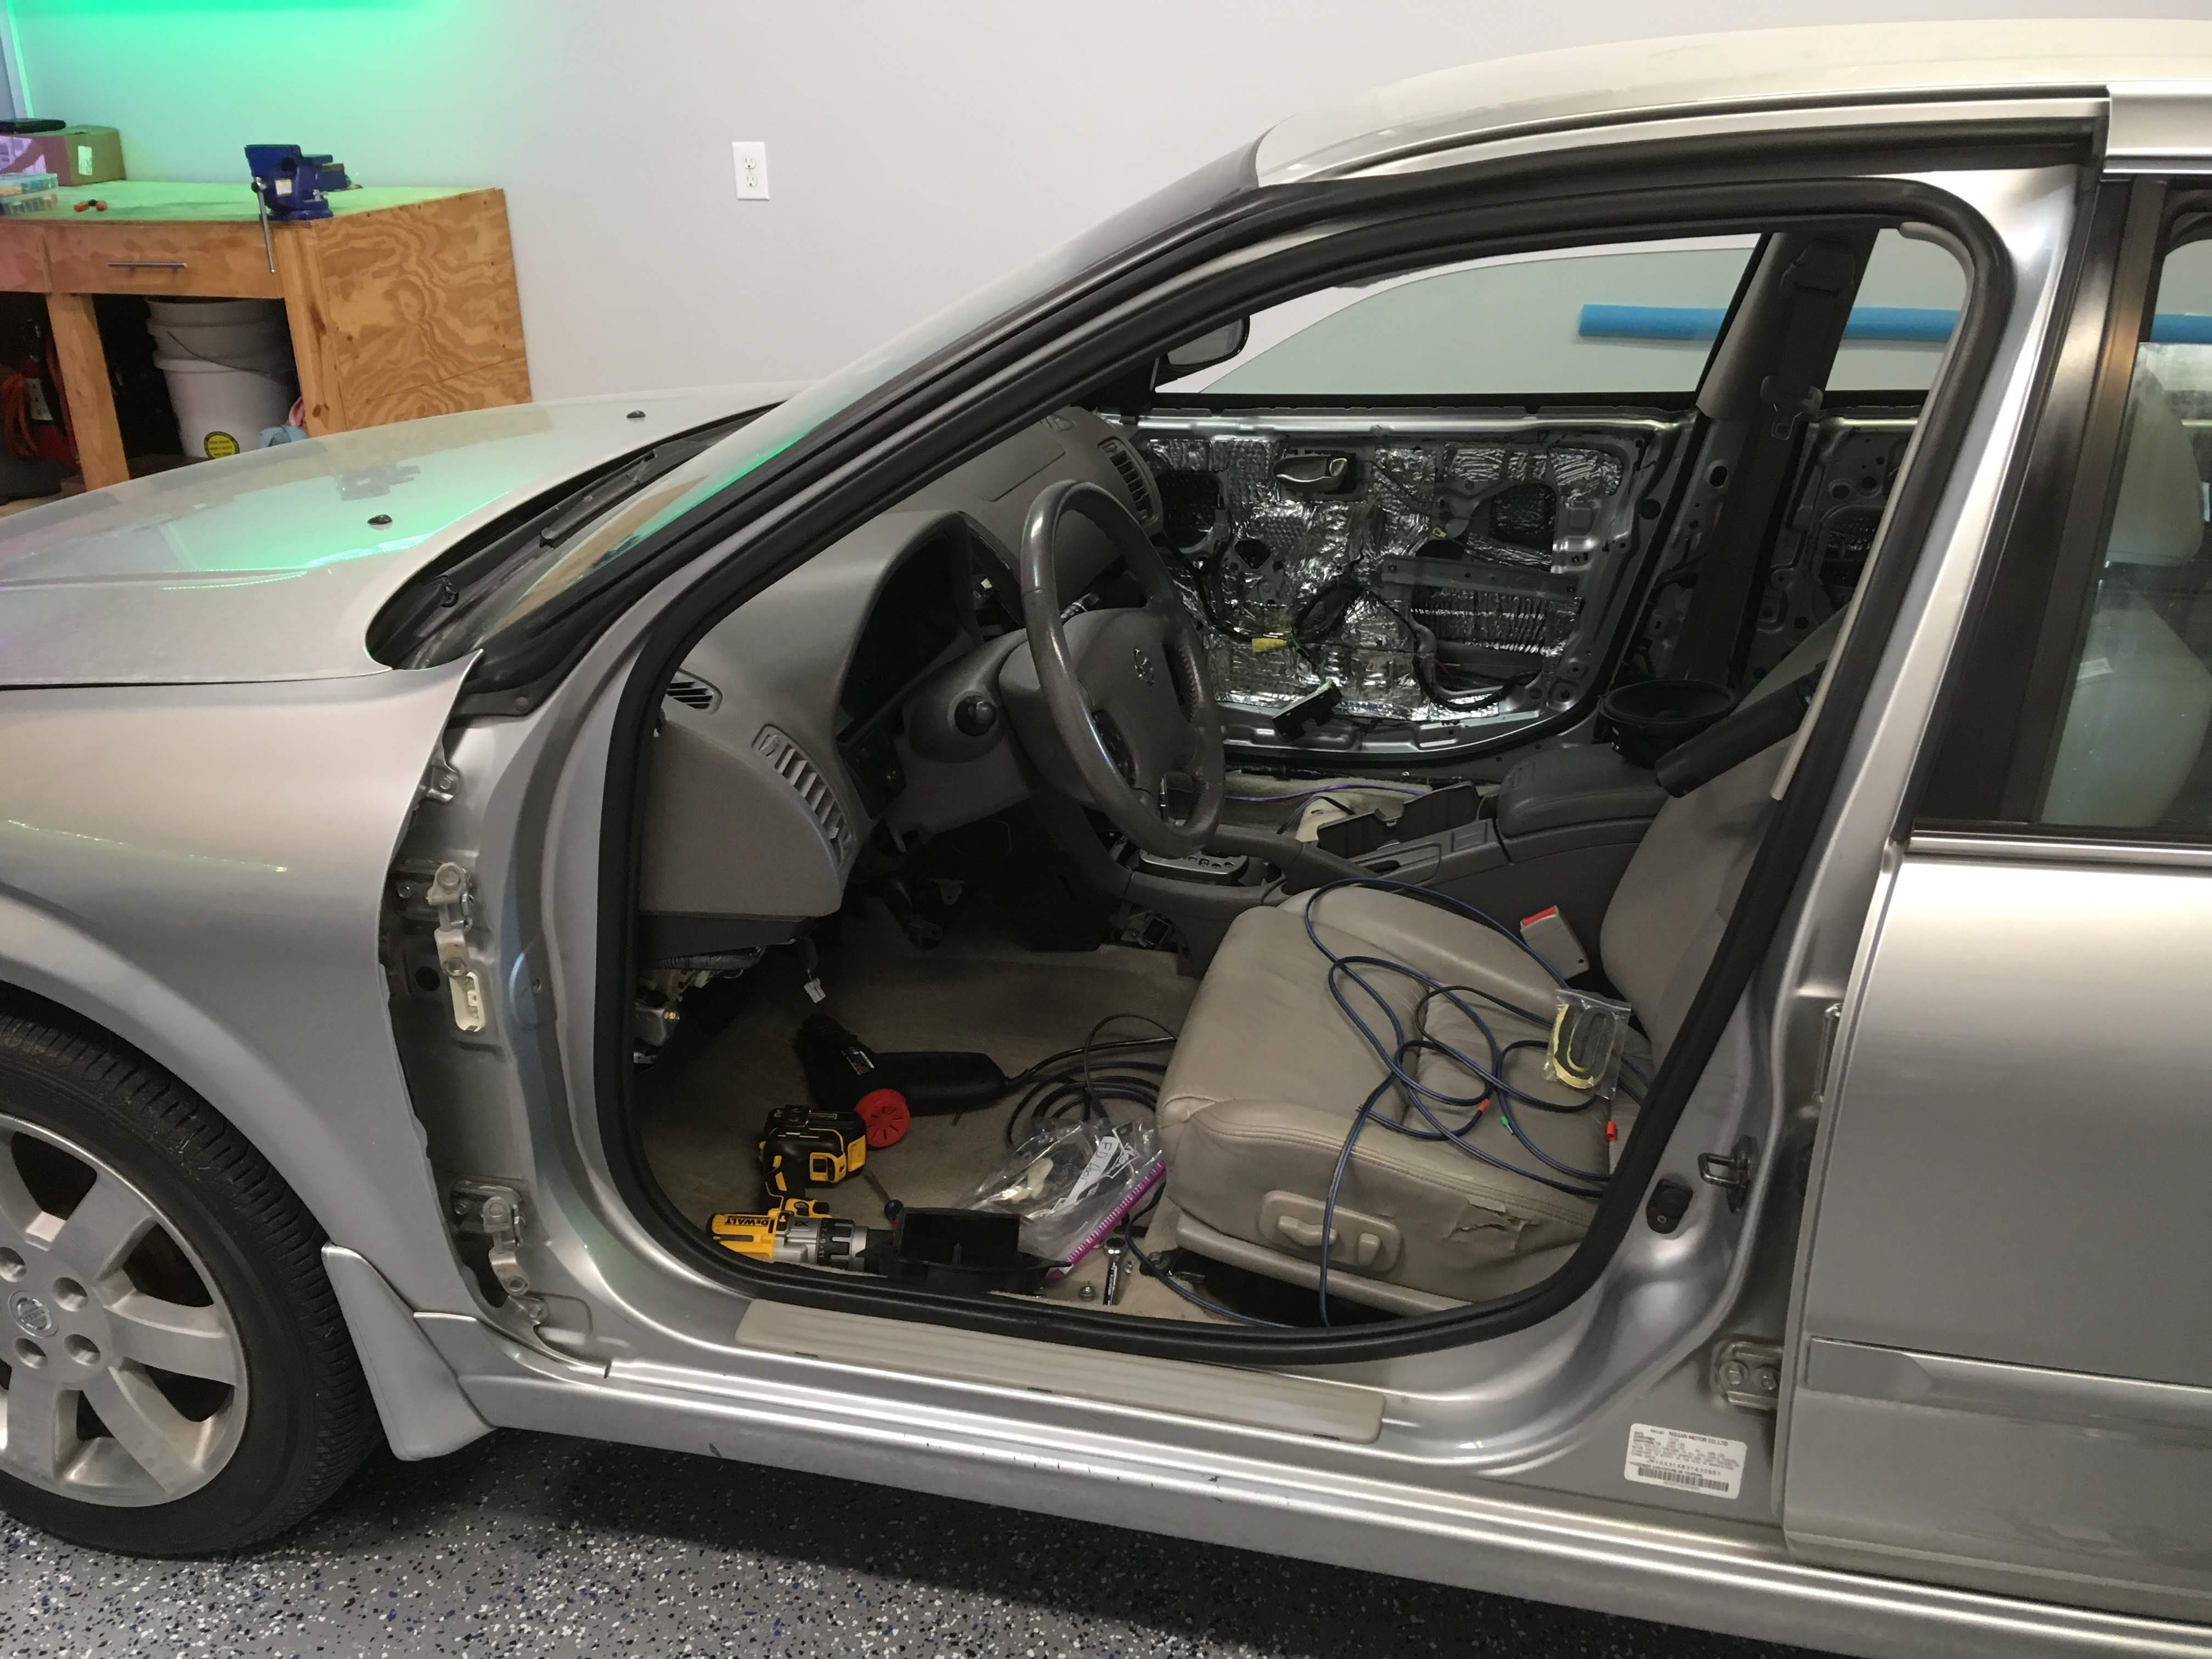
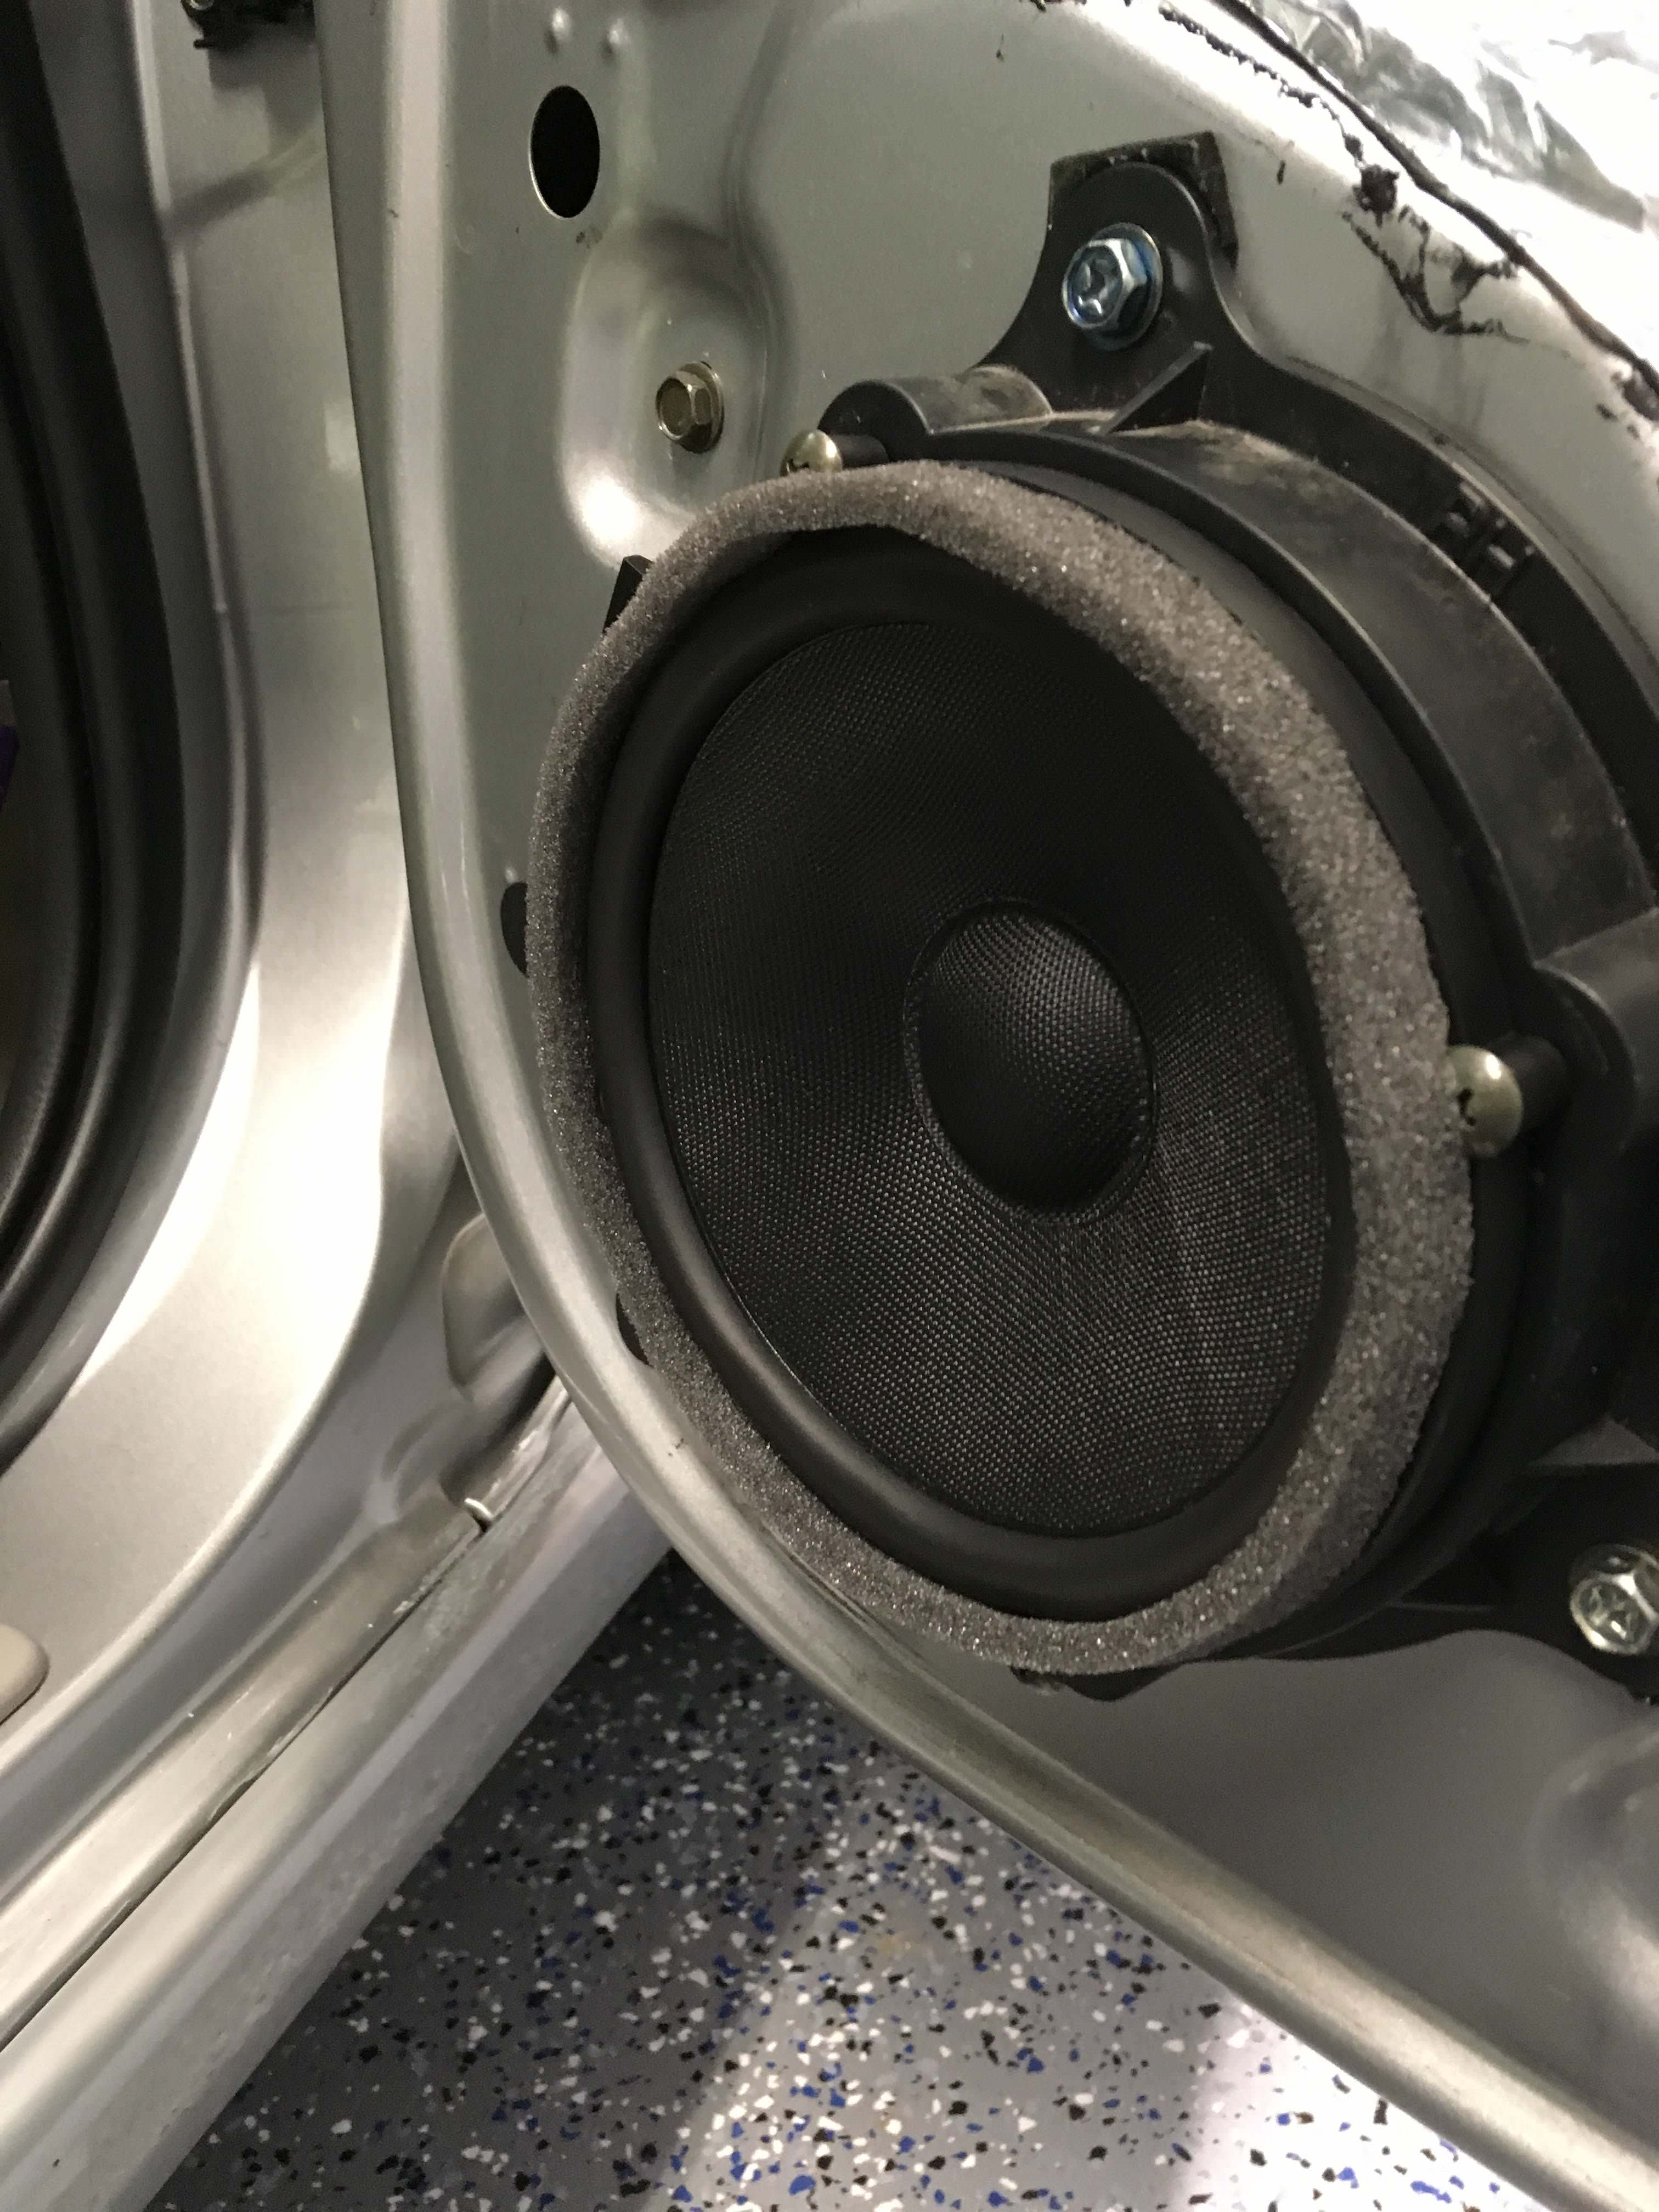
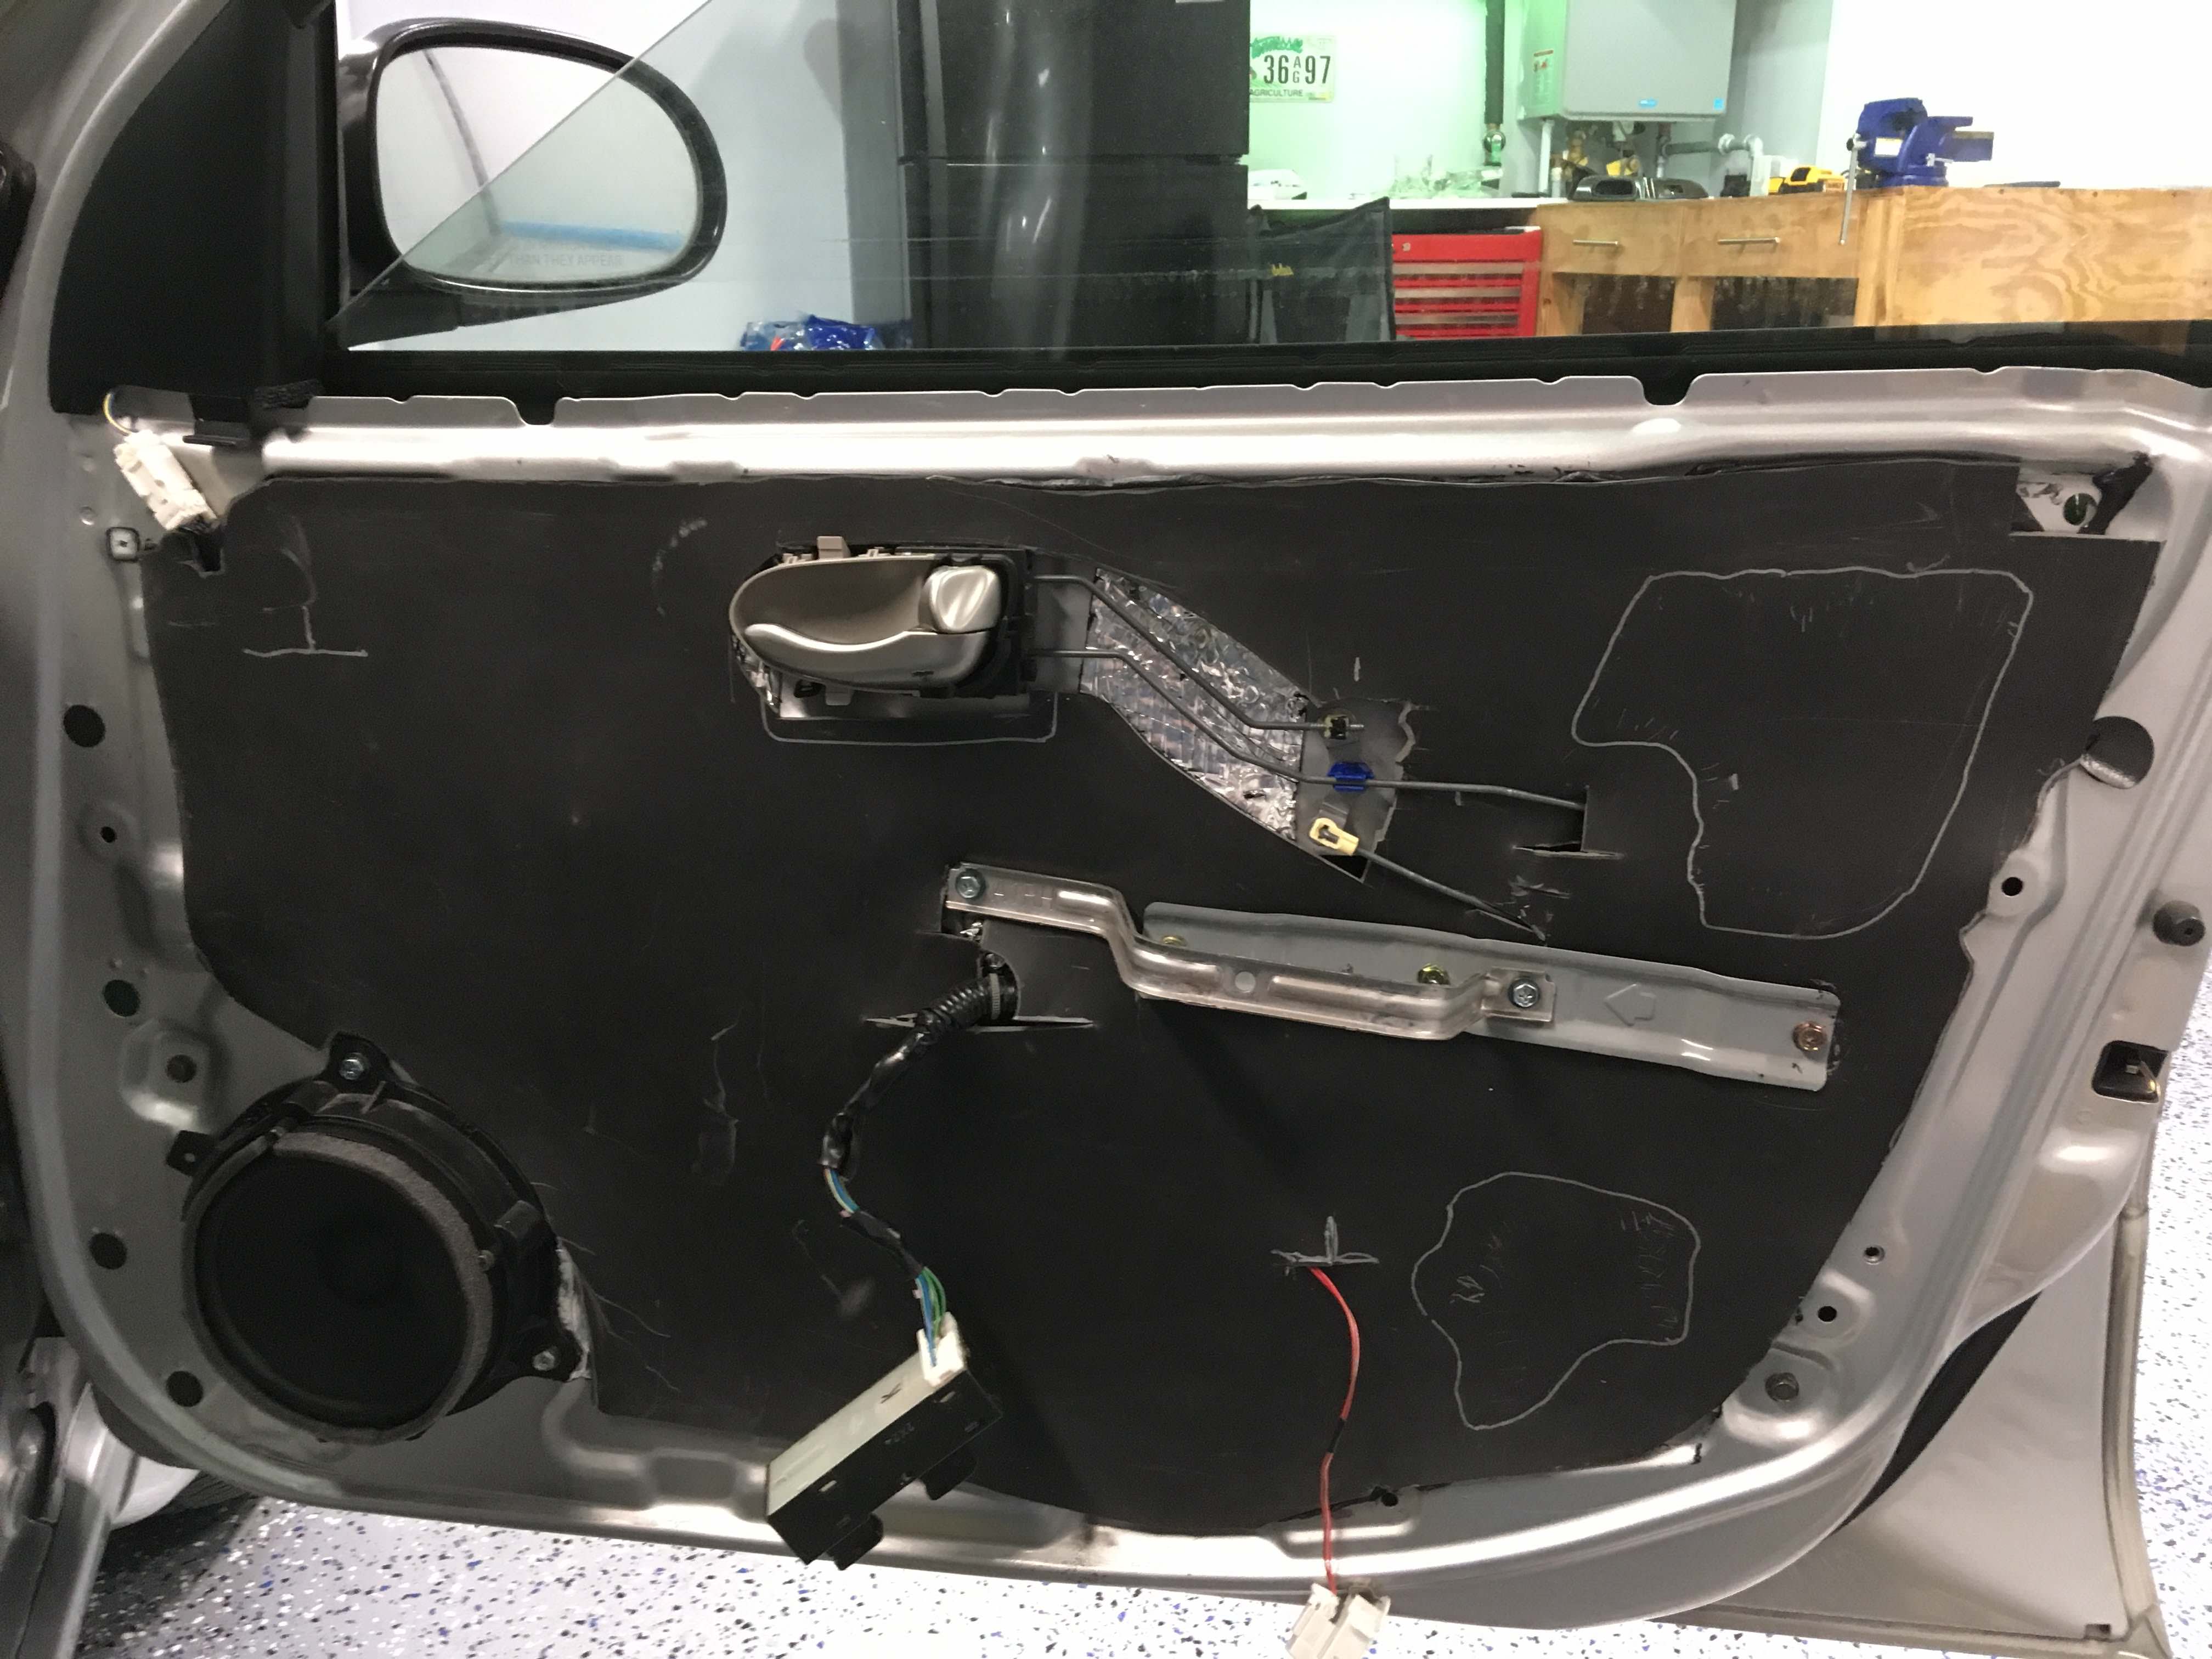
Front door off:This image has been resized. Click this bar to view the full image. The original image is sized %1%2.
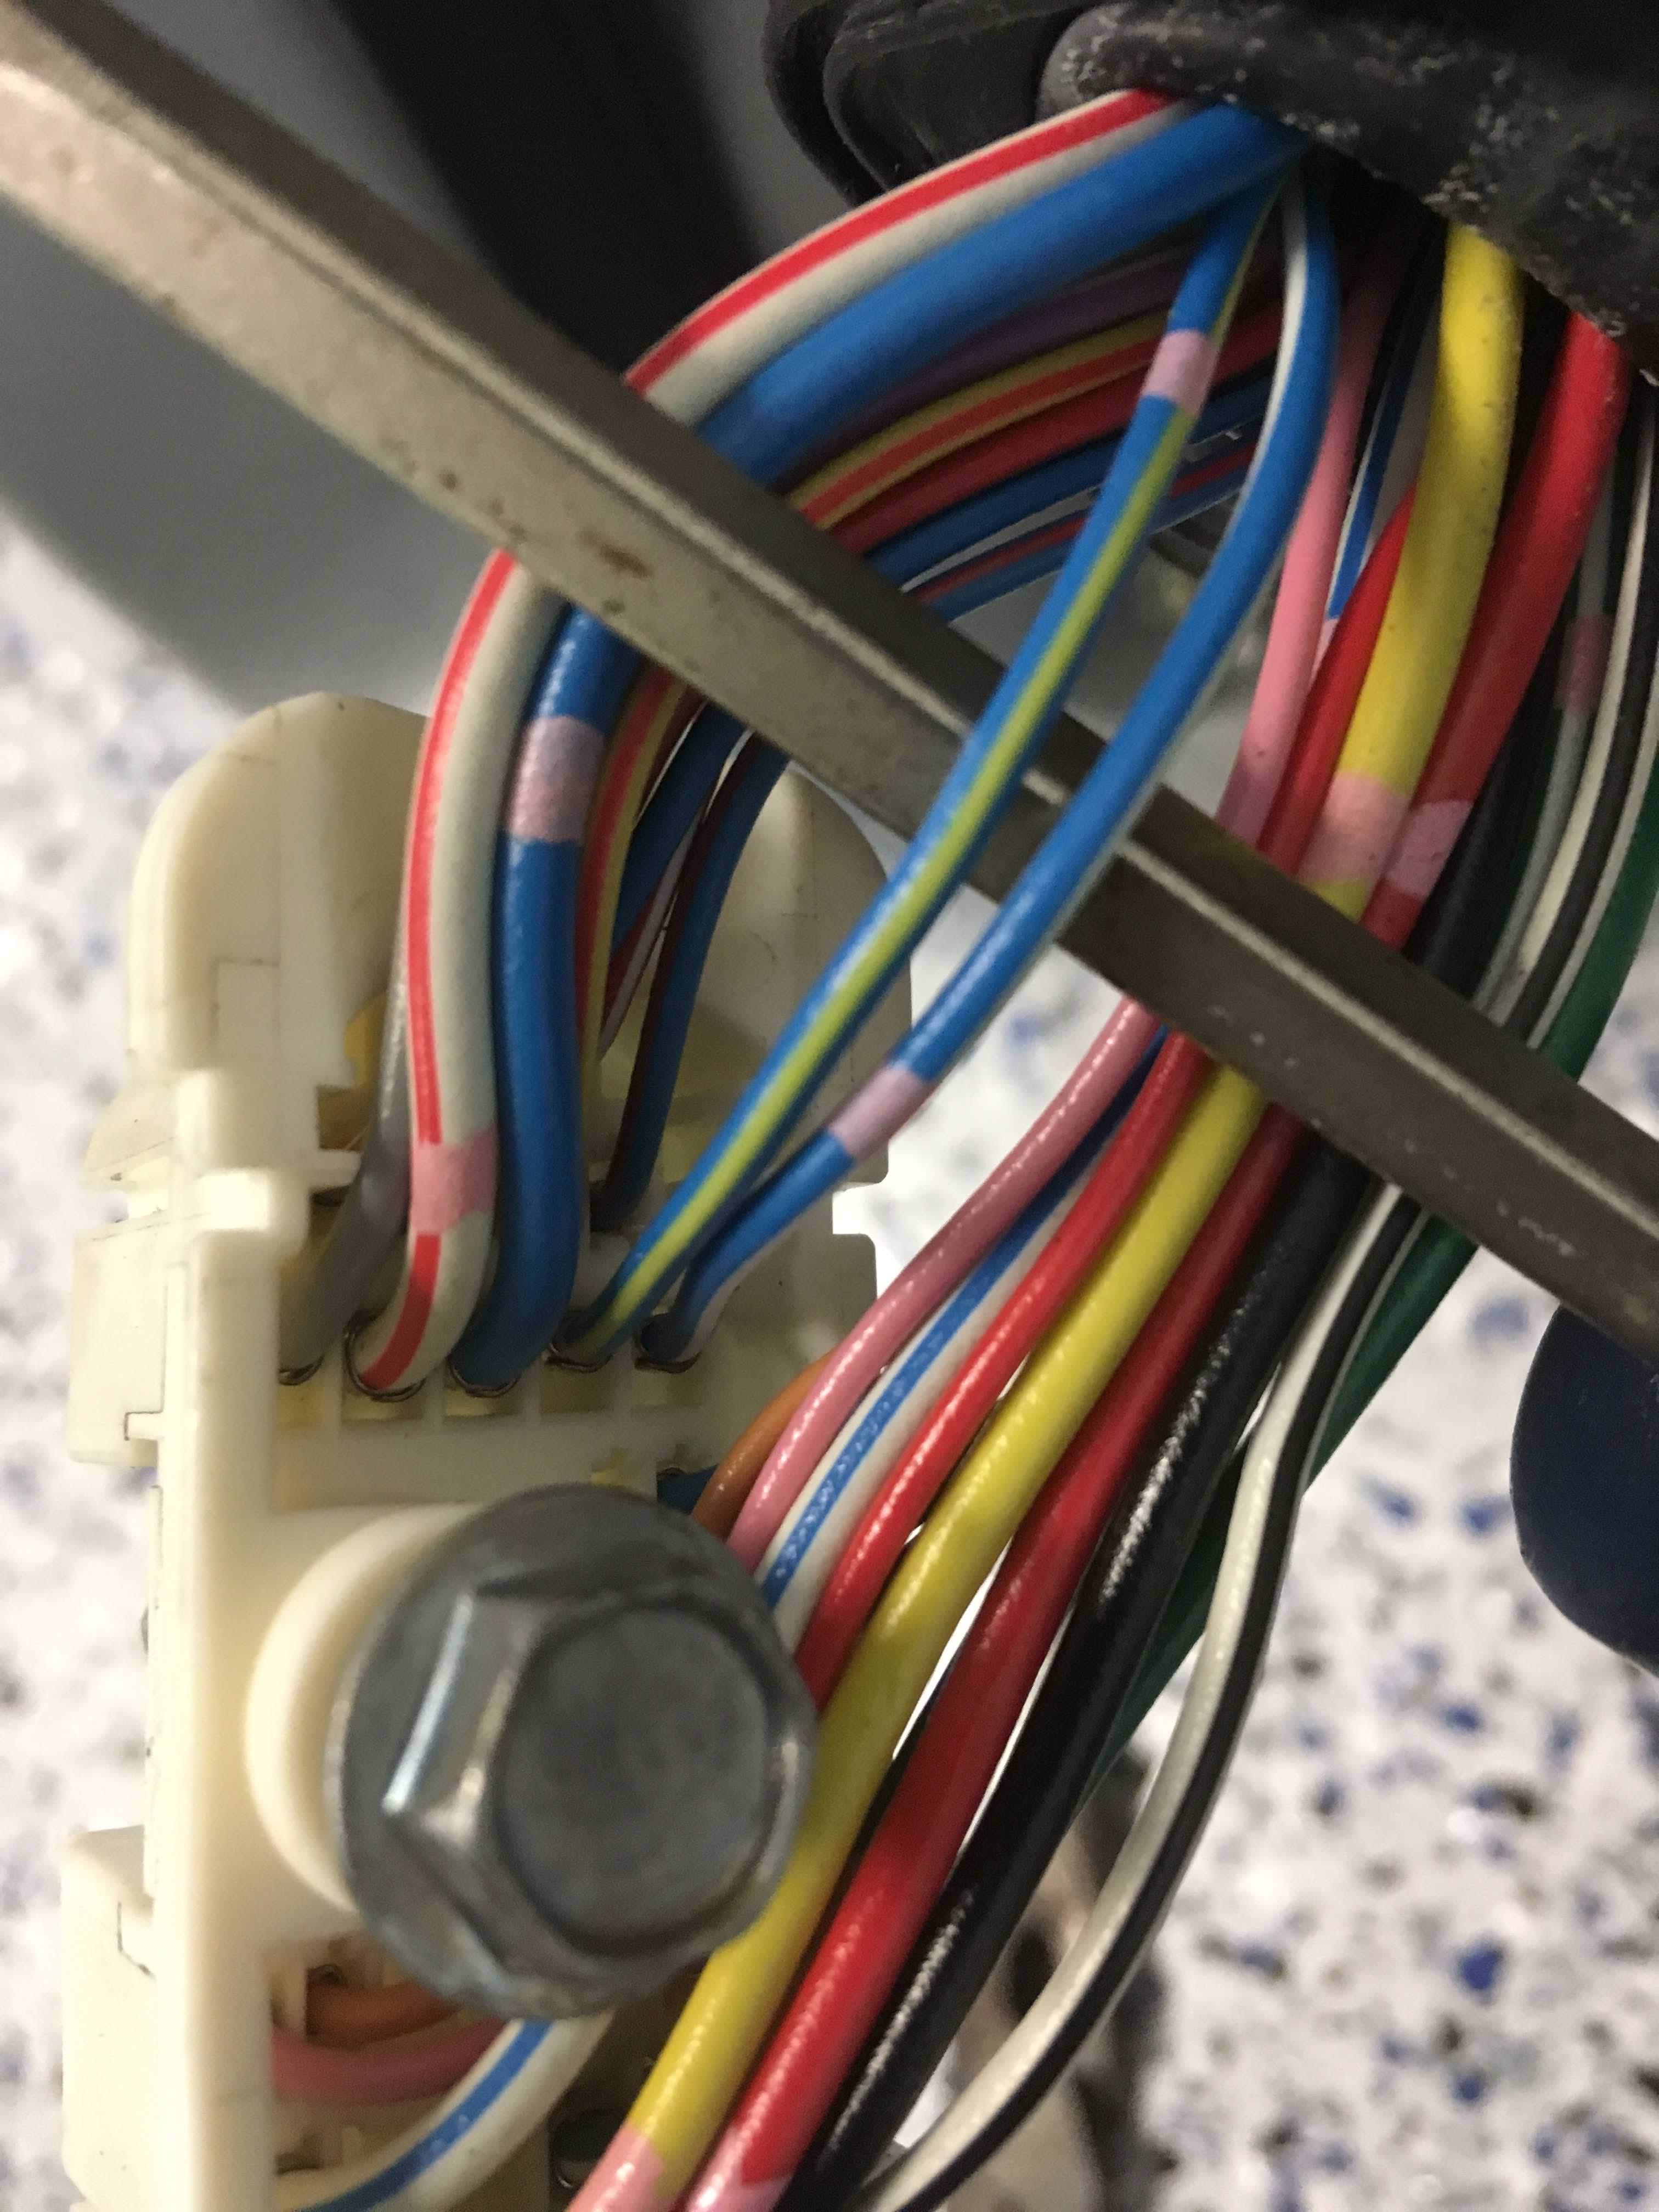
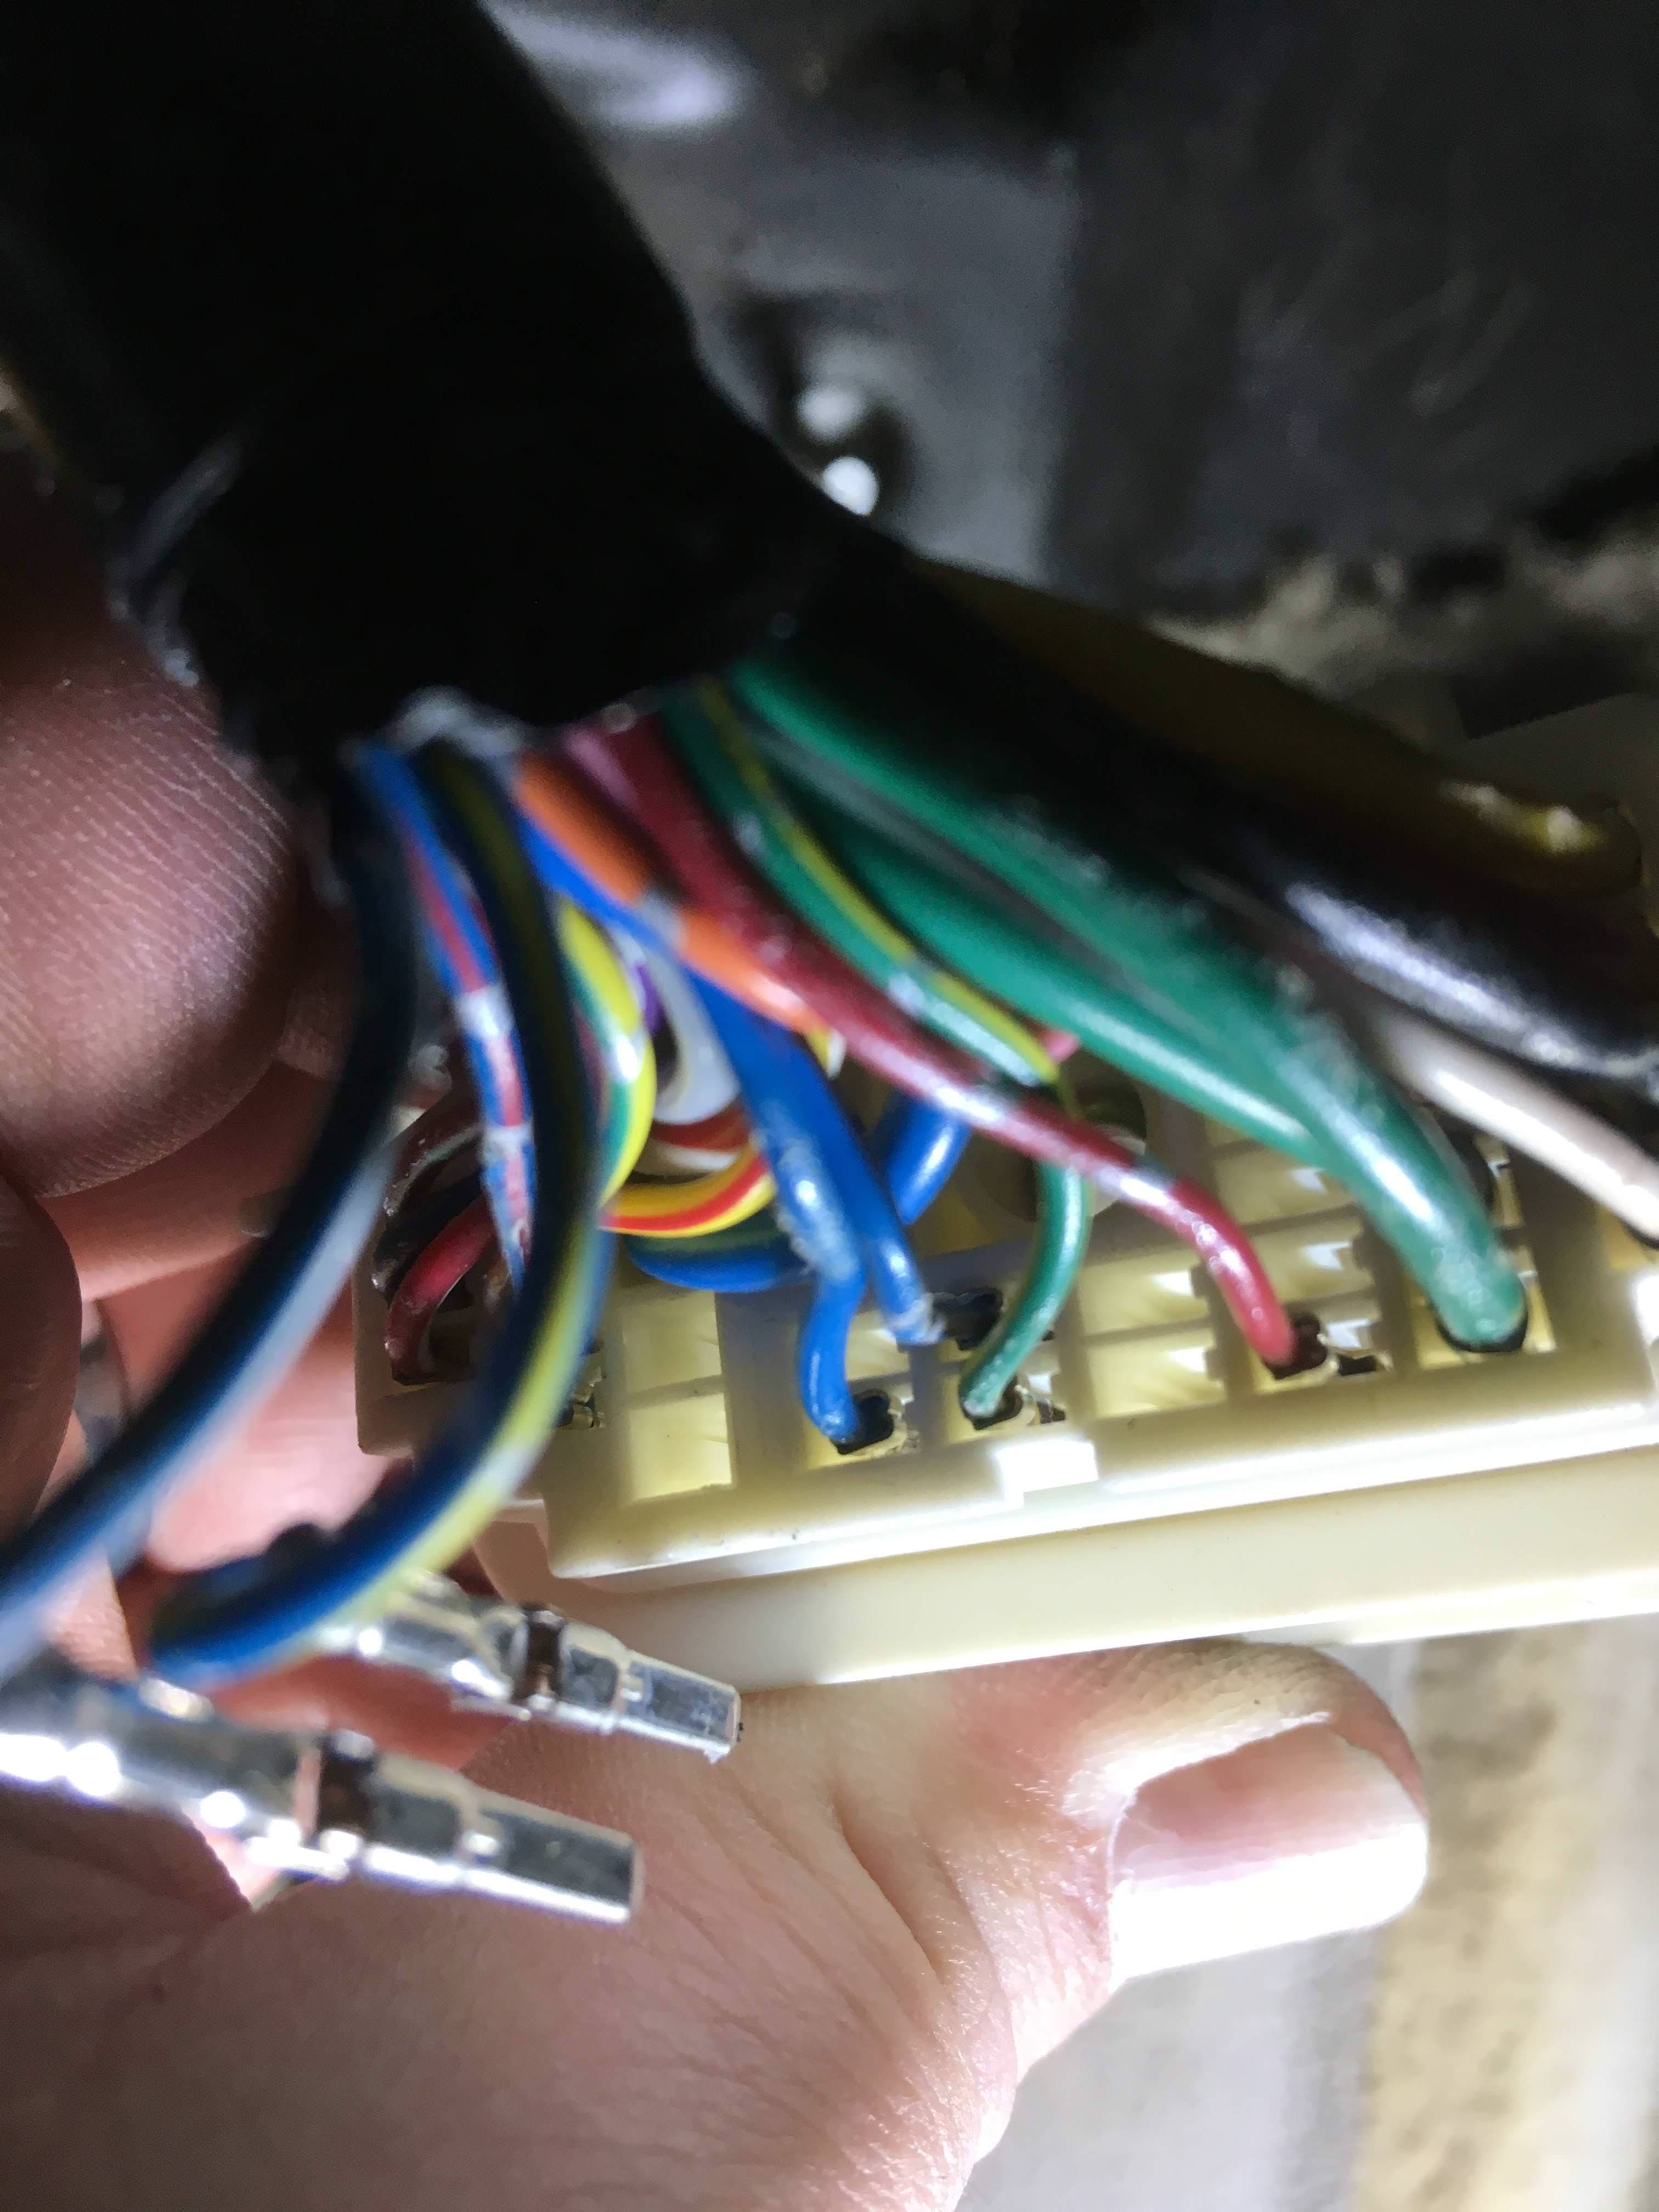
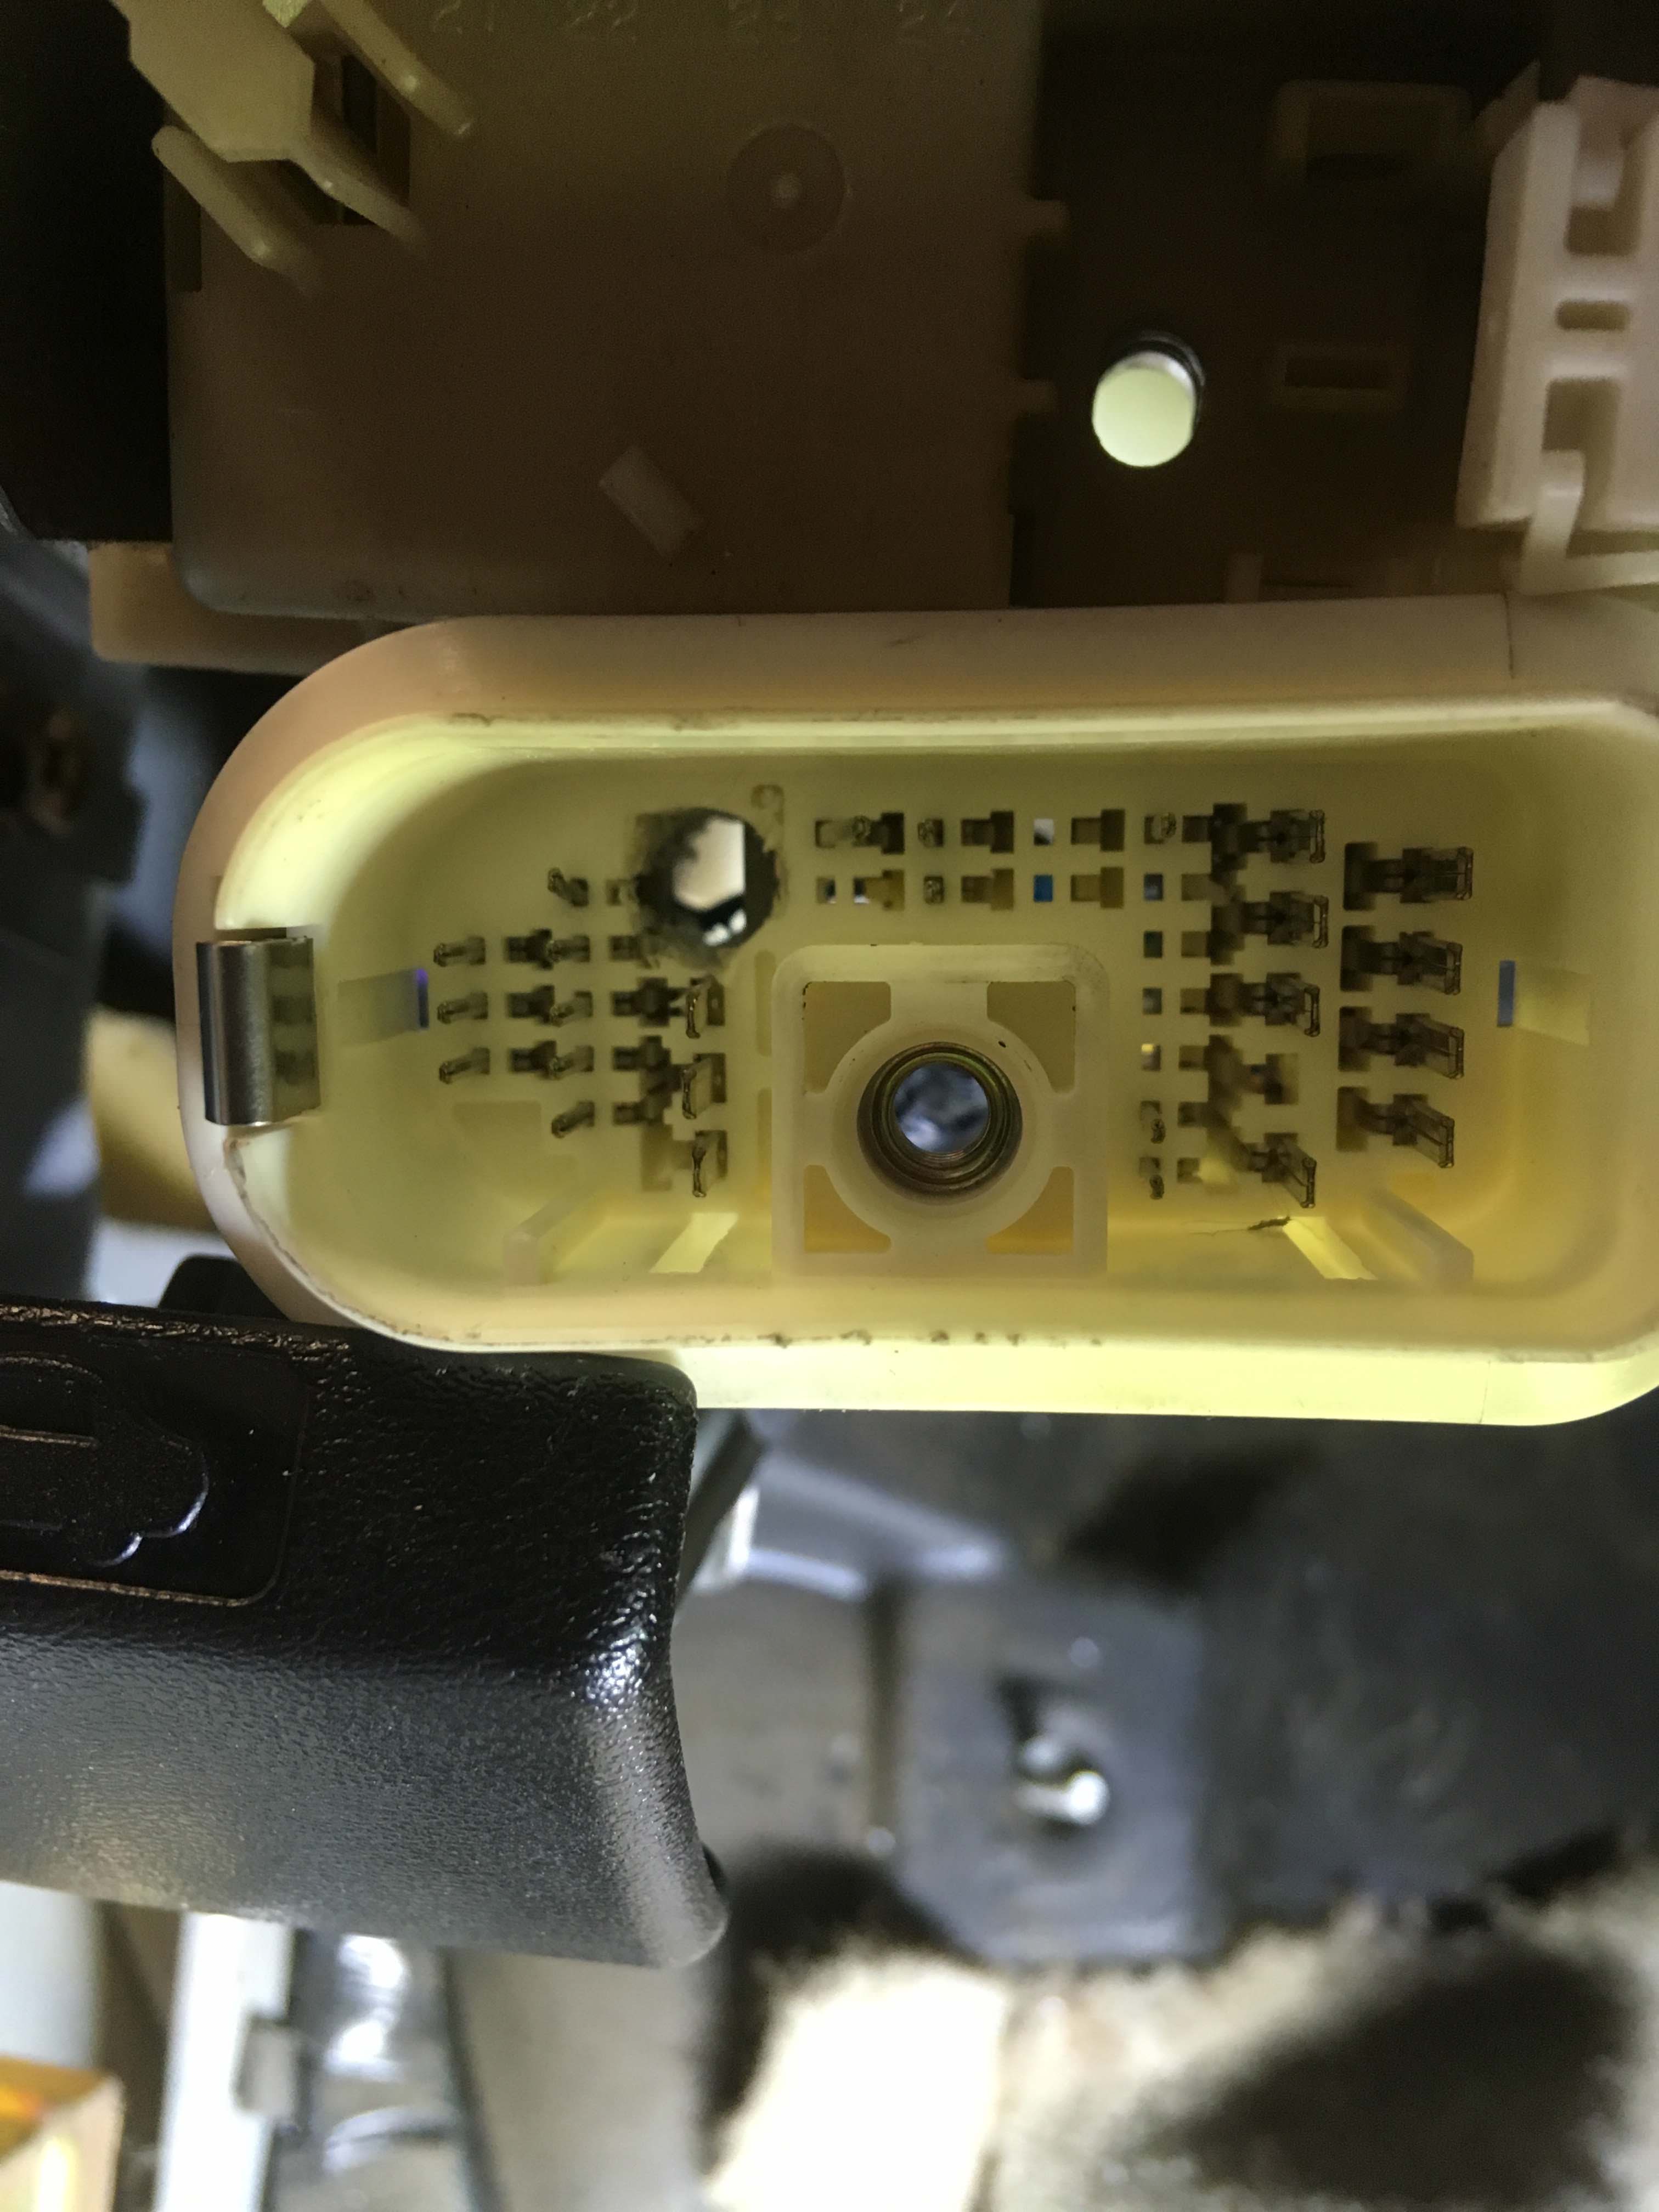
Found the speaker wire pins in the door plug:This image has been resized. Click this bar to view the full image. The original image is sized %1%2.
Pins removed, hole drilled, wire run:This image has been resized. Click this bar to view the full image. The original image is sized %1%2.
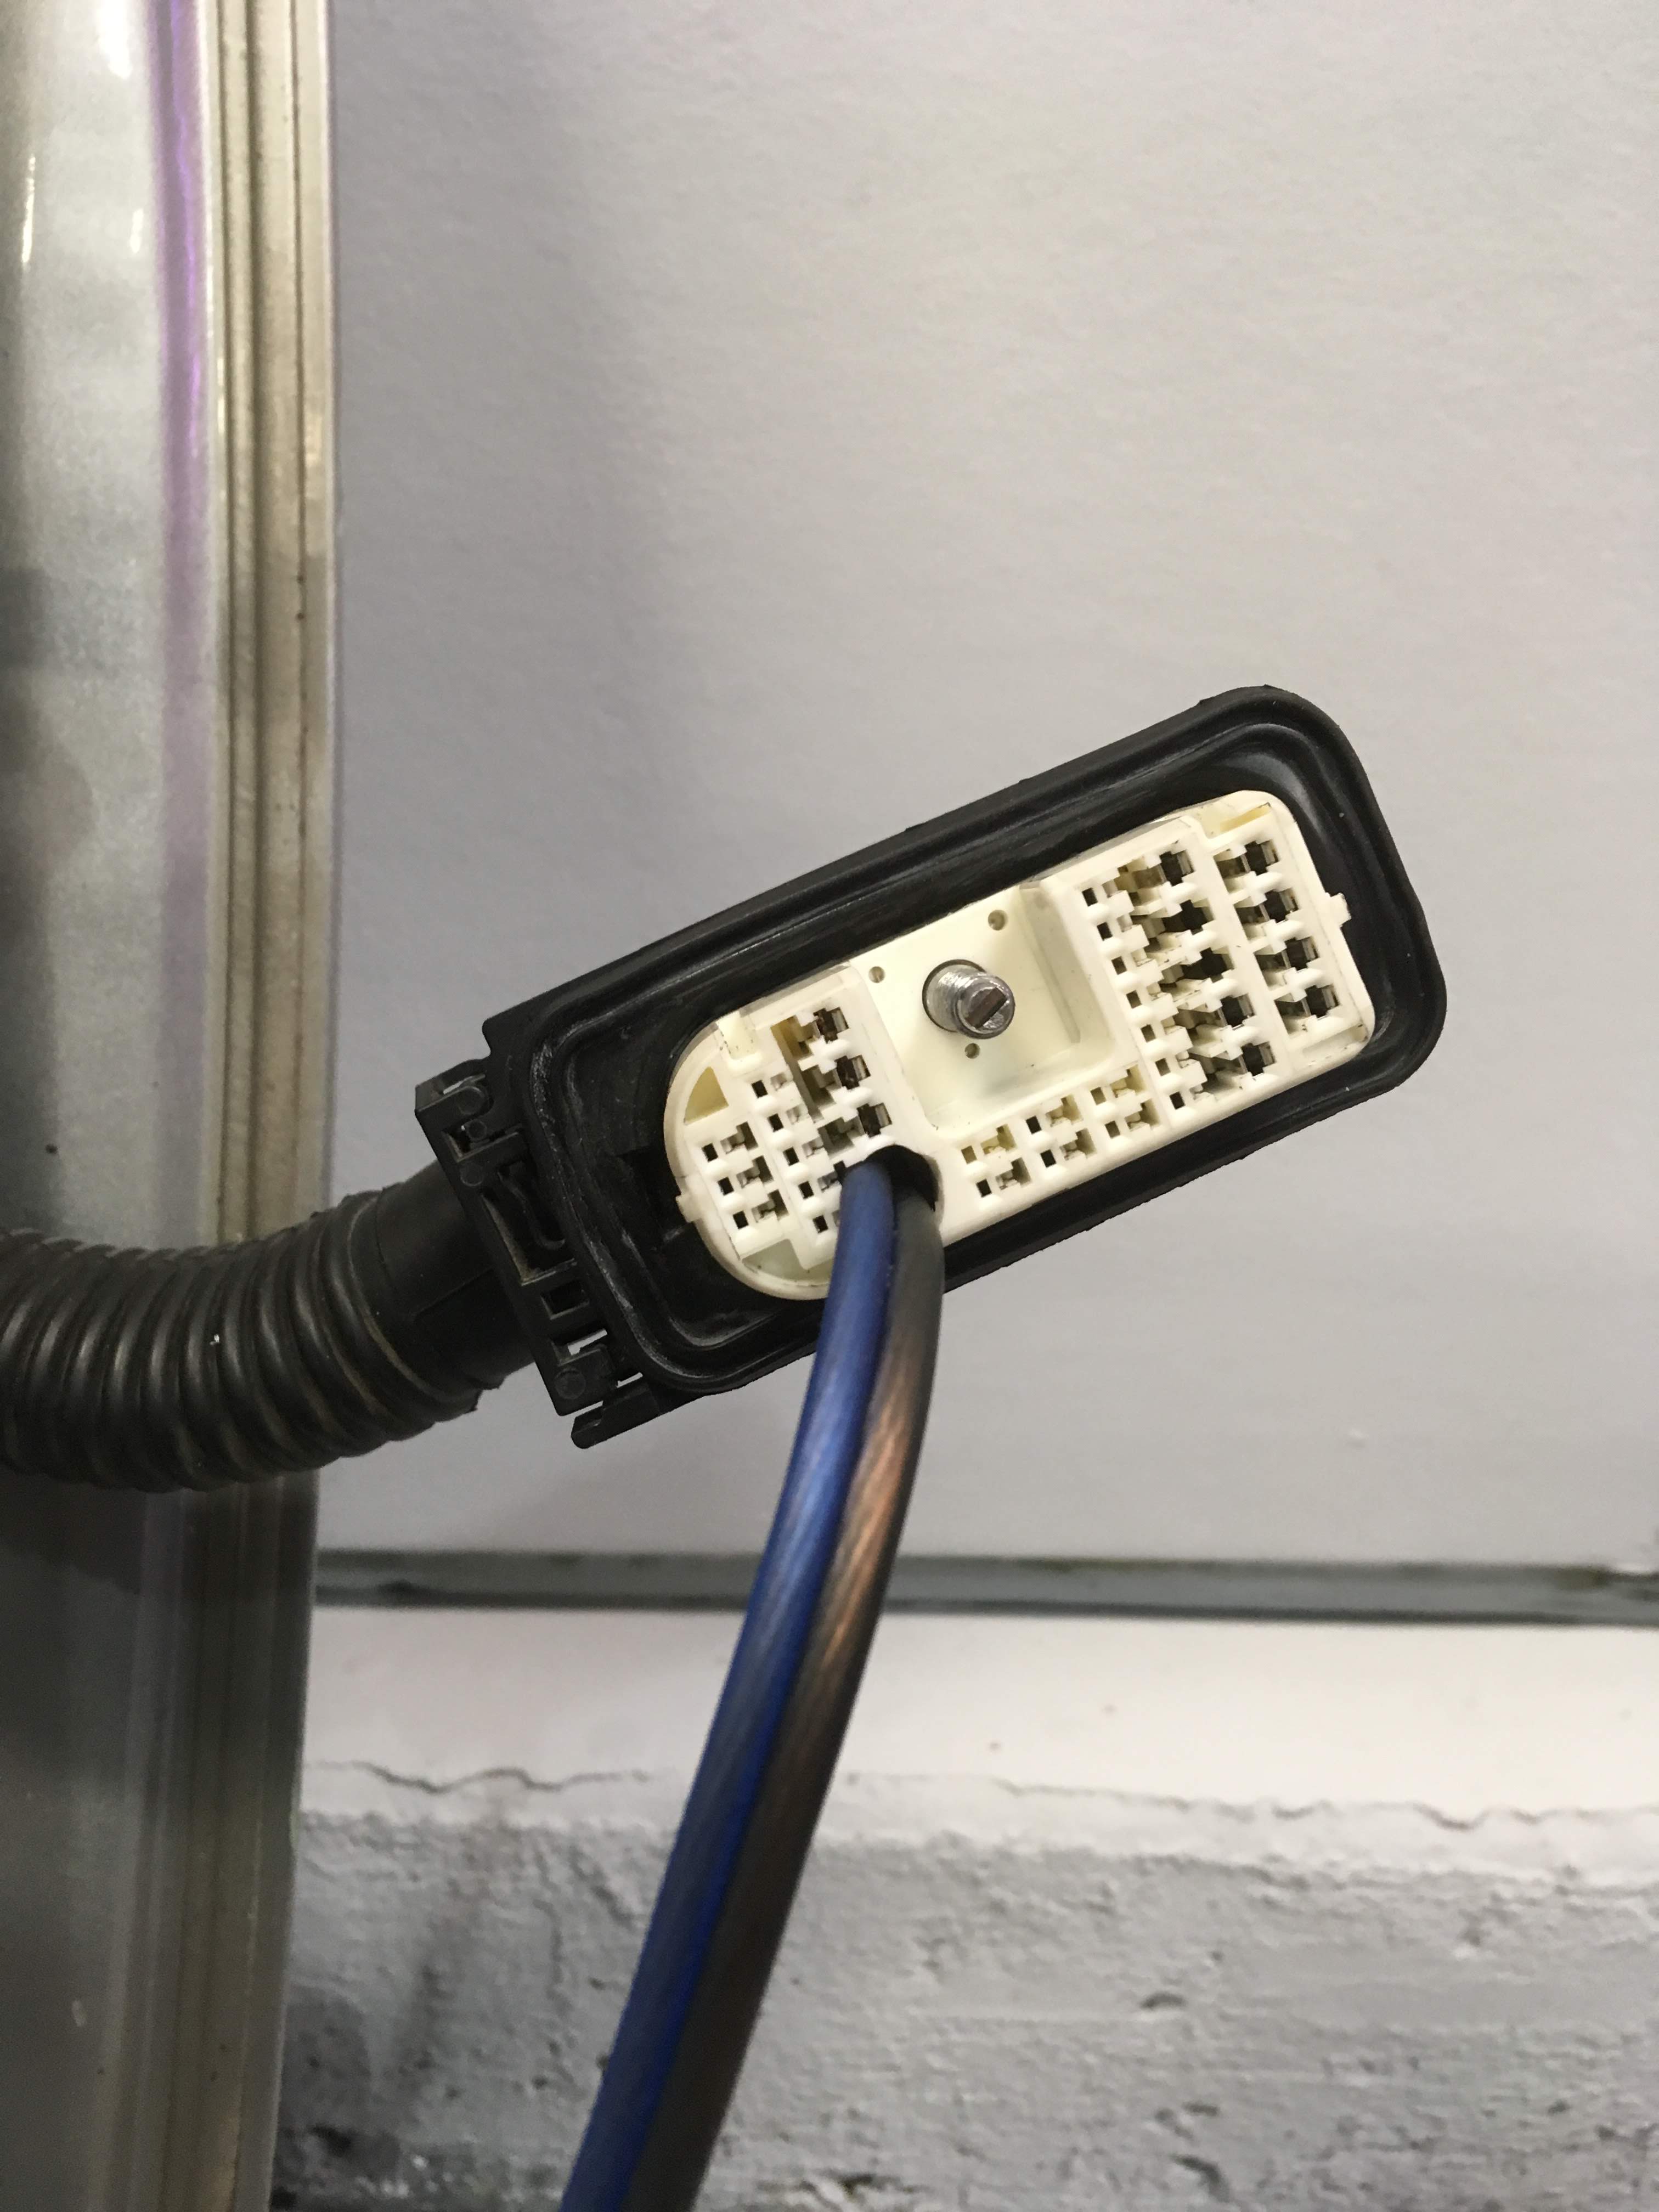
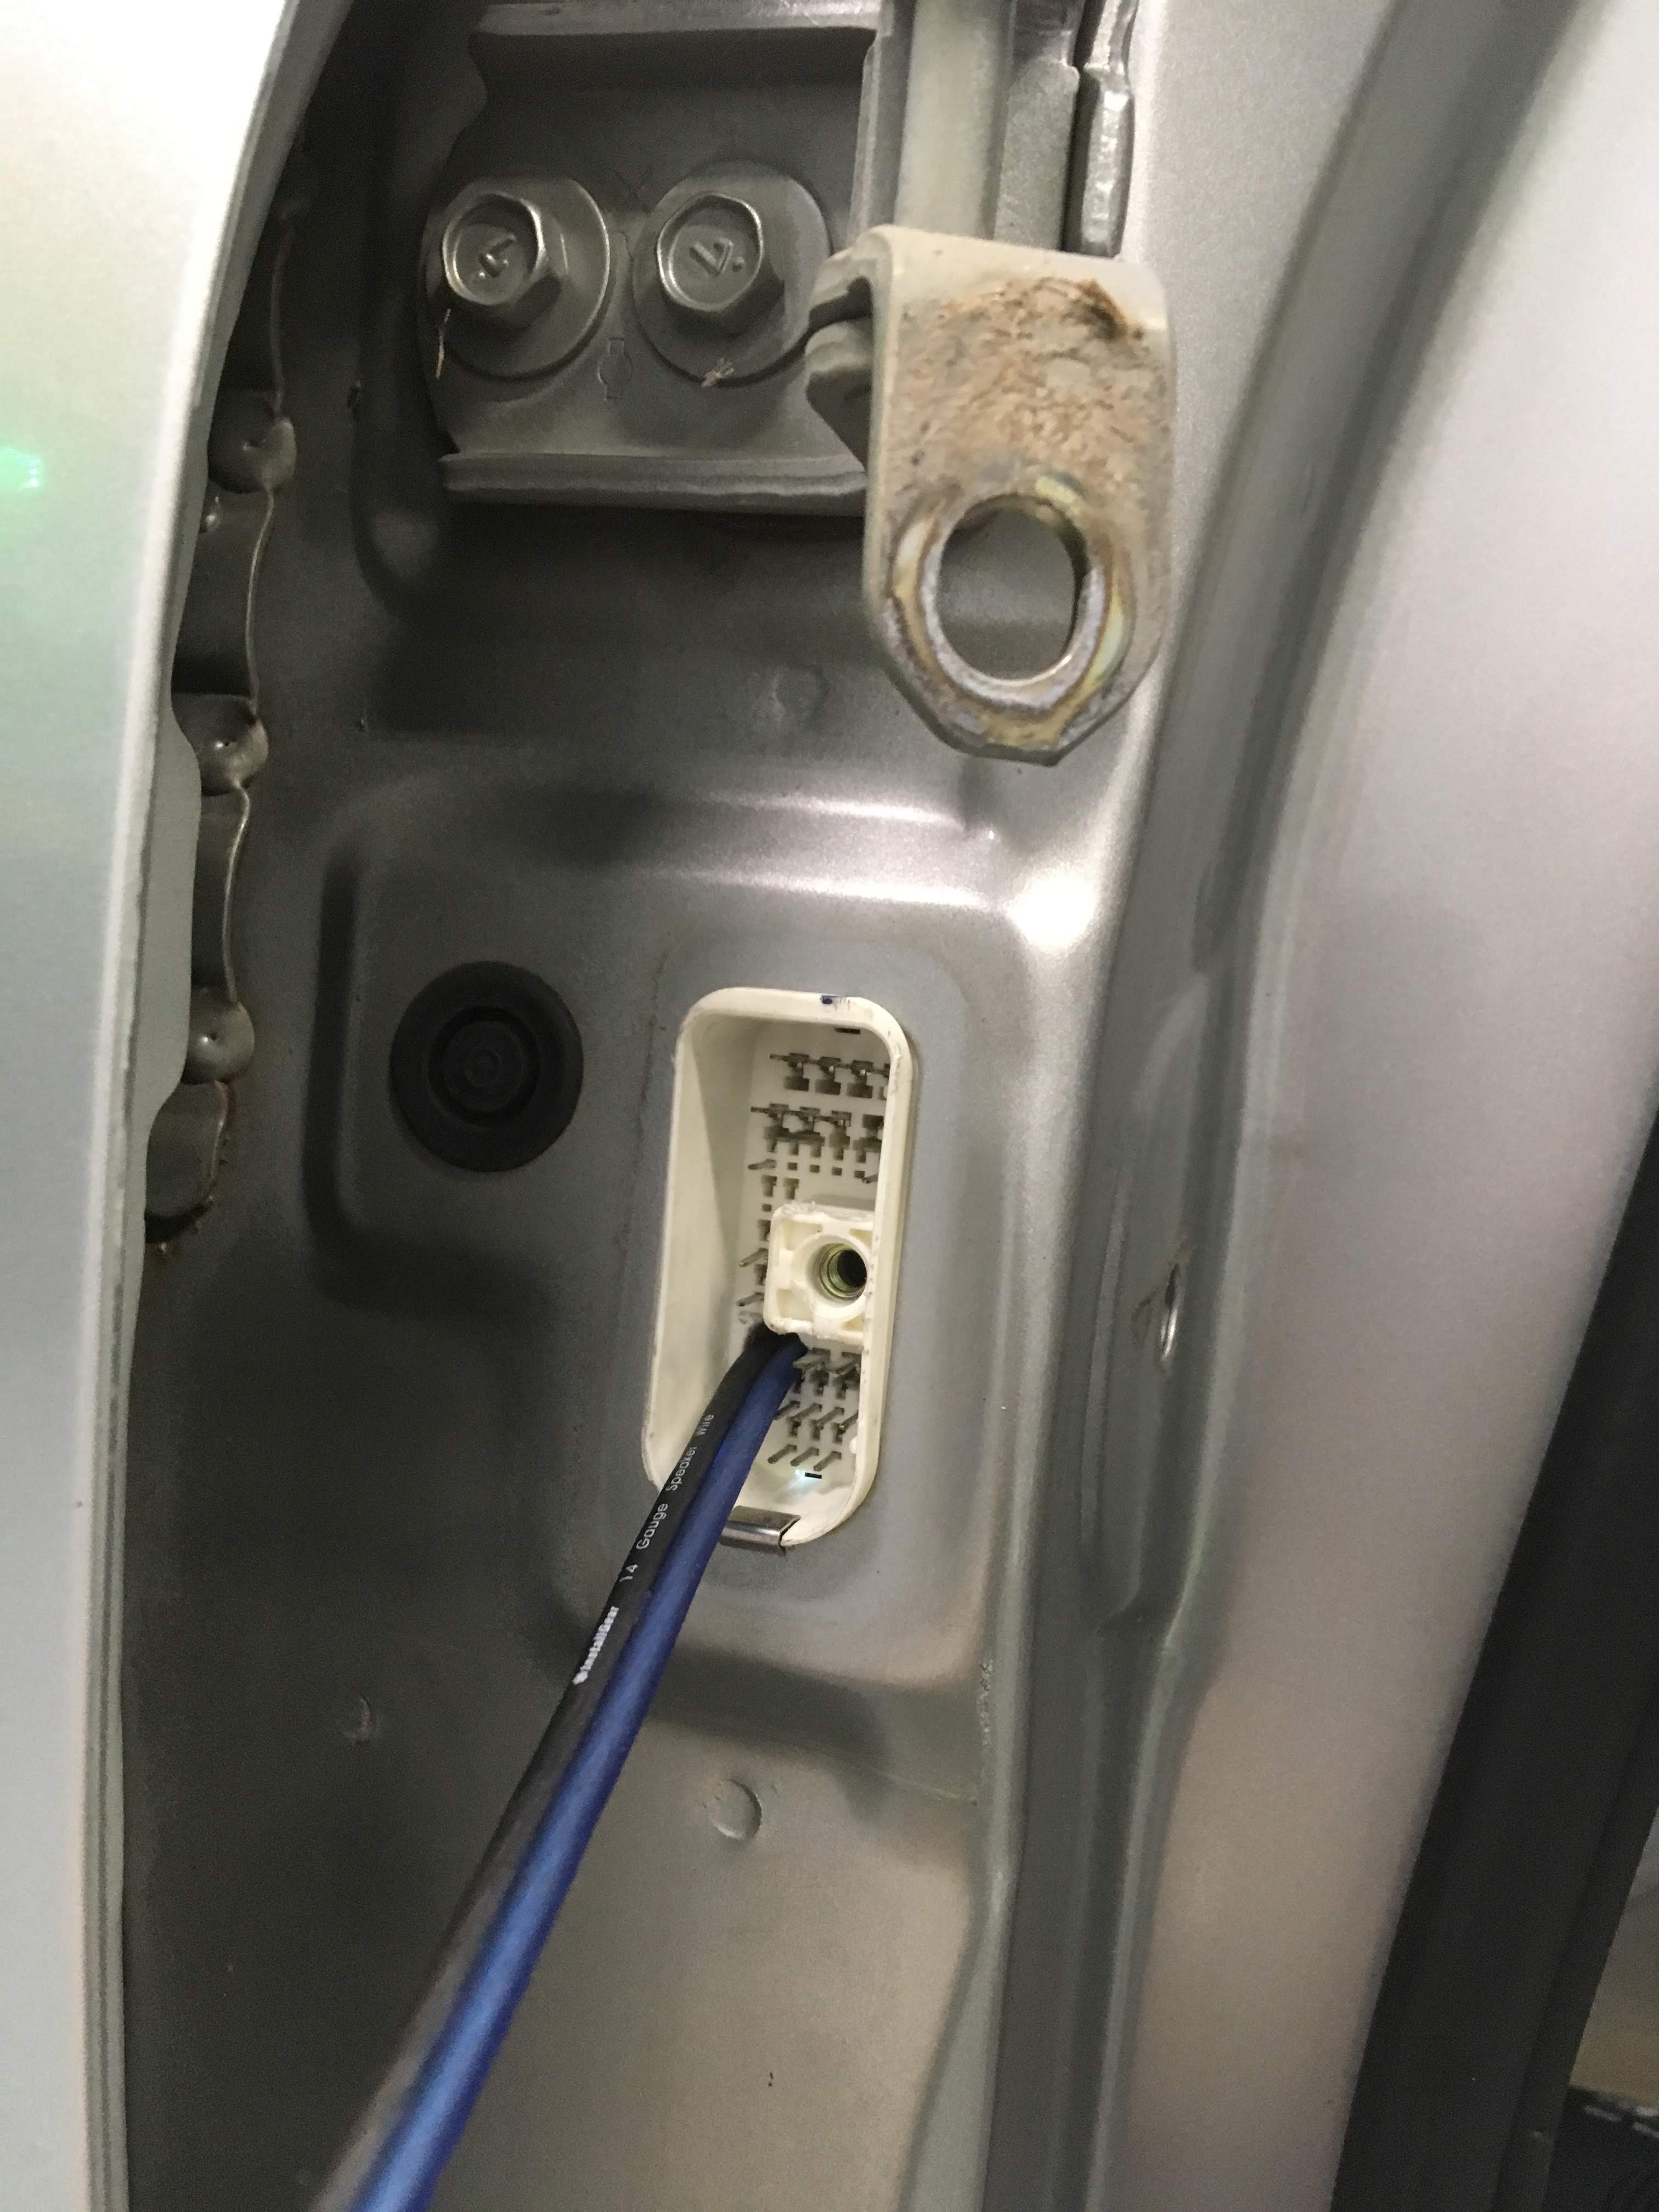
Boot removed from A pillar, pins pulled, hole drilled:This image has been resized. Click this bar to view the full image. The original image is sized %1%2.This image has been resized. Click this bar to view the full image. The original image is sized %1%2.
Wired through A pillar:This image has been resized. Click this bar to view the full image. The original image is sized %1%2.
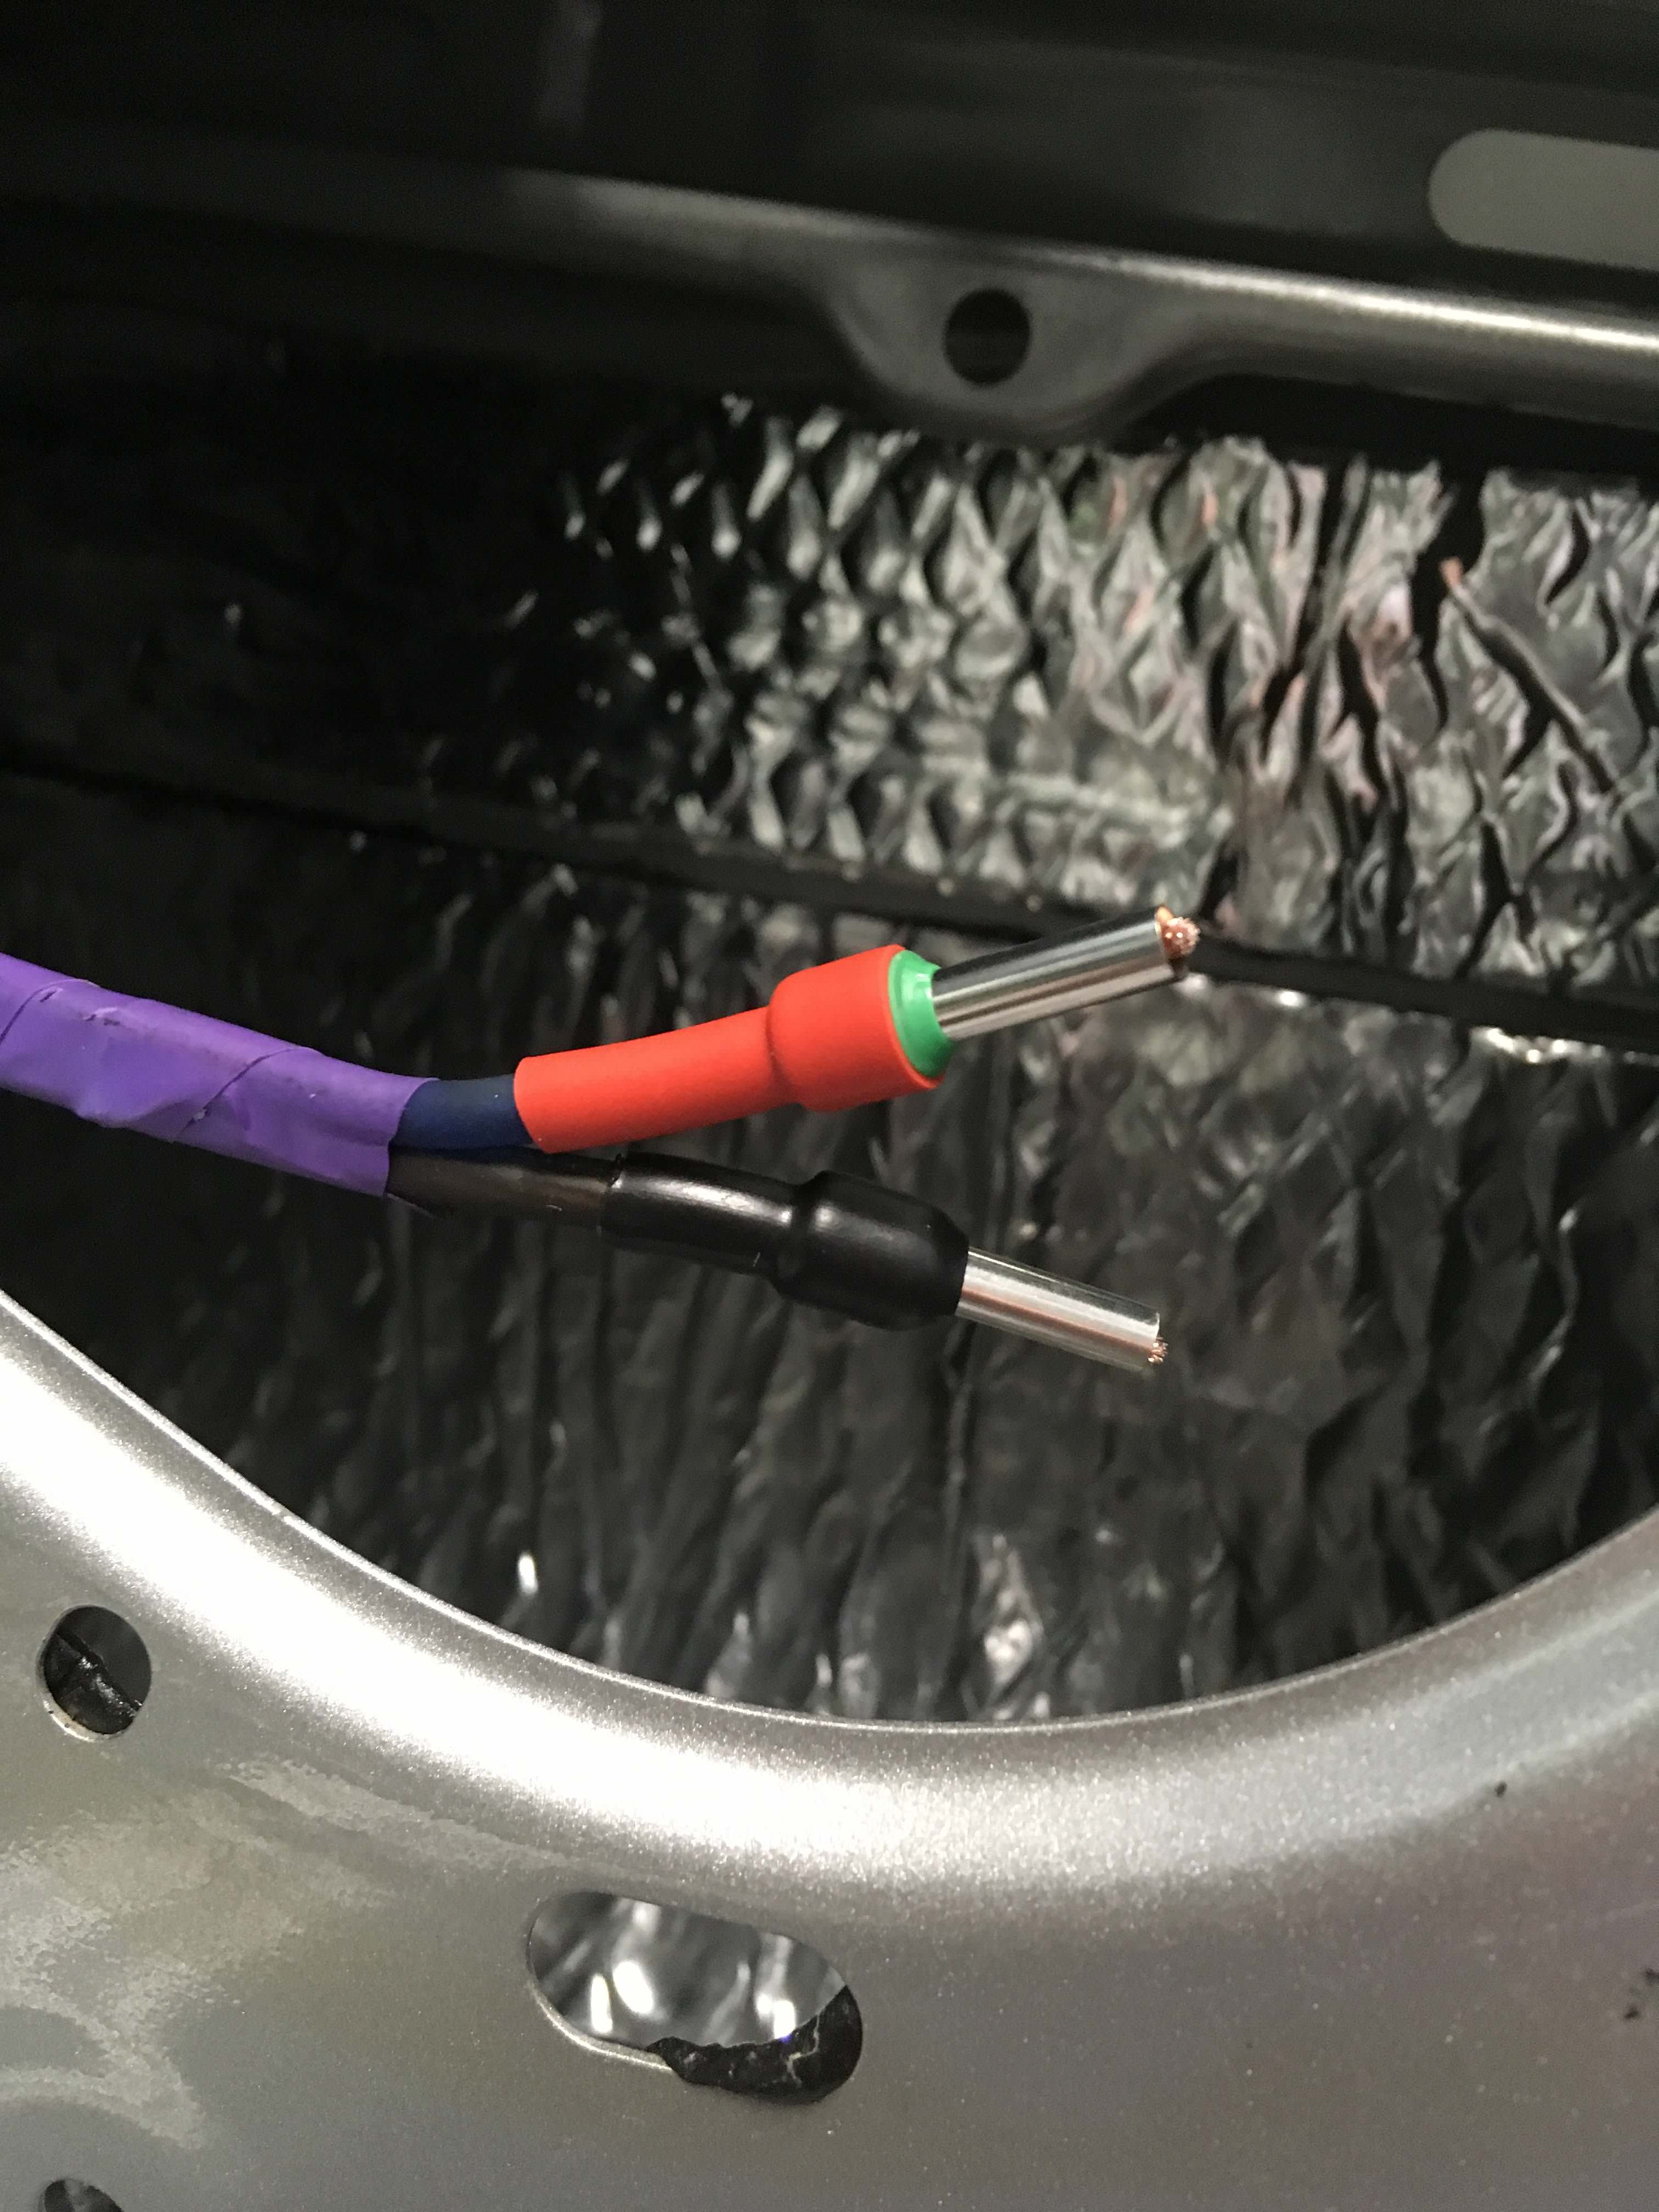
Speakers had set screw terminals, so I used ferrules with heat shrink to dress the ends:This image has been resized. Click this bar to view the full image. The original image is sized %1%2.
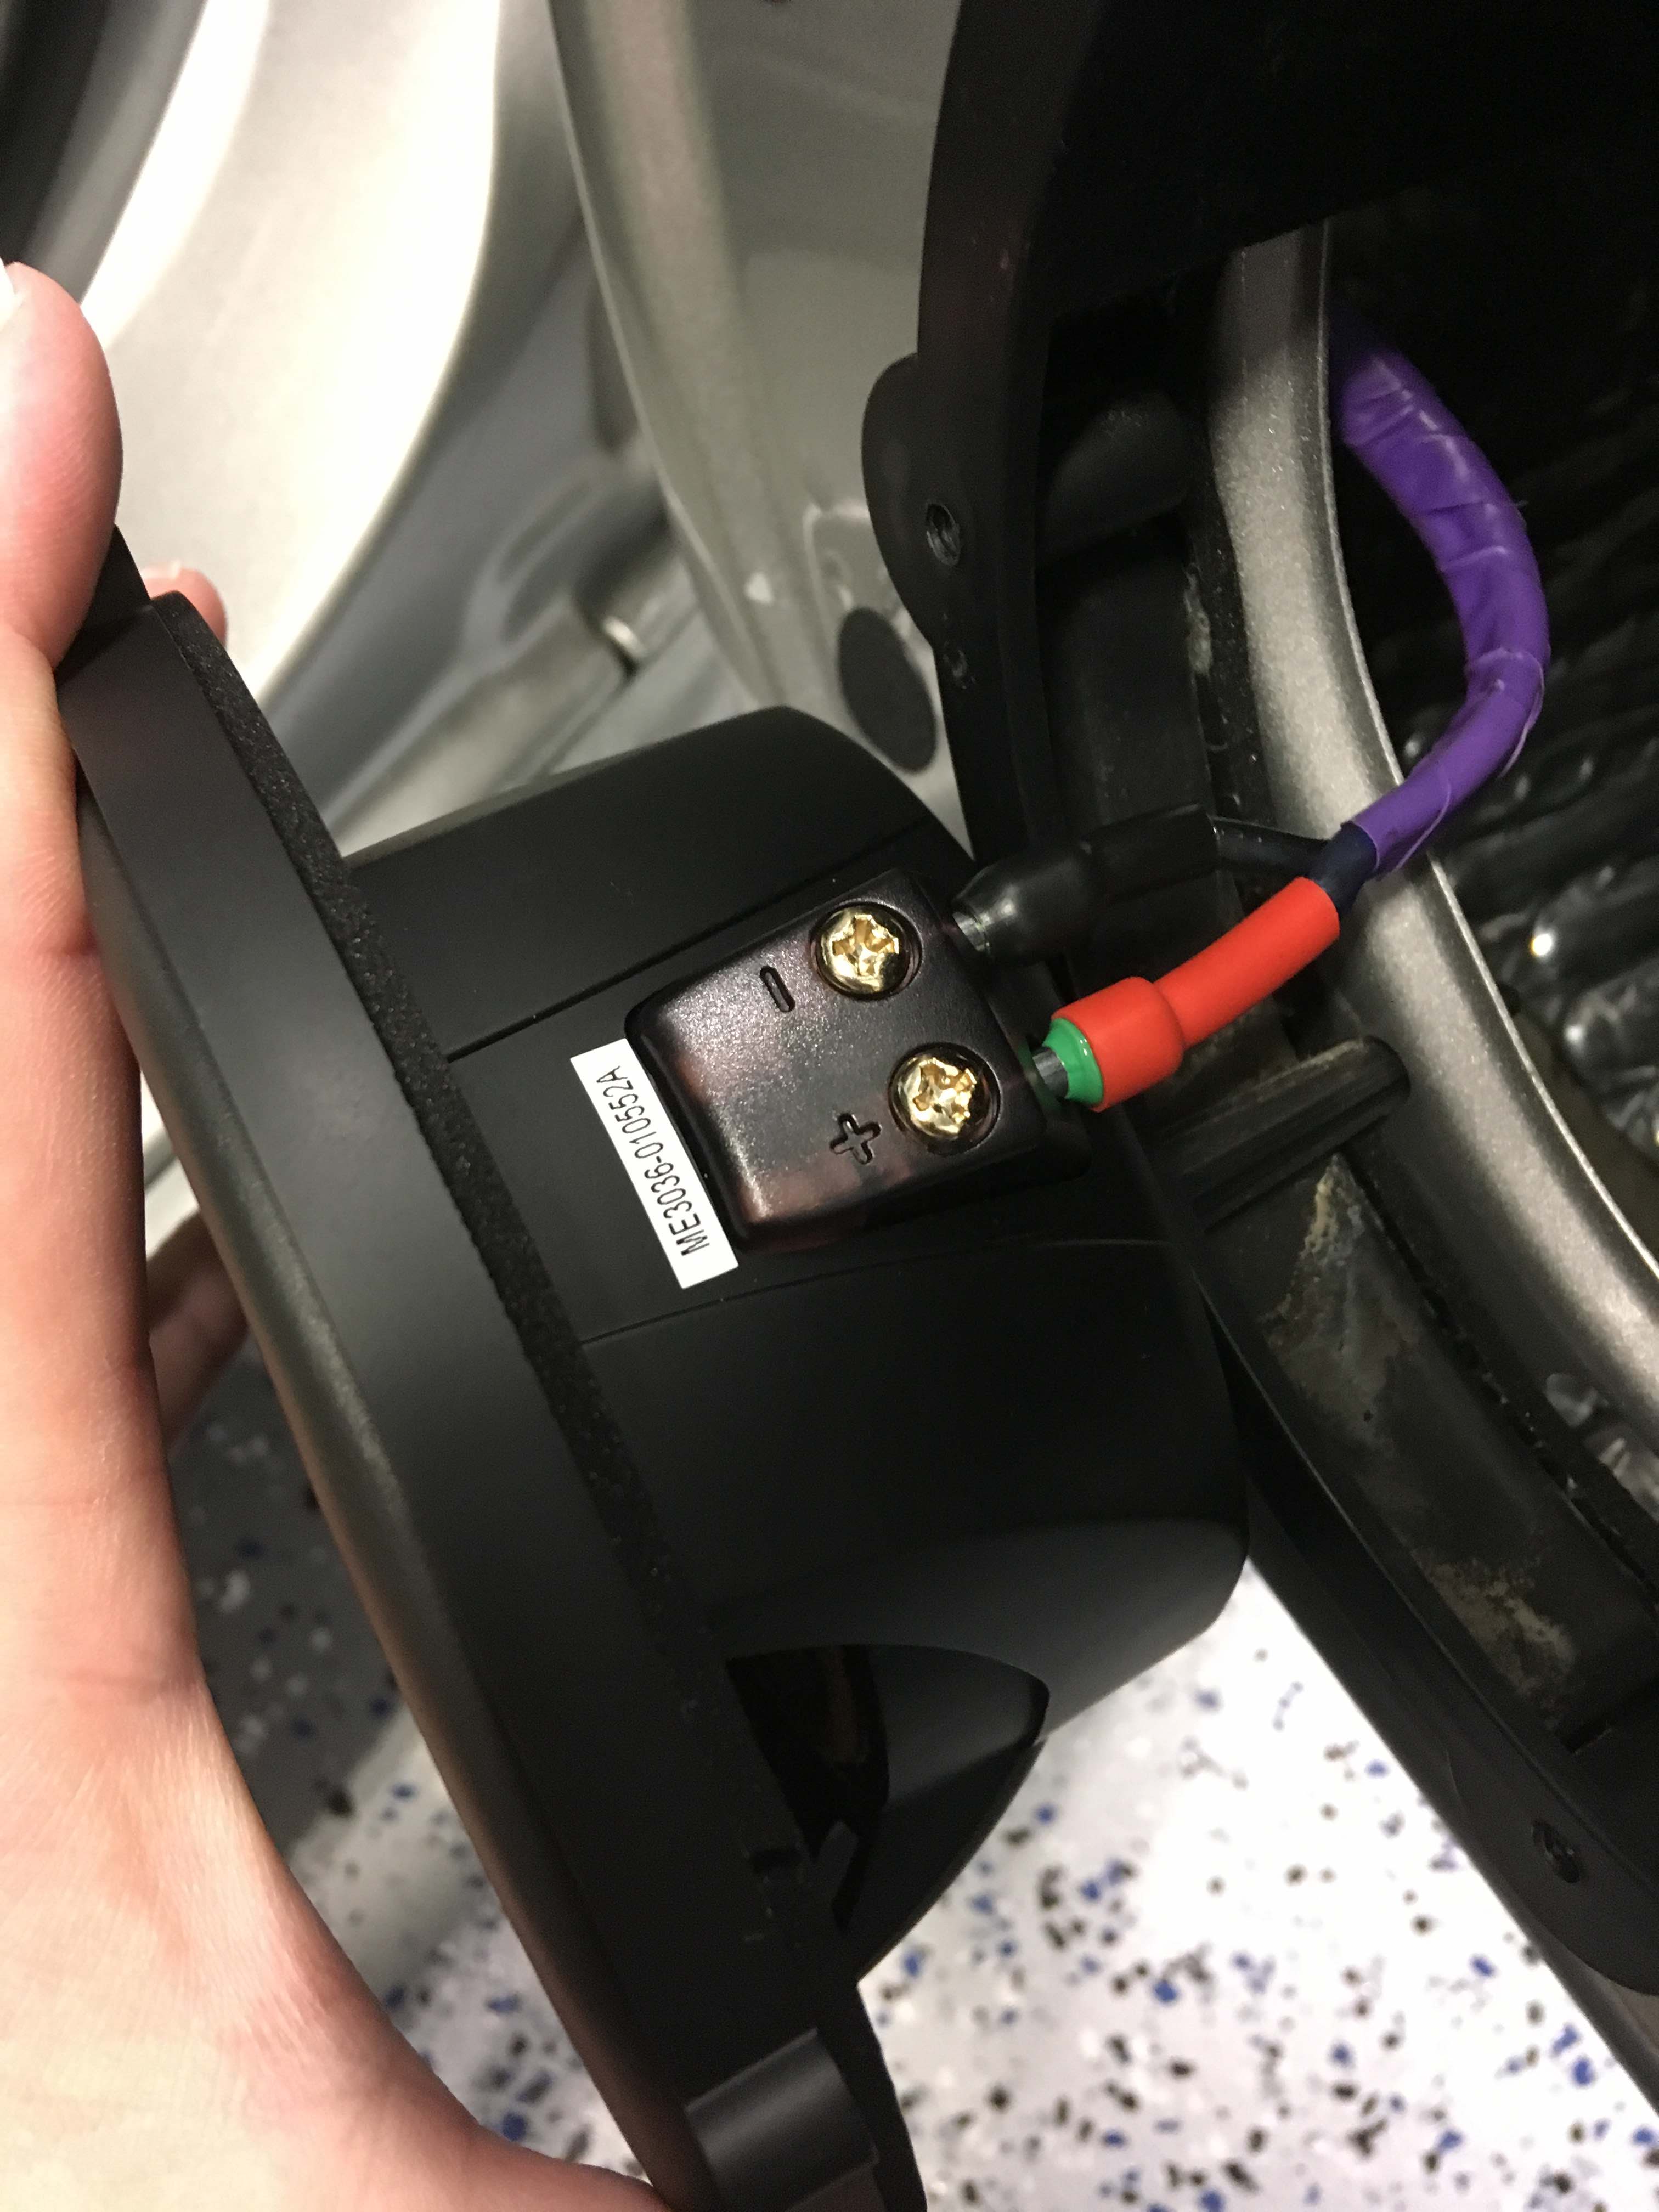
Connected, add a drop of dielectric grease around outside of terminals:This image has been resized. Click this bar to view the full image. The original image is sized %1%2.
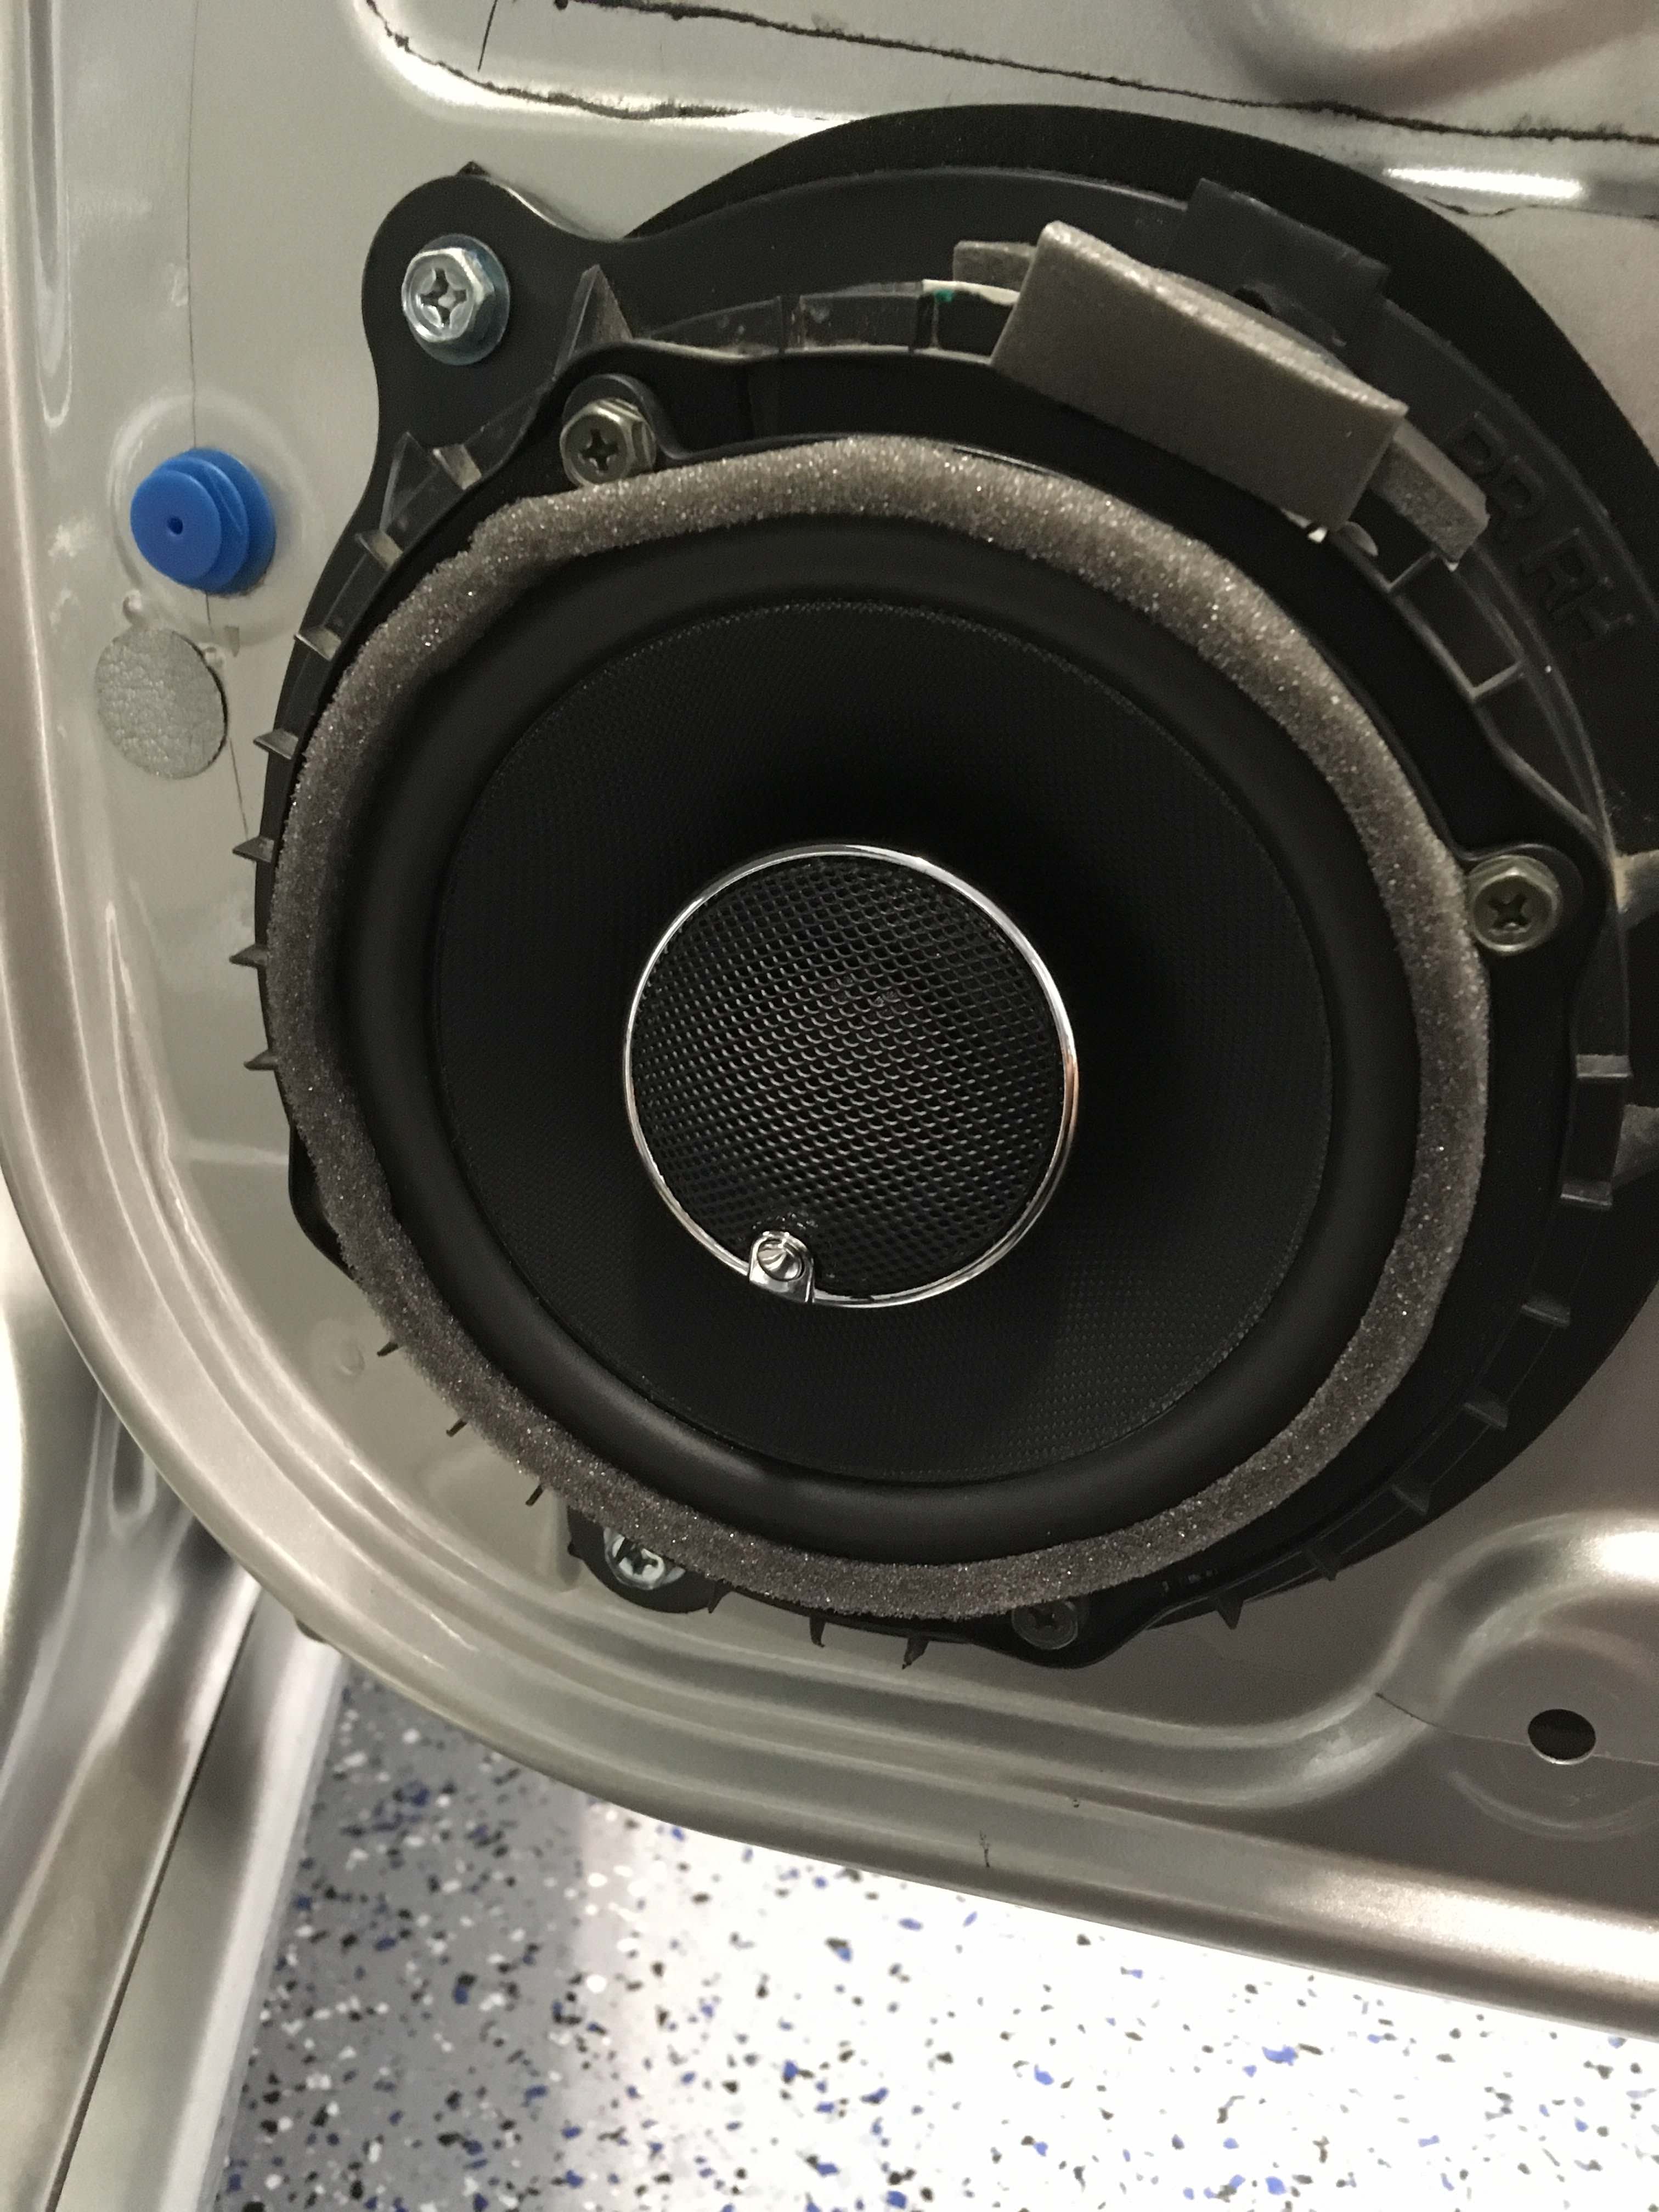
Gasketing under the mounting brackets and outside the surround, then mounted. Front speakers done:This image has been resized. Click this bar to view the full image. The original image is sized %1%2.
Rear speakers:This image has been resized. Click this bar to view the full image. The original image is sized %1%2.
At this point in the project, I'm really anxious to get on the road and test it out! It's killing me that things are moving so slowly. But, I don't want to get ahead of myself. I want it done right, so the end of the project will be all the sweeter.
For the doors, I got 40 sq. ft of MLV from Amazon for $95, shipped. Brand was Soundsulate. No odor, very heavy. Also, got industrial velcro, butyl rope and vinyl cement from Amazon. Total - $40.
I did not use a layer of CCF between the MLV and door. I'd like to justify that by saying I didn't have enough room, but that's a lie. I'd also like to defend myself by saying I can't really tell a difference...lol! But the truth is, I'm lazy, and I am trying to get done with this project. Also, the night I started on the first door, I had drank a bottle of wine and a six pack by myself, and that may have influenced my decision...
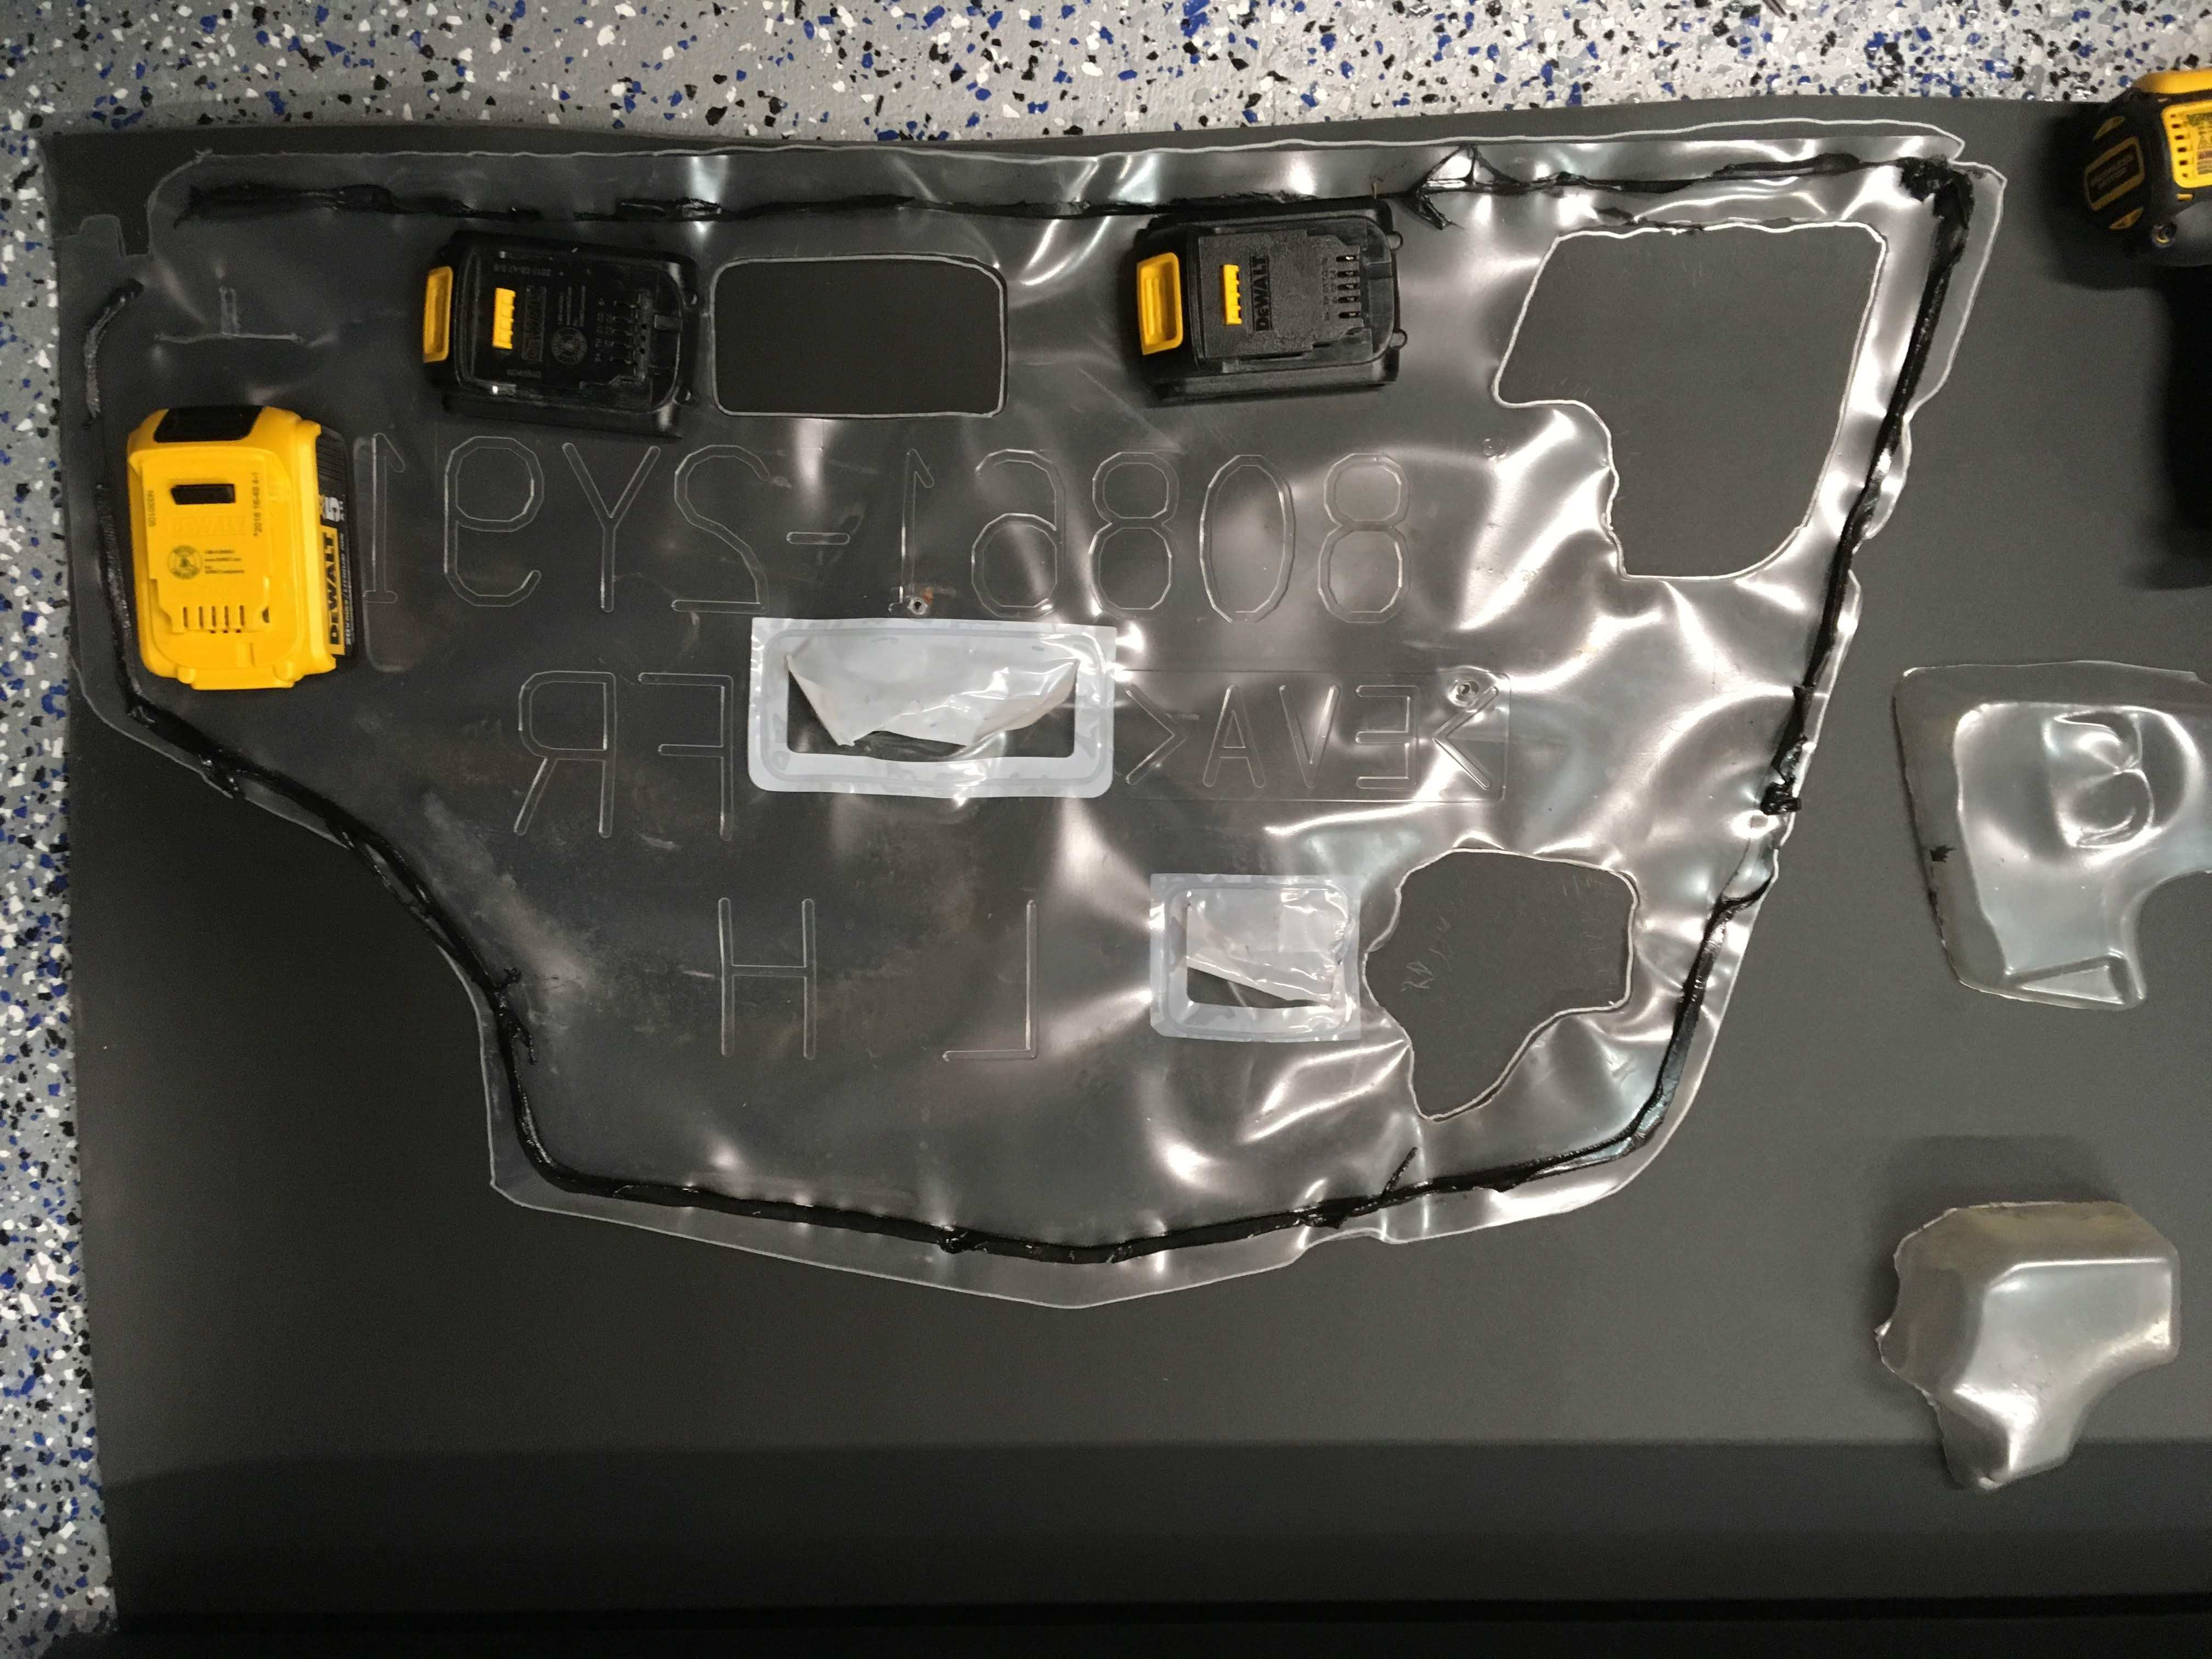
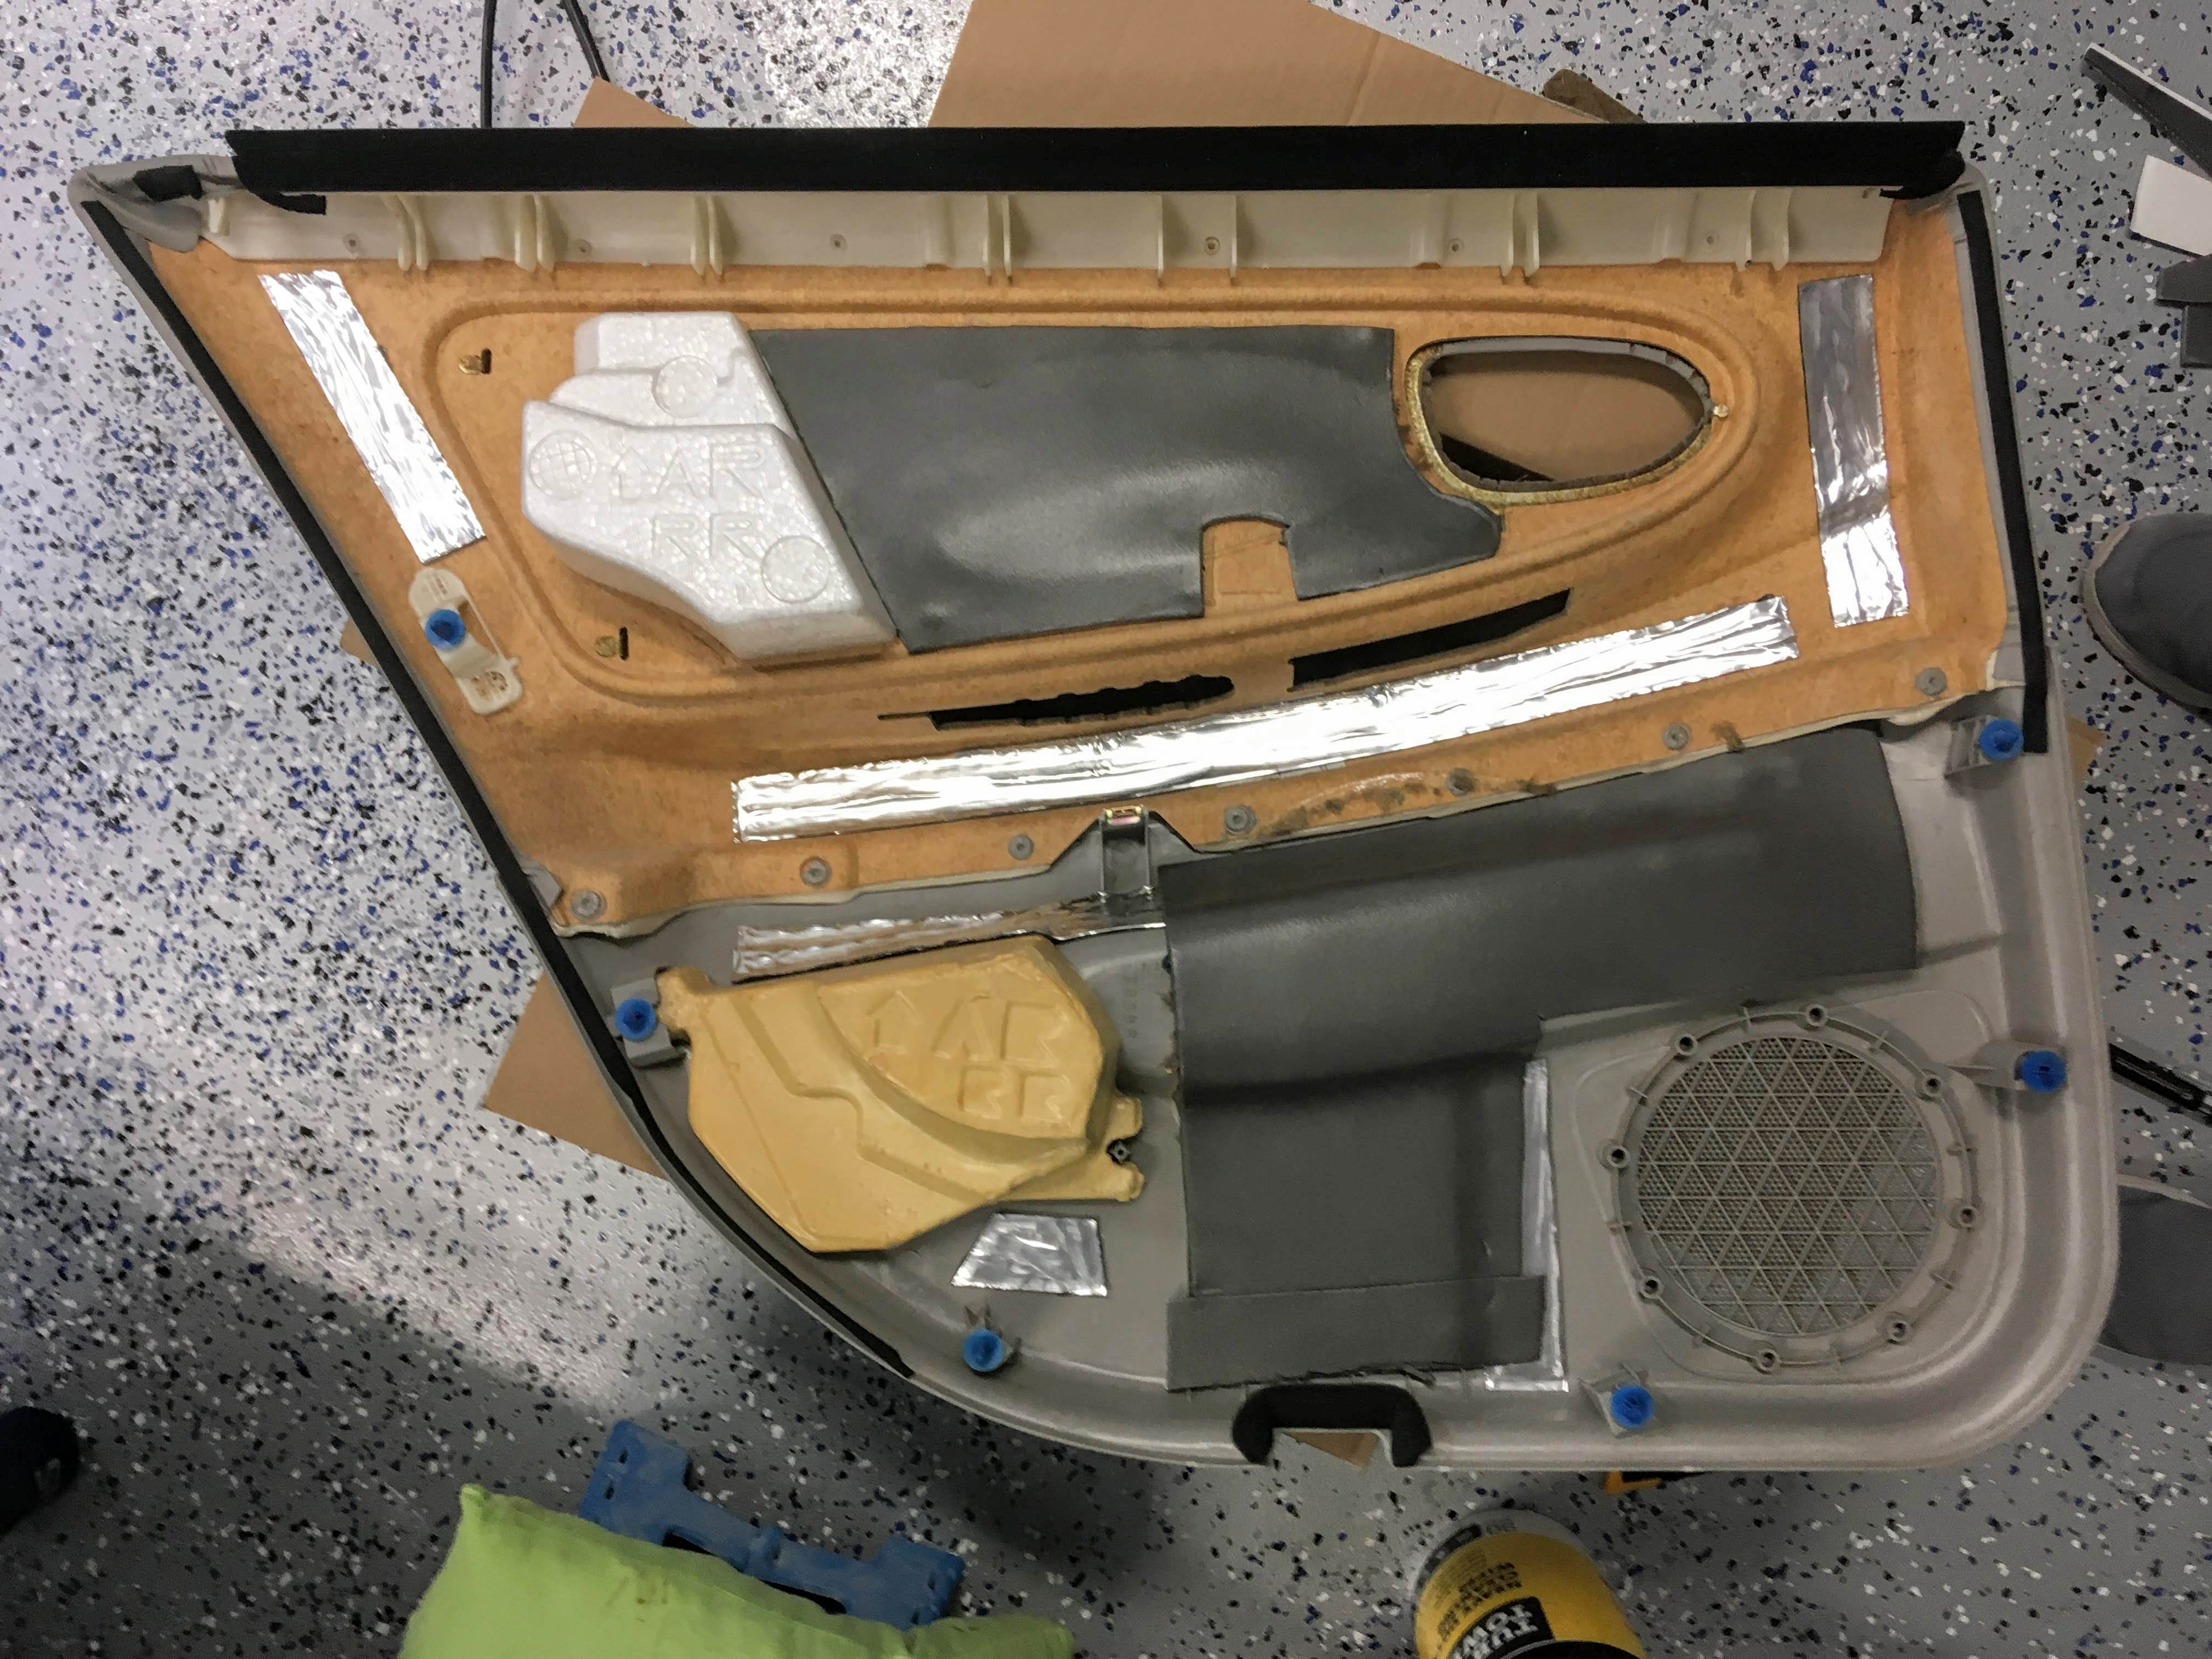
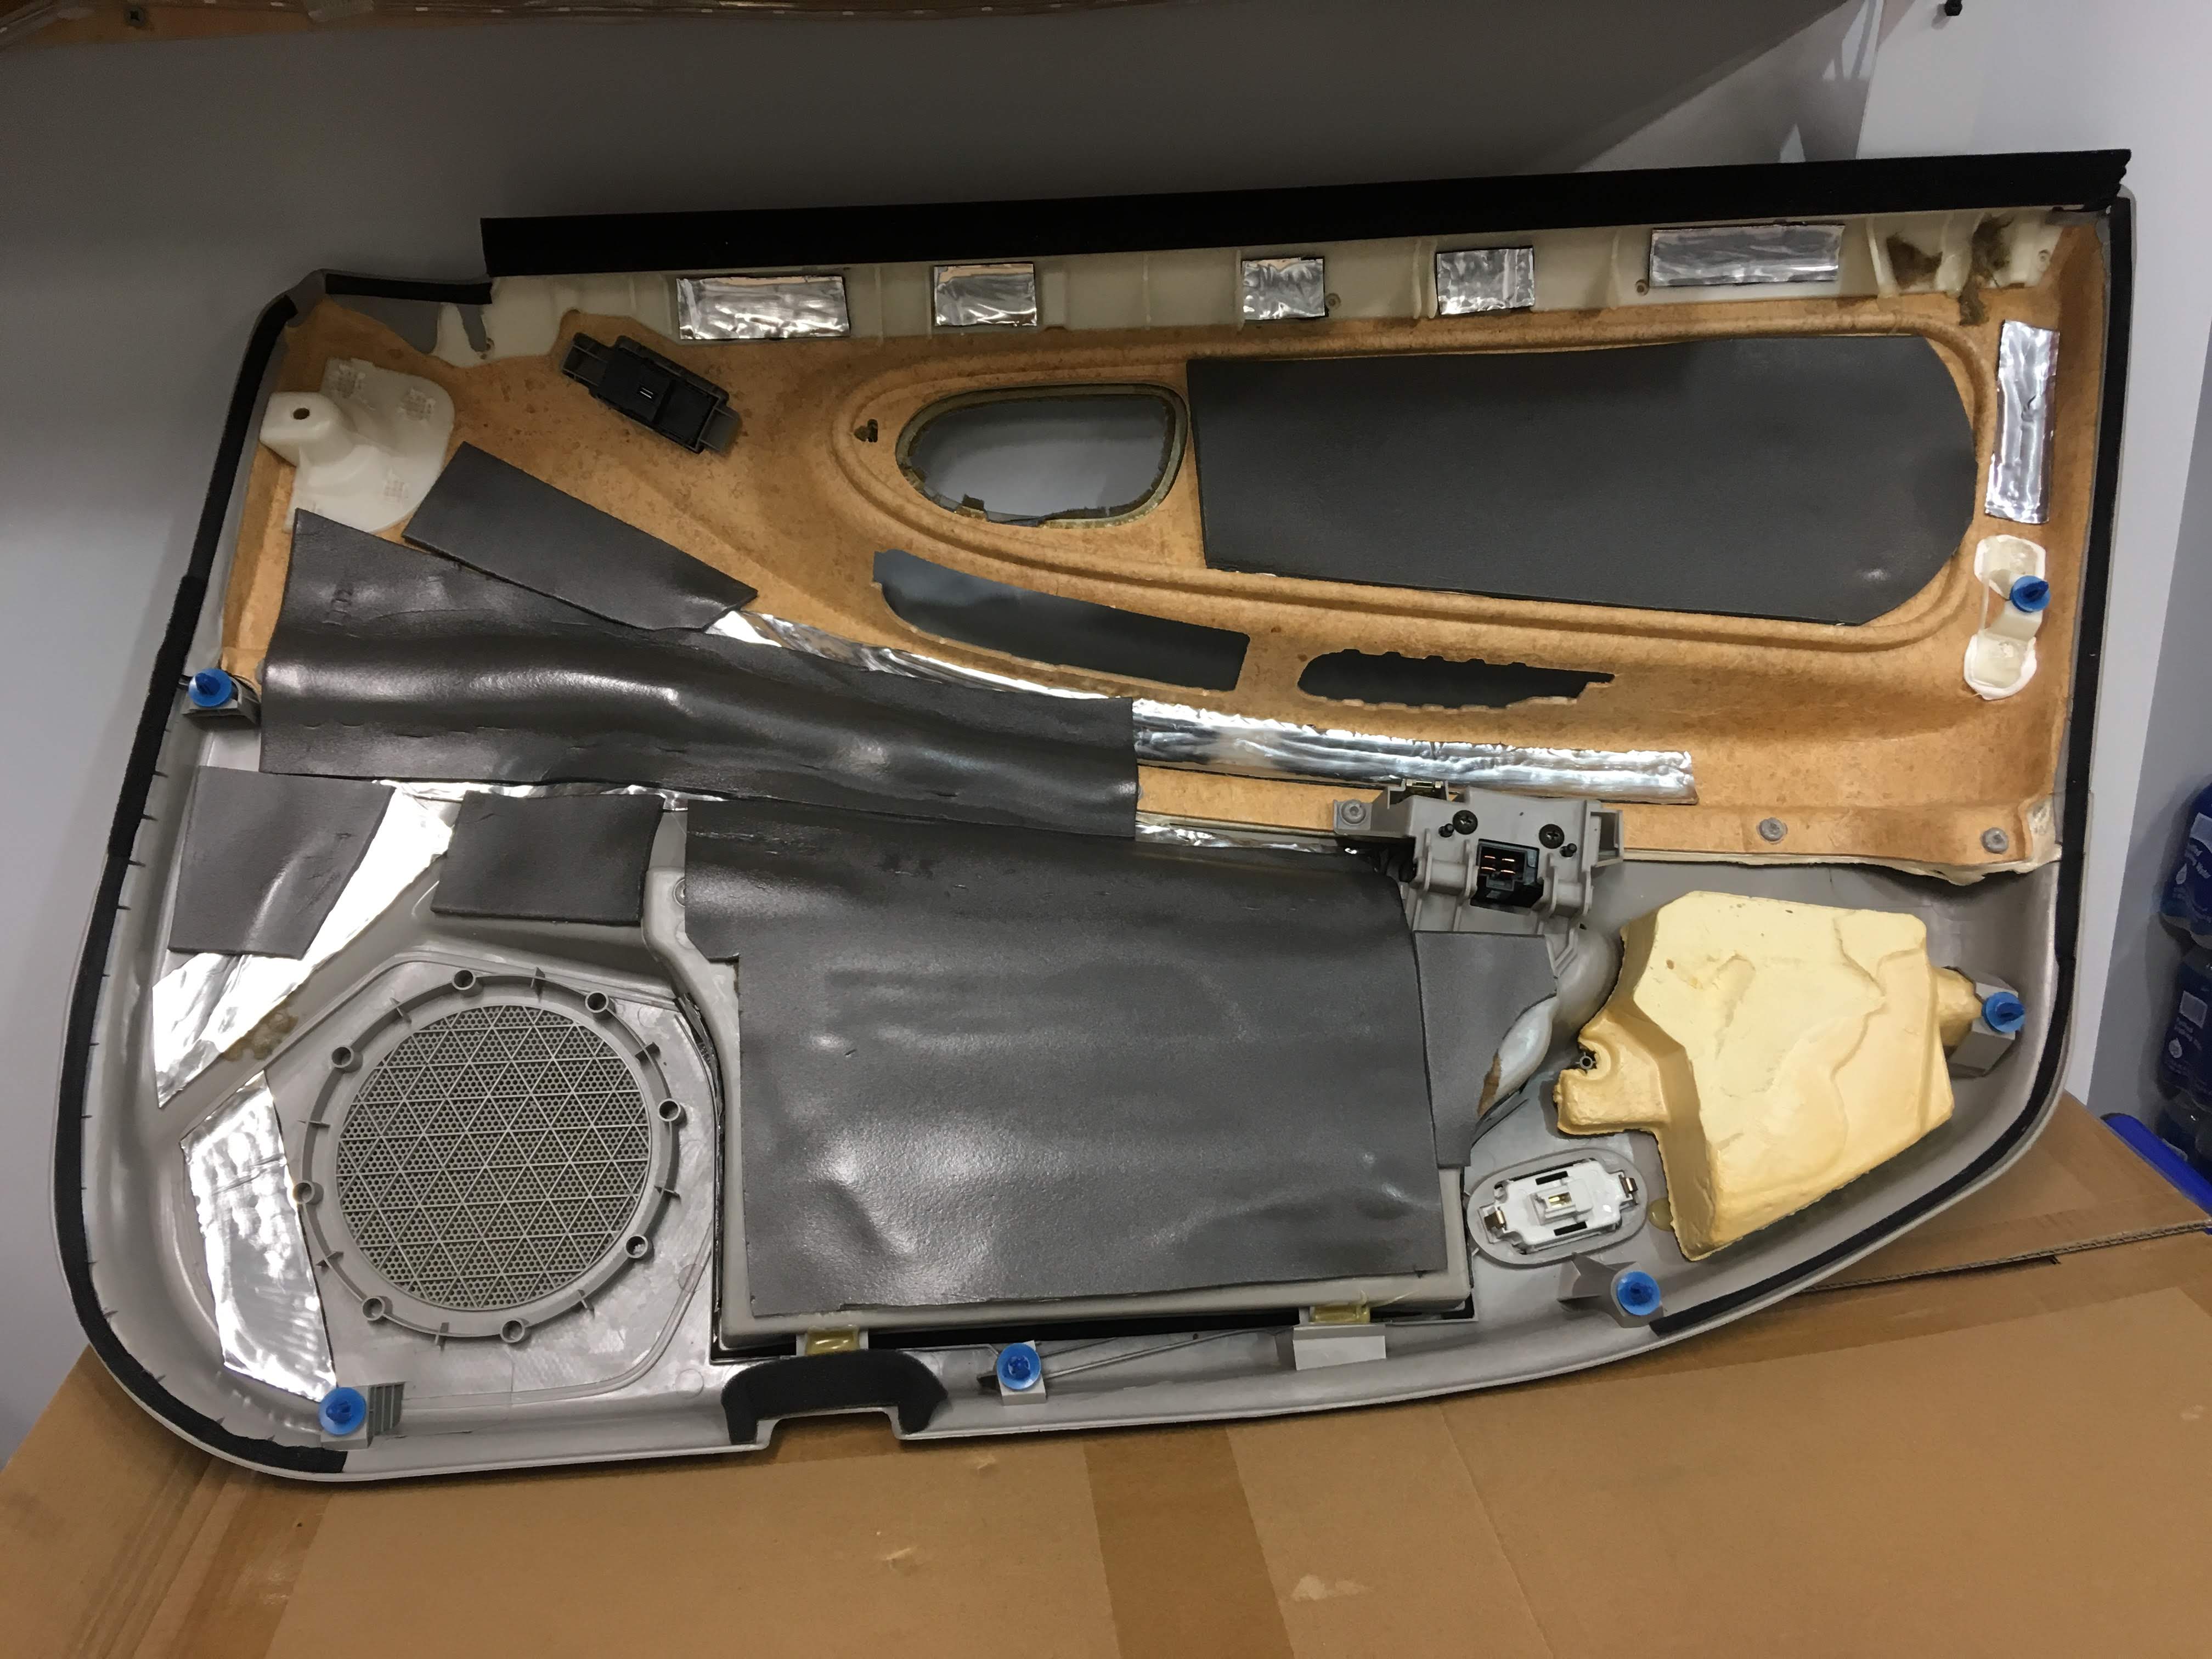
Saved the vapor barrier to cut a pattern:This image has been resized. Click this bar to view the full image. The original image is sized %1%2.
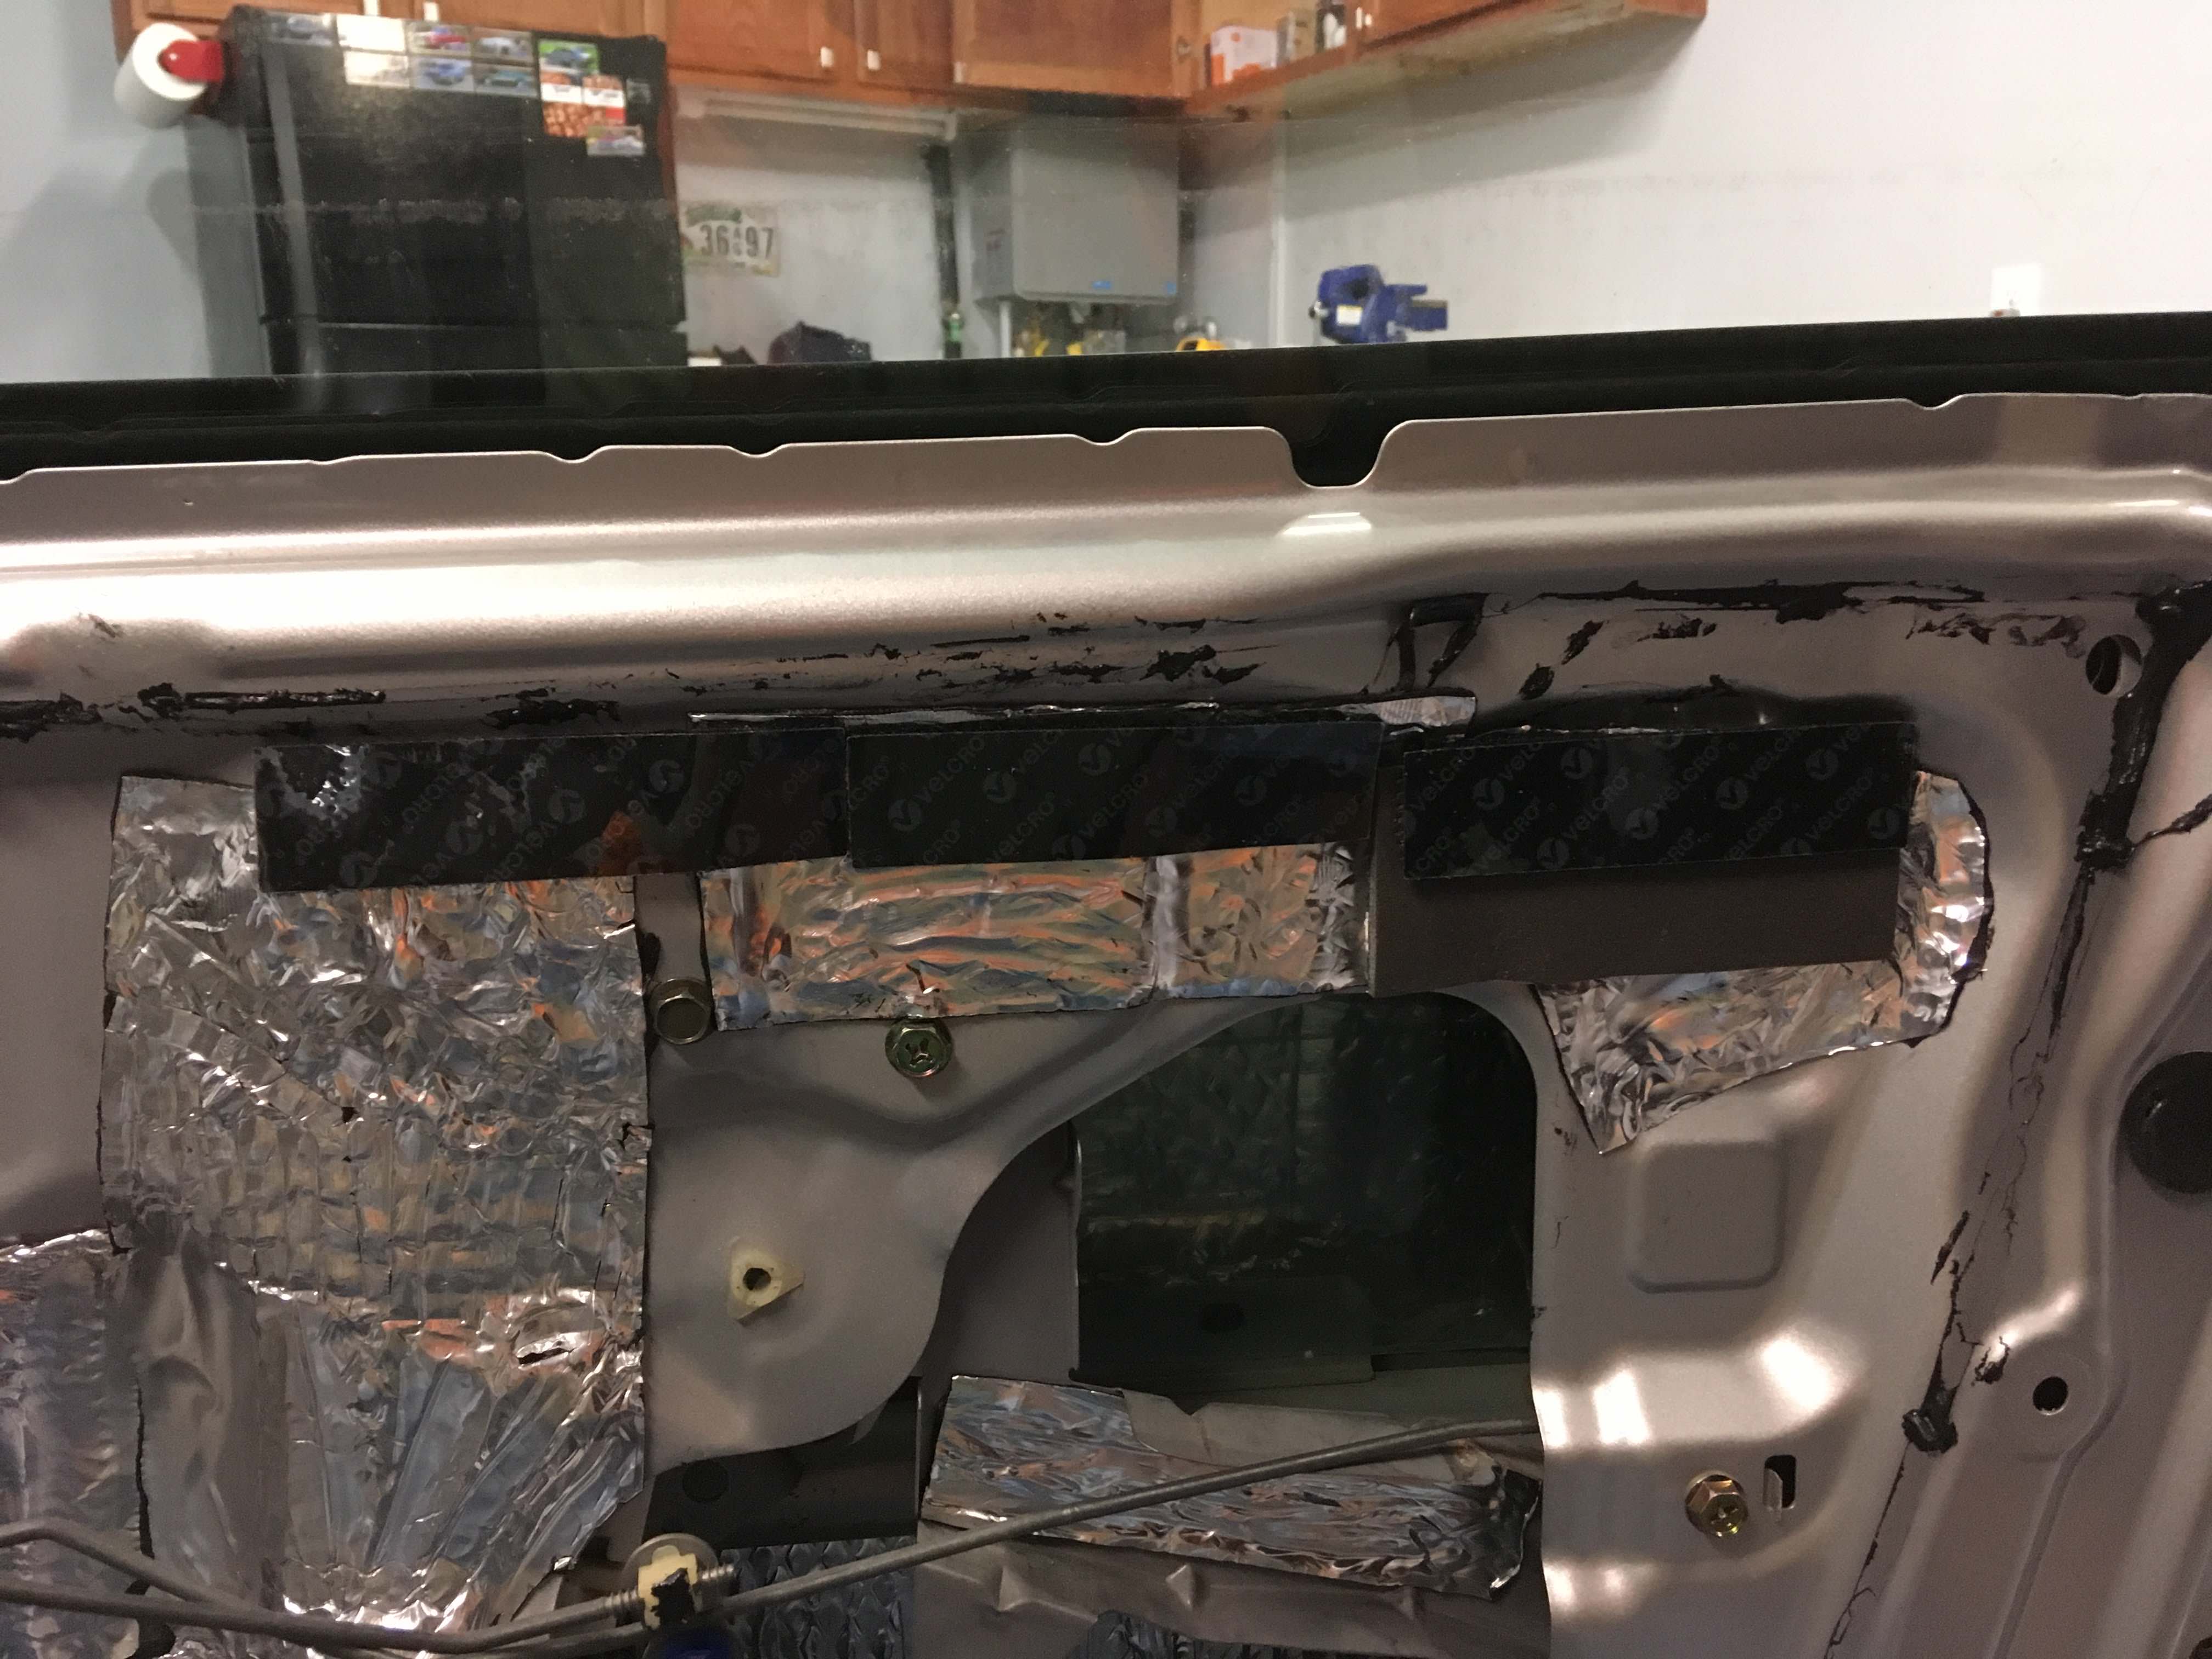
Mounted Velcro:This image has been resized. Click this bar to view the full image. The original image is sized %1%2.
Butyl rope added and done:This image has been resized. Click this bar to view the full image. The original image is sized %1%2.
Found some rust on the door pulls, hit them with Rust Bullet:This image has been resized. Click this bar to view the full image. The original image is sized %1%2.
Rear doors done:
Tore out the nasty jute carpet inside the trim panel, replaced it with CCF. Also added some CLD. The CCF I'm using here is also from Amazon, brand - Noico. 170 mil with adhesive backing. Got 18 sq. ft for $30.
Driver front:This image has been resized. Click this bar to view the full image. The original image is sized %1%2.This image has been resized. Click this bar to view the full image. The original image is sized %1%2.
And that's where I'm at now! I've been working on this for the last two months, and I'm adding CCF/MLV to the quarter panels now and then moving on to the trunk.
While I'm super stoked to get this done, I can already say I'm very pleased just with the difference in how the doors sound when they are being shut. A very pleasing, solid sound! Much different than the cheap, hollow clang from before. While it's not road ready, I can at least take pleasure in that.
If you have any tips or tricks, I'd be happy to hear them! Stay tuned for more updates.
**Also, let me know if the pictures aren't coming through and I will fix. Thanks all!
great post man! , glad you have enjoy the org, its a great place.
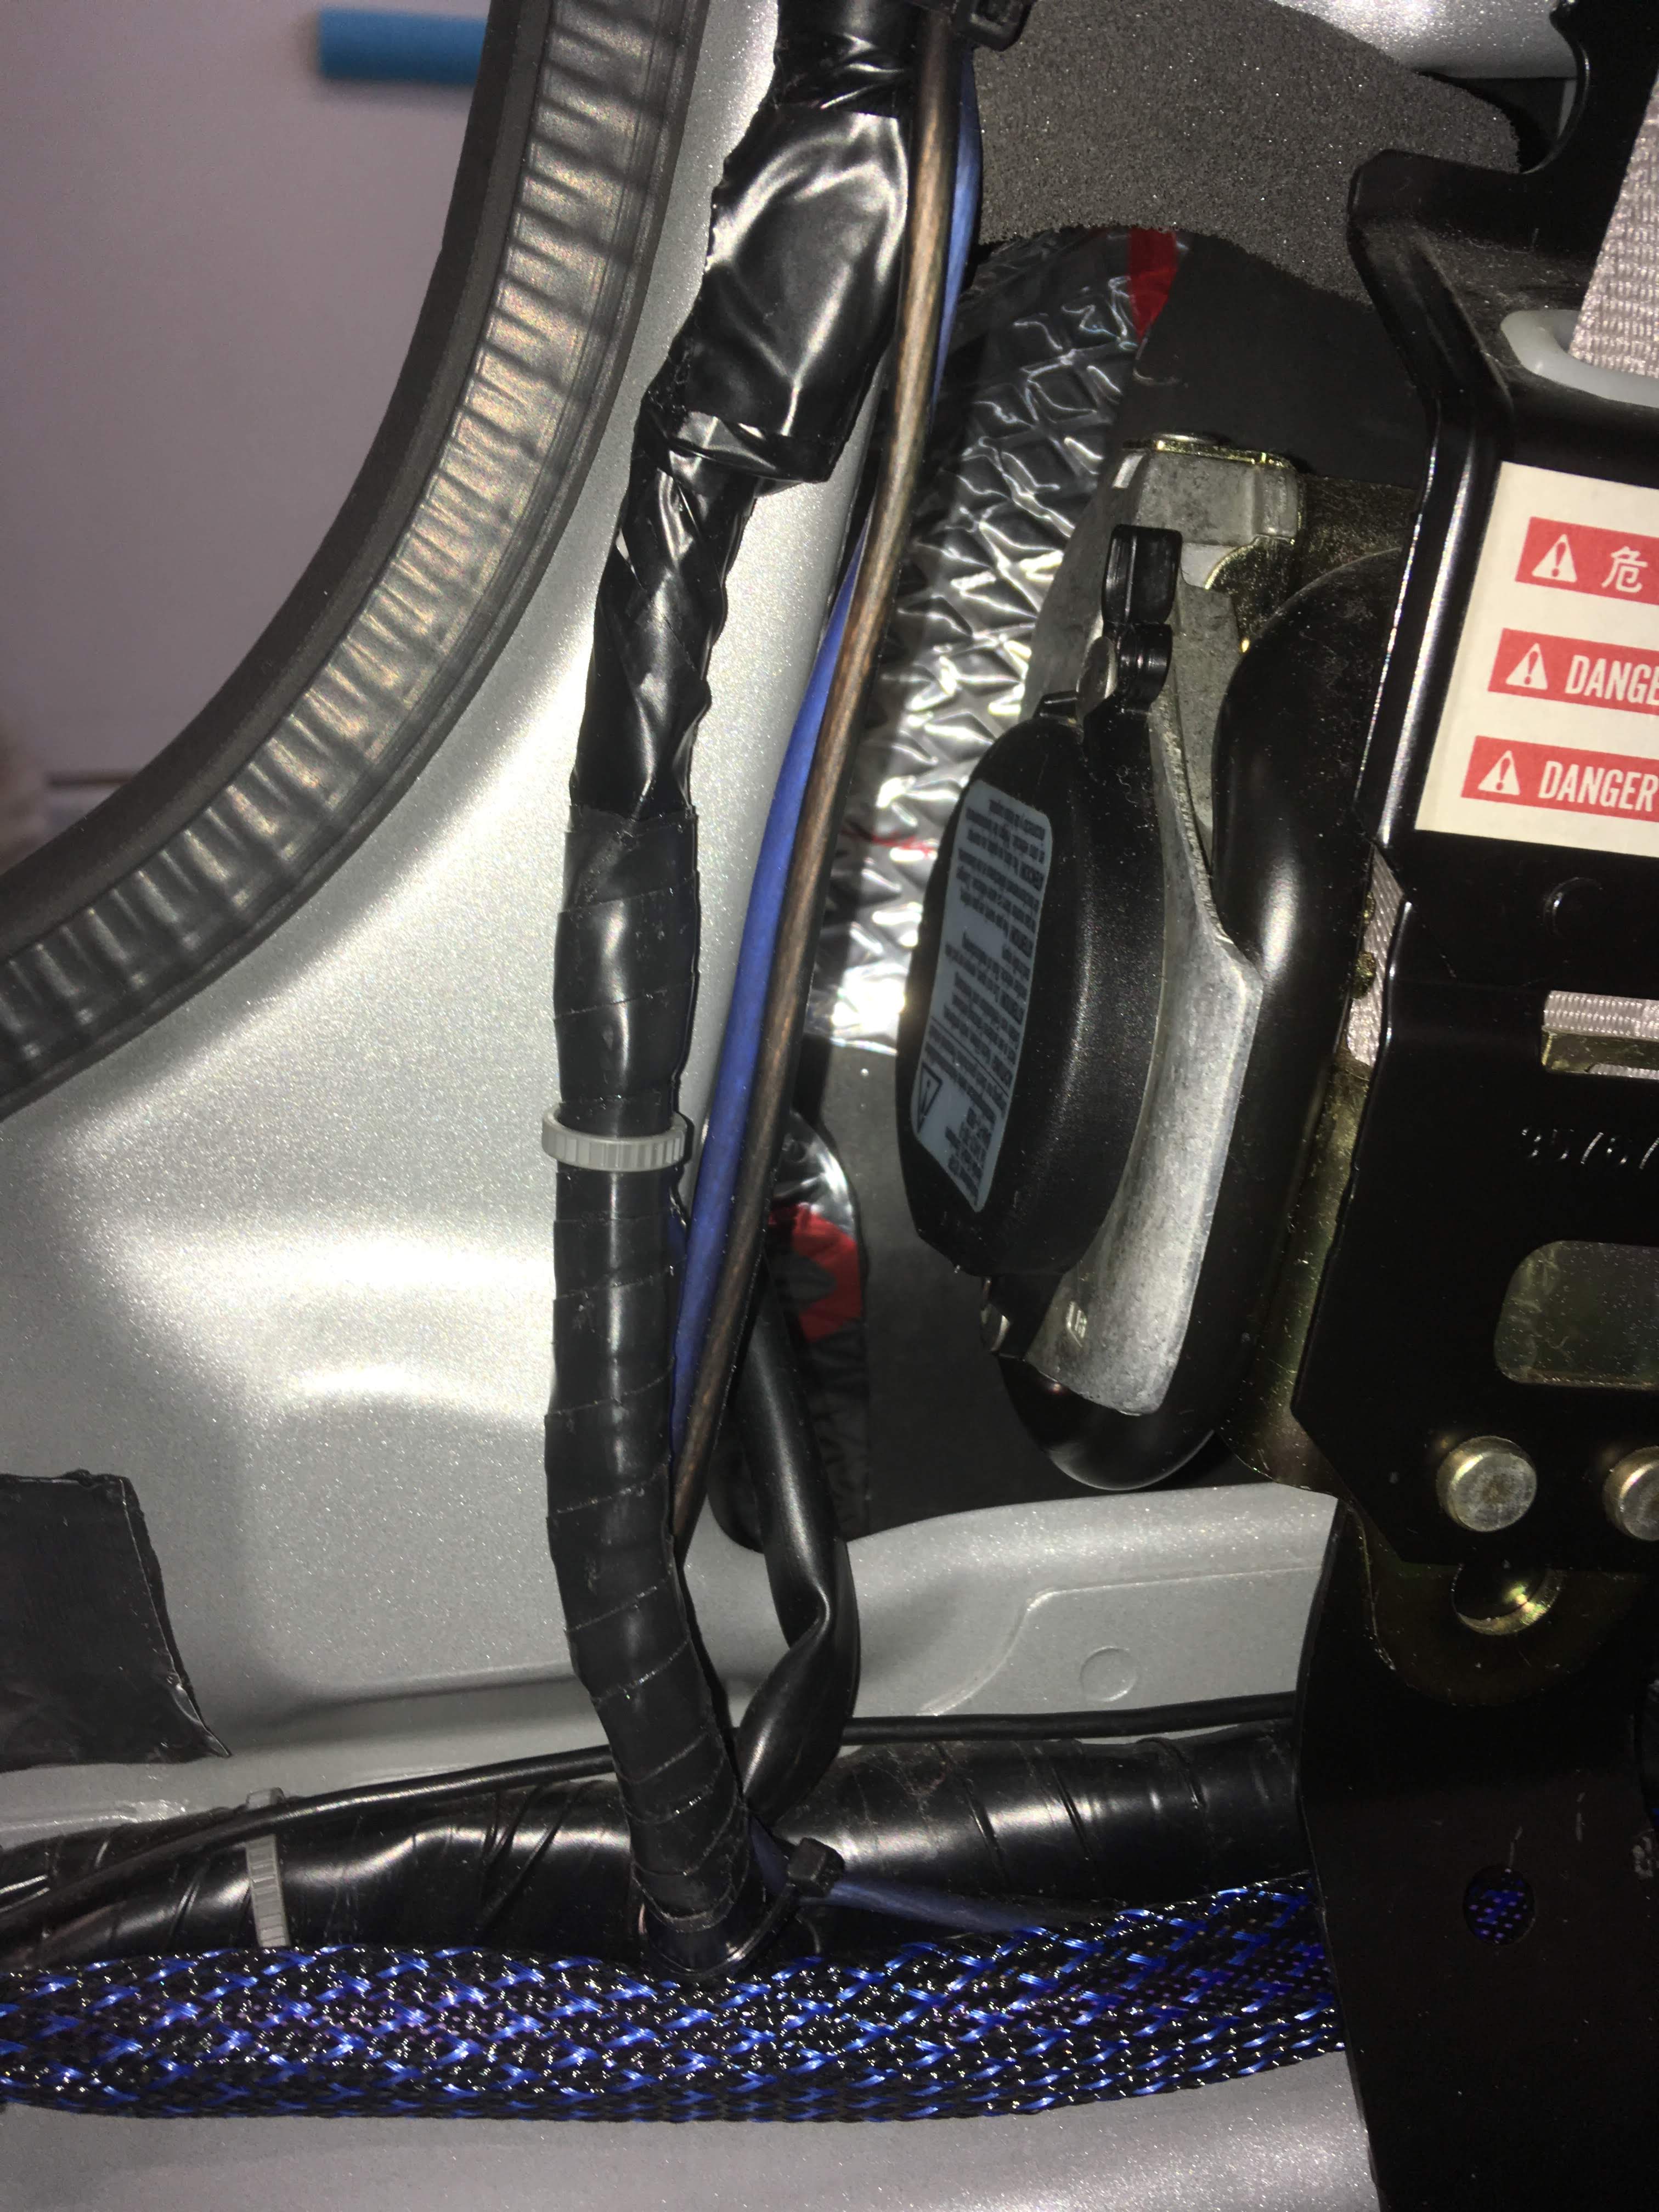
did you put sound deadening into the rear sealbelt coil housings???, shift ice dot com, talks about this, and alot of guys found rattles after doing full sound deadening like you have! please do those too if you havent, i didnt see any pics of those.
Good stuff dude! Definitely going to have some questions for you in the future, im more or less looking to do the same thing as you but im going to wait for warmer weather. Are you using the stock sub mount location or using an aftermarket sub box? I really dont want to have a box in my trunk but at the same time ive heard open subs like the oem bose setup can be pretty muddy SQ.
Good stuff dude! Definitely going to have some questions for you in the future, im more or less looking to do the same thing as you but im going to wait for warmer weather. Are you using the stock sub mount location or using an aftermarket sub box? I really dont want to have a box in my trunk but at the same time ive heard open subs like the oem bose setup can be pretty muddy SQ.
Properly implemented ifinite baffle sounds way better than most any box. Wave isolation and transfer function control are key. It does take more power and cone are than a box. Check out the link at the top. I have 3 10"s in the rear deck for a completely sq set up. Literally 95% of IB installs I have seen are wrong or not braced or isolated enough. The problem people have when they do it right is they had no idea what to expect it to sound like. It plays very clean and low more easily. People generally like some distortion with subs and more output 60-80hz. You don't typically get that IB. If you understand that going in you will be nothing but pleased.
..... The other reason for the overhaul is that this model had the Bose stereo. As you all know, there is essentially no swapping components into or out of this system. It's either rip and replace all, or suck it up. .............
The above statement is INCORRECT.
The headunit of my Bose system failed about 4 years ago (they all fail at about that time). The local Alpine shop replaced it with an Alpine unit (CDE-143BT if I remember correctly). They had to use adapters (one for antenna, one for speakers, and I think one more), but the result is just fine - my "mixed" (Bose-Apline) stereo has been working without any problems ever since..
great post man! , glad you have enjoy the org, its a great place.
did you put sound deadening into the rear sealbelt coil housings???, shift ice dot com, talks about this, and alot of guys found rattles after doing full sound deadening like you have! please do those too if you havent, i didnt see any pics of those.
i did the deck and the rear seatbelt coil housings.
Yes! I actually found his page from the org. Oddly enough, when I got to the housings, I discovered that CCF had already been added, so that was kinda cool/weird. I also went to add weatherstripping under the rear window seals and found that had been fixed as well. I figure the window was fixed as part of a TSB, but not sure why the seatbealt housings were fixed.
Good stuff dude! Definitely going to have some questions for you in the future, im more or less looking to do the same thing as you but im going to wait for warmer weather. Are you using the stock sub mount location or using an aftermarket sub box? I really dont want to have a box in my trunk but at the same time ive heard open subs like the oem bose setup can be pretty muddy SQ.
Sounds good man! Hit me up if you have any questions, I have more pics of my build. However, if you're looking into an IB setup, you should definitely look up Theslaking's build. I personally chose to take the Bose sub out, and put my aftermarket sub in a ported box. I'm not going to cover the rear deck in MLV so as to allow the sound from the sub to enter the cabin easily.
The above statement is INCORRECT.
The headunit of my Bose system failed about 4 years ago (they all fail at about that time). The local Alpine shop replaced it with an Alpine unit (CDE-143BT if I remember correctly). They had to use adapters (one for antenna, one for speakers, and I think one more), but the result is just fine - my "mixed" (Bose-Apline) stereo has been working without any problems ever since..
Great post, and a very ambitious restoration. Post some pics when it's complete and let us know how well it sounds. I'm looking at doing some audio upgrades as well but not to this extent.
Good stuff dude! Definitely going to have some questions for you in the future, im more or less looking to do the same thing as you but im going to wait for warmer weather. Are you using the stock sub mount location or using an aftermarket sub box? I really dont want to have a box in my trunk but at the same time ive heard open subs like the oem bose setup can be pretty muddy SQ.
i like the stock bose sub in the max after soundproofing the rear deck, it sounds great for stock.
Originally Posted by YoungMike85
Yes! I actually found his page from the org. Oddly enough, when I got to the housings, I discovered that CCF had already been added, so that was kinda cool/weird. I also went to add weatherstripping under the rear window seals and found that had been fixed as well. I figure the window was fixed as part of a TSB, but not sure why the seatbealt housings were fixed.
I stand corrected!
No pics no Proof ! that basically means you got the car from someone who knew of the org at the least. very kool !
Nice work! I have been researching doing the same thing! As soon as my swap is done, that will be next on the list. I'm going complete aftermarket sound system as well. I have a parts list that includes a cheap single DIN head unit because I don't care about head units -visual entertainment is what the tablet mounted to the right of it is for-, 3-way components for the front (tweet and 3" in the A pillar), 2-way 6.5" coaxials in rear door, 4-way 6x9's in rear deck, two Level 3 DC Audio 12's in an -I haven't decided yet enclosure probably sealed- in the trunk, a DM-810 processor, and amps to drive all drivers blah blah blah.
I may need you in the future for tips on interior panel removal. I've never done a project like this before. Although I've perused the Body section of the FSM, it's nice to have a resource that's actually done it before. I'm taking out the back seat tomorrow to change my fuel filter and that's where interior dismantling will begin. I've pulled the radio, hvac and some dash panels out, but that was for engine swap stuff.
Looking forward to your progress and all the wonderful information others have/will contribute to this project. Thanks for posting this!
I'm happy to help! But, after looking at your work on your project Max, I gotta say - I doubt I'll be able to tell you much more than you already know. You are going all the way on that car, and I'm definitely excited to see more of your progress as well.
MaxMaximus
Great post, and a very ambitious restoration. Post some pics when it's complete and let us know how well it sounds. I'm looking at doing some audio upgrades as well but not to this extent.
Thank you sir! Normally, I would have settled with swapping out the door speakers and head unit, then adding an amp and sub and calling it day. But, I don't use this car for a DD, and the musty smell is driving me crazy, so I figured what the hell - just rip it all out!
No pics no Proof ! that basically means you got the car from someone who knew of the org at the least. very kool !
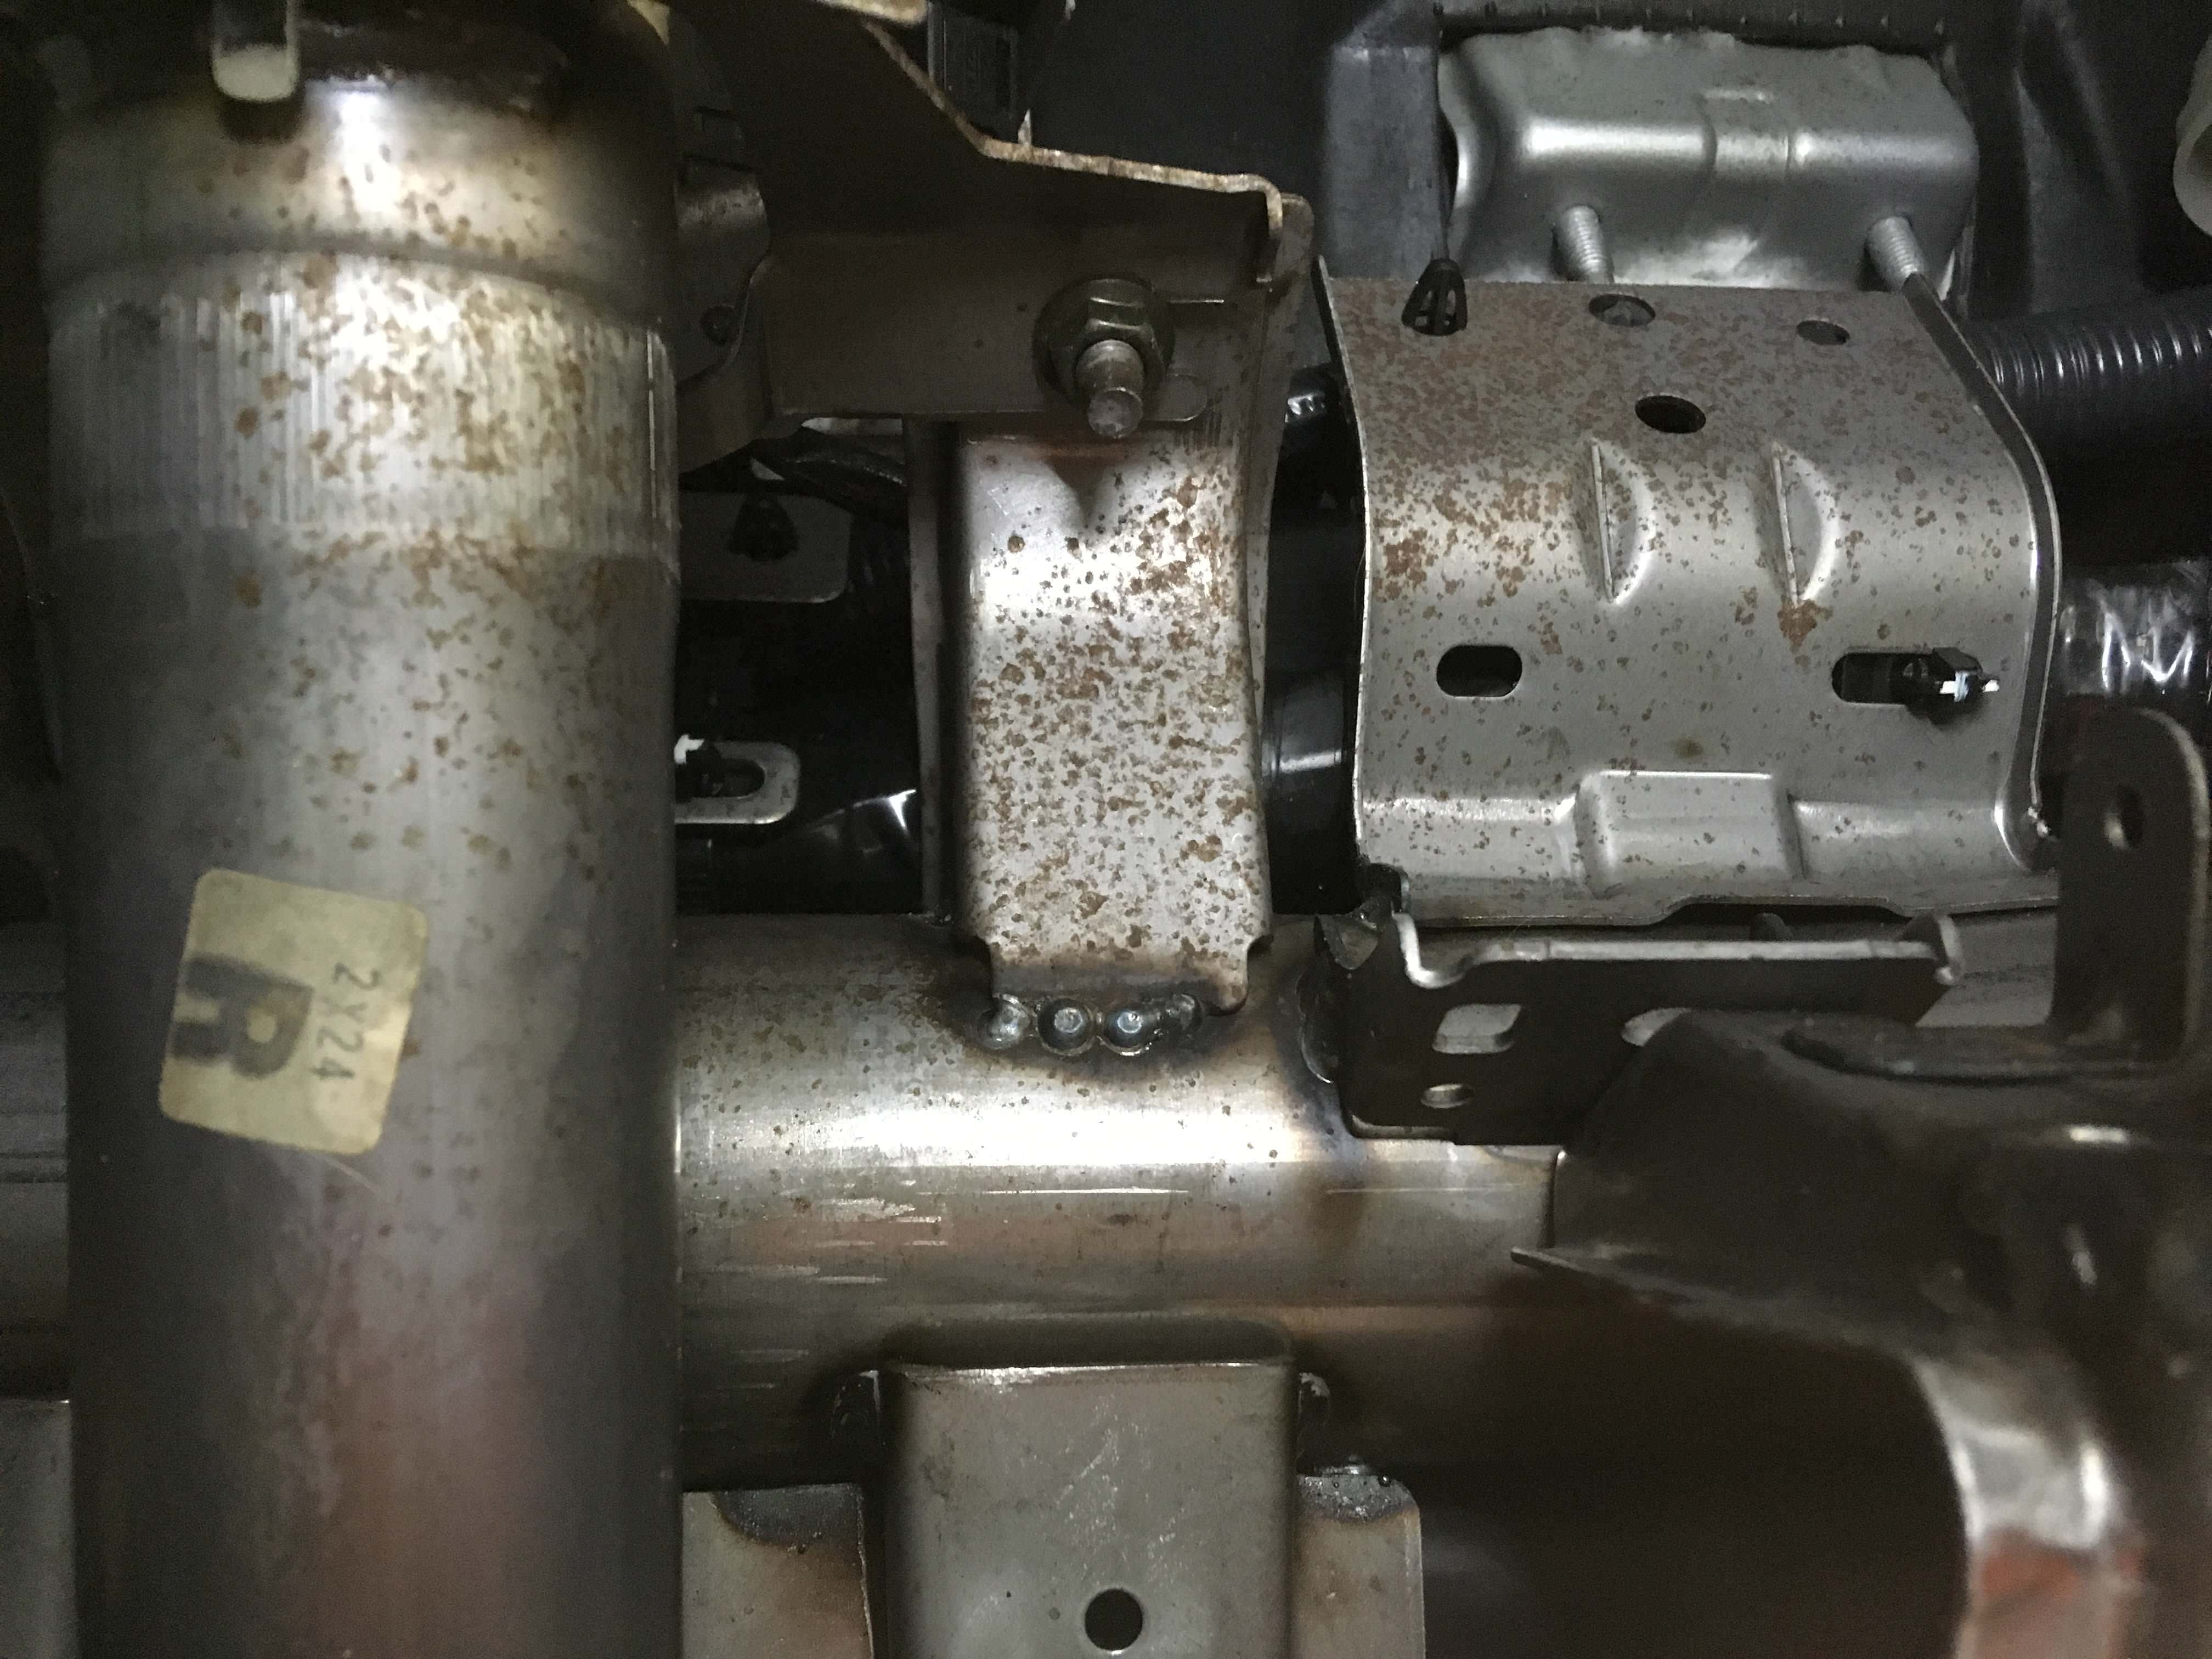
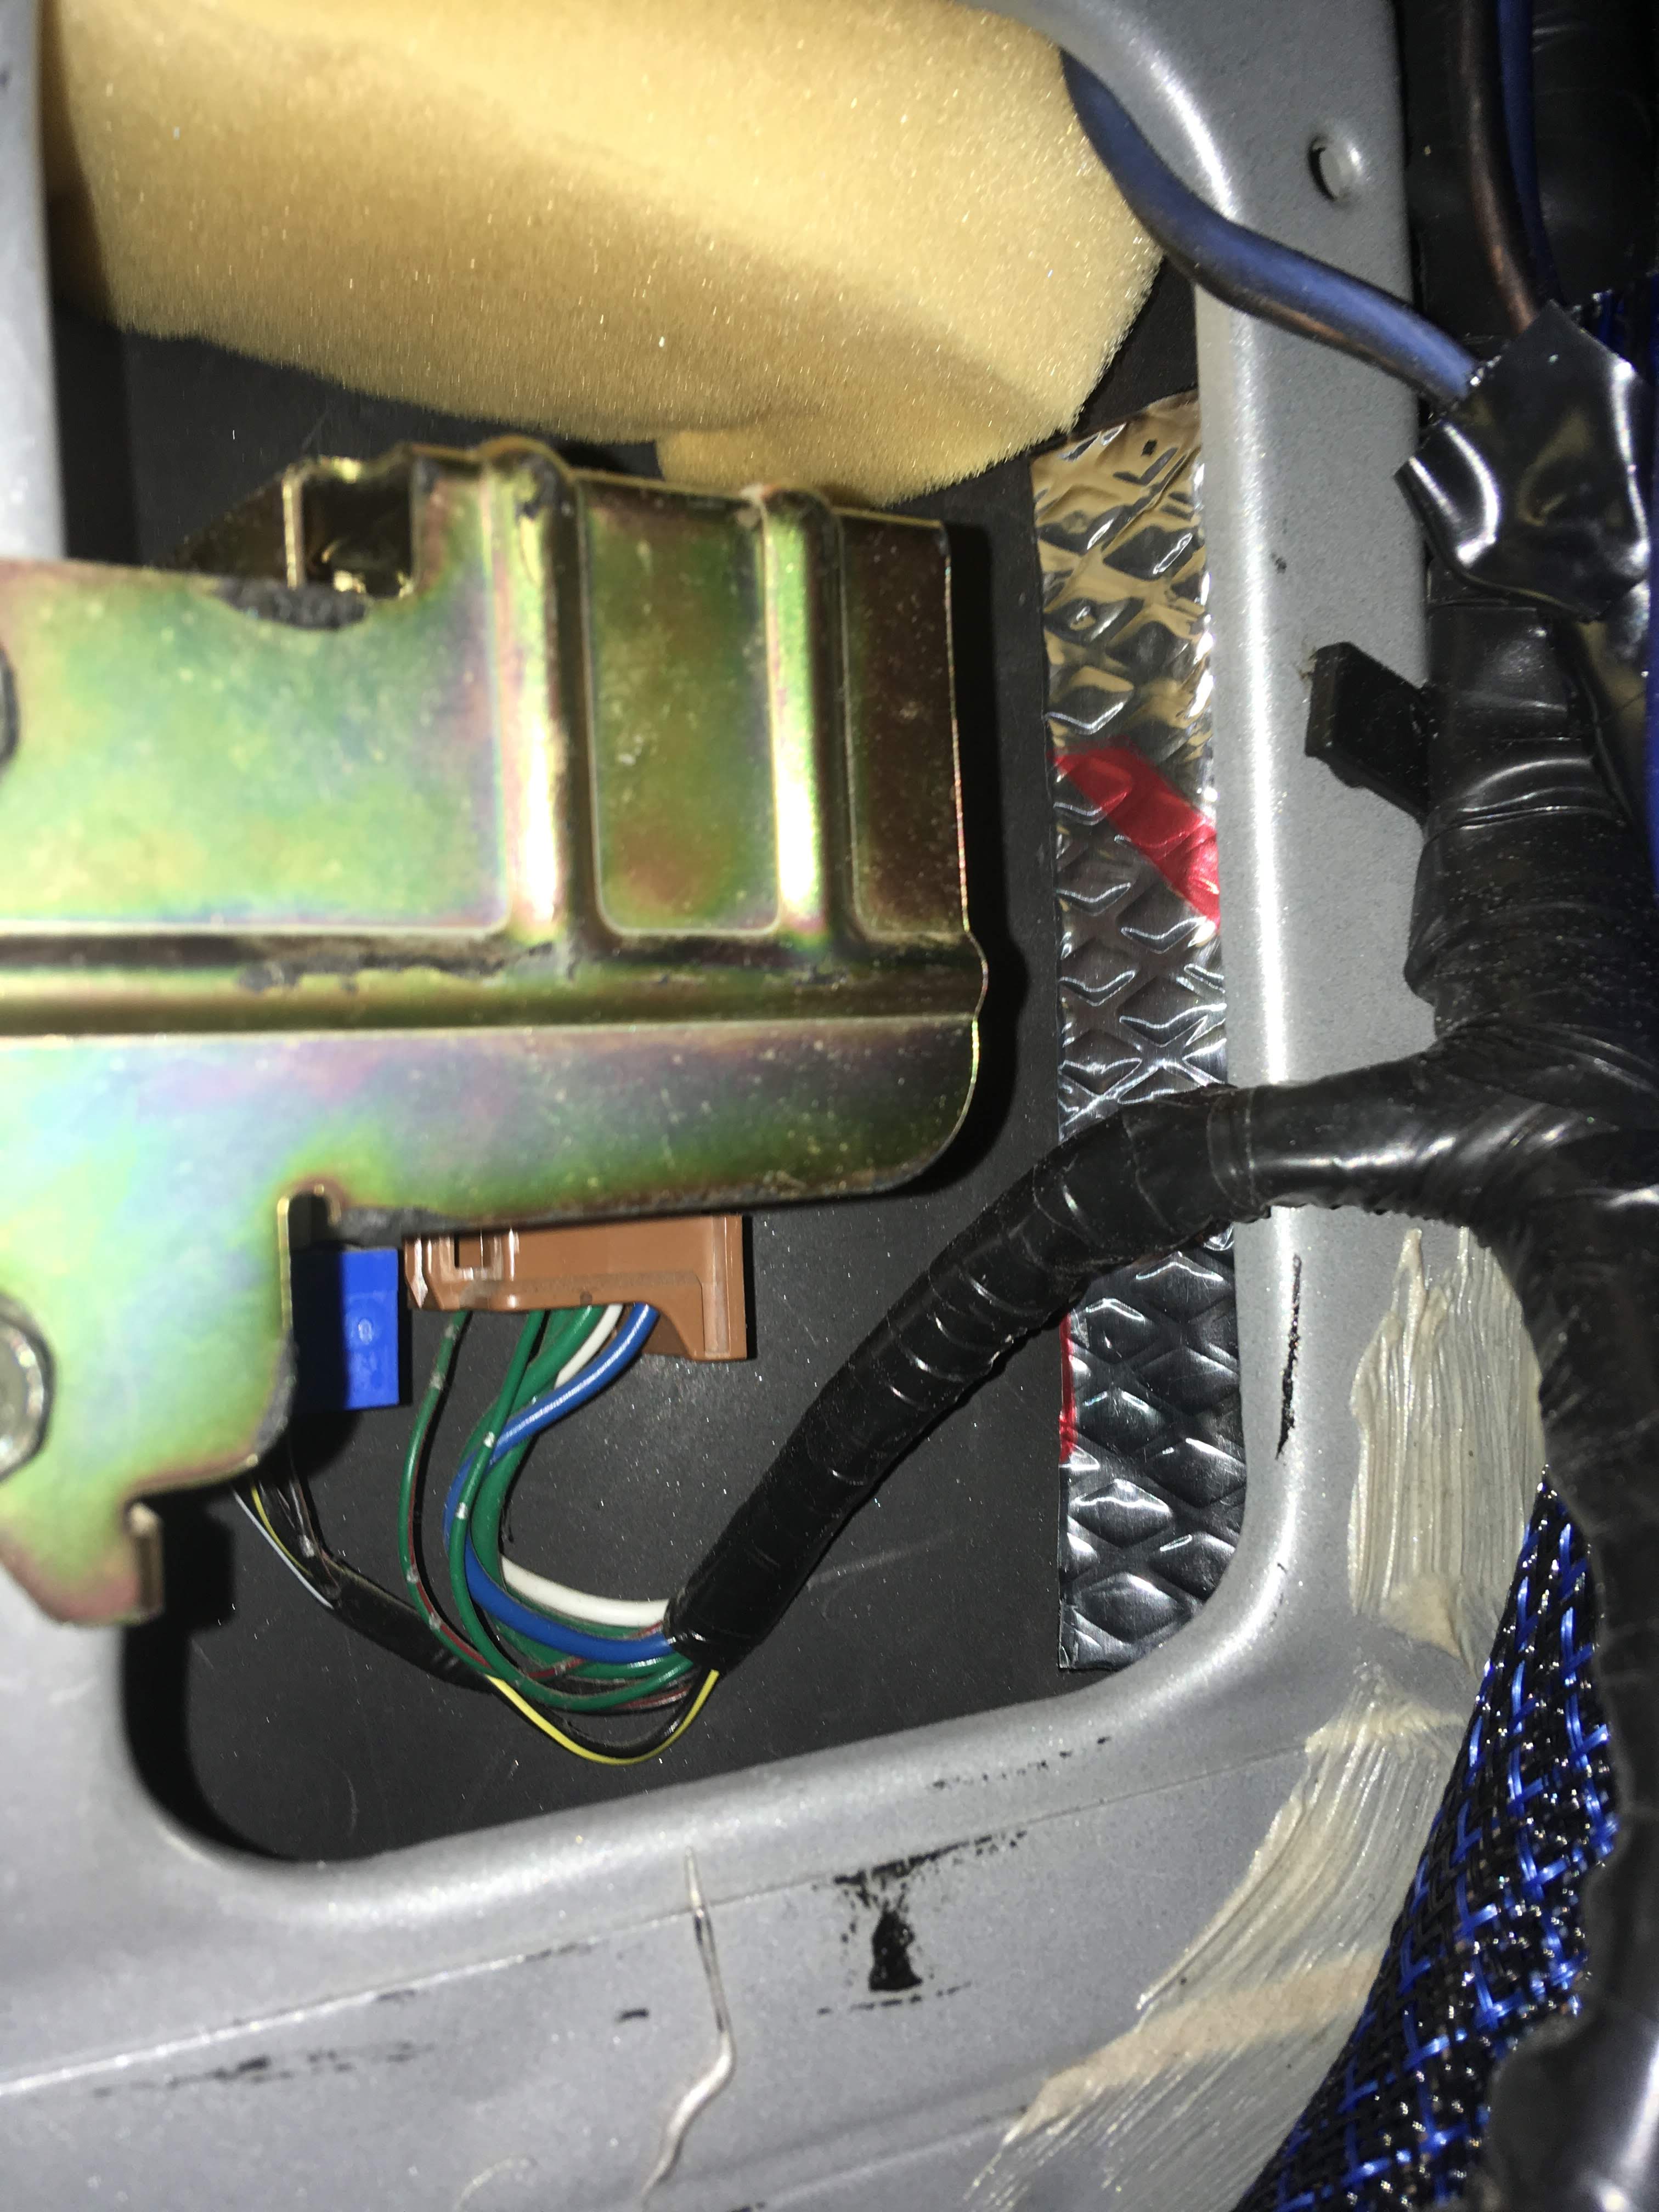
I'm not so sure...I'm wondering if it was fixed by a dealer after the original owner complained. The reason I think that is bc only 1 of the 3 seatbelt housings has foam in it - and it looks like a commercial type foam, with adhesive backing:
Of course, this could have been done by one of the older...but I'm just curious as to what you think!
its hard to say what those are, but while u are doing this and since u have it apart, do it right while you can.
i applied it as the how to showed, cover entire interior perimeter., i forget if i did extra layers like he said but, i def do not have any rattles, and heard the bass this morning on the way to work , and thought to myself very clean.
also i doubt a dealer did that, since when does a dealer do sound proofing? ya know? its either an aftermarket fluke, or some random piece on originals.
Last edited by Prophecy99; 12-07-2018 at 07:26 AM.
Post # 3 - guy put a thick sound deadening vinyl down instead of carpet. I really like the idea of that, because carpet just seems silly. It essentially traps dirt. Why go through the trouble of replacing the carpet if it's just going to get nasty? And don't say "use mats" - using a vinyl mat, to me, is just proof that carpet is not the right product for the job if it has to be covered with a layer of vinyl to protect it.
HOWEVER - after looking at all the bends and flexes in the floor pan, and considering what it would take to mold the vinyl to fit the curves, I'm probably just going to go with molded carpet. If you've got an easier way to do vinyl, or other ideas, I'm open to suggestions!
Originally Posted by User1
I was planning on ordering from this outfit unless someone has a better source.
its hard to say what those are, but while u are doing this and since u have it apart, do it right while you can.
i applied it as the how to showed, cover entire interior perimeter., i forget if i did extra layers like he said but, i def do not have any rattles, and heard the bass this morning on the way to work , and thought to myself very clean.
also i doubt a dealer did that, since when does a dealer do sound proofing? ya know? its either an aftermarket fluke, or some random piece on originals.
Ya, I think random piece from the factory is more likely. And yes, I did take the time to add CLD to the rest of the housings while I had them out.
The Second Skin stuff is good, but overpriced IMHO. I have used the Noico product, and am very pleased with it, and that would be a perfect amount for the Max.
Here's what I did:
Constrained Layer Dampener, or CLD - Brand: Noico
36 sq ft
Placed sparingly on the doors, trunk, floor
The purpose of CLD is to stop vibrations. It is not effective as a sound barrier. This is important: you only need to cover about 25% - 40% of a surface to reduce vibrations. Beyond 40%, you aren't getting any more benefit from the product and could cause unwanted resonance if not careful.
Mass Loaded Vinyl, or MLV - Brand: Soundsulate
40 sq ft, $95 -
This product is designed to act as a sound barrier. Anything with a weight of 1.lb per sq. ft or more will reduce the amount of sound that enters the cabin.
Closed Cell Foam, or CCF
I used two different kinds -
Noico, 1/8" thick - 18 sq ft for $30 from
I chose this because it has an adhesive backing, making it easier to apply it certain places
And I got 64 sq ft (two 4'x8' sheets) of 1/16" CCF for $30 from Foam By Mail
This product acts as a de-coupler, separating items that could vibrate against each other and cause unwanted noise.
To understand how to use these products, I recommend you read through Sound Deadener Showdown's website. He has extensive tutorials how to install these products, and more importantly-the tasks that each of these products are designed for. The Second Skin Luxury Liner seemed awesome on the surface, and I almost bought it. But, after reading through that website, I decided I could save a lot of money by buying the components of the Luxury Liner separately and applying them only as needed throughout the car. If you bought enough Luxury Liner for your car, 40 sq. ft, it would cost about $342. I got the same amount of product for $219. And getting it separately allowed me to apply it only as needed, stretching my dollar even farther.
For a detailed log on how SDS's methods were applied to a Maxima, I highly recommend reading Theslaking's build log on DIYMobileAudio.Com. That's a great example of what to use, and it's what I referred to a lot during my project.
Good luck and keep the comments and questions coming!
If you follow the methods on SDS, you'll get closer to a Benz-like ride. Obviously they are worlds apart in design, engineering and materials; but using those methods will make you very happy. If for no other reason than the solid sounding "THUNK" you get when closing the doors...as opposed to the hollow, ringing "CLAAAANG" you get when closing the doors now!
I've seen a lot of folks on this forum and DIYMA using bed-liner type sprays to deaden fenders. There are companies like Lizard Skin that make a high-end "Auto Sound Deadening Roll On" product. From what I can tell, they don't seem to produce any significant results. You'd be better off adding MLV to the interior quarter panels. Anything that adds significant mass to a body panel will stop sound waves from entering the cabin. Bedliner type sprays won't hurt if added to an exterior fender well, but they add nearly no mass to the panel and as a result, won't be an effective sound barrier. But, they may stop some vibrations, and of course that would reduce sound waves entering the cabin.
As far as tires - is there any reason you chose that tire? Also, any reason for that size? Stock size for our cars is 215/55/R17.
The Continental looks like a decent tire. The Goodyear Assurance also has good ratings on Tire Rack.
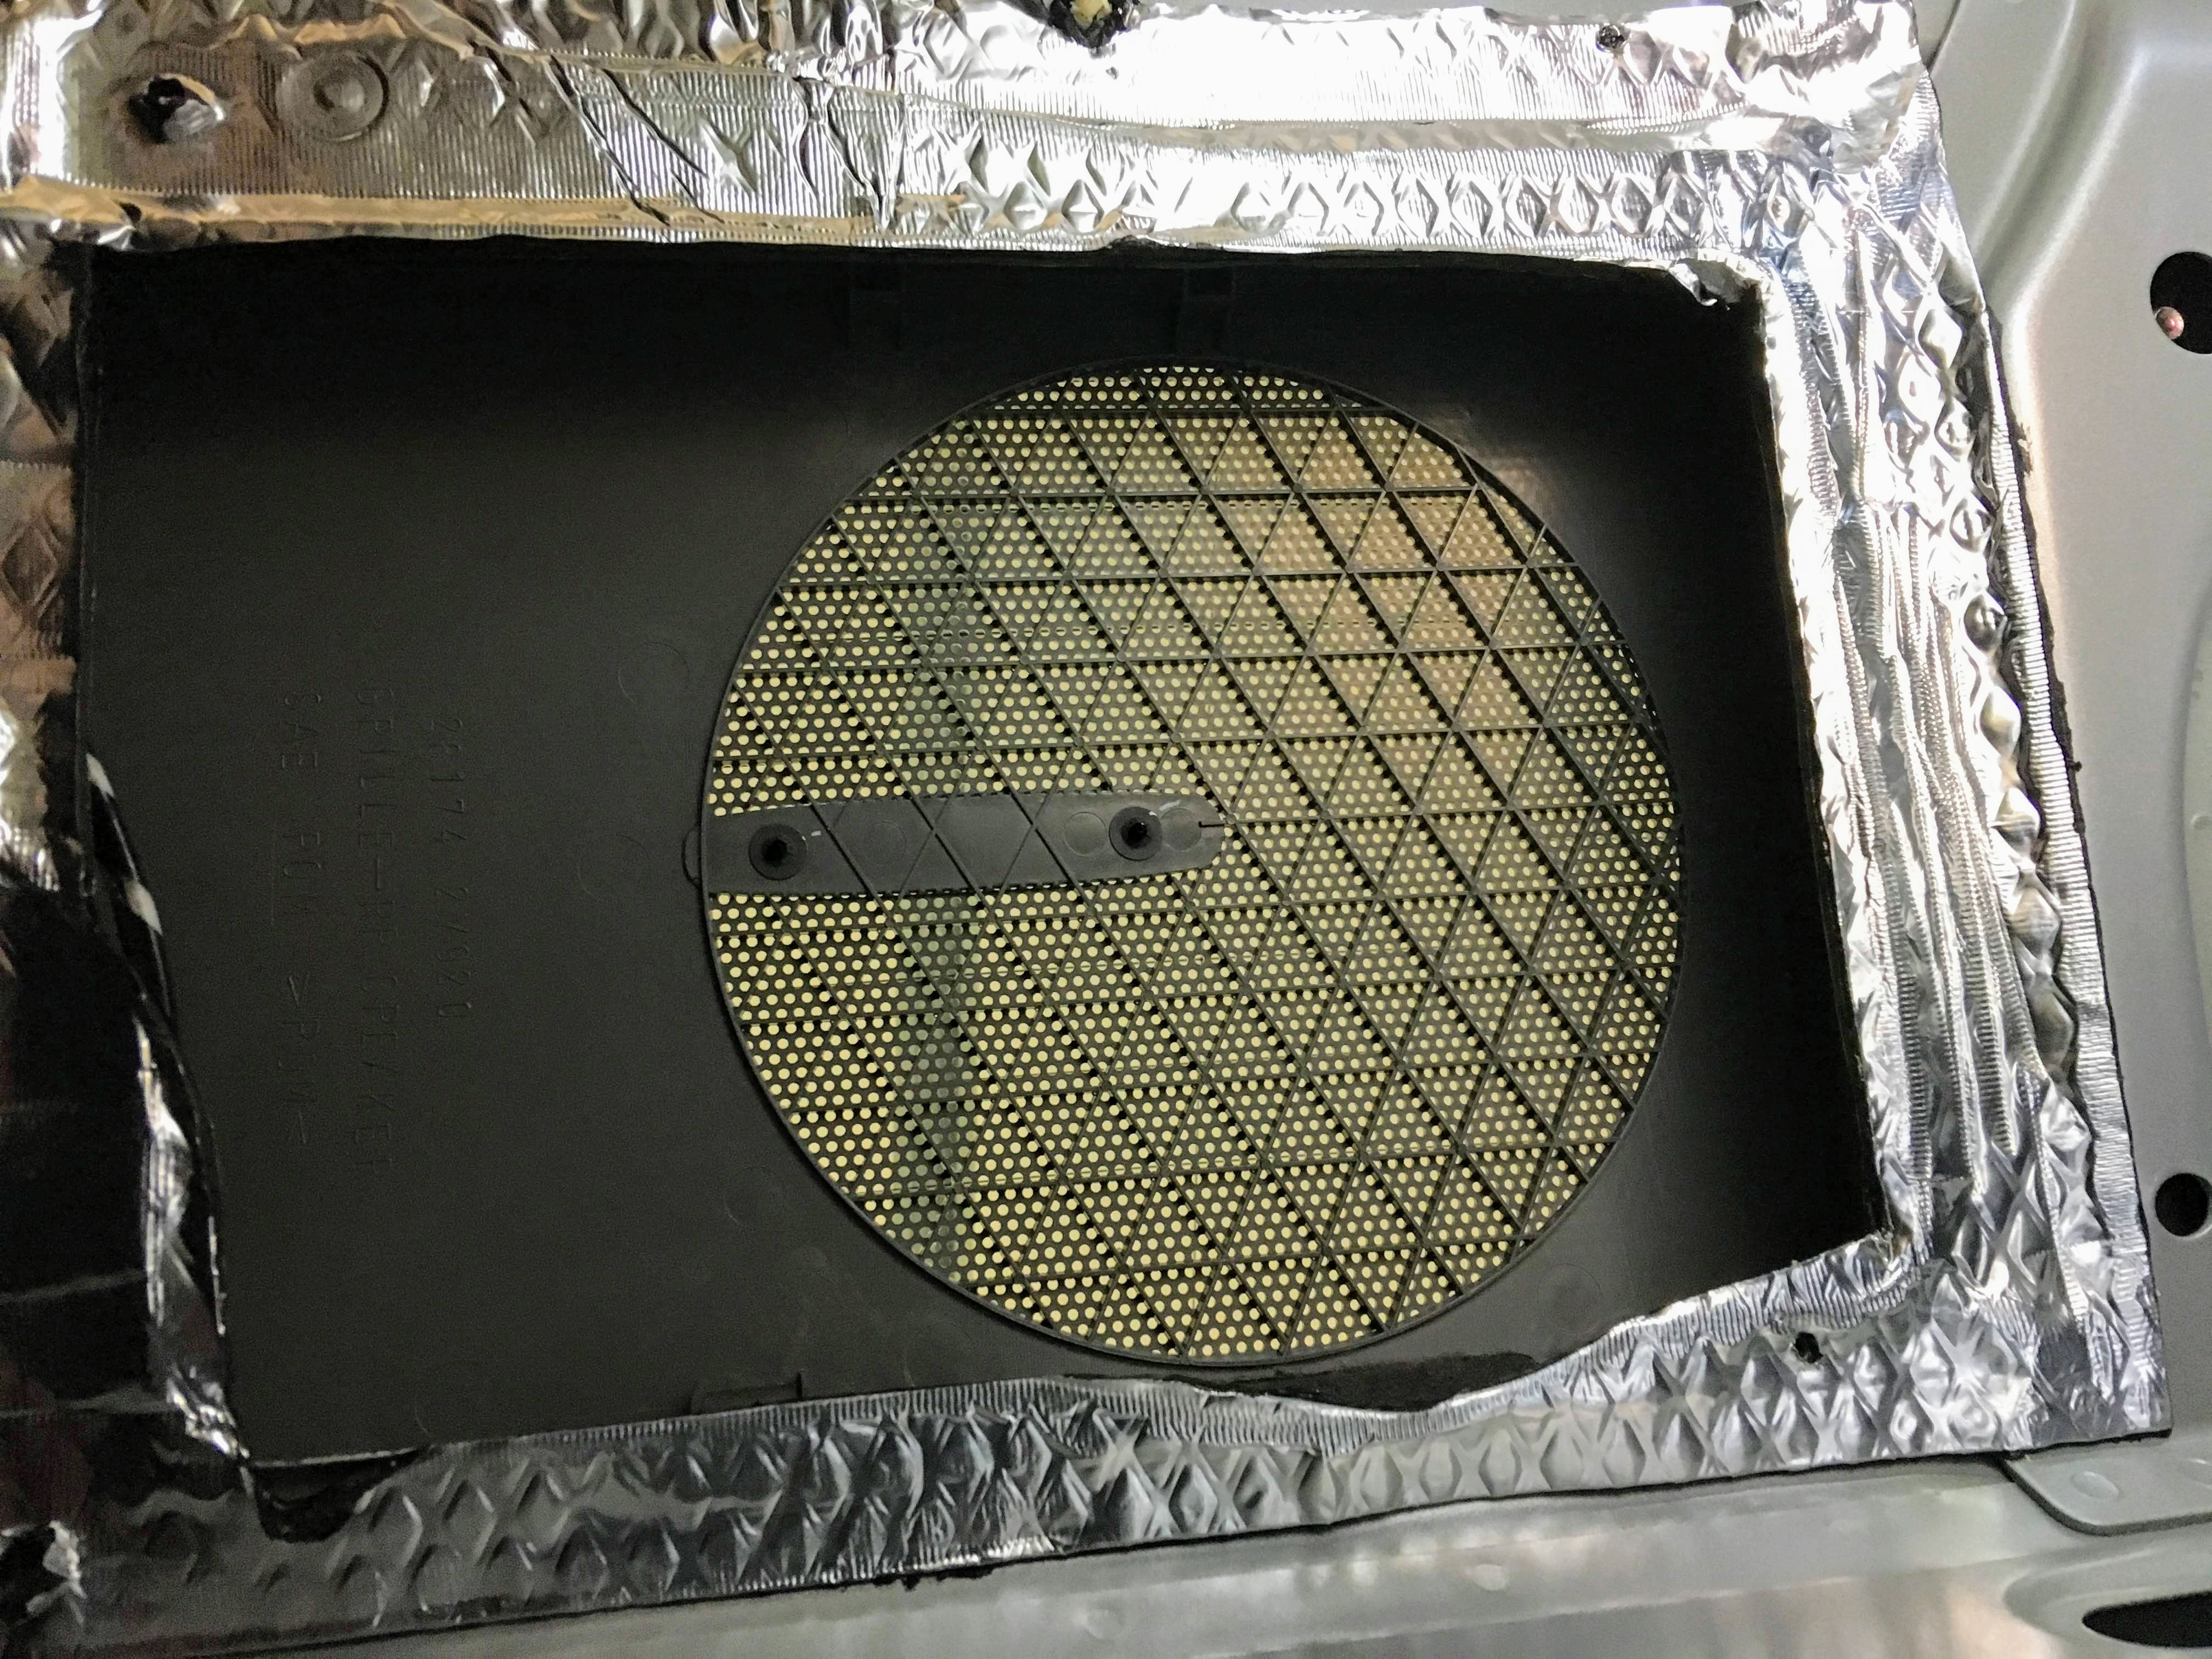
I've finished adding CCF to the interior trunk baffle. I used FlexShot to attach the CCF to the rear deck and baffle. I adhered the top part of the deck, and then gave it time to dry. I went back a day later, and then added FlexShot to the part where the rear deck folds down into the trunk baffle. I'm not planning to add MLV to this section, so I'm done with this portion. Just gotta run my new wires to the trunk and I can re-assemble the baffle. Progress!
The shaft on the camera is too short to fit through the hole, and have enough distance to attach the included nut on the threaded shaft:
Solution? FLEX SHOT!
CLD added to inner trunk skin, and getting ready to tuck the camera wires into the factory wire loom. The factory loom is already super full, so I'll probably replace it with a size 1/4" larger, and then re-attach to the frame:
Last edited by YoungMike85; 12-08-2018 at 06:05 PM.
Mine came with the 225/50R17's, which is an option in the GI section of the 2003 FSM. I wanted a tad more width while maintaining a lower aspect ratio/sidewall height without mounting rubber bands (I despise that look and handling). The tires come run flat or regular. I opted for the regulars, and have 2 run flat spares. The price is right, the mild conditions in which I drive are pretty consistent throughout the year, and the handling with these should be suitable. They will add a -5/16" to -3/8" to my drop when I get the coilovers and figure that out. So I'll be able to keep that much suspension travel when I calculate the drop I want. Hope they work out!
Agreed. Rubber bands sound terrible. Thinner tires = more road noise! I'm not saying go for whitewalls - but taller sidewall means quieter ride.
I thought about coilovers, but they are out of my price range. I noticed you posted about the Koni Yellow's - I had not known about those before you posted that. Before, I was planning to just replace my struts with KYB Excel G-2's. But those Koni's look sweet! I think I'll get those instead and add some Eibach lowering springs for a subtle drop, but nothing crazy low or super expensive. That way, I can get a nicer lowered look without increasing cabin noise from a harsher ride.
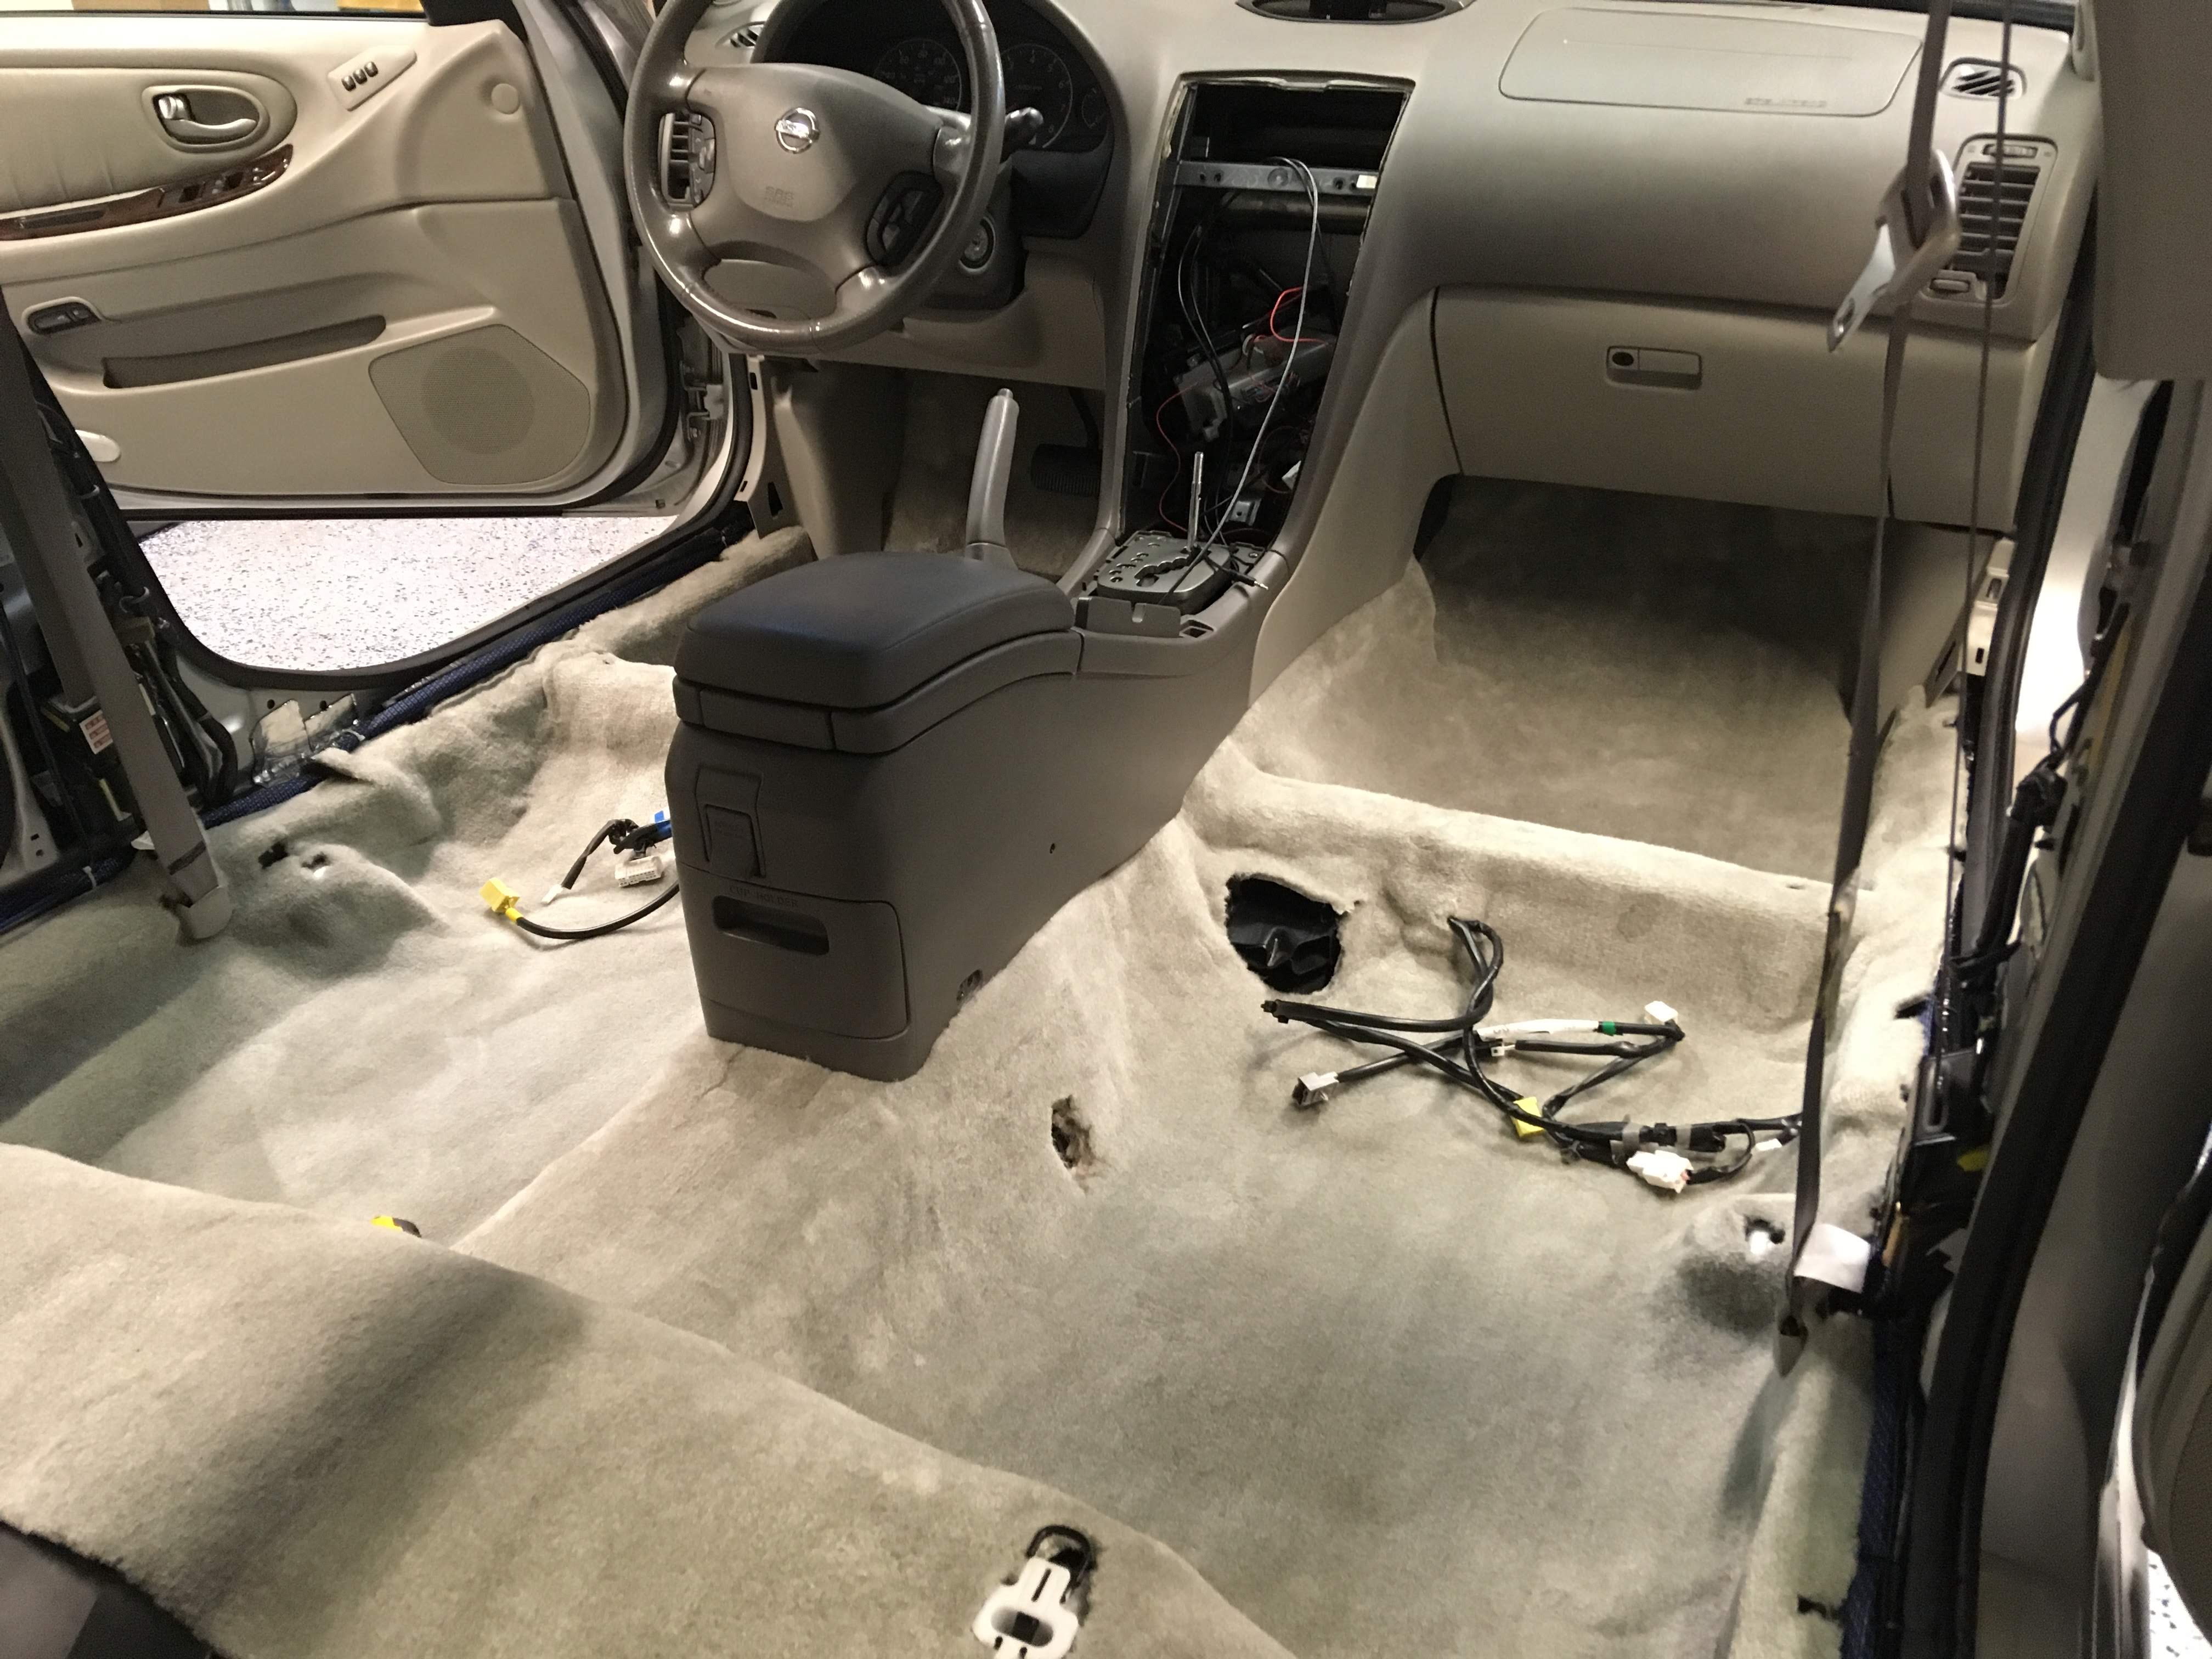
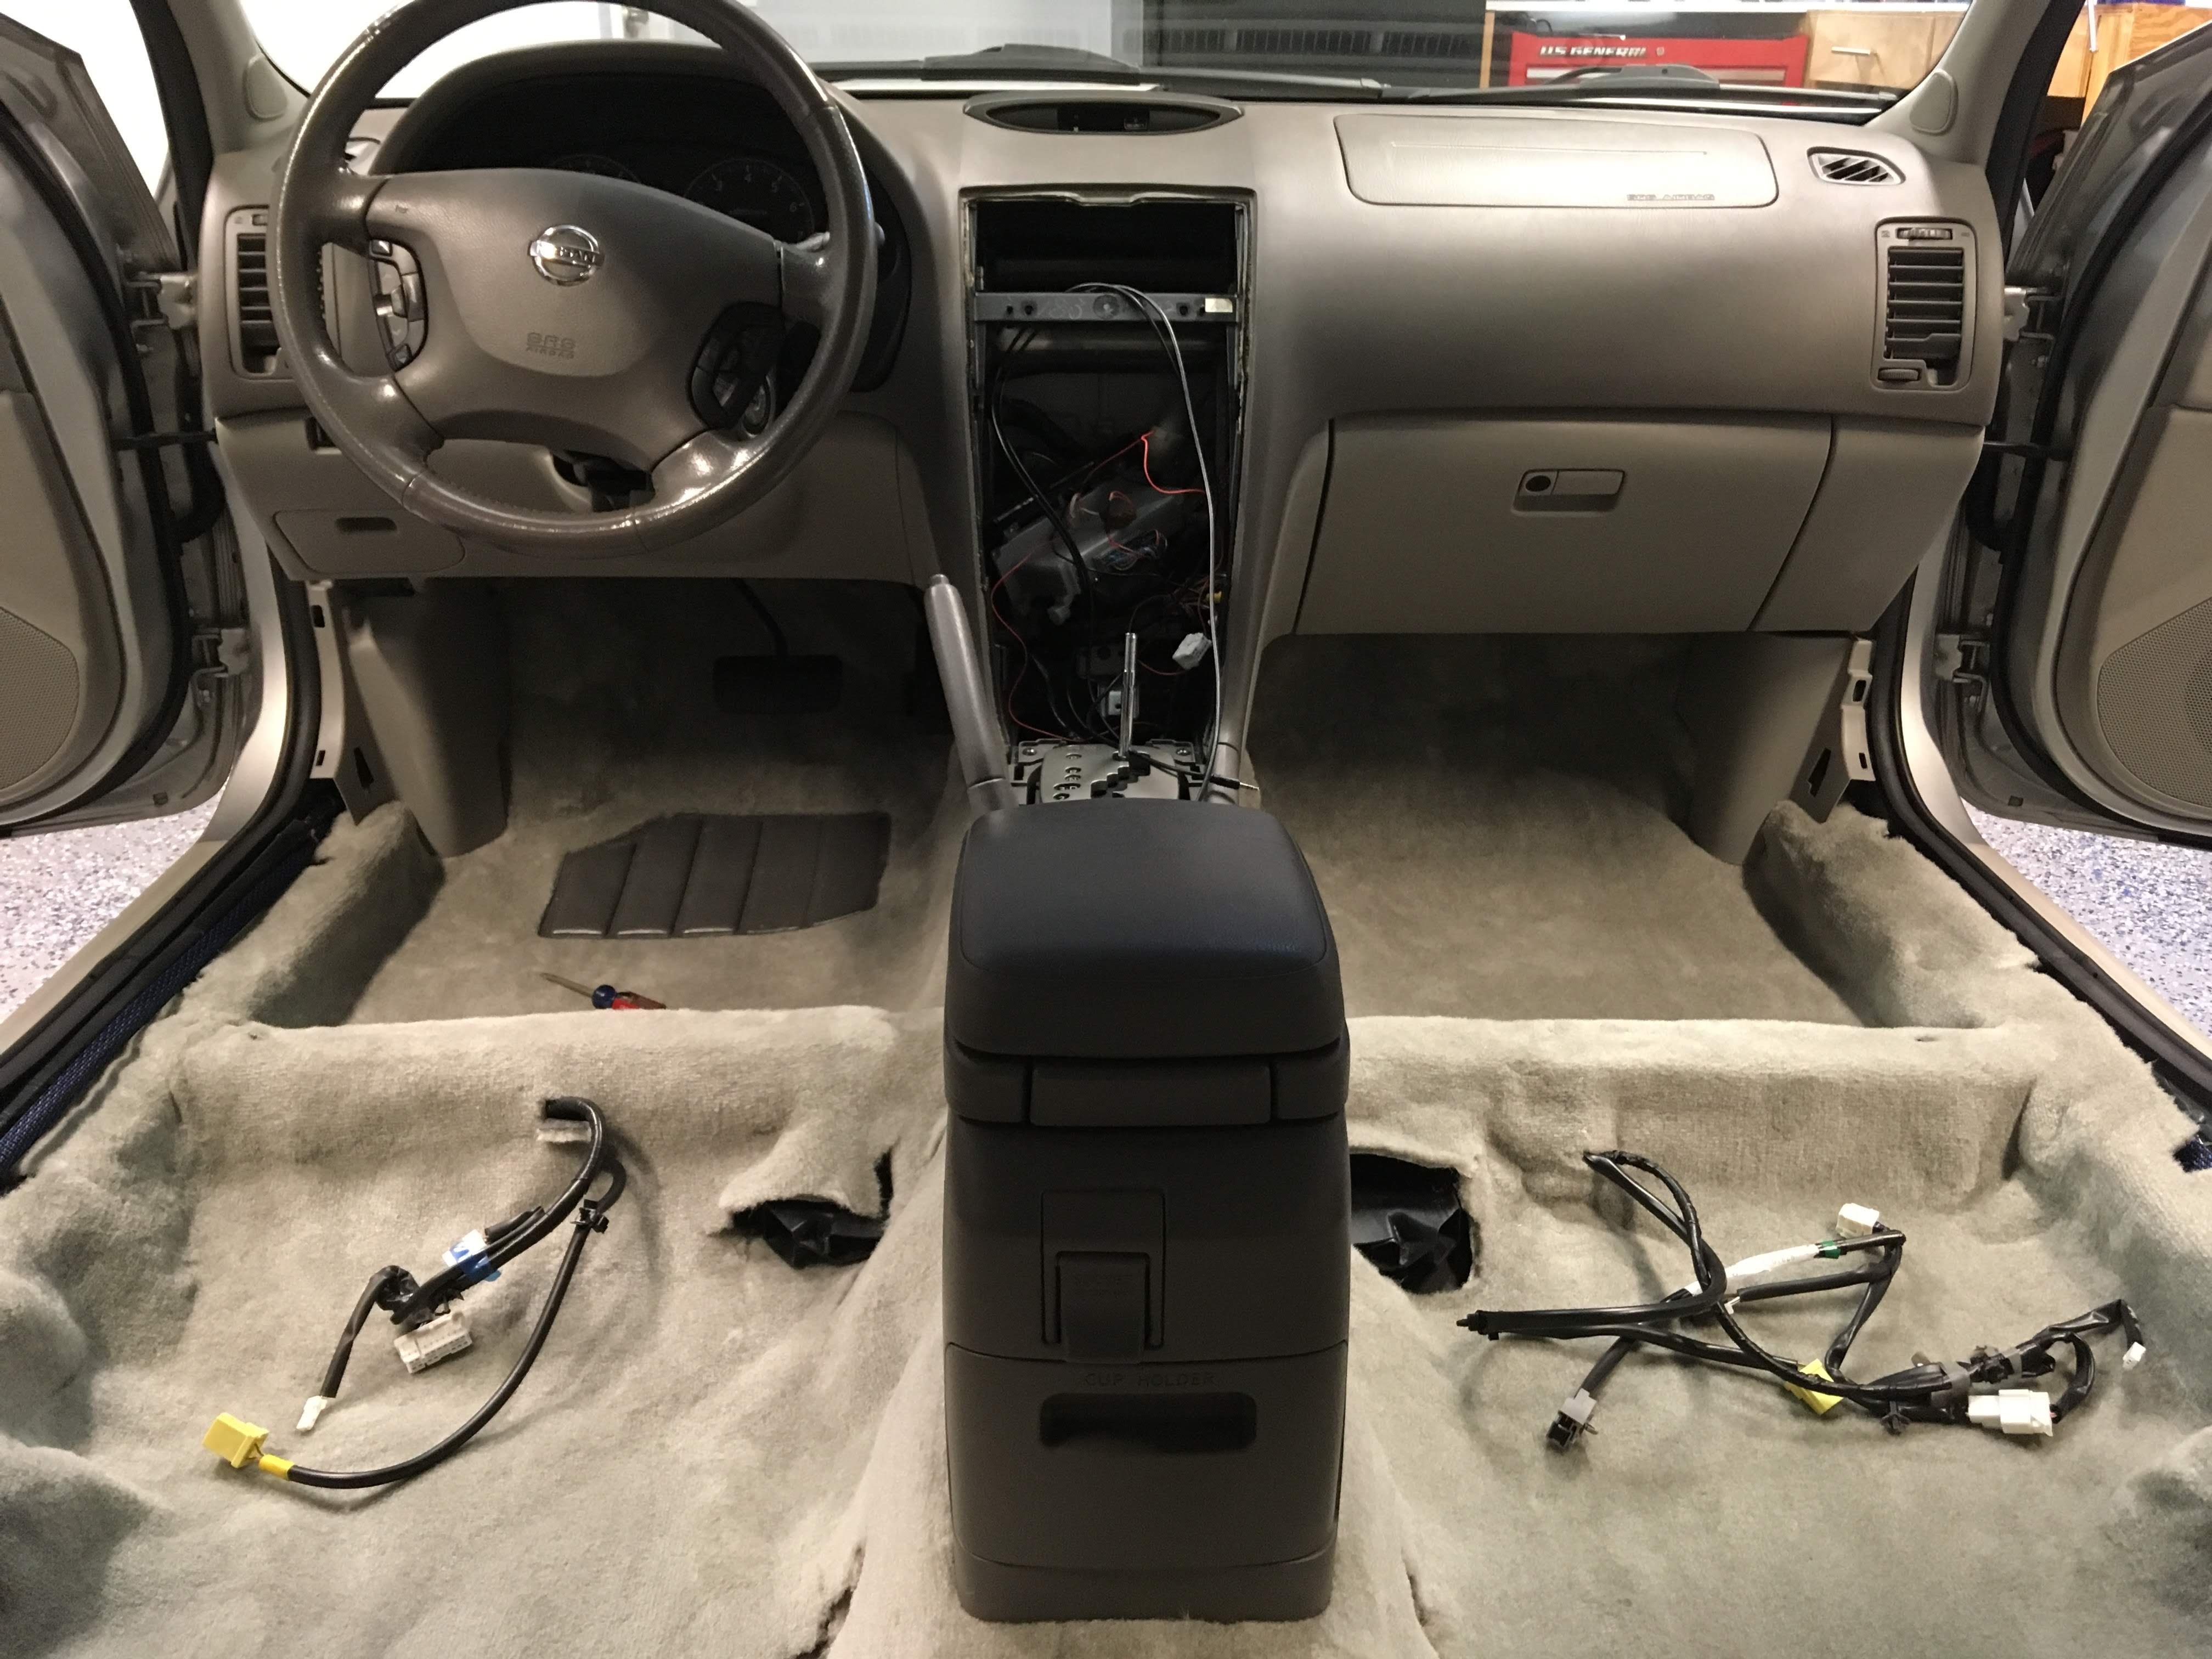
Hey guys, been pretty busy, but I've been slowly getting the interior worked over.
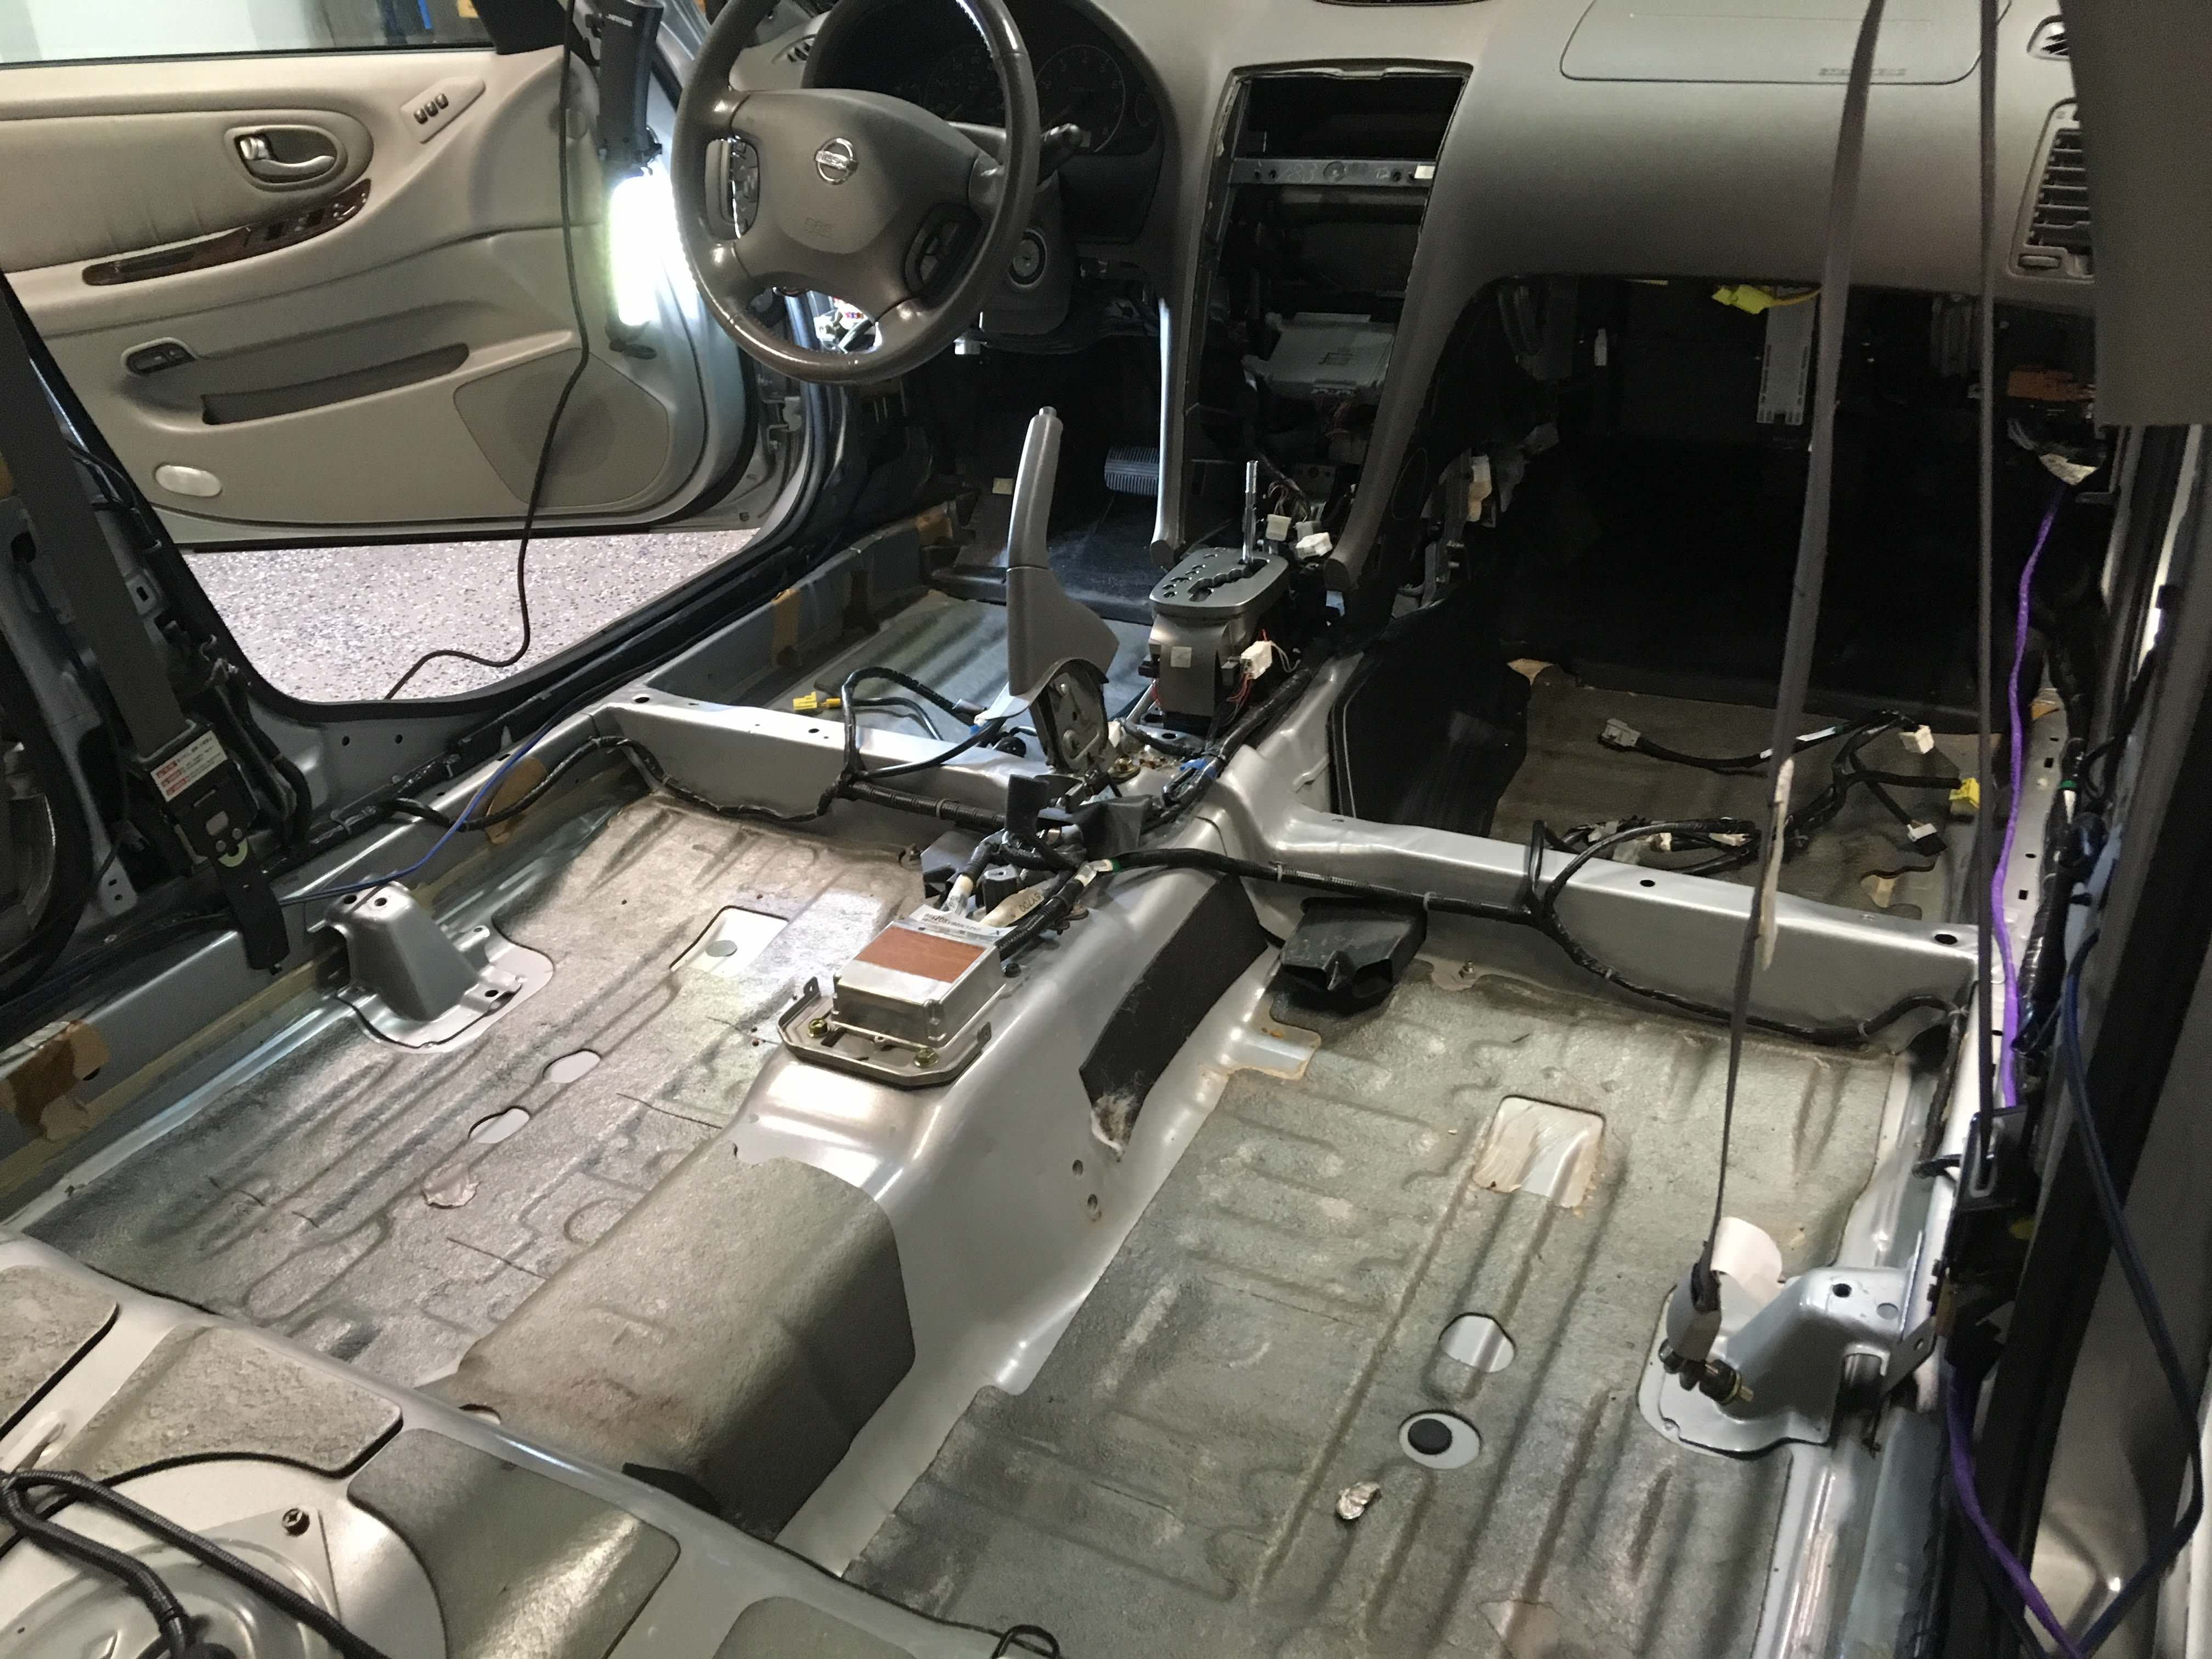
Finally got it down to bare metal:
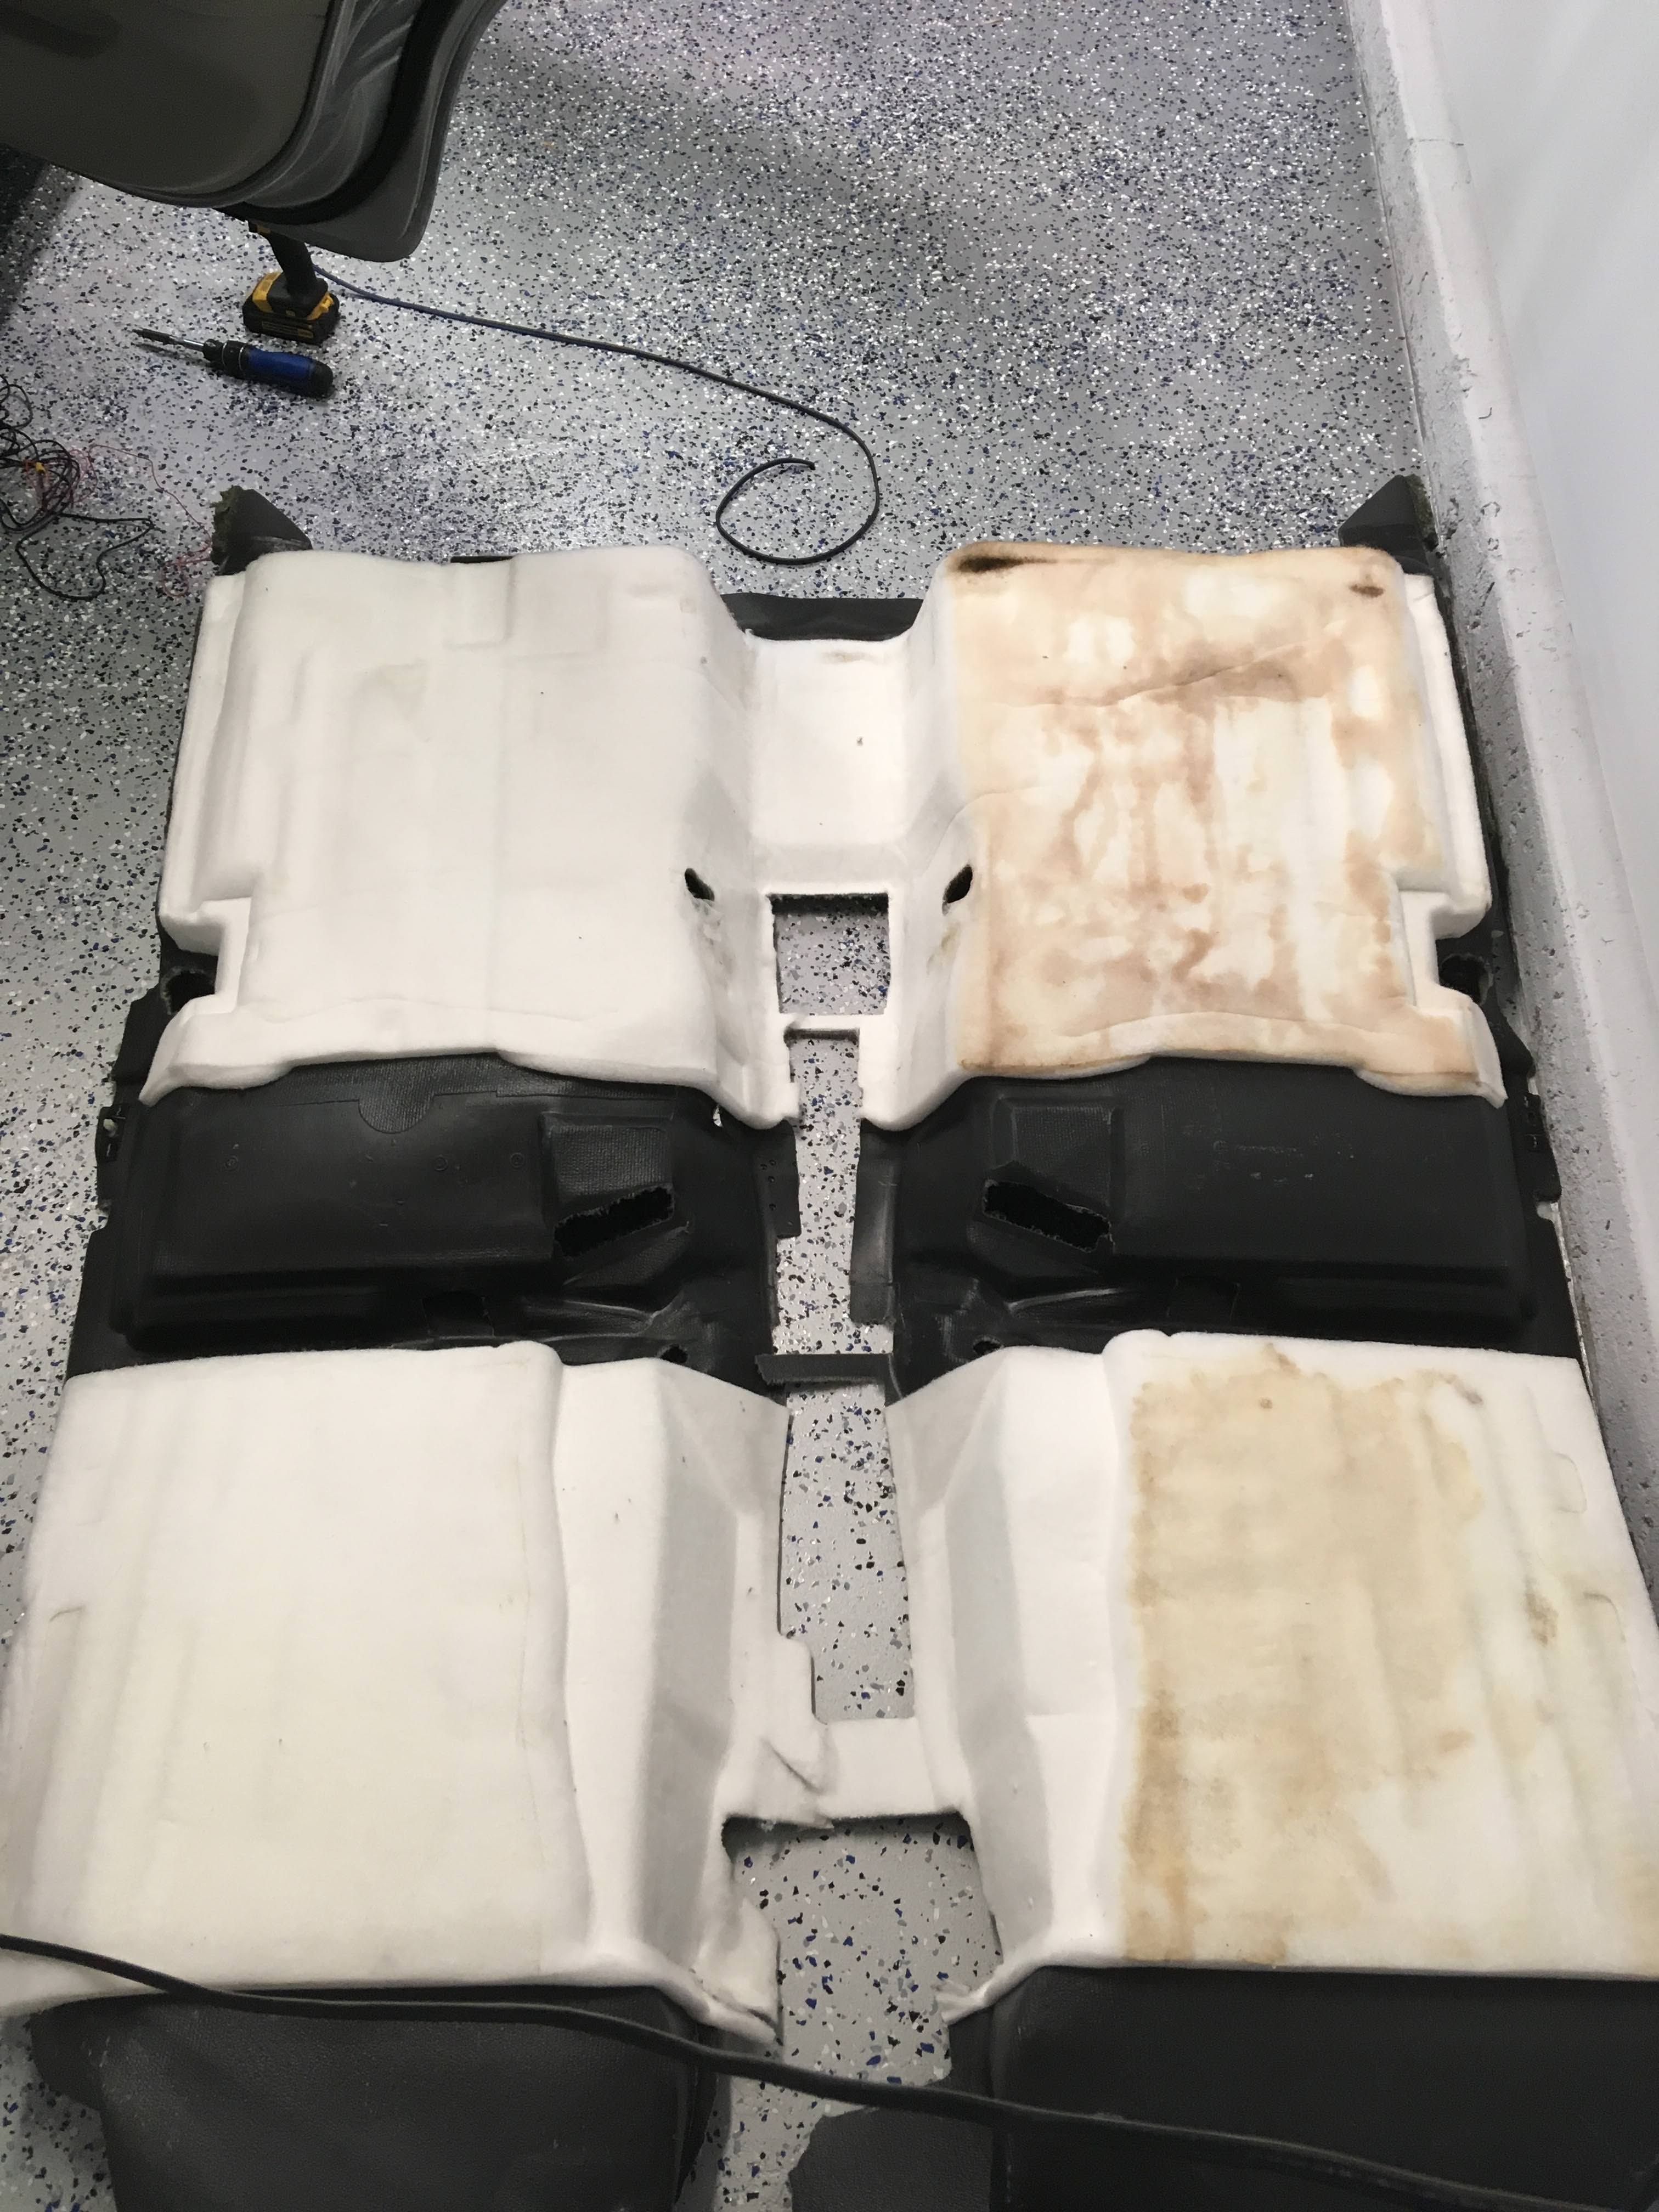
So, I think I figured out the source of the musty smell. Water was getting into the car through the rear passenger door handle, and it stained the carpet:
Also, found a bit more rust under the driver dash/steering column:
I've got new carpet coming, and I used Rust Bullet to fix the steering column:
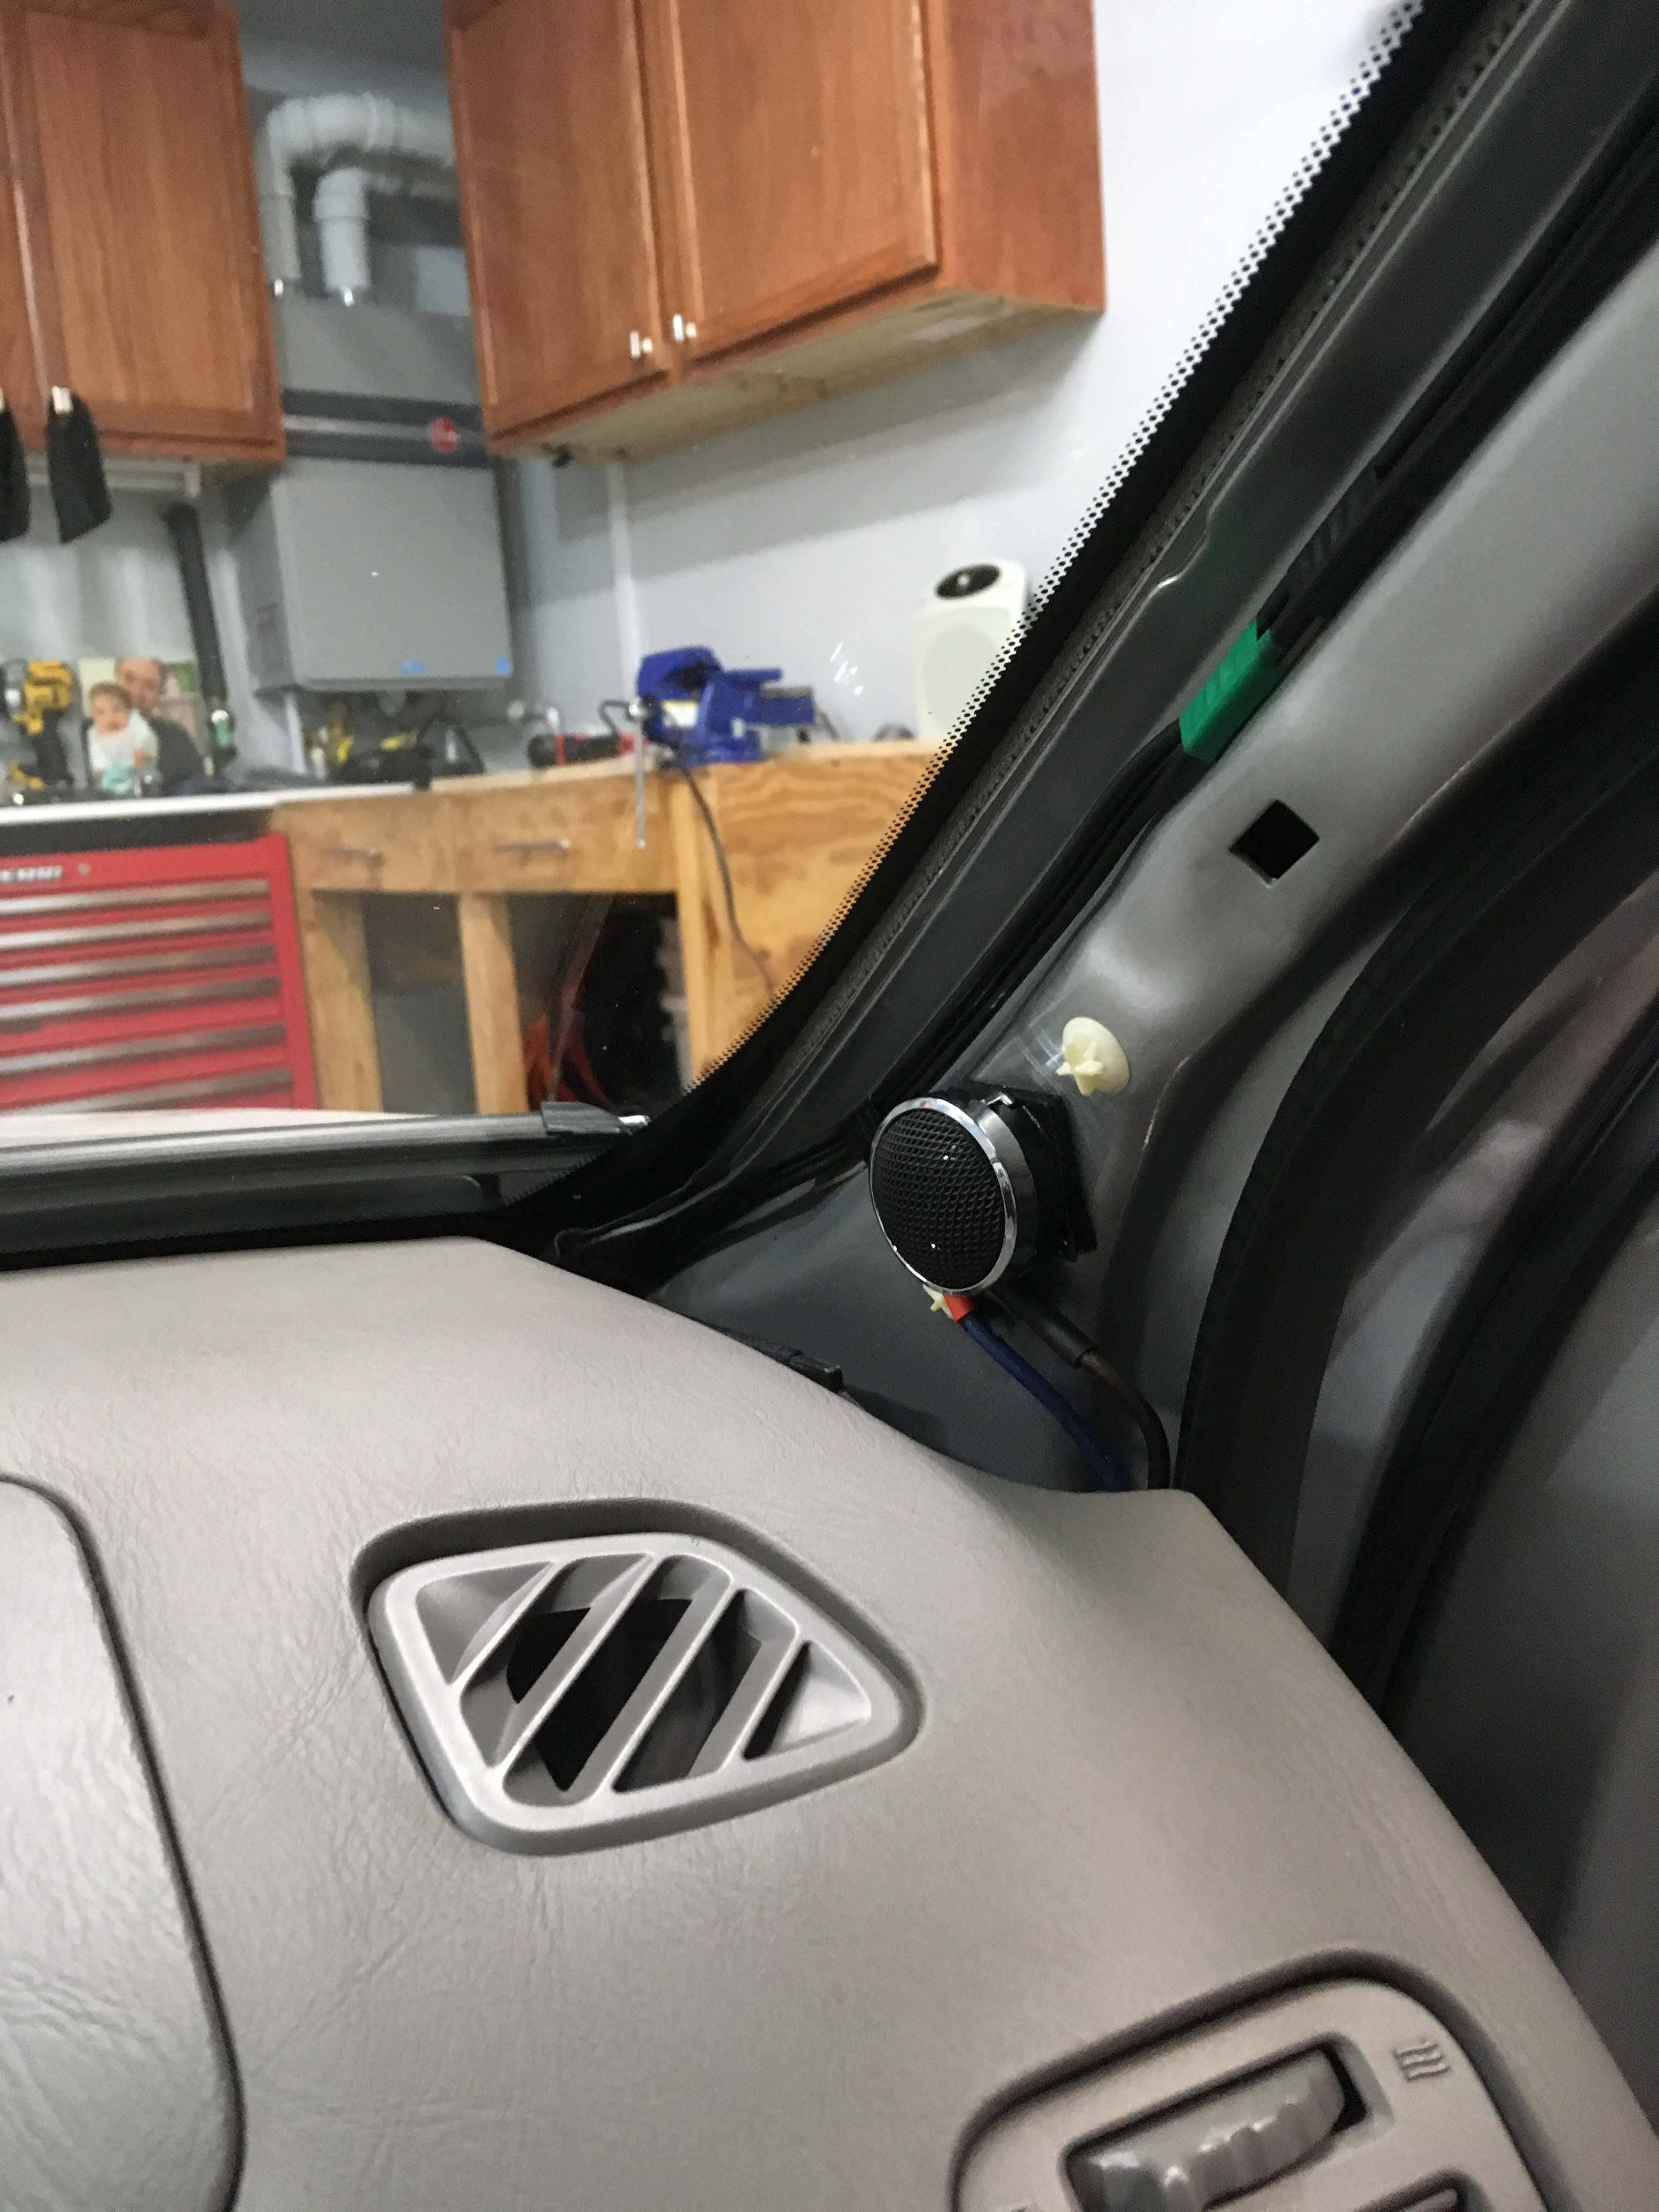
Tweeters mounted:
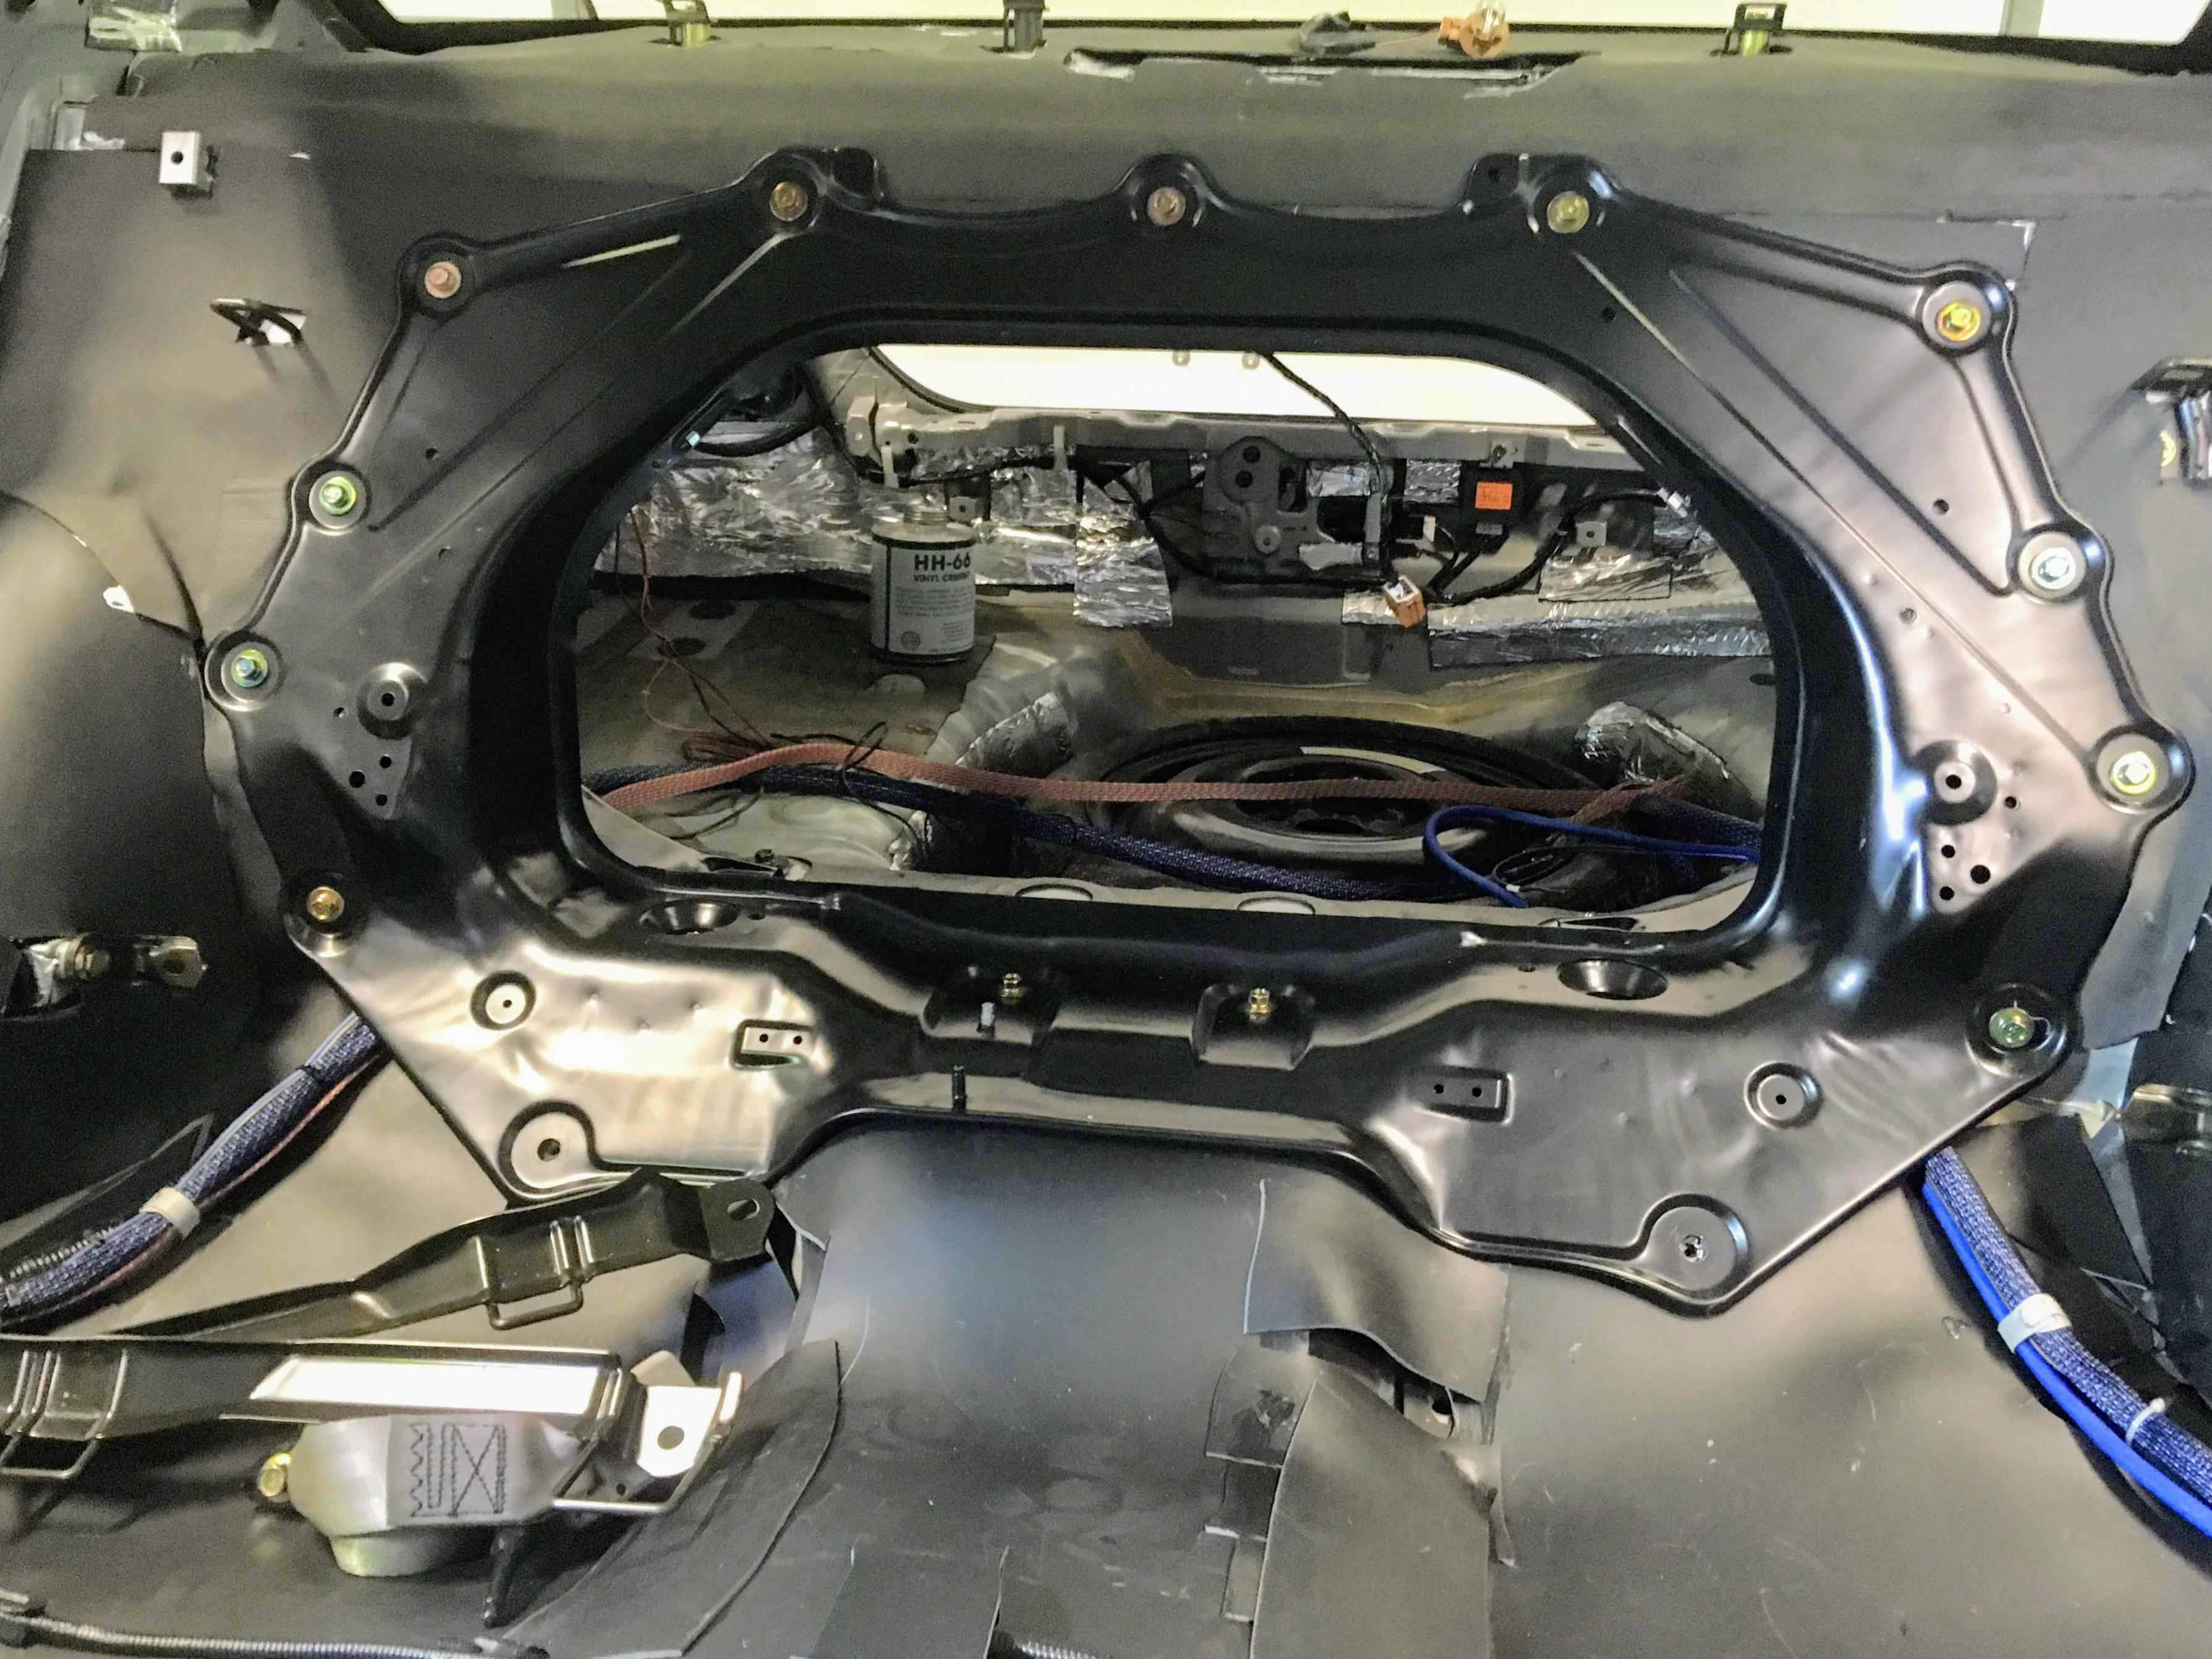
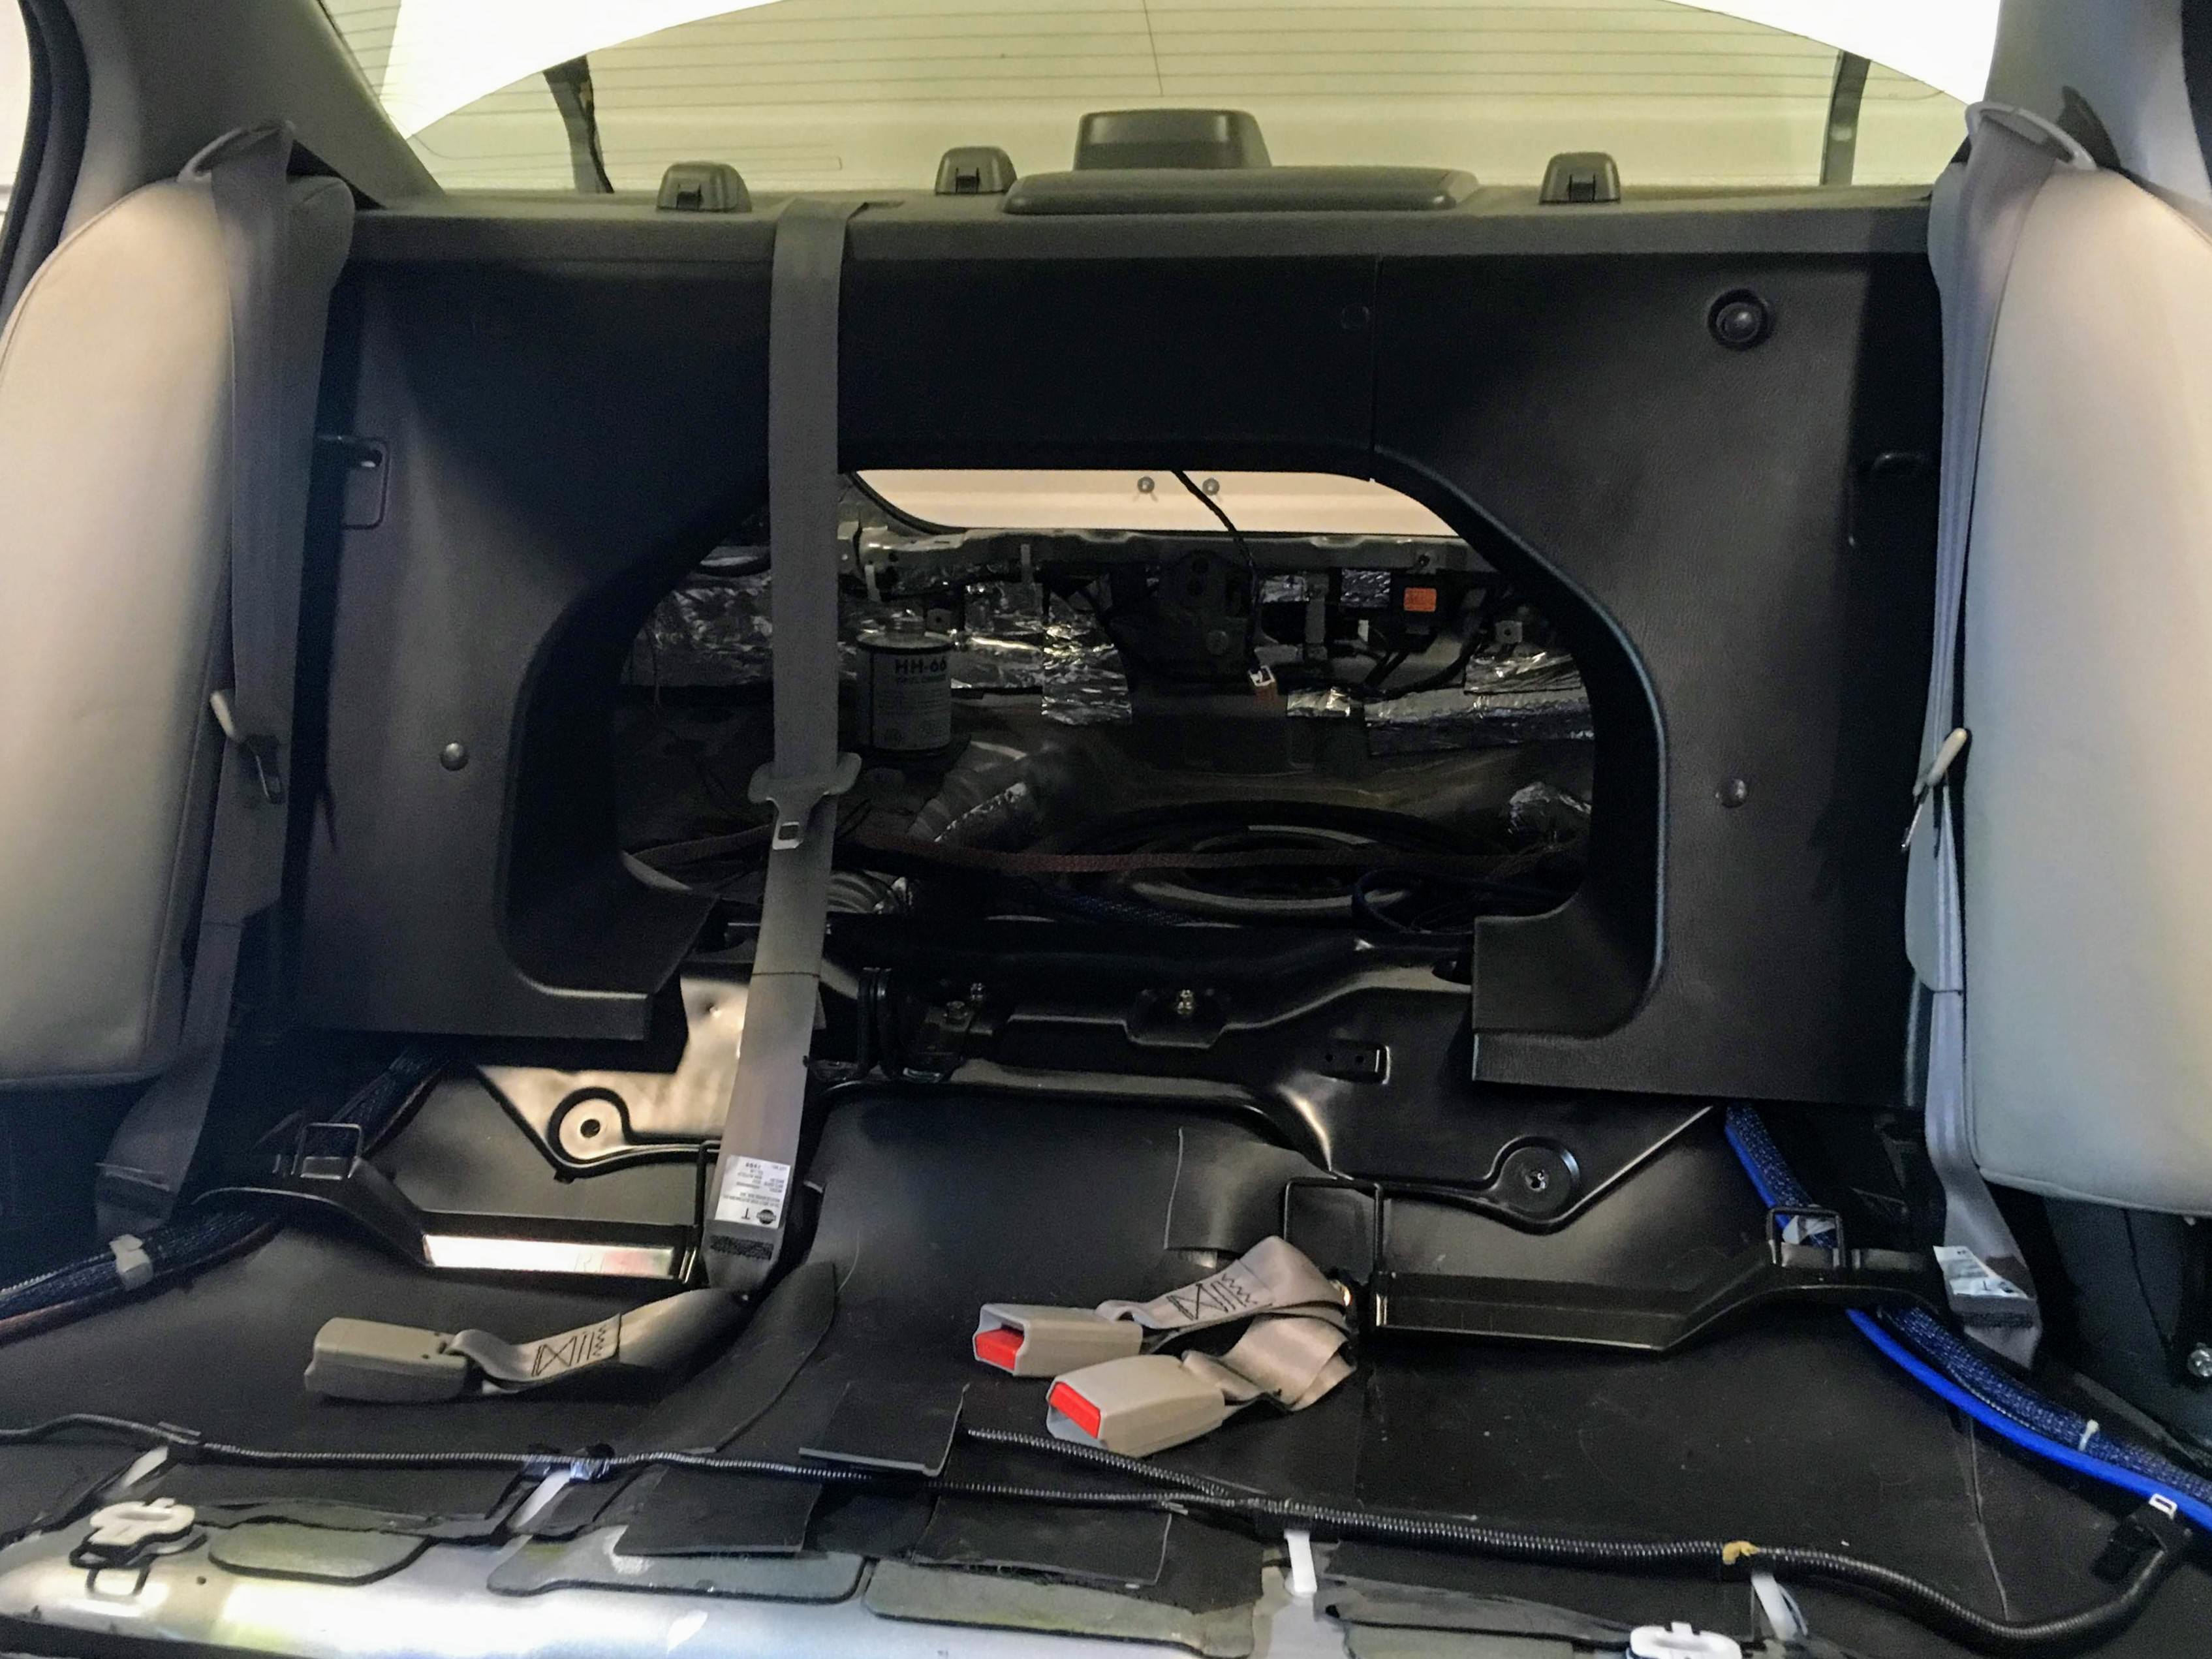
Got the MLV added on the rear passenger seat deck. Also, ran speaker wires through some tech flex, and routed all remaining wires through the trunk:
Getting ready to reassemble the trunk baffle, added CLD first:
Putting it all back together:
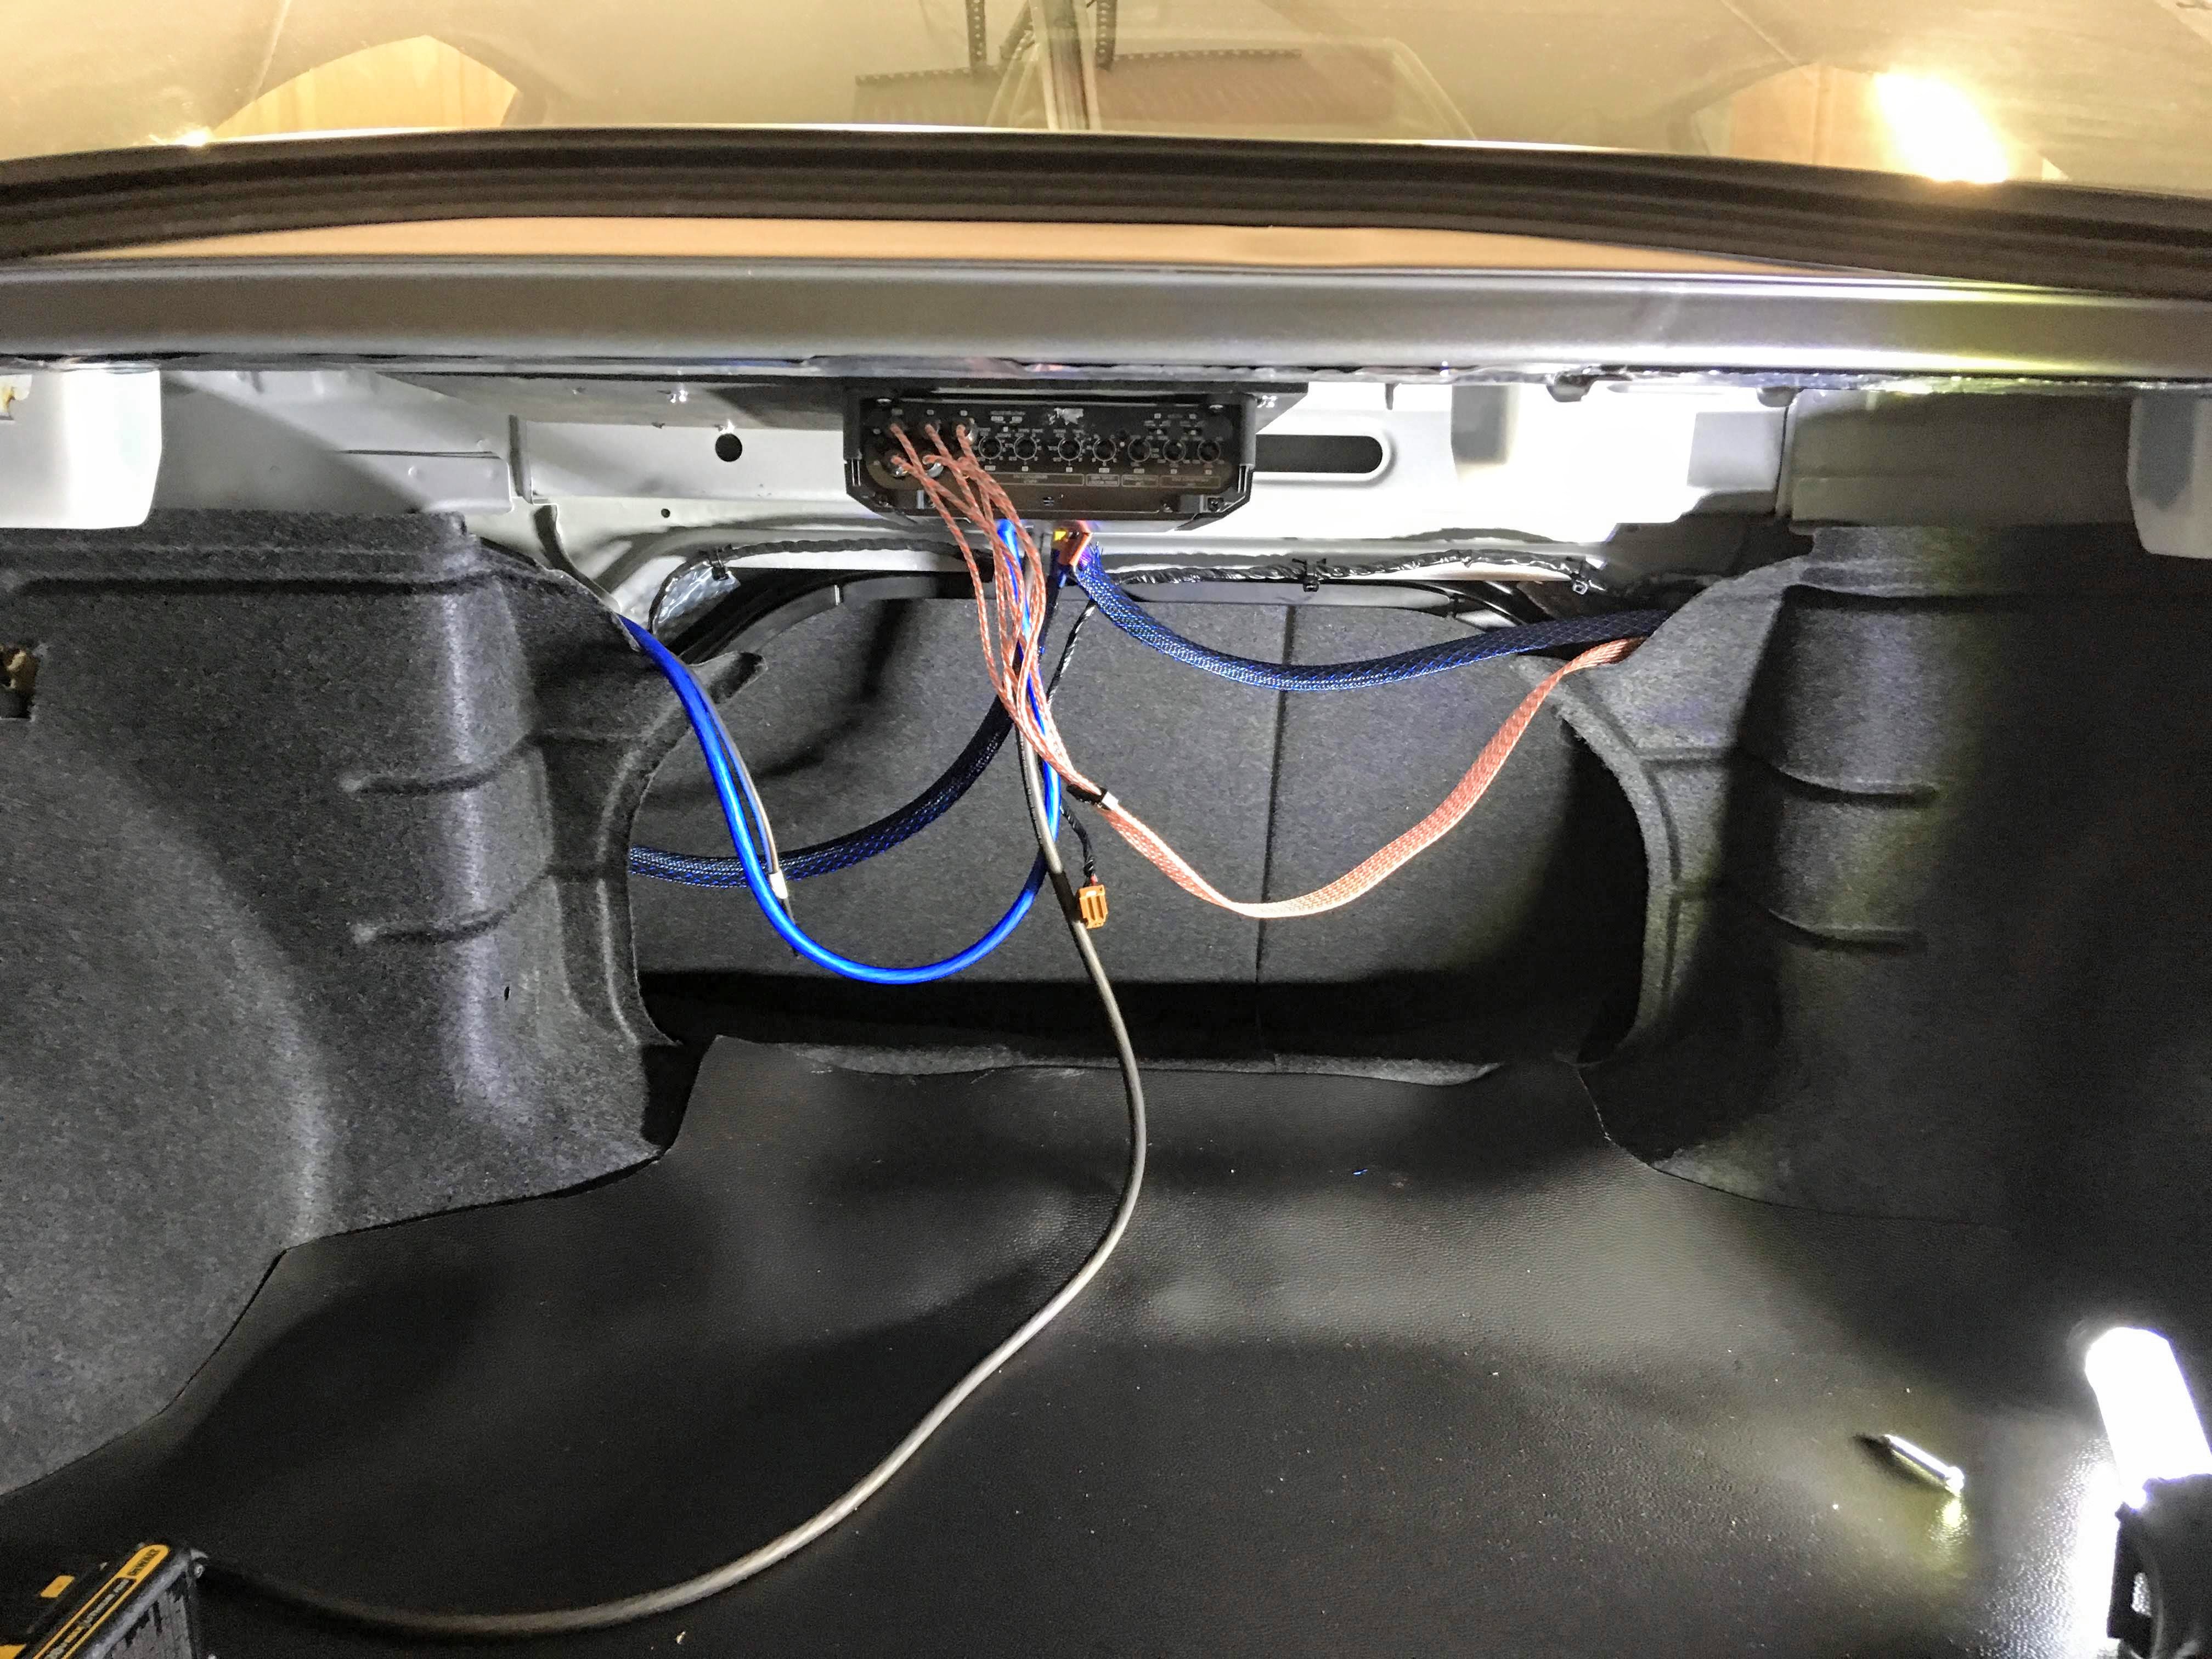
I'm going to mount the amp to the top the trunk, but for now I've just zip tied the cables to the factory harness to get them out of the way. Also, I got a 4' x 8' roll of vinyl flooring from Home Depot for $60, and cut it from the old carpet in the trunk.
Definitely glad to see parts going back IN to the car. Next, I'll put the last of the MLV in the trunk and cabin floors, and then I can reassemble a majority of the interior before installing the head unit and the amp.
Thanks guys. I've been putting in a ton of hours on the car, and I'm glad to see it coming together. I'm taking Christmas week off, and I hope to knock the rest of the work out.
When I took my panels off, I was able to retain most of the factory clips. I've bought several versions of aftermarket rivets/clips/fasteners, but never had something fit quite as good as what came with the car. I did break a few clips off when removing them, and purchased these from
as a replacement - they were loose on the fitment, but worked ok for the one or two missing. I wasn't impressed enough, however, to swap all the clips out with them.
Just a few personal observations - First, I would try to find brand specific parts. They might look similar, but those BMW clips are just a few mm's different, and that could result in poor fitment of the trim, if they worked at all - defeating any attempt at noise reduction. Second, I honestly wouldn't worry about noise from the trim clips. If you go the route I went, that panel will be packed so tight it will not vibrate when you re-install it.
IF you're still worried about it, try to save your stock clips and put some speaker gasket tape on them before you re-install. Same effect, but much cheaper - as you'll need that tape for plenty of other projects on the car.
Just look up speaker gasket on Amazon. Plenty of choices. Even a really then (1/8" or less) weather stripping works as gasket tape. Nothing fancy.
All told, I've spent around $1,800 on the whole project over the course of 6 months. The most expensive category being sound treatment, at about $700. After that, the audio gear (radio, amp, speakers) was $600. Everything after that was a combination of cables, fabrication materials, soldering supplies...as my dad calls it, "detritus" lol.
Yeah, I'm happy with the prices on all the audio gear. Some stuff was acquired on Craigslist, other stuff at local shops and online - all new, but either open box, scratch/dent, or refurbished. Never pay retail price if you can help it!
Hey guys, time for another update. I've finally got the carpet in, but that alone has taken up a lot of my vacation. Hoping to get the rest of the interior put back in this week, and probably get the amp and hu installed soon after that. Then the sub! Woot.
Finished putting MLV in the floor pan, used a bit of leftover CLD to help the MLV fold better:
Also put a patch of MLV in the bottoms of the A and B pillars:
Then, after much cussing, sweating and bleeding, carpet was in:
I went with a super thick essex mat with MLV backing. Since the original carpet was cheapo cutpile, it was much harder to get the cuts made and the trim to fit back into place. Also, if you look at the driver side, it doesn't look like the mold is as "tight" as the passenger side. Not sure if this was a mfg flaw or me, but it's not too noticeable-just made fitting it a bit harder. I'm going to try to use a steam machine to soften the carpet, hopefully it will mold better. If anyone has a better idea, I'd love to hear it.
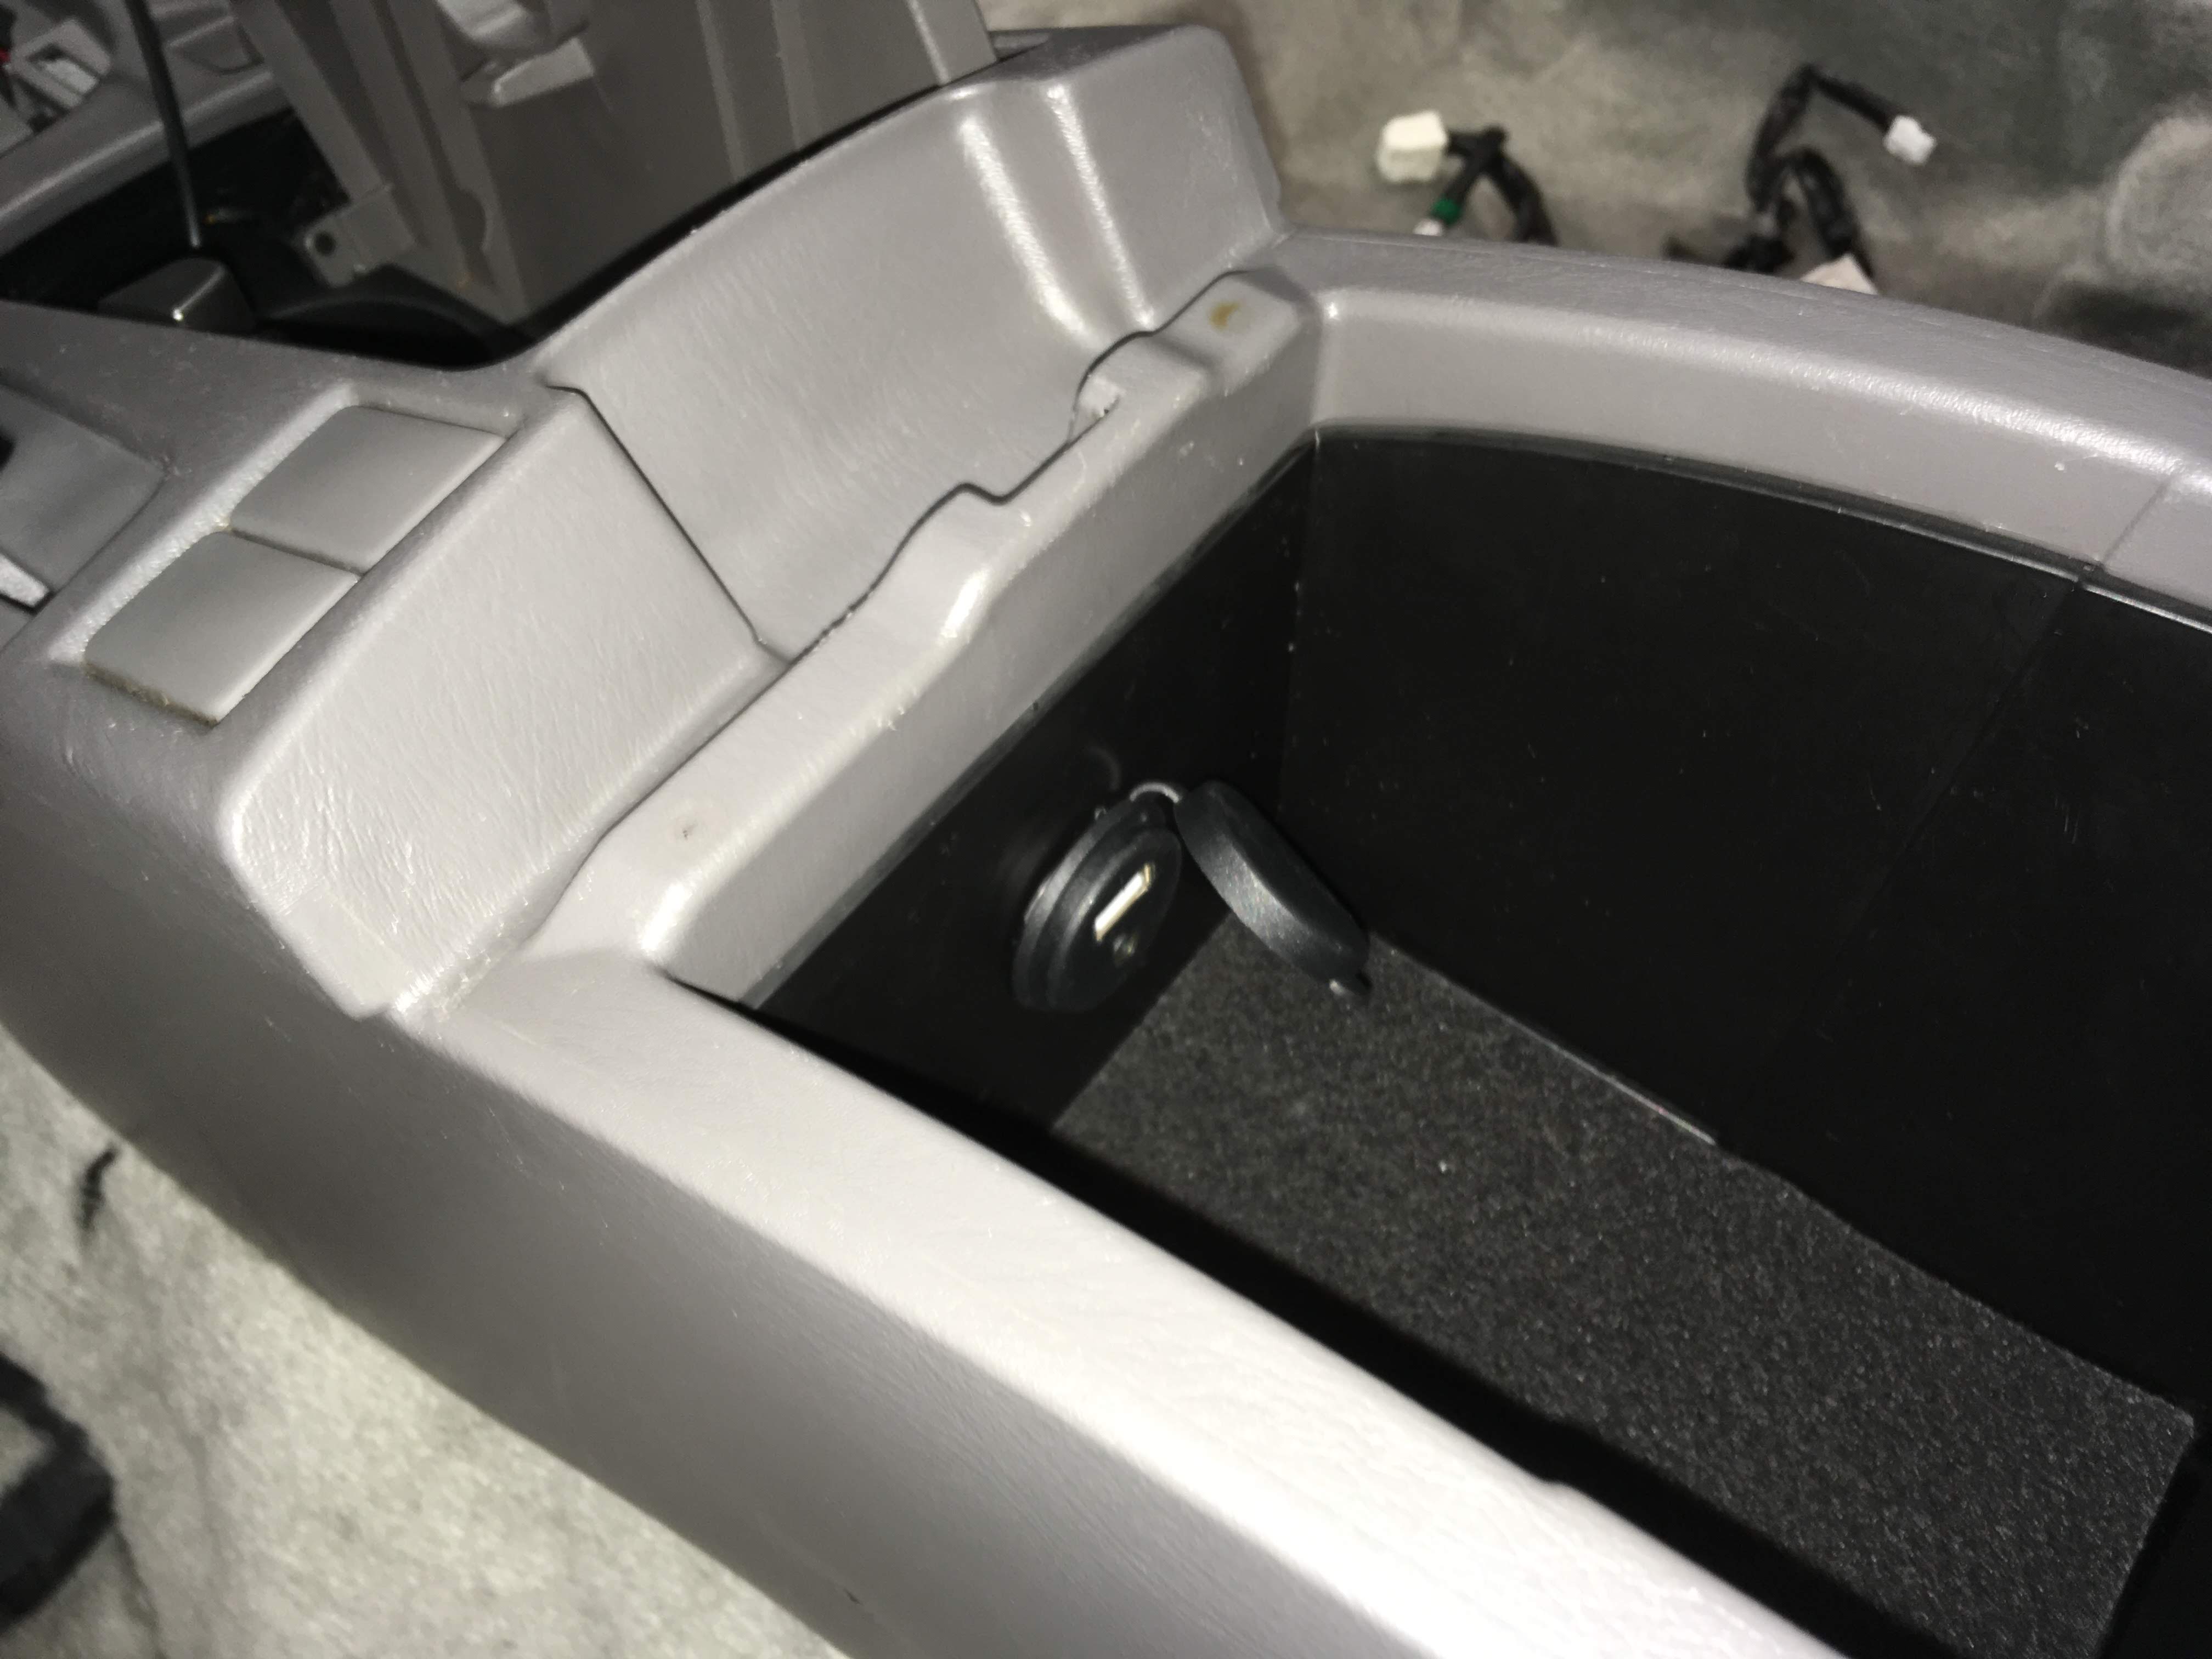
Also, before I put the center console back, I drilled a hole in the pocket and added a USB/Aux input port to run to the head unit:
That's about it for now. More to come, and thanks as always for your feedback/suggestions!
That's what I'm hoping for. It fits pretty well on it's own, but like any aftermarket product, it's not a 'factory fit'. And, it's a thicker carpet than the original, so that's also causing certain areas to not lay flush with the contours in the floor pan.
My thought is the steam will soften the backing of the carpet so I can "iron out" the lumpy parts and push them into the contours. Again, I'm open to suggestions. I've never installed carpet, so I'm just thinking of ways to get it to fit.
With the carpet done, I was able to get most of the interior put back in. I cannot express how glad I am be done with f#!king with carpet. Also happy that my car is not exploded into 100 different plastic panels scattered throughout the house. With that done, I can wrap up the trunk.
Finished adding MLV to trunk floor, using leftover CLD to seal gaps/adhere flaps:
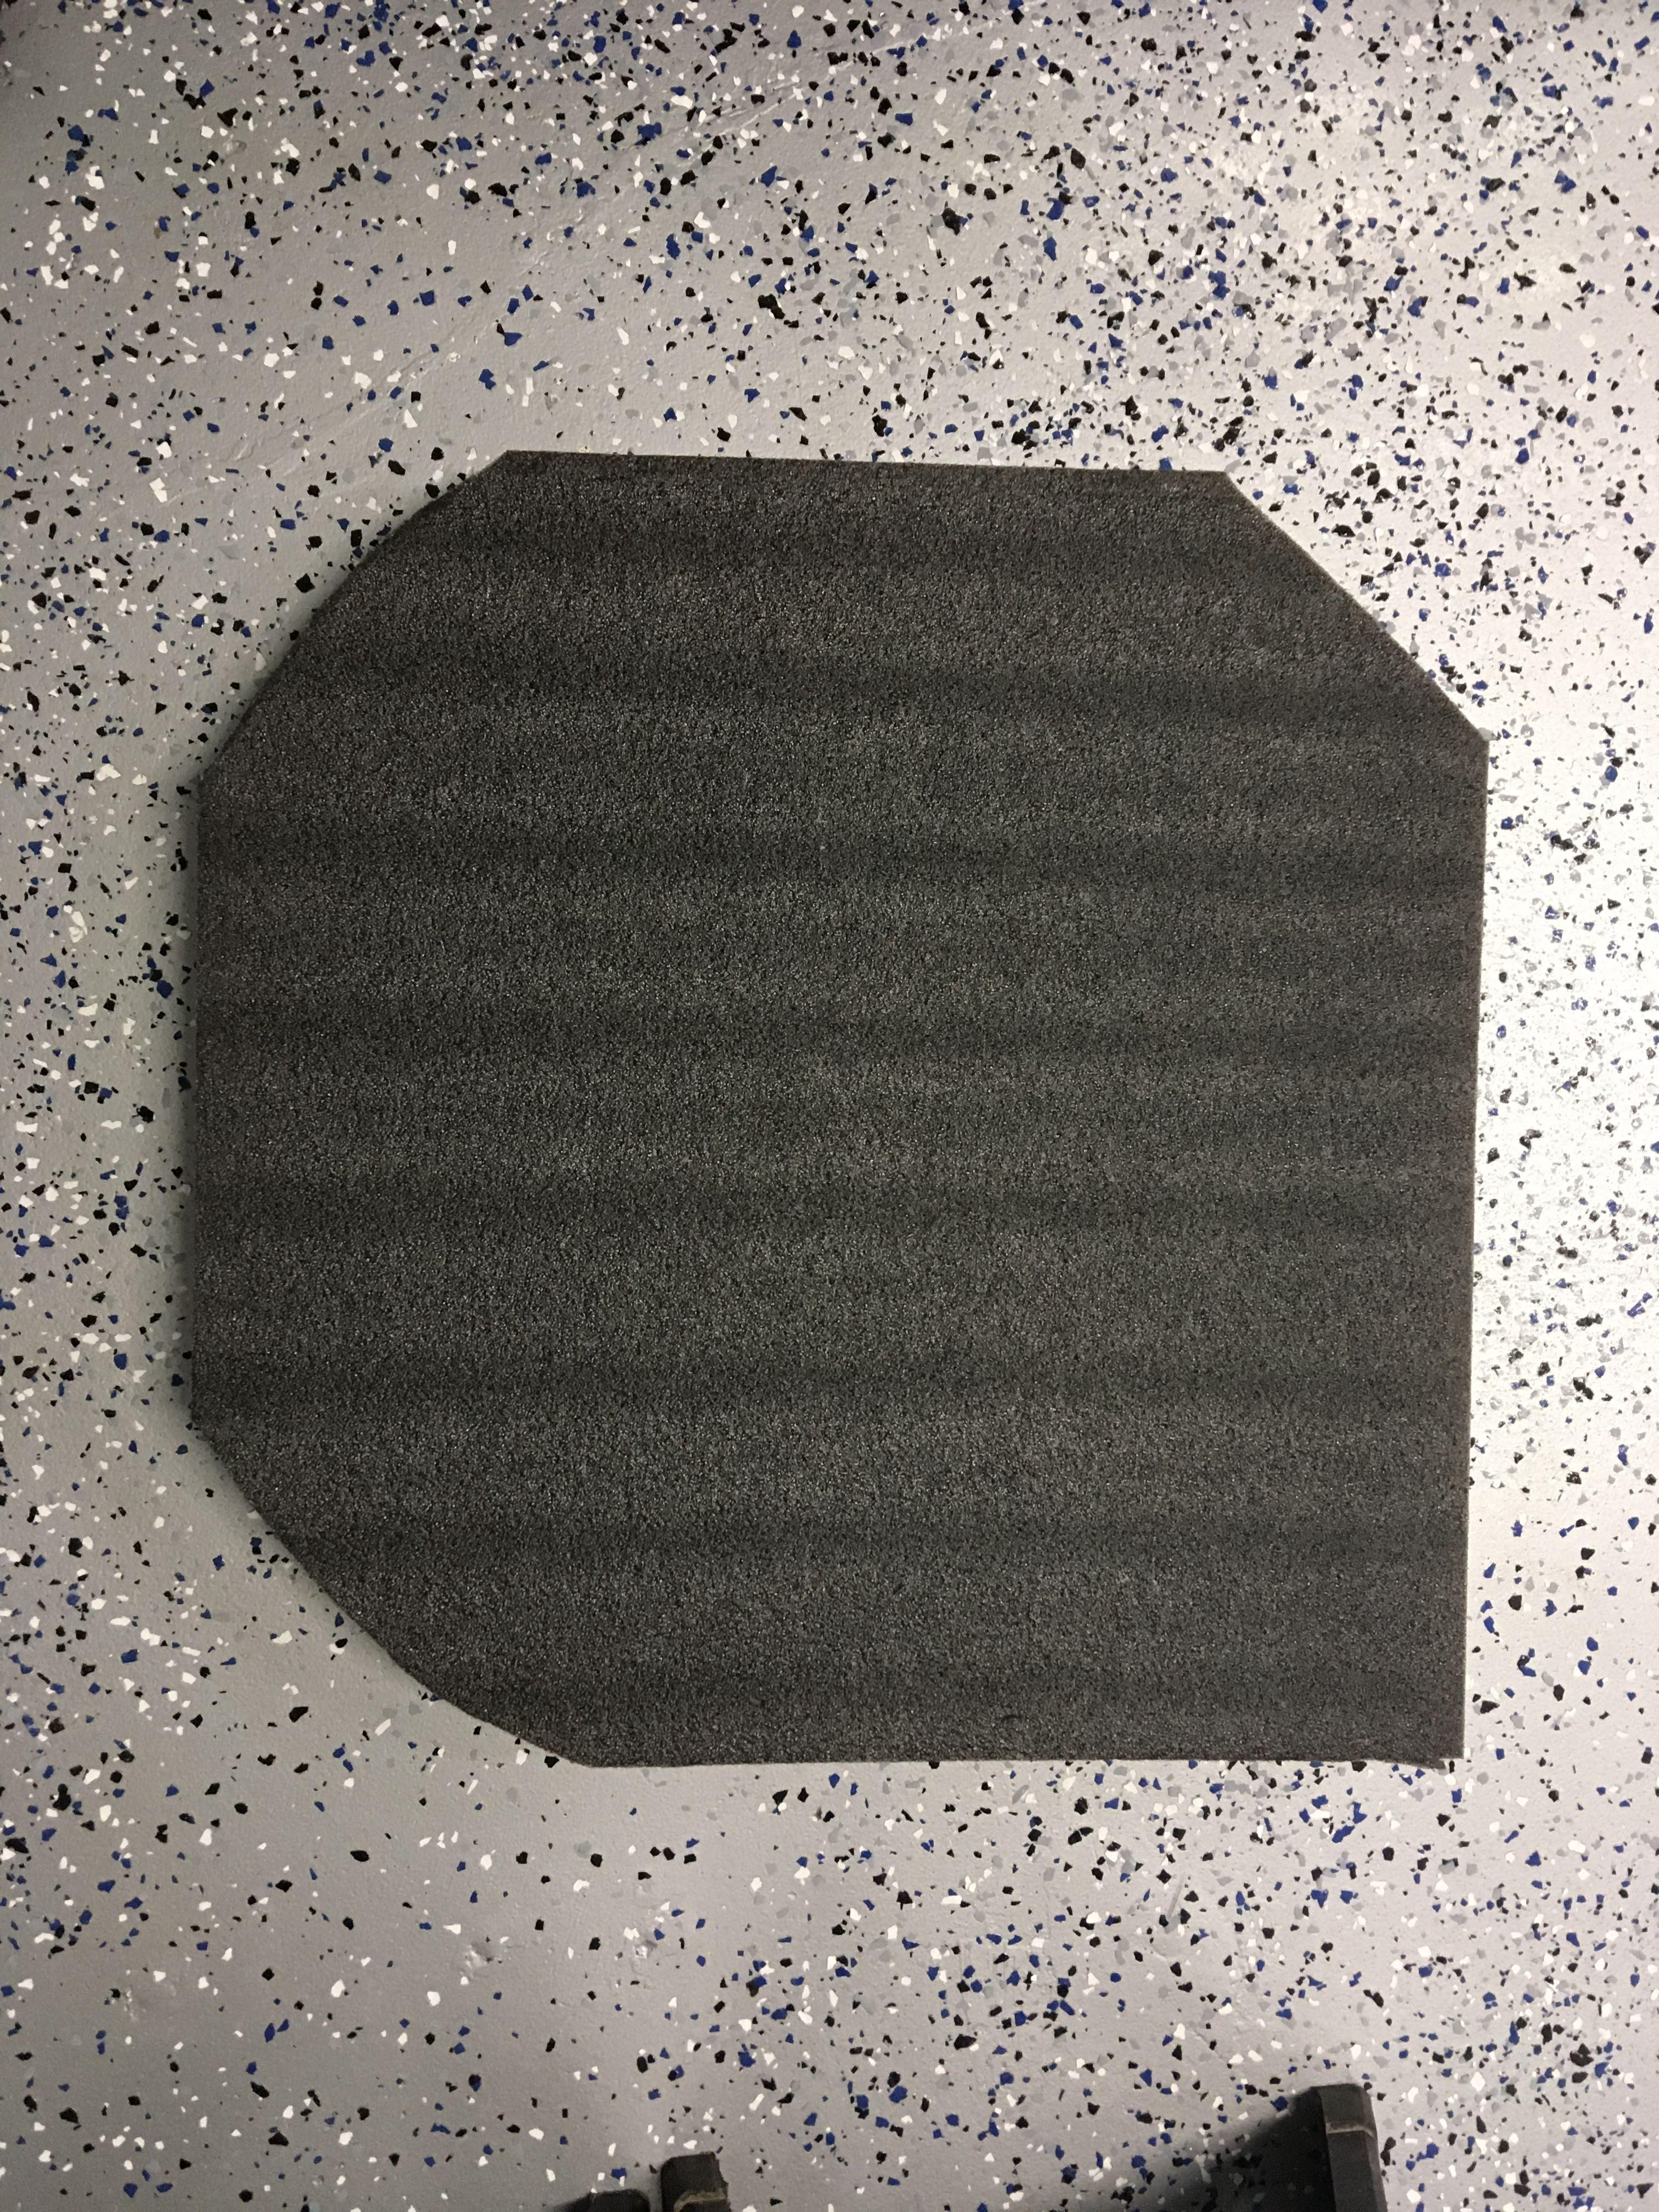
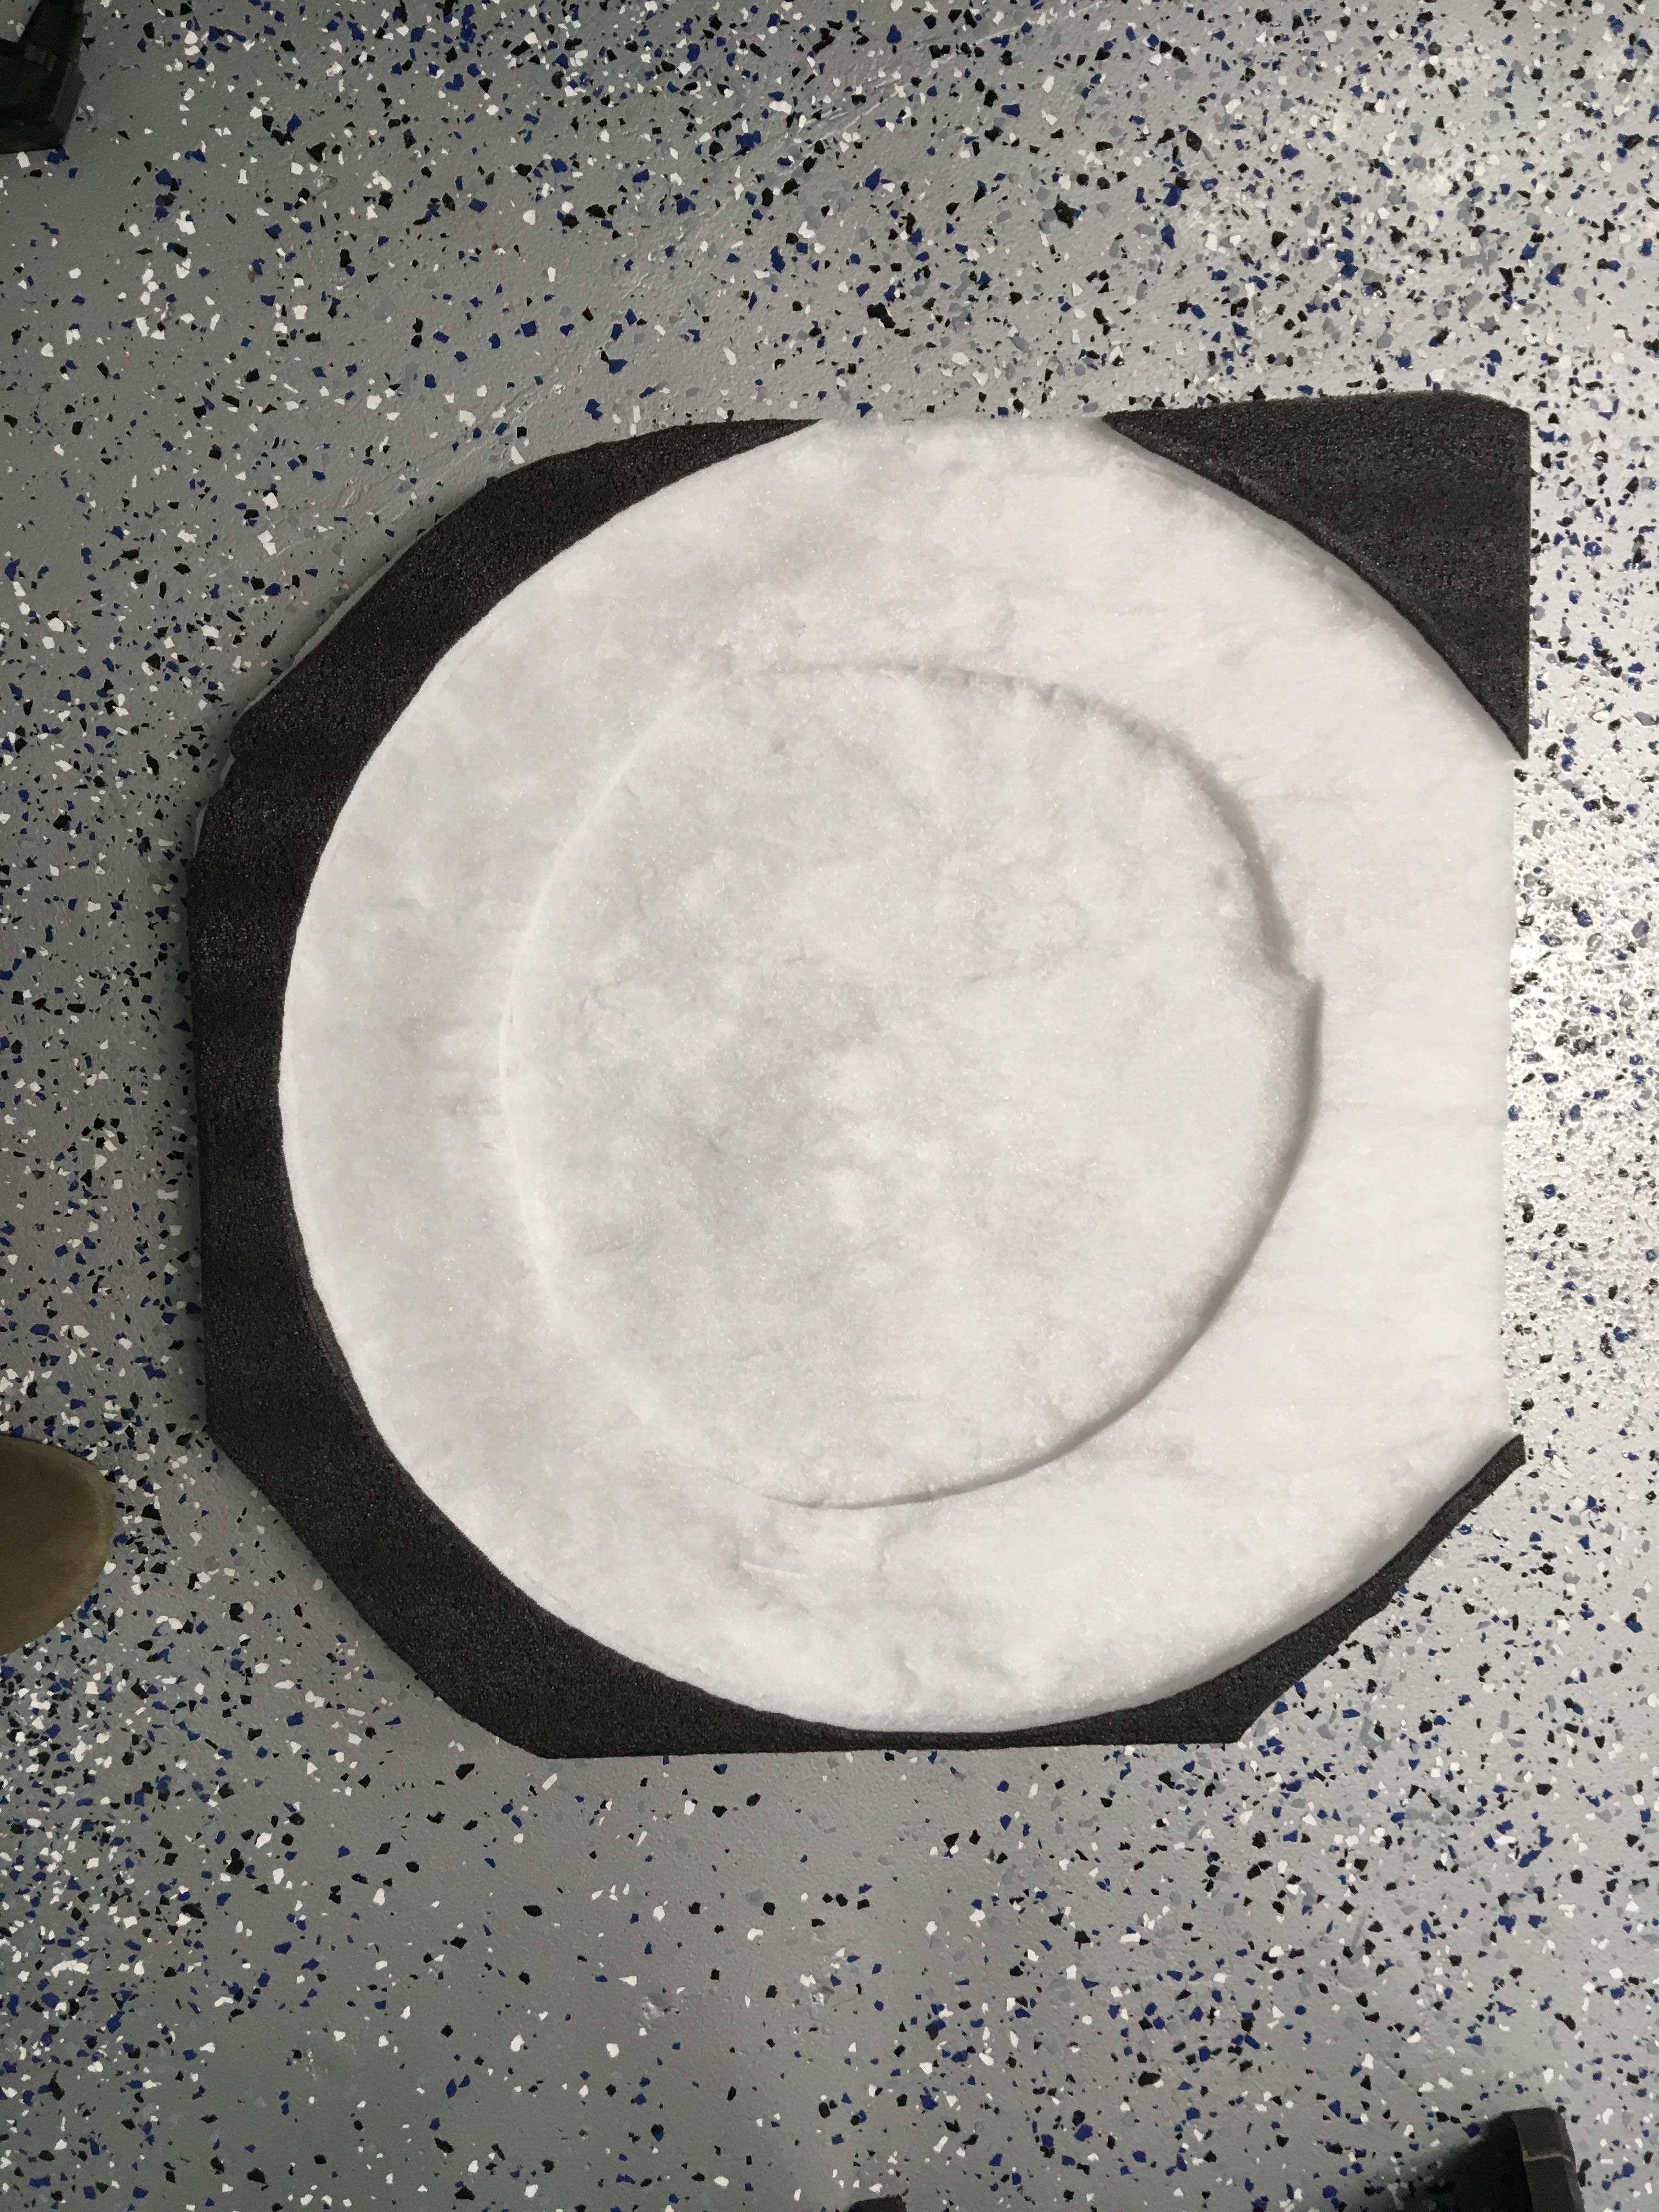
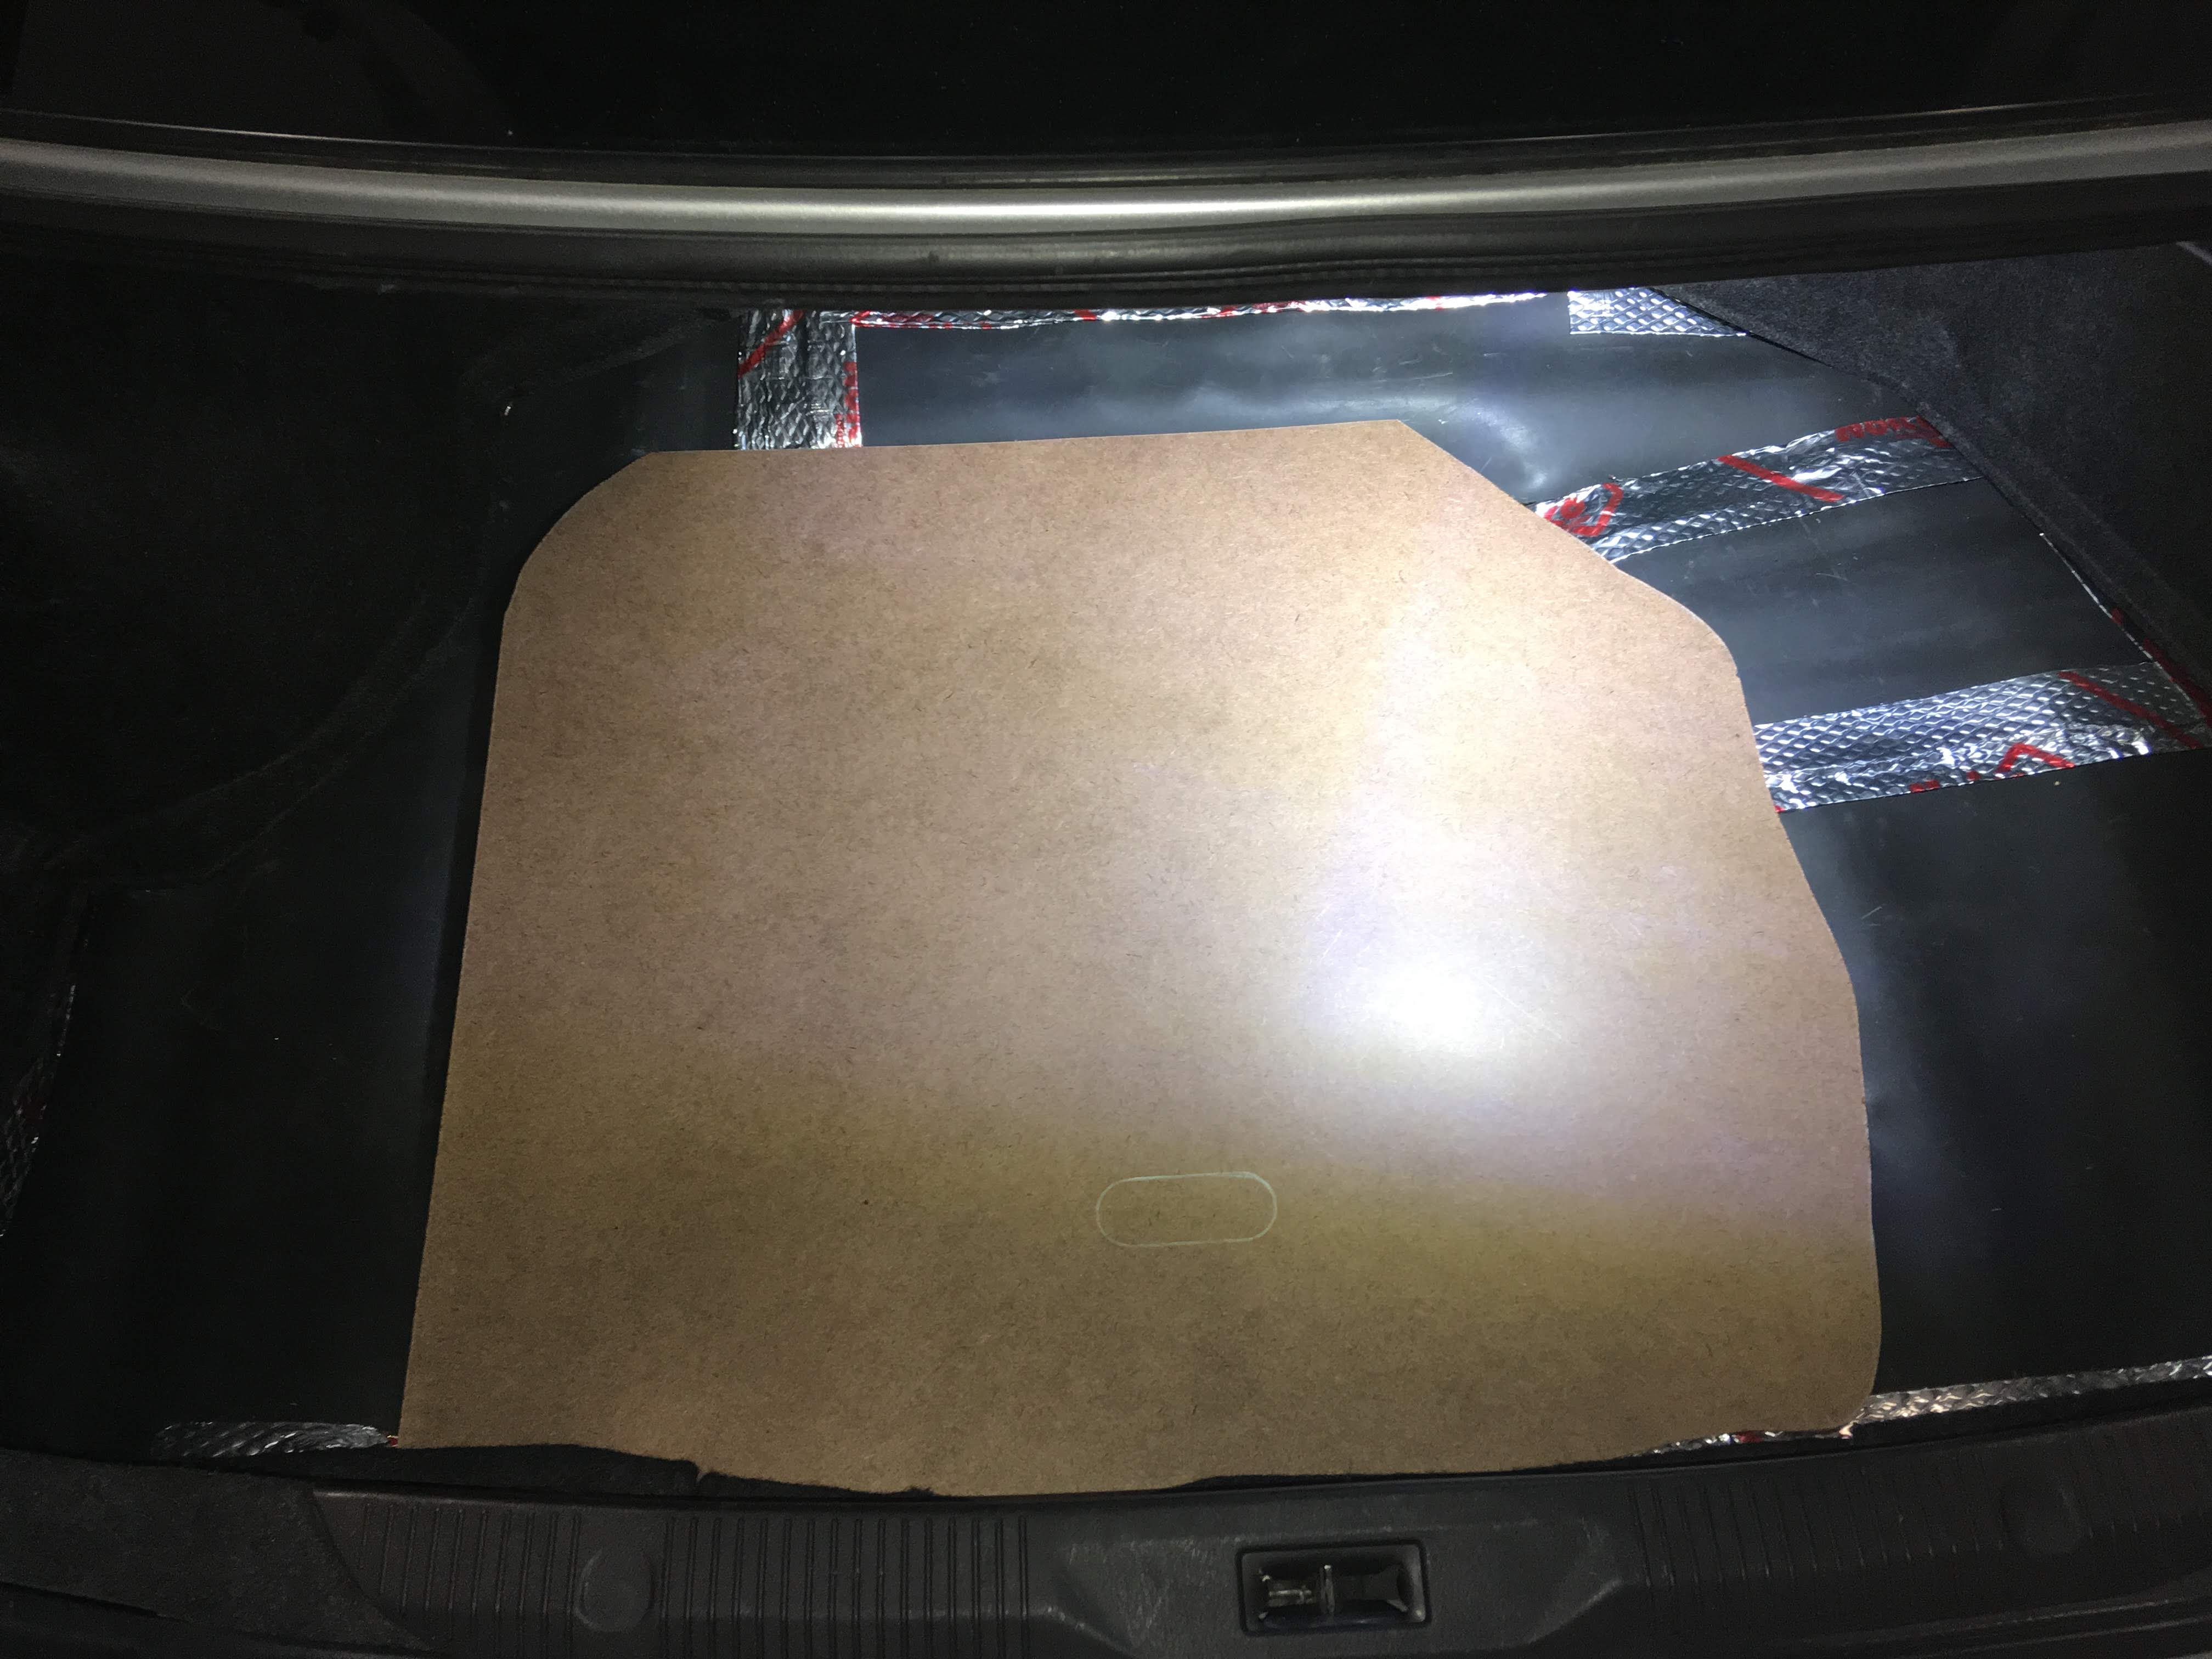
The original piece of fiber board that covered the spare tire was shot. Also, the wheel well had about an 1 1/2" gap between the top of the tire and the floor the trunk. To fill that space, I used a piece of kaizen foam that I had laying around from another project. I stripped away the inner layers of the foam to fit snug with the rim on the spare, and it made the floor flush. I then trimmed a new piece of masonite to fit on top.
With these items done, I can now work on the fun stuff - installing the audio gear! I've been waiting patiently for this, and it seems like it's even harder now to take my time, knowing I'm so close to hearing that sweet music!
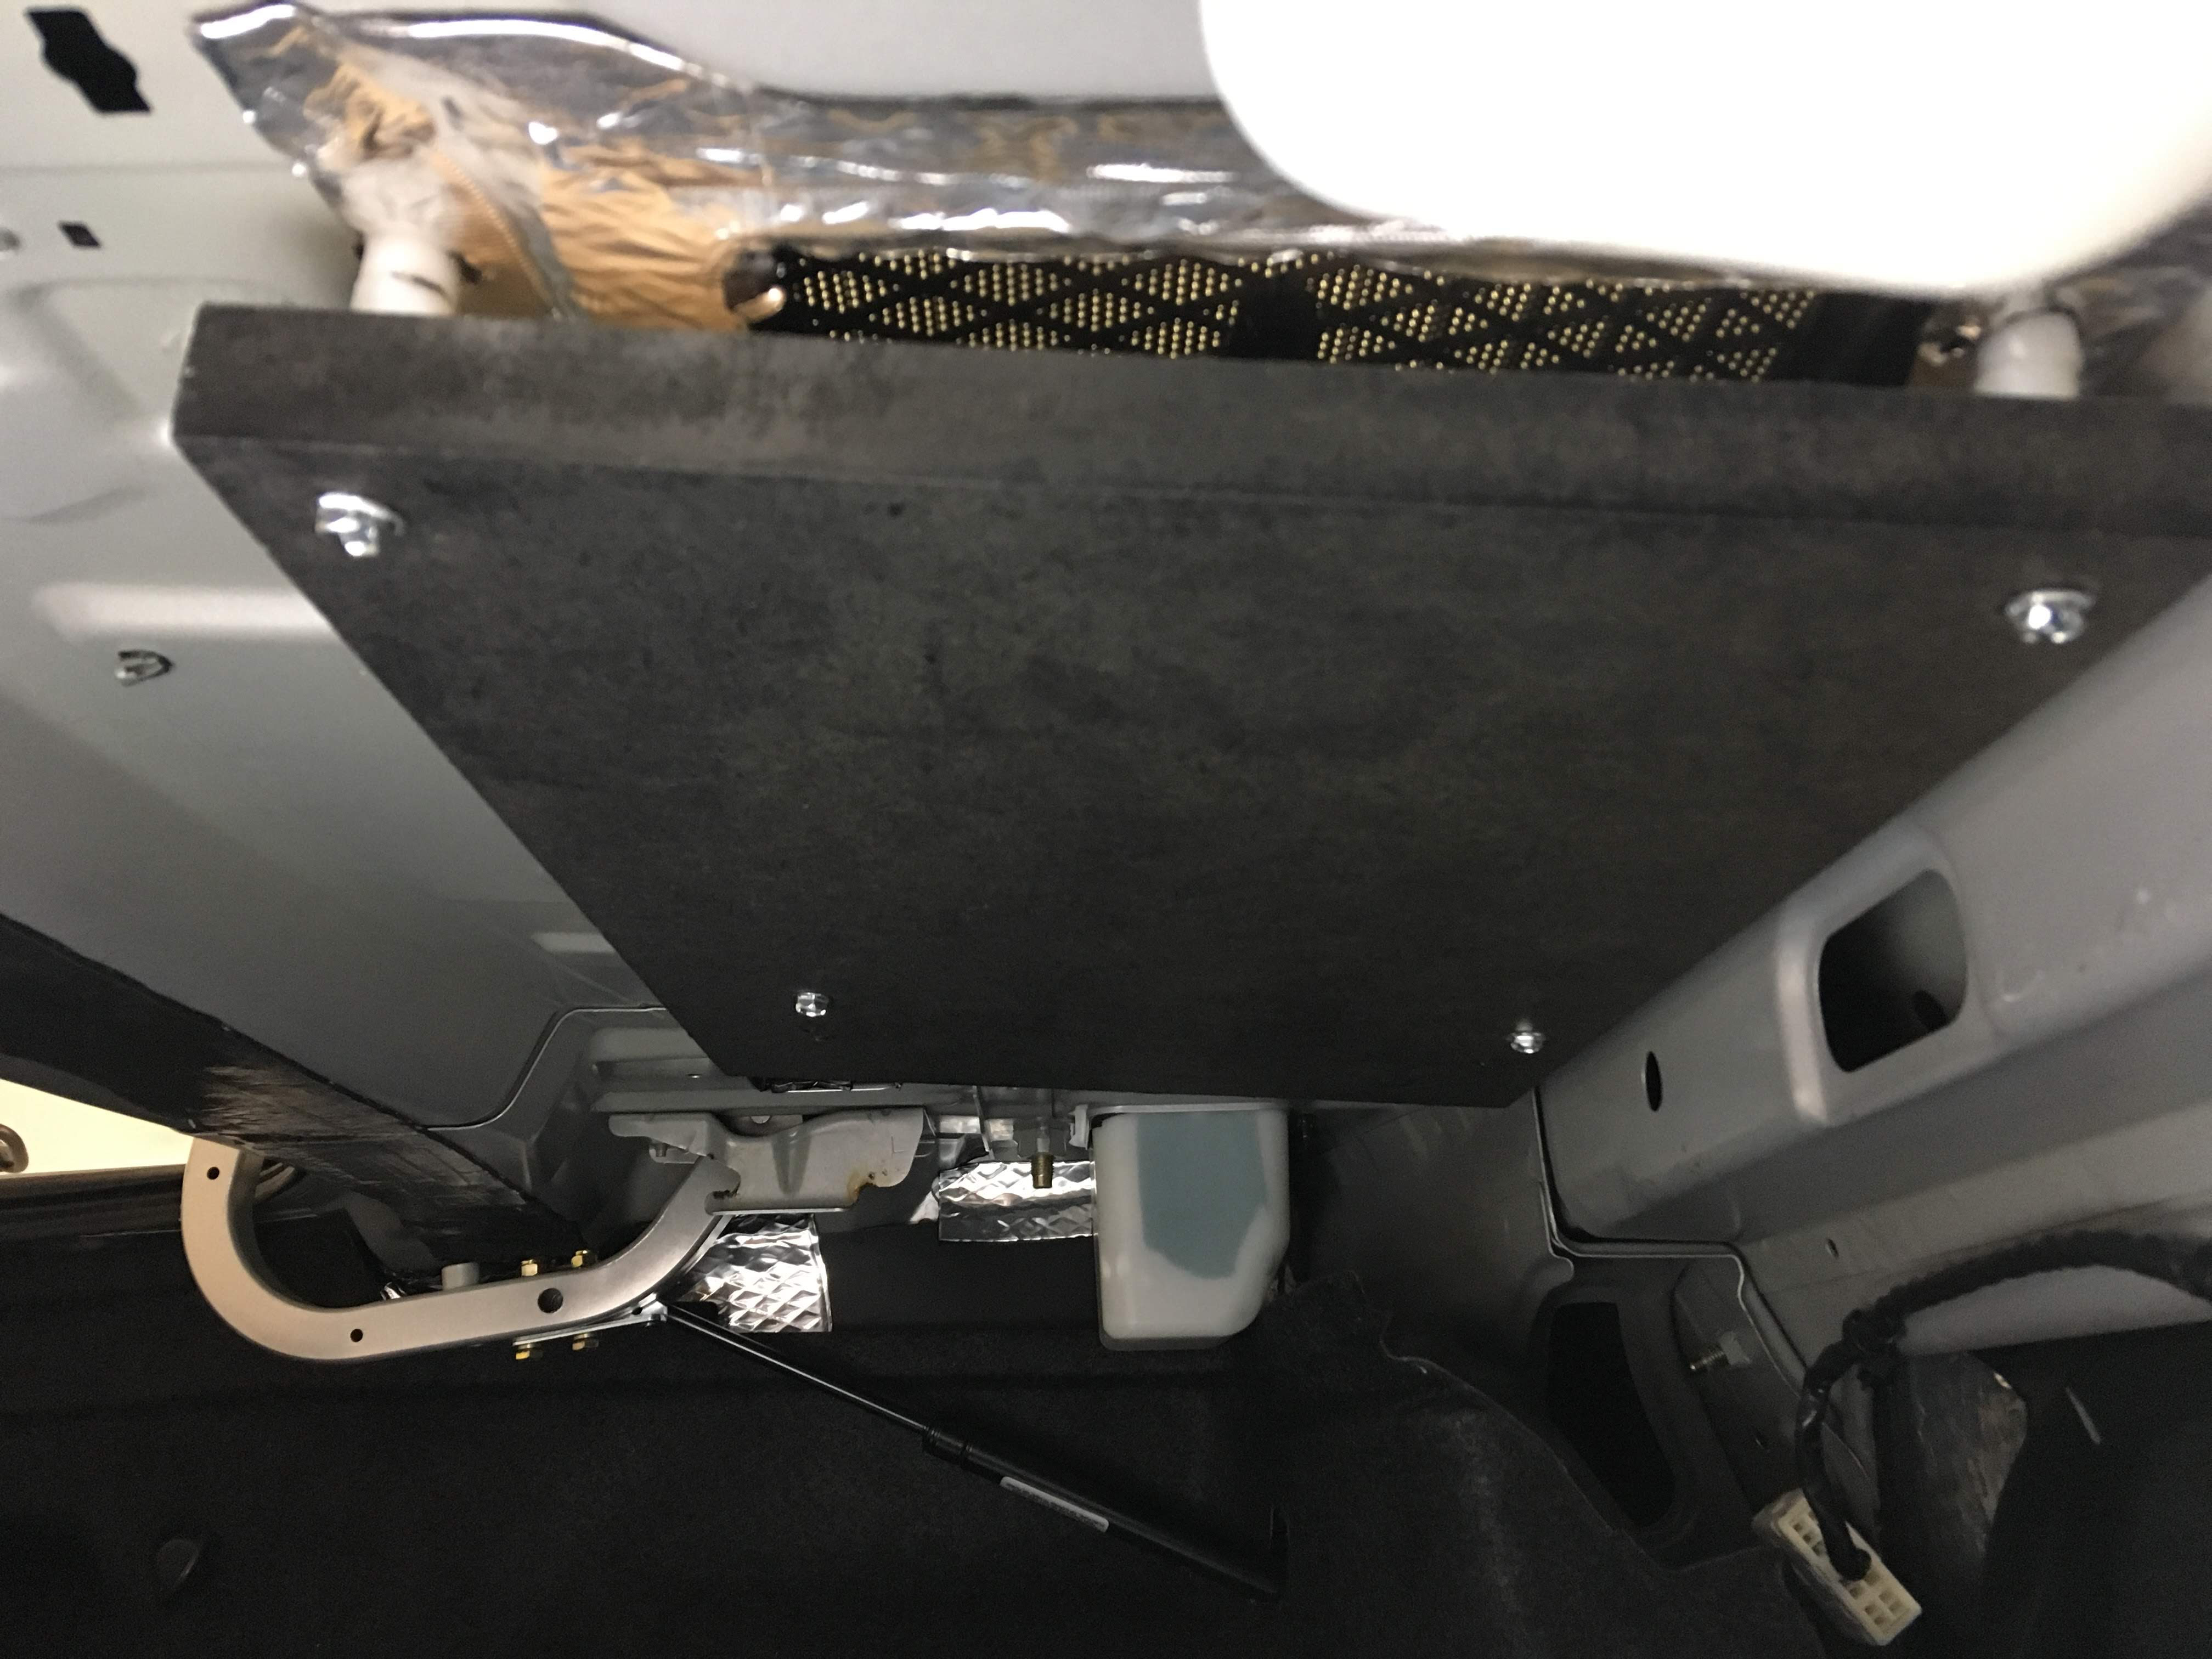
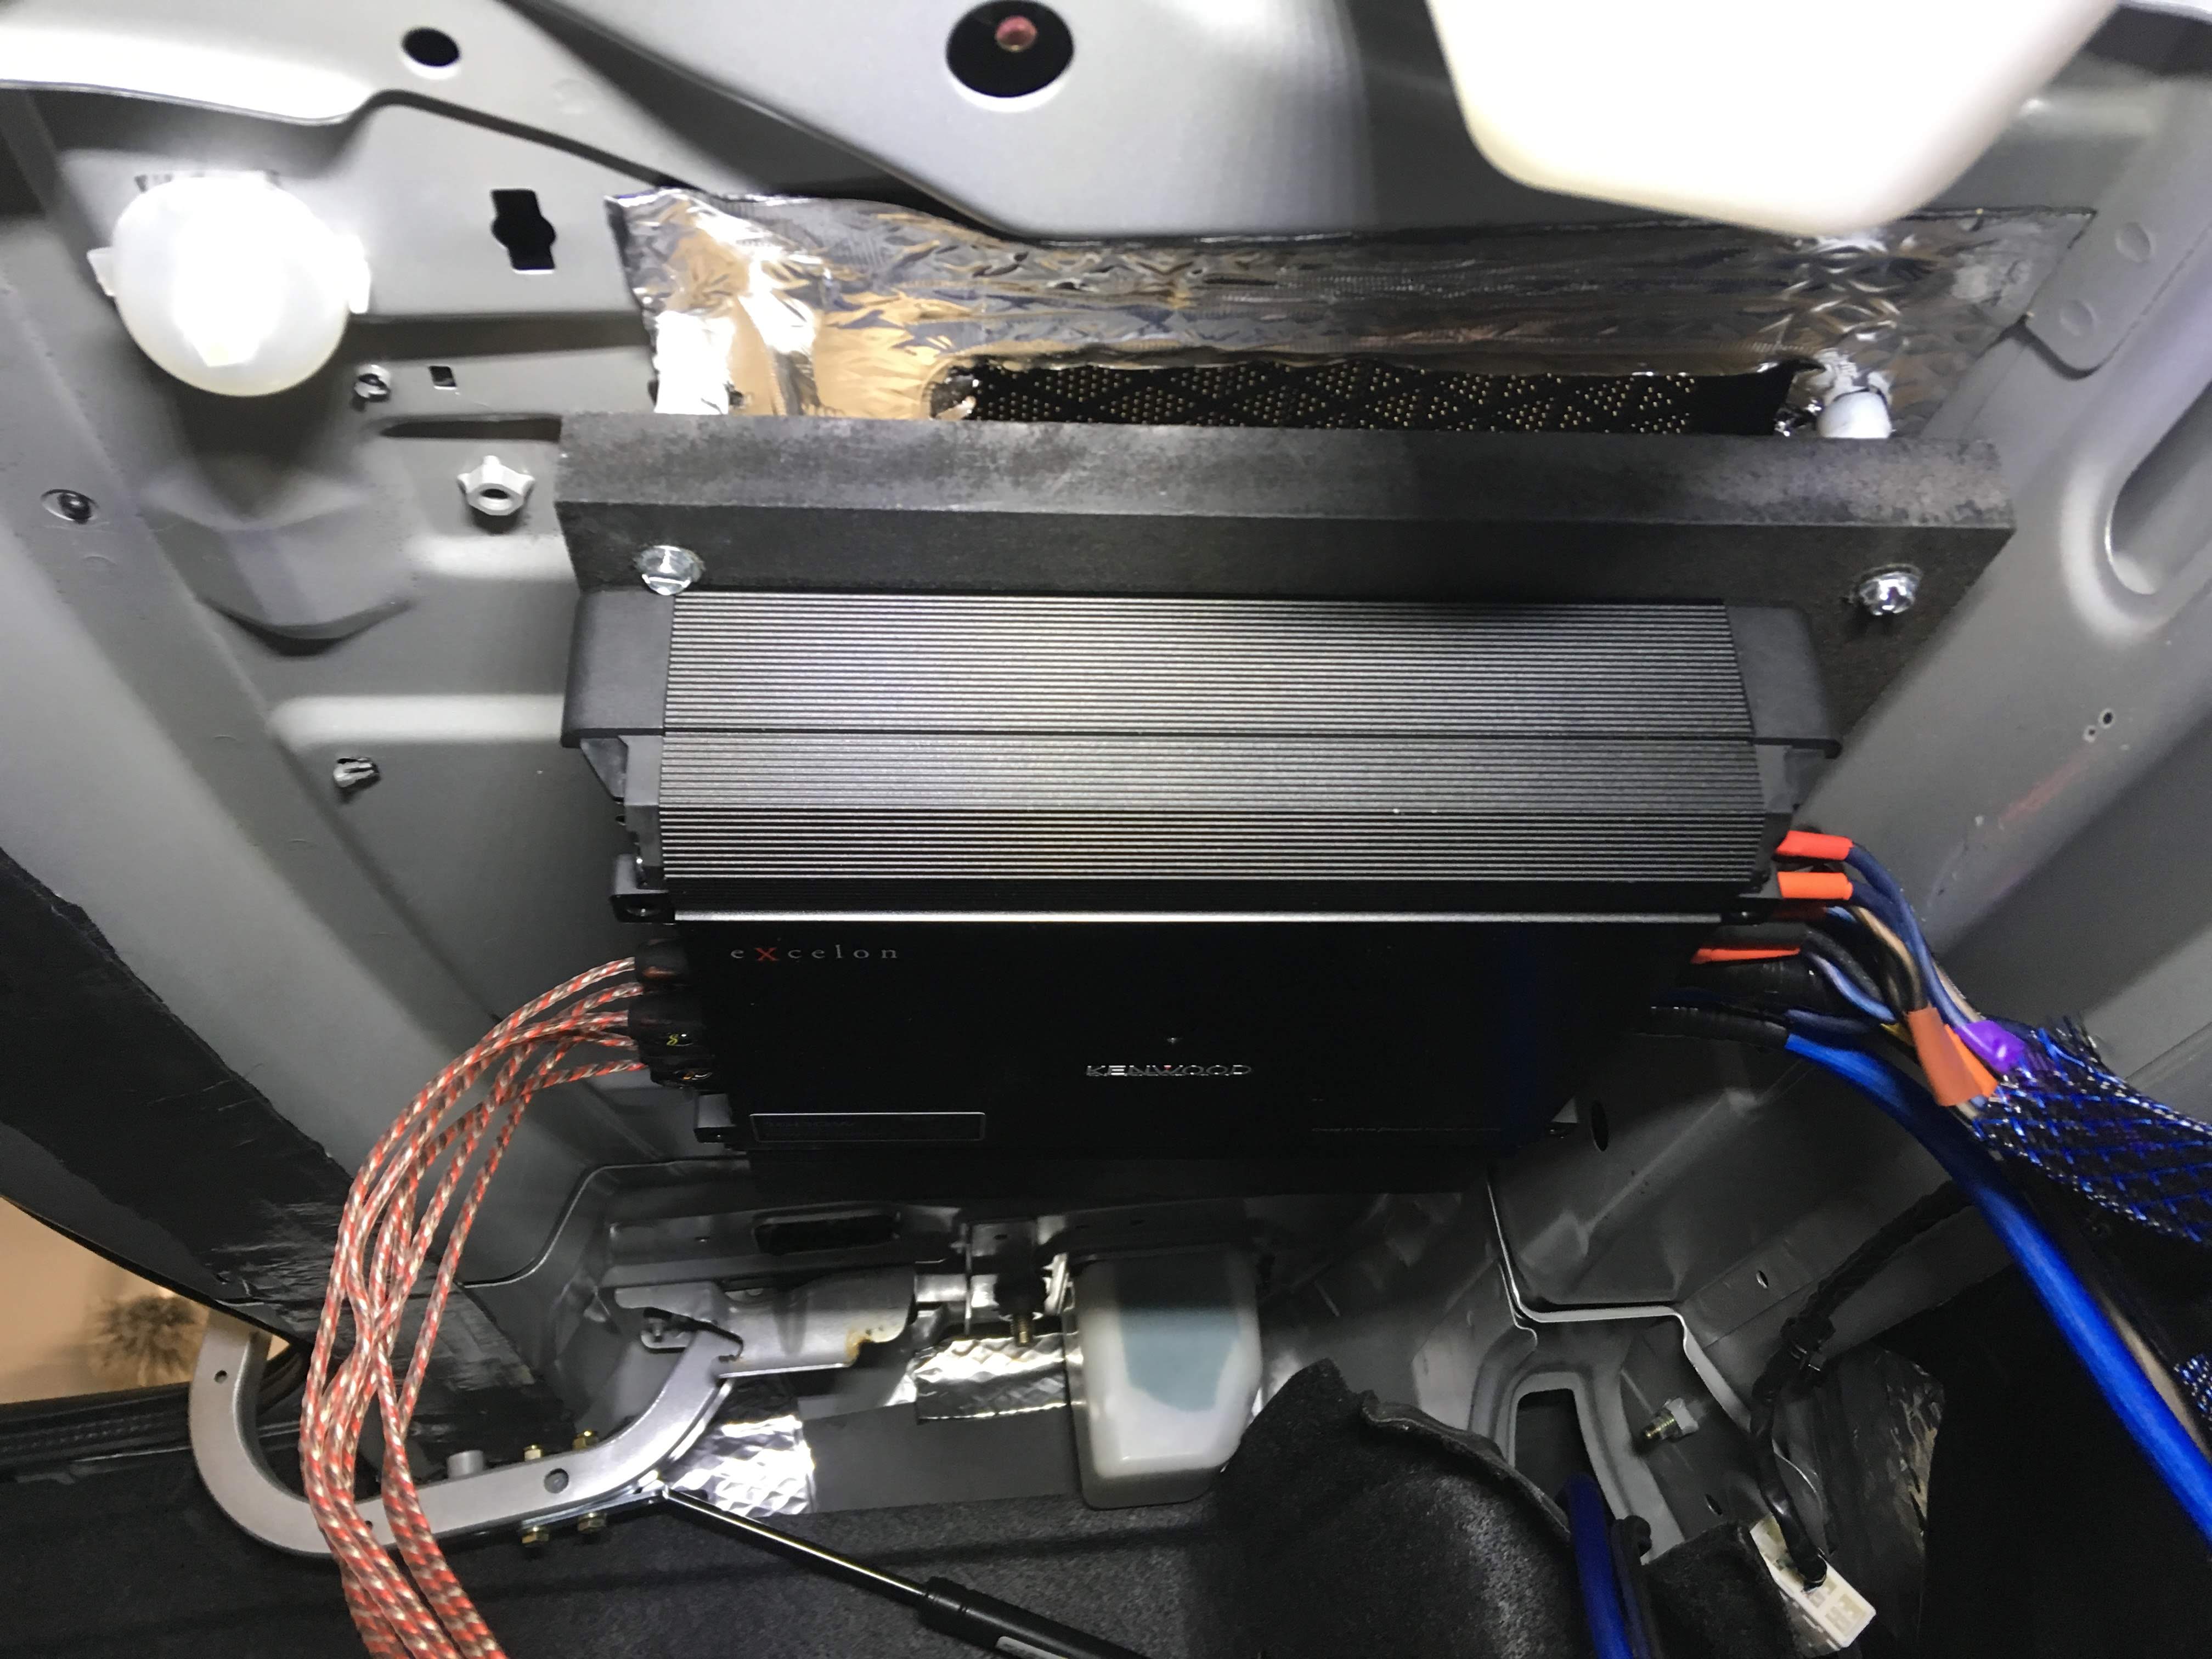
I wanted to mount the amp to the roof of the trunk, where the old factory IB sub was. My amp was too small to cover this gap by itself, and the mounting surface was uneven. I made an "amp rack" (lol) out of 3/4" mdf, and used different sets of nylon spacers to mount it flat. Then added the amp, and started wiring it up. Quick question for Theslaking - where did you ground your amps? I was thinking about using the same bolt hole that is shared with the metal trim piece that forms the baffle between the trunk and the rear seats. It's the bolt inside the trunk, that bolts to the floor. Good spot?
SO CLOSE
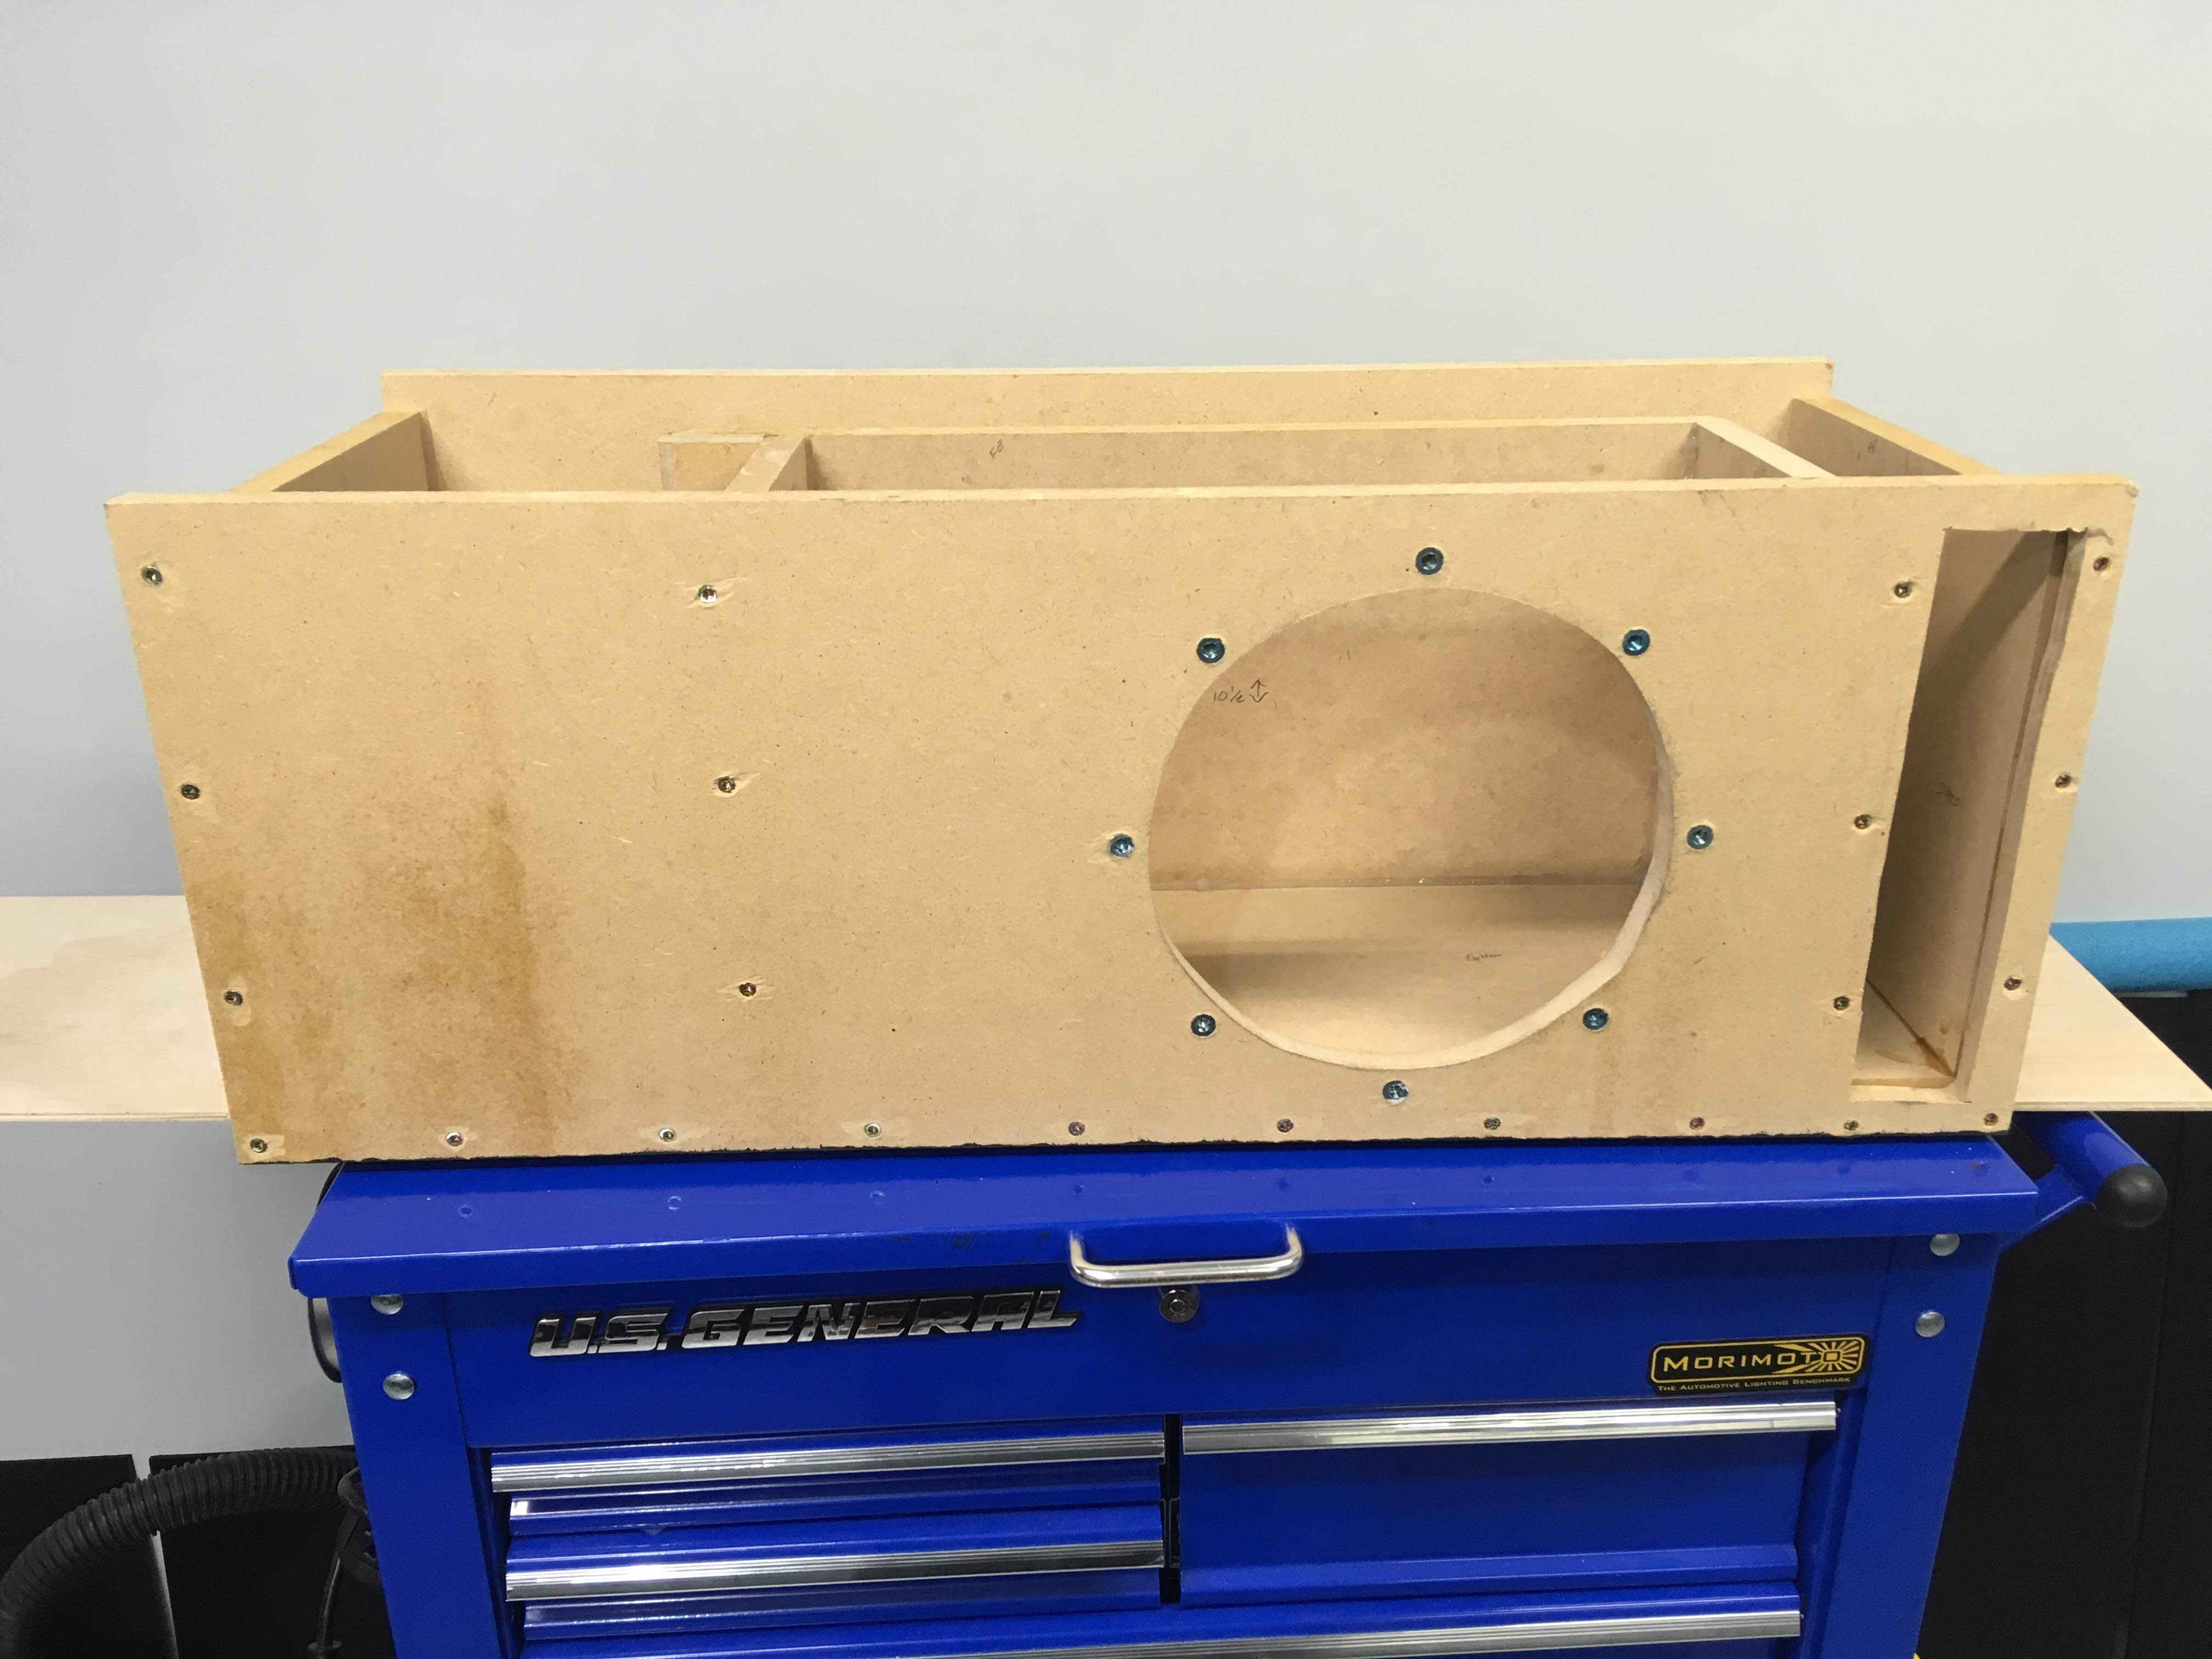
In the meantime, I've been able to put in some time on the sub enclosure. You'll have to excuse the crappy cutouts for the sub and the port - I have just rough cut them with a jigsaw at this point:
That's all I've got for now! As always, feedback, comments, tips and tricks appreciated!
You said it - just gotta keep patient, trying to rush it only makes it worse. I kept adding my spade terminals and crimping them down before adding my heat shrink - ruined three good terminals in the process.
As far as the struts, I bought brackets with a 10mm ball stud attached, and then mounted those to the frame. If you go back to earlier in this thread, you'll see pictures where I attached the brackets to the trunk lift supports and the back wall of the trunk. I used 1/4", grade 8 bolts, locking washers and nylon lock nuts for all points.
These supports are rated at 547 n, and honestly they are a bit too strong. If I let the trunk open under the force of the struts, they push the lid up so hard it's starting to bend the back wall of the trunk just a tad. I'll probably have to get something a little less forceful before I forget about that glitch and let the trunk fly open...
Ya, I bought these one the recommendation of another user here who did a write up. His write up did mention needing to support the additional weight of the factory spoiler, which mine does not have. I didn't think it'd be that big of a deal, since those lids are surprisingly heavy on their own.
I snapped a few more pics so you can see how I bolted the mounts to the trunk lifts:
Thanks! Looks solid! I'm putting together my parts list now.
I'm the other "user on here". I just told the Lift Depot what car it was for, that it was for the trunk, and the length I needed and they suggested what model lift to get. Mine are perfect. I can let go of the lid in any position and it just stays there. I can even drive down the road with it open and no movements. It's one of my favorite upgrades to any car ever.
 12-03-2018, 10:10 AM


 This image has been resized. Click this bar to view the full image. The original image is sized %1%2.