When you click on links to various merchants on this site and make a purchase, this can result in this site earning a commission. Affiliate programs and affiliations include, but are not limited to, the eBay Partner Network.
Quick update: Motor and tranny are in. Such a pain in the *** with only 2 inch straps (couldn't figure out engine leveler mounting points without breaking **** or removing piping). Power steering pulley hits the frame directly above the front K-member mounting point. I have to pull motor and tranny again and get in there with a hammer and dolly and beat a depression in the frame. Looks like I need about an inch lateral clearance for pulley to clear and to move engine to the right said distance to line up tranny mount bolt holes. I'll snap a couple pics tomorrow. Just thought I'd drop this tidbit for those interested in the all 7th gen accessory swap.
First order of business: PS pulley would not clear frame during first install:
So I beat a depression in the frame:
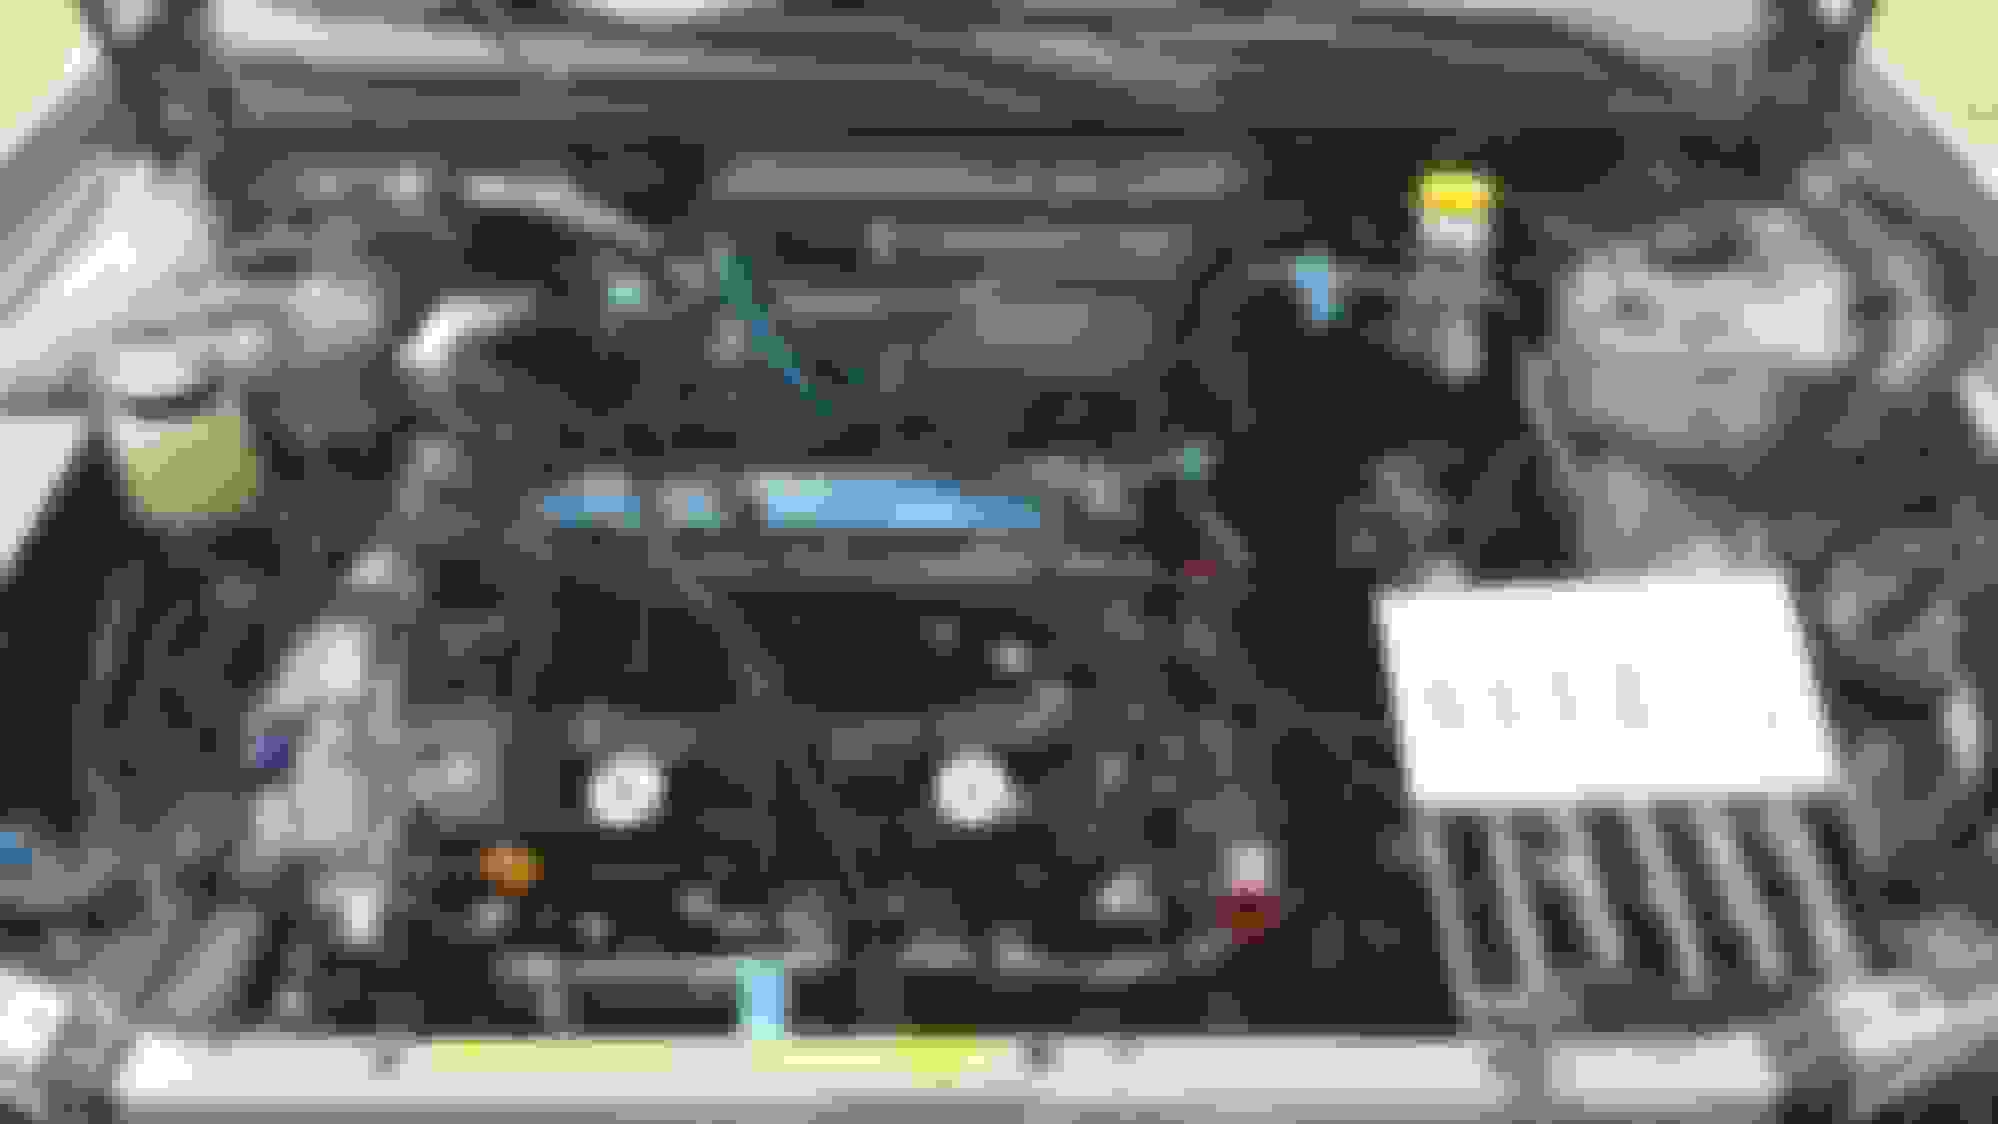
We are clear! Hard to see, but I did the best I could. Here you can see the lower aspect of the PS pulley clear of the frame with the engine installed. However, there exists only approximately 1/4" to 3/8" inch clearance at the closest point to the pulley. The big question is: How much do these motors move? Will the engine torque aft enough for the pulley to make contact with the frame? Remember, I replaced all motor mounts with OEM MT mounts.
Next question: Are these important? What do they even do? I bought all new ones but these didn't make it when I was installing the motor (fell out). I'd like to have them, so I'll try again when/if I end up pulling the motor again to beat the frame out some more.
Sorry for out of focus, but here is the motor installed with all three engine mounts. Question here is: Will I be able to mount the tranny with the motor installed into all three of its mounts?
First order of business: PS pulley would not clear frame during first install:
So I beat a depression in the frame:
We are clear! Hard to see, but I did the best I could. Here you can see the lower aspect of the PS pulley clear of the frame with the engine installed. However, there exists only approximately 1/4" to 3/8" inch clearance at the closest point to the pulley. The big question is: How much do these motors move? Will the engine torque aft enough for the pulley to make contact with the frame? Remember, I replaced all motor mounts with OEM MT mounts.
Next question: Are these important? What do they even do? I bought all new ones but these didn't make it when I was installing the motor (fell out). I'd like to have them, so I'll try again when/if I end up pulling the motor again to beat the frame out some more.
Sorry for out of focus, but here is the motor installed with all three engine mounts. Question here is: Will I be able to mount the tranny with the motor installed into all three of its mounts?
I wait myself to put the crossmember in . Till after the trans. But that's on a manual. Some bolts don't clear the crossmember.
I didn't consider bolt clearance. Pretty sure it never occurred to me because I presume they won't be a problem. Biggest question I have at this point is do I pull the motor again to beat on the frame some more?
It's FWD, so tq rocks the engine back. The only thing you have to worry about is lateral movement from turning. That'll depend on your mounts...oh wait, you have squishy mounts LOL.
You only install pass mount, then drop engine till it touches frame rail, then put on tranny. I'm pretty sure we went over this already :P
Yes, nice, soft, smooth, squishy mounts. I'll pull the motor again Sunday and beat on the frame some more. I would be more comfortable with 1/2" clearance for the pulley. Wish I could fab/get my hands on an anti-torque arm similar to that which comes on 7th gen motors. I know we talked about removal that way, wanted to know if I could install this way. I have to plan using what I have to work with, which isn't much. I'll do as you say by letting the engine down and rest on a jack. Then I'll hoist tranny up and mate to engine. Then I'll lift entire unit with hoist into tranny mount, then bolt up the support beam. Tough to do everything with jacks and hoist legs fighting for the same space under the car.
Yes, nice, soft, smooth, squishy mounts. I'll pull the motor again Sunday and beat on the frame some more. I would be more comfortable with 1/2" clearance for the pulley. Wish I could fab/get my hands on an anti-torque arm similar to that which comes on 7th gen motors. I know we talked about removal that way, wanted to know if I could install this way. I have to plan using what I have to work with, which isn't much. I'll do as you say by letting the engine down and rest on a jack. Then I'll hoist tranny up and mate to engine. Then I'll lift entire unit with hoist into tranny mount, then bolt up the support beam. Tough to do everything with jacks and hoist legs fighting for the same space under the car.
You don't need the hoist until you get the tranny on, though. Once you get the driver's mount on, then you're done with it.
You don't need the hoist until you get the tranny on, though. Once you get the driver's mount on, then you're done with it.
That's great. I'll get it. Just wish I had beat on the frame a bit more when I had the engine out the second time. Oh well. Maybe I'll have it installed by summer.
That's great. I'll get it. Just wish I had beat on the frame a bit more when I had the engine out the second time. Oh well. Maybe I'll have it installed by summer.
This will make sure it stay where it is. I have it for sale $25 shipped . Oh forget it you have an auto,5.5 gen.
I recommend you fill your mounts with urethane.
Better angles in the above. I have not pulled the engine again and beat on the frame a second time yet. I don't think the clearance is sufficient. What say you?
Get the biggest prybar you can find and see if you can leverage the motor in such a way that the pulley hits. If you cant, then chances are nothing can, especially considering pretty much all the torquing is foward/backward with the main motor mounts.
Get the biggest prybar you can find and see if you can leverage the motor in such a way that the pulley hits. If you cant, then chances are nothing can, especially considering pretty much all the torquing is foward/backward with the main motor mounts.
I tried muscling it around a bit and it wouldn't get close enough to touch. Mounts wear over time. Brand new, the mounts are pretty stiff, and the motor is solid, but I'll be running low most of the time, so I would feel much more comfortable if I beat on the frame some more. I'm off tomorrow night and I'll probably take Monday night off as well. I don't have a problem yanking it out again and bought a bigger hammer at Harbor Freight last night to get the job done. It'll purr like a kitten and have the springs in by Monday night. I finally transferred the title and registered it on Thursday and it's been insured for the last three months. Might have some 0-60 vids for ya'll Monday.
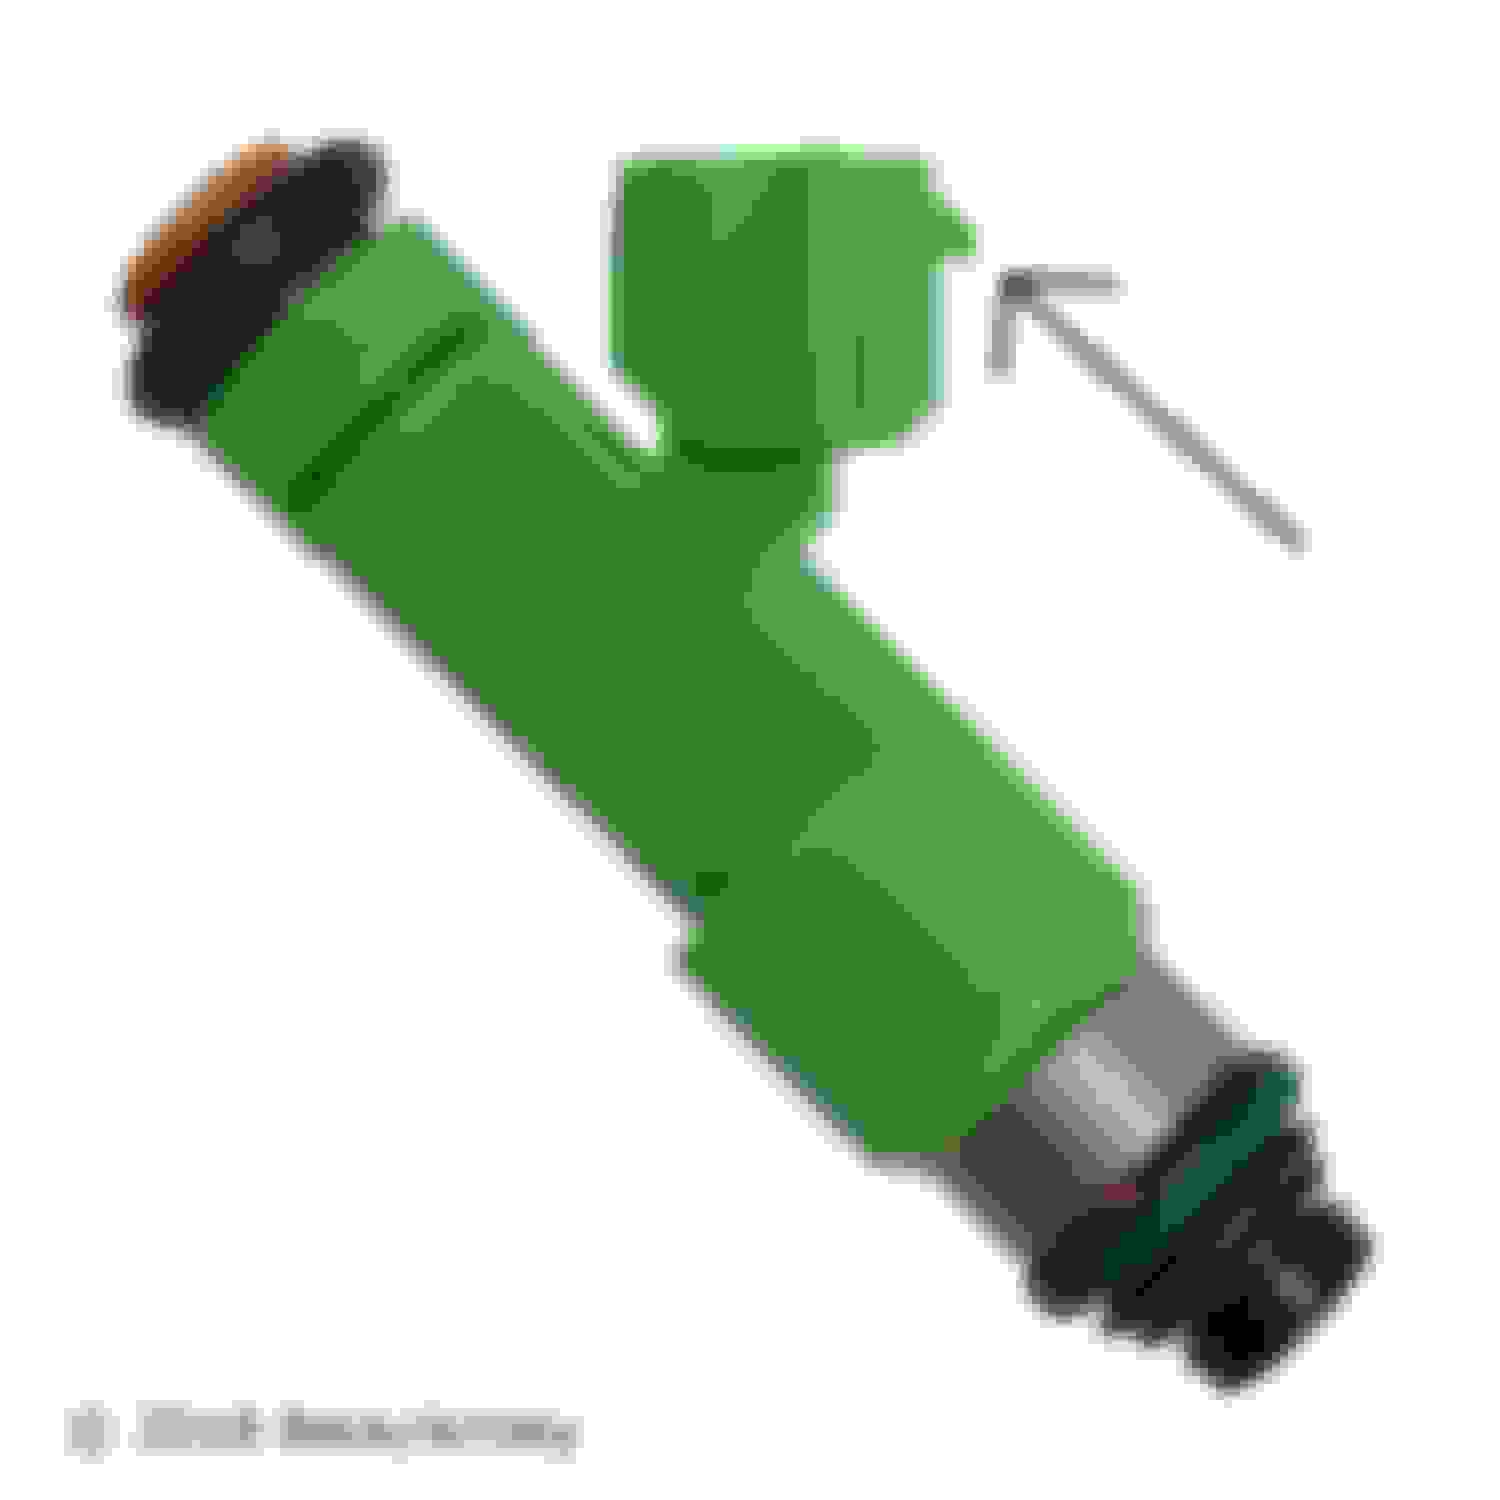
Not far now! Engine and tranny are in. I'm in the process of connecting harness, hoses, yadda yadda. Double checking everything, making sure all bolts are secure. I'll get axles and exhaust on tomorrow then we should be good to go. Ran into an issue with my injectors: Whoever stripped the motor for Ebay sale must have been in a hurry as 3 of my injectors do not have the little tab that the harness connector clips onto. So 3 of my injector plugs will not snap on. Any ideas? I don't want those things popping off while I'm underway obviously and Bank 1 injectors are not accessible with the upper manifold installed. So I'm kinda stuck till I figure this out.
Also, I bought NDSII licenses and OBD cable to do learn procedures and key programming. I bought a used ECU because the one that came with my car was fried. But as I think now, will I even need to reprogram the key after only replacing the engine ECU? Does the NATS deal with key identification? Just dawned on me that I may not need to reprogram but I don't know.
So close I can taste it!
Yeah....use your old injector connectors (splice em in). IIRC, the rear bank is a sub harness, so you can swap it out.
Ok thanks. The harness connectors aren't the issue. This plastic piece is broken off of three of my injectors. I need ideas. I have very tiny screws I may be able to use in place of the plastic barb.
Ok thanks. The harness connectors aren't the issue. This plastic piece is broken off of three of my injectors. I need ideas. I have very tiny screws I may be able to use in place of the plastic barb.
Oh, wow. What animals. You'd have to rip em off to do that. Usually, the tabs are broken on the connectors, so that's what I thought you meant.
You can use the old injectors or get some green ones on ebay. To save money (not gonna happen with you lol) you could epoxy a piece of plastic on.
Last edited by Child_uv_KoRn; 01-23-2019 at 12:35 AM.
May as well replace them all with new O-rings and all that while I have access to them. I avoided touching the fuel rail even when I replaced the knock sensor and intake manifold gaskets because I didn't want to bother with any of this. Wish I had known sooner.
May as well replace them all with new O-rings and all that while I have access to them. I avoided touching the fuel rail even when I replaced the knock sensor and intake manifold gaskets because I didn't want to bother with any of this. Wish I had known sooner.
I take them off for weight reduction. Always have.
Take a slug hammer and beat it in.I would push it in an inch.
A 2600LB maxima with a 3.5 is insane.
By the way,do all of these engines do this? Or is it something you did.
That is only this case because he is keeping the 7th gen belt system (ps, ac, alt). Most of the time these swaps will reuse the stock accessories with no fitment issues.
Wait for injectors to come in the mail? Ain't nobody got time fo dat!
Figured this would work until I eventually replace all injectors with 550's, GT-R's, whatever in the future. No sense in replacing them twice. These suckers are solid anyway. They ain't goin anywhere! Not sure how long the zip ties will tolerate the heat, however?
I'll sleep on the zip ties until I decide that safety wire will be a better solution, or that I'm too lazy at this point to care and leave them (3 total) just the way they are.
Awwwwwww yeeaahhhh! Look at all that pretty loomage
Brand new pre-cat O2 sensors. Not sure how the hell I'm going to reach bank 1 IVT connector to plug it in. Power steering connection up top concerns me a bit, the threaded fitting is pretty much toast (stripped) but I'll figure it out. Other than that, just figuring out what to do with this spaghetti mess of wires then get the IM on. That will be tomorrow. Nisformance fuel line is on backwards but I'll correct that too. Sorry for any out-of-focus.
Painted up those notoriously rusty and ugly radiator top mounts. Can't have that nonsense holding up a Mishimoto radiator:
Not sure why all my photos are so horrible. Anyway, next order of business, building power and ground cables! All 13 of them! I'll draw up a simple diagram and post it soon. A combination of 1/0 and 4awg cables. I'll take care of this tomorrow, if not then Friday.
Looking sweet with the loom work. Im interested in how you do your grounding setup, I have a bunch of ground cables from one of my last maximas that Ive been meaning to stick in my enginebay for shts and giggles. That IVT connector - im pretty sure thats one of the ones that you need to extend the wiring on? So close!! Whats the ETA on getting this thing on the road again?
Looking sweet with the loom work. Im interested in how you do your grounding setup, I have a bunch of ground cables from one of my last maximas that Ive been meaning to stick in my enginebay for shts and giggles. That IVT connector - im pretty sure thats one of the ones that you need to extend the wiring on? So close!! Whats the ETA on getting this thing on the road again?
Again? I had this thing towed to my house 27 July and have yet to drive it! I'm close though... Really close. That loom took approx. 12 hours to restore and modify (all soldered/heat shrinked connections for inverters, connector extensions, retrofitted connectors, old wire replacement etc.). Most old split loom and tape was removed and replaced with new loom and Tesa tape, some short sections just left and covered for aesthetics. So all necessary mods were made for the harness. The IVT leads were extended 12". My big *** hands are the problem. I should have plugged it in before I dropped the motor in! I guess I'll pull the motor and tranny again so I can get that done. KIDDING
Here's my list in no particular order:
1) Route and secure harness
2) Install IM and plumb vacuum lines with Nisformance kit (until I figure out how to incorporate both solenoids)
3) Connect power steering hose up top
4) Install Y-pipe and all new associated exhaust gaskets up to and including last post cat gasket
5) Install new Trackmotive axles so I can trash those while I'm running around on S Techs until my coilovers get here
6) Replace fuel filter and O-ring
7) Ensure all harness connections throughout are secure
8) Button up suspension (install new outer tie rod ends, brakes, new lug nuts all the way around torqued to 80ft lb blah blah blah)
9) Build power and ground cables
10) Plug in ECU and program key
11) Fill coolant, Dexron IV power steering and ATF fluids
12) Bolt flywheel to torque converter
13) Hook up oil pressure tee and both new oil senders (factory and VLS) and secure braided oil line
14) Terminate AC compressor ground
15) String alignment for front wheels
16) Prime the shlt out of the motor
17) Run tranny cooler lines
18) Tranny cooler fan wiring (no big deal)
19) PRIME AND START FFS!
20) Run heater core lines
Now I'm just adding stuff. It will be out of order but I'm not in the mood to do a full new swap thread any time soon. If the Wizard would be so kind as to change the thread title to the sub-title in the OP, that would be great!
Power steering hose wrapped with heat shield stuff from Amazon. Naturally, because it has "More Horsepower". Turned out much cleaner than reusing the old crap.
Can someone sell me this part please? I can figure out the fasteners. It being discontinued is making it hard for me to find. PM me if ya got one and thank you so much!
Made some progress today. Can anyone confirm that I am reading the FSM correctly when I say that the upper fitting on the tranny is supply to the tranny cooler and the lower fitting is the return from the cooler? I have the tranny cooler piped this way, upper to upper and lower to lower.
Got a few things left in the engine bay, but got a lot of little things buttoned up today. Tomorrow I will install the heater hoses and intake manifold. I have some tidying up/housekeeping to do with harness and other wires getting them tucked away and organized but I have the bulk of that work finished or figured out before I ran out of time today. I also managed to DC the PS supply line from the reservoir and connect Bank 1 IVT connector. Only took about 20 min but I was able to get my hand in there and click it in. What a pain in the a**.
Busting my a$$,but got the exhaust done and flywheel bolted up to torque converter. Exhaust needed some grinding and got all new hardware and gaskets. No leaks! Axles and suspension tomorrow and everything under the car is finished. Work up top on Sunday and first start Sunday evening, I promise!
 01-12-2019, 03:47 AM