DIY : How to Install Illuminated Kick Plates
 03-15-2013, 11:00 PM
#1
Senior Member
Thread Starter

Join Date: Nov 2010
Location: Maryland
Posts: 4,020
DIY : How to Install Illuminated Kick Plates
Thanks to Dom (2themax11) for jumping on top of these as soon as they were available and grabbing me a set, you're the man! We both have ours installed now and love them! If anyone is interested contact Matt Keevan at parts@nissanaccessories247.com for more information. Join our FB group for a special coupon code you can use for 5% off purchases.
This guide is primarily directed at the 09-11's who will need to splice into the foot wells for lighting. If you have a 2012 these plug directly in and you can download install instructions from most of the Nissan parts websites. I kept the steps easy and materials simple so anyone can do this and reverse it later if they want, however soldering is the preferred method to extend wires. Most of these instructions will also apply to Deadbolt's custom illuminated kick plates that he makes; hit him up if you want custom wording/colors.
Tools: Pliers, wire stripper/cutter, butter knife/plastic trim removal tools
Materials: 2012+ illuminated kick plates, 4 tap-in connectors (18-24 gauge), 2-4 wire screws, about 4-8 inches of any wire
Step 1. Open up the box
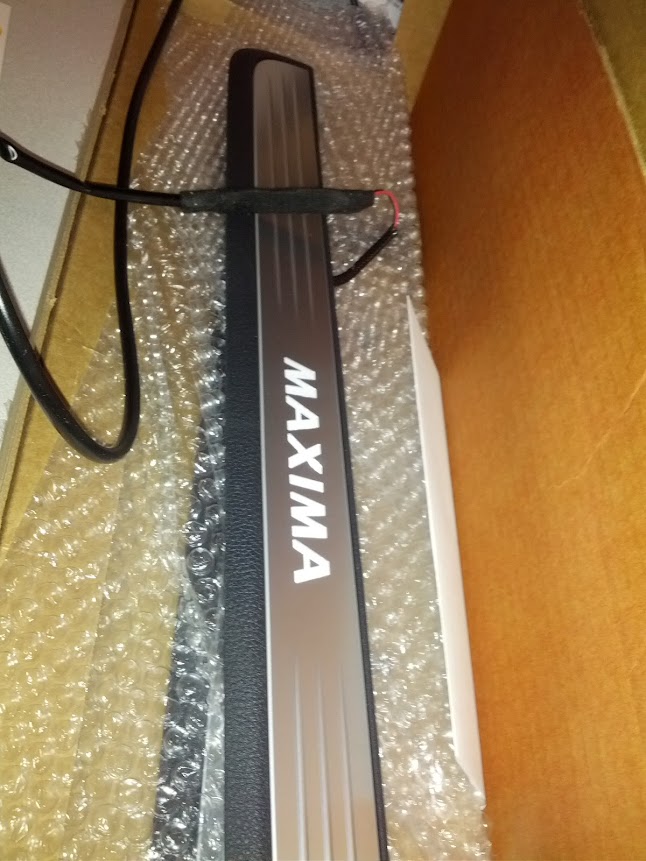
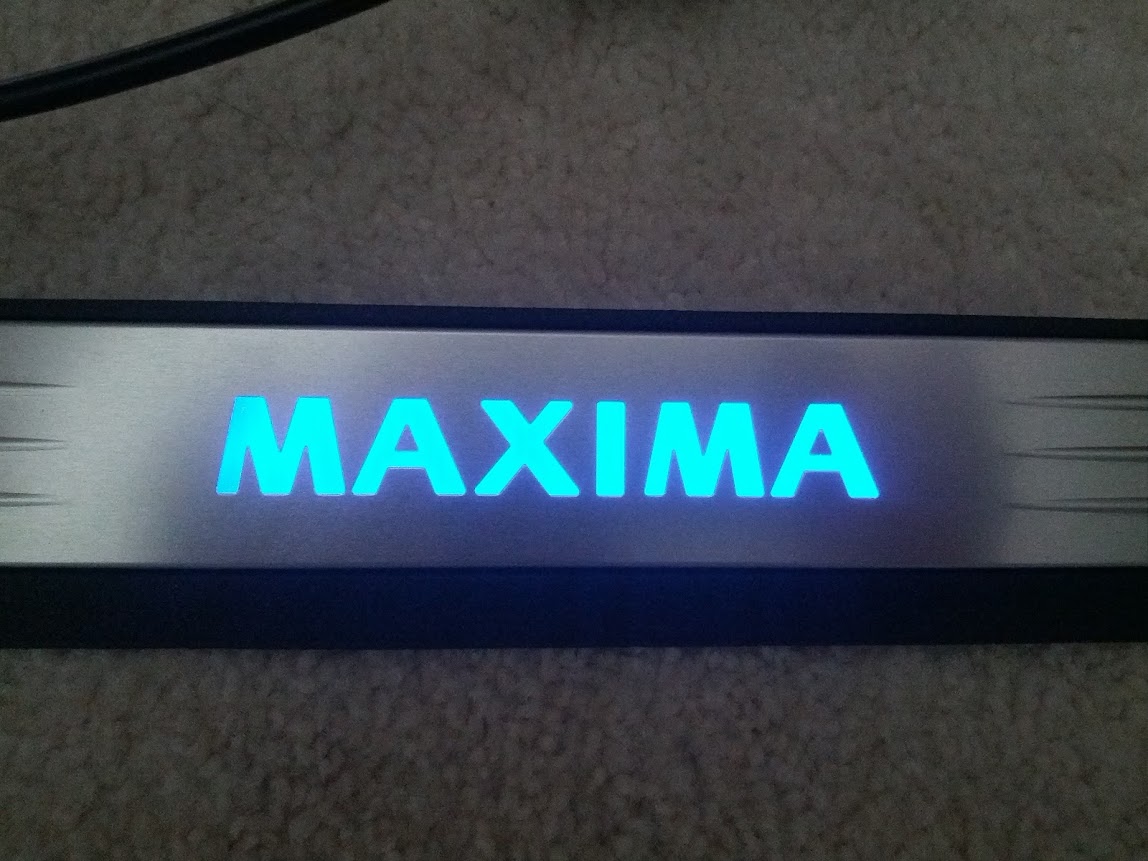
I hooked them up to a power supply to test; nice looking.
Step 2. Remove existing kick panels, I slid my tool under them until I hit a clip then applied upwards pressure

Step 3. Pry off trim piece directly next to it. Start by pulling it towards the chair to release inner clips, then pull upwards to pop off

Step 4. Cut off the brown plug from the kick plate wiring, trim back the plastic sheath several inches.
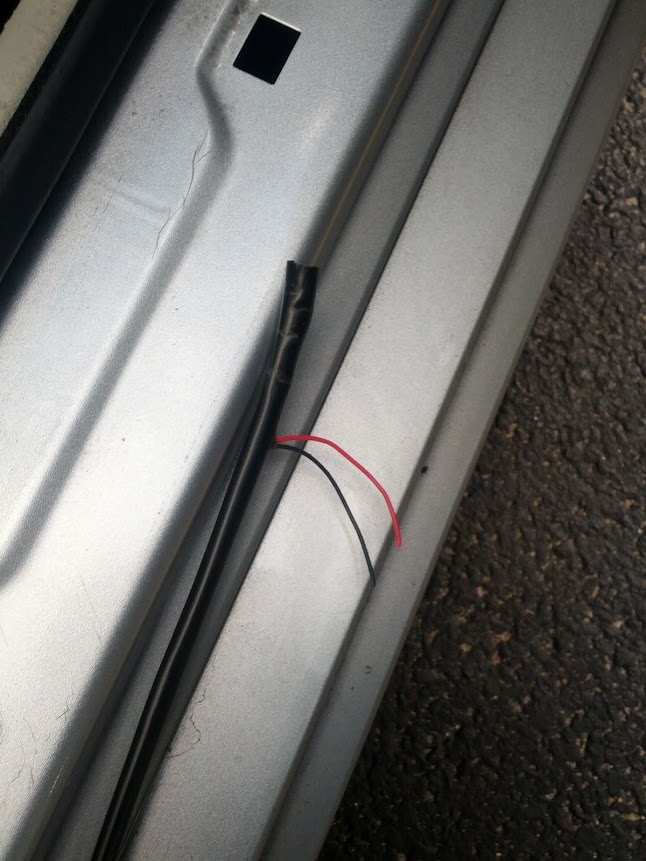
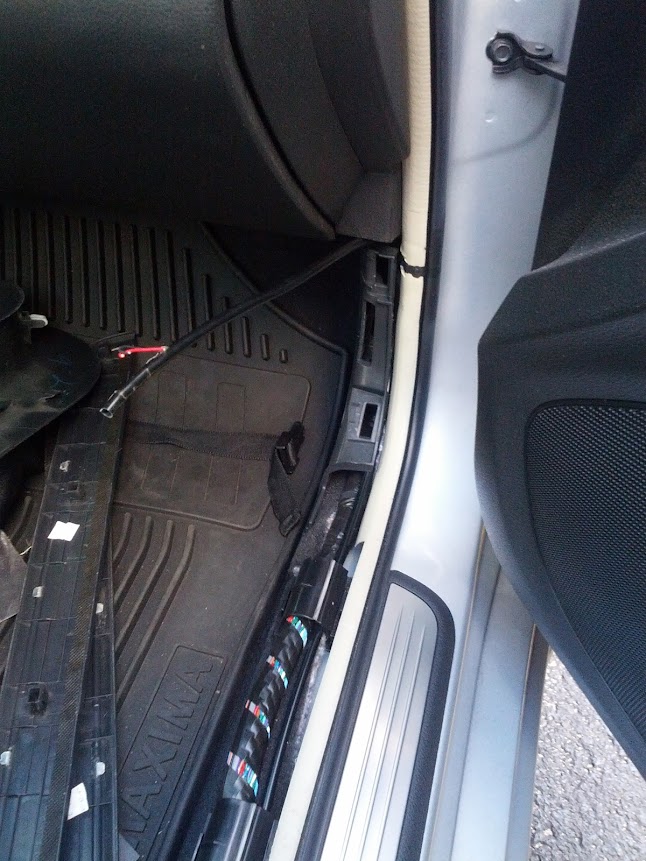
Step 5. Install new kick plate, it pops right on. Run the wire through the plastic rings towards the front under the dash and have it pop out from underneath

Step 6. Extend the wires for the passenger side. You can do this for the driver side as well for more slack but I didn't need to. Here you can use the wire nuts as this guide indicates, or simply solder on roughly 4" extension to both the positive and negative wires. Only strip the wires where you're planning on using the twist wire caps.

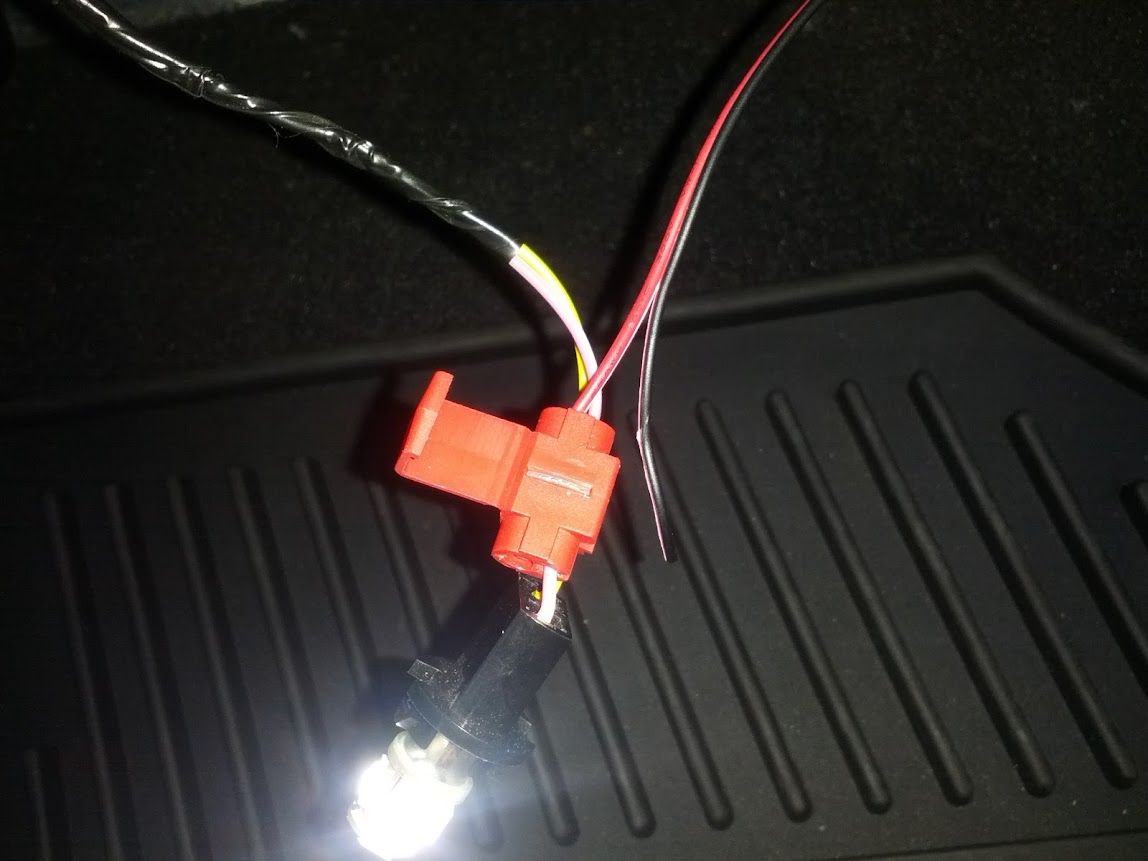
Step 7. Unscrew bulb from dash, creating slack on the OEM wires to work with. Use the tap-in connectors to splice the red wire from the kick plates to the pink wire of the floor lighting. Squeeze the tap-in connector with your pliers to smash the metal blade and connect the wires. Use the same method to splice the black wire from the kick plates into the yellow wire from the floor lighting. Do not strip wires for this, the tap-in connector is designed to work with wires still covered.
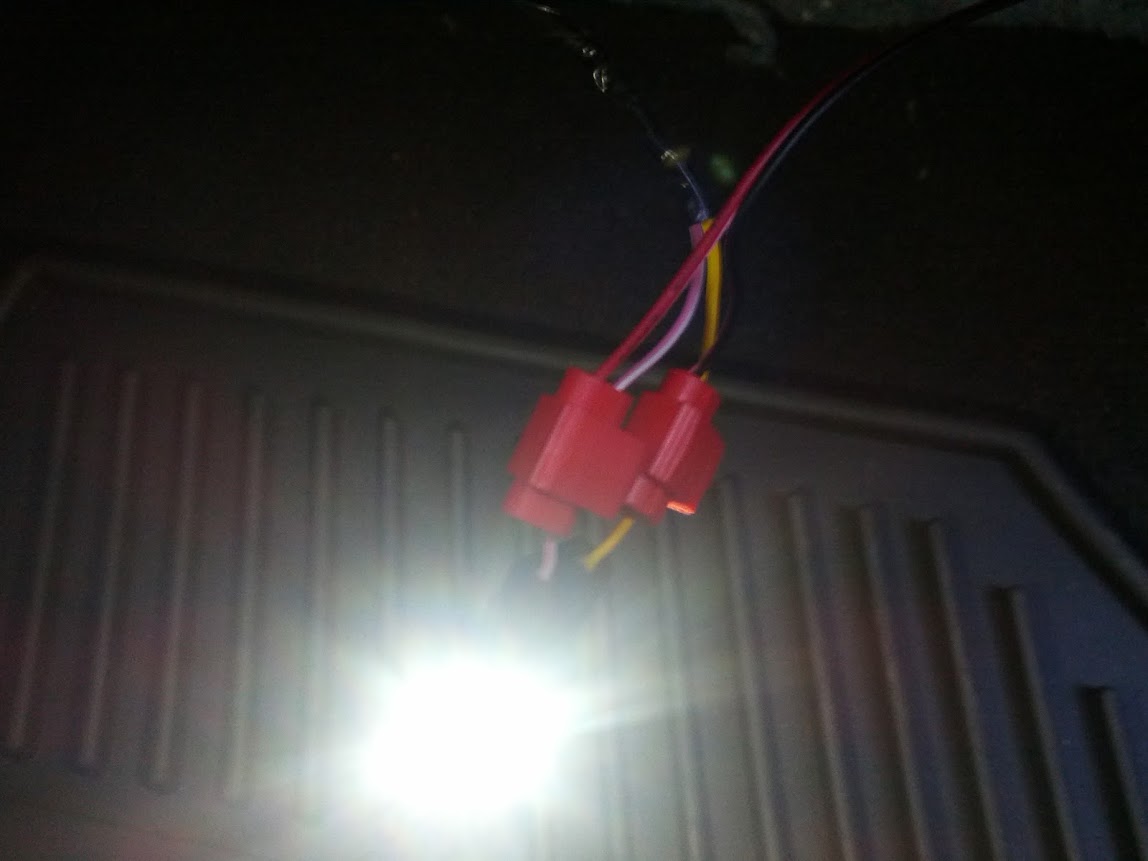
Step 8. Re-install foot well LED and tuck wiring in dash. Re-install plastic trim, take care to align wiring from kick plate as it will be slightly noticeable where it enters the car. For you creative cats I'm sure someone will find a way to run the wire more cleanly; but I wasn't too gung ho about drilling holes into my car here so ran it like so.
Step 9. Repeat on other side.
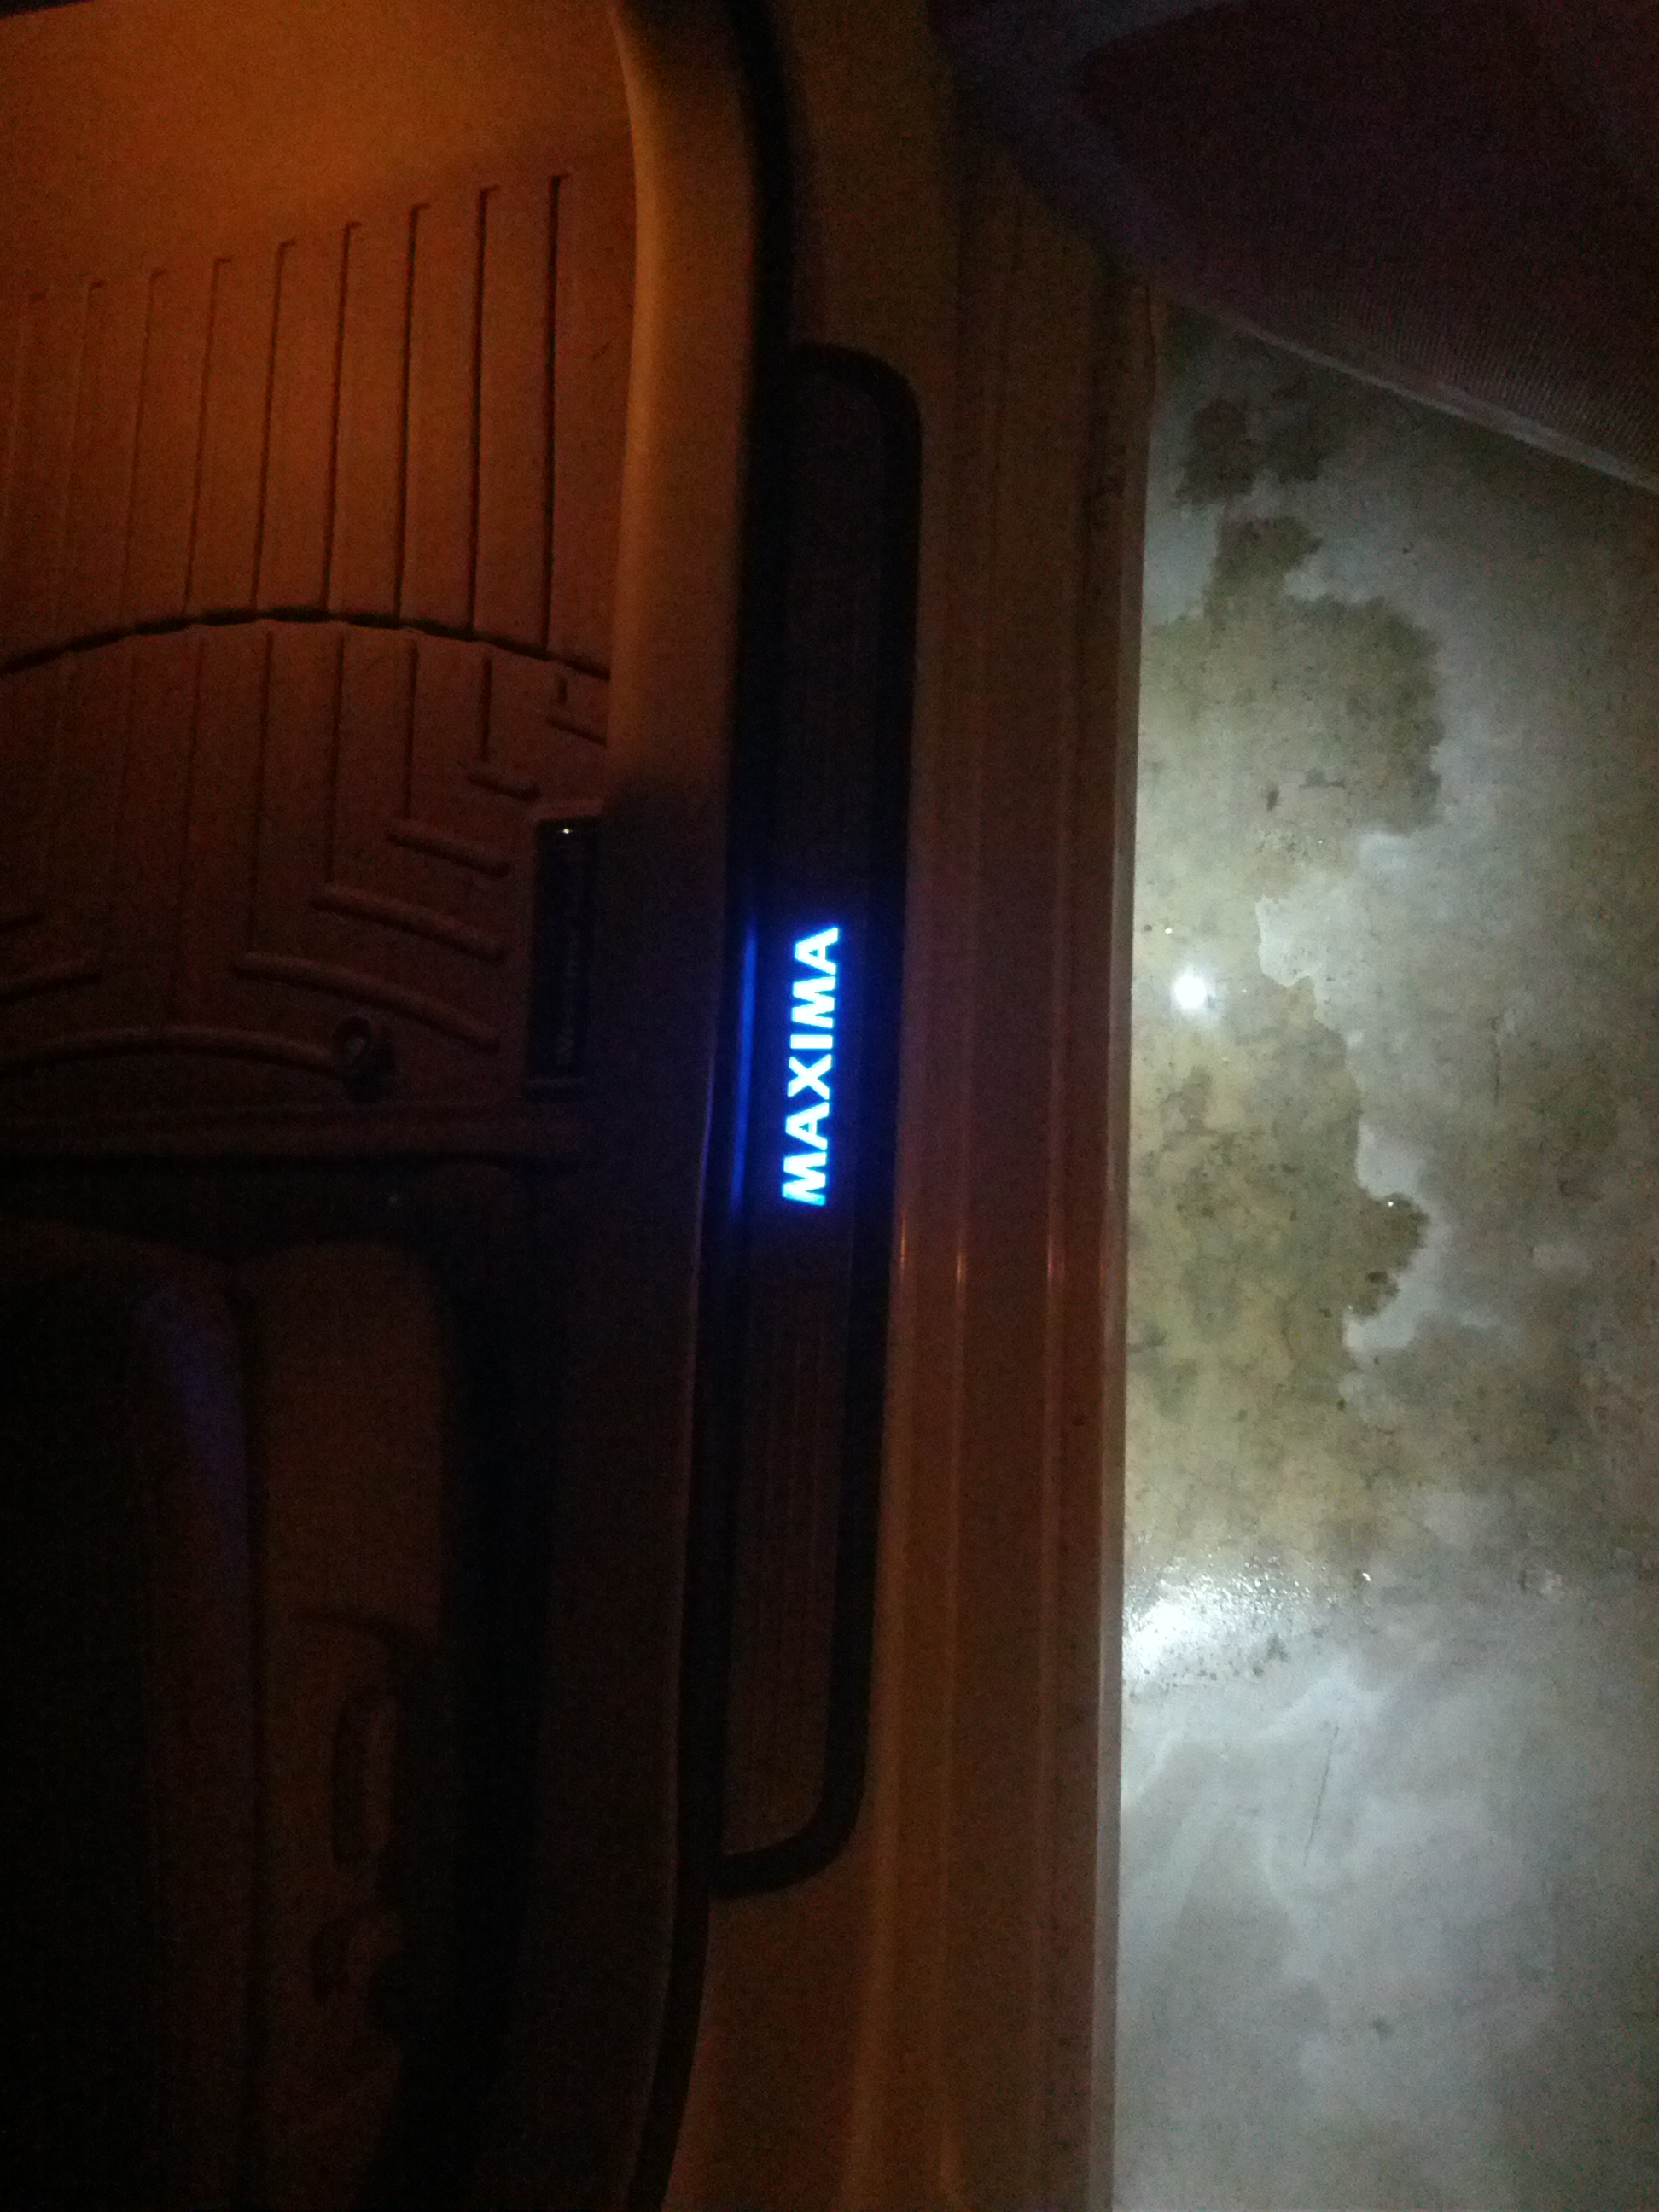
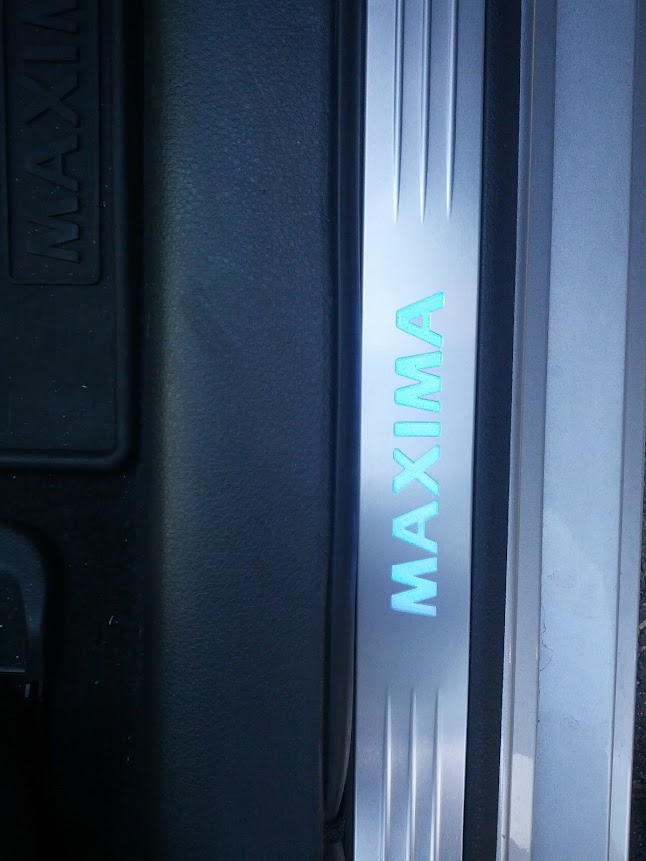
Step 10. Enjoy. They will do a slight "warm up" then turn on to full brightness when you open the door.


This guide is primarily directed at the 09-11's who will need to splice into the foot wells for lighting. If you have a 2012 these plug directly in and you can download install instructions from most of the Nissan parts websites. I kept the steps easy and materials simple so anyone can do this and reverse it later if they want, however soldering is the preferred method to extend wires. Most of these instructions will also apply to Deadbolt's custom illuminated kick plates that he makes; hit him up if you want custom wording/colors.
Tools: Pliers, wire stripper/cutter, butter knife/plastic trim removal tools
Materials: 2012+ illuminated kick plates, 4 tap-in connectors (18-24 gauge), 2-4 wire screws, about 4-8 inches of any wire
Step 1. Open up the box
I hooked them up to a power supply to test; nice looking.
Step 2. Remove existing kick panels, I slid my tool under them until I hit a clip then applied upwards pressure
Step 3. Pry off trim piece directly next to it. Start by pulling it towards the chair to release inner clips, then pull upwards to pop off
Step 4. Cut off the brown plug from the kick plate wiring, trim back the plastic sheath several inches.
Step 5. Install new kick plate, it pops right on. Run the wire through the plastic rings towards the front under the dash and have it pop out from underneath
Step 6. Extend the wires for the passenger side. You can do this for the driver side as well for more slack but I didn't need to. Here you can use the wire nuts as this guide indicates, or simply solder on roughly 4" extension to both the positive and negative wires. Only strip the wires where you're planning on using the twist wire caps.
Step 7. Unscrew bulb from dash, creating slack on the OEM wires to work with. Use the tap-in connectors to splice the red wire from the kick plates to the pink wire of the floor lighting. Squeeze the tap-in connector with your pliers to smash the metal blade and connect the wires. Use the same method to splice the black wire from the kick plates into the yellow wire from the floor lighting. Do not strip wires for this, the tap-in connector is designed to work with wires still covered.
Step 8. Re-install foot well LED and tuck wiring in dash. Re-install plastic trim, take care to align wiring from kick plate as it will be slightly noticeable where it enters the car. For you creative cats I'm sure someone will find a way to run the wire more cleanly; but I wasn't too gung ho about drilling holes into my car here so ran it like so.
Step 9. Repeat on other side.
Step 10. Enjoy. They will do a slight "warm up" then turn on to full brightness when you open the door.
Last edited by Ghozt; 03-16-2013 at 11:07 AM.
 03-15-2013, 11:06 PM
#2
 03-16-2013, 02:42 AM
#3
Senior Member

Join Date: Jun 2012
Location: Honolulu, Hawaii
Posts: 696
Thanks for the writeup, Ghozt! How much should I look to save for this? Definitely going on my list... maybe a sooner mod than later!
EDIT == NVM! Found the price. $125. Not bad at all!
EDIT == NVM! Found the price. $125. Not bad at all!
Last edited by Shipwreck; 03-16-2013 at 02:44 AM.
 03-16-2013, 05:43 AM
#5

My pleasure ghozt - glad Matt contacted me as soon as these became available because we have been waiting on these for quite some time 
For those of you that would like to take advantage on the discounted price (as ghozt mentioned) join our FB group: http://www.facebook.com/groups/7thgenmax
This was a super easy install and even easier for you 2012+ owners. Both ghozt and I had to do some splicing as mentioned in the DIY.
Please visit Matt's online store - he is our official vendor::
www.NissanAccessories247.com and www.MarlboroNissanParts.com
Enjoy everyone!
Last edited by 2themax11; 03-16-2013 at 05:52 AM.
 03-16-2013, 06:04 AM
#8
Senior Member
Thread Starter
Join Date: Nov 2010
Location: Maryland
Posts: 4,020
Well, someone else told me they're not LEDs that it's a different technology. I didn't pry mine apart to check but I looked around and the 370z ones appear to be LEDs so if you feel like ripping a set apart to see, you might be able to solder new LEDs on there to change the color.
http://www.the370z.com/exterior-inte...ed-change.html
http://www.the370z.com/exterior-inte...ed-change.html


 03-17-2013, 01:54 PM
#16
Senior Member
Thread Starter
Join Date: Nov 2010
Location: Maryland
Posts: 4,020
can't do much about that trim, it comes on all of the kick plates cause it's how they attach to the car and it spaces the kick plate out from the body so you have room for the circuit board. without it the kick plate wouldnt sit flat (it would see-saw in the middle) and look weird.

 03-18-2013, 10:45 AM
#19
The exterior security lighting kit is pretty cool - I got it installed about a month ago.
03-18-2013, 11:24 AM
#21
I had paid $115 for the part and then an hour of install. Total was like 235 with tax.
If your interested - join our FB group, and reach out to Matt (parts@nissanaccessories247.com) and let him know Dom referred you so at least he can hook you up with the part and then all you would have to worry about is the install.
Ground Lighting
If your interested - join our FB group, and reach out to Matt (parts@nissanaccessories247.com) and let him know Dom referred you so at least he can hook you up with the part and then all you would have to worry about is the install.
Ground Lighting
 03-18-2013, 05:48 PM
#23
Member

Join Date: Jan 2013
Posts: 167
Thanks to Dom (2themax11) for jumping on top of these as soon as they were available and grabbing me a set, you're the man! We both have ours installed now and love them! If anyone is interested contact Matt Keevan at parts@nissanaccessories247.com for more information. Join our FB group for a special coupon code you can use for 5% off purchases.
This guide is primarily directed at the 09-11's who will need to splice into the foot wells for lighting. If you have a 2012 these plug directly in and you can download install instructions from most of the Nissan parts websites. I kept the steps easy and materials simple so anyone can do this and reverse it later if they want, however soldering is the preferred method to extend wires. Most of these instructions will also apply to Deadbolt's custom illuminated kick plates that he makes; hit him up if you want custom wording/colors.
Tools: Pliers, wire stripper/cutter, butter knife/plastic trim removal tools
Materials: 2012+ illuminated kick plates, 4 tap-in connectors (18-24 gauge), 2-4 wire screws, about 4-8 inches of any wire
Step 1. Open up the box
I hooked them up to a power supply to test; nice looking.
Step 2. Remove existing kick panels, I slid my tool under them until I hit a clip then applied upwards pressure
Step 3. Pry off trim piece directly next to it. Start by pulling it towards the chair to release inner clips, then pull upwards to pop off
Step 4. Cut off the brown plug from the kick plate wiring, trim back the plastic sheath several inches.
Step 5. Install new kick plate, it pops right on. Run the wire through the plastic rings towards the front under the dash and have it pop out from underneath
Step 6. Extend the wires for the passenger side. You can do this for the driver side as well for more slack but I didn't need to. Here you can use the wire nuts as this guide indicates, or simply solder on roughly 4" extension to both the positive and negative wires. Only strip the wires where you're planning on using the twist wire caps.
Step 7. Unscrew bulb from dash, creating slack on the OEM wires to work with. Use the tap-in connectors to splice the red wire from the kick plates to the pink wire of the floor lighting. Squeeze the tap-in connector with your pliers to smash the metal blade and connect the wires. Use the same method to splice the black wire from the kick plates into the yellow wire from the floor lighting. Do not strip wires for this, the tap-in connector is designed to work with wires still covered.
Step 8. Re-install foot well LED and tuck wiring in dash. Re-install plastic trim, take care to align wiring from kick plate as it will be slightly noticeable where it enters the car. For you creative cats I'm sure someone will find a way to run the wire more cleanly; but I wasn't too gung ho about drilling holes into my car here so ran it like so.
Step 9. Repeat on other side.
Step 10. Enjoy. They will do a slight "warm up" then turn on to full brightness when you open the door.
03-18-2013, 05:48 PM
#24
Senior Member

Join Date: Oct 2011
Location: Long Island & NyC, NY
Posts: 802
 03-18-2013, 06:54 PM
#25
Or you can shop directly from the site and enter coupon code "5555" to receive discount on the site.
 03-19-2013, 09:53 AM
#29
Senior Member
Thread Starter
Join Date: Nov 2010
Location: Maryland
Posts: 4,020
 05-04-2013, 11:49 AM
#31
Member

Join Date: Sep 2011
Location: Boston
Posts: 190
Thanks to Dom (2themax11) for jumping on top of these as soon as they were available and grabbing me a set, you're the man! We both have ours installed now and love them! If anyone is interested contact Matt Keevan at parts@nissanaccessories247.com for more information. Join our FB group for a special coupon code you can use for 5% off purchases.
This guide is primarily directed at the 09-11's who will need to splice into the foot wells for lighting. If you have a 2012 these plug directly in and you can download install instructions from most of the Nissan parts websites. I kept the steps easy and materials simple so anyone can do this and reverse it later if they want, however soldering is the preferred method to extend wires. Most of these instructions will also apply to Deadbolt's custom illuminated kick plates that he makes; hit him up if you want custom wording/colors.
Tools: Pliers, wire stripper/cutter, butter knife/plastic trim removal tools
Materials: 2012+ illuminated kick plates, 4 tap-in connectors (18-24 gauge), 2-4 wire screws, about 4-8 inches of any wire
Step 1. Open up the box
I hooked them up to a power supply to test; nice looking.
Step 2. Remove existing kick panels, I slid my tool under them until I hit a clip then applied upwards pressure
Step 3. Pry off trim piece directly next to it. Start by pulling it towards the chair to release inner clips, then pull upwards to pop off
Step 4. Cut off the brown plug from the kick plate wiring, trim back the plastic sheath several inches.
Step 5. Install new kick plate, it pops right on. Run the wire through the plastic rings towards the front under the dash and have it pop out from underneath
Step 6. Extend the wires for the passenger side. You can do this for the driver side as well for more slack but I didn't need to. Here you can use the wire nuts as this guide indicates, or simply solder on roughly 4" extension to both the positive and negative wires. Only strip the wires where you're planning on using the twist wire caps.
Step 7. Unscrew bulb from dash, creating slack on the OEM wires to work with. Use the tap-in connectors to splice the red wire from the kick plates to the pink wire of the floor lighting. Squeeze the tap-in connector with your pliers to smash the metal blade and connect the wires. Use the same method to splice the black wire from the kick plates into the yellow wire from the floor lighting. Do not strip wires for this, the tap-in connector is designed to work with wires still covered.
Step 8. Re-install foot well LED and tuck wiring in dash. Re-install plastic trim, take care to align wiring from kick plate as it will be slightly noticeable where it enters the car. For you creative cats I'm sure someone will find a way to run the wire more cleanly; but I wasn't too gung ho about drilling holes into my car here so ran it like so.
Step 9. Repeat on other side.
Step 10. Enjoy. They will do a slight "warm up" then turn on to full brightness when you open the door.
This guide is primarily directed at the 09-11's who will need to splice into the foot wells for lighting. If you have a 2012 these plug directly in and you can download install instructions from most of the Nissan parts websites. I kept the steps easy and materials simple so anyone can do this and reverse it later if they want, however soldering is the preferred method to extend wires. Most of these instructions will also apply to Deadbolt's custom illuminated kick plates that he makes; hit him up if you want custom wording/colors.
Tools: Pliers, wire stripper/cutter, butter knife/plastic trim removal tools
Materials: 2012+ illuminated kick plates, 4 tap-in connectors (18-24 gauge), 2-4 wire screws, about 4-8 inches of any wire
Step 1. Open up the box
I hooked them up to a power supply to test; nice looking.
Step 2. Remove existing kick panels, I slid my tool under them until I hit a clip then applied upwards pressure
Step 3. Pry off trim piece directly next to it. Start by pulling it towards the chair to release inner clips, then pull upwards to pop off
Step 4. Cut off the brown plug from the kick plate wiring, trim back the plastic sheath several inches.
Step 5. Install new kick plate, it pops right on. Run the wire through the plastic rings towards the front under the dash and have it pop out from underneath
Step 6. Extend the wires for the passenger side. You can do this for the driver side as well for more slack but I didn't need to. Here you can use the wire nuts as this guide indicates, or simply solder on roughly 4" extension to both the positive and negative wires. Only strip the wires where you're planning on using the twist wire caps.
Step 7. Unscrew bulb from dash, creating slack on the OEM wires to work with. Use the tap-in connectors to splice the red wire from the kick plates to the pink wire of the floor lighting. Squeeze the tap-in connector with your pliers to smash the metal blade and connect the wires. Use the same method to splice the black wire from the kick plates into the yellow wire from the floor lighting. Do not strip wires for this, the tap-in connector is designed to work with wires still covered.
Step 8. Re-install foot well LED and tuck wiring in dash. Re-install plastic trim, take care to align wiring from kick plate as it will be slightly noticeable where it enters the car. For you creative cats I'm sure someone will find a way to run the wire more cleanly; but I wasn't too gung ho about drilling holes into my car here so ran it like so.
Step 9. Repeat on other side.
Step 10. Enjoy. They will do a slight "warm up" then turn on to full brightness when you open the door.
 05-05-2013, 03:53 PM
#33
Senior Member
Thread Starter
Join Date: Nov 2010
Location: Maryland
Posts: 4,020
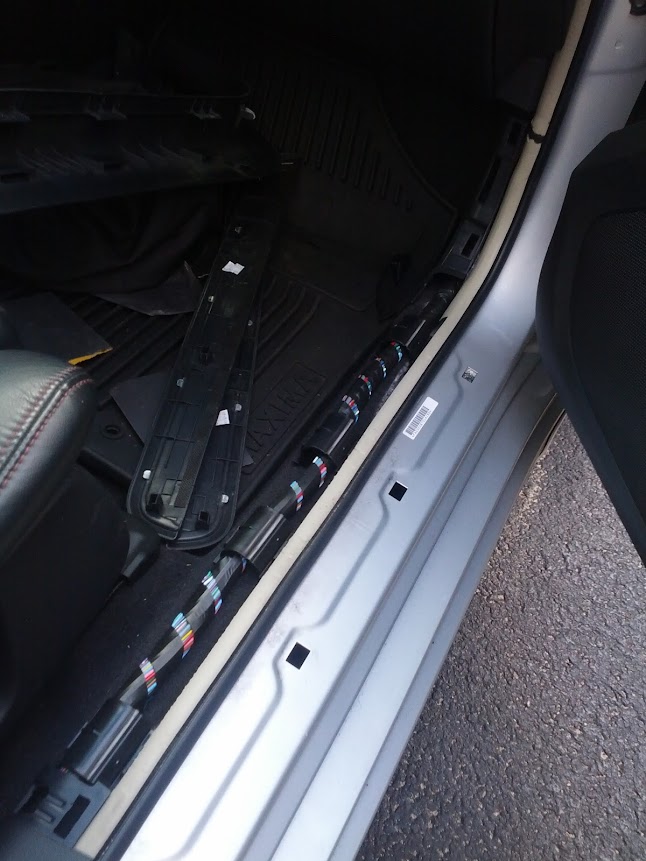
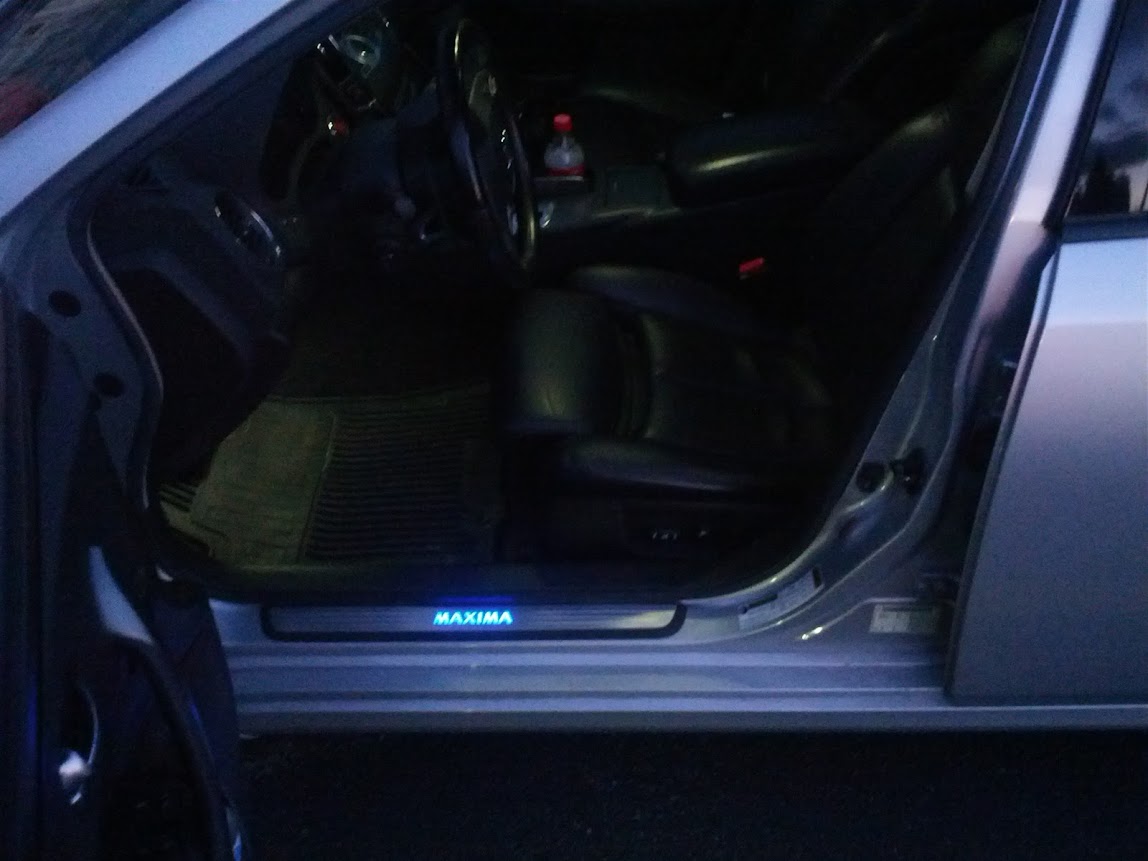
Nice Ghozt, I did mine and thanks for the write up. I figured out a way to make it look flush, the kit provides you with felt tape and zip ties, lifting the weather strip up you can place the wiring under it. The wires are protected by a mesh protector and stuff so when the weather strip goes back in place it doesn't damage it and the felt tape keeps it in place. The install guide is on the Nissan 247 accessories site for the item when you view more details about it. Here's a pic of what it looks like!
Attachment 4031
Attachment 4031
05-05-2013, 10:20 PM
#35
Senior Member
Join Date: Jun 2012
Location: Honolulu, Hawaii
Posts: 696
05-06-2013, 01:52 AM
#36
Member

Join Date: Dec 2004
Posts: 192
Lets see what I've bought.
Tint - Installed
Fog light kit - Installed
5K HID - Installed
Splash Guards - On order
Factory Spoiler - On order
Ground lights - On order
Now it looks like I'll be adding the kick plates. I have a 2012 so it should be a simple install. I'll wait till next paycheck. Also I think I'll be plasti dipping my grille. The video on doing the trim looks like a winner as well. Tempted to try it.
05-06-2013, 05:56 AM
#37
Junior Member

Join Date: Apr 2013
Posts: 43
I have a 2012 Maxima. Have emailed the link above in the first post for a quote on these illuminated kick plates. The only install instructions I see on the Nissan web site are these and nothing specific for the 2012:
http://www.gregcutshaw.com/maxima_il...ting_plate.pdf
No mention of an existing connector other than removing the instrument cluster to get to the BCM. These seem to be published in 2010. Anyone have a link to the 2012 specific install instructions?
Greg
http://www.gregcutshaw.com/maxima_il...ting_plate.pdf
No mention of an existing connector other than removing the instrument cluster to get to the BCM. These seem to be published in 2010. Anyone have a link to the 2012 specific install instructions?
Greg
05-06-2013, 10:31 AM
#38
Junior Member
Join Date: Apr 2013
Posts: 43
Oops. Just found the 2012 install instrucitons:
http://www.gregcutshaw.com/3951_Maxi...structions.pdf
Greg
http://www.gregcutshaw.com/3951_Maxi...structions.pdf
Greg