When you click on links to various merchants on this site and make a purchase, this can result in this site earning a commission. Affiliate programs and affiliations include, but are not limited to, the eBay Partner Network.
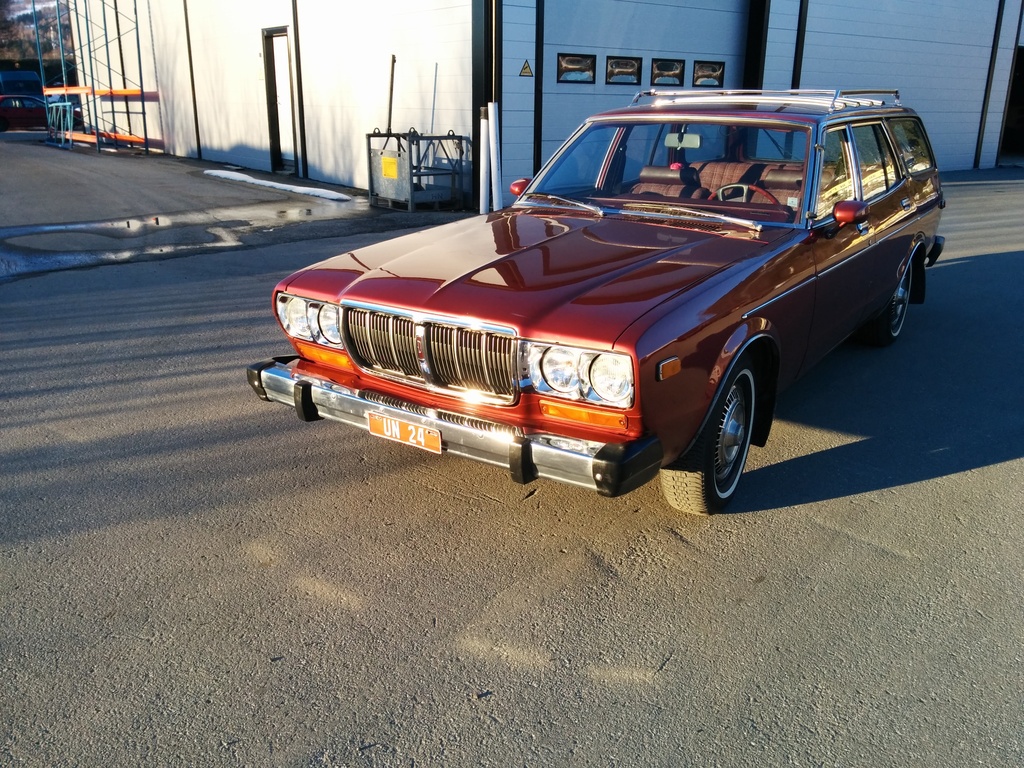
Hi! i thought i might share my project . In late november last year i got a tip about the car from an elderly couple who had the car since new, it had been sitting in the garage since 2003 or 2004 with a blown head gasket and they didnt have the time or effort to fix the car, but they felt it was wrong to just junk it. So i said i would gladly take the car since its probaly the only one in norway since this is the us model , the couple bought it new in the states and brought it over here.
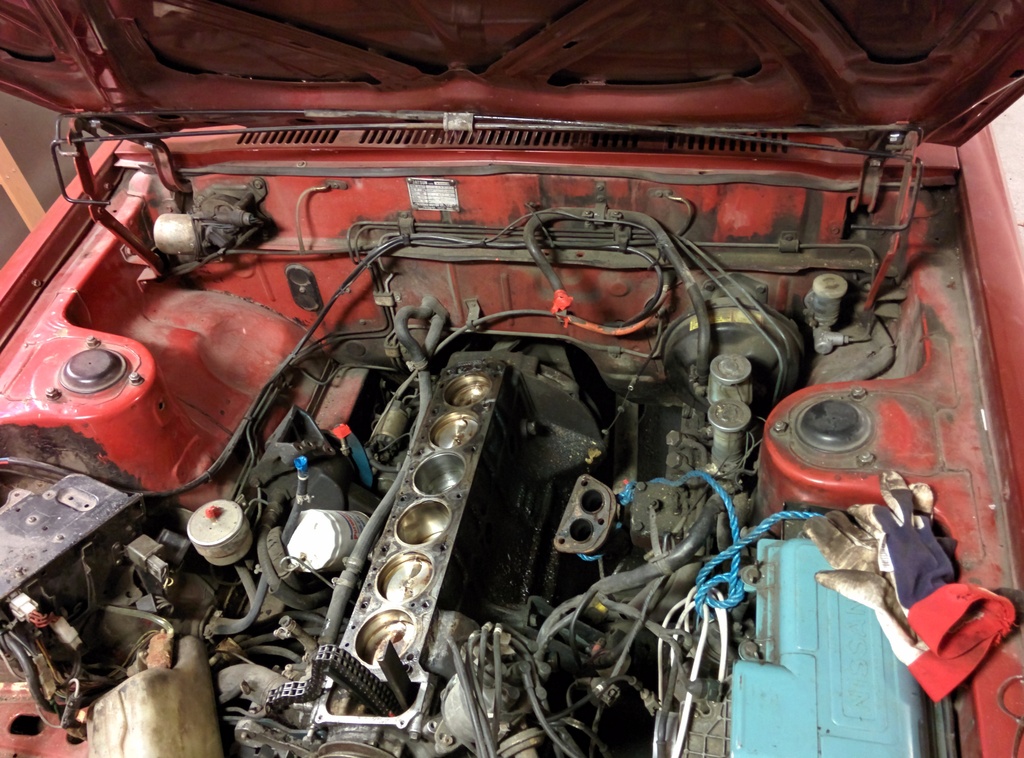
Once i got it home and in the garage i pulled the head off and quickly found that the cylinder wall in cylinder no.3 was very badly corroded . So i had to either bore the block or find a replacement . In january i found a replcement engine from a C31 laurel this was a carburetted engine , but i was just going to use the block so it didnt matter.
I have just one pic from before i picked up , this was the state of the engine when i first saw it. Partly dissasembeled with all the parts in the trunk.
Luckily for me they had bought a lot of new parts over the years . A lot of new sensors and bearings and such all OEM parts .
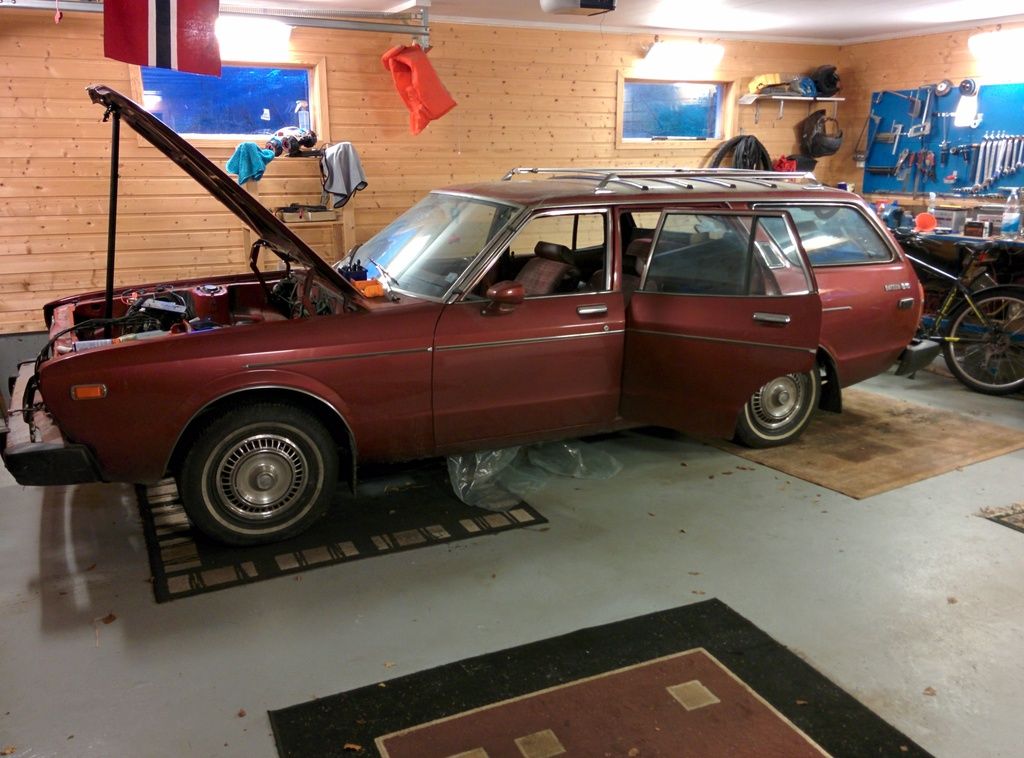
some pictures of the car when i got it in november
after i pulled the head off and cleaned the cylinders, enigne bay still a mess ..
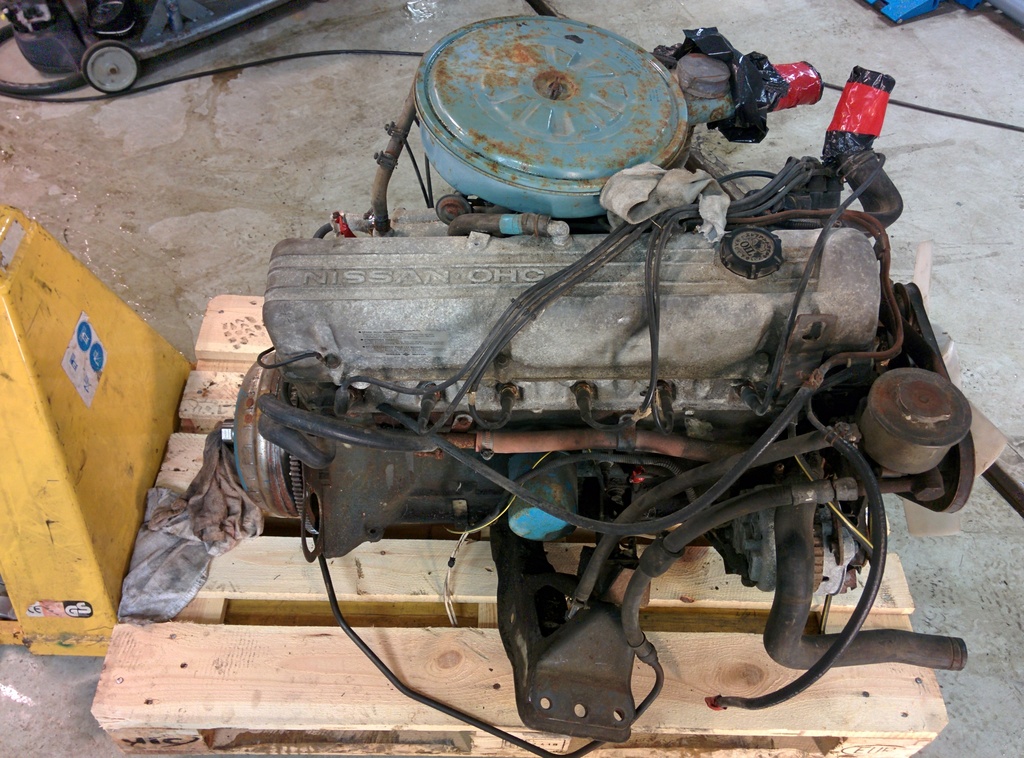
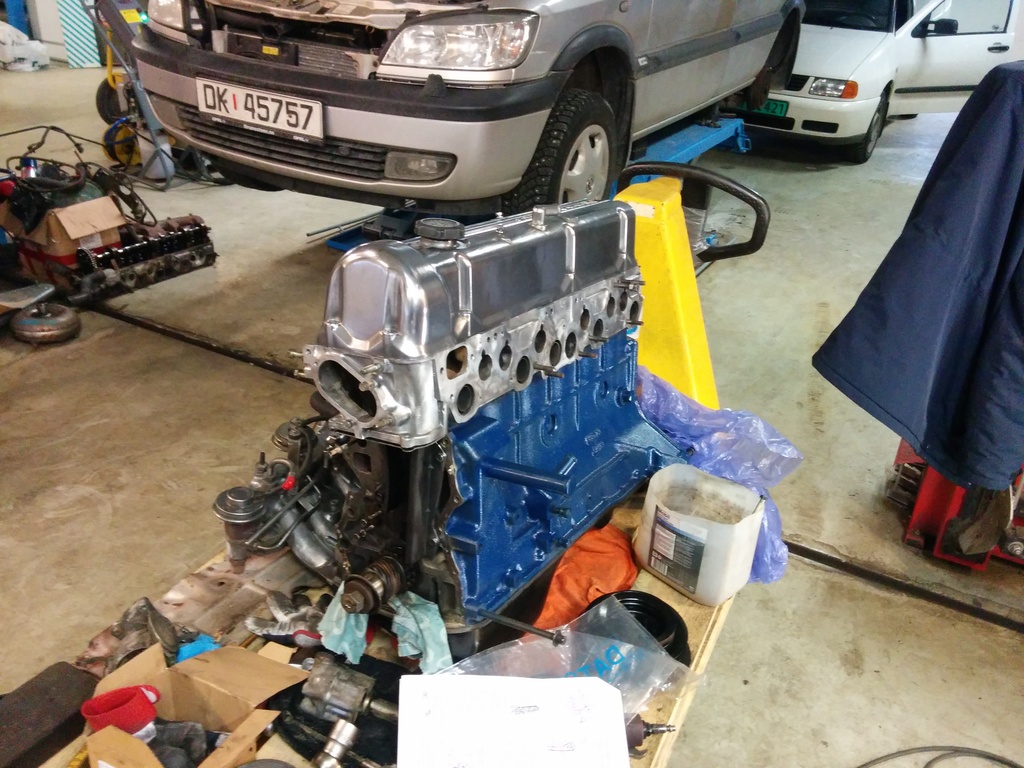
When i got the used engine i bought i started pulling it apart , it had been sitting for many years, but inside a barn luckily.
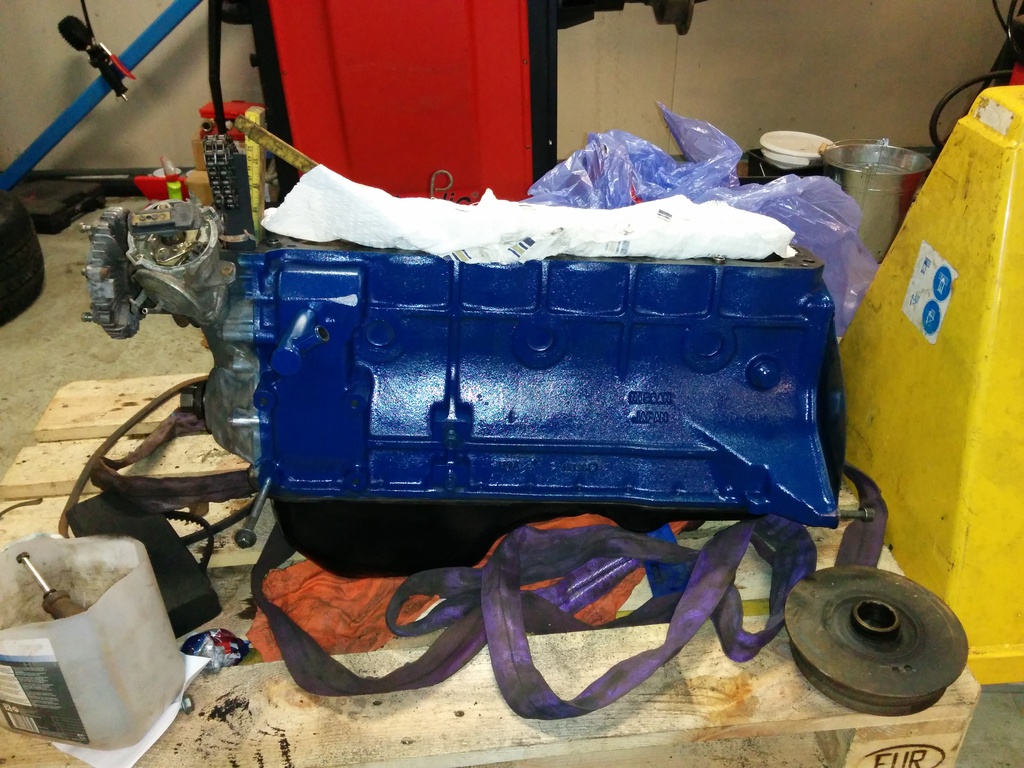
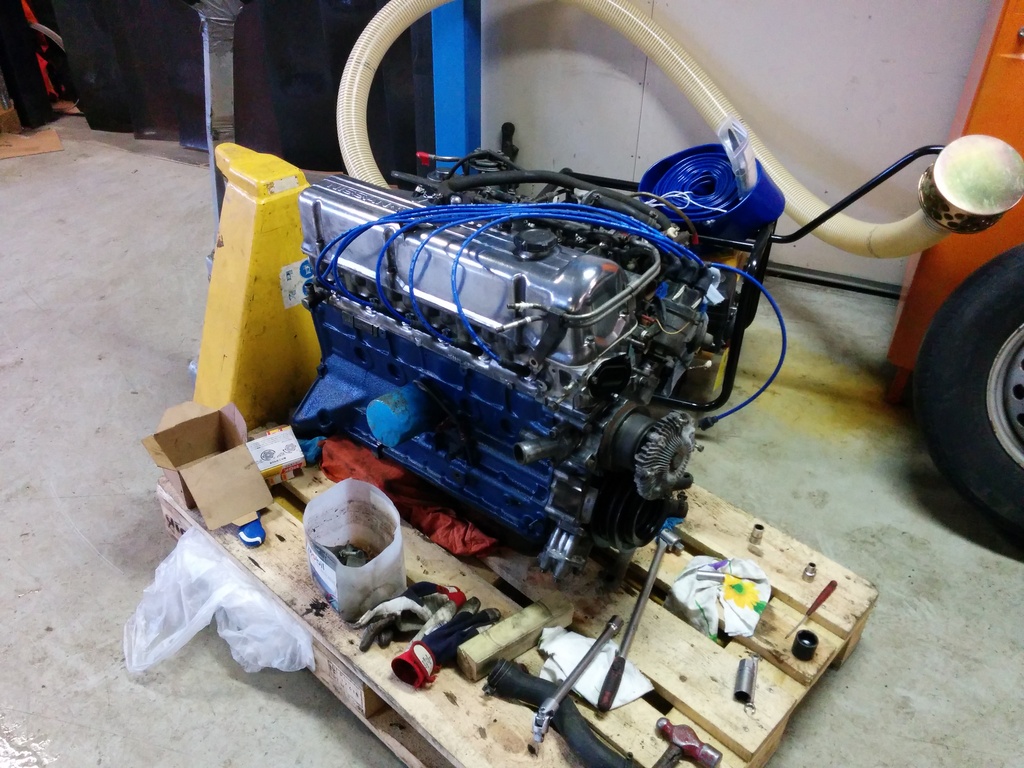
The engine was stripped down to the block and then the block and oil pan were painted.
i sanded down and polished the valve cover and the cylinder head has been refurbished.
The valve cover is just loose on top to protect the camshaft and such , as the chain was not installed at this point.
This is the car right before a quick hose down.
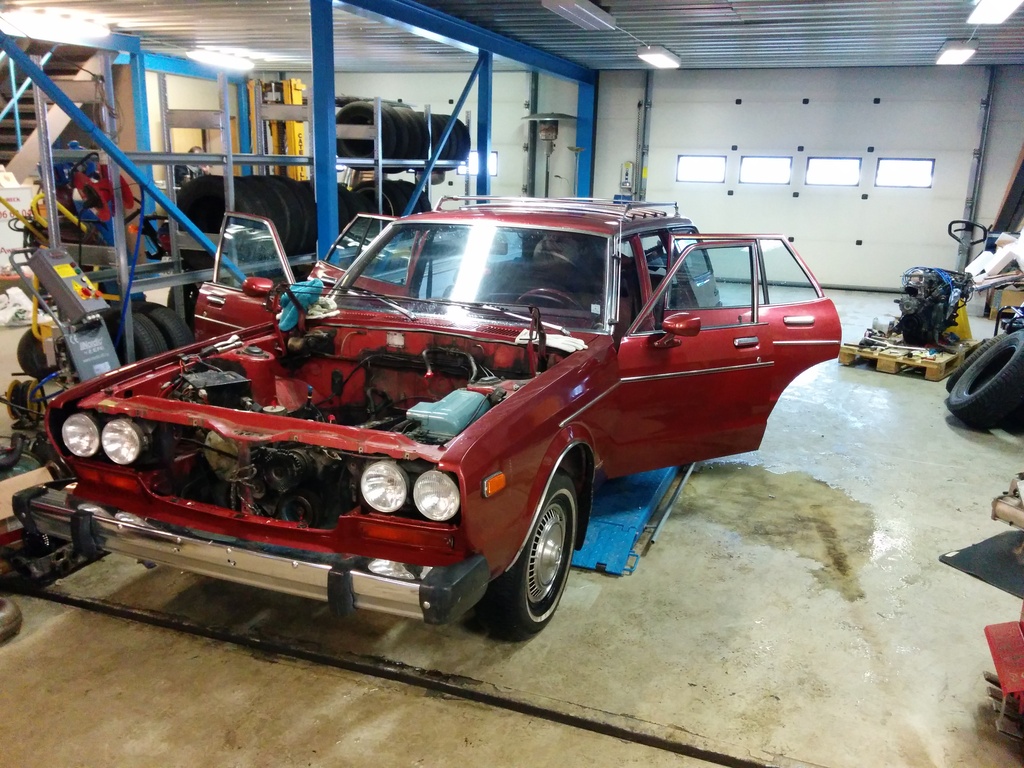
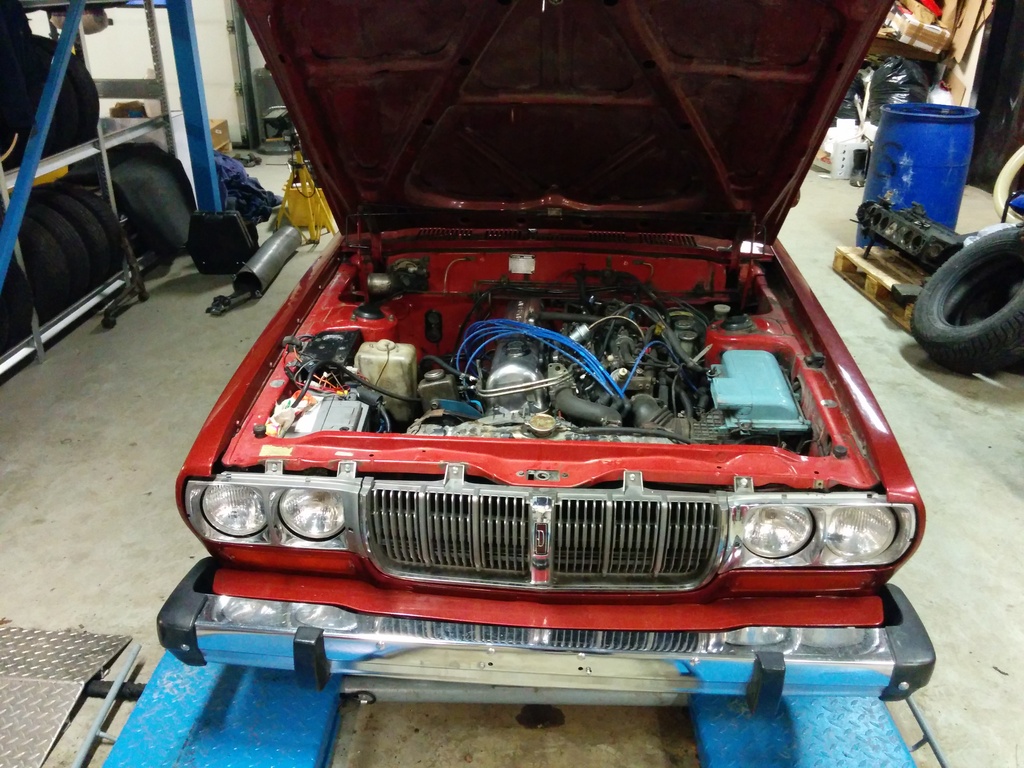
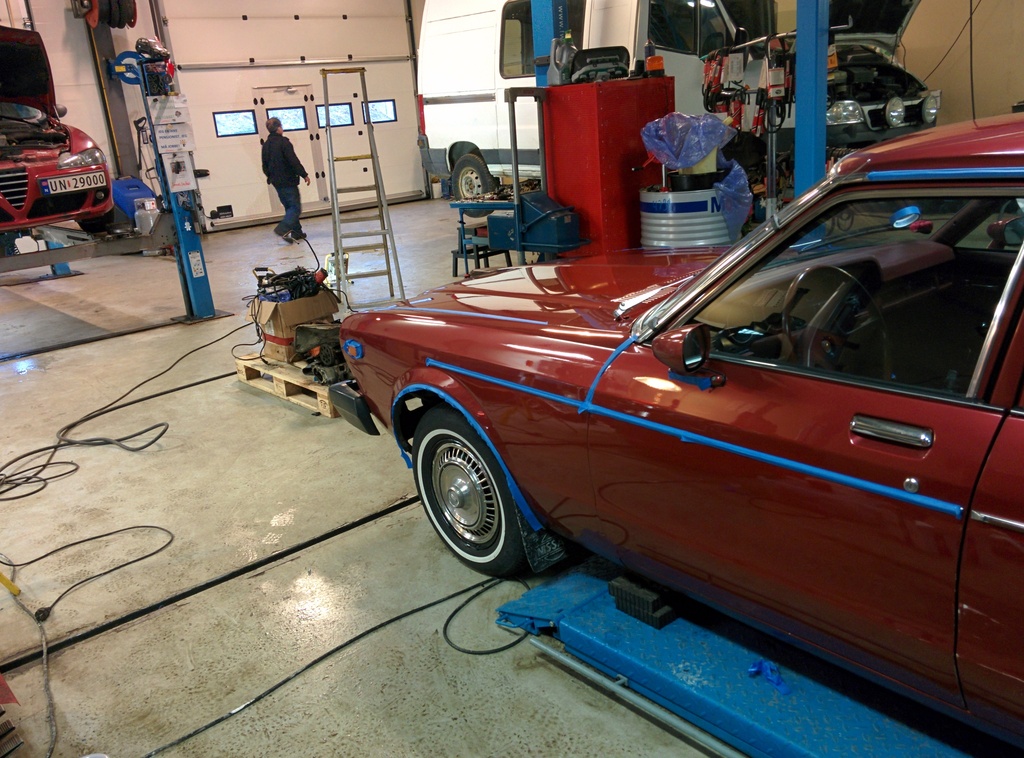
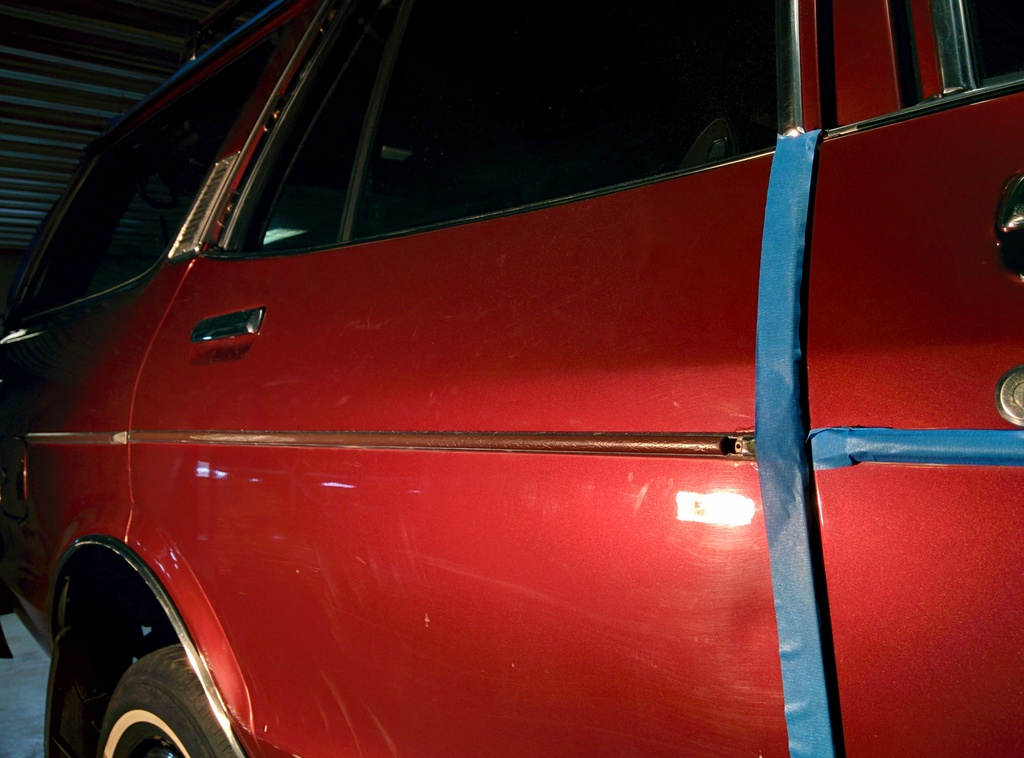
In the workshop , hood removed for easy access during swap. Still needs a good polish and detail .
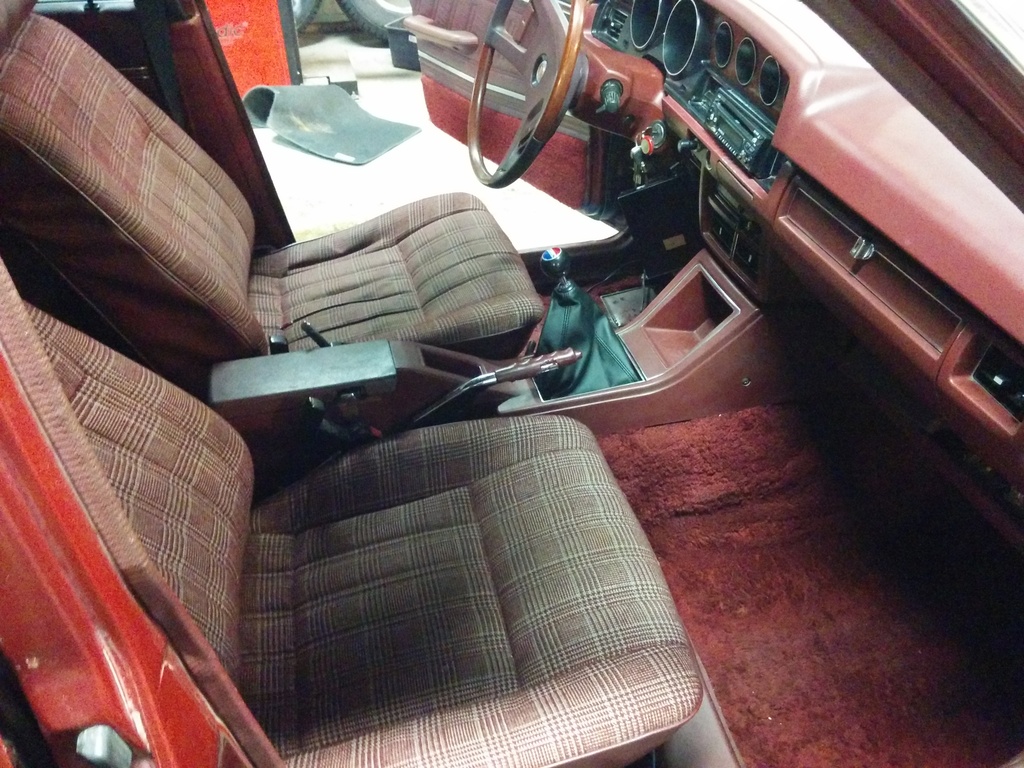
Changed the shifter boot as it just arrived in the mail.
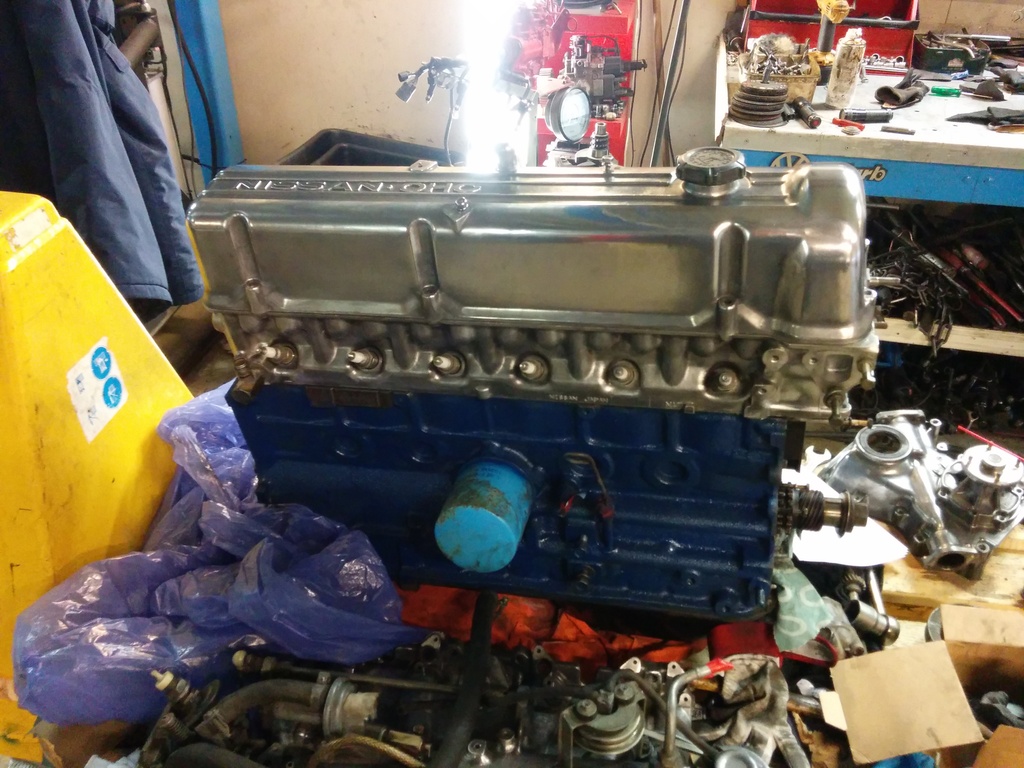
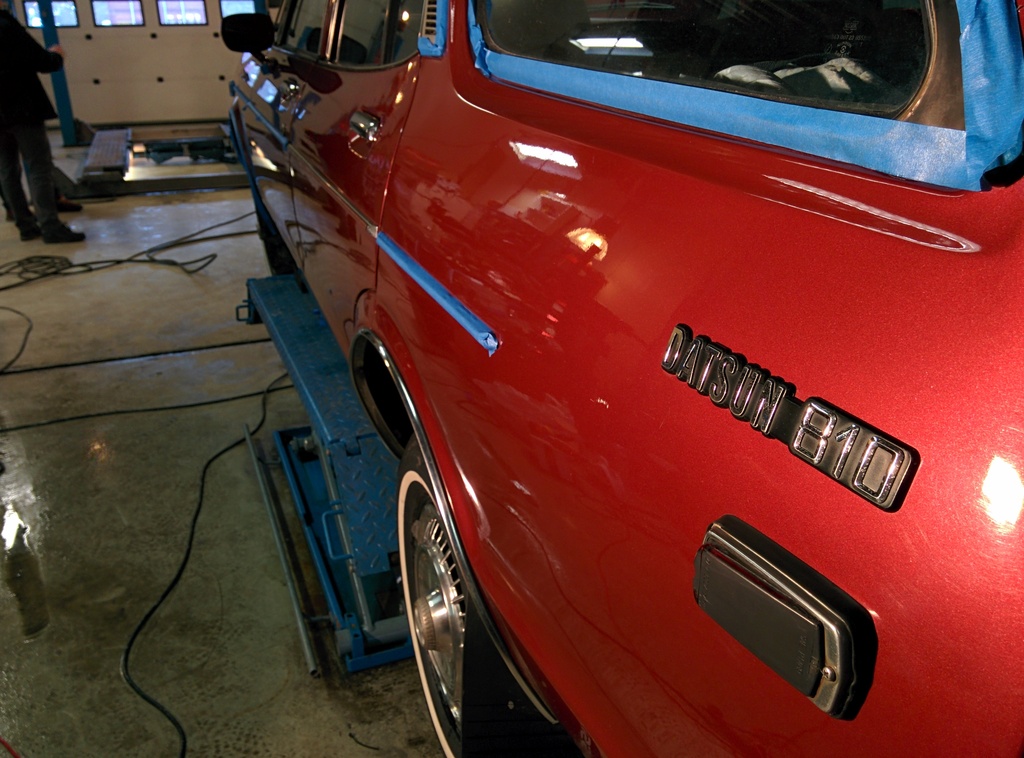
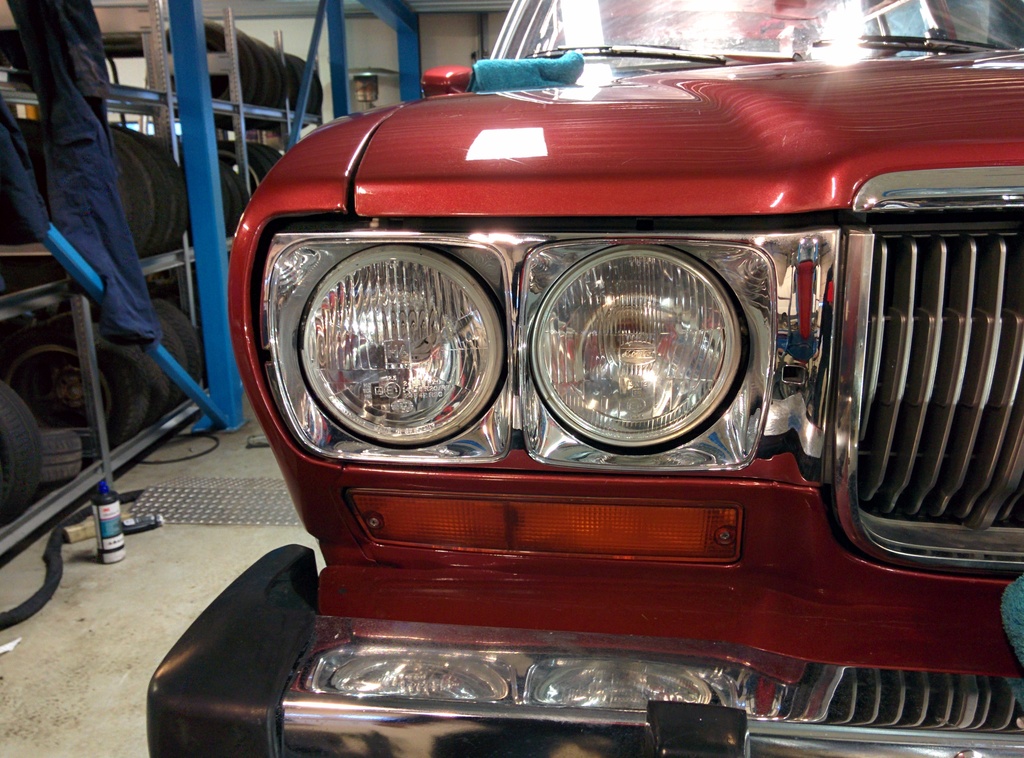
Engine close to ready for the swap. New plugs , wires etc still needs the alternator and oilfilter elbow from the engine in the car.
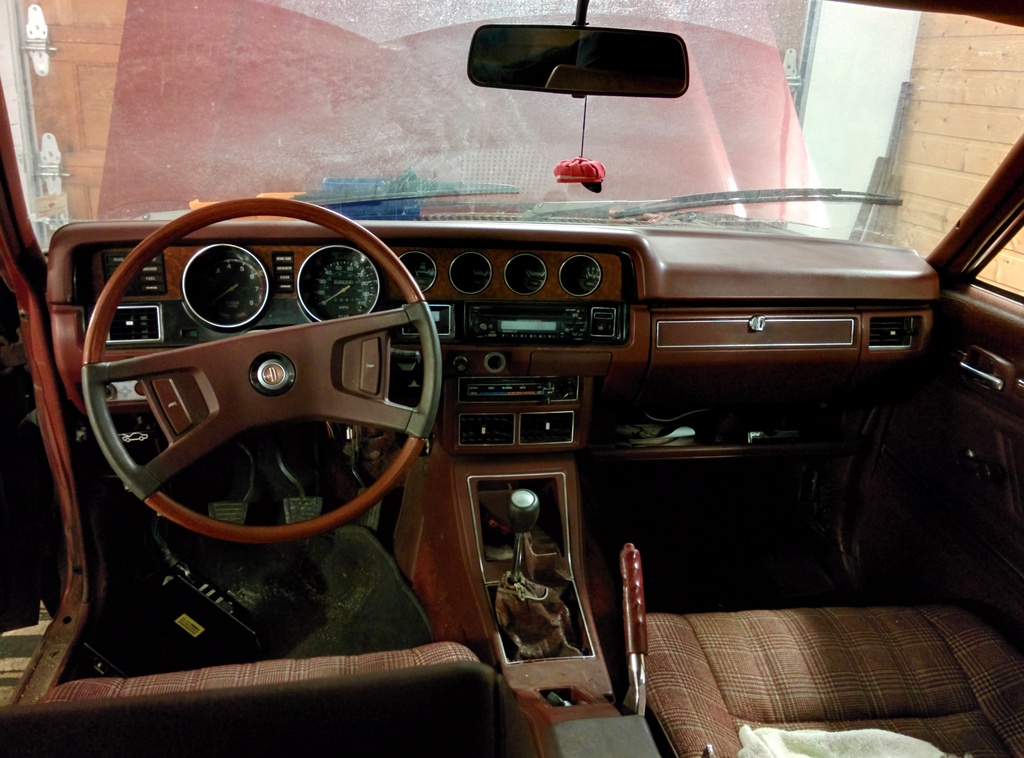
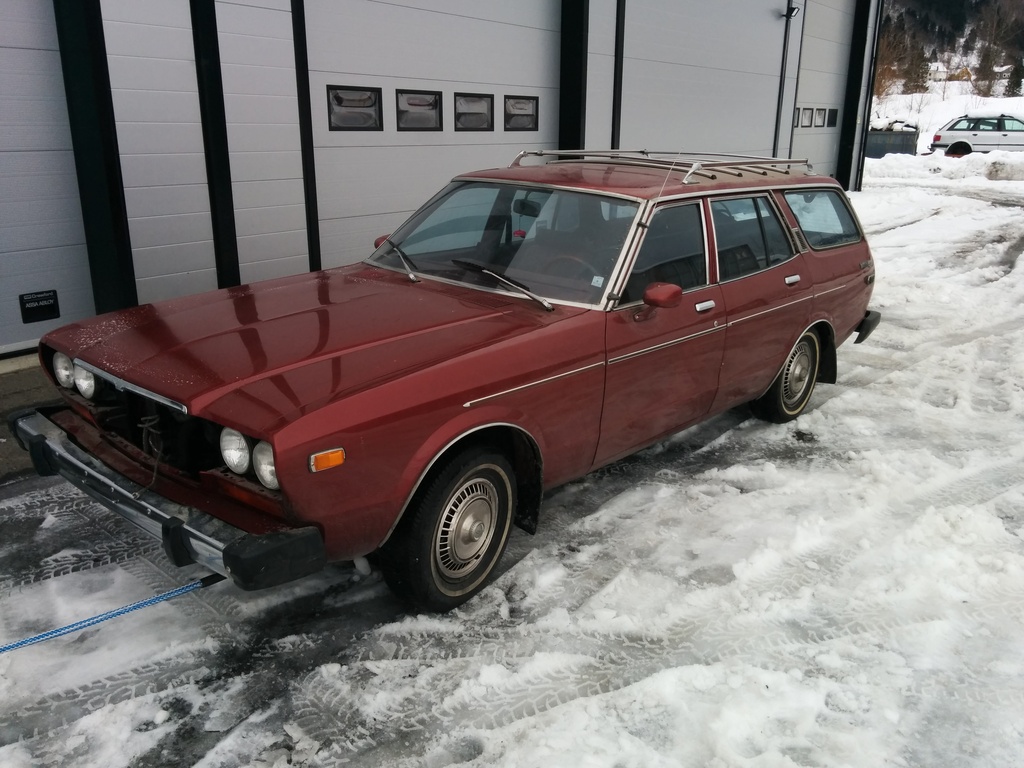
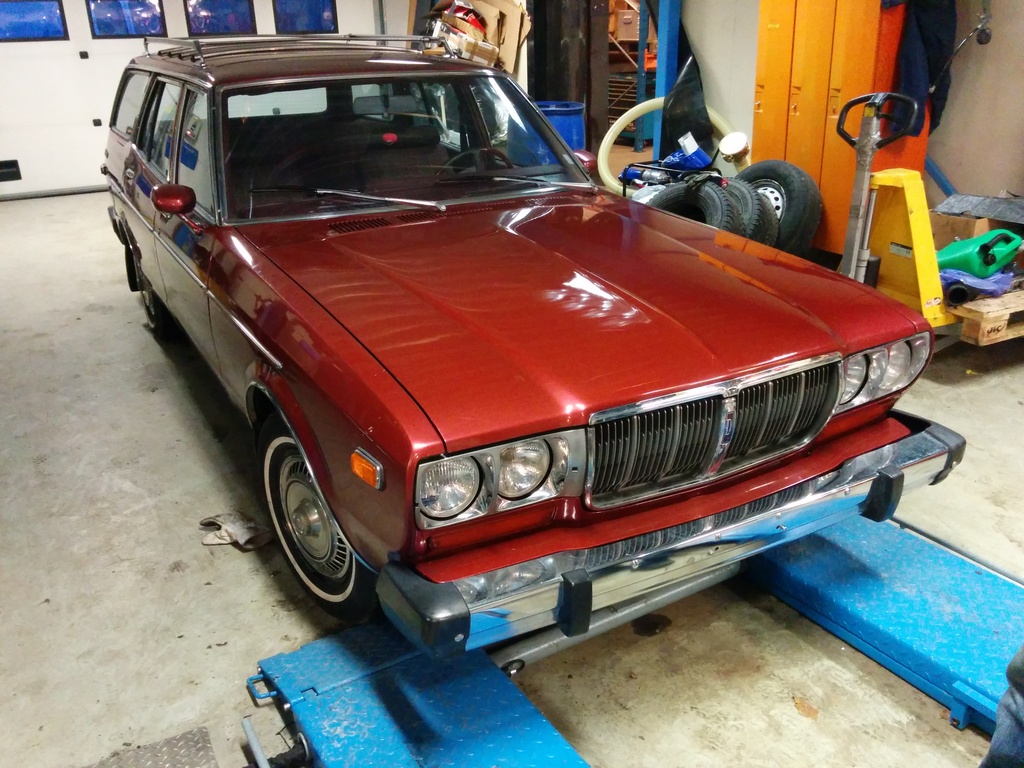
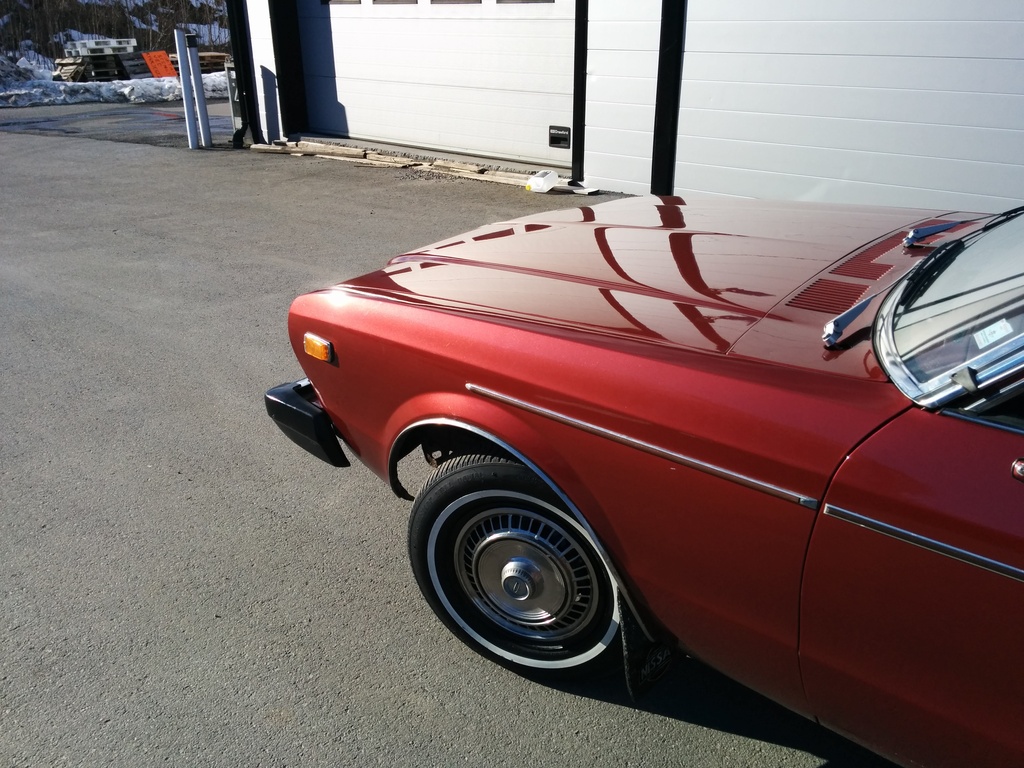
As you can see the car needs a good clean up and detail , outside and inside. Other than that its a complete car and it does not have too much rust.
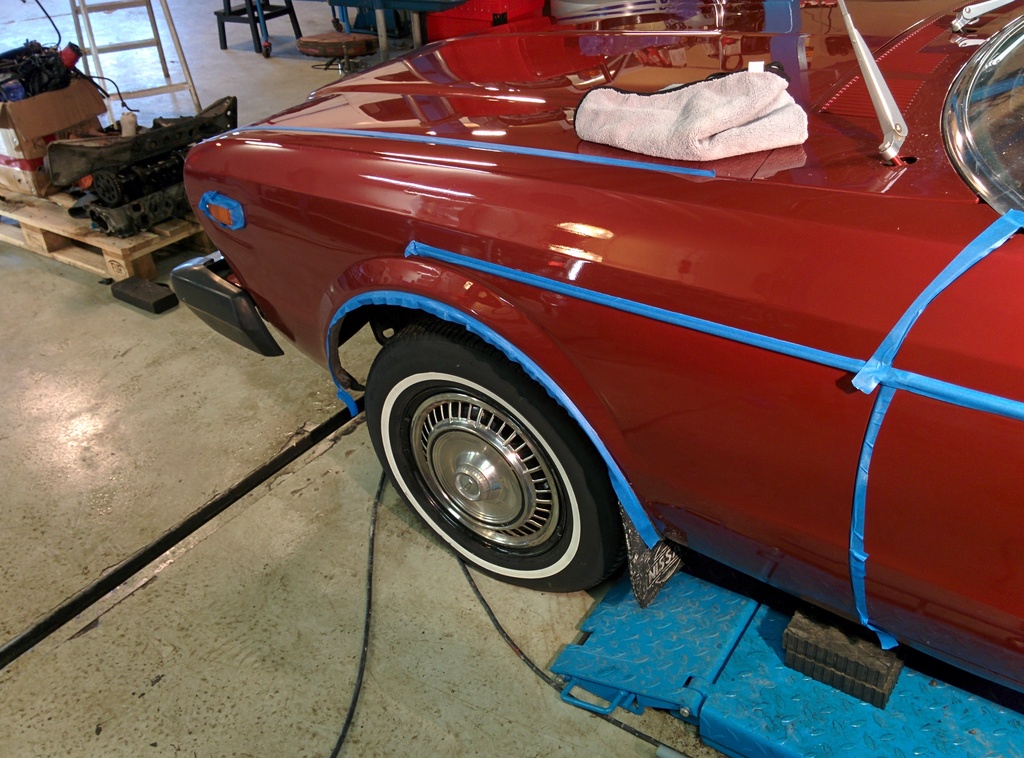
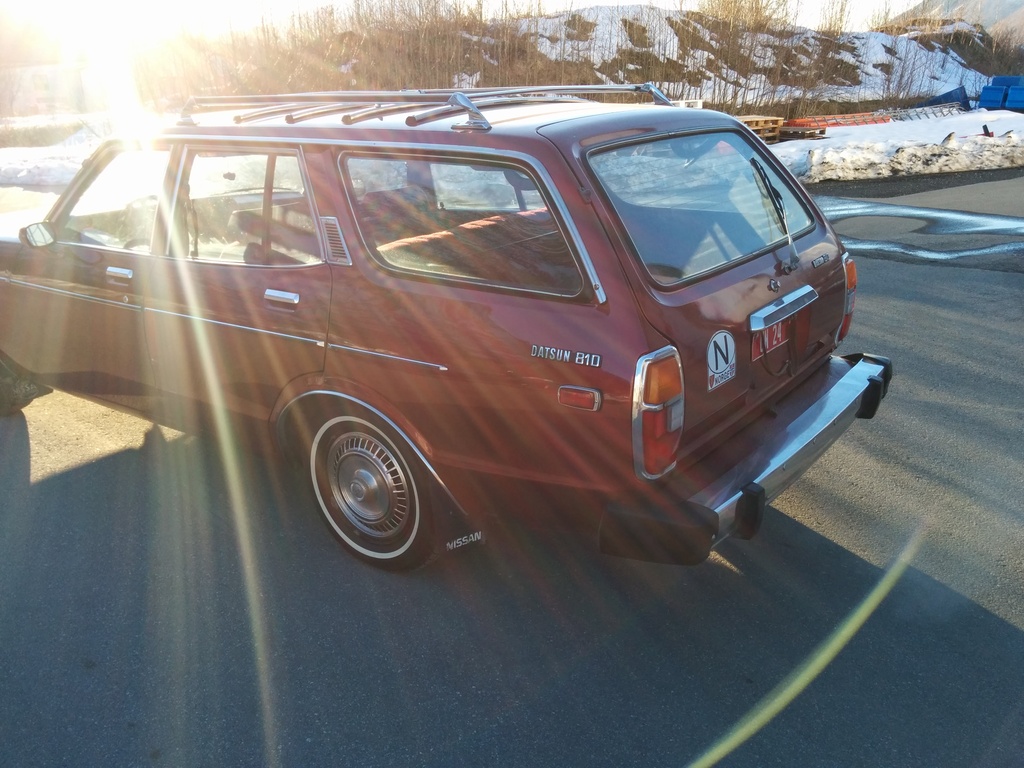
forgot to take pictures of the swap , but here are some pictures from after the engine was in and the first start up . Its alive and that L6 purrs like a kitten , well alomst , some fine tuning and adjustments to the timing has to be done ,but all in all its good. Temp gauge is not working , but it probably a loose connection somewhere.
Next up is a good interior clean and polish.
I will keep updatig the thread as i progress . Thanks for looking
WOW that is a sweet ride!! Gotta love old station wagons!
Thanks , its sweet to work on too
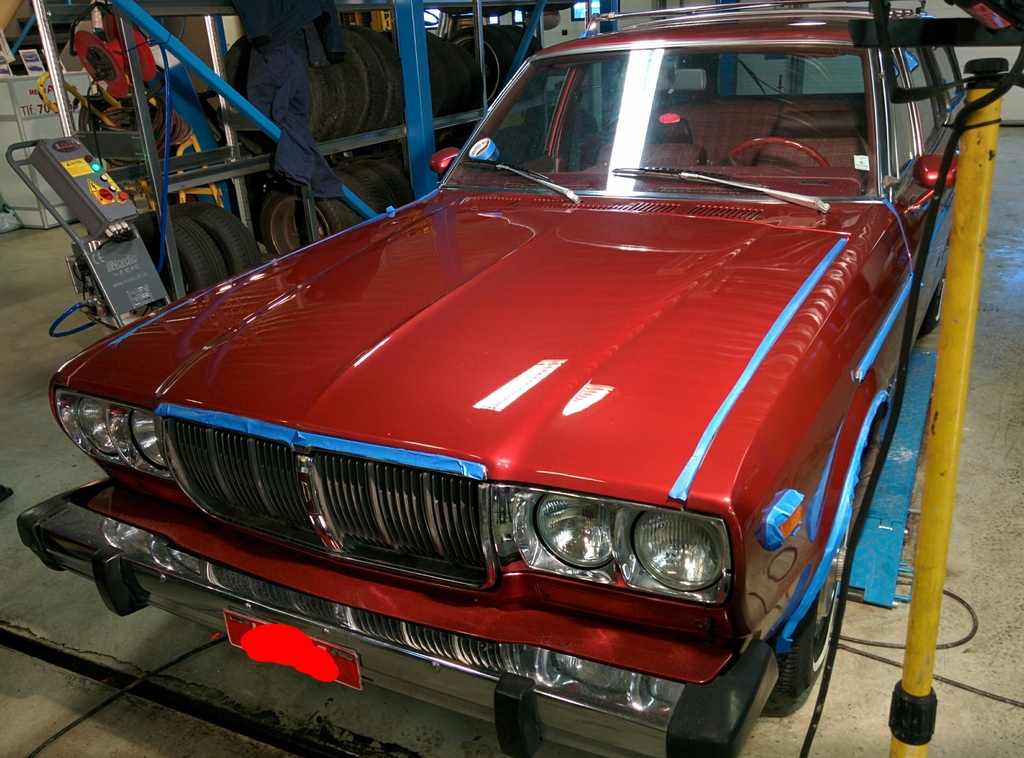
Have done more since the last update :
Polished it
My initial plan was to document the process step by step , but it got to carried away and disnt take enough pictures. So the pictures are a little bit random.
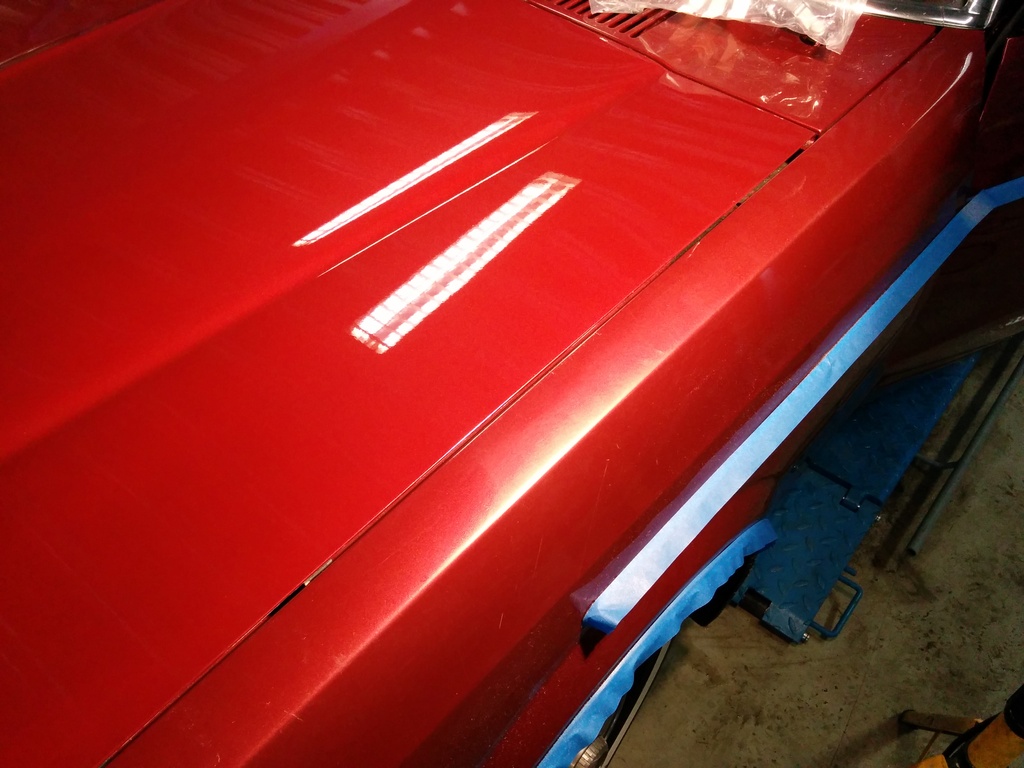
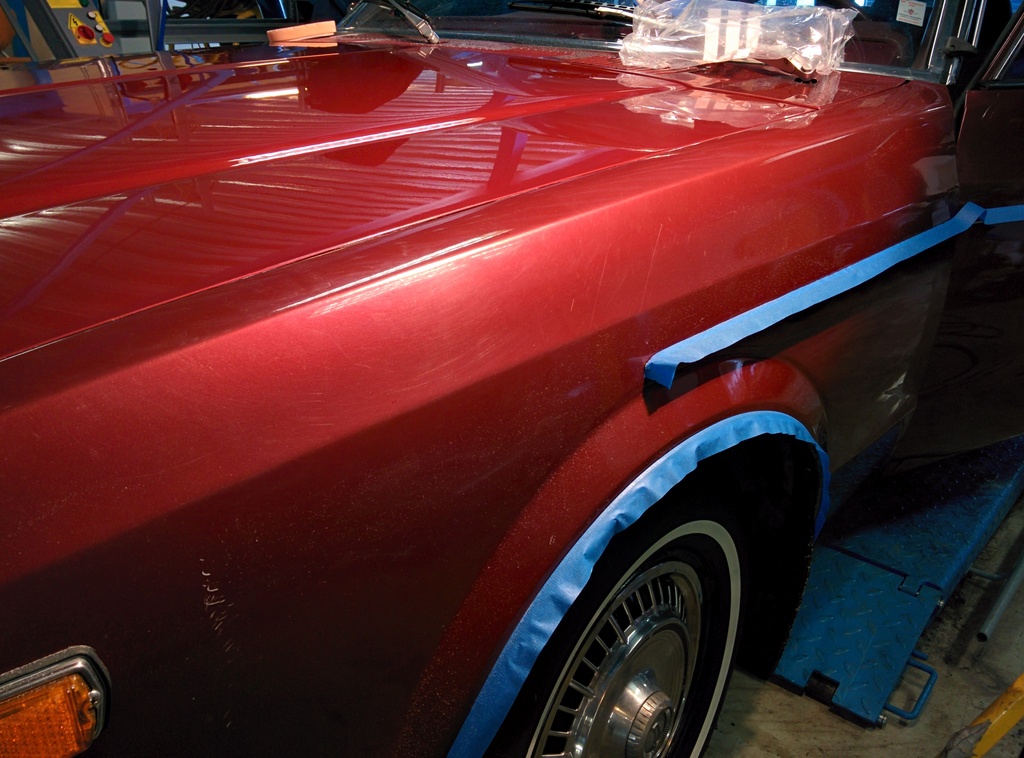
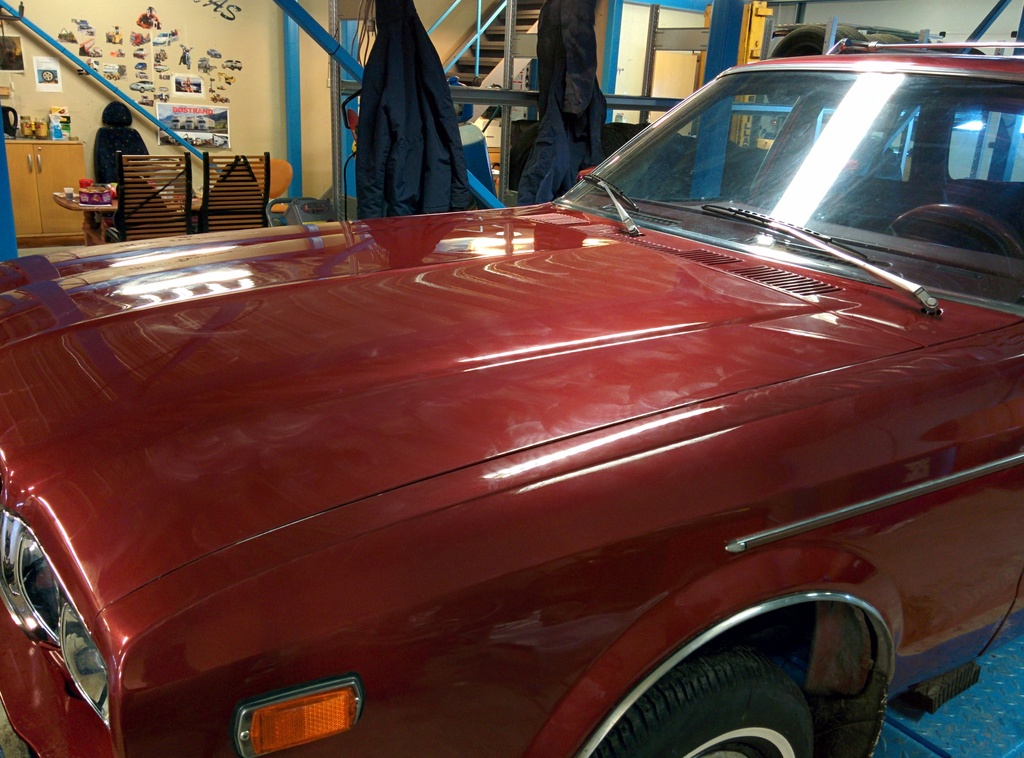
So first after having thorugly cleaned the outside and started testing on the hood to see how hard the paint was and thus how coarse the rubbing compund needed to be and if it would leave a nice hologram free finsih with super fine.
The paint was good to work with and pretty hard so didnt have any troble with holograms. And i love the color, it really pops out , the pictures dont to it justice!
hood polished( what looks like swirls is actually the roof reflected in the paint) , fender untouched :
Continued with the left fender,as you can see it shows its age and the paint on the rest of the car was in mostly the same condition. There were quite few deep scraches that didnt go away , but i reduced them to a point were you have to look for them to find them . I was a little worried about the thickness of the paint so thats why i didnt push on harder,
Side by side after a few passes with rubbing compound.
Left fender finished
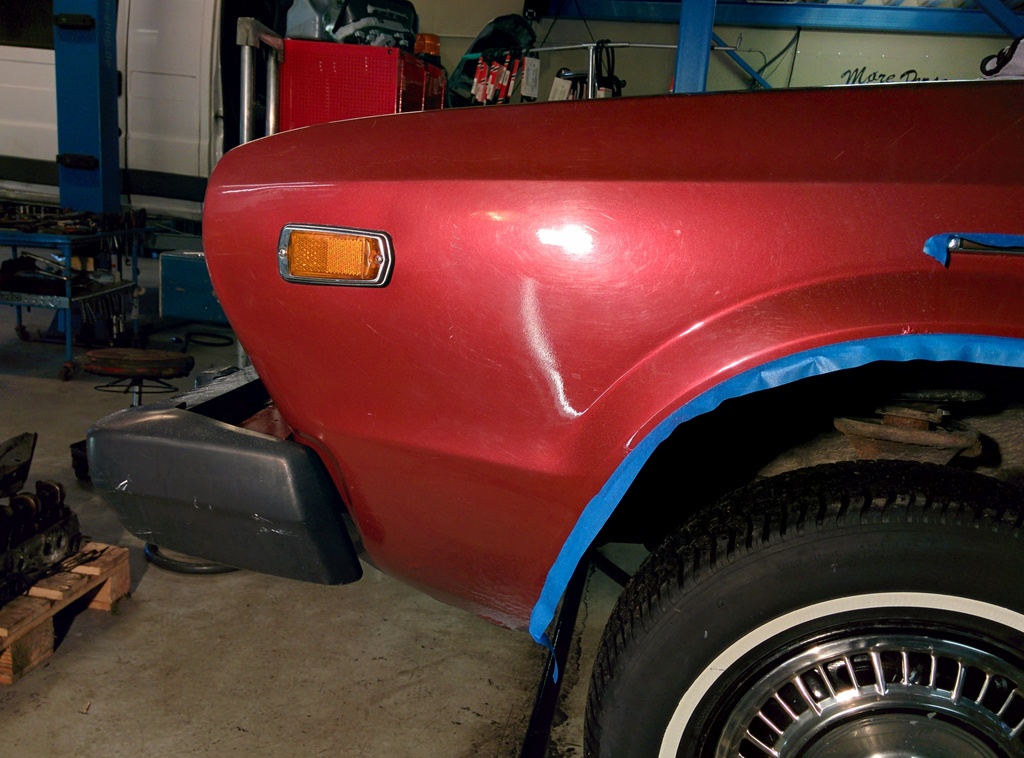
This is the point where the picures get a little less connected and farther apart process wise unfortunatly..
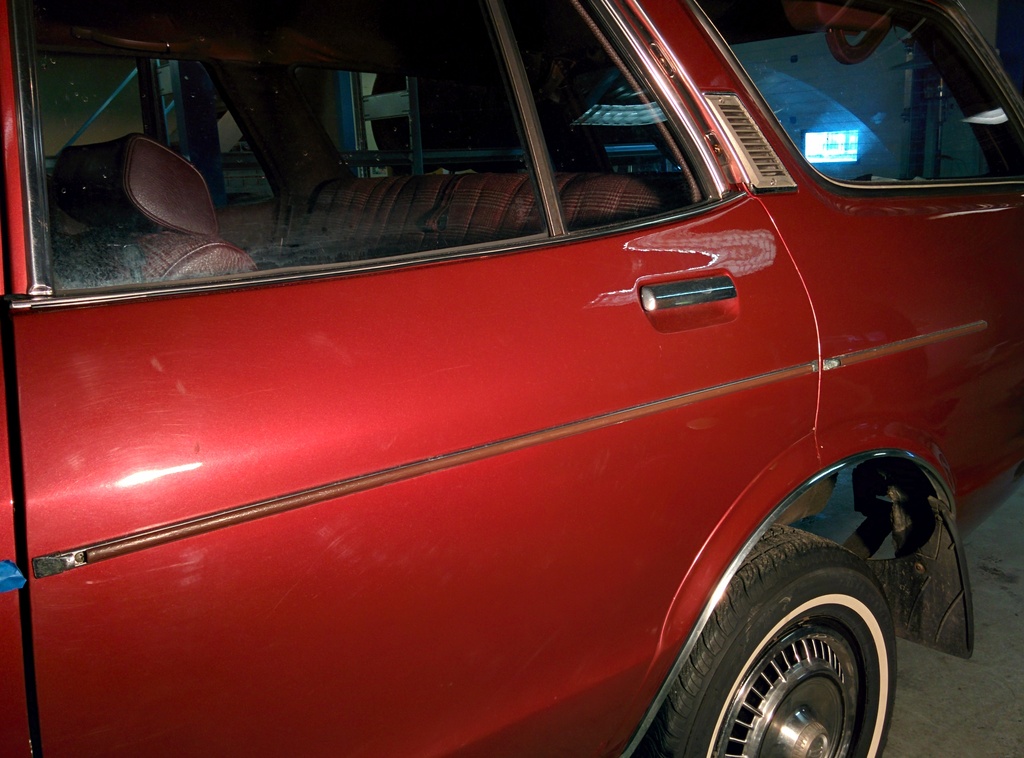
Condtition of left rear door
Condition of the left rear quarter.
Left rear quarter finished.
Some scratches still visible next to the badge , buffed these by hand after this pic.
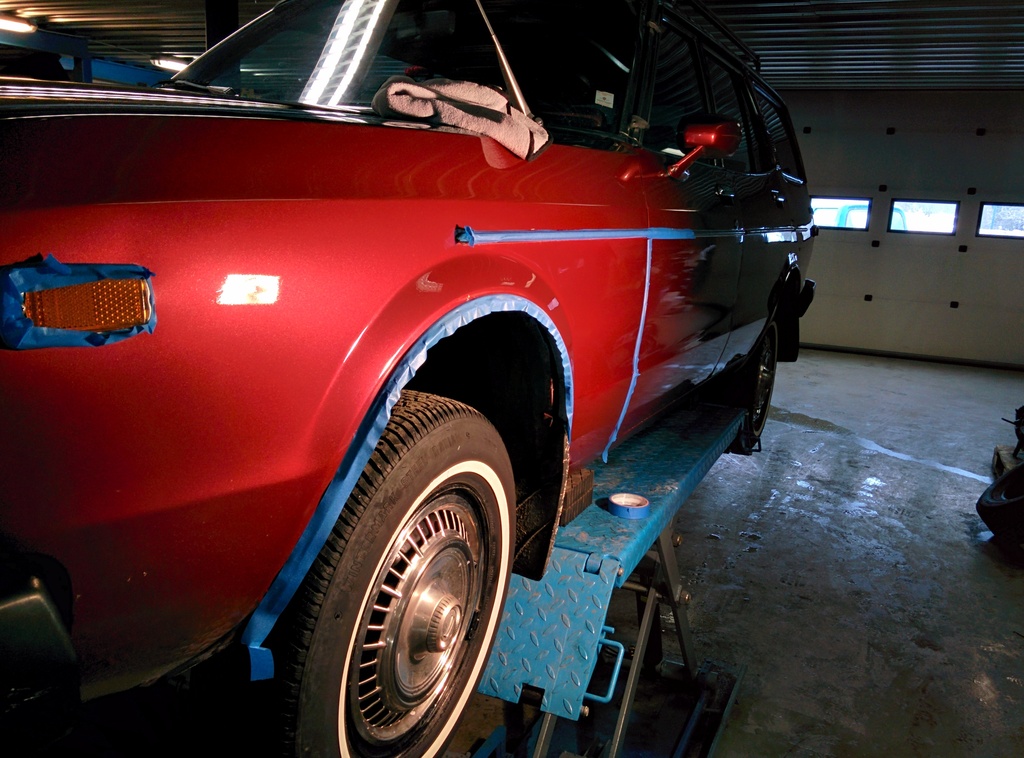
Left side finished.
Right front door Side by side.
Right front doorhandle detail after finishing step.
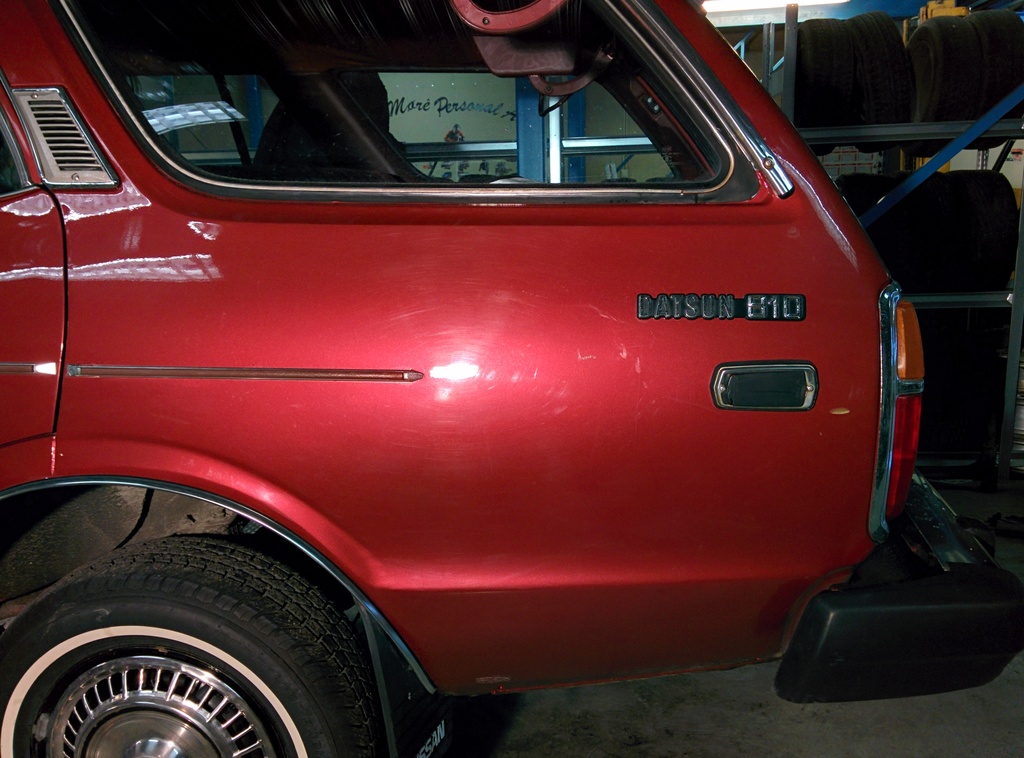
Condidion of the right rear door .
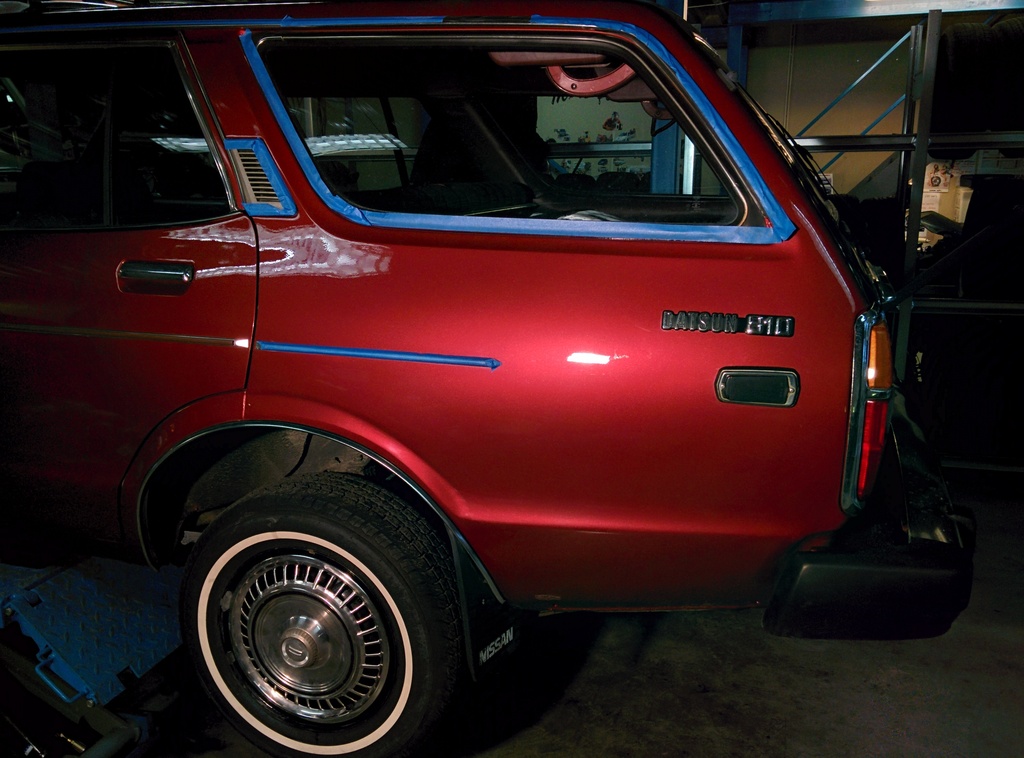
And that it for the pictures during the polishing process.. forgot quite few pictures , didnt get a single one of the roof or tailgate..
Put on a layer off Swissvax shield wax so that it could cure while i started on the interior.
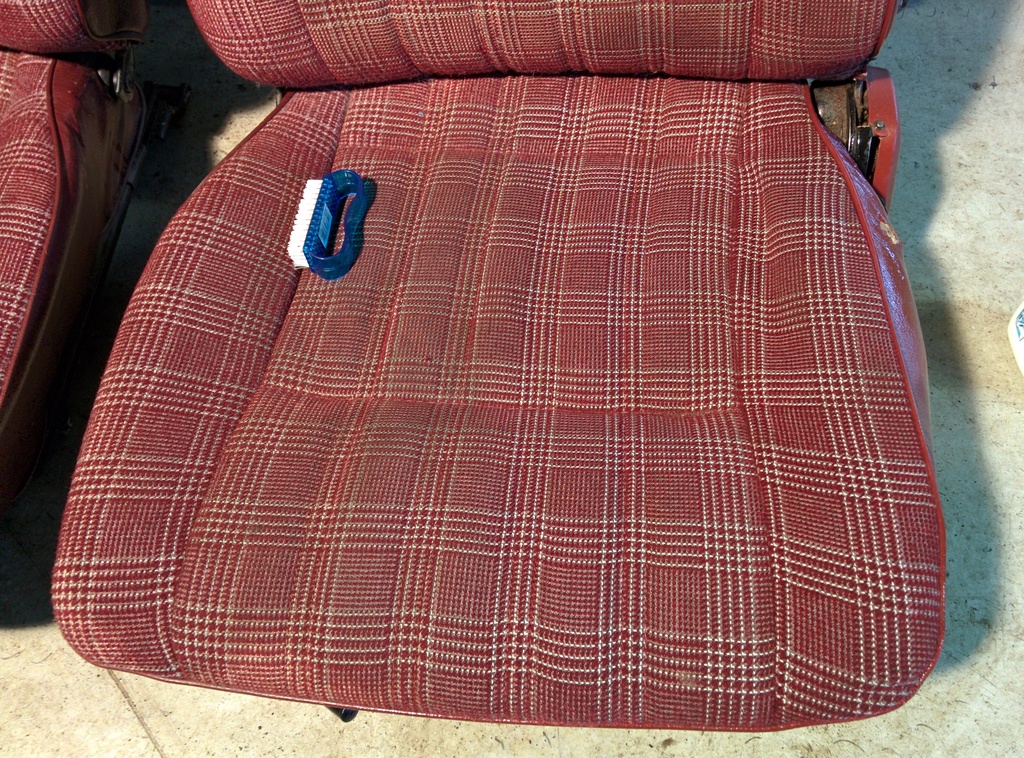
Started by taking out the front seats to clean the with a wet vac. they werent too bad really , but gave it a whirl anyway.
Before i started :
Bolster to the right cleaned.
Driver seat done , the darker areas are just wet from water.
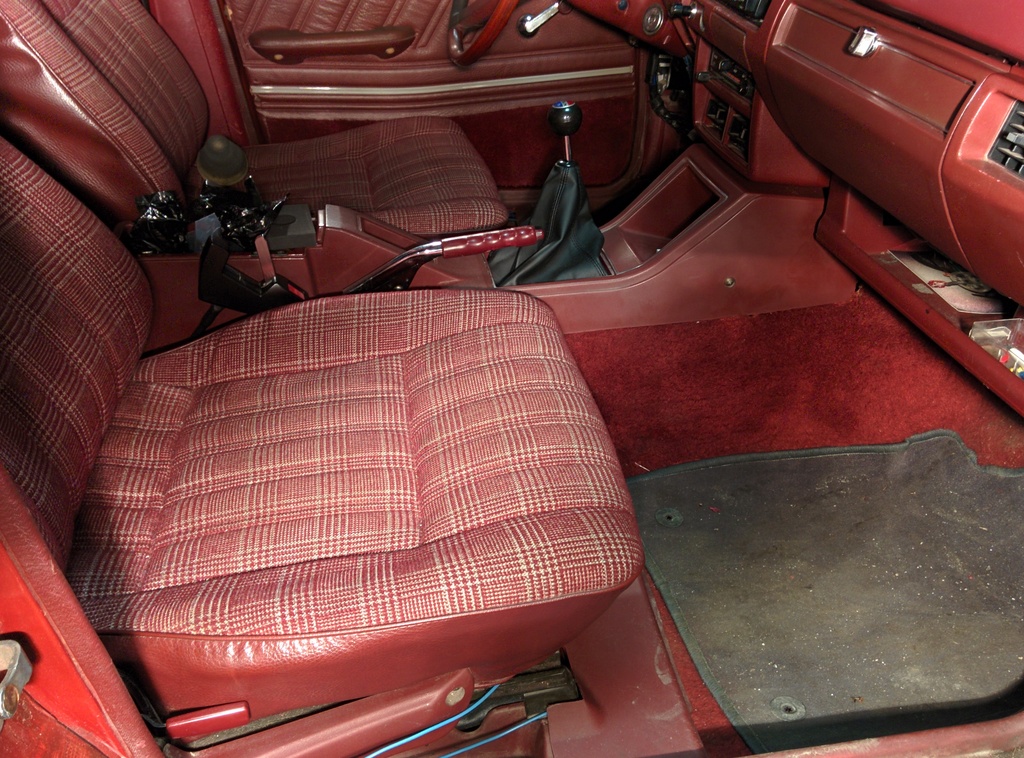
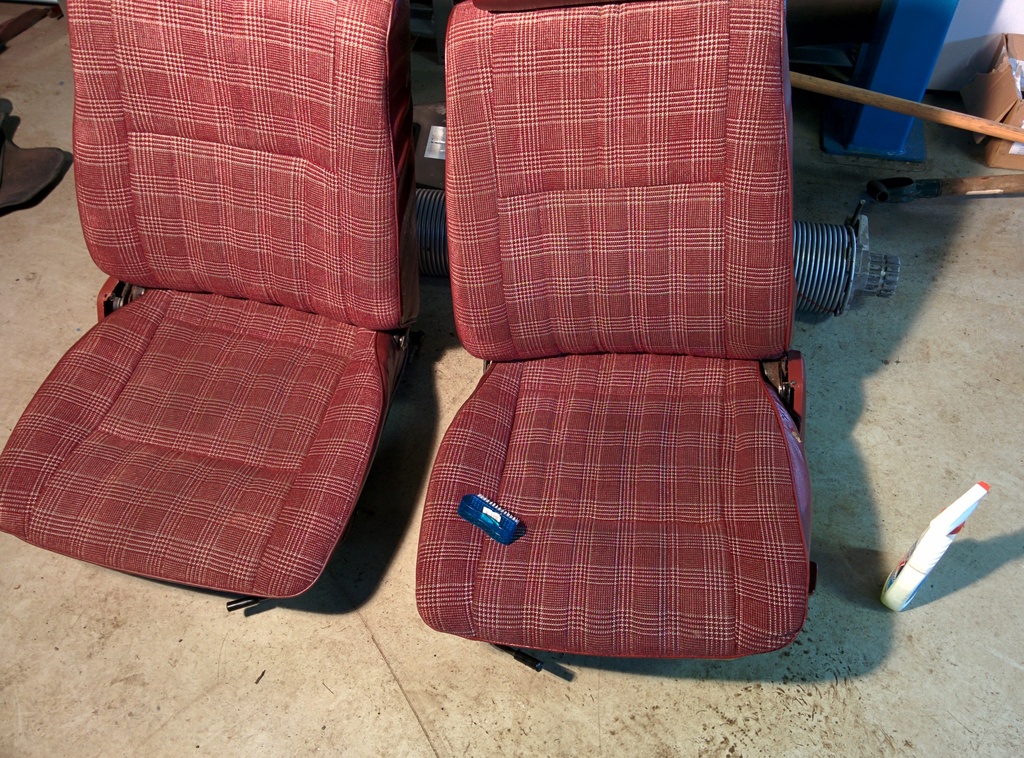
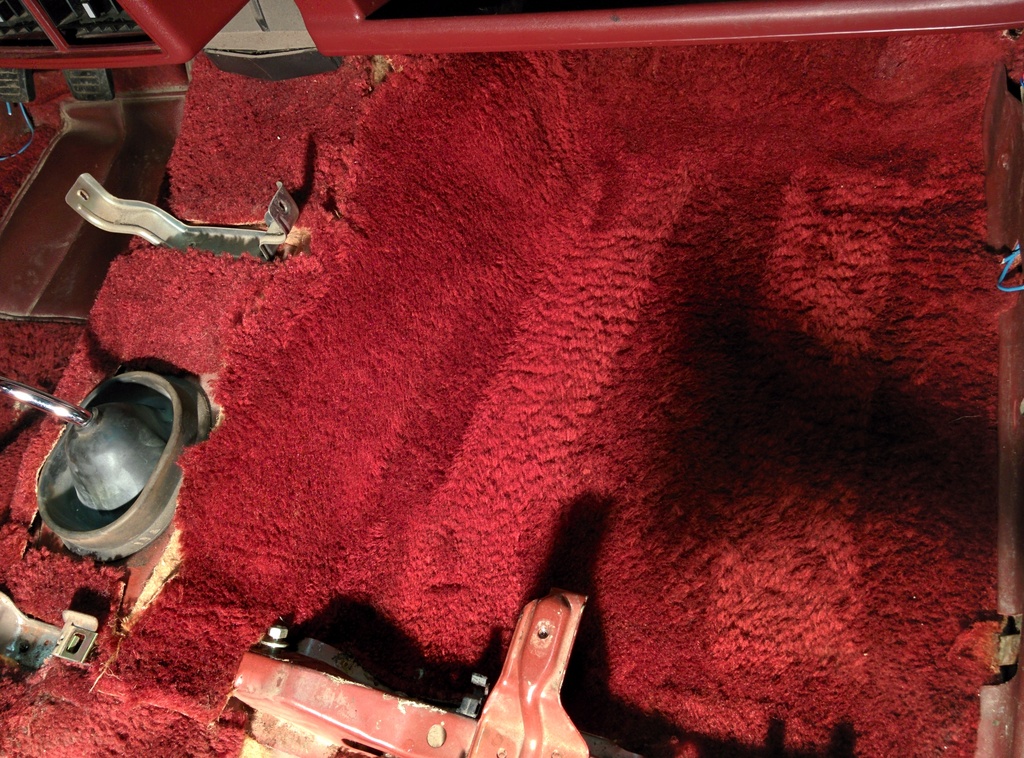
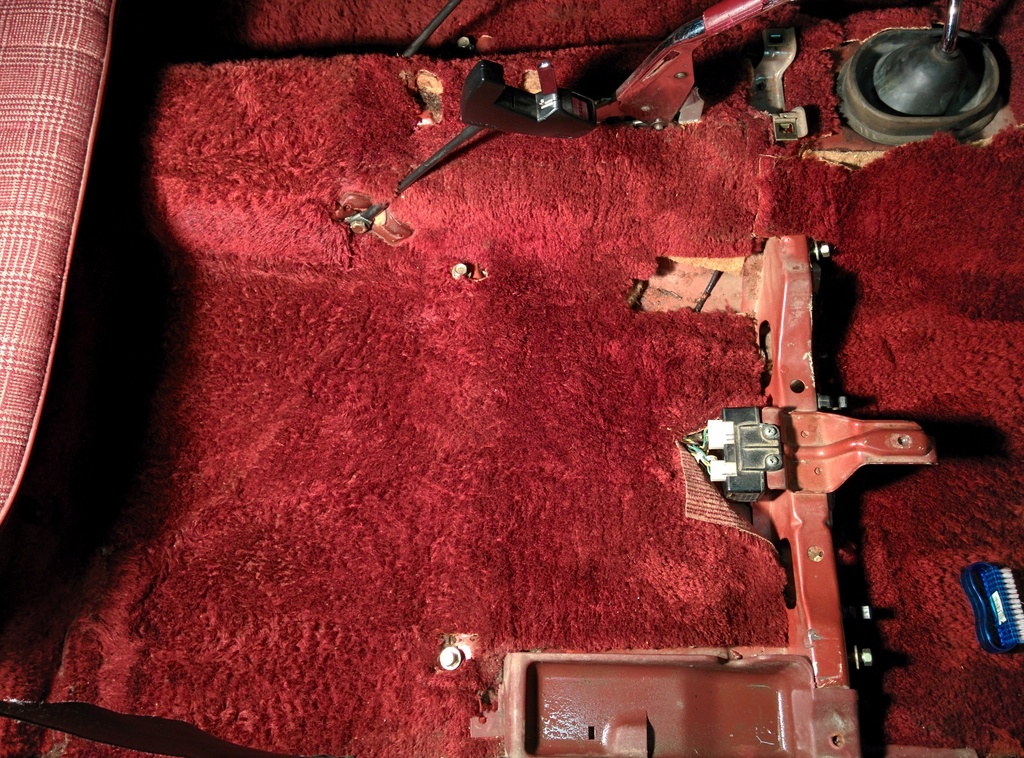
Passenger seat was a repat process. Removed the center console for better access, quite alot of dirt and grime in the carpet ,by the way if anyone knows where i can get a new handbrake handle let me know .
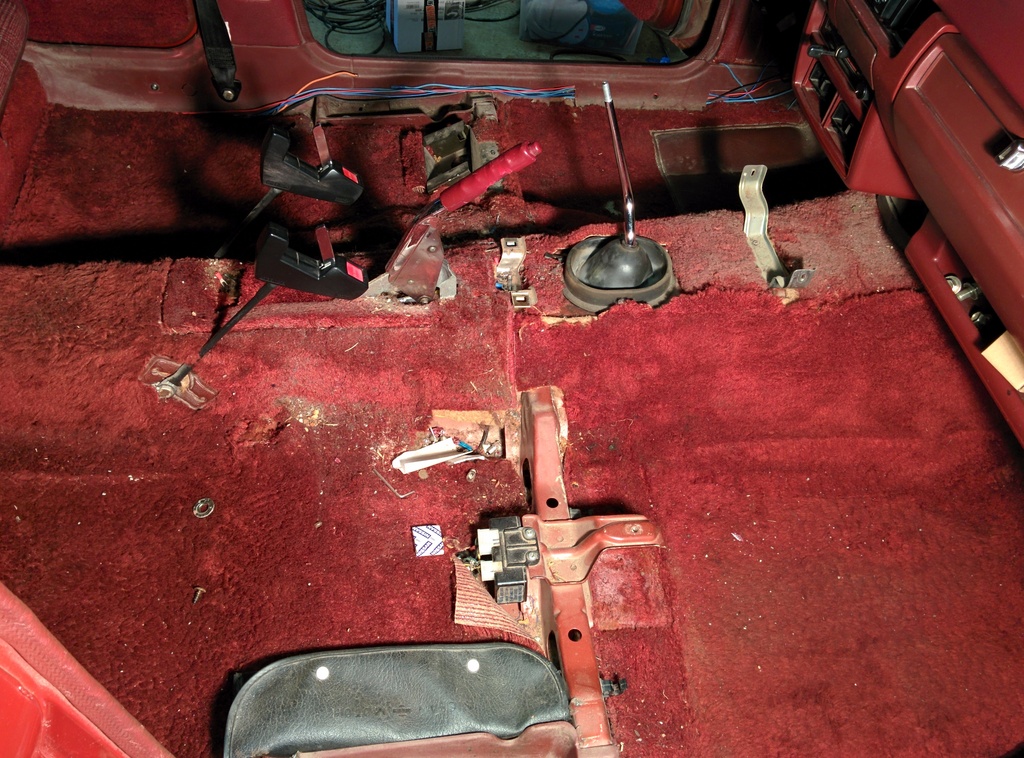
After dry vacuuming .
Pass. footwell done .
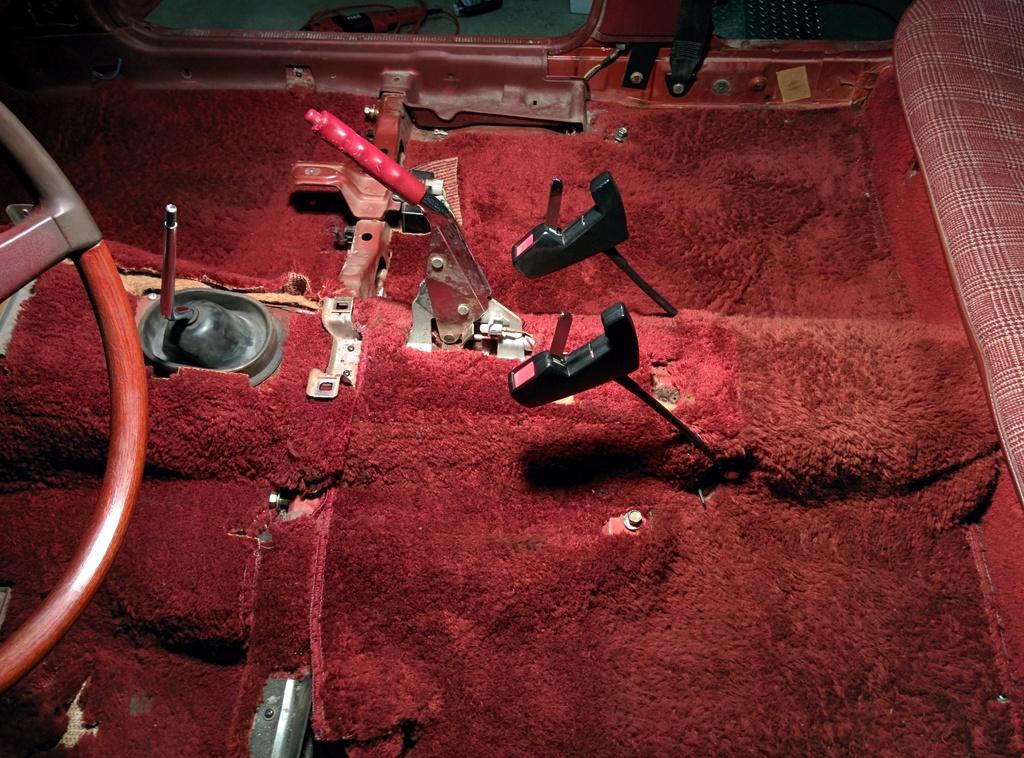
Rear footwell done, as you can see the carpet is still a bit discolored in places , i suspect the sun is the culprit here ..
By the way getting all the sand out from such a long haired carpet is a nightmare
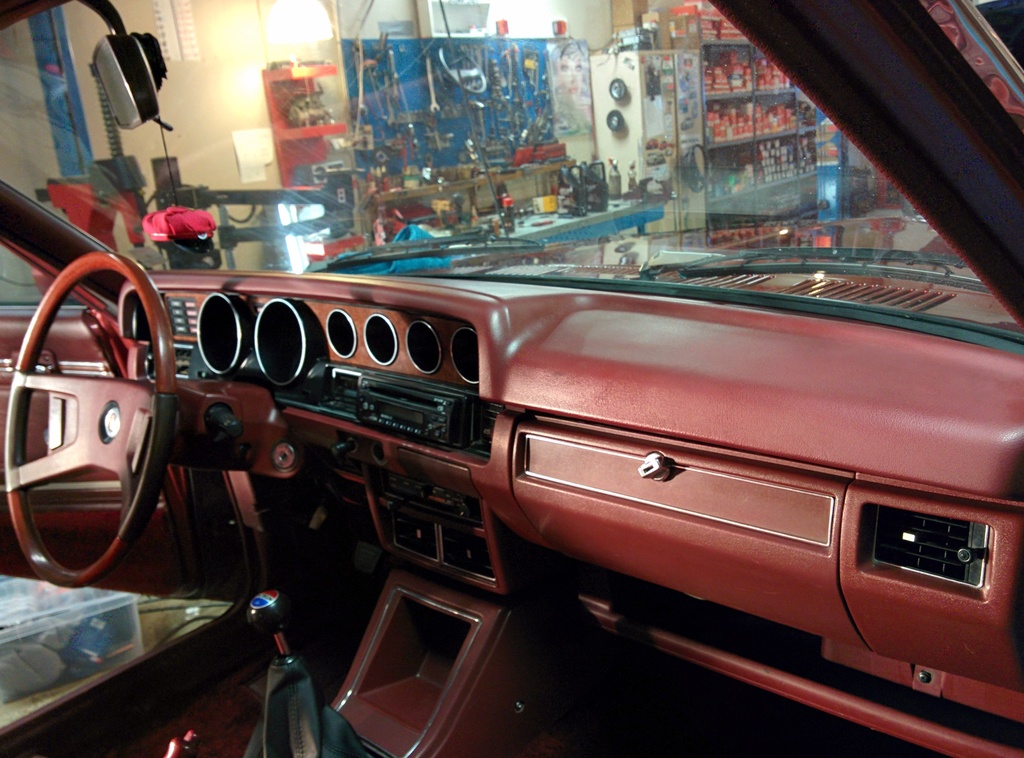
Forgot taking pictures again.. so the next one is after cleaning and applying a vinly conditioner on the door panels.
Same on the dash.
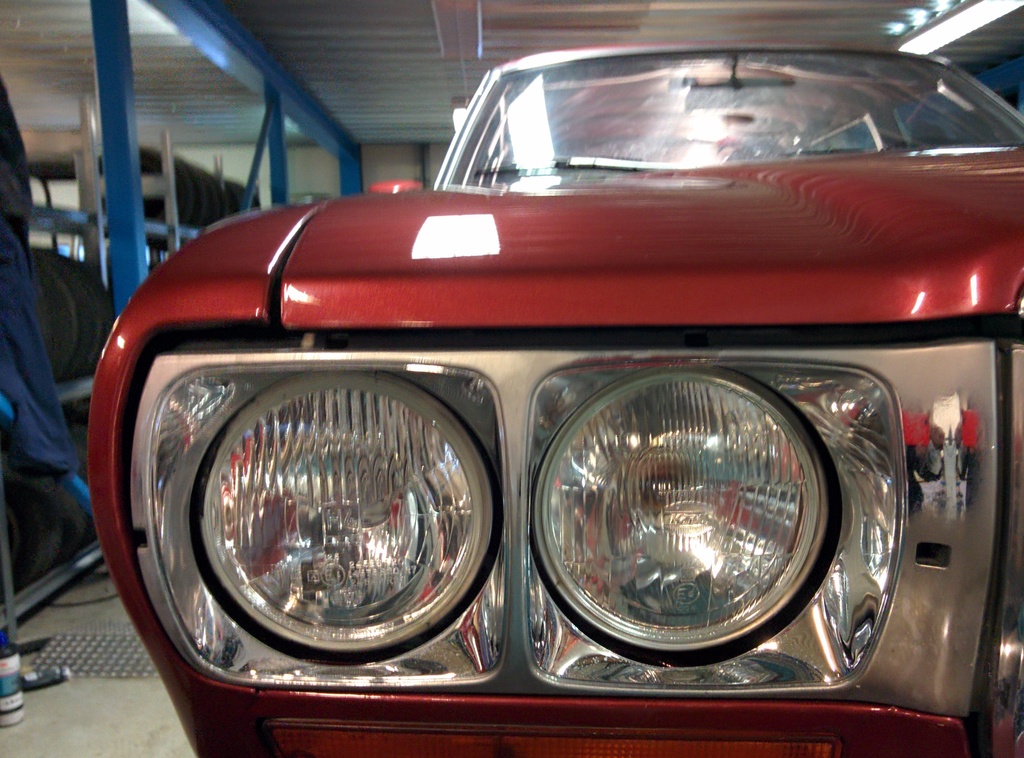
Here comes two more big gaps , the chrome sorround on the headlights still had the protective material from the factory on them and let me tell you after so many years , getting it off was no small feat.
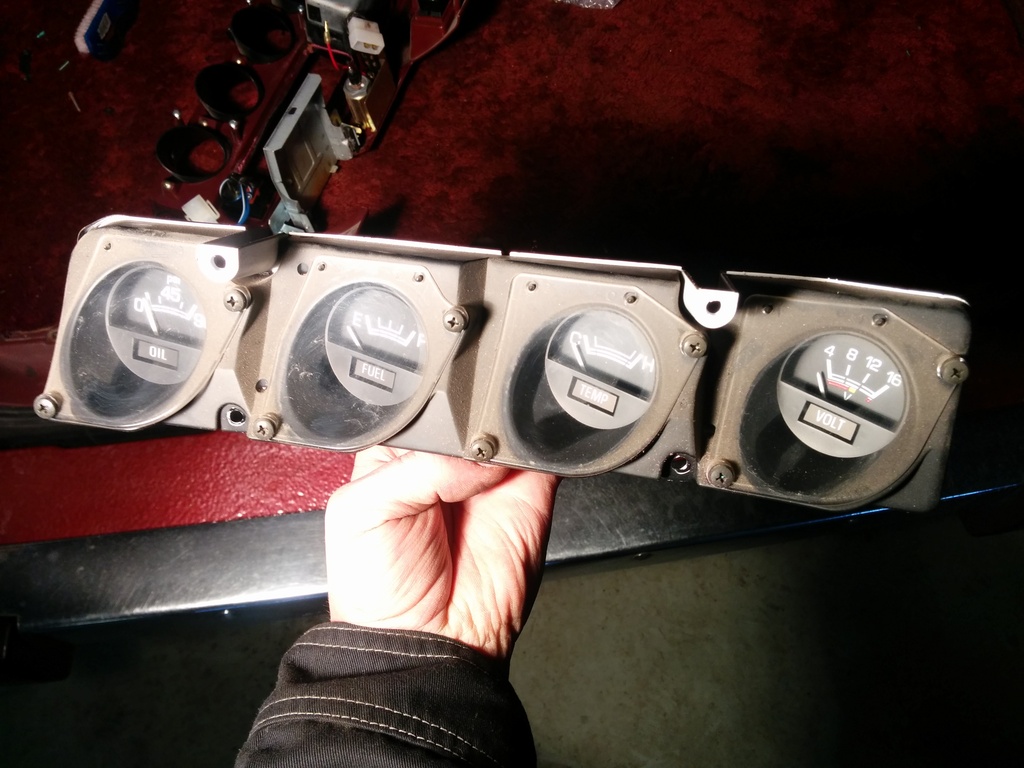
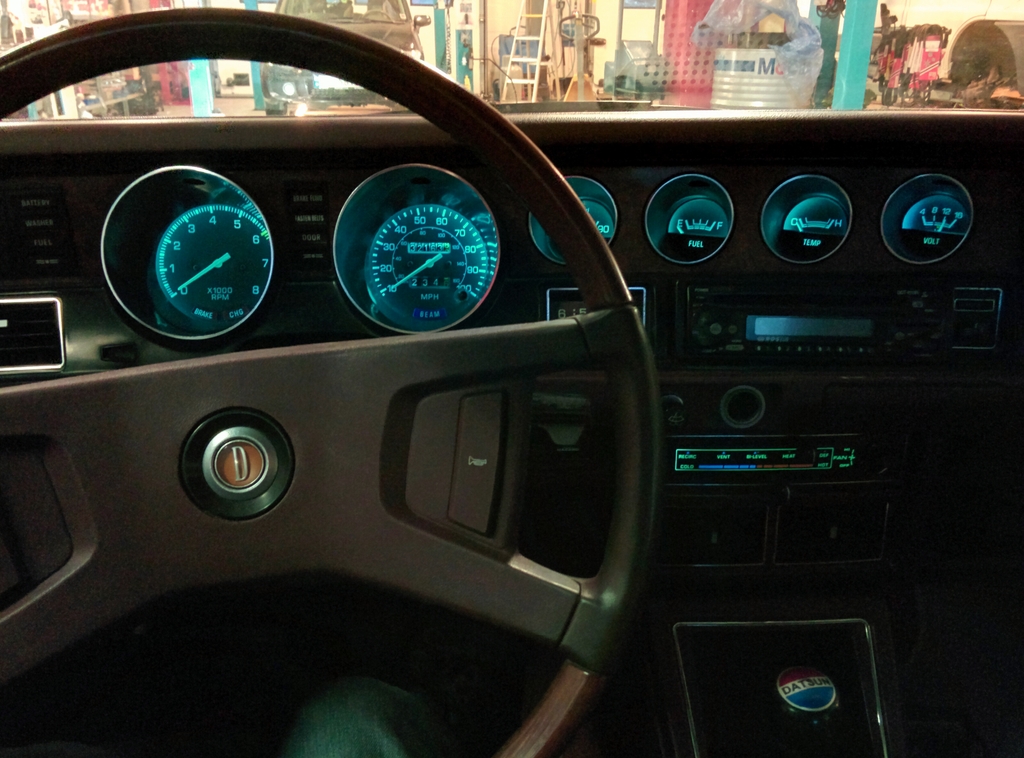
Some bulbs were burnt in the instrument panel + the one bulb in the heater control panel ,so i decided to swap the all out for some bright white LEDs..
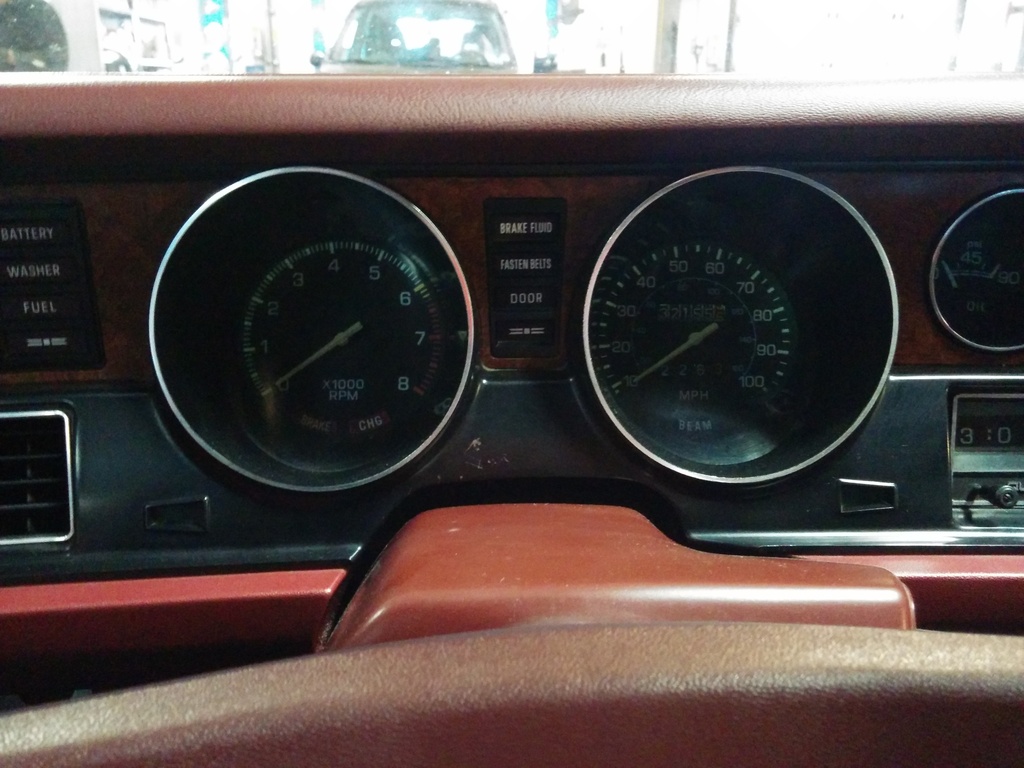
This is a before pic of the instrument light. There are green caps over the bulb so the light has a green tint. l left the caps in place .
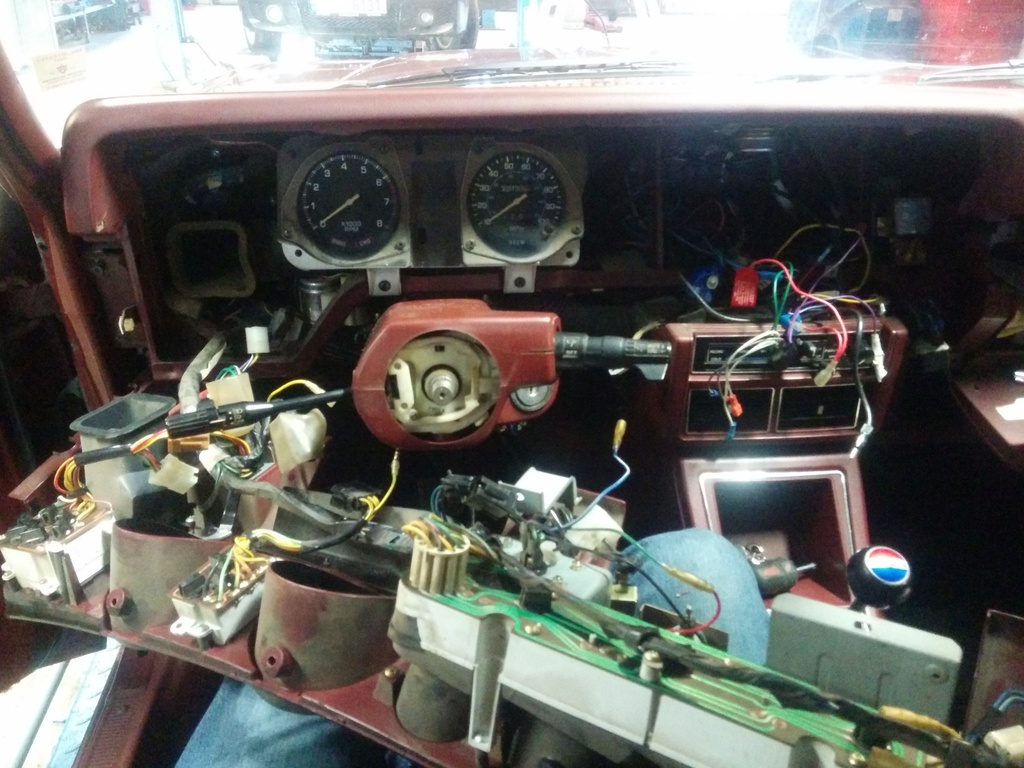
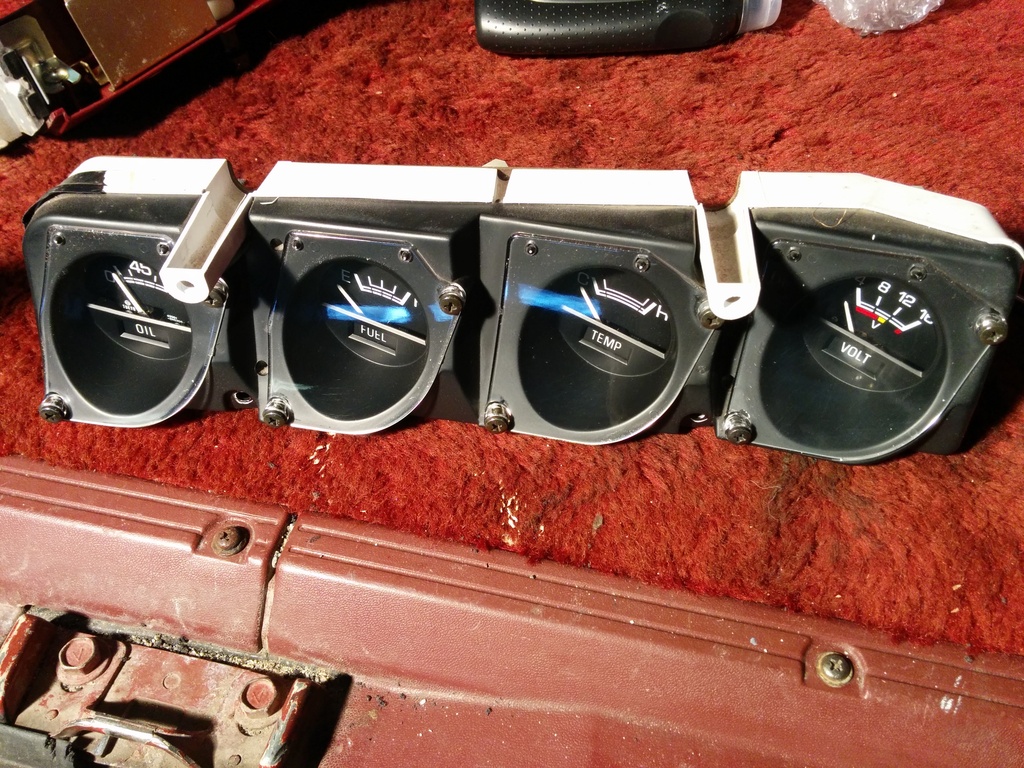
Intstrument panel came off after removing 6 screws and the wheel , gotta love old cars for their simplicity.
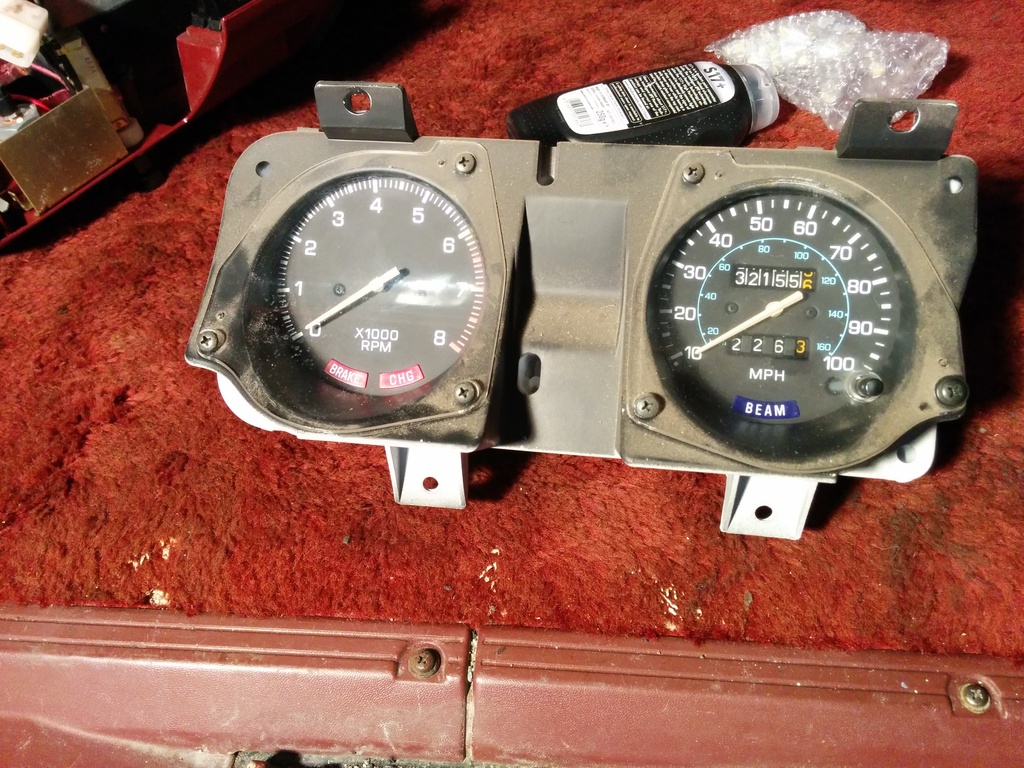
The housing on the gauges were quite dirty and scratched so i cleaned them up and polished the glass.
Before:
After:
I forgot a pic of the tach and speedo when done , but results were the same.
And evereything is backk together , the light is much whiter and with a green tint to it i real life , but my phone could'nt seem to pick up the color correctly.
 03-13-2016, 06:06 AM


 and that L6 purrs like a kitten , well alomst , some fine tuning and adjustments to the timing has to be done ,but all in all its good. Temp gauge is not working , but it probably a loose connection somewhere.
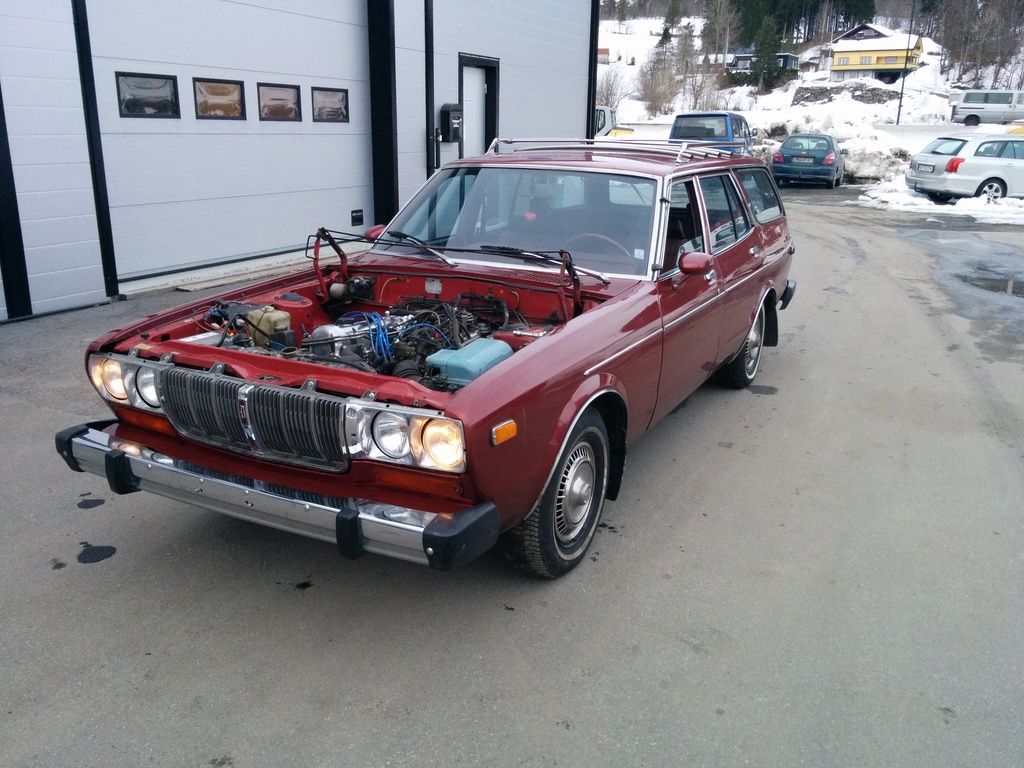


