
Comprehensive Pictures and Directons - EGR Tube Cleaning P0400


Thread Starter
Junior Member
Joined: Jul 2002
Posts: 87
From: Atlanta, GA
Is it clearance to get the nut off or clearance to get the tube out after the nut is off? And is it fairly evident how much you need to cut? That's the only part of this I'm confused about. Otherwise, if it wasn't 20 degrees out I'd get on this because I get P0400 constantly.
Nice write up - thanks.
Nice write up - thanks.

The hacking allows the nut to come off. You will have enough clearance to wiggle out the tube. And in any case, the part I hacked off doesn't have threads anyway.

Newbie - Just Registered
Joined: Dec 2014
Posts: 3
my experience so far with this part 2
Got the two egr tubes off.
I tried lots of things, but in the end the hacking of the bolt did work best. I did not try a side dremel cutter as I didn't think it would fit, but I did try a straight cutting bit (9901) on one and it bounced all over the place and took just as long. The hacking took a lot longer than 30min and you can't see what you're doing so you're always wondering if you're getting it. But once you get a little groove it becomes easier.
If you don't care about the car, it's much easier to cut the tubes for "the device" and get it out of the way and disconnect the big tube (which is coolant and you will end up with a lot on the ground). If I had to do this again, I'd remove the hood--the sightlines are just too cramped.
After hacking, I needed a stubby non-ratcheting wrench to get out that nut on both cars. Too cramped around the bolt, and in the area in general.
Of course, the bolt was seized and you can't get any leverage with a stubby wrench. Used a ton of penetrating oil and tried many combinations. Finally what worked for me was to use a foot long plumbers wrench: get the stubby wrench in place, hook the plumbers wrench tail hole onto the lower back end of the wrench, then push it towards the firewall just enough to break it loose, then try again with the stubby the opposite way with all your strength.
If this hadn't worked, I was going to buy and use a small nut splitter on it. A small one looks to have a hole about the dimensions of a non-ratcheting wrench and should be able to squeeze in there.
In the end I did have to remove the temperature sensor as it was cutting up my hand. This was on the car where I didn't remove the tubes and device. There is an open wrench you can buy that would be appropriate, and the one I had only did 12mm and 10mm, so I just cut the wire and used another stubby.
Very different experience than the laparoscopic surgery that was the knock sensor, but at least the hard part is done.
Last edited by john@cpswi.com; Jan 4, 2015 at 12:19 PM.

Member
Joined: Jan 2004
Posts: 104
From: Ottawa, Canada
I have very interesting experience with my CEL - code 0302. My car has about 150k miles and the code started comming last summer. I was planning of cleaning my tube this spring for that reason. I noticed that it would stay ON for some time and after that would go OFF. And would come back in a week or so. So eventually it clicked that whenever I put Shell gas in the car, the code would dissapear and once I put another one it would come back. So about 2 months ago I decided to put only Shell 91 in the car and from that moment on, the CEL has been OFF. I remember seeing these SHELL comercials where they say how their gas cleans you engine etc. and now I kind of believe that...
Last edited by svezarov; Feb 25, 2015 at 11:33 AM.

Newbie - Just Registered
Joined: Sep 2014
Posts: 12
From: St Louis
Beautiful write up!
Wow, I have a 95 model with 138k on her. I've never done this service. My car runs good but the idle fluctuates intermittently and sounds a little rough. I believe this clean up job will restore normal functions to my Maxima. Thank you for the details and keep them 4th gens rollin'!! 
Last edited by lowceez; Oct 4, 2015 at 05:27 PM.


This post is a great write up I did this as well. What I would like to find out is if this method did not clear the code what are the next steps I would need to take? I would love a response as soon as possible. I live in CA and have a smog coming up.
When cleaning out my egr tube it was only clogged at the top. Hacking method is a pain especially if you happened to cut it at an angle....
Thank you for any responses I will check this thread daily.
When cleaning out my egr tube it was only clogged at the top. Hacking method is a pain especially if you happened to cut it at an angle....
Thank you for any responses I will check this thread daily.
Thread Starter
Junior Member
Joined: Jul 2002
Posts: 87
From: Atlanta, GA
This post is a great write up I did this as well. What I would like to find out is if this method did not clear the code what are the next steps I would need to take? I would love a response as soon as possible. I live in CA and have a smog coming up.
When cleaning out my egr tube it was only clogged at the top. Hacking method is a pain especially if you happened to cut it at an angle....
When cleaning out my egr tube it was only clogged at the top. Hacking method is a pain especially if you happened to cut it at an angle....
Just to make sure: just cleaning the tube does not necessarily clear codes automatically. The best method is to use an electronic device (like a code scanner) to clear all codes, and hopefully the code remains clear. (It is possible that codes may clear themselves, but that topic is beyond my scope of knowledge, and though I have the factory manual, I'm not going to look up this topic -- I say just use the device).

Newbie - Just Registered
Joined: Jun 2018
Posts: 3
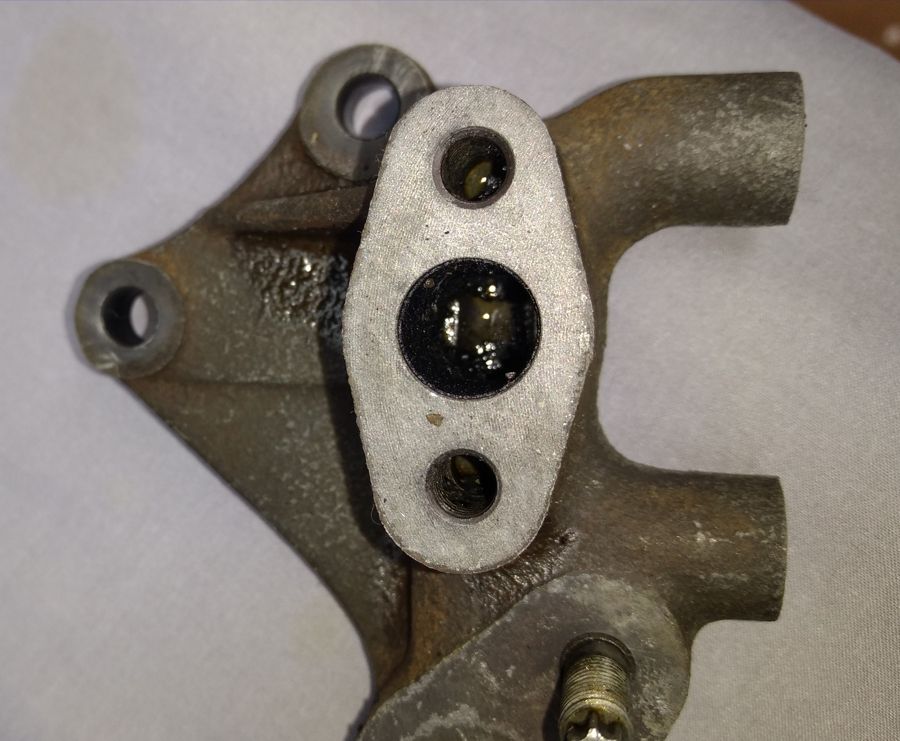
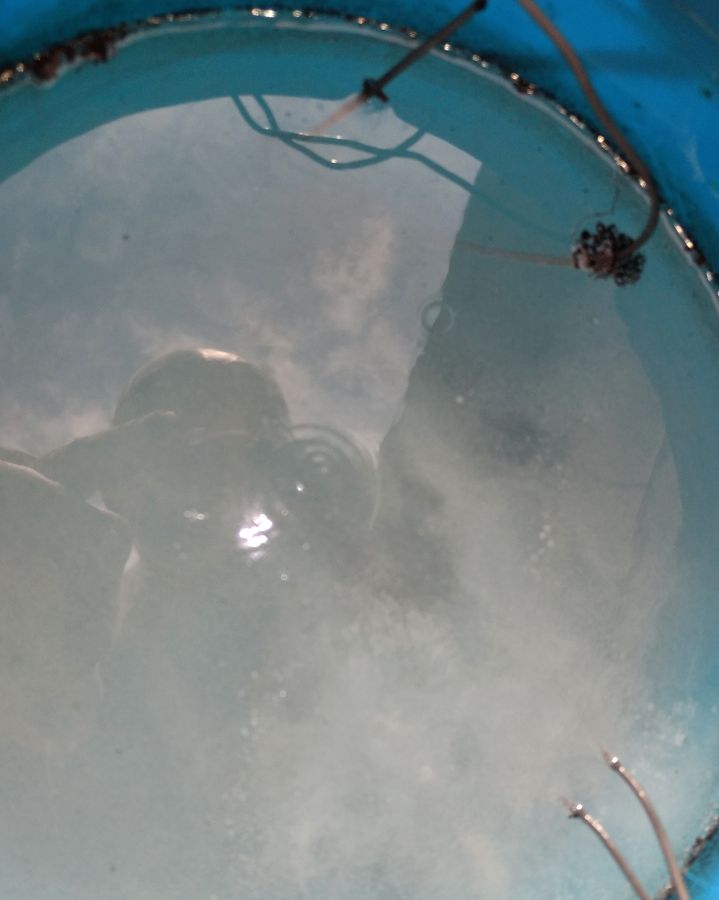
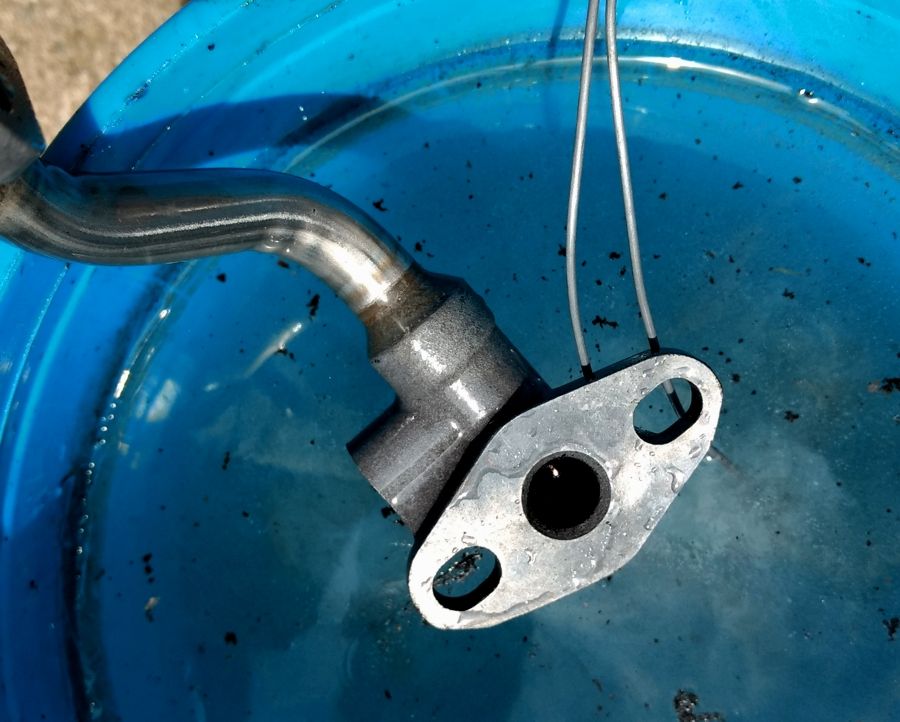
I have the EGR tube out and cleaned the top and the bottom. But I cannot push a coat hanger through the entire tube (it gets stuck right in the middle where the tube bends). If I fill with a liquid (carb cleaner or something) it doesn't run all the way through. Do you think this is hardened carbon? Should I be able to get all the way through the tube? I may need to buy a new egr tube entirely.
Thanks!
Thanks!
Thread Starter
Junior Member
Joined: Jul 2002
Posts: 87
From: Atlanta, GA
I have the EGR tube out and cleaned the top and the bottom. But I cannot push a coat hanger through the entire tube (it gets stuck right in the middle where the tube bends). If I fill with a liquid (carb cleaner or something) it doesn't run all the way through. Do you think this is hardened carbon? Should I be able to get all the way through the tube? I may need to buy a new egr tube entirely.
Thanks!
Thanks!
On the core question: Yes, the carbon has hardened inside. We have cleaners available, and perhaps one way to help loosen the carbon is to put the tube into a pot of water with a degreaser (like Simple Green), and bring the pot up to just boiling on the stove. Let it simmer for, say, 10 minutes, and try again. I have not used this technique for this application, but have used this method to clean bearings in the past.
I do NOT recommend using fire directly.
A second idea would be to put the tube into degreaser and let it soak at room temperature overnight. Then, go into the tube and try to remove the carbon. I remember using a small flat head screwdriver to loosen the carbon, and though patience, the carbon eventually broke through.
It's just carbon, and the carbon is softer than the metal. Best wishes.
Last edited by marktab; Jun 15, 2018 at 06:37 AM.
Newbie - Just Registered
Joined: Jun 2018
Posts: 3
Hi Ceckard -- On "new egr tube", perhaps that's an answer -- I believe the part is the same as "Spacer Tube - Nissan (14713-40U01)", perhaps you can verify: https://www.factorynissanparts.net/o...be-1471340u01/
On the core question: Yes, the carbon has hardened inside. We have cleaners available, and perhaps one way to help loosen the carbon is to put the tube into a pot of water with a degreaser (like Simple Green), and bring the pot up to just boiling on the stove. Let it simmer for, say, 10 minutes, and try again. I have not used this technique for this application, but have used this method to clean bearings in the past.
I do NOT recommend using fire directly.
A second idea would be to put the tube into degreaser and let it soak at room temperature overnight. Then, go into the tube and try to remove the carbon. I remember using a small flat head screwdriver to loosen the carbon, and though patience, the carbon eventually broke through.
It's just carbon, and the carbon is softer than the metal. Best wishes.
Thanks!!


Senior Member
Joined: Jan 2011
Posts: 3,037
From: Central AR
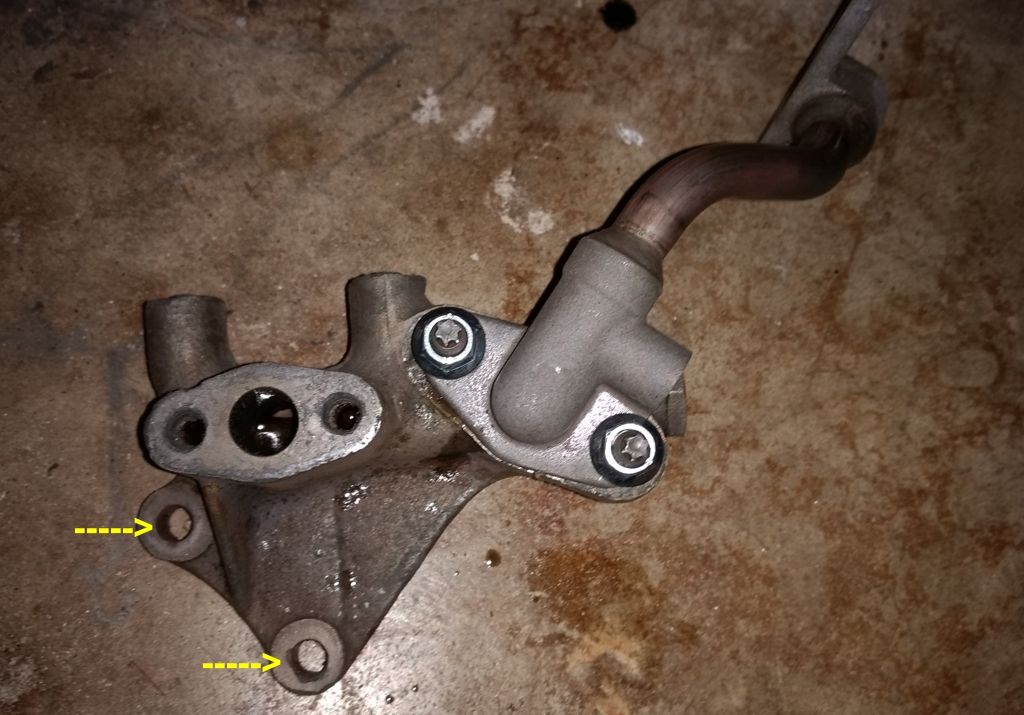
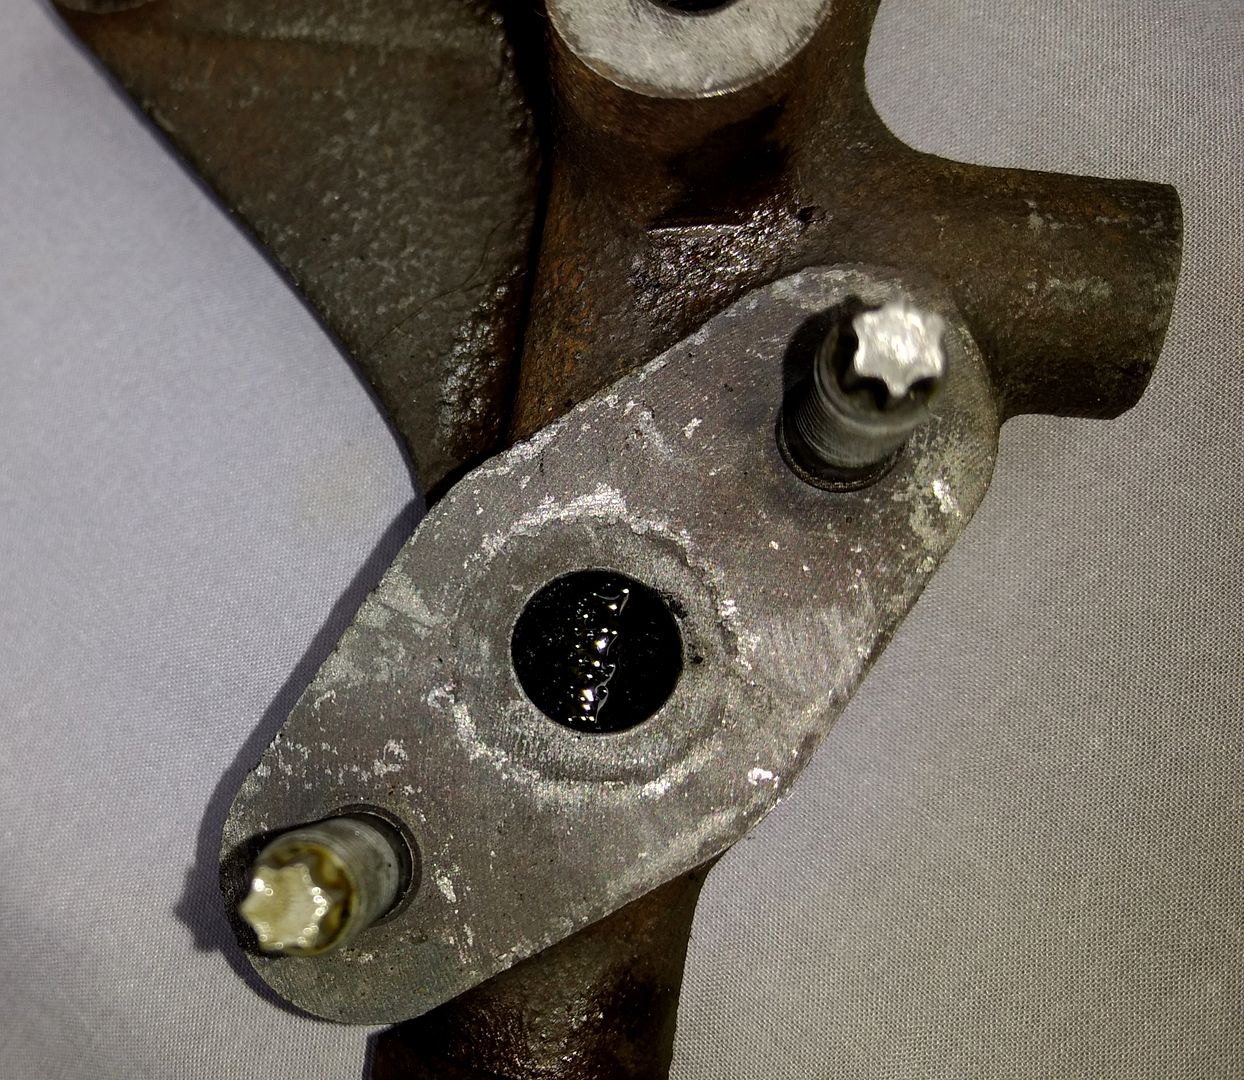
This is a nice write up. Though I haven't found it necessary to hack the EGR tube bolts.. I loosen and remove the EGR assembly using the two 14MM bolts on the bottom of the assembly. Once those and any bolts used to hold the assembly to vacuum tube manifold are removed, the whole assembly and tube can be moved into a position that allows the nuts to be removed without hacking.
Location for the two 14 MM EGR Assembly Bolts
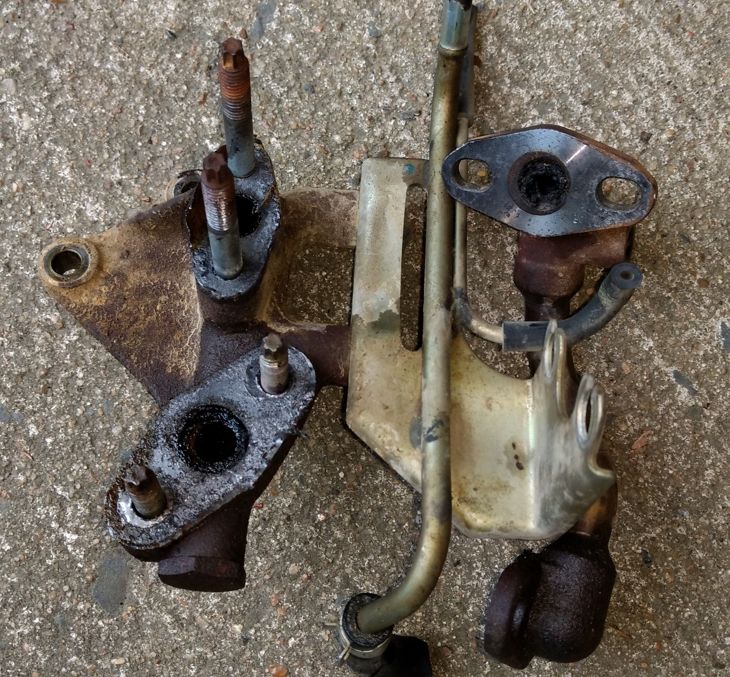
EGR parts after removal.
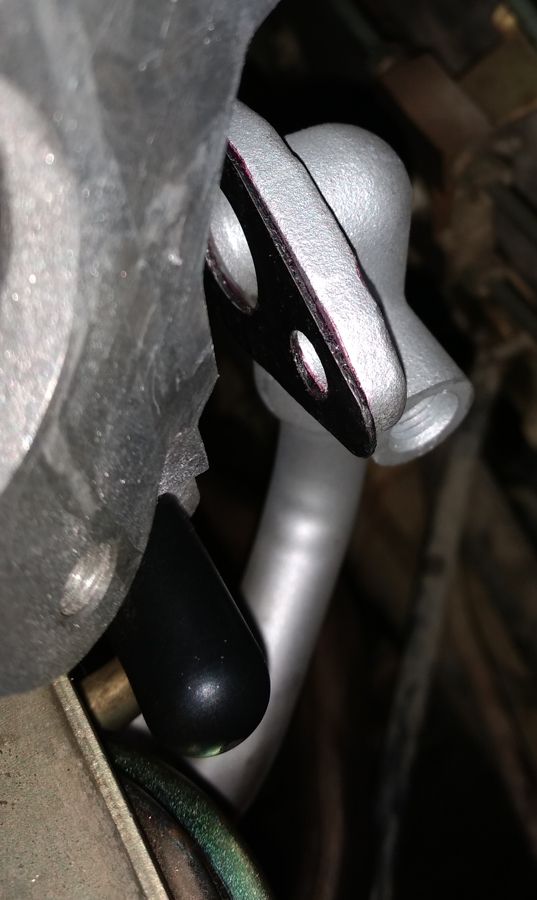
LockTite Makes a Gasket Sealer Stick that I use to hold the rear gasket into place during mounting. That has worked out well on since I installed it.
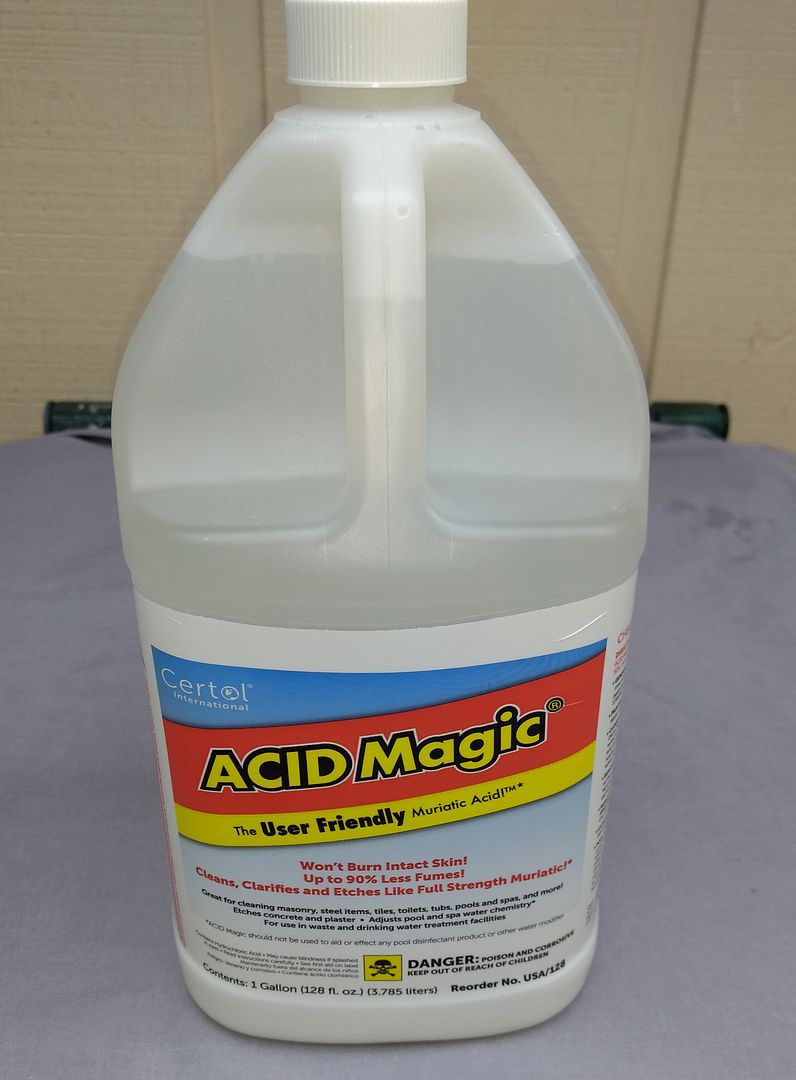
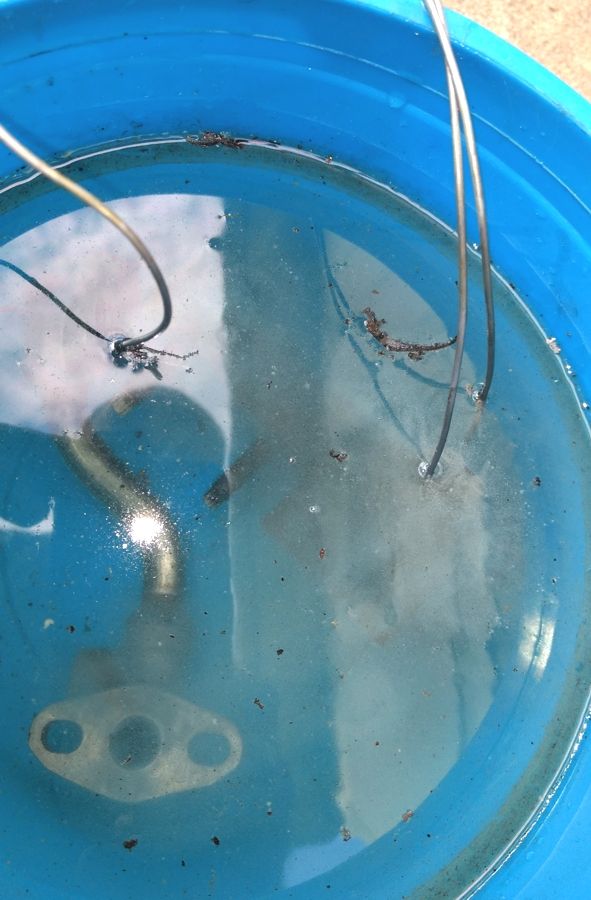
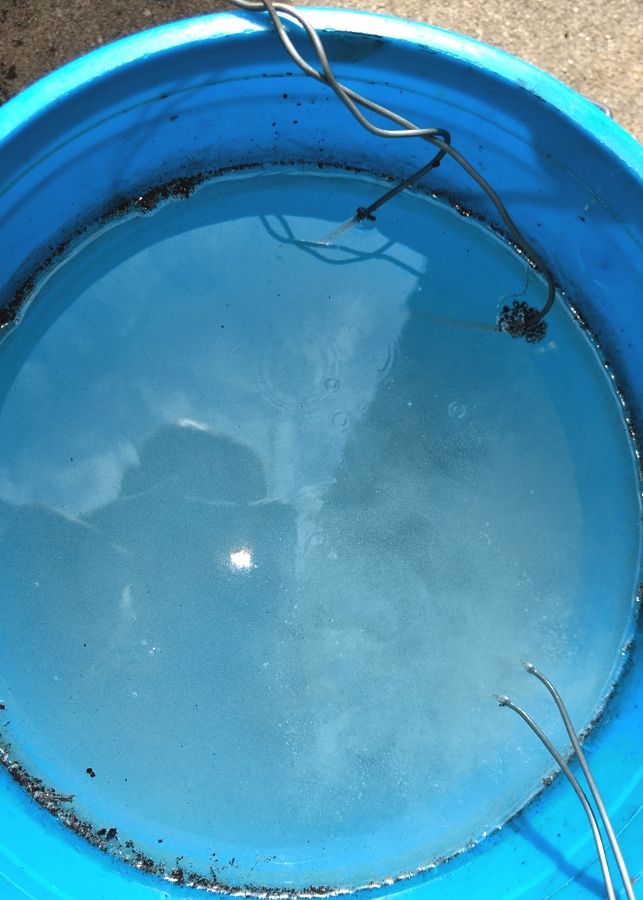
On the last job, I soaked the EGR parts in muriatic acid to clean them up. This is a slow process.
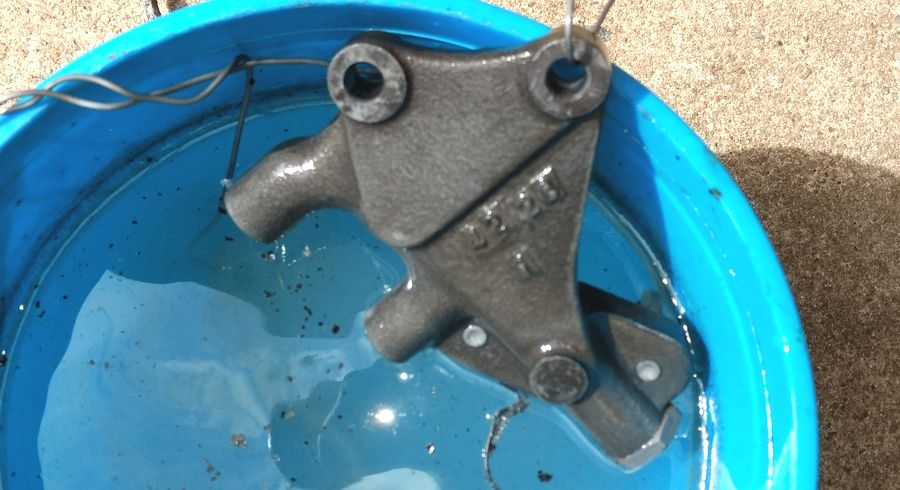
Then after the EGR parts are all cleaned up, I spray them with VHT Primer and Header paint.

Location for the two 14 MM EGR Assembly Bolts

EGR parts after removal.

LockTite Makes a Gasket Sealer Stick that I use to hold the rear gasket into place during mounting. That has worked out well on since I installed it.

On the last job, I soaked the EGR parts in muriatic acid to clean them up. This is a slow process.


Then after the EGR parts are all cleaned up, I spray them with VHT Primer and Header paint.


Last edited by CS_AR; Sep 3, 2018 at 05:06 AM.
Newbie - Just Registered
Joined: Jun 2018
Posts: 3
Thread Starter
Junior Member
Joined: Jul 2002
Posts: 87
From: Atlanta, GA
Thanks @CS_AR for the updated tips and photos, so helpful. I like the idea of acid, which I have not used myself for any purposes. Though: it's amazing how well the solution does for this purpose. Also, great tip on the proper paint for a final touch.
Last edited by marktab; Sep 3, 2018 at 08:44 AM. Reason: link
Thread Starter
Junior Member
Joined: Jul 2002
Posts: 87
From: Atlanta, GA
Updated Photos
Eleven years later: and time for a new cleaning. I updated the pictures because the original host (photo bucket) put a banner on all of them, so I could not see the directions anymore.  But I found another photo hosting company: I have all my photos, the original untouched, and the ones with the helpful words on them. And now, I'm going to use my own directions to do my maintenance.
But I found another photo hosting company: I have all my photos, the original untouched, and the ones with the helpful words on them. And now, I'm going to use my own directions to do my maintenance.
Thread Starter
Junior Member
Joined: Jul 2002
Posts: 87
From: Atlanta, GA
@CS_AR I updated my photos: time for maintenance (no codes but I'm catching up on the following activities):
- Clean EGR Valve
- Change Spark Plugs (Iridium from Rock Auto)
- Change Transmission Resistor (that was an interesting thread)
- Already changed oxygen sensors (which were throwing a code -- had NGK, but going with Bosch which externally looks like better brand)
- Fuel filter
Last edited by marktab; Jul 3, 2020 at 07:21 PM.

Thread
Thread Starter
Forum
Replies
Last Post
swatspyder
General Maxima Discussion
71
Apr 13, 2007 06:20 PM
whazzzzuup
Members Rides
63
Nov 15, 2006 08:59 PM
Nealoc187
General Maxima Discussion
28
May 5, 2003 11:08 AM