
Quick question for replacing window switch?


Thread Starter
Member
Joined: Sep 2011
Posts: 261
From: Lubbock, Texas
Quick question for replacing window switch?
I'm in the process of LEDing my window switches in my 2000 GLE. But, I messed up pretty bad on this first one. Fortunately it's only the rear drive side one. I tried soldering it back together, but I'm no good at that either...
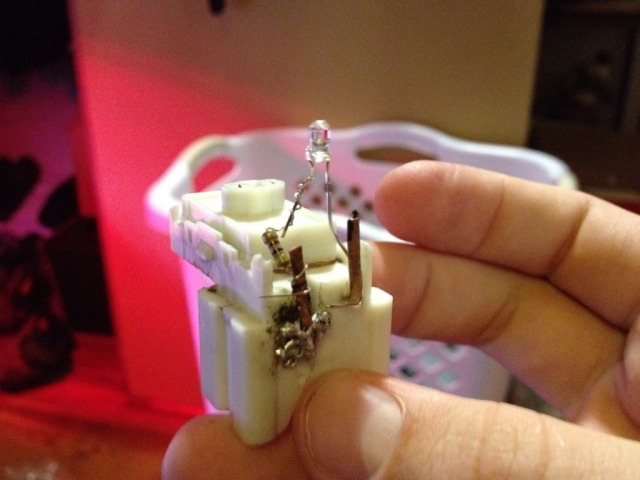
So I'm going to give up on this one and order a replacement from www.nissanpartsasap.com. But, what part exactly should I be looking for? Here's what I'm seeing:
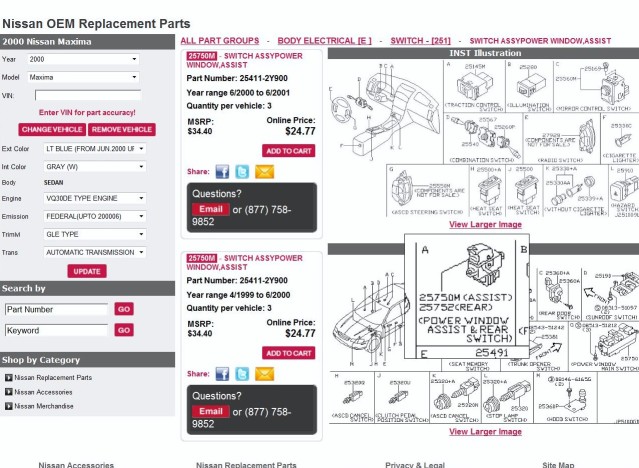
I think this is the part I need, but I'd like to confirm this with you guys. I need this to replace the rear driver side switch. I assume the back seat ones are interchangable (I already did the passenger side with success and no mess).
So, is this part (25750M) what I need? Thanks in advance.
So I'm going to give up on this one and order a replacement from www.nissanpartsasap.com. But, what part exactly should I be looking for? Here's what I'm seeing:
I think this is the part I need, but I'd like to confirm this with you guys. I need this to replace the rear driver side switch. I assume the back seat ones are interchangable (I already did the passenger side with success and no mess).
So, is this part (25750M) what I need? Thanks in advance.


Thread Starter
Member
Joined: Sep 2011
Posts: 261
From: Lubbock, Texas


One of the secrets of soldering is to have the proper amount of heat. For soldering small wires and the LED leads, you should have a 12 to 15 watt soldering iron. Too hihigh a wattage iron means too much heat which melts connectoer and burns up components.
Thread Starter
Member
Joined: Sep 2011
Posts: 261
From: Lubbock, Texas
I've been doing this on my spare time and only have 1 done so far (not counting that soldered mess).
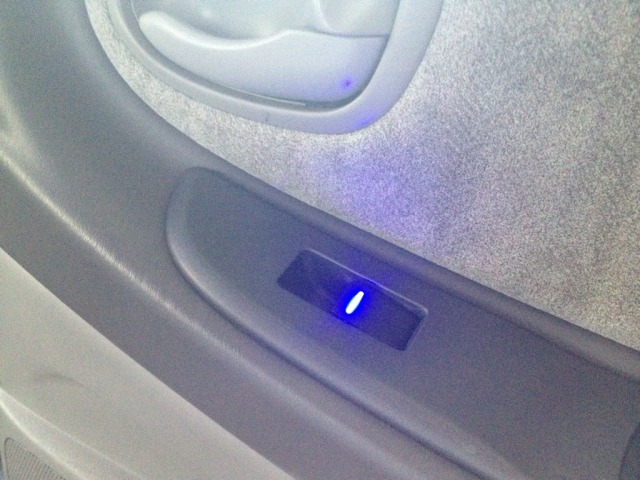
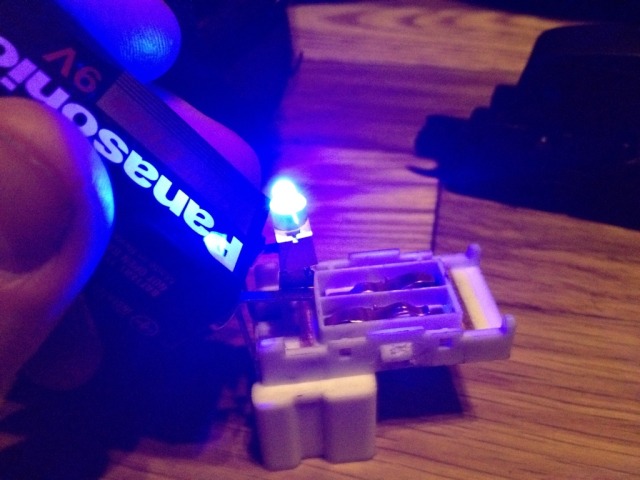
Instead of soldering, I took out the original LED and just added in a new one and a new resistor. Works perfectly with no issues. So, I'll probably do that for the other ones. It's the driver's side I'm dreading...
Instead of soldering, I took out the original LED and just added in a new one and a new resistor. Works perfectly with no issues. So, I'll probably do that for the other ones. It's the driver's side I'm dreading...
Gavin, kudos for trying, might I suggest practise on something that isn't important?
You should be sanding down any components before you solder, specifically the copper contacts, they have a coating on them and won't solder well, or will require excessive (plastic melting) heat before they adhere because you're basically melting the coating off with the solder gun.
Just like welding, the adhesion/solder/weld is only as good as the prep work.
Clean components/mating surfaces are MANDATORY for this stuff.
this.
Gavin, kudos for trying, might i suggest practise on something that isn't important?
You should be sanding down any components before you solder, specifically the copper contacts, they have a coating on them and won't solder well, or will require excessive (plastic melting) heat before they adhere because you're basically melting the coating off with the solder gun.
Just like welding, the adhesion/solder/weld is only as good as the prep work.
Clean components/mating surfaces are mandatory for this stuff.
Although, I wonder why you're doing it the hard way... you can re-use the little rubber part, bending the leads the same as the original LEDs in there. No soldering required on the leads aside from a tiny bit of a resistor to the positive LED leg.

 So how did you do that without soldering the resistor to the LED leg, I wonder?
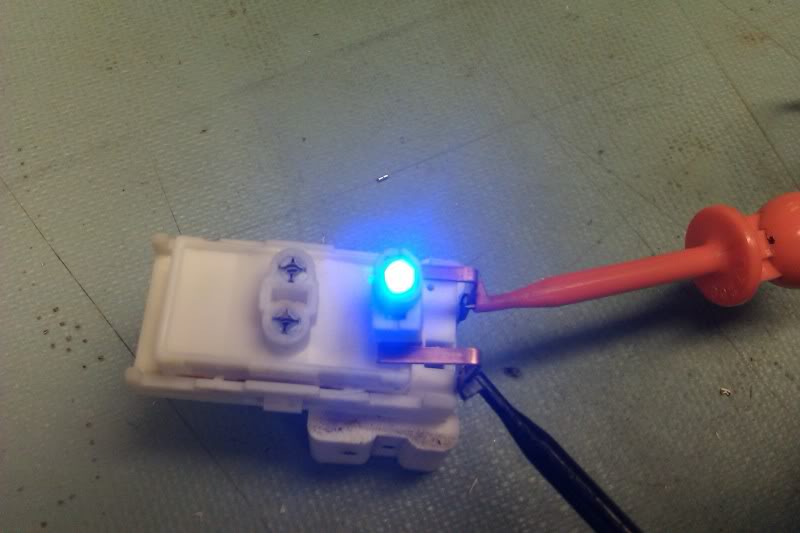


Thread
Thread Starter
Forum
Replies
Last Post
vingodine
5th Generation Classifieds (2000-2003)
45
May 21, 2016 12:46 PM
shaunkey1
5th Generation Maxima (2000-2003)
4
Aug 18, 2015 10:09 PM
kjm900r
4th Generation Maxima (1995-1999)
6
Aug 5, 2015 07:14 AM