
I read on another forum that the burger on a '11 was only glued on and doesn't have the pin holes that would need to be filled.
Is this also true for the '12, is it only glued on?
Has anyone else tried removing the burger off thier '12 yet?
I don't want to remove it and then find the pin holes. I figured I can remove the inside of the trunk and check but ya know that's effort
Is this also true for the '12, is it only glued on?
Has anyone else tried removing the burger off thier '12 yet?
I don't want to remove it and then find the pin holes. I figured I can remove the inside of the trunk and check but ya know that's effort


Senior Member
Except for a few minor visual changes the 2011 and 2012 models are basically identical. It would be highly unlikly that Nissan would change the trunk lid manufacturing process by drilling in a couple of holes to mount the emblem. Maybe when the 8th gen comes out, but not now when the 7th gen is coming to a close.
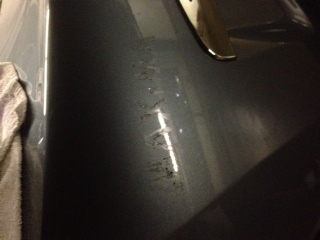
Pulled the carpet back and ran my hand behind, didn't feel any pins.
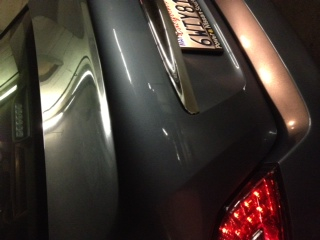
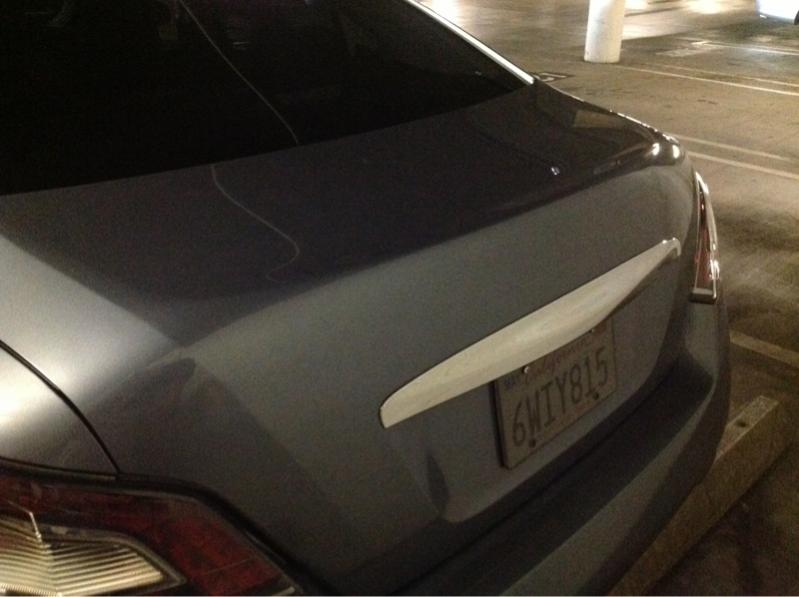
What a relief there are no holes to fill..... Time to debadge!
Anyone else do a full debadge on a 7th gen yet...
What a relief there are no holes to fill..... Time to debadge!
Anyone else do a full debadge on a 7th gen yet...

Senior Member
yeah a lot of people have cleaned everything off the back. just heat it up with a blowdryer and use some fishing line to saw it off then goo gone the residue

Member
I used the fishing line like ghozt said with no problems. An alternative to the fishing line is wax dental floss. I've heard that people like to use this in case they get too close to the paint, the wax on the floss adds as a protectant

Senior Member
Like other's said, hot day + blow dryer (indirect heat). Dental floss works fine but is more brittle than fishing line. Just take your time and don't worry about the leftover residue.
Once the emblems are gone, spray bug and tar remover over the area and let it sit for like 5 min. You should be able to peel off the bigger chunks with your fingers.
The remaining smaller pieces, soak those in a solvent like Goo Gone. Let it sit (but not dry) for several minutes. It should wipe of with a microfiber towel. you may have to apply slight pressure. Just remember, back and forth only ... NO CIRCLES.
Wash that area as you normally would ... dry and wax <--- this is important. The paint you just exposed has ZERO protection.
ps. don't be surprised if you still see the outline of the letters at CERTAIN angles. This is especially true on darker cars. A summer's worth of sun and regular washing/waxing will take care of it.
Drink a beer and admire the CLEAN-ness.

Member
you guys do know 3m makes a tool for removing the glue right i have one that has been with me for like 5 years and works like a champ,removes all glue in like then 30 secs.
http://www.amazon.com/dp/B00063VT0G
http://www.amazon.com/dp/B00063VT0G


Junior Member
thanks for this thread im actually in the middle of doing mine right now ... used goo gone and fishing line working great so far

Senior Member
Quote:
cant wait to see what you have done Originally Posted by Boslax6123
I'll be back later this week with a pic of the first two minor mods, tint and full trunk debadge.

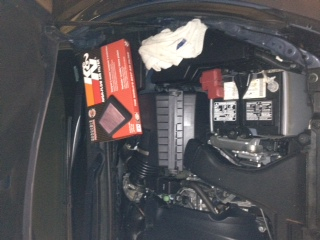
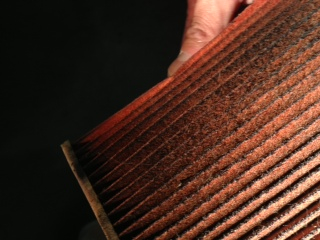
Okk so tonites plan was to swap out the air filter for a K&N, Debadge and remove/prep the grill. Got the first two done. The air filter def needed a change, had the car a week...picked it up certified per-owned - sales guy says they go through this crazy inspection(BS) you think they would have checked the air filter. Car has 15.5k on it. Anyways here are some pics I took from my phone of .... Ill take better pics next time.
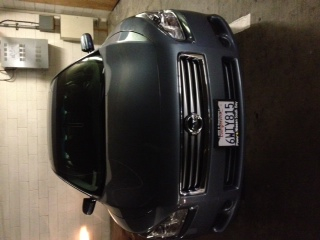
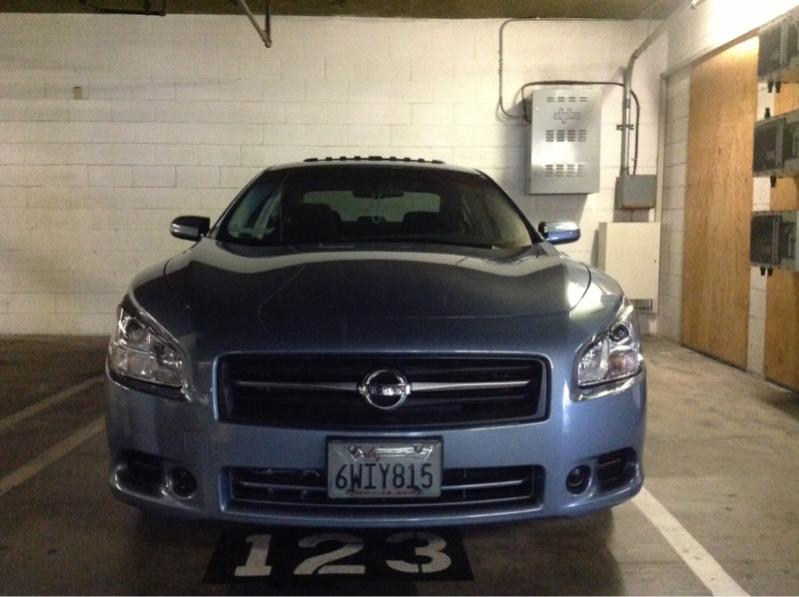
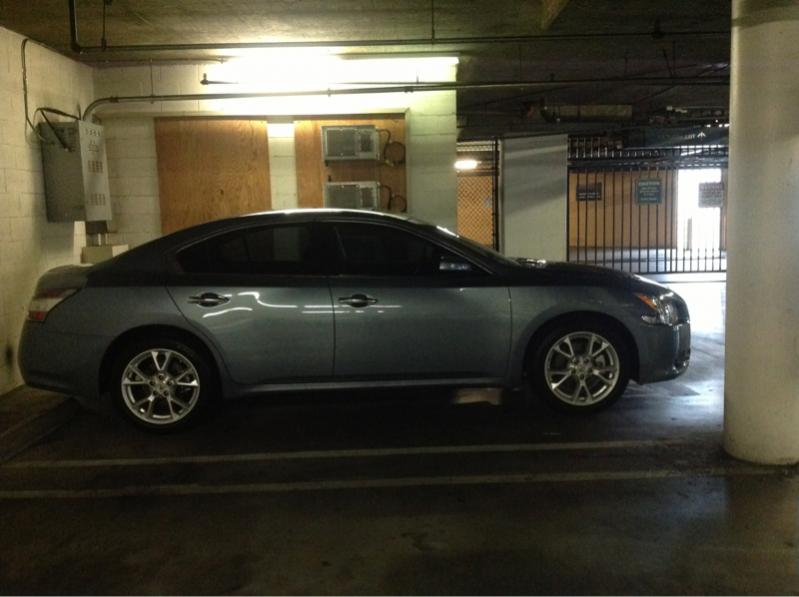
So after a busy week I have a new shiny car to show.
Got a 35% tint all around, painted the grill and got it detailed. That went with the debadge and air filter change earlier in the week. Next I want to get a flush mount for my ipad and springs to lower it.
Got a 35% tint all around, painted the grill and got it detailed. That went with the debadge and air filter change earlier in the week. Next I want to get a flush mount for my ipad and springs to lower it.


Junior Member
Let me know if I'm the 1st or 50th person to think of this - this thread inspired me to take the ma-ima and leave the X... only works for those of us with 2010s /random thought
/random thought
Quote:
For sure, thanks....forgot to mention interior LED's too, gotta do some searching....Originally Posted by migonzo02
Looking really nice ! Keep us posted !
Quote:
/random thought
Photoshop it and see what it looks like....I've yet to see/hear anyone doing that! Dooo it!!,Originally Posted by gormehn
Let me know if I'm the 1st or 50th person to think of this - this thread inspired me to take the ma-ima and leave the X... only works for those of us with 2010s /random thought
Senior Member
Quote:
iJDMtoy.com ... got all interior lights from them a few months ago. They're looking good still going strong.Originally Posted by Boslax6123
For sure, thanks....forgot to mention interior LED's too, gotta do some searching....
Got license plate LEDs and trunk LEDs from vLEDs ... they look good too.
Both companies are pretty reputable.
Junior Member
Quote:
Words of encouragement! Photoshop def the first step I'll mess with it in the morn.Originally Posted by Boslax6123
Photoshop it and see what it looks like....I've yet to see/hear anyone doing that! Dooo it!!,
Ever seen someone reapply the badge in a new place?
Senior Member
Quote:
Ever seen someone reapply the badge in a new place?
I've got mine re-badged in the same spot.Originally Posted by gormehn
Words of encouragement! Photoshop def the first step I'll mess with it in the morn.Ever seen someone reapply the badge in a new place?
Quote:
iJDMtoy.com ... got all interior lights from them a few months ago. They're looking good still going strong.
Got license plate LEDs and trunk LEDs from vLEDs ... they look good too.
Both companies are pretty reputable.
Def appreciate the links, thxs!Originally Posted by Jig9798
iJDMtoy.com ... got all interior lights from them a few months ago. They're looking good still going strong.
Got license plate LEDs and trunk LEDs from vLEDs ... they look good too.
Both companies are pretty reputable.
Quote:
Def appreciate the links, thxs!
Out of curiosity any particular reason you got them from 2 different vendors? One vendor seems to have the who kit plus any add ones like license plate, etc...Originally Posted by Boslax6123
Def appreciate the links, thxs!
Quote:
Appreciate it man! Next up will be the bottom lip, inside only and the rear bottom bumber above the exhaust tips. Cant wait!Originally Posted by eesjunin
^ love the front! looks good!