When you click on links to various merchants on this site and make a purchase, this can result in this site earning a commission. Affiliate programs and affiliations include, but are not limited to, the eBay Partner Network.
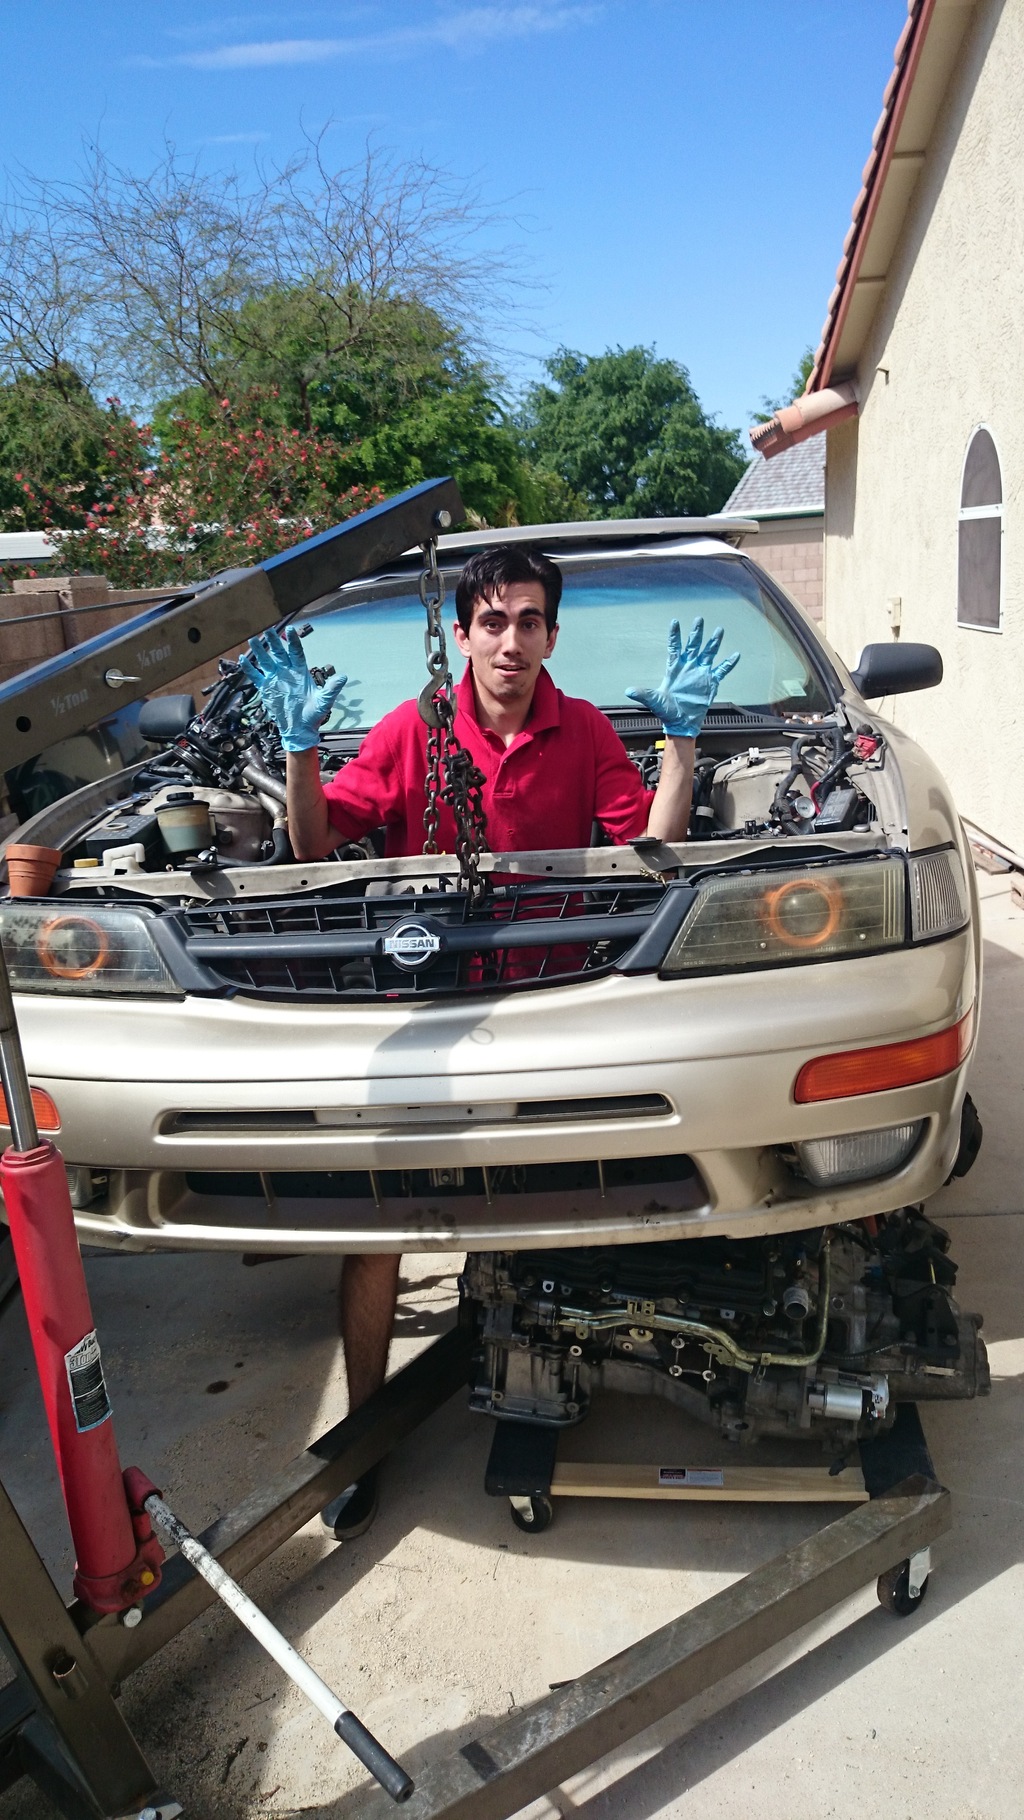
Told myself today, "I should start a build thread" so that is what I did here.
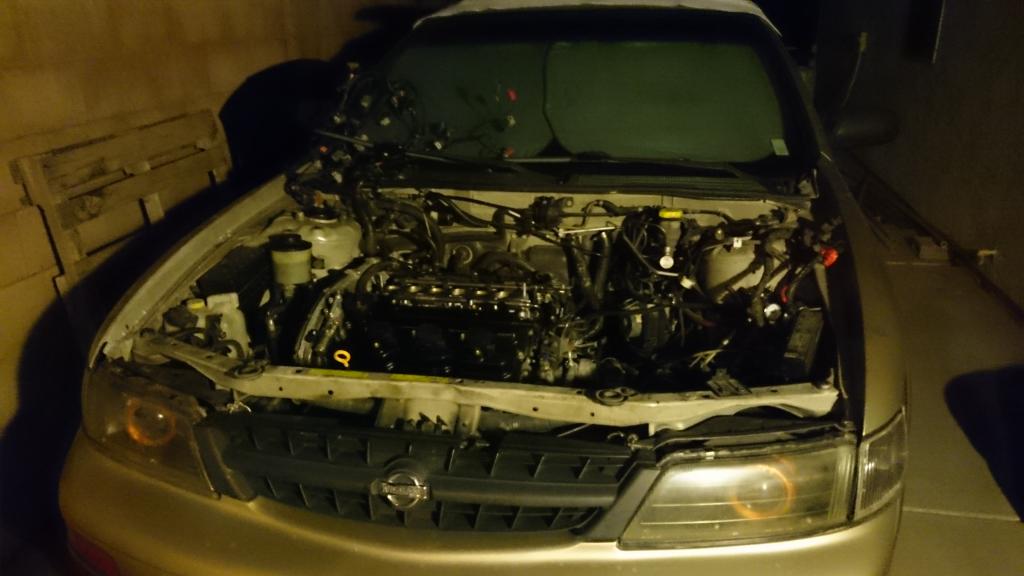
I have a 1999 Nissan Maxima 5speed with 3.5 swap. Anyways 6speed swap starting soon... stay posted. Here is a minor list of parts I have....
6speed HSLD transmission
new JWT flywheel and clutch
ralco short shifter
reman starter
shifter with some ES bushings
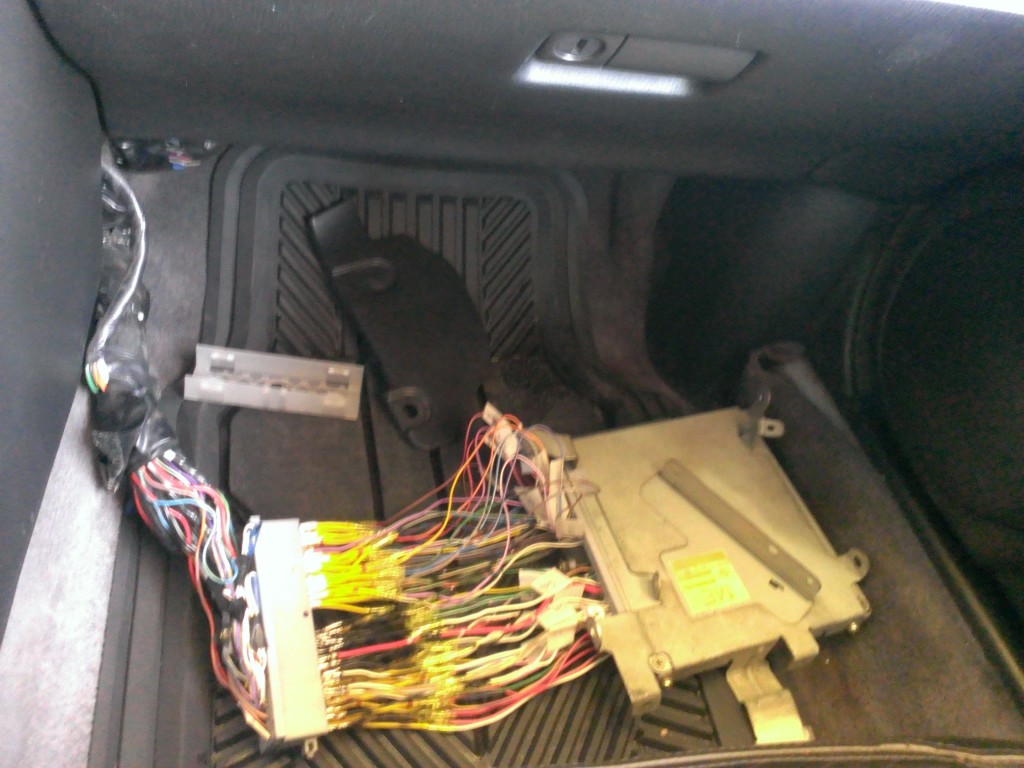
Greddy Emanage Ultimate with PNP patch harness (you do not want to know how long that took me to finish..)
Altima headers
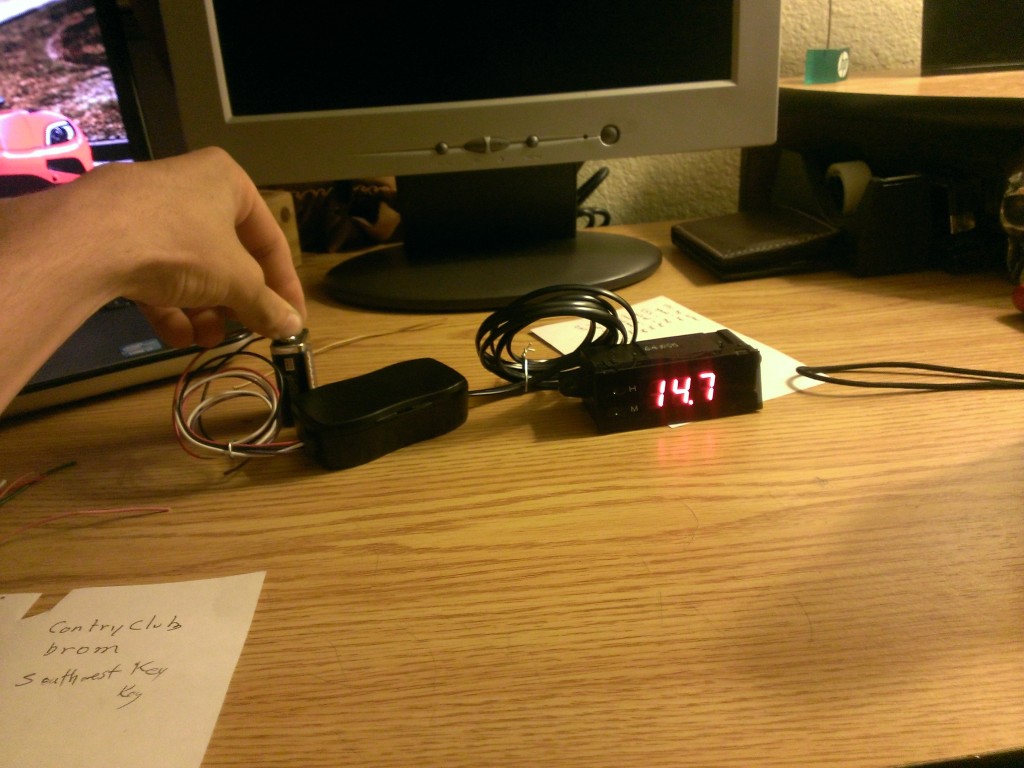
Zeitronix wideband..
Im sure I am forgetting some more parts. Il post plenty of pictures thought. I know you guys love pictures.
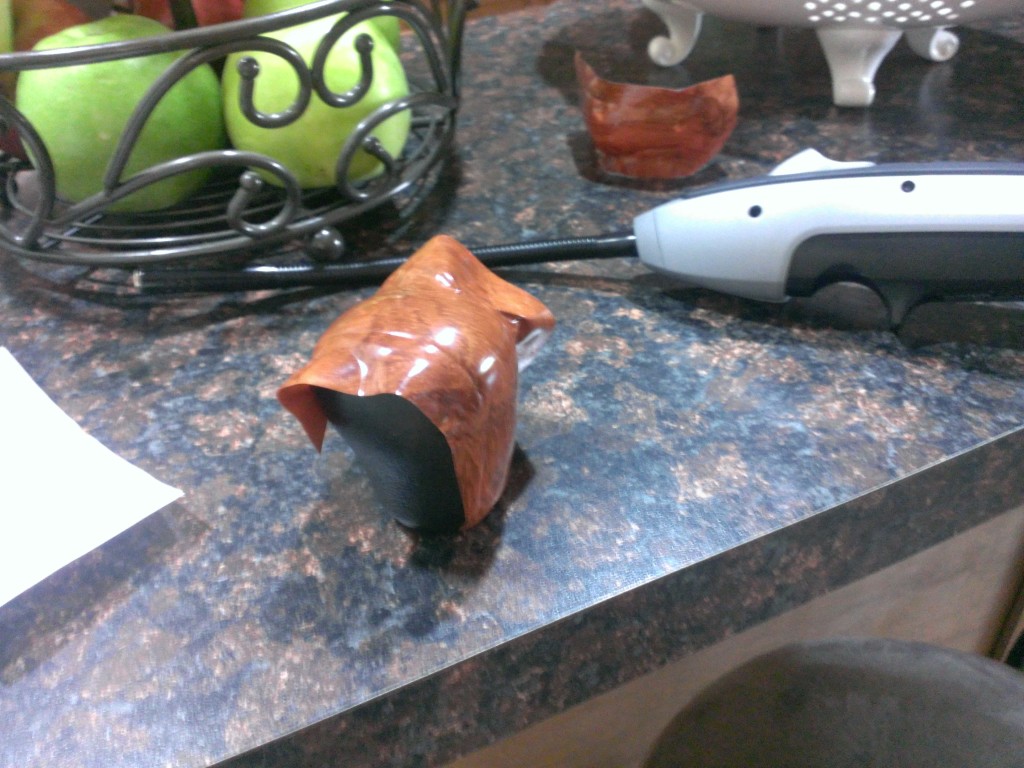
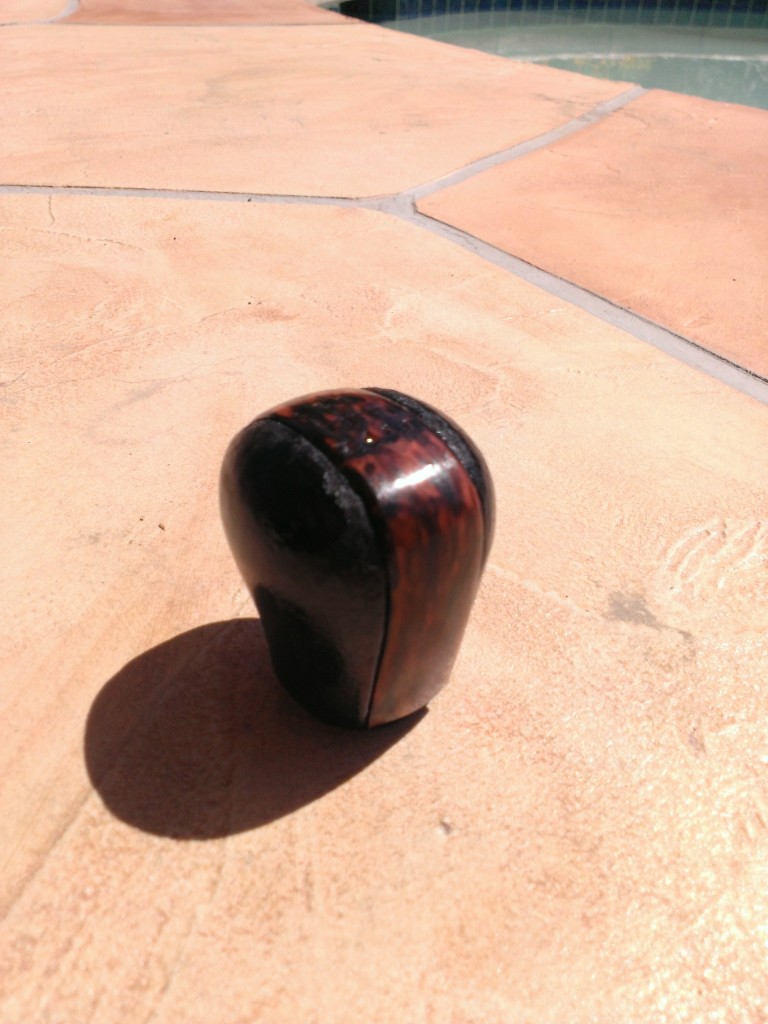
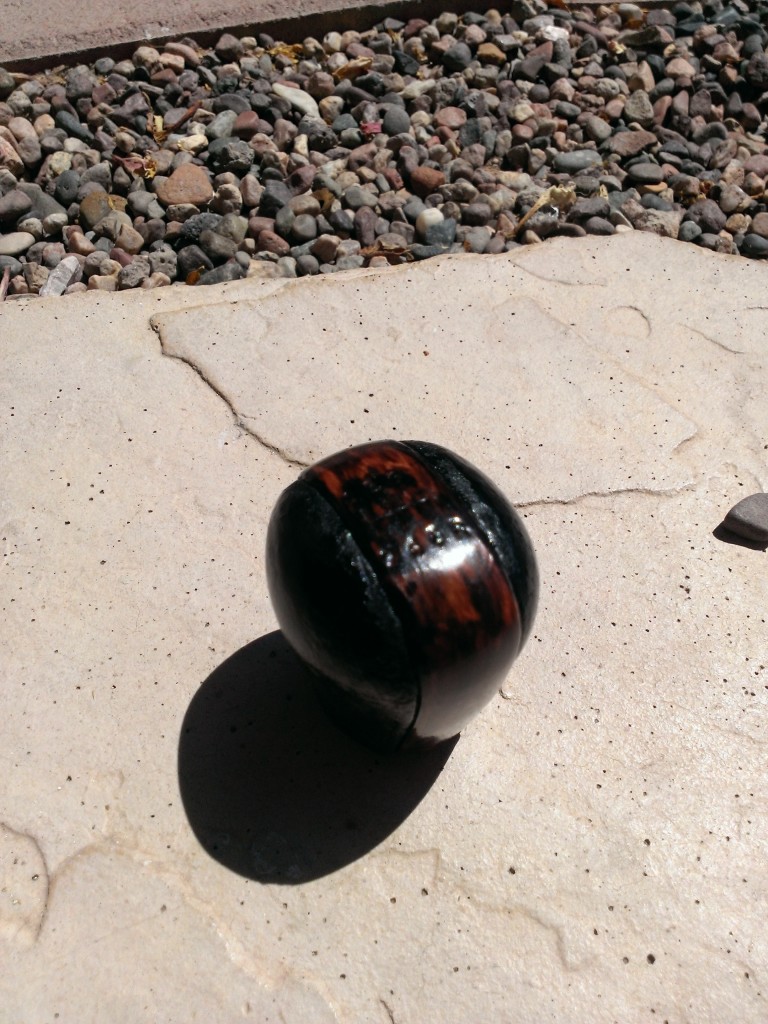
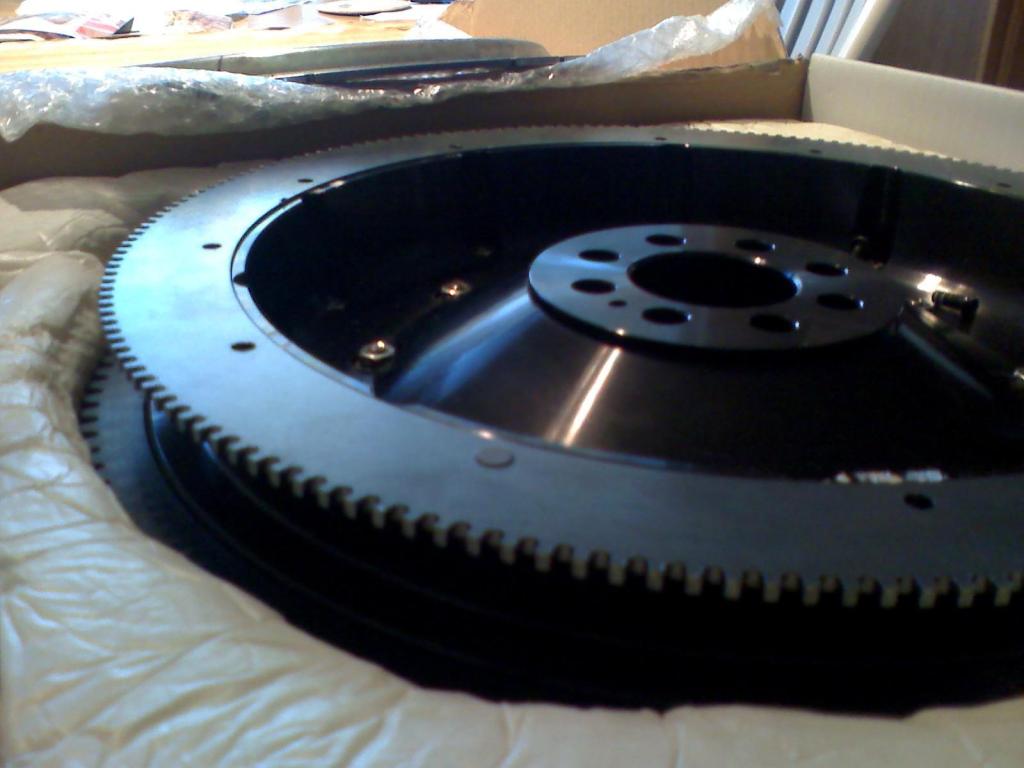
When I was done I decided it was too shiny for my taste so I grabbed some leftover black paint and a cotton swap and did this to give it a burnt look... Quite happy the way it came out. Should match my interior theme with black/woodgrain...
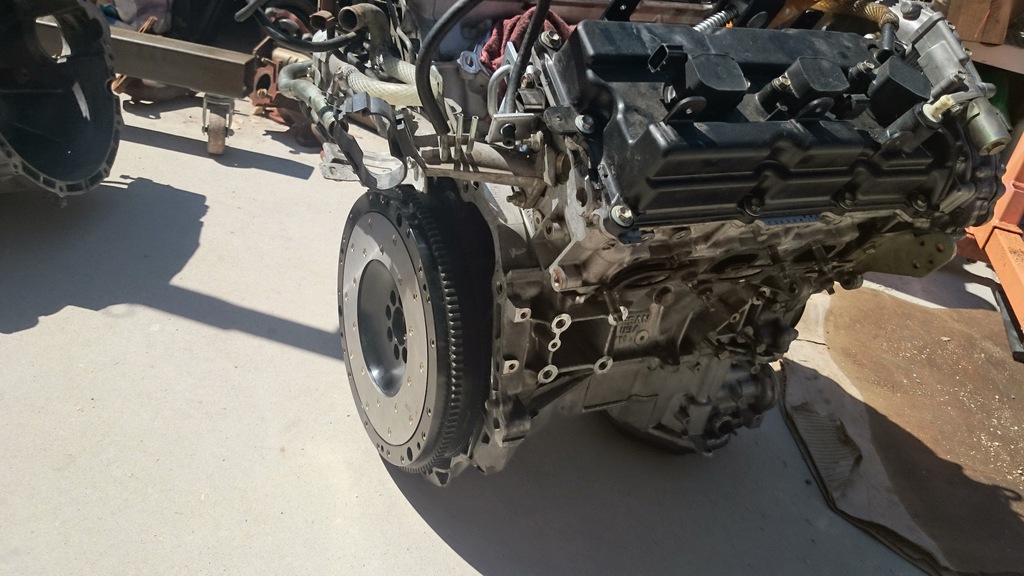
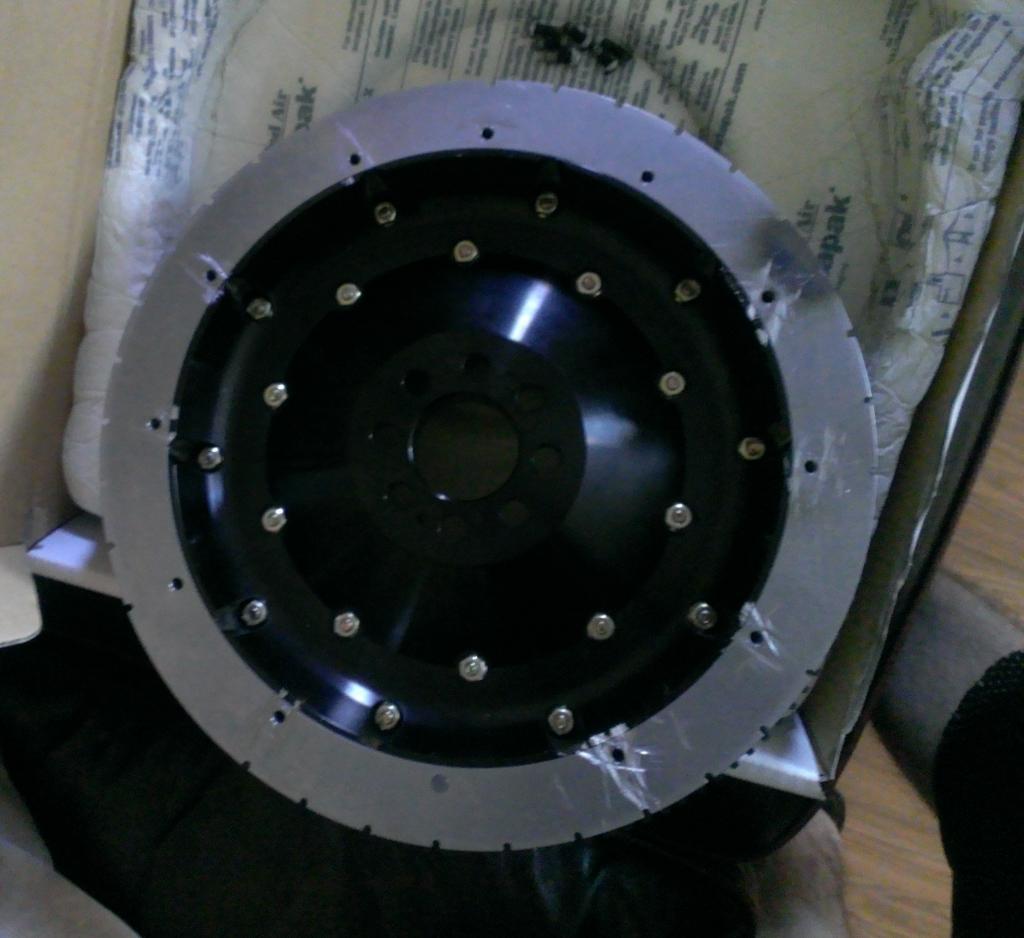
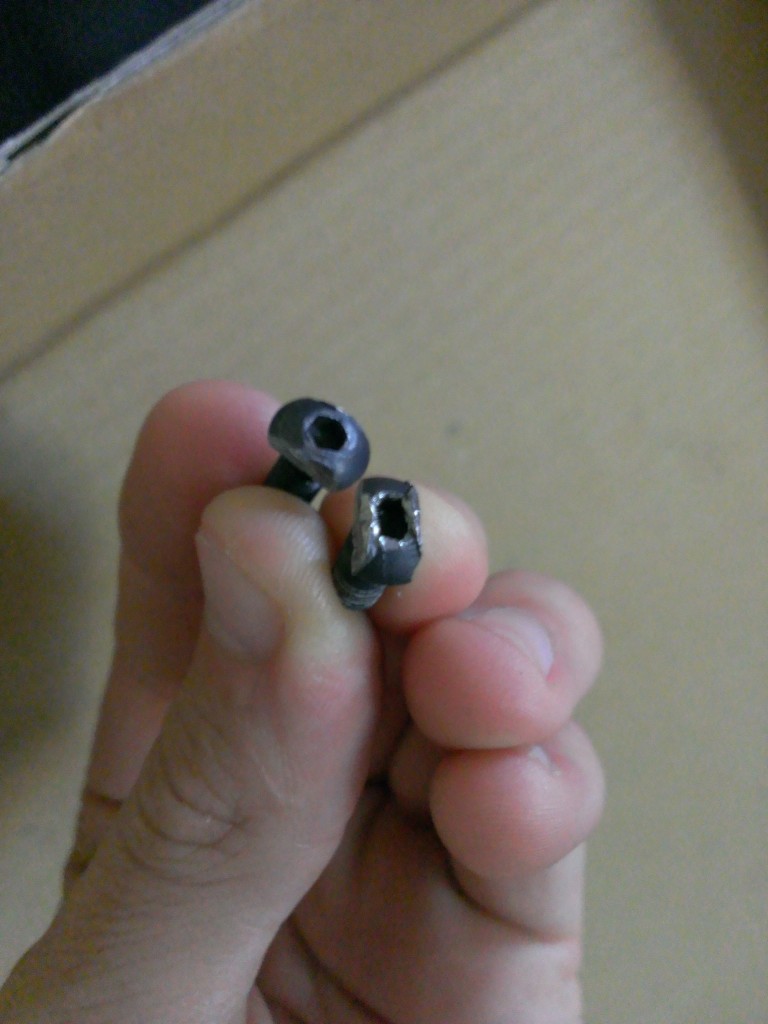
I was being held up by the flywheel because the timing ring would not come off so easily as I anticipated. The bolts were stuck in there with thread locker and heating them up did not work. The hex Allen wrench kept skipping in most of the bolts. Took a grinder to grind the sides of the bolts since they were tapered and vice grips to grab them and that did the trick.
Was skeptical at first using the grinder since that flywheel cost me a pretty penny but I showed that flywheel whose in charge....
Old 3.5 timing ring is off and the 3.0 timing ring will be done and bolted on soon...
Well here is the 'damage' that was done to the flywheel. It isn't too bad just sort of scratched the 3.5 timing ring that was on there. I grinded the sides of the bolts so I can grab it with some vice grips and it worked.
I tried heating the bolts with a torch as you can tell by the blemish in the upper part of the ring. Didn't work. Those little effers had a lot of thread locker. The ring is still good, didn't warp or anything just got some light scratches. But a 3.0 ring will be done soon.
Nice. I have universal MOMO woodgrain shifter from when I used to run wood in the car.
Nice. Pictures? I would have preferred an actual wood shifter but this will do. It was easy and cheap.
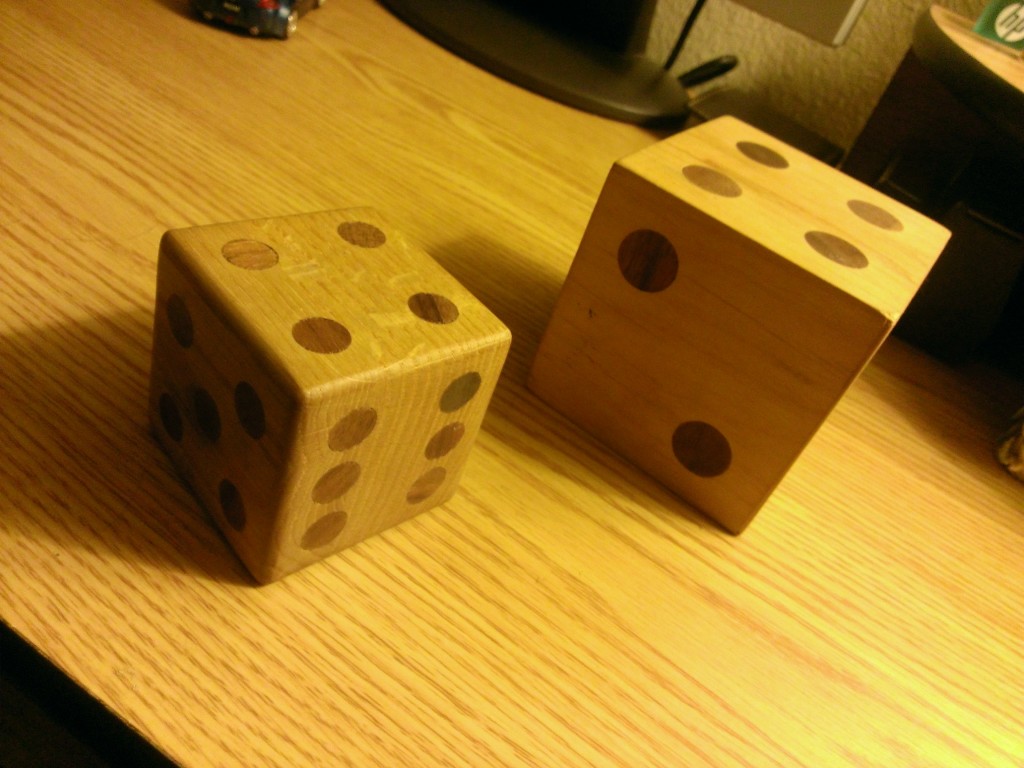
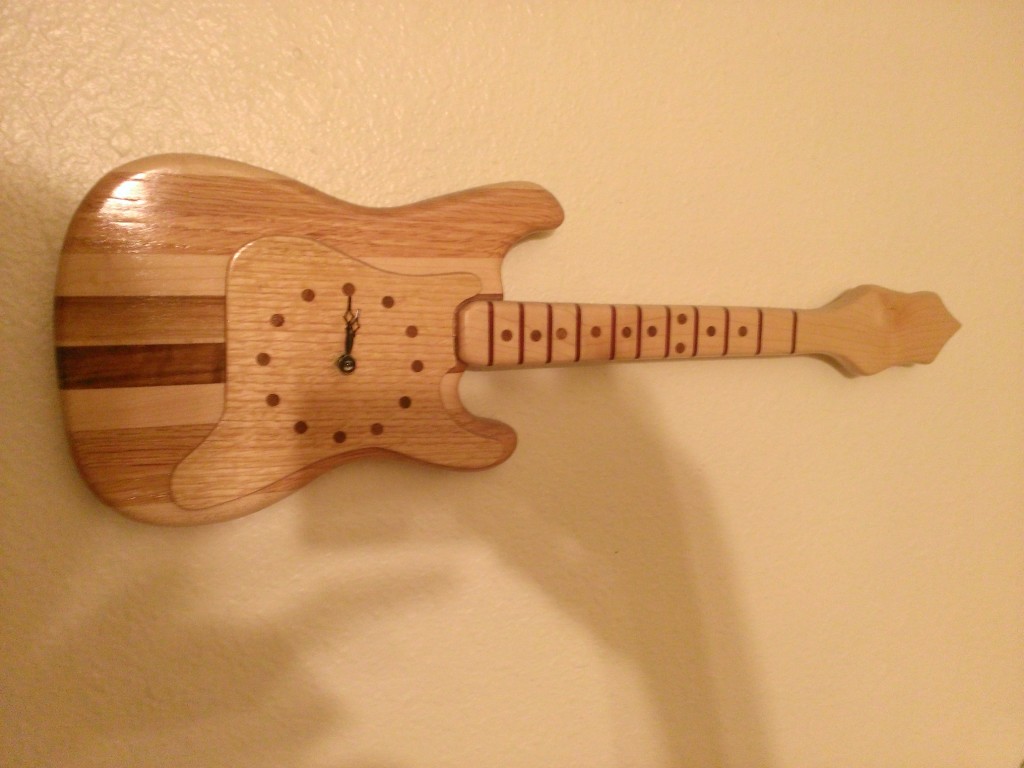
My little brother took shop class when he was in high school and he made wooden dice, a wooden guitar clock, and random wood stuff. Should have asked him to make me a wood shift ****.
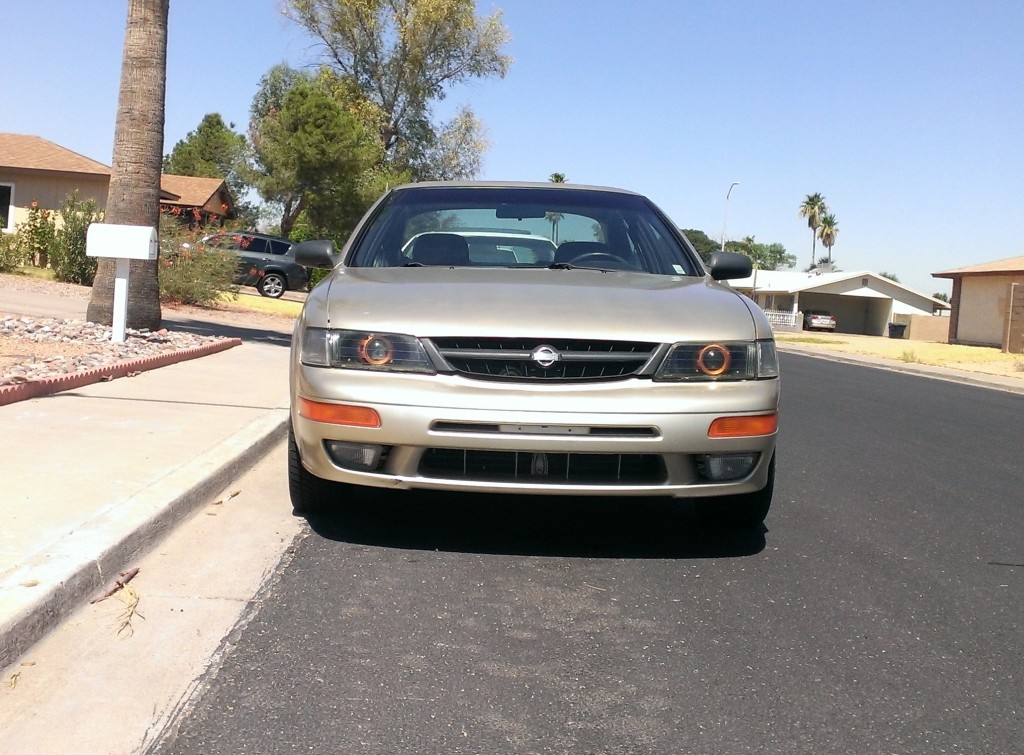
Not that anybody cares (but me) but I cleaned her up. The nice thing about the sunlit sand color is that you can't tell the car is dirty until you're like a foot away from it...
Those bronze or copper projector shrouds look cool with that color Maxima....I still have a '93 beater Altima that's nearly the same color. Awesome when you don't feel like washing the car for a month or few lol
Well, not much to update on... Been shuffling through jobs, summer school, etc. Timing ring is still "in the works".
I did install control arms with new ball joints and poly bushings. What a pain to install but I must say what a difference! The car feels much more planted and firm. Love it!
The other day I opened my home-made block off plate on the passenger side of the intake manifold only to find a nice puddle of oil in there. So I decided to install an ebay oil catch can see if it reduces my oil burning woes from the PCV valve... Il ****** pictures later and Ill keep you guys posted...
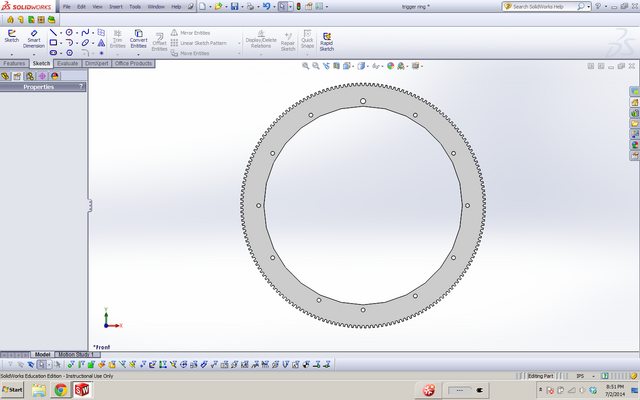
I finally got the ball rolling on this project. It is costing more than I expected but that is because I am buying mostly new parts with warranty etc. Will have some quotes by Friday on the timing ring and possibly make a batch to sell to maxima enthusiasts. Piecing together the last few necessary parts and hopefully we can tear into the car by next week... Stay posted...
Well looks like we have deal on the timing ring from a local shop. Will have the first prototype made for my car and if it works will be getting a batch. Should be done in about a week. More updates to follow with pictures hopefully...
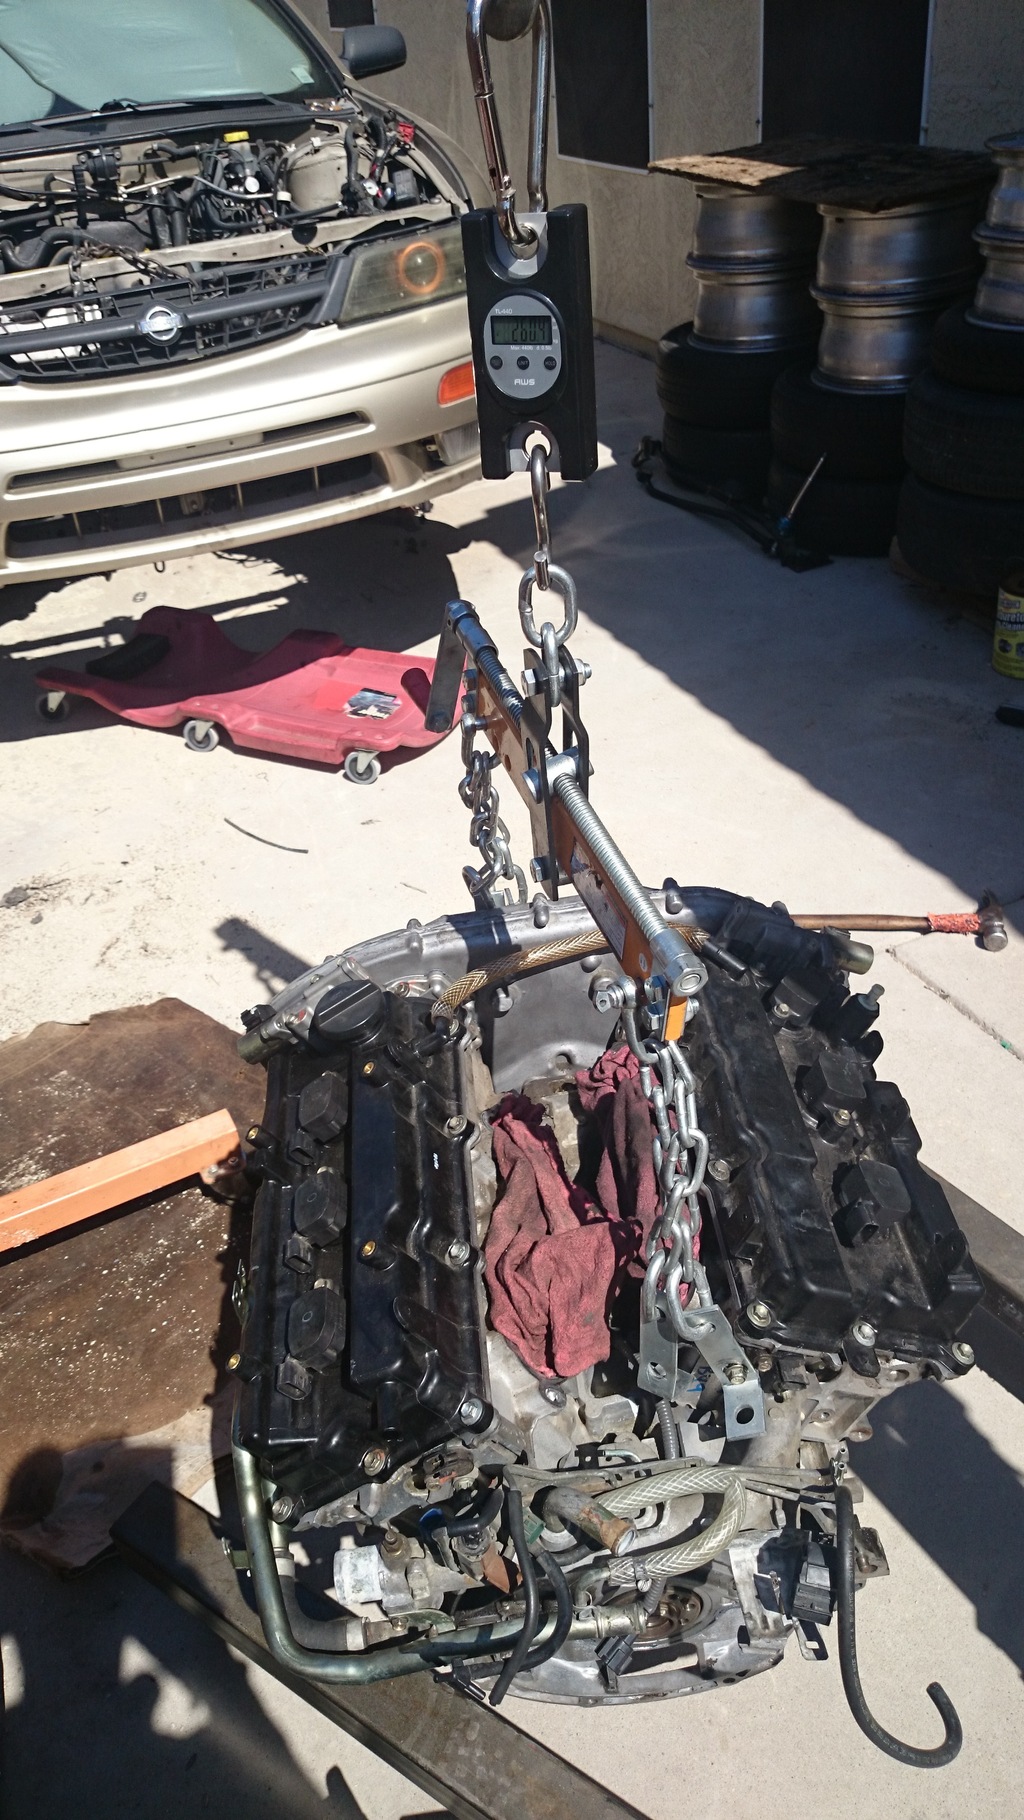
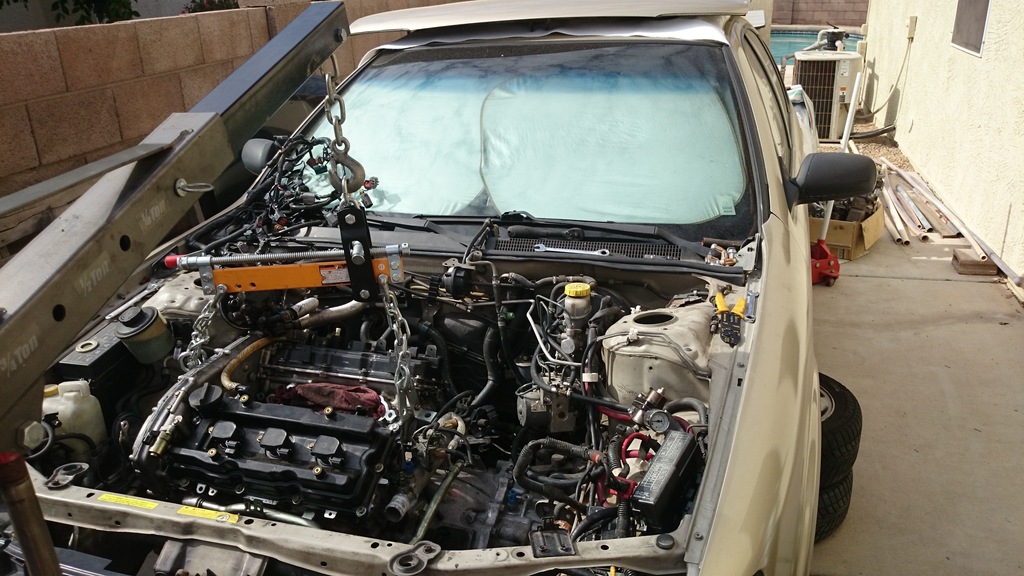
Well just a small update. Engine is clean and bolted up to the transmission. We will connect just the necessary items for the engine to start, make sure it starts and go from there.
A new idea was tossed around for the transmission mount and we both liked it so we will attempt this new idea as opposed to grinding off the old mount and bolting/welding the 6 speed one.


 So I decided to install an ebay oil catch can see if it reduces my oil burning woes from the PCV valve... Il ****** pictures later and Ill keep you guys posted...


 I did add picture credit.