My Install - tons of pics

Thread Starter
ahhh! cliMAX!

Joined: May 2005
Posts: 792
My Install - tons of pics
*****WARNING TONS OF PICS********
Hey guys..
My car was purchased with mb quart interior speakers powered by a rockford fosgate amp.
There was almost no bass in the car because the previous owner removed his subwoofer when the car was sold.
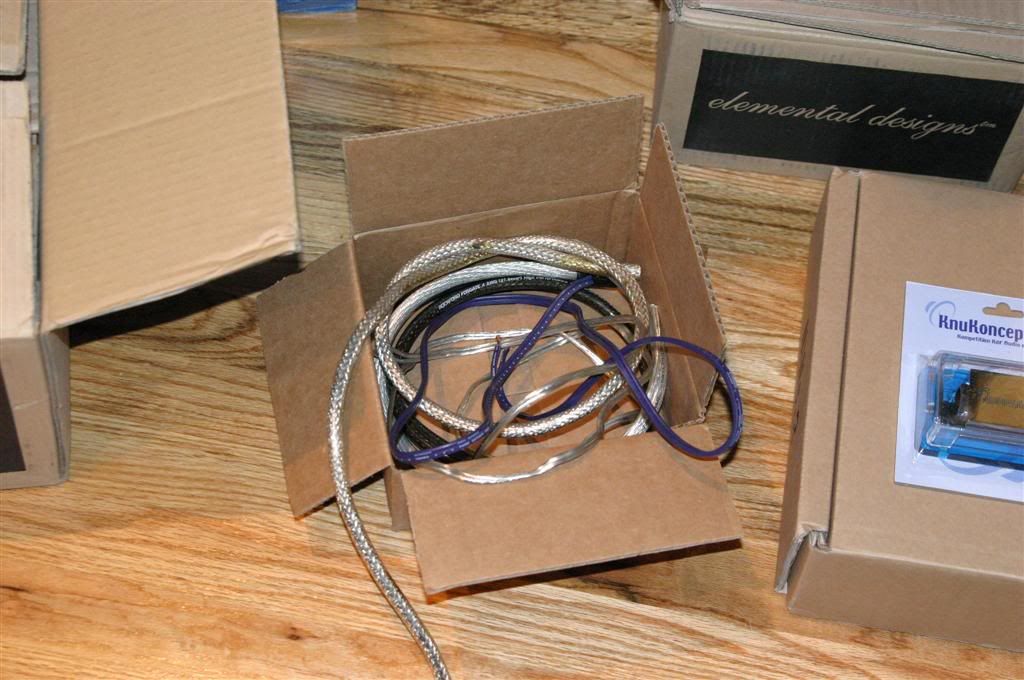
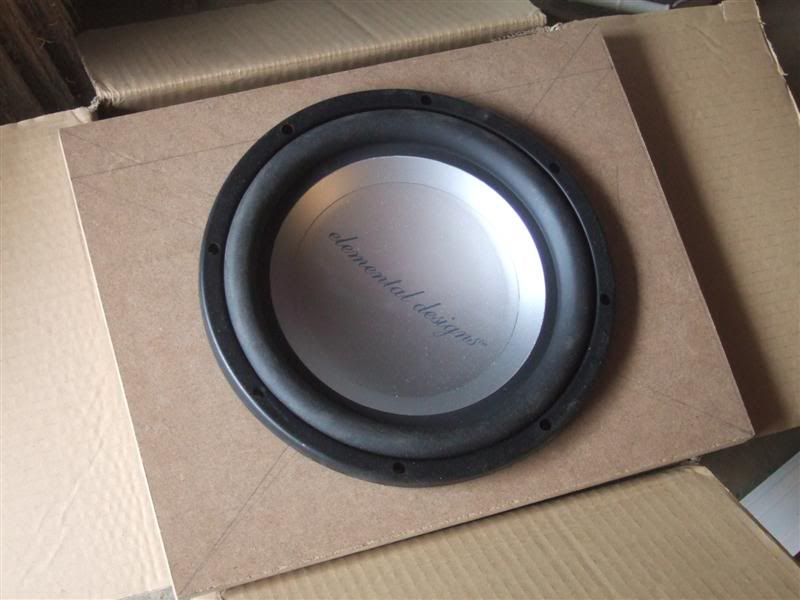
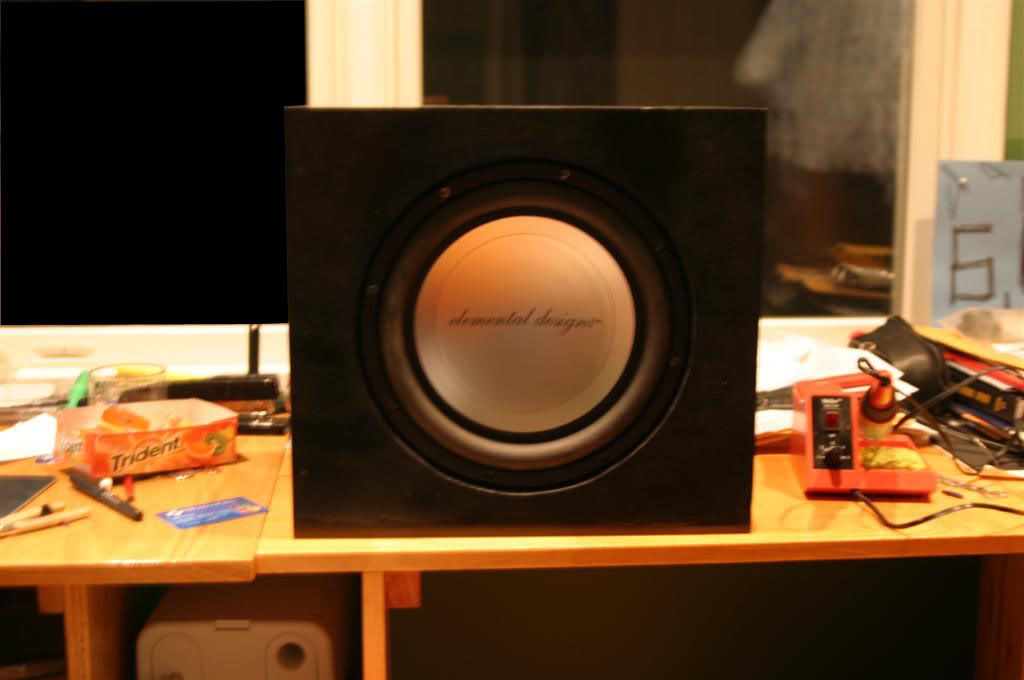
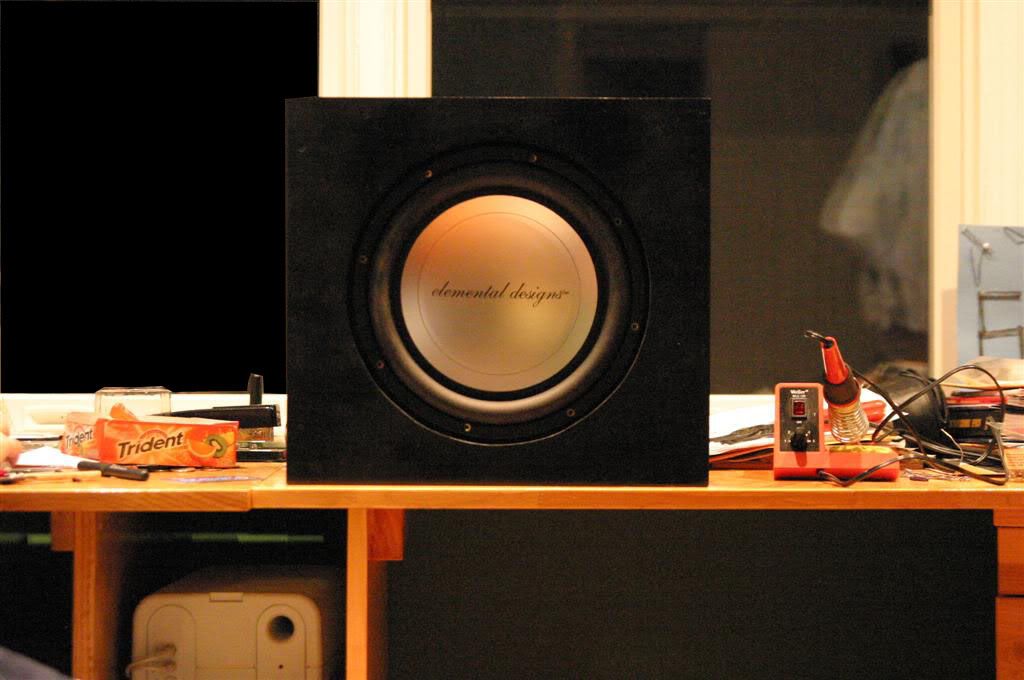
I purchased a Nine.2 amp to power a 11kv.2 subwoofer from Elemental Designs (http://www.edesignaudio.com)
Here are all the goods
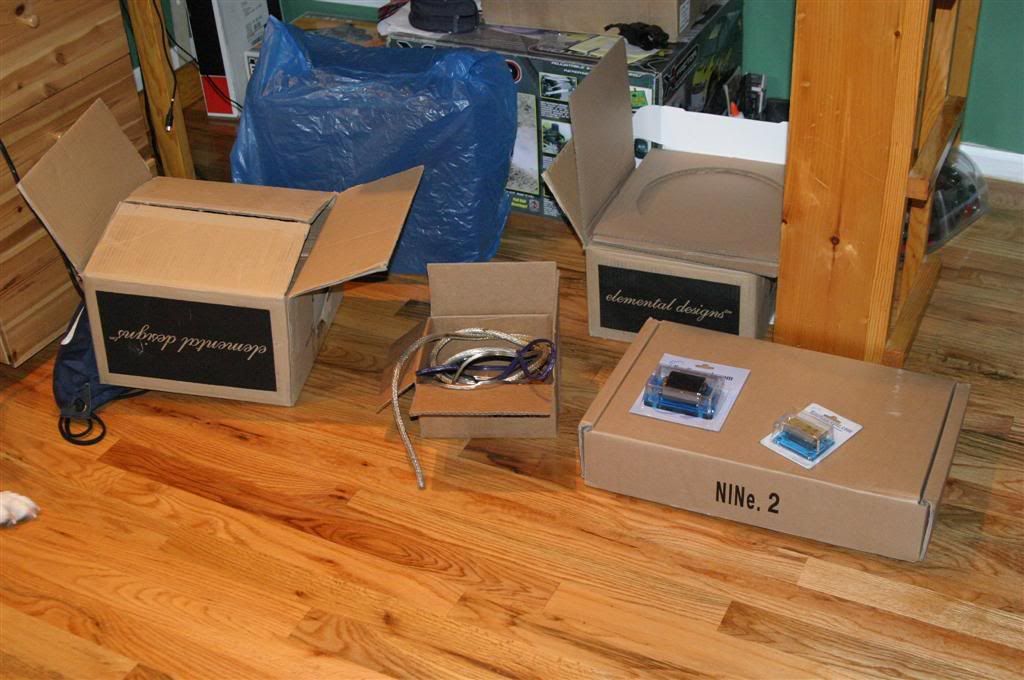
The Second subwoofer you see is for a home theater project I will be doing next...
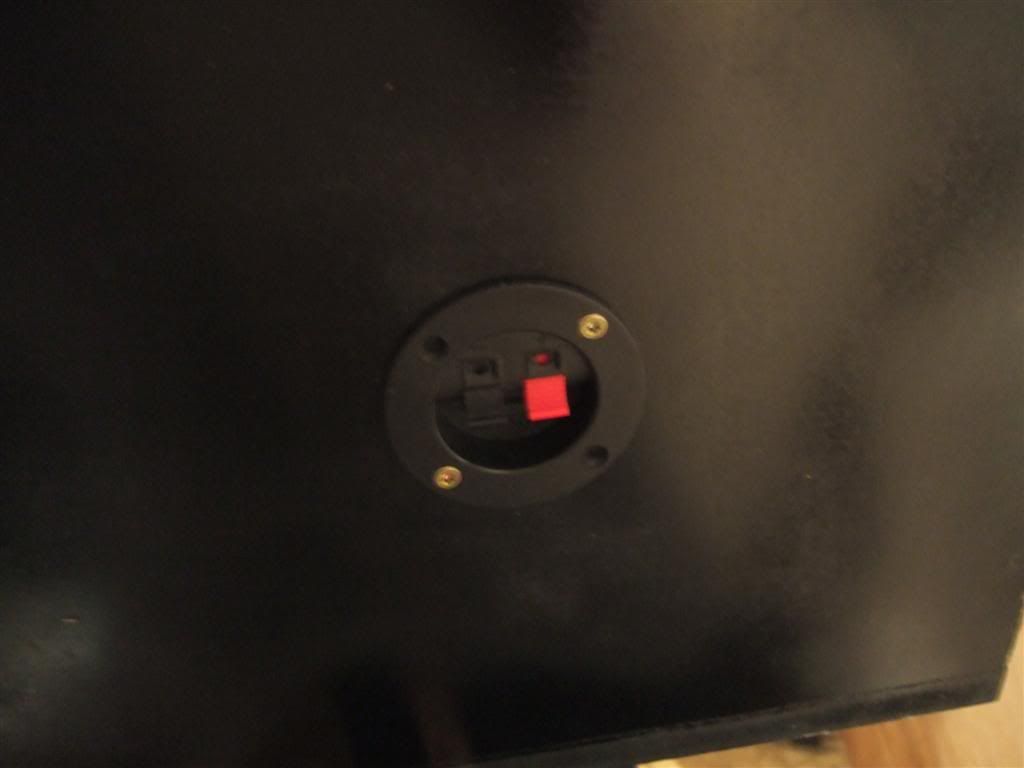
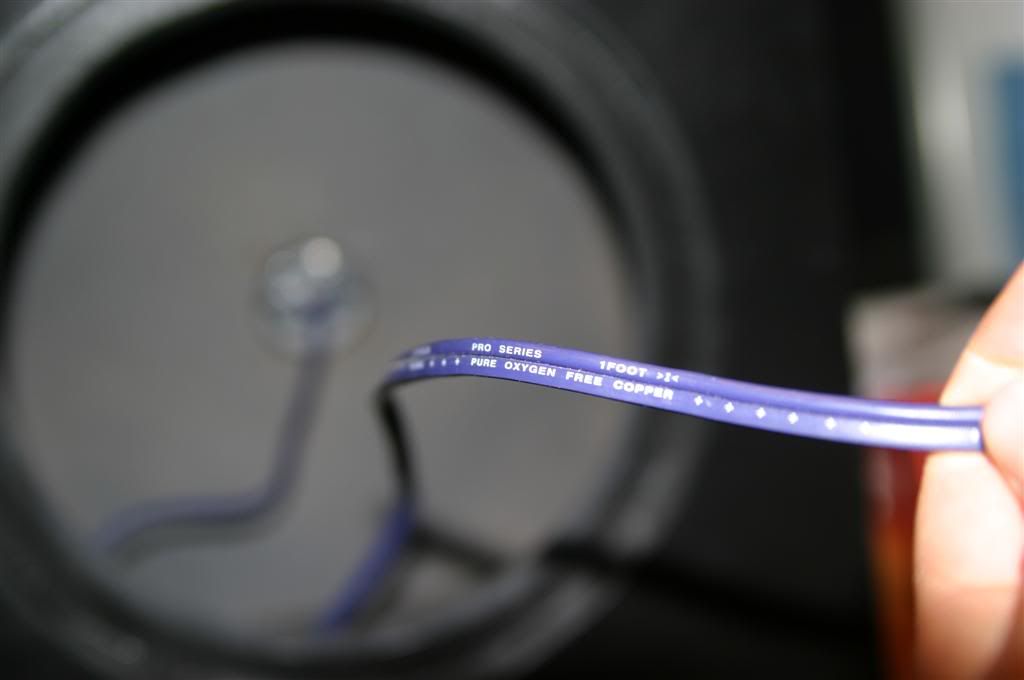
Much Thanks to Nilesh (djfrestyl) for hooking me up with some wires and the wiring cup
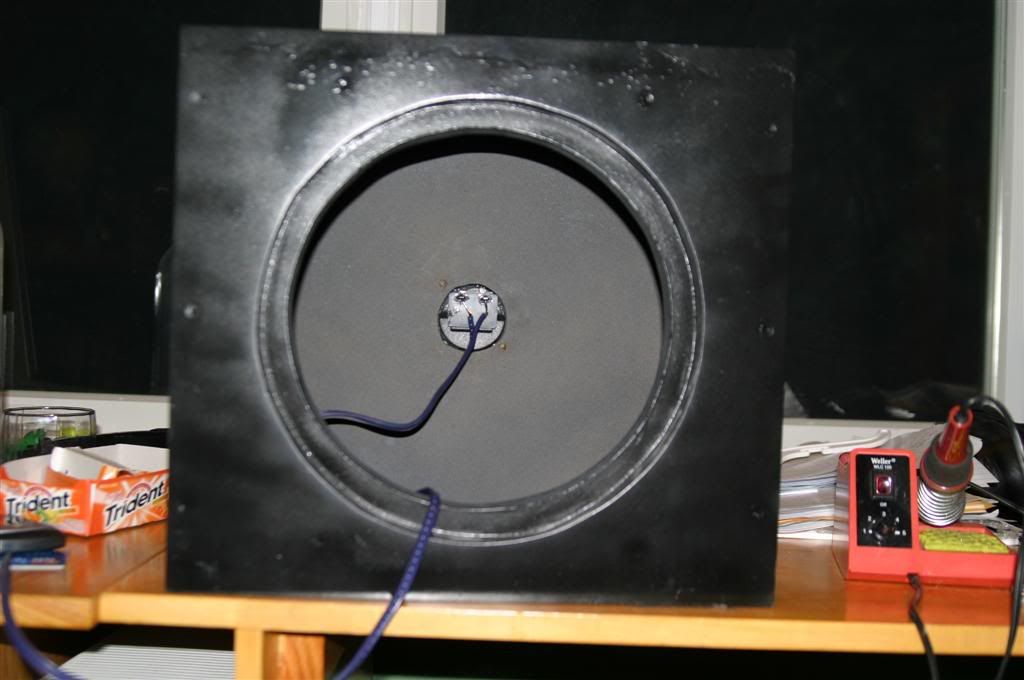
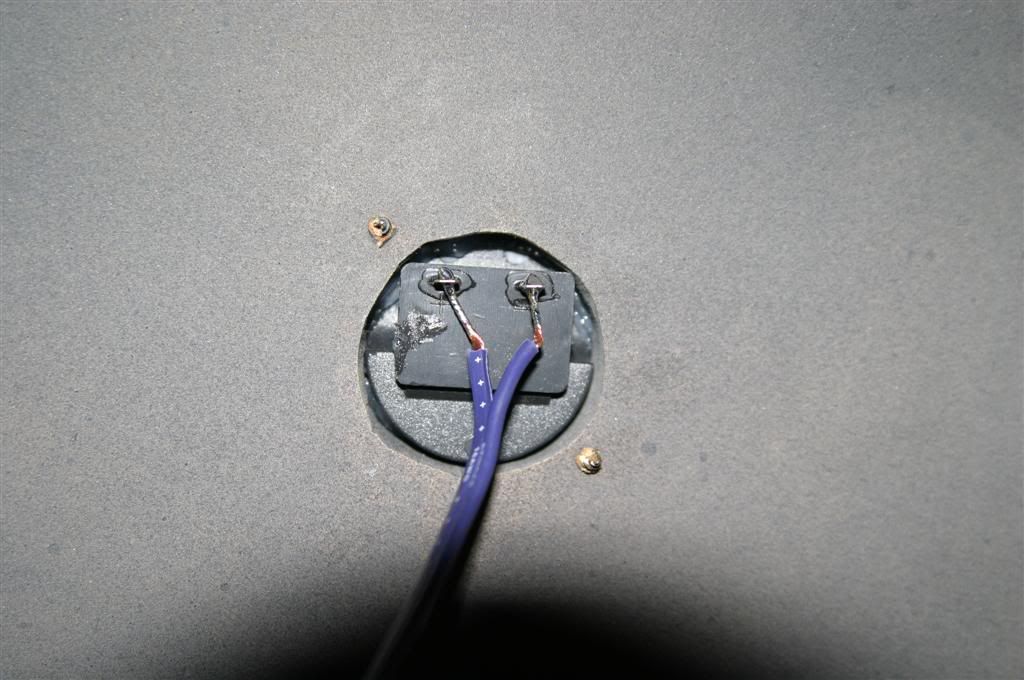
The woofer is a dual 2 [wired in parallel to make a 4ohm load]
The woofer will be seeing 400watts rms @ 4ohm
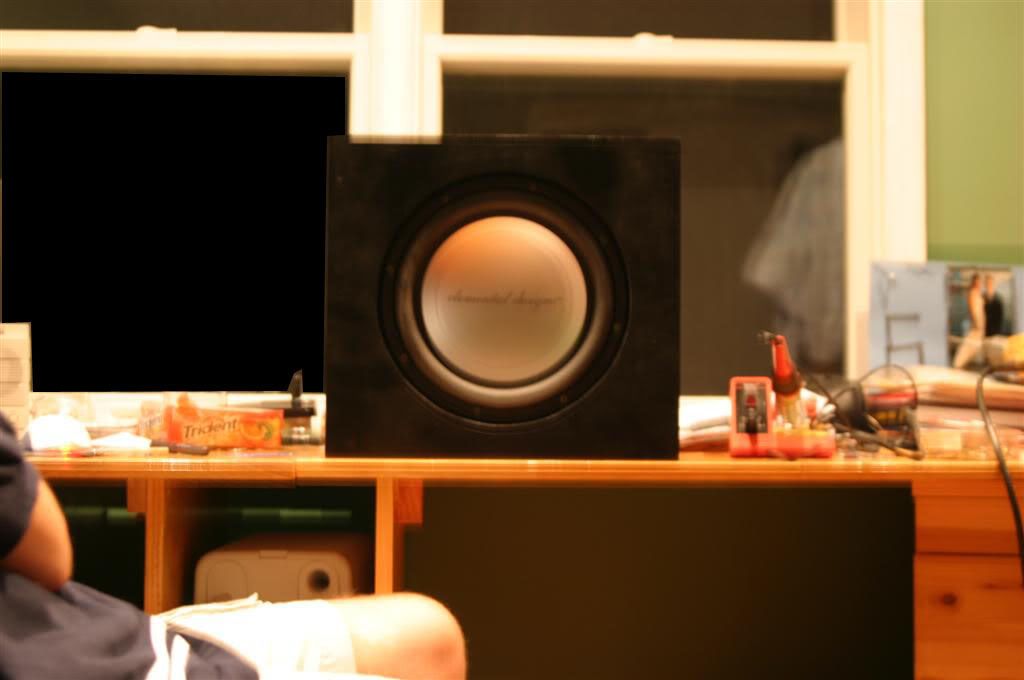
The box design was made and designed from scratch by me.
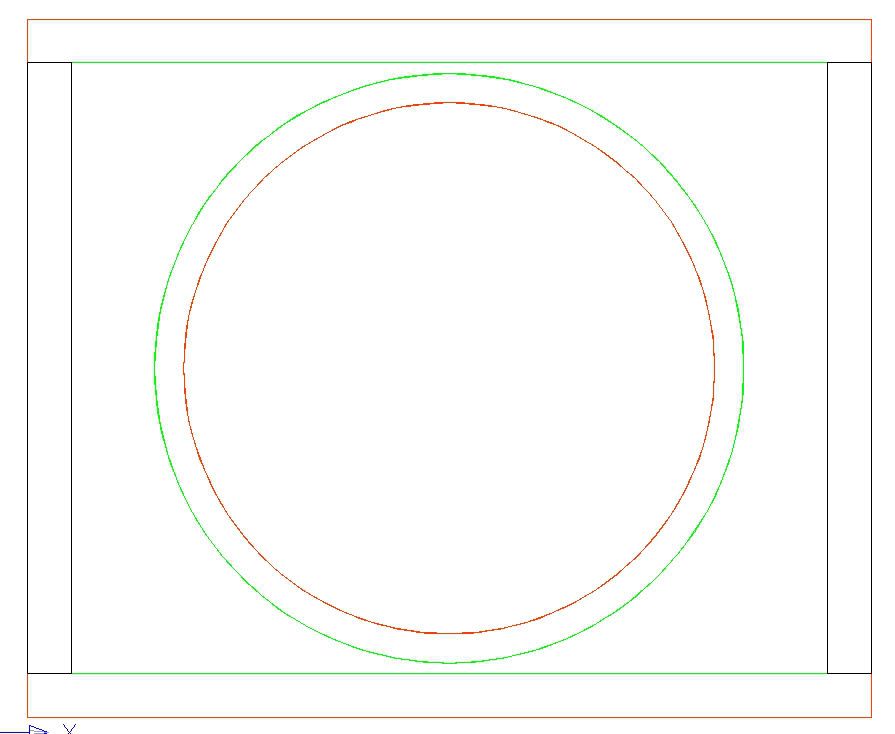
Here are a few blueprints:
Front
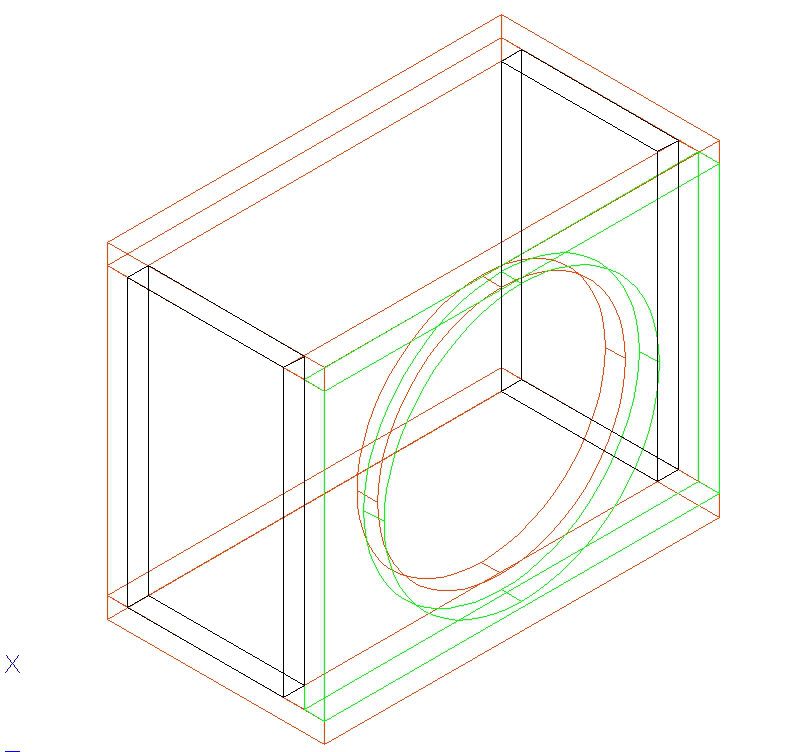
Iso
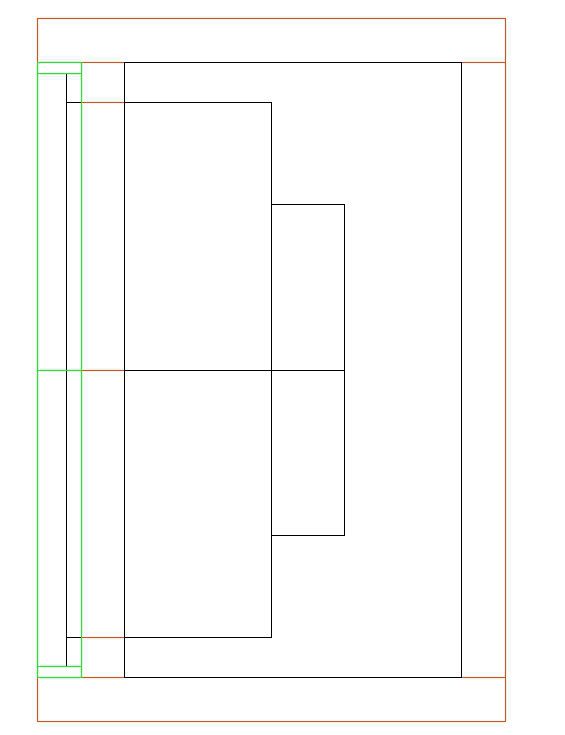
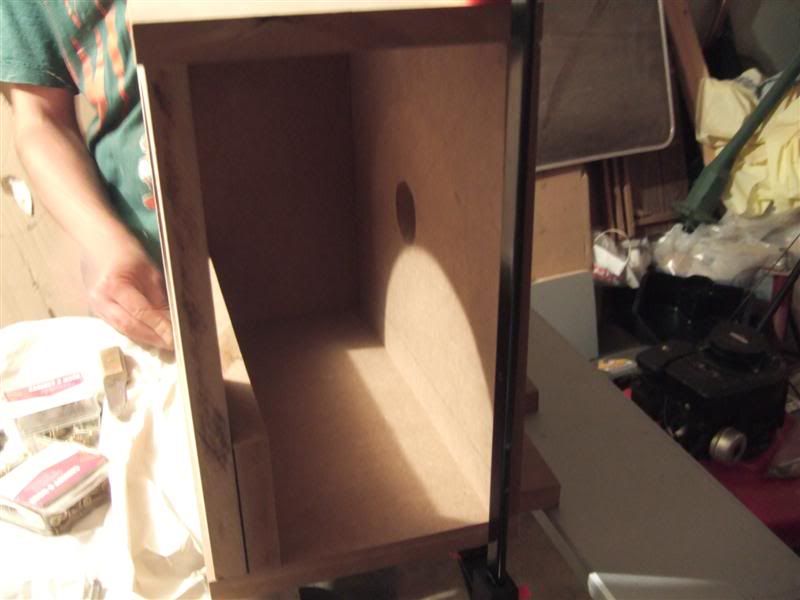
Side view with woofer inside
Hey guys..
My car was purchased with mb quart interior speakers powered by a rockford fosgate amp.
There was almost no bass in the car because the previous owner removed his subwoofer when the car was sold.
I purchased a Nine.2 amp to power a 11kv.2 subwoofer from Elemental Designs (http://www.edesignaudio.com)
Here are all the goods
The Second subwoofer you see is for a home theater project I will be doing next...
Much Thanks to Nilesh (djfrestyl) for hooking me up with some wires and the wiring cup
The woofer is a dual 2 [wired in parallel to make a 4ohm load]
The woofer will be seeing 400watts rms @ 4ohm
The box design was made and designed from scratch by me.
Here are a few blueprints:
Front
Iso
Side view with woofer inside
Thread Starter
ahhh! cliMAX!
Joined: May 2005
Posts: 792
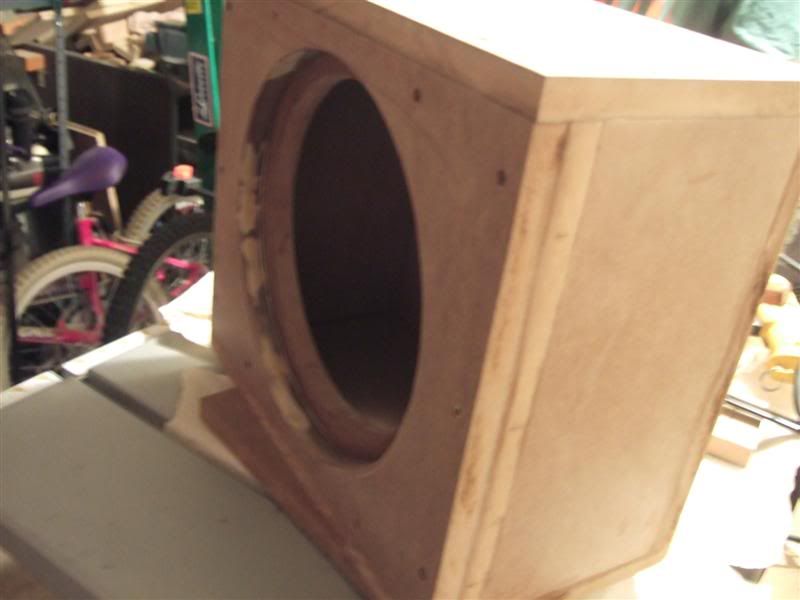
Iso With woofer inside
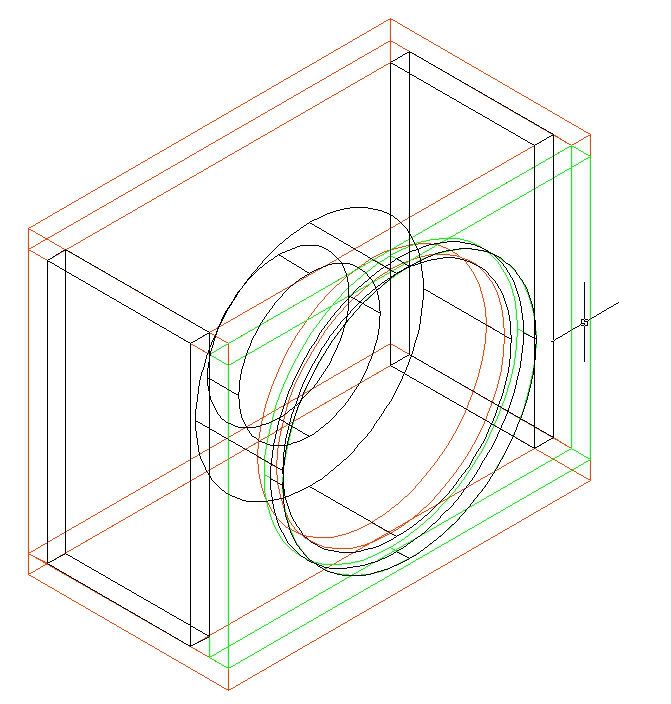
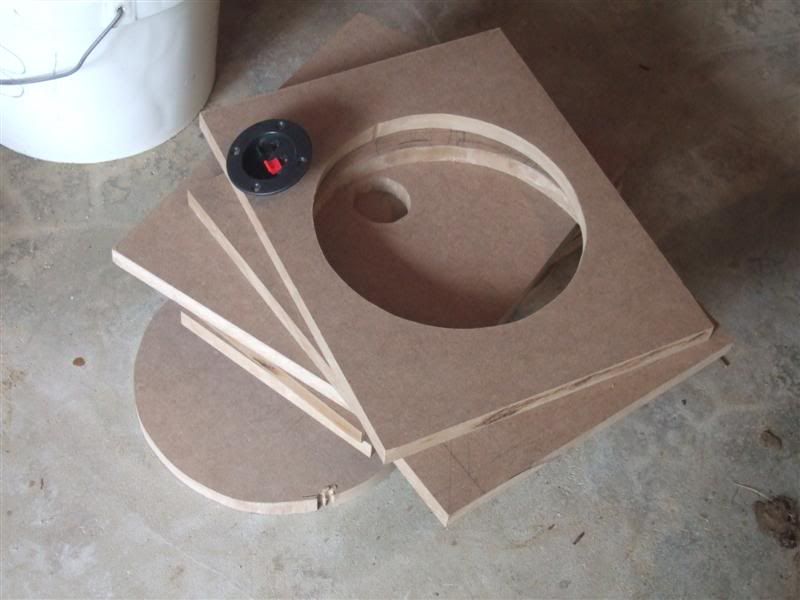
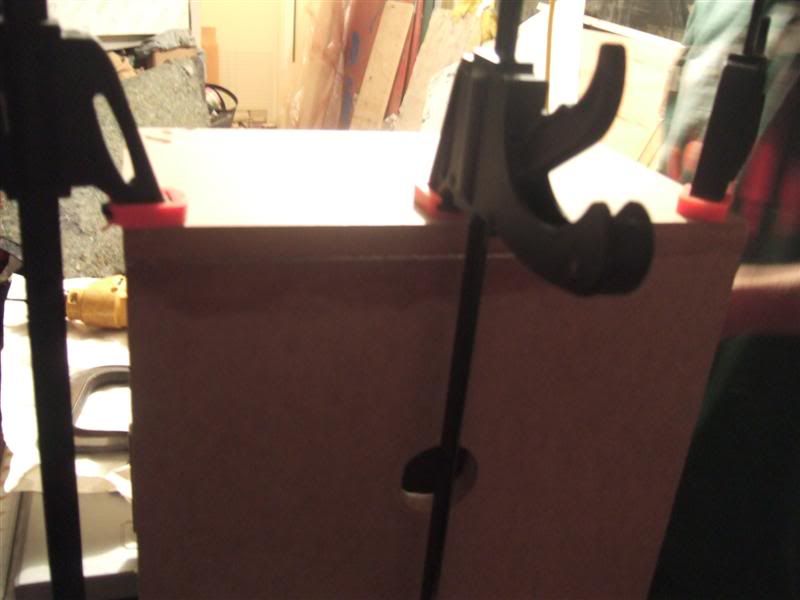
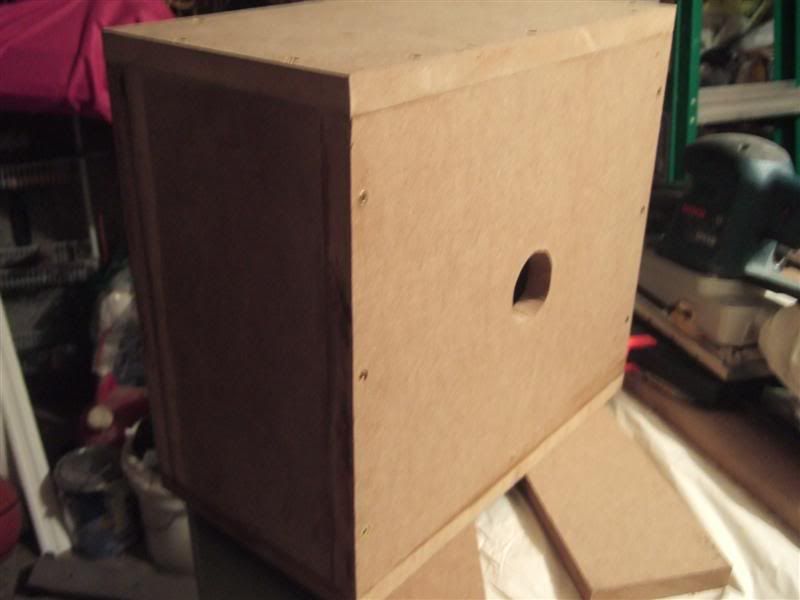
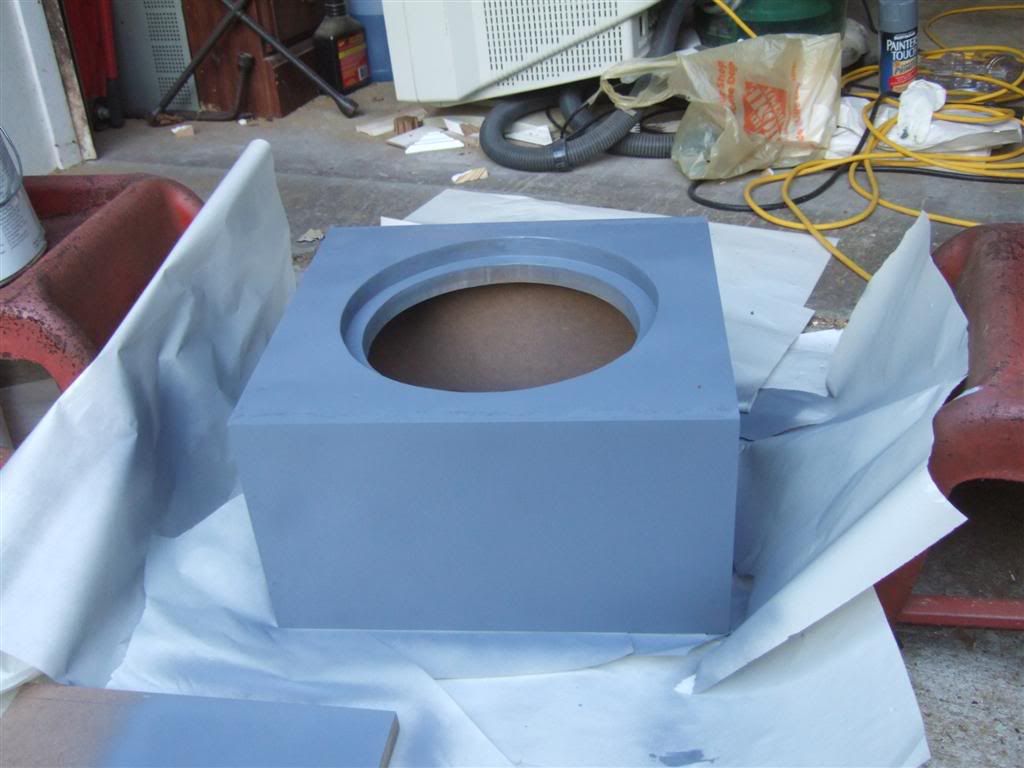
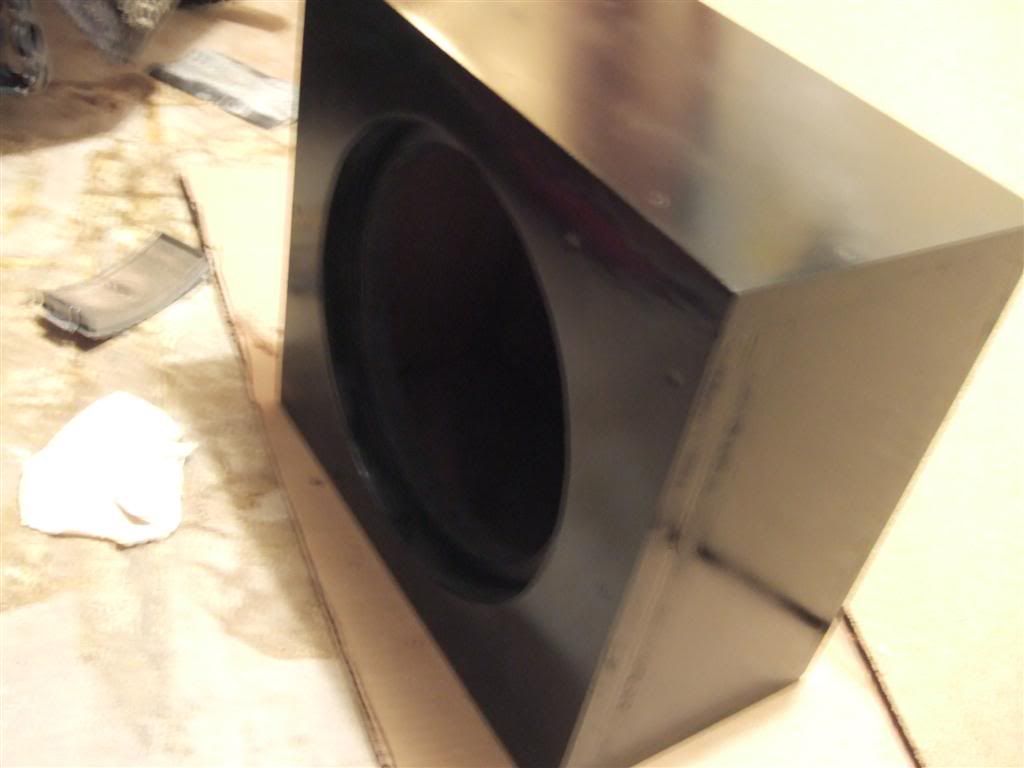
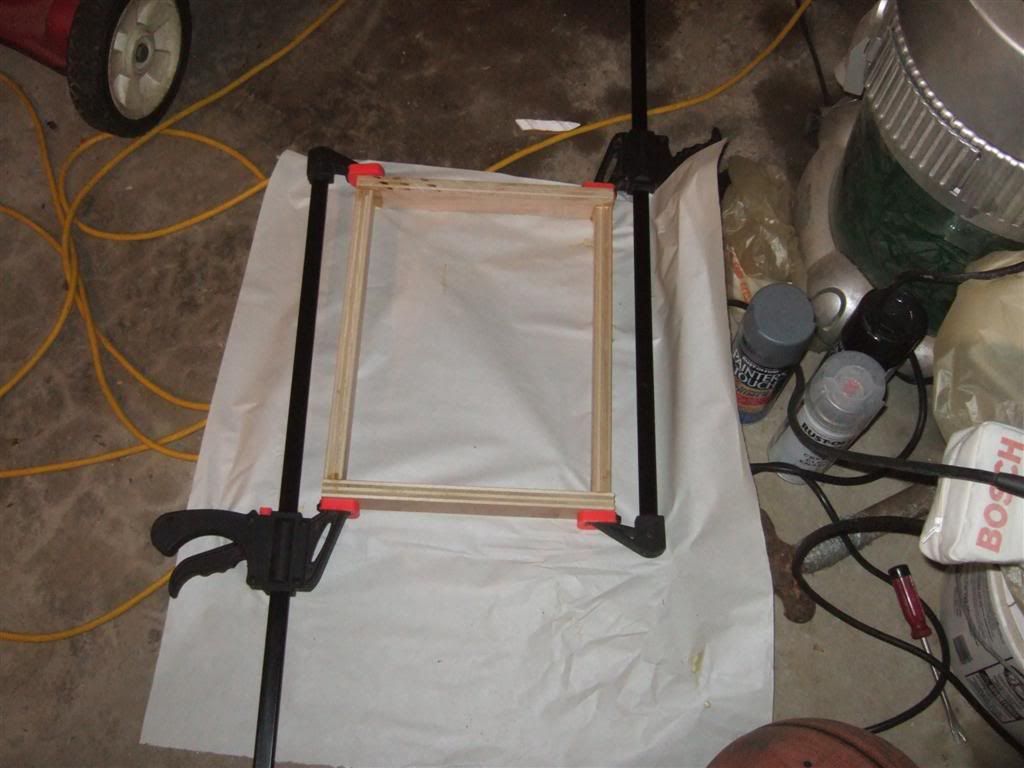
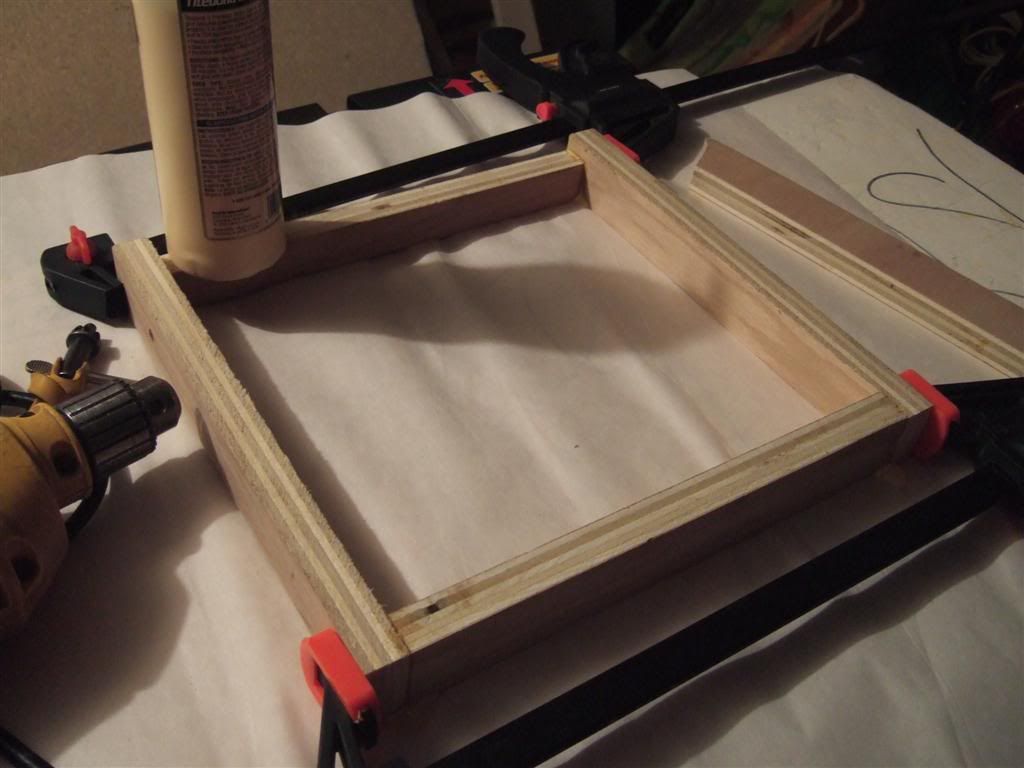
My design features two pieces of mdf for the front. This will ensure a flush fit with the box [as seen in side pic]. This also helps with rigidness.
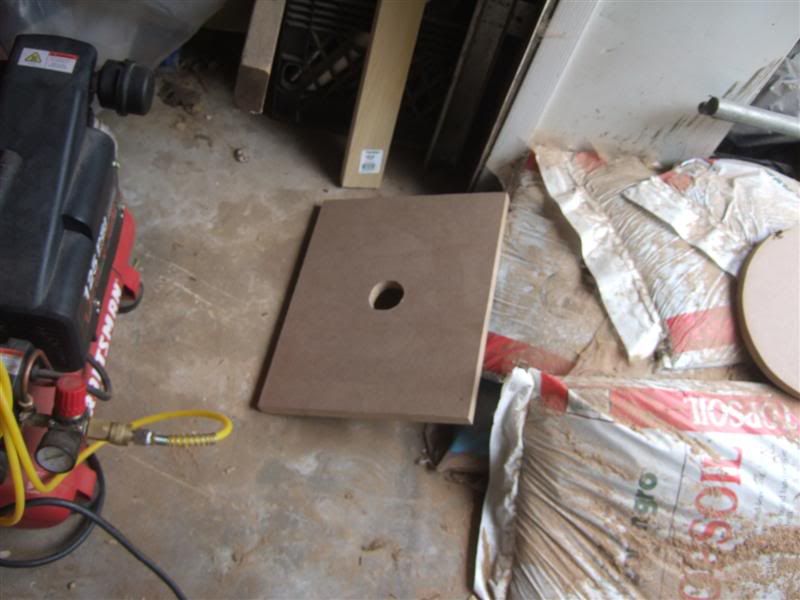
Construction begins! 3/4" mdf was used for the box.
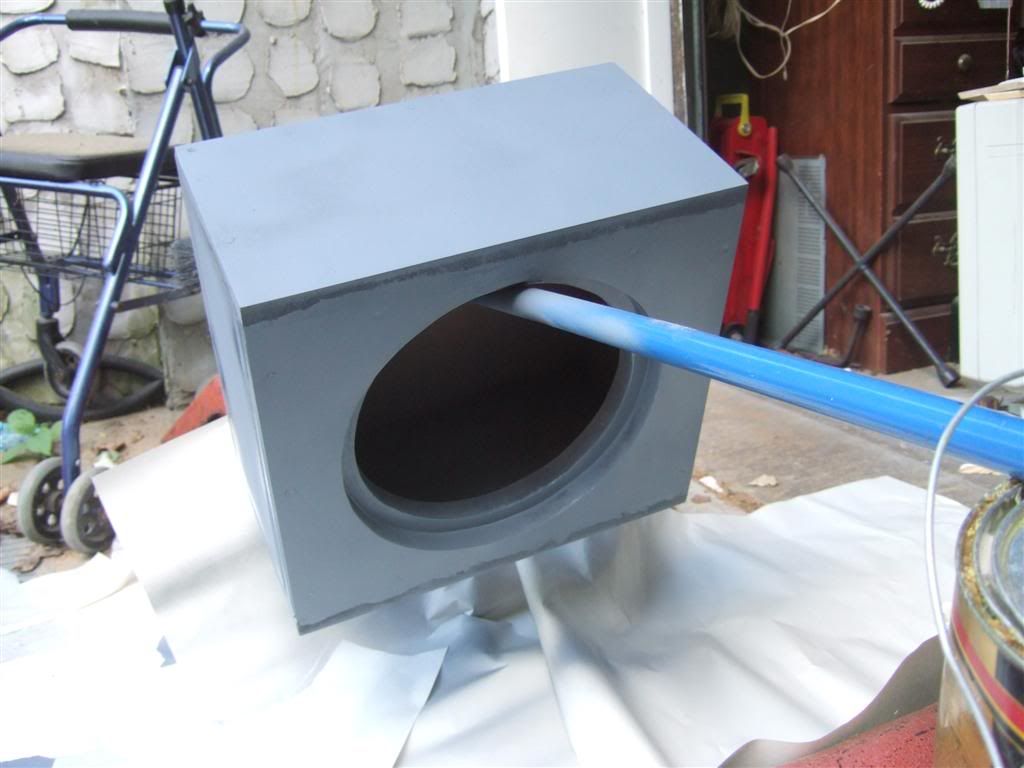
I had to make two holes.. which was fairly tricky. I used a jigsaw as I couldnt find a holesaw that big.
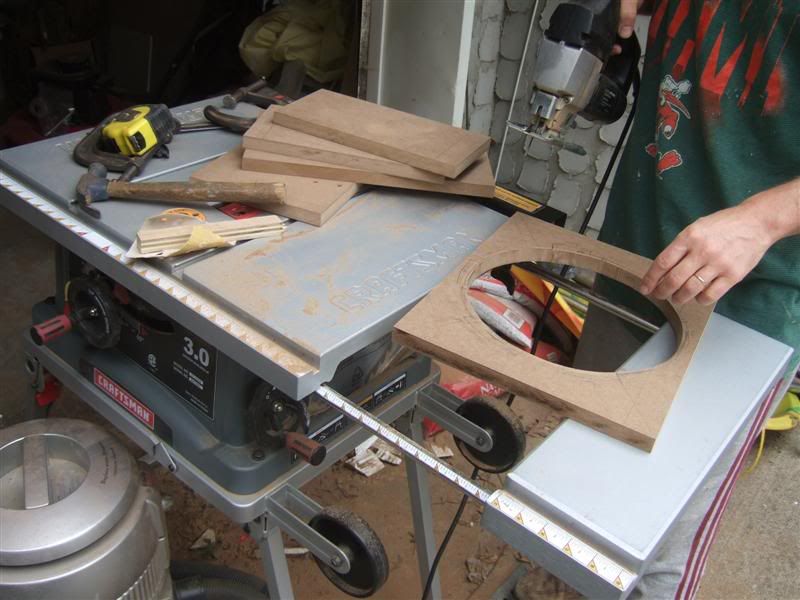
Two pieces on top of each other:
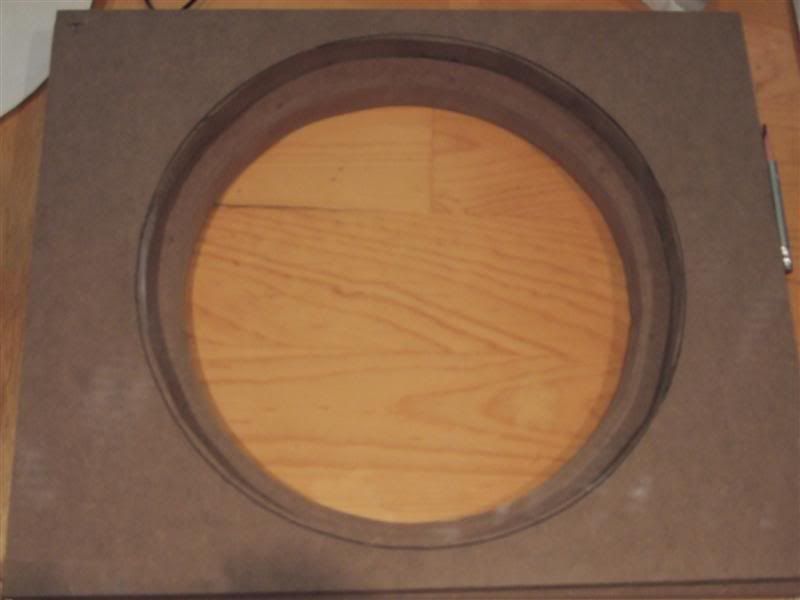
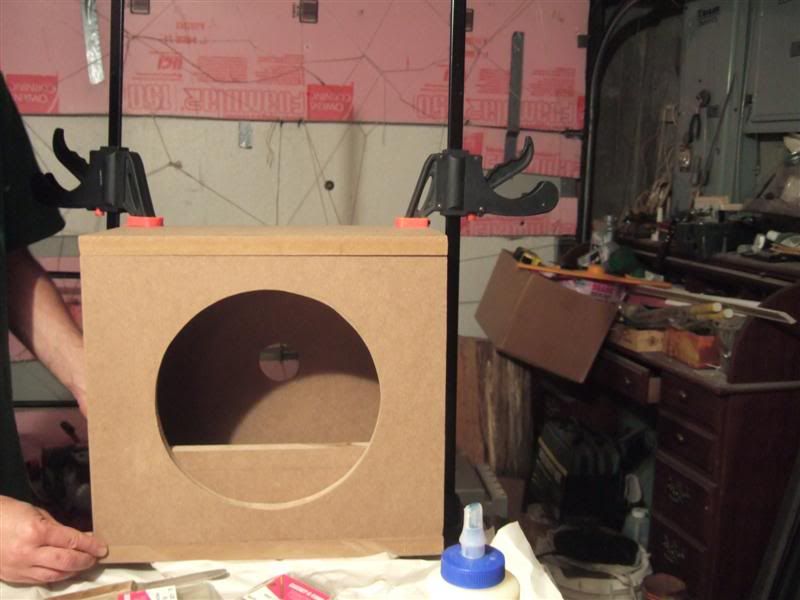
I had to touch up the hole to make it a perfect circle
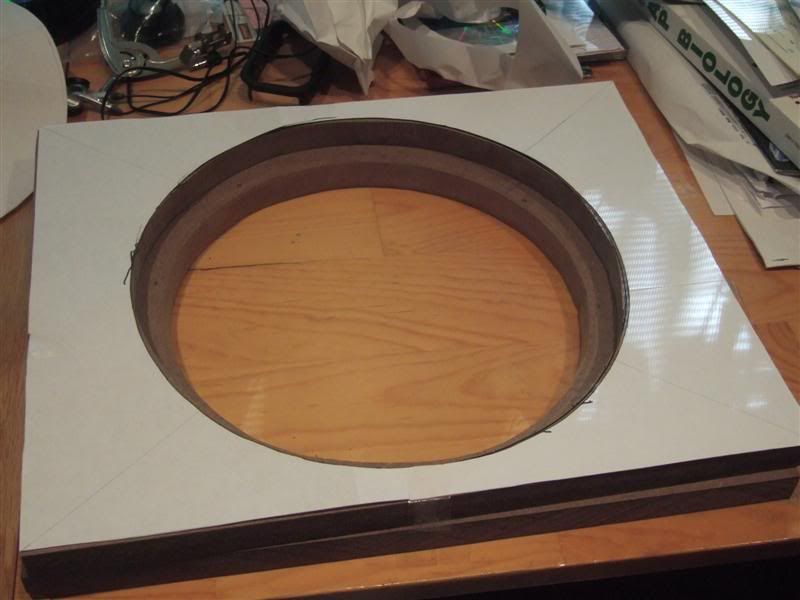
Test Fit:
Niiiice
My design features two pieces of mdf for the front. This will ensure a flush fit with the box [as seen in side pic]. This also helps with rigidness.
Construction begins! 3/4" mdf was used for the box.
I had to make two holes.. which was fairly tricky. I used a jigsaw as I couldnt find a holesaw that big.
Two pieces on top of each other:
I had to touch up the hole to make it a perfect circle
Test Fit:
Niiiice


Thread Starter
ahhh! cliMAX!
Joined: May 2005
Posts: 792
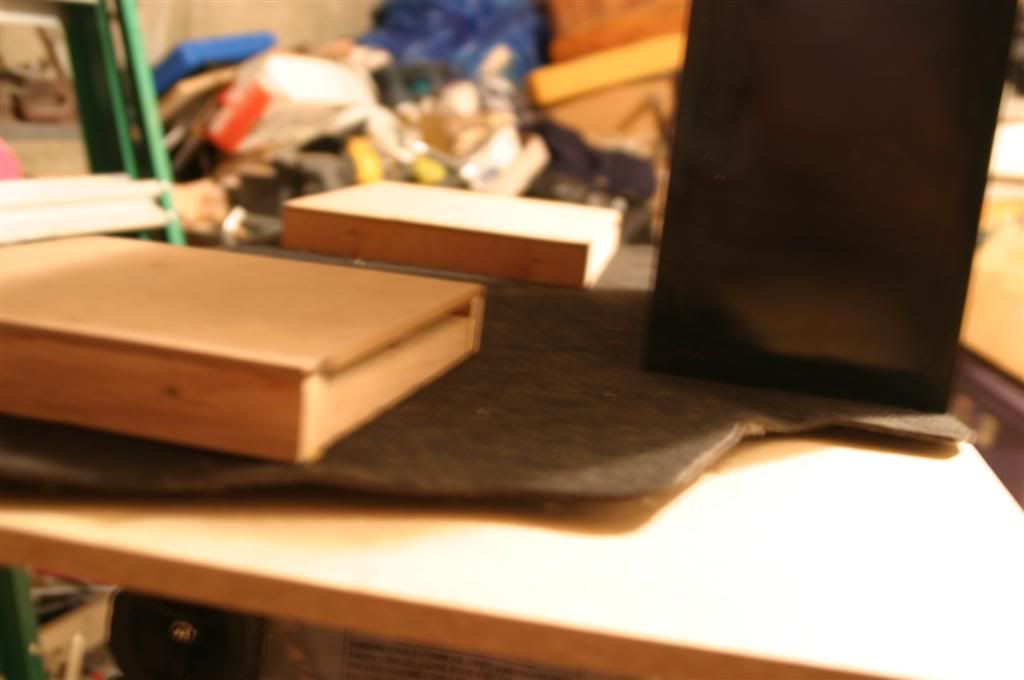
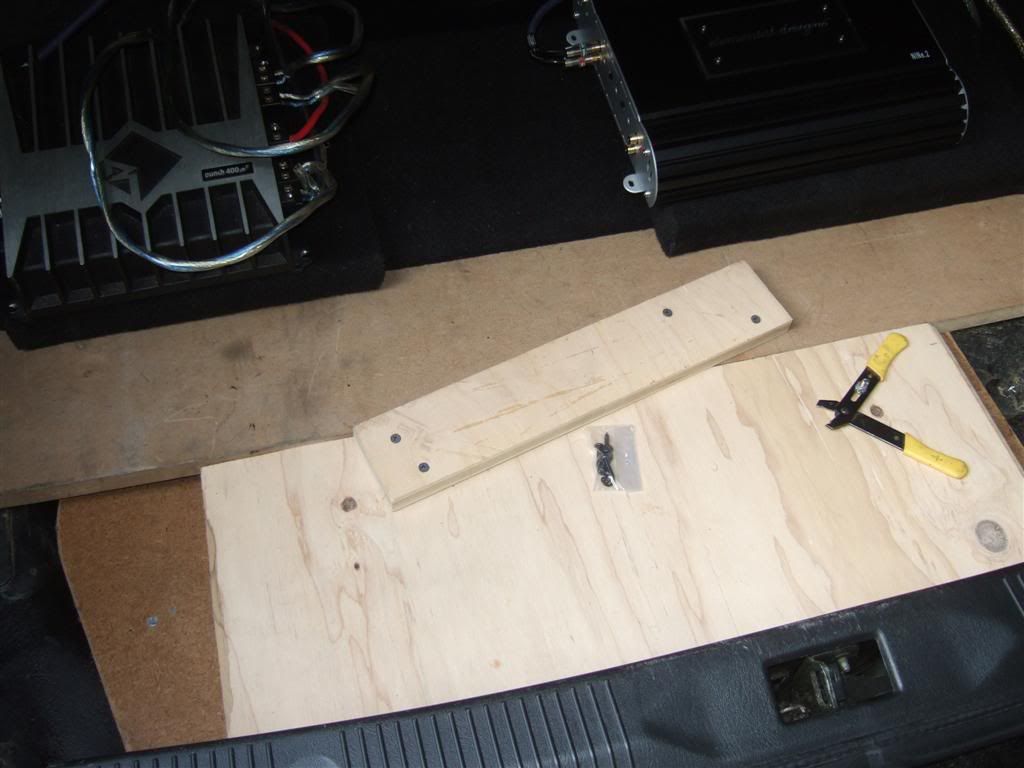
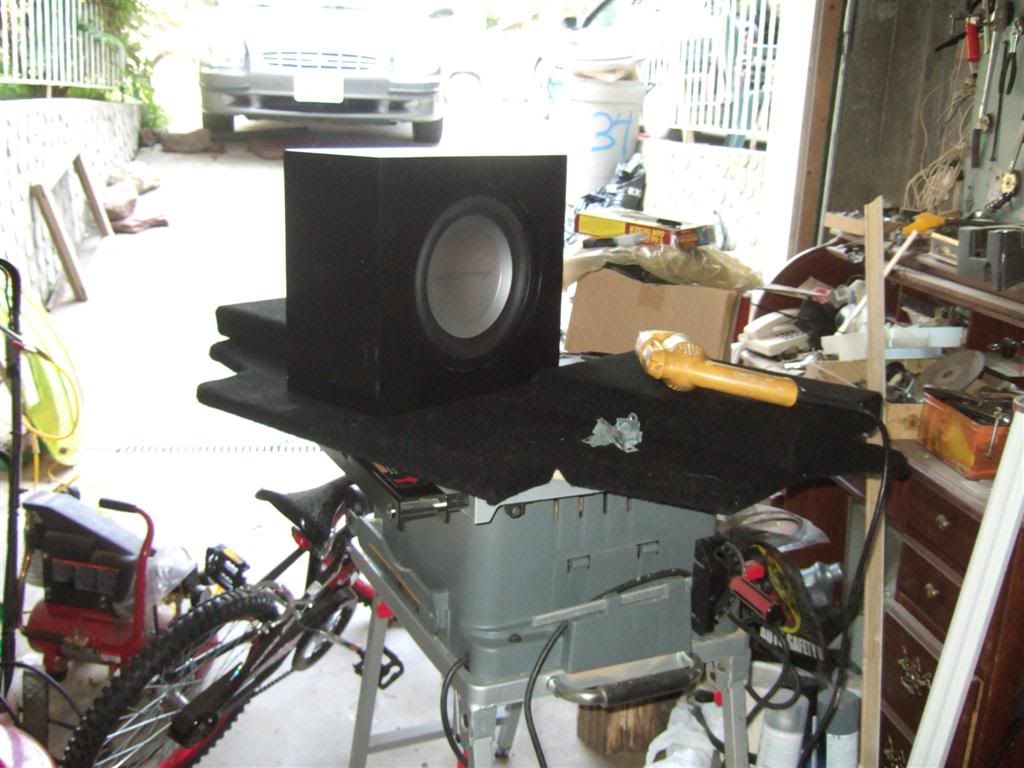
Time for Amp Racks...
Used 1.5" wood from scraps I had lying around....

Here you see the layout... The ampracks have 1/4" mdf on top
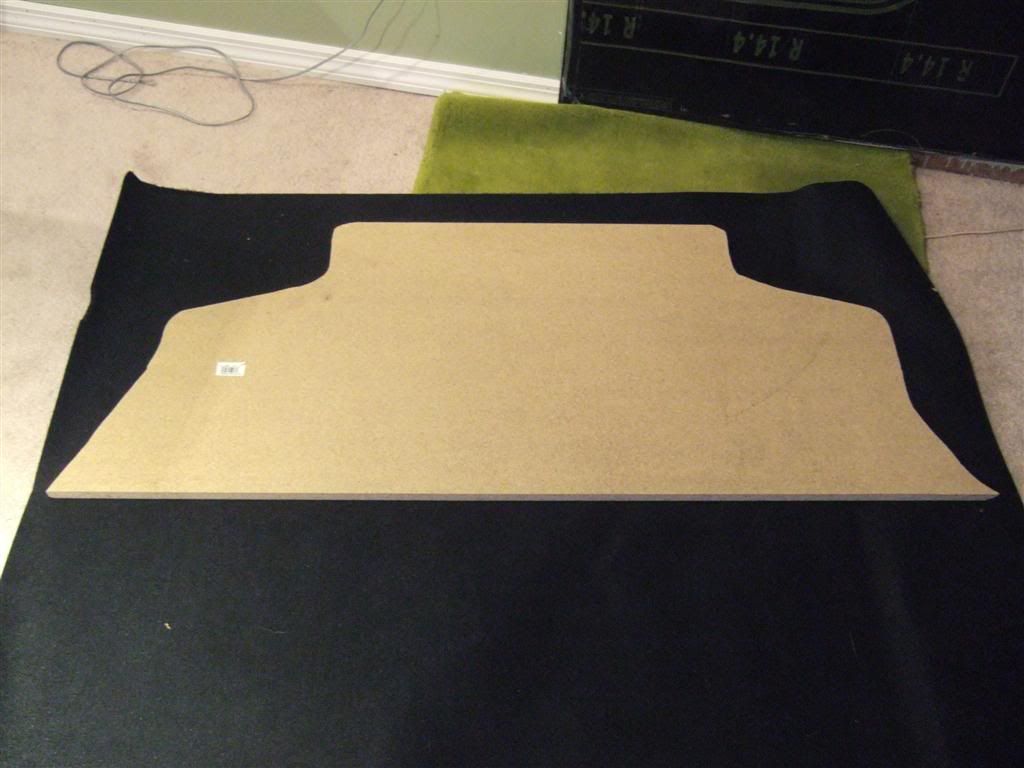
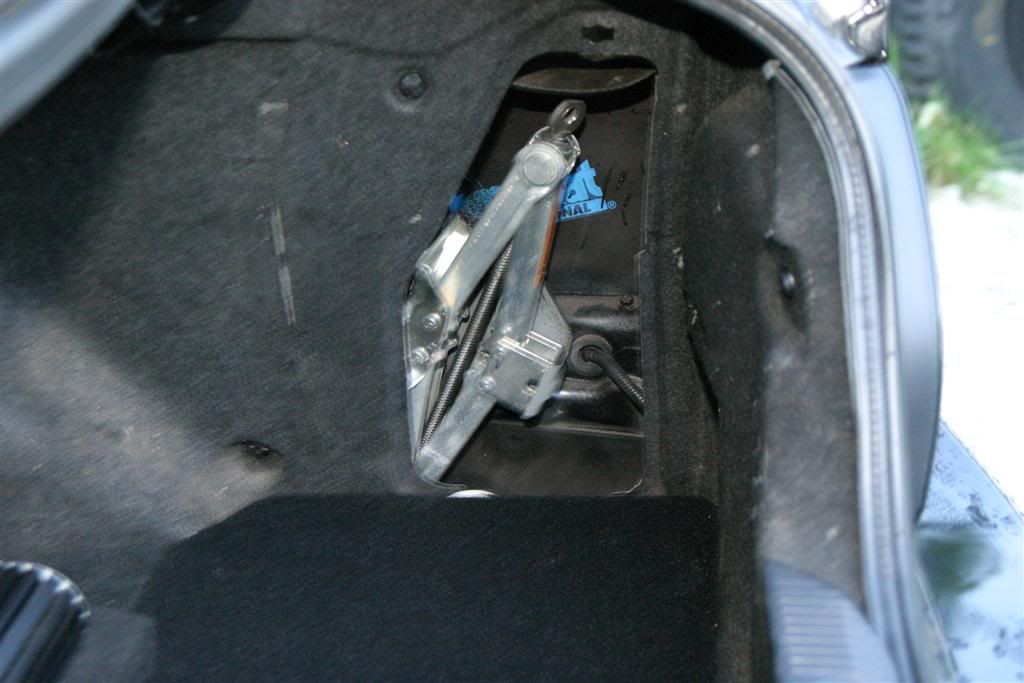
A false floor is being made with 5/8" plywood. The design for that will be 2-piece to allow for access to the spare (and it makes it easier to put it in)
This is the first piece.. it is what holds the sub and the amp racks.
Used 1.5" wood from scraps I had lying around....
Here you see the layout... The ampracks have 1/4" mdf on top
A false floor is being made with 5/8" plywood. The design for that will be 2-piece to allow for access to the spare (and it makes it easier to put it in)
This is the first piece.. it is what holds the sub and the amp racks.
Thread Starter
ahhh! cliMAX!
Joined: May 2005
Posts: 792
The second one will be built soon.. once I acquire some more carpet.. lol
In the meantime.. my "second half" is some scrap wood [pretty ghetto.. i know lol]
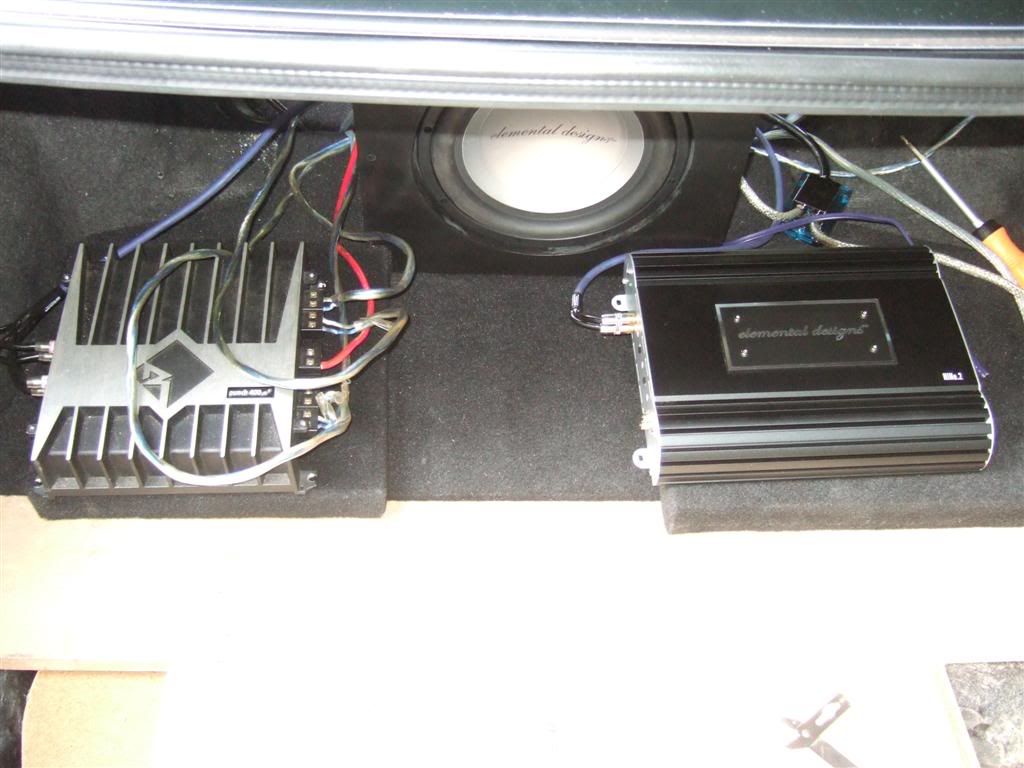
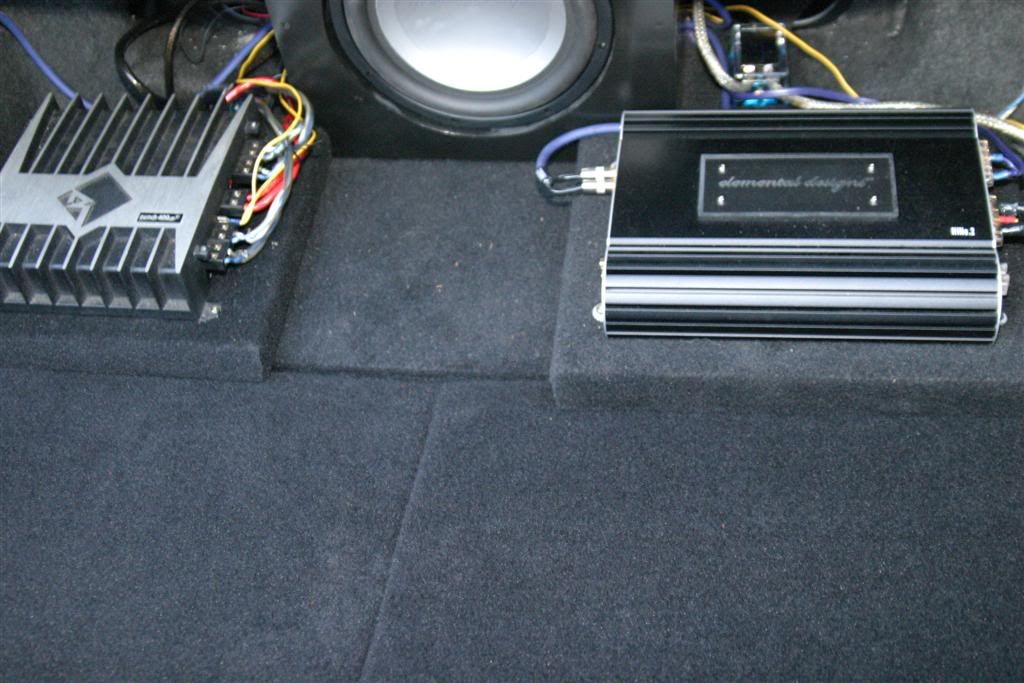
Here are the amp racks carpeted..
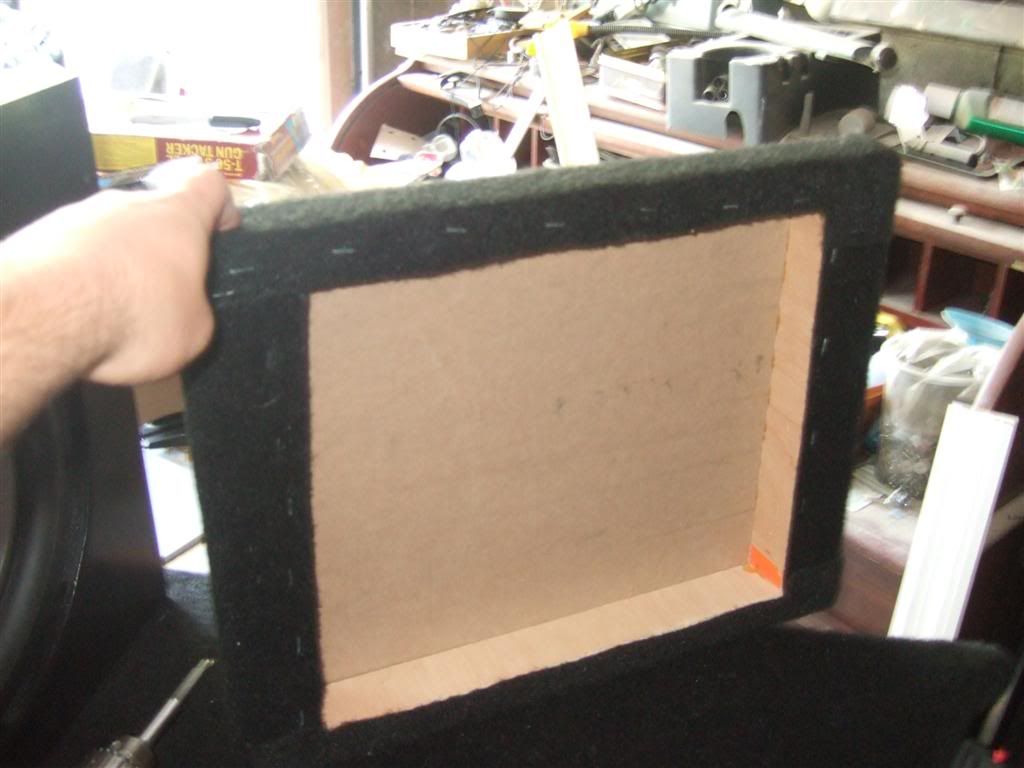
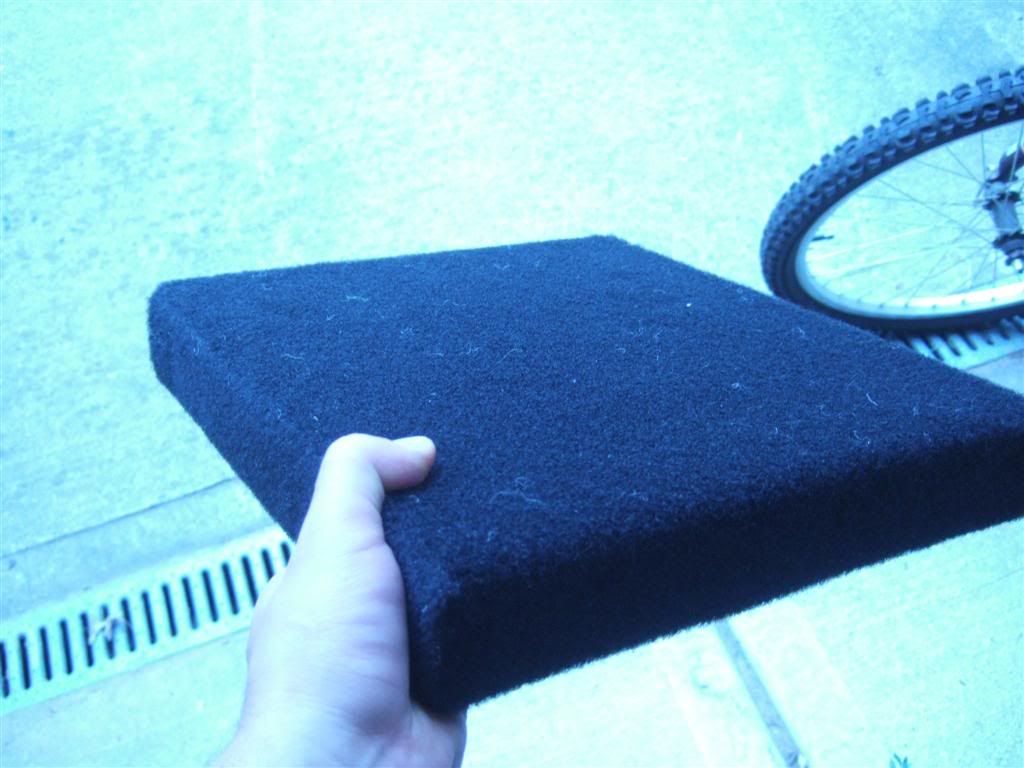
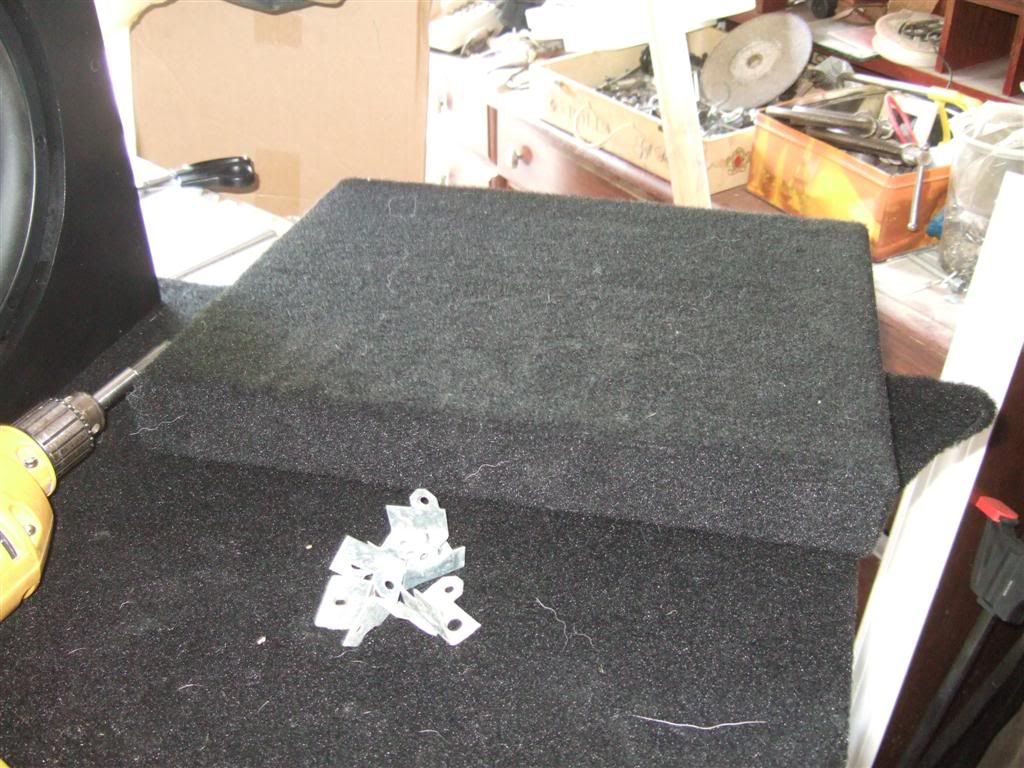
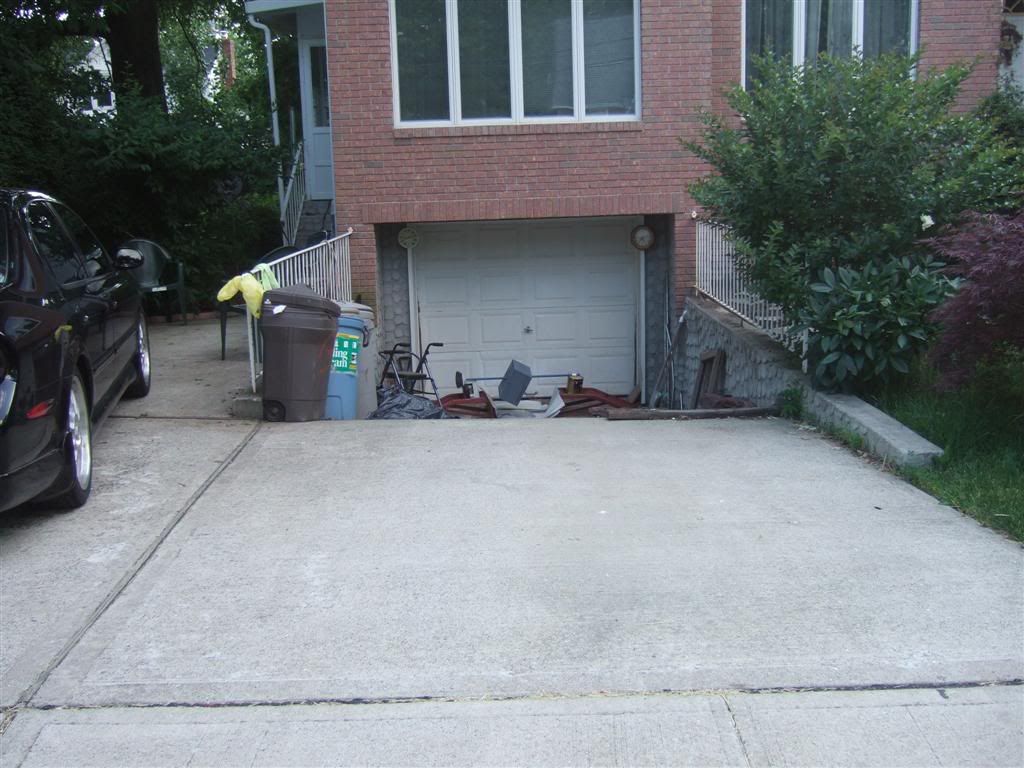
A picture of the place where all the magic happens lol
In the meantime.. my "second half" is some scrap wood [pretty ghetto.. i know lol]
Here are the amp racks carpeted..
A picture of the place where all the magic happens lol
Thread Starter
ahhh! cliMAX!
Joined: May 2005
Posts: 792
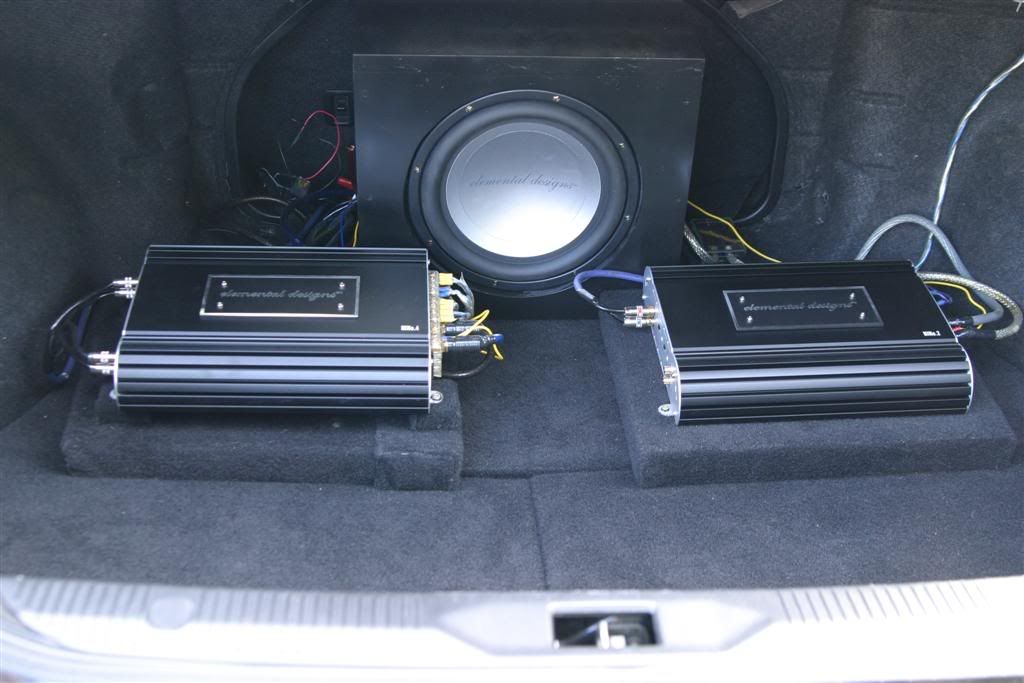
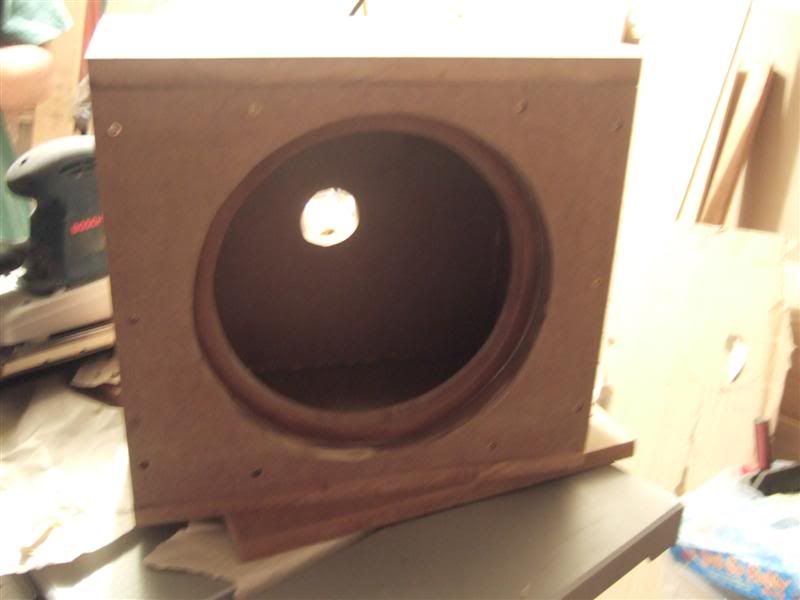
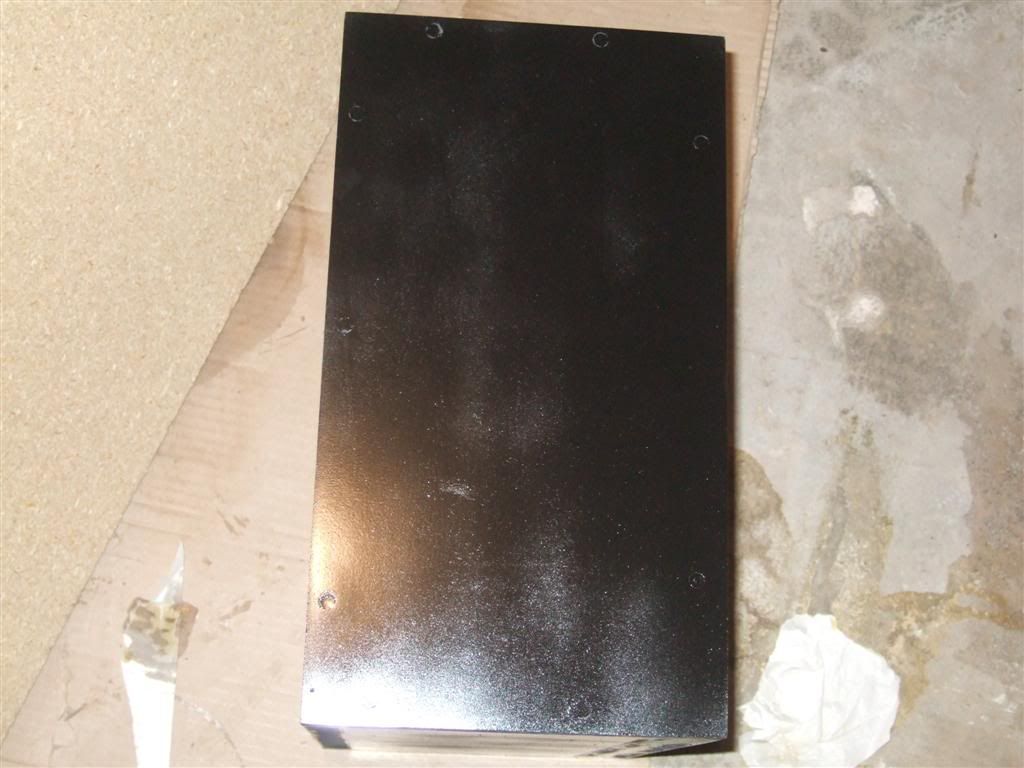
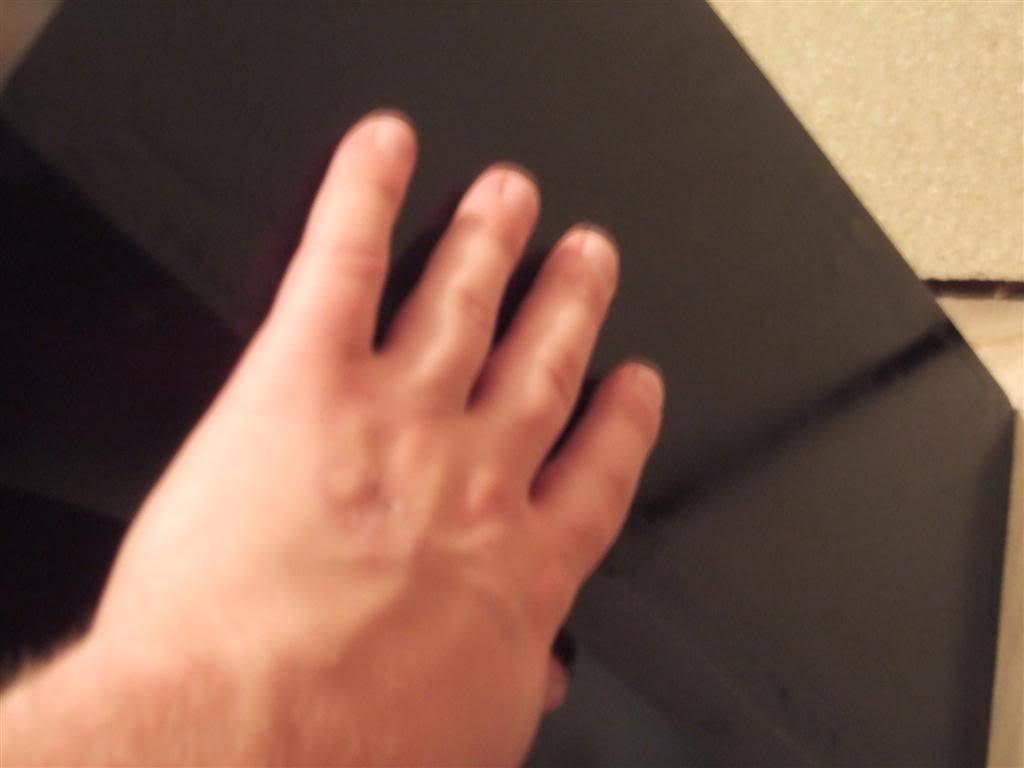
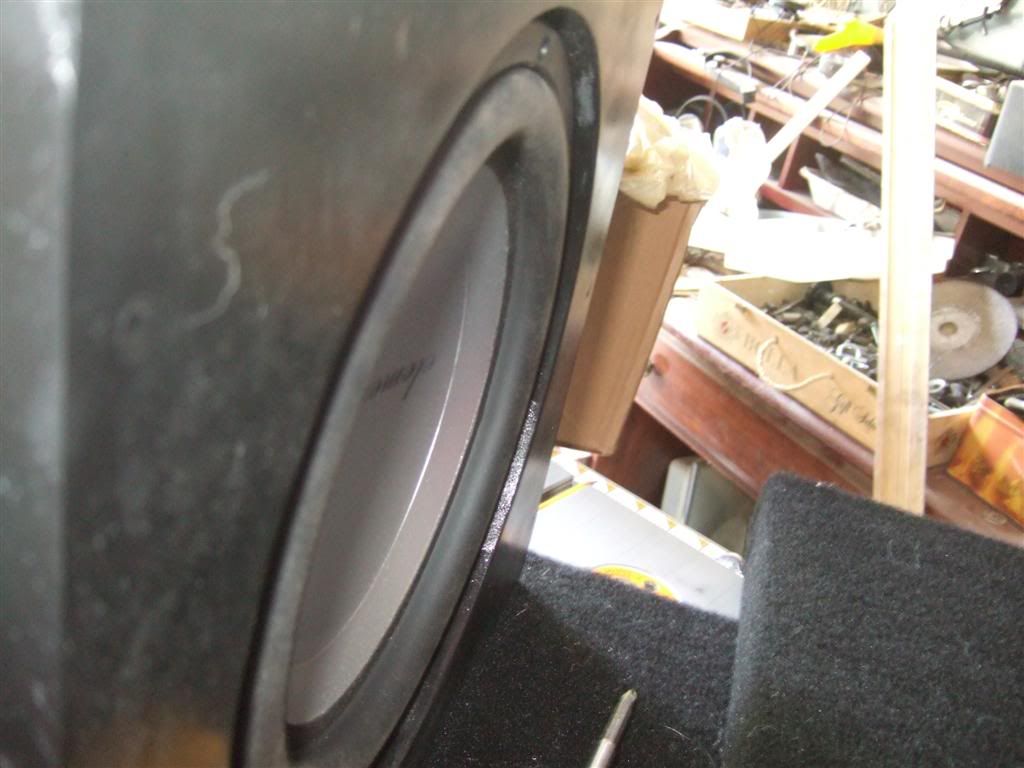
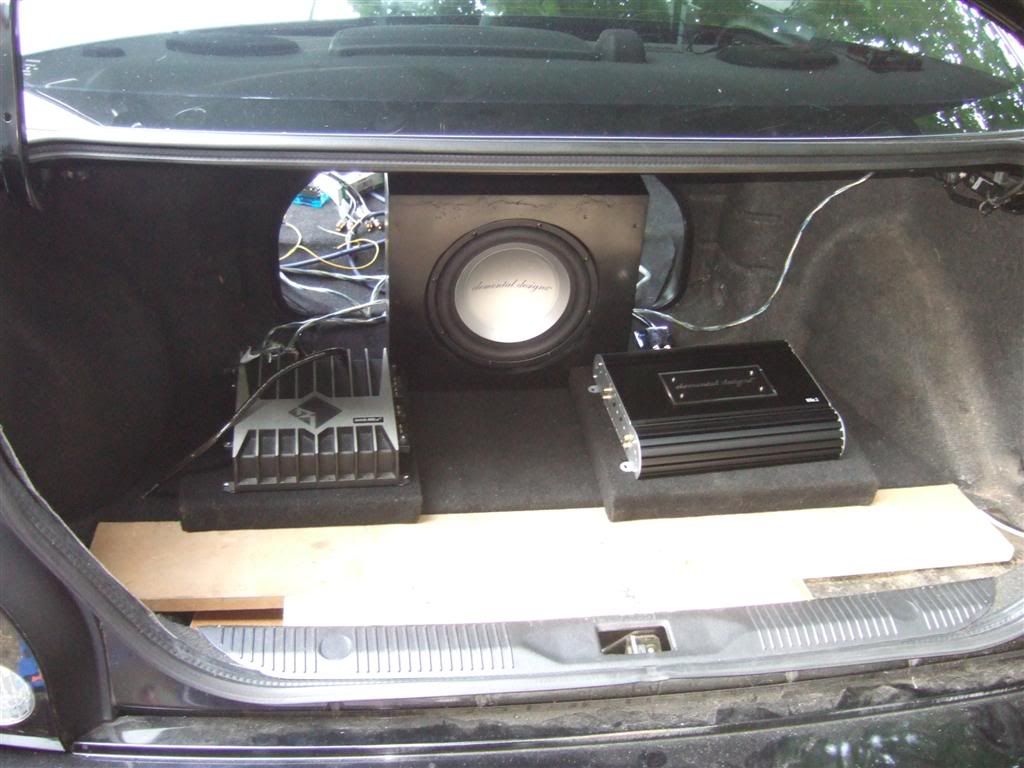
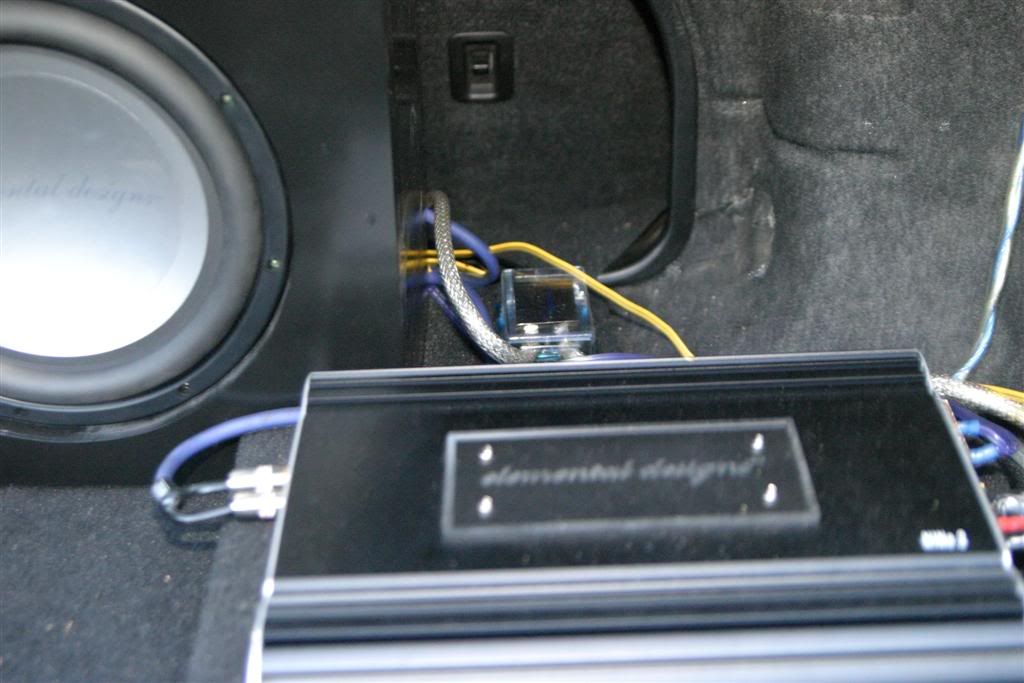
Another pic of the flush look of the woofer
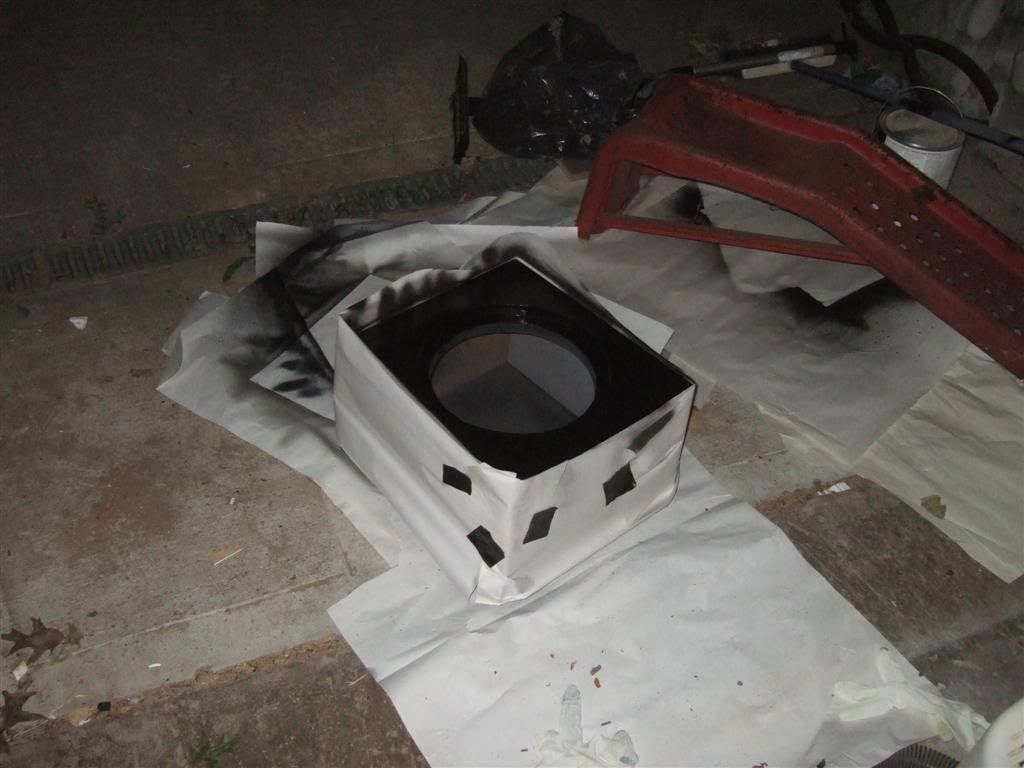
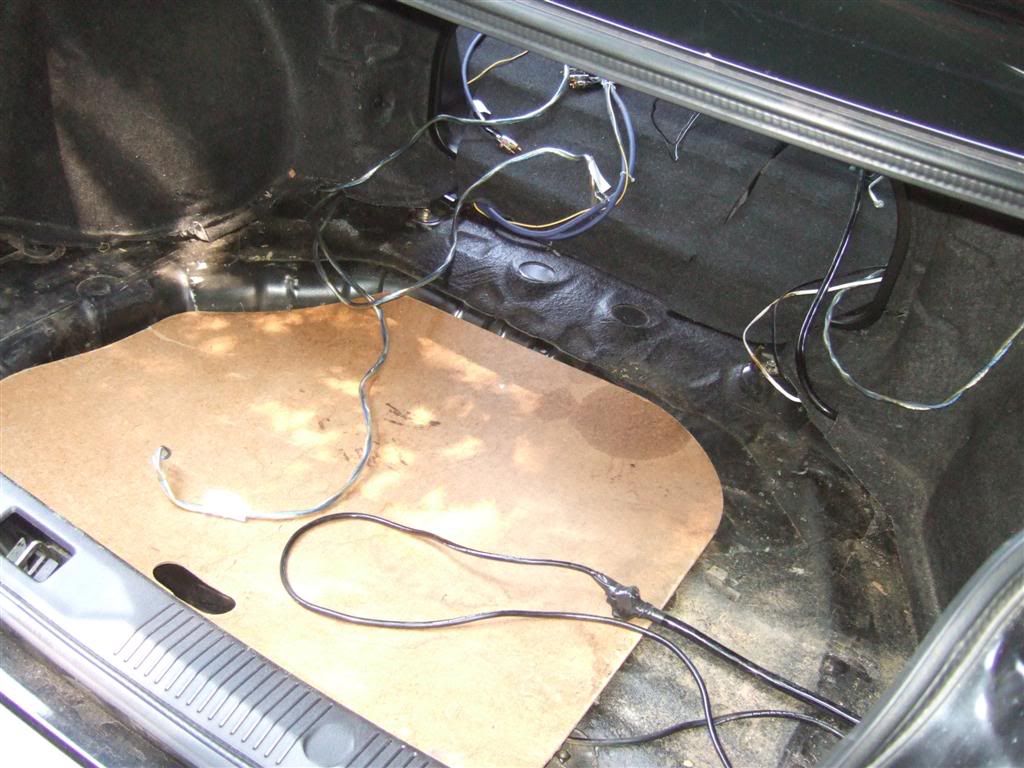
So now the fun starts.. wiring!
First.. throw all the old wiring back to make room for the false floor..
The amps layed out...
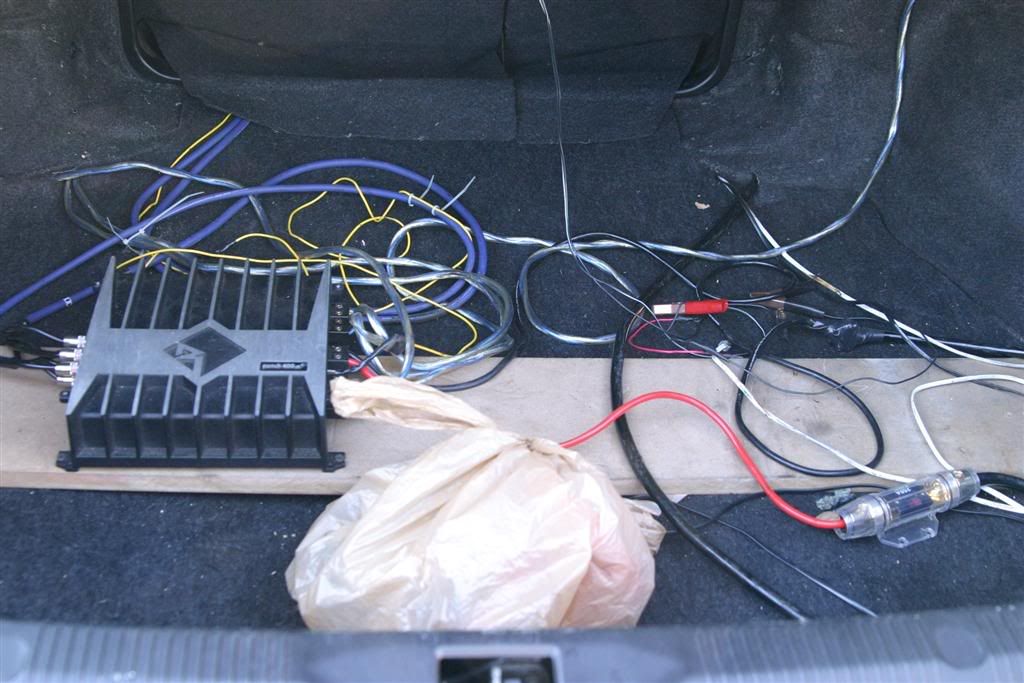
Wiring starts.. (really messy now.. will be tidied up after making sure it all works)
So now the fun starts.. wiring!
First.. throw all the old wiring back to make room for the false floor..
The amps layed out...
Wiring starts.. (really messy now.. will be tidied up after making sure it all works)

Back from Hibernation
Joined: Mar 2004
Posts: 1,100
Looks real nice. I love the idea of painting the box instead of carpet like everyone else does, Looks like you got some nice tools laying around too, and a garage to work in. Lucky you...table saw and everything....
Agree with cleaning up the wires. After all that great work, just a little more time and wire loom will really make the finished product look finished. You could run em under that false floor and it would look real clean!
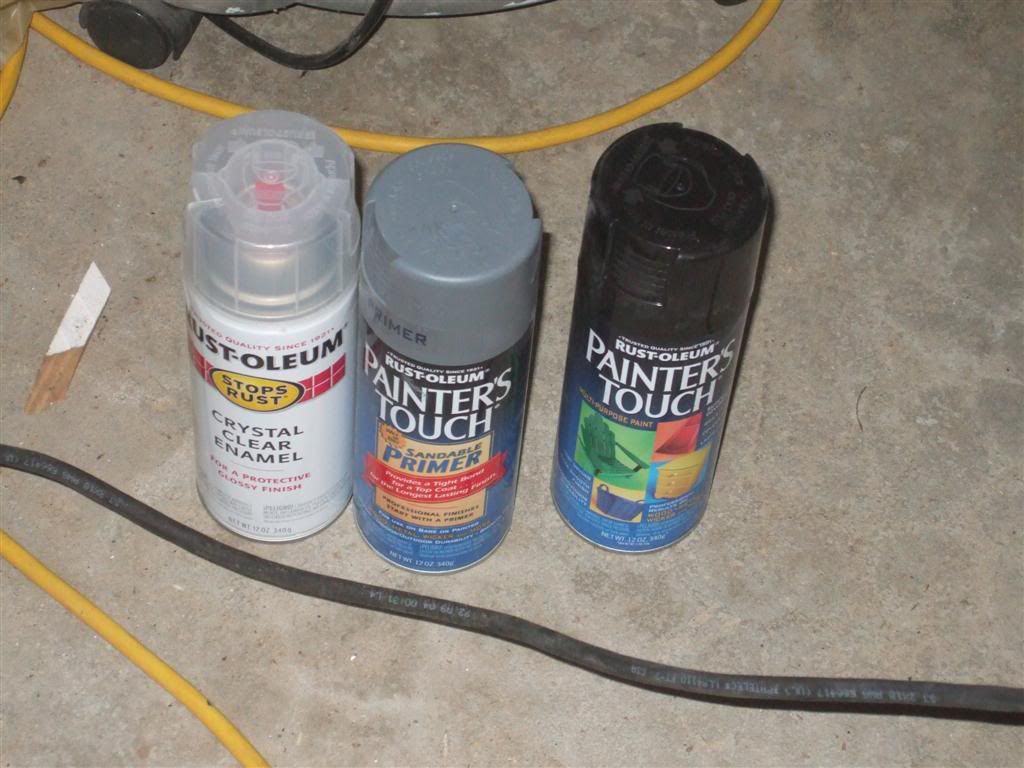
I also saw you had an air compressor. I'm suprised you didn't use that with a spray gun over the canned spray paint. How many layers of primer did you use to seal the wood? I used deft at the recommendation of a friend and that sealer her up REAL good in three coats. Overall, I'm real impressed at the finish you got with normal spray primer and canned spray paint. Did you fine sand the primer before spray painting? Looking at those results with spray paint makes me think about trying some painting, which I had avoided because I don't have a compressor. I'd be happy with those results, though.
Agree with cleaning up the wires. After all that great work, just a little more time and wire loom will really make the finished product look finished. You could run em under that false floor and it would look real clean!
I also saw you had an air compressor. I'm suprised you didn't use that with a spray gun over the canned spray paint. How many layers of primer did you use to seal the wood? I used deft at the recommendation of a friend and that sealer her up REAL good in three coats. Overall, I'm real impressed at the finish you got with normal spray primer and canned spray paint. Did you fine sand the primer before spray painting? Looking at those results with spray paint makes me think about trying some painting, which I had avoided because I don't have a compressor. I'd be happy with those results, though.
Thread Starter
ahhh! cliMAX!
Joined: May 2005
Posts: 792
nishfish, the sound is actually very good. There is absolutely no rattling even when the bass hits real low.
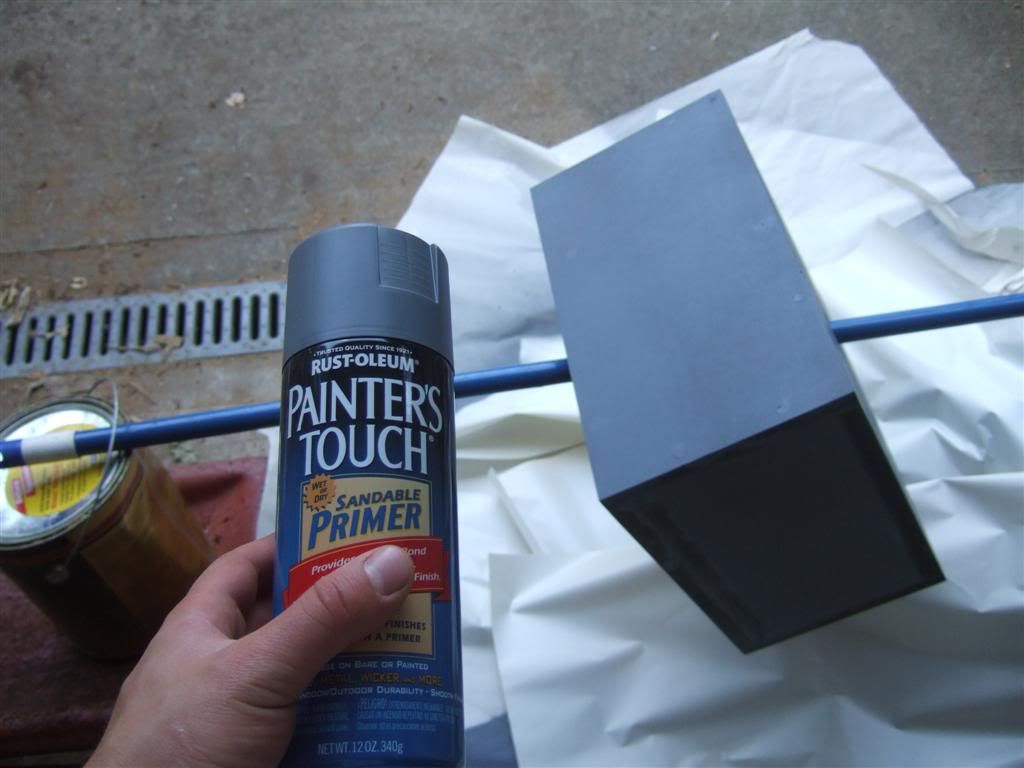
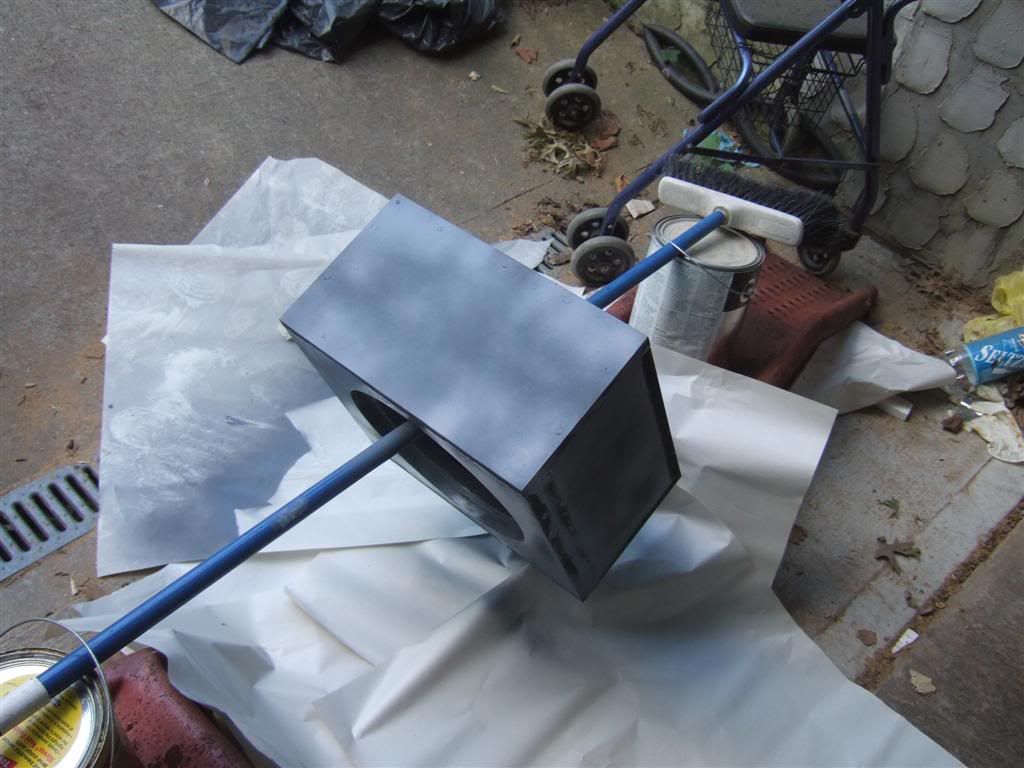
bbosystevie, I did 3 coats of primer [using wood filler in some spots] and sanding with both low and high grit sand paper
Then I did 3 coats of black.. and 2 or 3 coats of clear coat
I was thinking of painting w. air compressor as I do have a spray gun, but I couldn't find any glossy paint for the spray gun anywhere near by.
I am actually quite pleased with the paint results.. I was basically trying to like match the car color.
Next project is PC speakers.. can't WAIT! lol


Great work, man...nothing beast looking at something you did yourself!
BUT, and I really mean this in the most polite way possible:
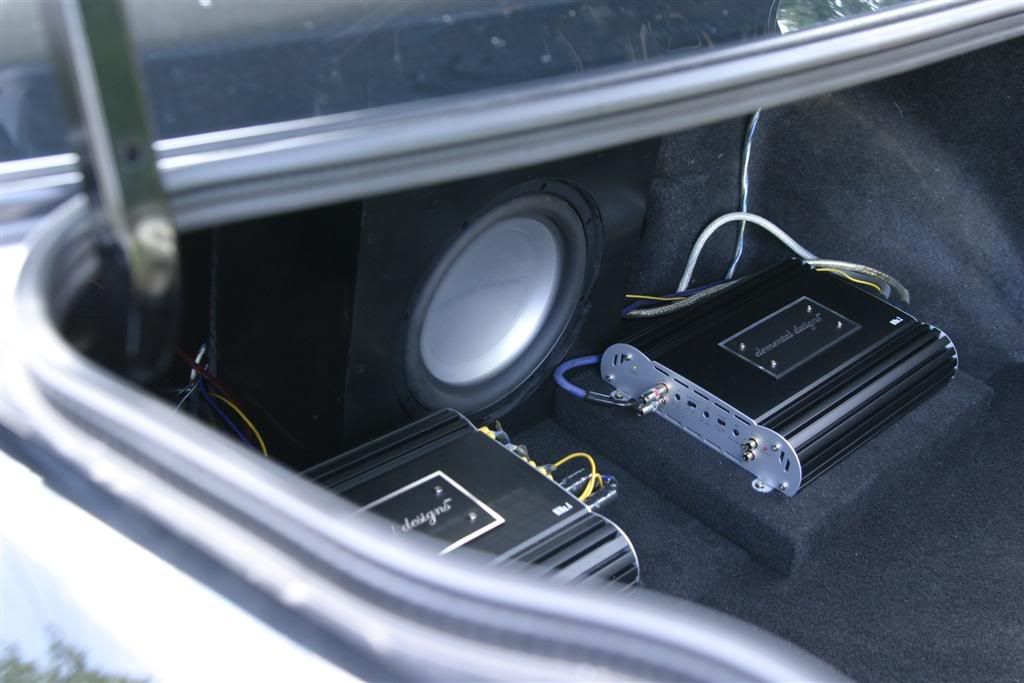
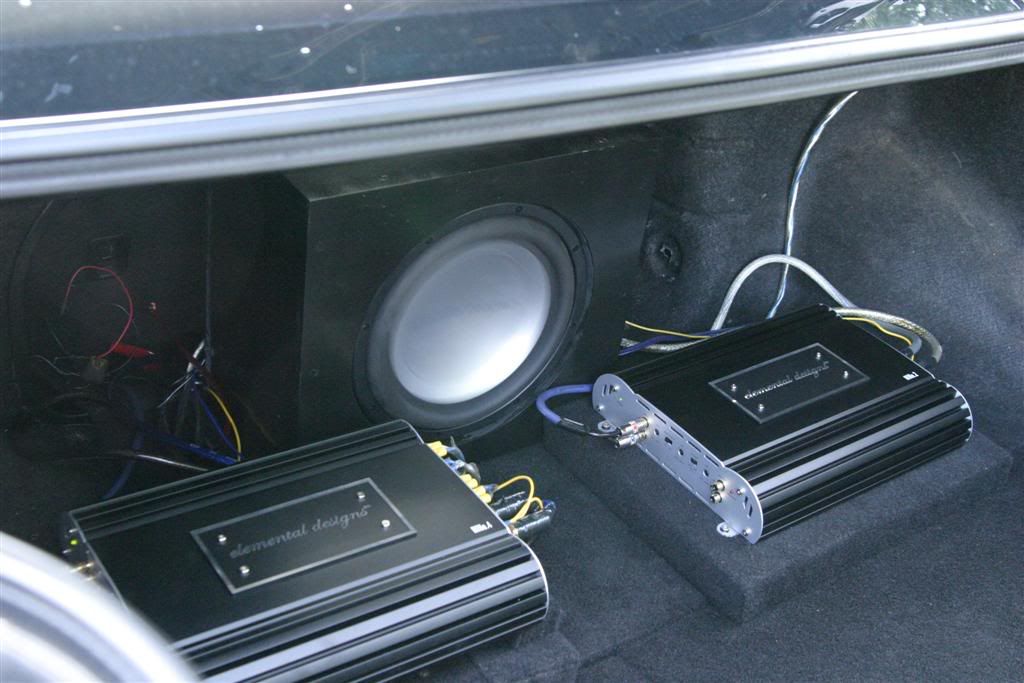
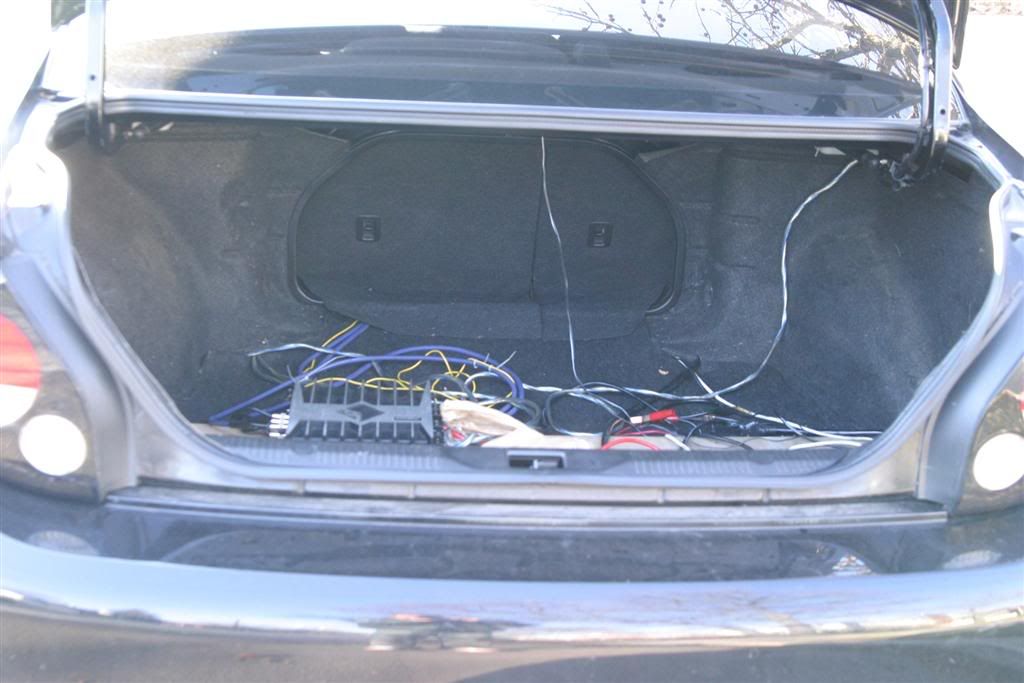
Your wires RUIN the look of the trunk. You need to get some wire loom to bind them together and clean it up...
...looks great thus far, but I would not say 'THE END' until something is done about that spaghetti.
BUT, and I really mean this in the most polite way possible:
Your wires RUIN the look of the trunk. You need to get some wire loom to bind them together and clean it up...
...looks great thus far, but I would not say 'THE END' until something is done about that spaghetti.


 on the gay pic,
Looks kewl...
A few words of constructive criticism, dont take it the wrong way please..
With the effort you put into making the amp rack, why not fish the wires into holes into the bottom of it? It appears you have the clearance underneath them to still be able to do that and allow you a cleaner look and hide the wires. From there you can go even further as to fish them through the carpet back and not see them at all whatsoever- a few zip ties or even tape and you are golden.
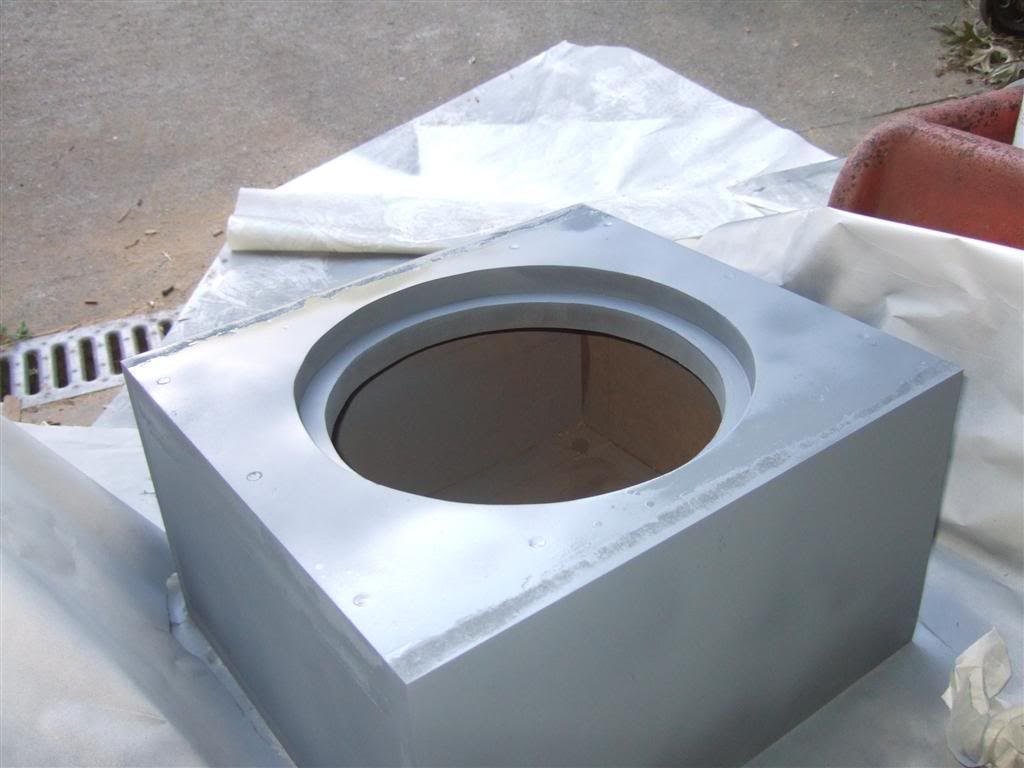
From this pic there appears to be some drip marks on the fascia of the box.

Not very long ago I made my own box. And used some texture spray to paint the sides and rear of my box. You may want to consider using something like that to hide the imperfections of mdf. It was the American Accents stuff from Home DEpot. Once you got that good coat over it where it hides the imperfections, you finish it of with the clearcoat for a very durable finish.
Overall i commend you for your effort and the fact that you even built your own enclosure and false floor, not many do. You did a nice job in the construction of the box itself. Good job, looks good.
A few words of constructive criticism, dont take it the wrong way please..
With the effort you put into making the amp rack, why not fish the wires into holes into the bottom of it? It appears you have the clearance underneath them to still be able to do that and allow you a cleaner look and hide the wires. From there you can go even further as to fish them through the carpet back and not see them at all whatsoever- a few zip ties or even tape and you are golden.
From this pic there appears to be some drip marks on the fascia of the box.
Not very long ago I made my own box. And used some texture spray to paint the sides and rear of my box. You may want to consider using something like that to hide the imperfections of mdf. It was the American Accents stuff from Home DEpot. Once you got that good coat over it where it hides the imperfections, you finish it of with the clearcoat for a very durable finish.
Overall i commend you for your effort and the fact that you even built your own enclosure and false floor, not many do. You did a nice job in the construction of the box itself. Good job, looks good.
Thread Starter
ahhh! cliMAX!
Joined: May 2005
Posts: 792
yeah manny the paint does have a little bit of unevenness up top there. The MDF soaks up a loot of paint. The edges of the mdf [the side after you cut] is incredibly hard to paint.
It was also my first time with mdf and first time spray painting.
As for the wires... Do they even make wire looms that freaking big lol?
It was also my first time with mdf and first time spray painting.
As for the wires... Do they even make wire looms that freaking big lol?
Originally Posted by godlyone
yeah manny the paint does have a little bit of unevenness up top there. The MDF soaks up a loot of paint. The edges of the mdf [the side after you cut] is incredibly hard to paint.
It was also my first time with mdf and first time spray painting.
As for the wires... Do they even make wire looms that freaking big lol?
It was also my first time with mdf and first time spray painting.
As for the wires... Do they even make wire looms that freaking big lol?
Loom is personal choice. If you go ahead and fish the wiring through the amp rack theres no real need for it. Just gotta tape/zip tie the bundle from there on. Looming all that wire may result in too much of a girthy run that will be harder to hide as you run it back if you tuck it under the carpet.

Back from Hibernation
Joined: Mar 2004
Posts: 1,100
Originally Posted by godlyone
yeah manny the paint does have a little bit of unevenness up top there. The MDF soaks up a loot of paint. The edges of the mdf [the side after you cut] is incredibly hard to paint.
It was also my first time with mdf and first time spray painting.
As for the wires... Do they even make wire looms that freaking big lol?
It was also my first time with mdf and first time spray painting.
As for the wires... Do they even make wire looms that freaking big lol?
They make loom way big enough, though you may want to loom spreaker and power wires seperately. Heres a link to some different sized loom at great prices
http://www.partsexpress.com/webpage....7&WebPage_ID=3 or ifyou really wanna jazz stuff up...
http://www.partsexpress.com/webpage....7&WebPage_ID=3


Originally Posted by godlyone
lol.. i thought it would be funny.. but i guess you fegs really liked it... im glad lmao
hrrmm...glad you can find a type of "silver lining," I suppose. Have you seen metal maxama's avatar? haha, burn.