
Pics from PC/Sonus/Klasse Detail - 96 Deep Evergreen SE


Thread Starter
Senior Member
iTrader: (10)
Joined: Jun 2004
Posts: 2,581
From: Danbury, CT \ Rochester, NY
Pics from PC/Sonus/Klasse Detail - 96 Deep Evergreen SE
I originally posted this on autopia.org a while back - I started this detail on Aug. 10, so pics are a little late...
Anyways, this was my first PC/true autopian detail. I will just be copying and pasting everything from that site (just in case someone can't spare the time to click another link for the befores and afters; I've been there).
I've always heard great things about the PC's, and after owning two generic Random Orbitals (the kind that you pay 20 bones for), I sprung for the Mother of all R.O.'s, and feel I had much success. My car had an incredible amount of swirling, only about 10 percent of them show up in the pictures below due to the camera quality. When you looked into the sun, you wouldn't see the Deep Evergreen, instead, you'd just see swirls.
Here are the befores (these are the only pics that I could use to show the damage, and even these don't do it justice.)
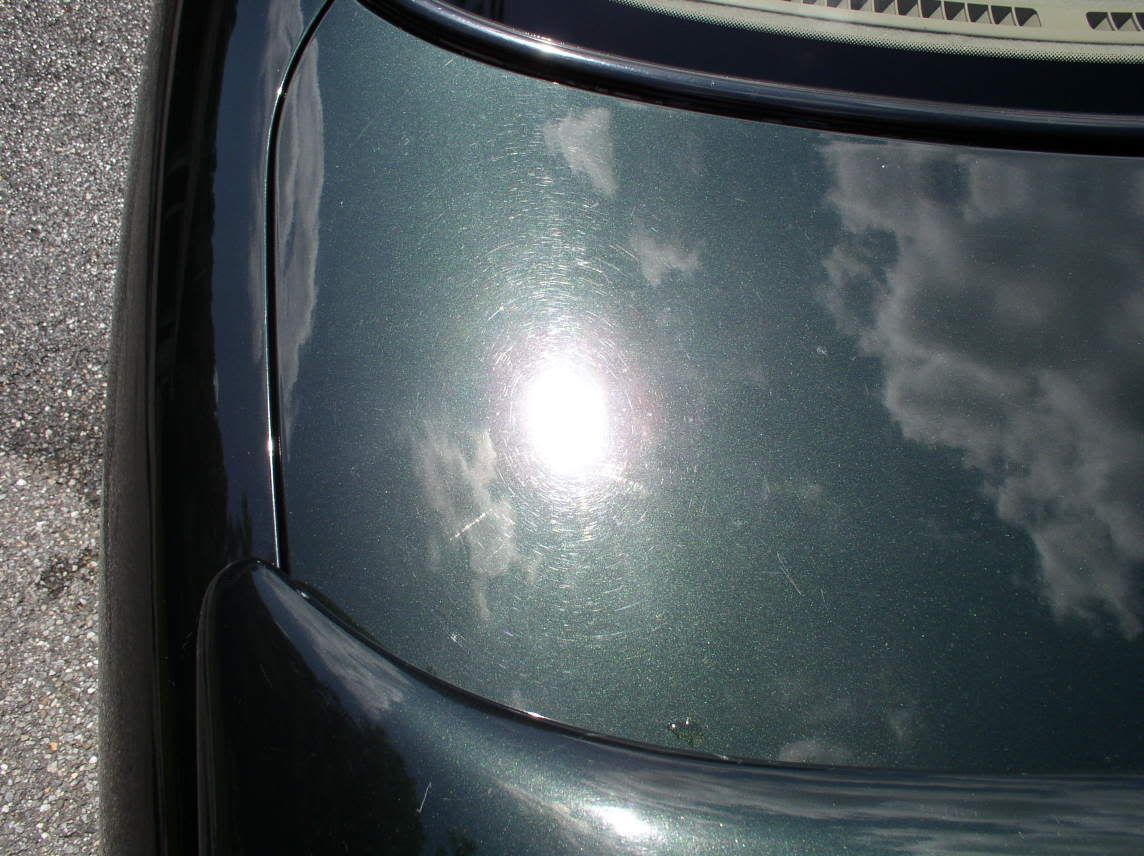

The car also had bad oxidation where the sun roof wind deflector has sat for most of it's life, and also along the bottom panels because of the absense of splash guards in a FWD car. The front bumper was also in bad shape, and even after waxing a reflection was seldom seen on it.
My process was:
Wash w/ Dawn
Mother's Clay/Meg's Next Gen Wash as lubricant
Wash w/ Meg's Next Gen Wash
Sonus SFX-1 applied by PC at speed 6 w/ DAS Orange Cutting Pad
Sonus SFX-2 applied by PC at speed 5 w/ DAS Green Pad
Klasse AIO applied by PC at speed 3 w/ DAS Blue Finishing Pad
Klasse SG applied by Terry Cloth Applicator by hand
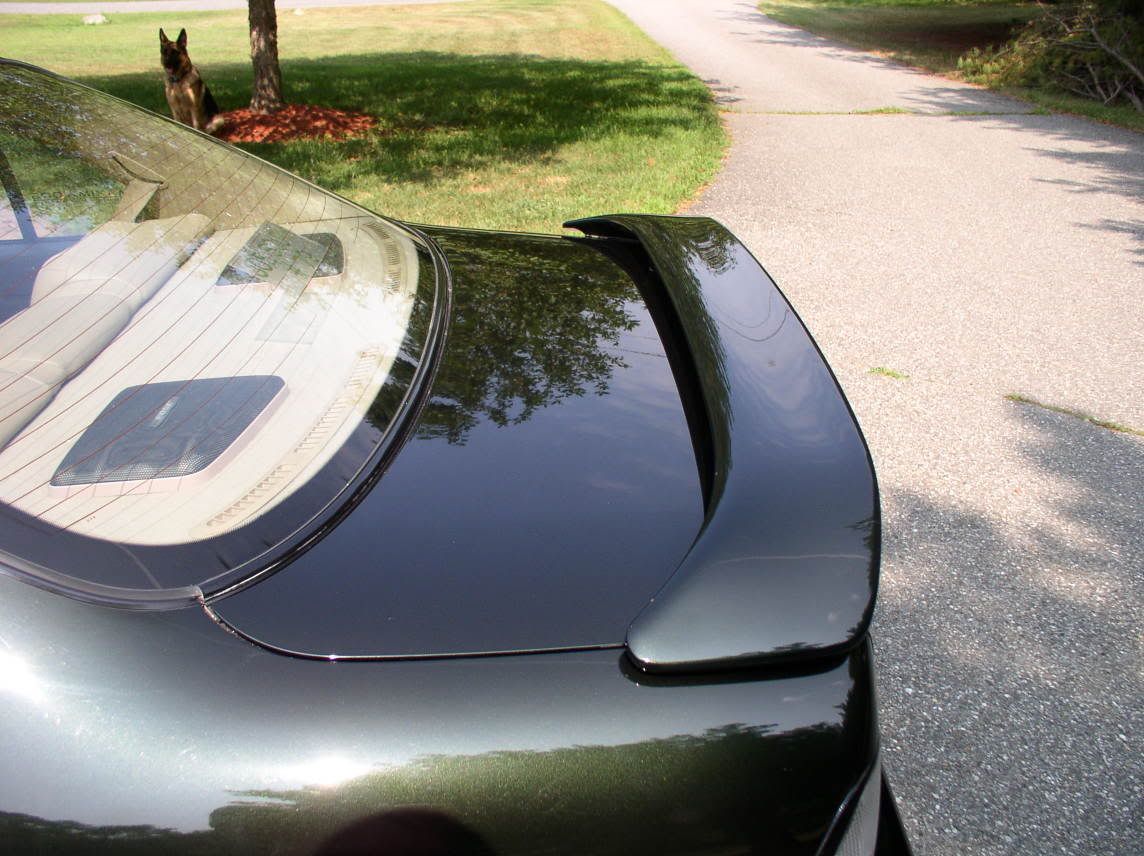
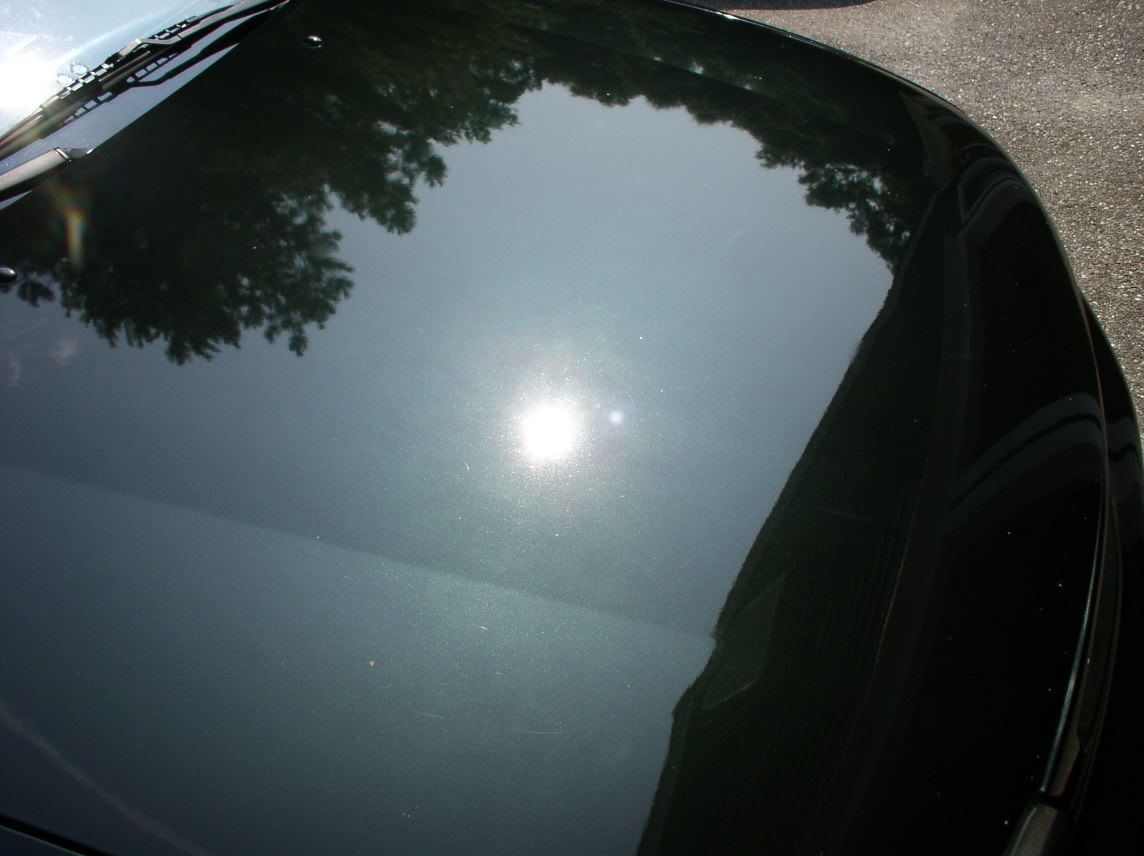
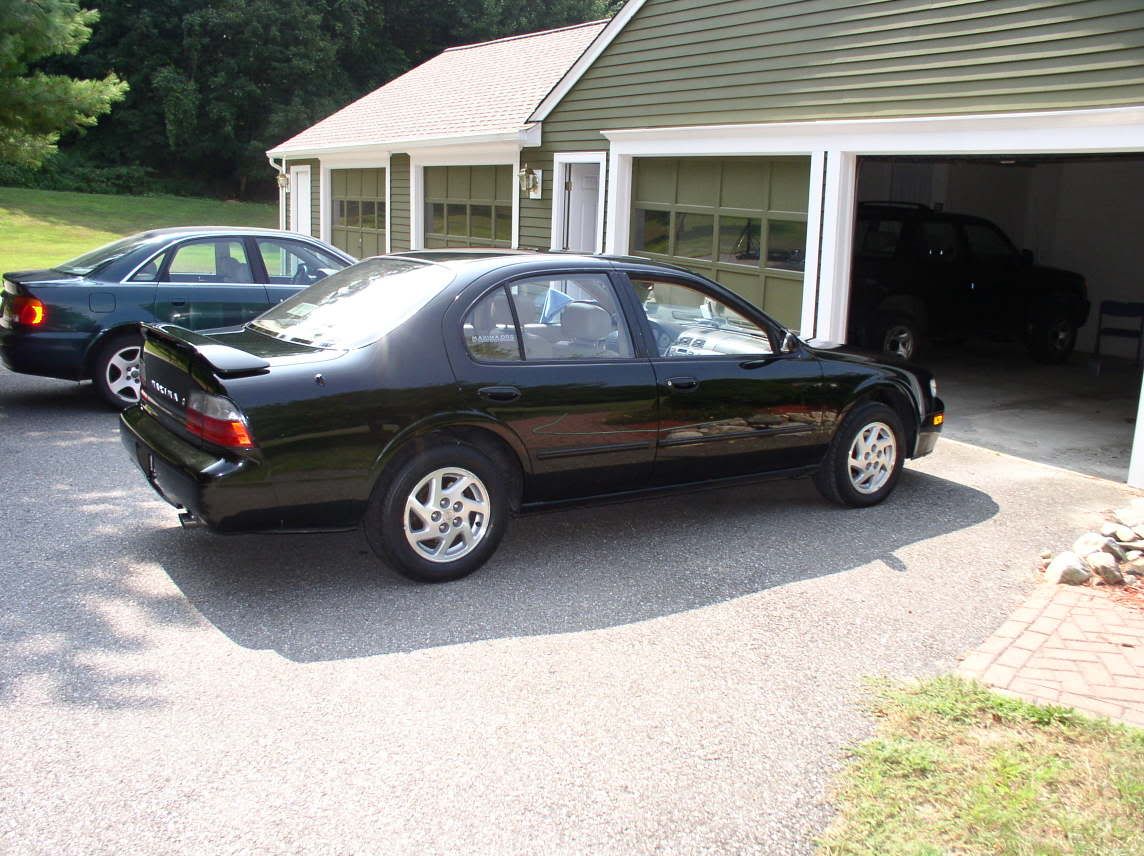
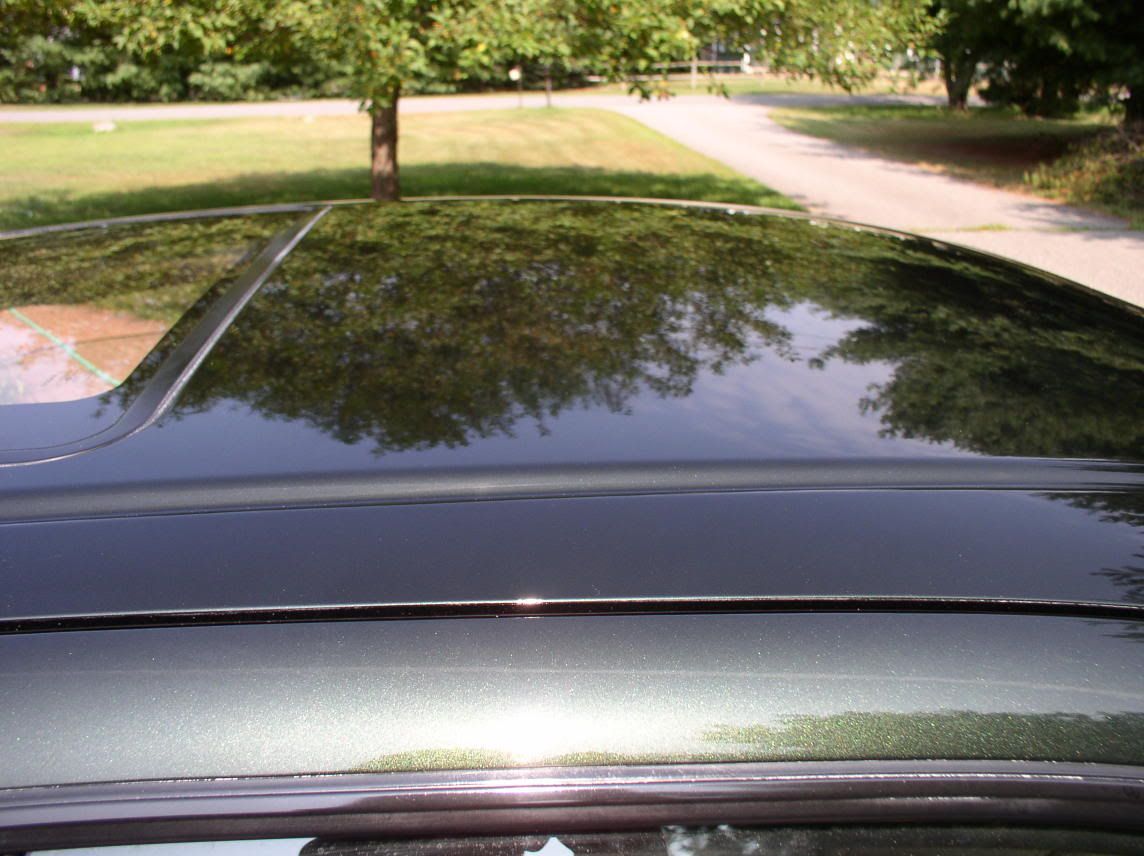
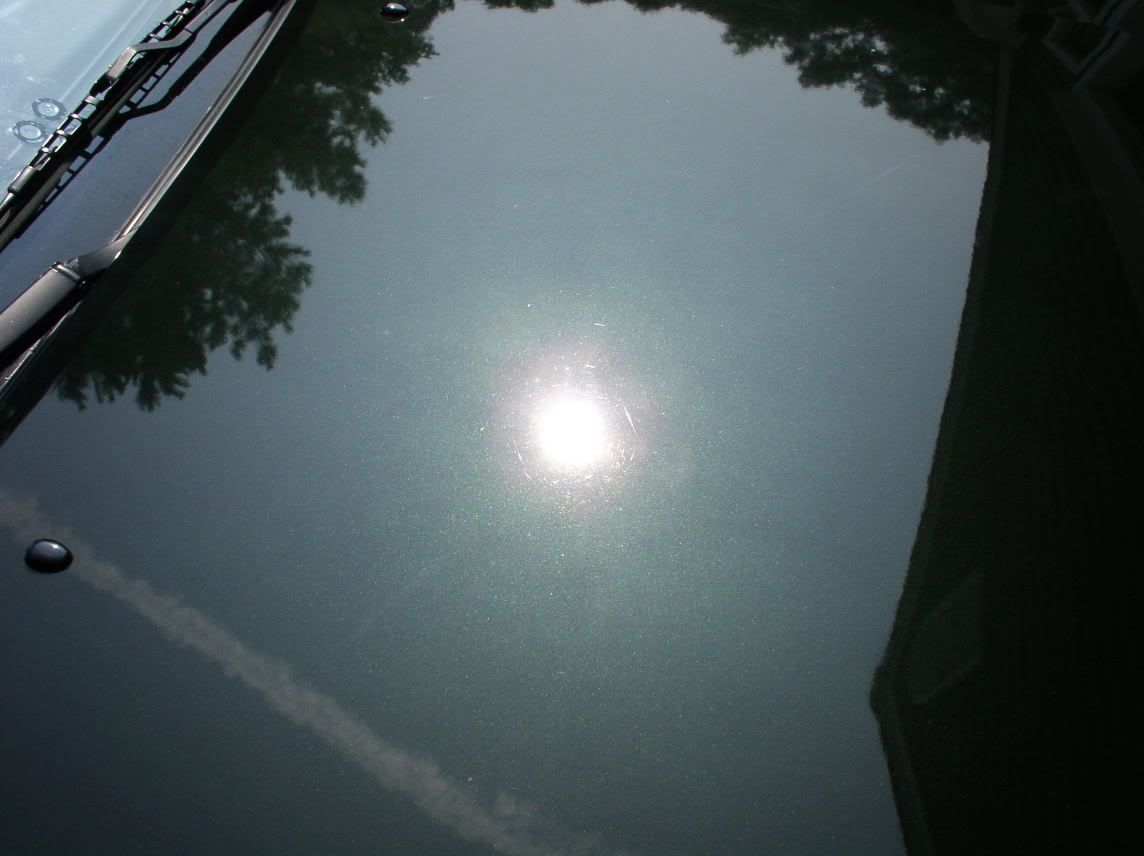
All polishes were removed with MF towels. I will be applying another coat of SG at every wash until I go to college to build up the layers. Anyways, here's the afters. Almost all of the imperfections are removed, and almost no swirls remain. The paint is really reflective, deep, glossy, slick, and now the Deep Evergreen is lively and the pearl stands out.
Anyways, this was my first PC/true autopian detail. I will just be copying and pasting everything from that site (just in case someone can't spare the time to click another link for the befores and afters; I've been there).
I've always heard great things about the PC's, and after owning two generic Random Orbitals (the kind that you pay 20 bones for), I sprung for the Mother of all R.O.'s, and feel I had much success. My car had an incredible amount of swirling, only about 10 percent of them show up in the pictures below due to the camera quality. When you looked into the sun, you wouldn't see the Deep Evergreen, instead, you'd just see swirls.
Here are the befores (these are the only pics that I could use to show the damage, and even these don't do it justice.)
The car also had bad oxidation where the sun roof wind deflector has sat for most of it's life, and also along the bottom panels because of the absense of splash guards in a FWD car. The front bumper was also in bad shape, and even after waxing a reflection was seldom seen on it.
My process was:
Wash w/ Dawn
Mother's Clay/Meg's Next Gen Wash as lubricant
Wash w/ Meg's Next Gen Wash
Sonus SFX-1 applied by PC at speed 6 w/ DAS Orange Cutting Pad
Sonus SFX-2 applied by PC at speed 5 w/ DAS Green Pad
Klasse AIO applied by PC at speed 3 w/ DAS Blue Finishing Pad
Klasse SG applied by Terry Cloth Applicator by hand
All polishes were removed with MF towels. I will be applying another coat of SG at every wash until I go to college to build up the layers. Anyways, here's the afters. Almost all of the imperfections are removed, and almost no swirls remain. The paint is really reflective, deep, glossy, slick, and now the Deep Evergreen is lively and the pearl stands out.


Thread Starter
Senior Member
iTrader: (10)
Joined: Jun 2004
Posts: 2,581
From: Danbury, CT \ Rochester, NY
Originally Posted by kdejour
That is an excellent job. It looks like a pro did it. I guess I have to go and do my old 95 max now. How long did that take?
Next time, try applying the sealant with the pc at a lower speed w/ a finishing pad. I tried that for the first time on my most recent detailing job and loved it. The pc helped it spread out evenly, which made it much easier to buff out by hand. Saved me 1/2 the time too and saved me from using alot more of the product.

Thread Starter
Senior Member
iTrader: (10)
Joined: Jun 2004
Posts: 2,581
From: Danbury, CT \ Rochester, NY
Originally Posted by BlueC
Next time, try applying the sealant with the pc at a lower speed w/ a finishing pad. I tried that for the first time on my most recent detailing job and loved it. The pc helped it spread out evenly, which made it much easier to buff out by hand. Saved me 1/2 the time too and saved me from using alot more of the product.

Thread
Thread Starter
Forum
Replies
Last Post
BPuff57
Advanced Suspension, Chassis, and Braking
33
Apr 16, 2020 05:15 AM
bigfrank
4th Generation Maxima (1995-1999)
2
Oct 1, 2015 12:51 PM