
Infiniti I30t projector retrofit...


Thread Starter
Member
Joined: Jan 2012
Posts: 229
Infiniti I30t projector retrofit...
So I got some interest in my headlights from a couple members and thought I would throw up a more detailed thread about it, since I will also be re-doing them this weekend.
The back story...
I bought the car w/ a salvaged title after I sold my '00 2dr Blazer. When I got the car the OEM HID equipment were all gone and in its place was a very shady install of modified halogen bulbs, melted sockets and exposed wiring. The headlights were yellow as hell and a reflector bowl broken. Originally, I had planned to just put back in the OEM stuff but then figured I might as well do a retrofit since I have all the stuff and needed to open up the headlight anyways. This would be my 5th retro I've worked on.
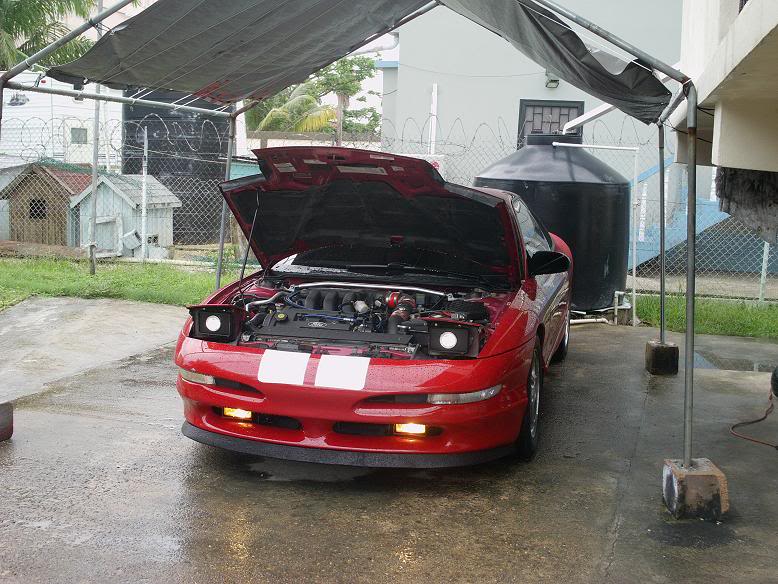
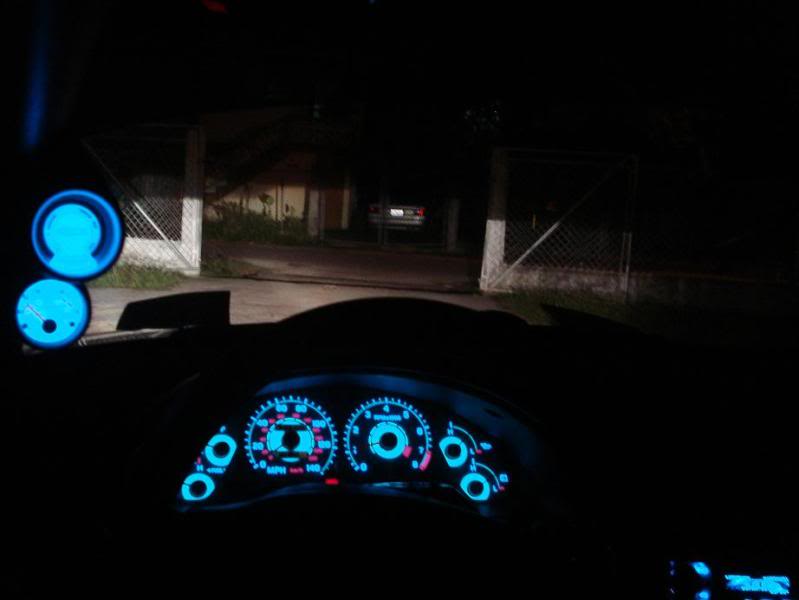
My Probe GTS I had b4 the Blazer...

My Blazer...swapped out the sucky ebay projectors
My bro's Saturn Vue which is the donor for my newest swap...
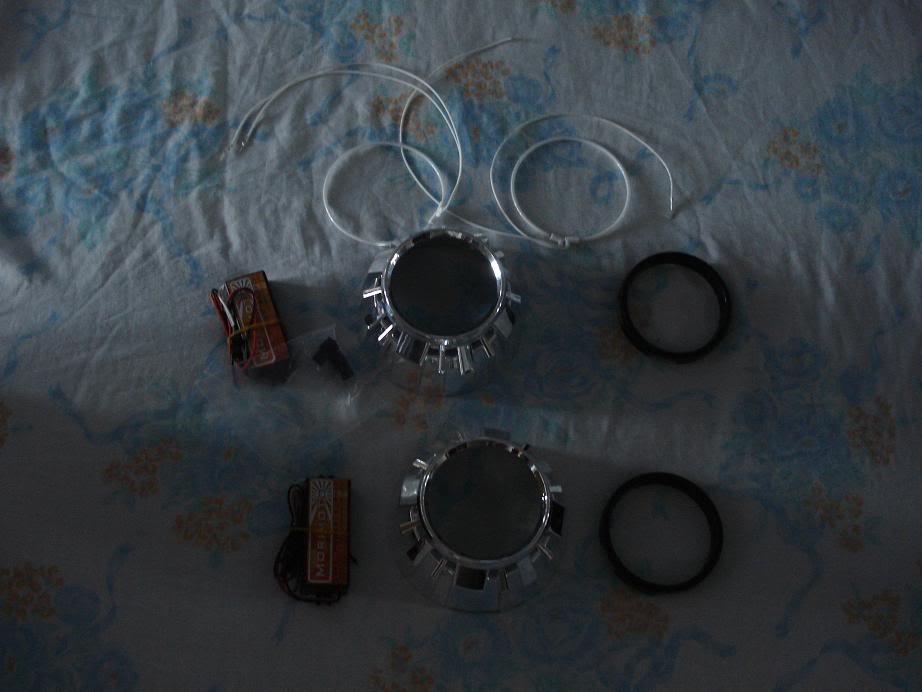
I will be doing the current setup over but currently v.1 consists of...
Morimoto MH1 projectors (v1.0)
Mini Gatling gun shrouds...painted
Morimoto 3five bulbs
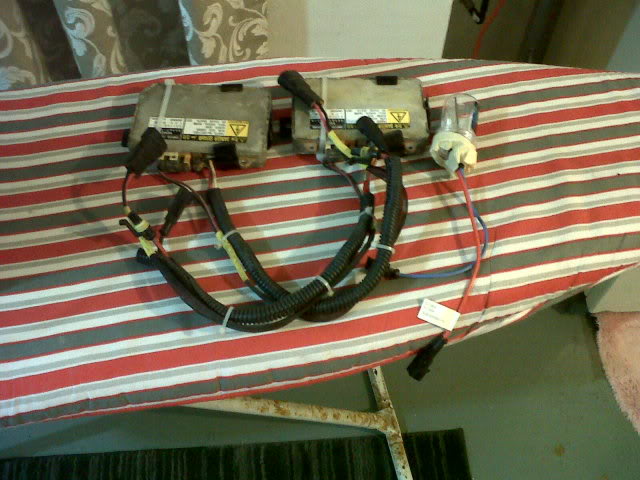
Denso (Lexus) ballasts...rewired with amp connectors and 9005/9006 plugs
painted shields black for a subtle look
LED city lights
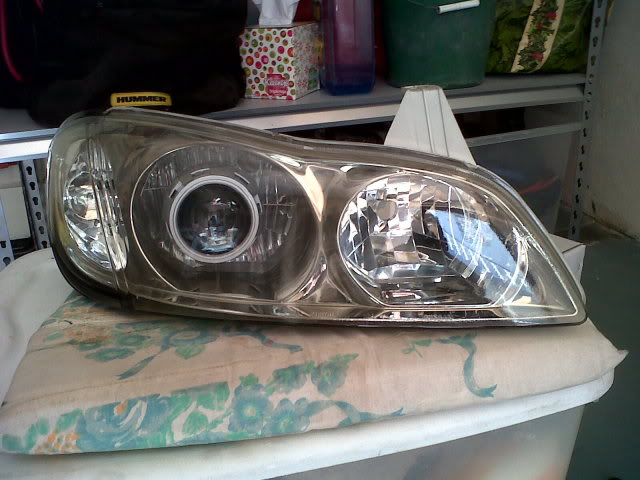
OEM I30t headlights cleared
Eurolite 3k foglight bulbs
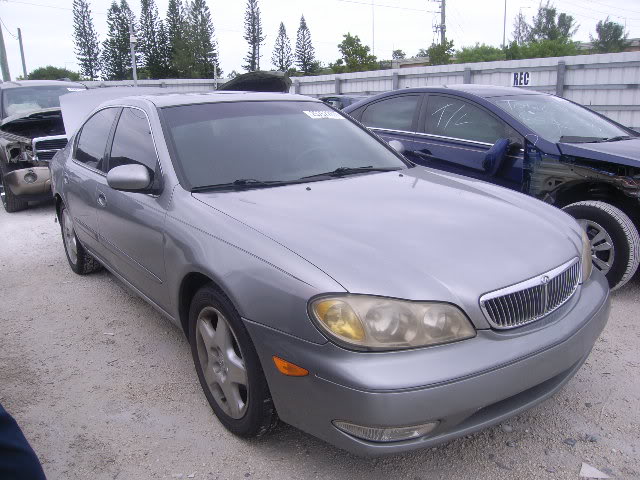
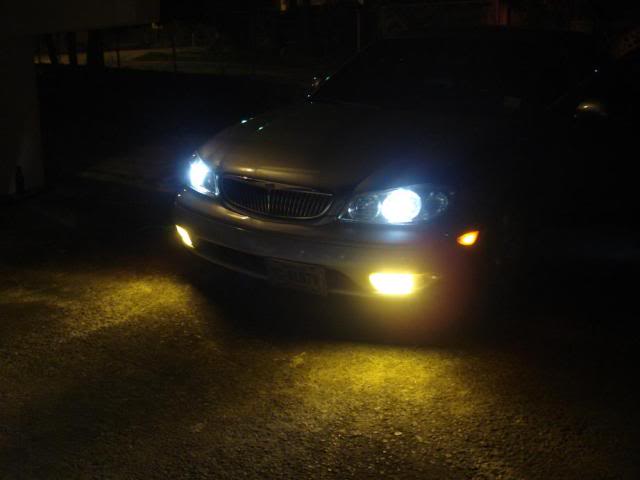
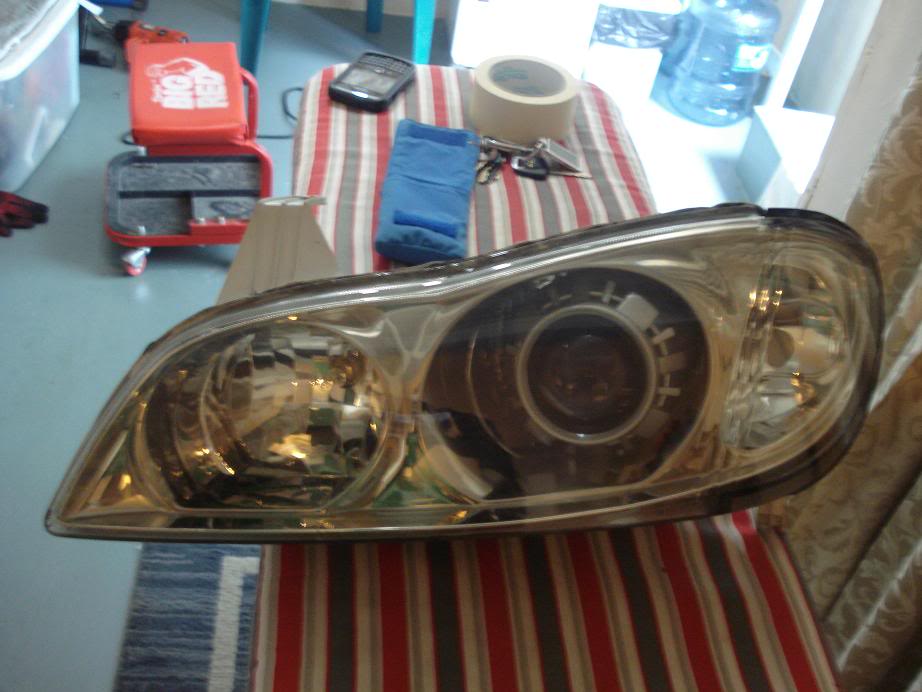
How the lights look when I bought the car...
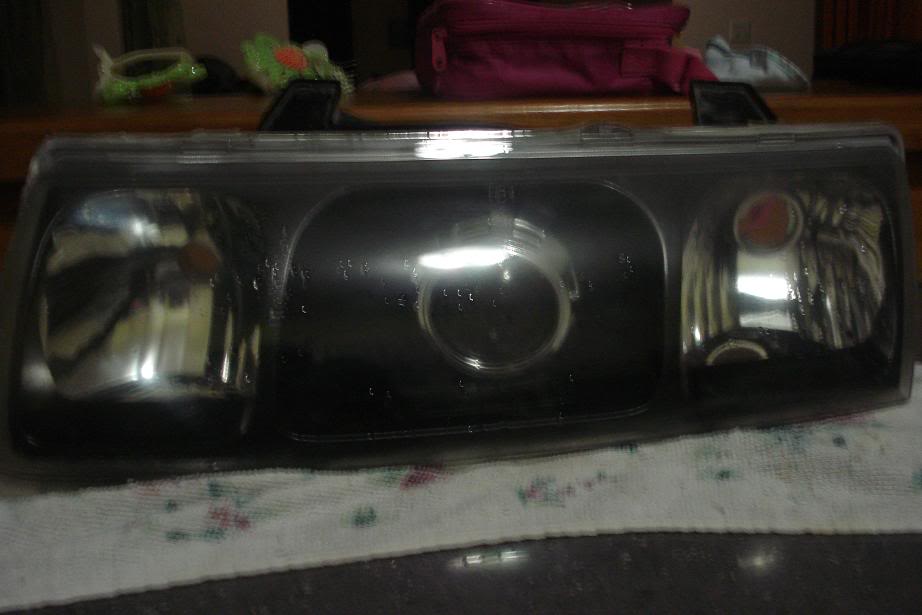
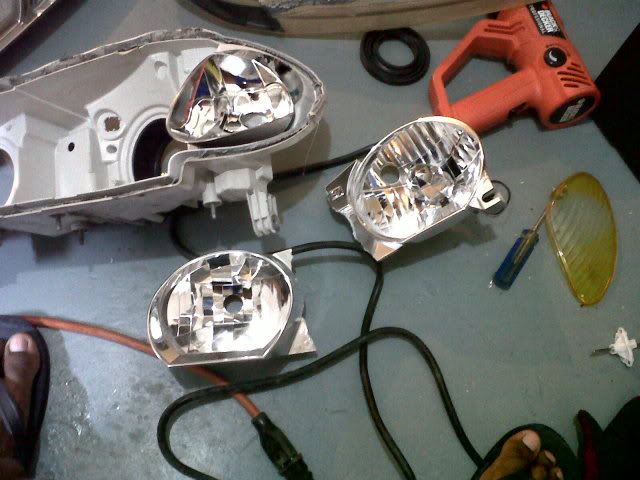
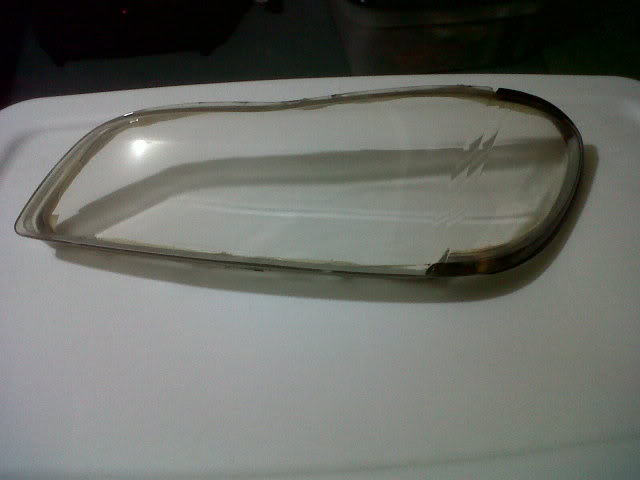
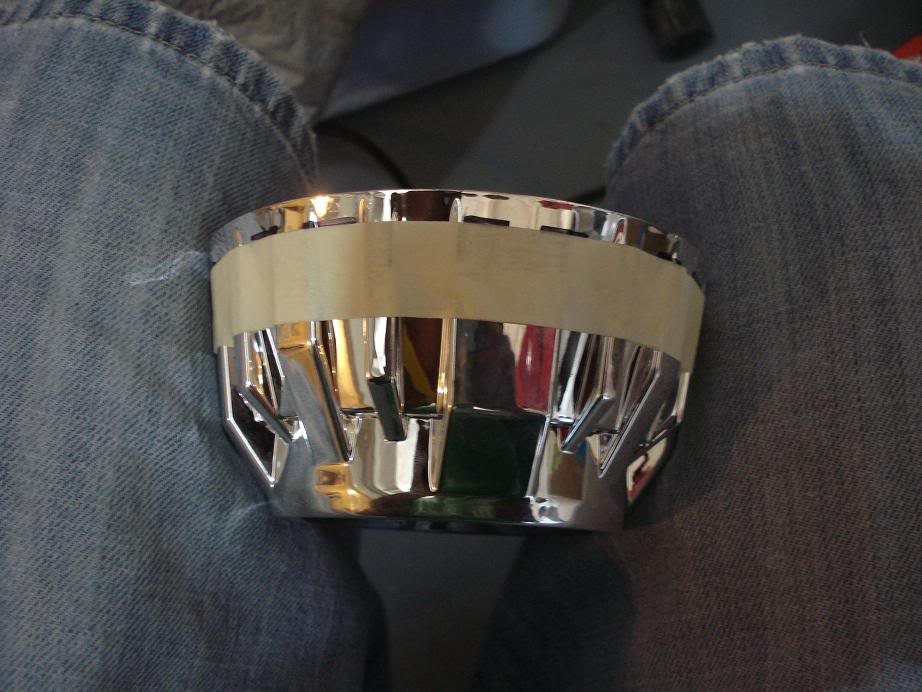
I used a heatgun to take apart the lights the trick to this is never leave the gun in one place too long or it will start to melt or warp the plastic. I started off first by clearing out the orange lens of course.
Then I had to repair the broken reflector bowl...I re-purposed brackets from a Memphis Audio amp bridge to fix it, not pretty bu the bezel hides it.
The back story...
I bought the car w/ a salvaged title after I sold my '00 2dr Blazer. When I got the car the OEM HID equipment were all gone and in its place was a very shady install of modified halogen bulbs, melted sockets and exposed wiring. The headlights were yellow as hell and a reflector bowl broken. Originally, I had planned to just put back in the OEM stuff but then figured I might as well do a retrofit since I have all the stuff and needed to open up the headlight anyways. This would be my 5th retro I've worked on.
My Probe GTS I had b4 the Blazer...
My Blazer...swapped out the sucky ebay projectors
My bro's Saturn Vue which is the donor for my newest swap...
I will be doing the current setup over but currently v.1 consists of...
Morimoto MH1 projectors (v1.0)
Mini Gatling gun shrouds...painted
Morimoto 3five bulbs
Denso (Lexus) ballasts...rewired with amp connectors and 9005/9006 plugs
painted shields black for a subtle look
LED city lights
OEM I30t headlights cleared
Eurolite 3k foglight bulbs
How the lights look when I bought the car...
I used a heatgun to take apart the lights the trick to this is never leave the gun in one place too long or it will start to melt or warp the plastic. I started off first by clearing out the orange lens of course.
Then I had to repair the broken reflector bowl...I re-purposed brackets from a Memphis Audio amp bridge to fix it, not pretty bu the bezel hides it.
Last edited by dna59; May 11, 2012 at 05:38 AM.
Thread Starter
Member
Joined: Jan 2012
Posts: 229
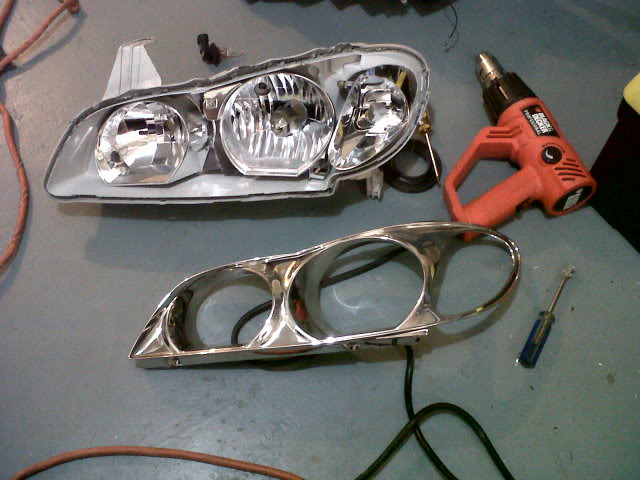
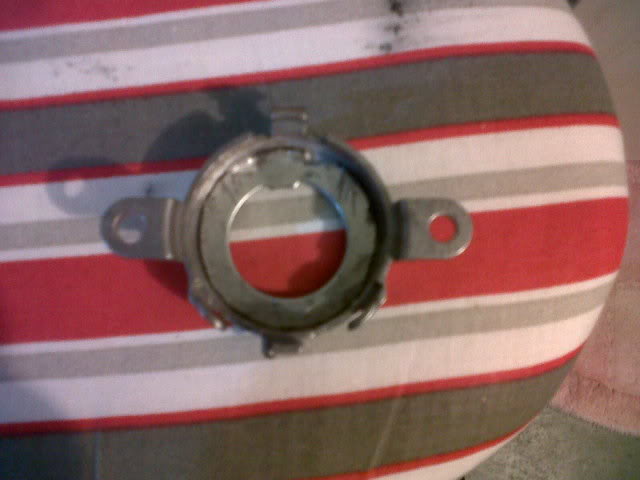
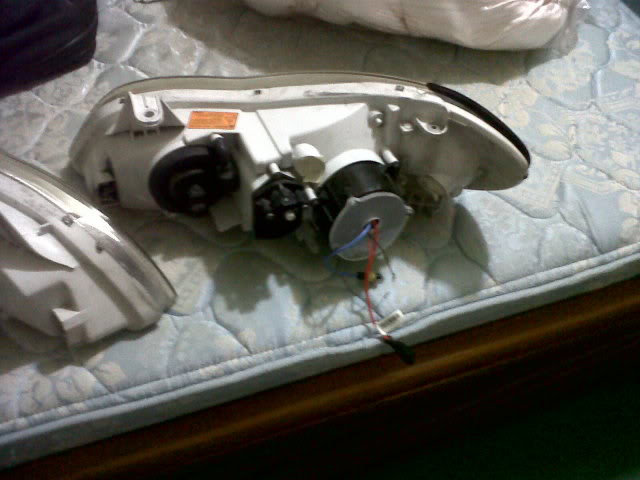
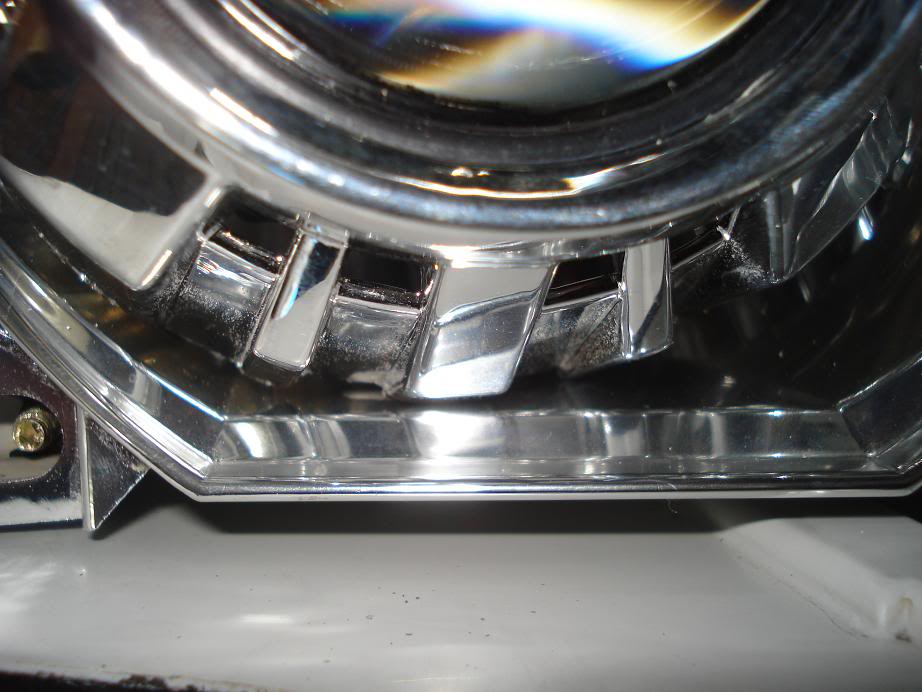
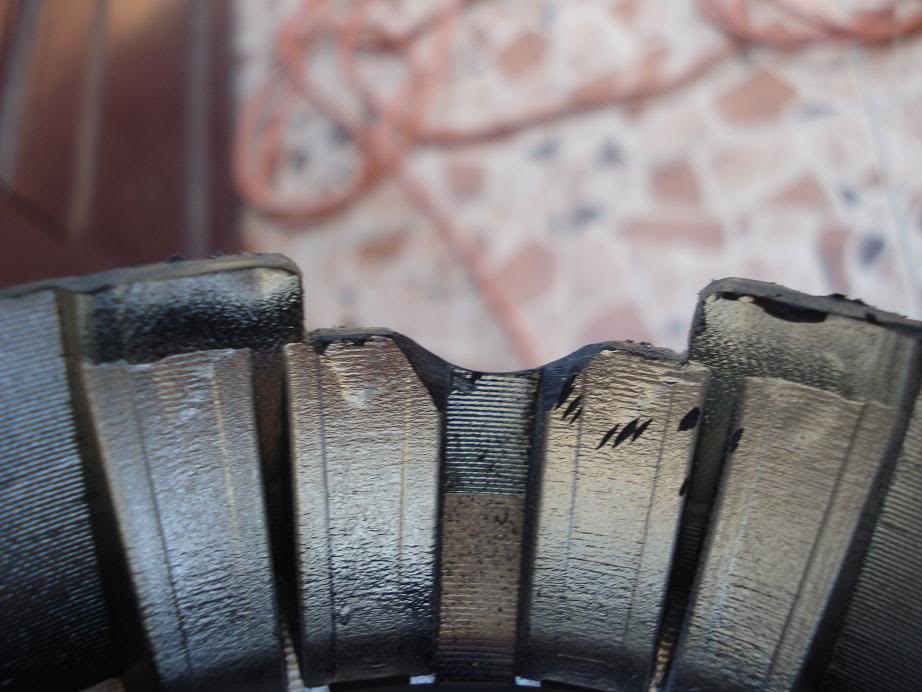
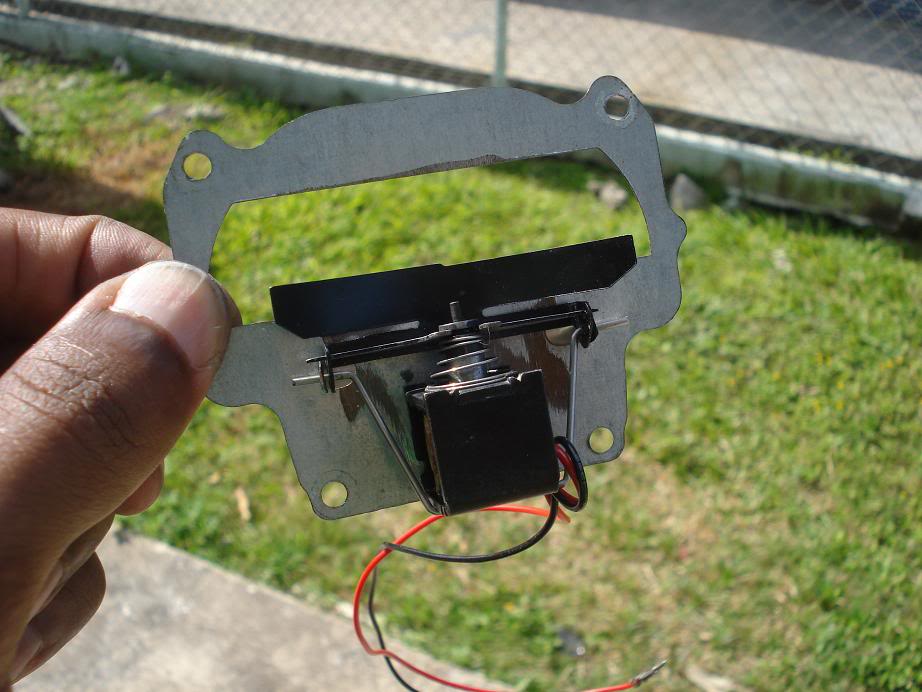
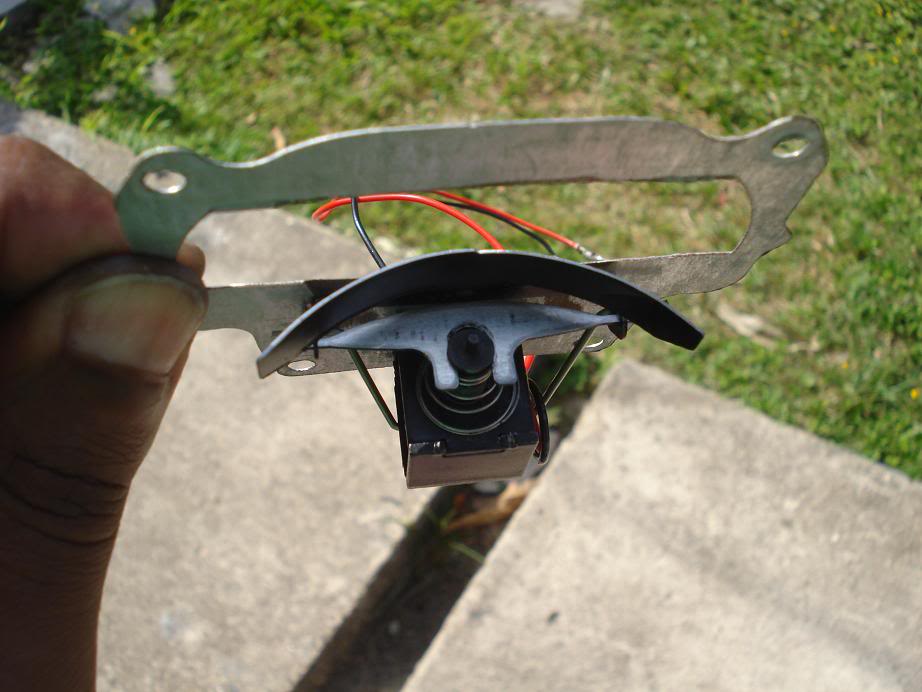
Next I removed the weir metal contraption from behind the reflector bowl that had some wires attached to it and mounted to the bulb holder that was for the OEM HID system. Once I had the bulb holder removed I had to remove the notch that was used to seat the bulb in the correct position as well as grind down the h7 adapter for the MH1 to fit in the bulb holder.
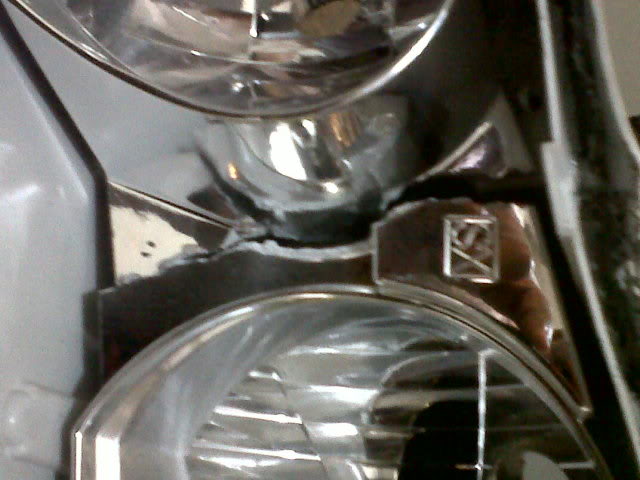
Before w/ notch...
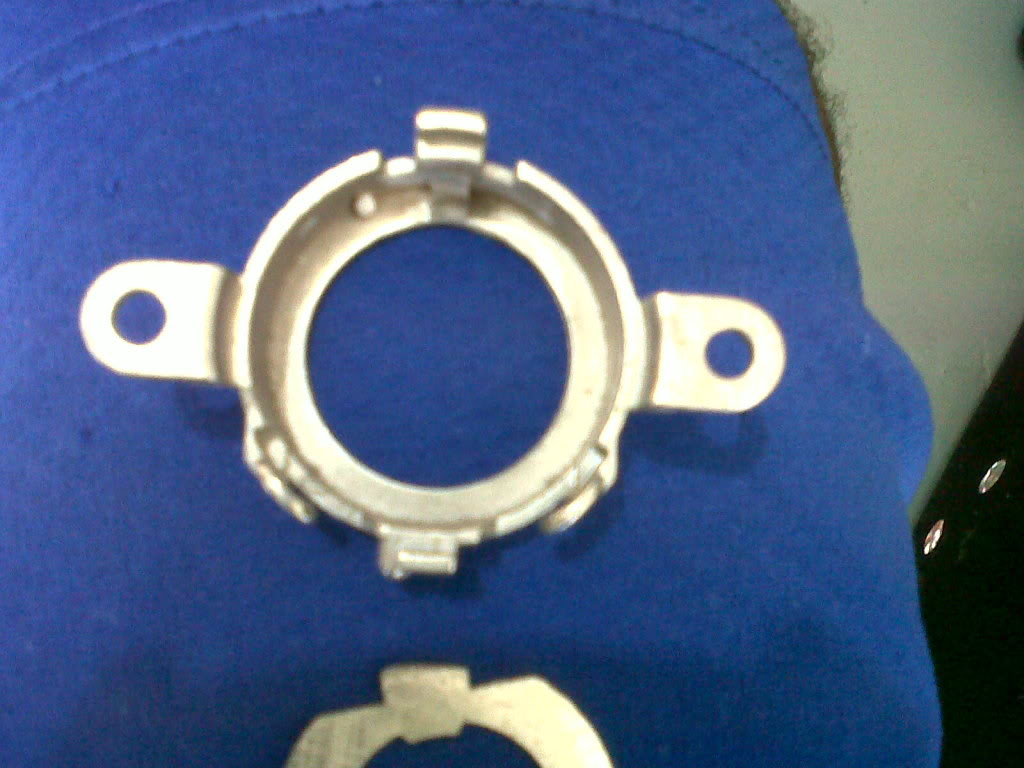
After w/out notch and h7 adapter fitted...
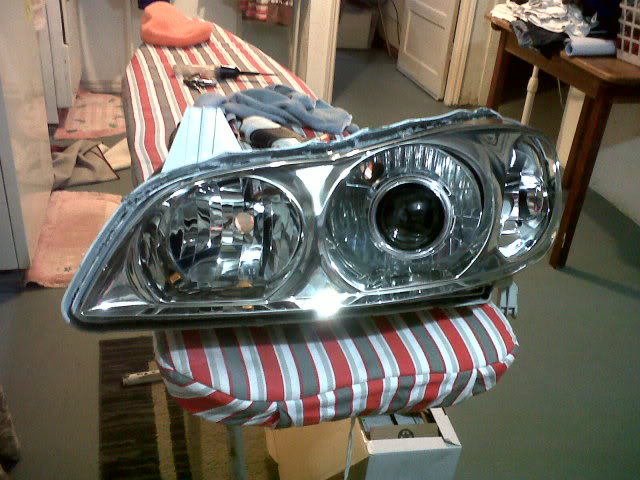
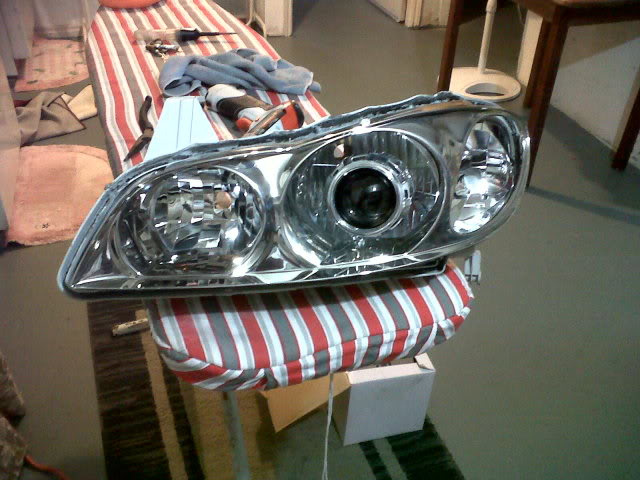
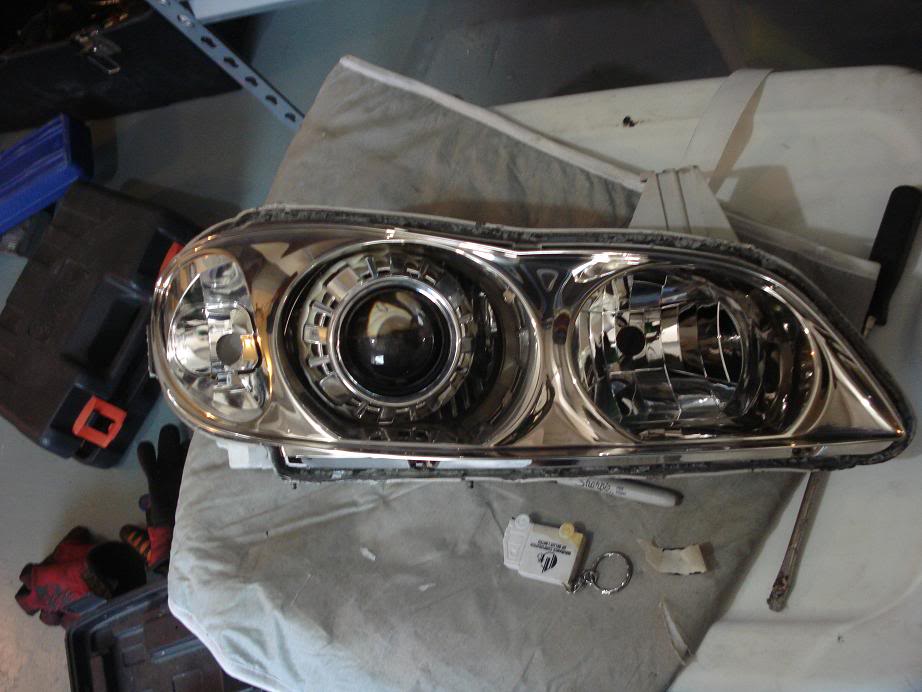
Projectors mocked up...
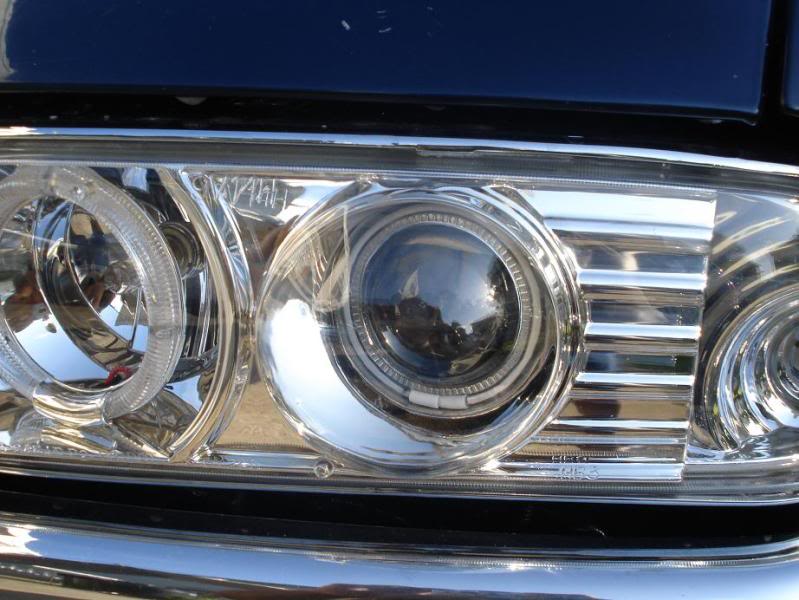
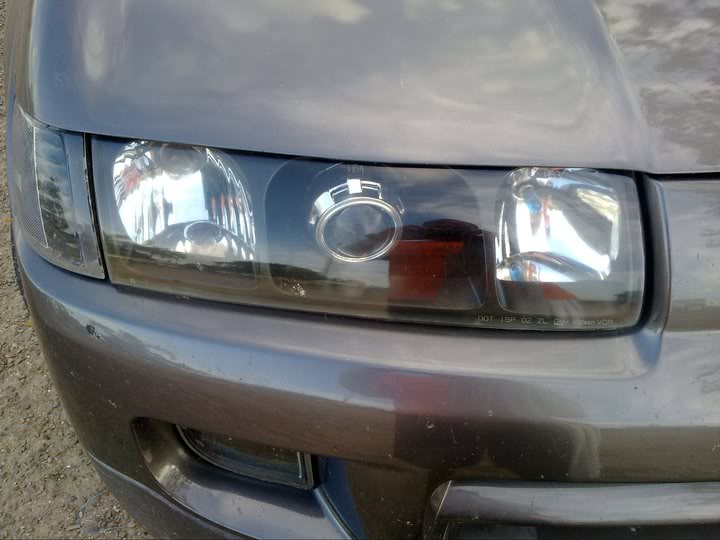
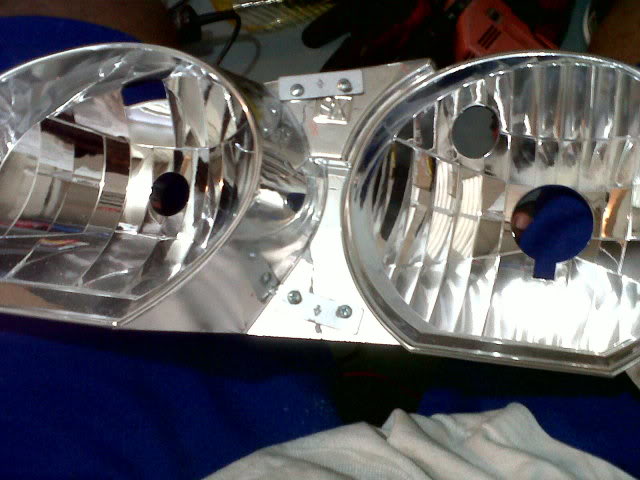
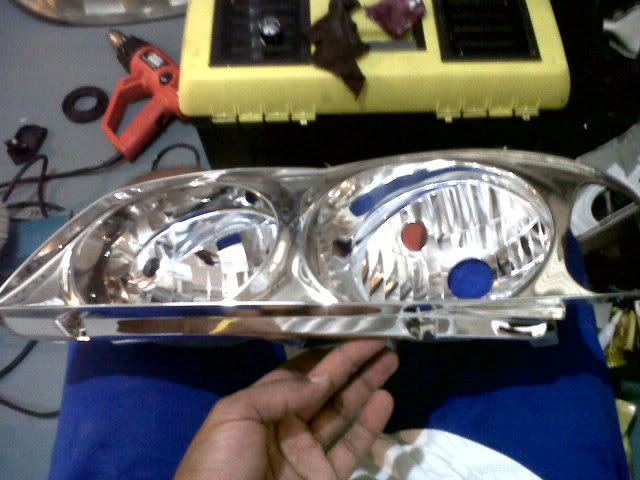
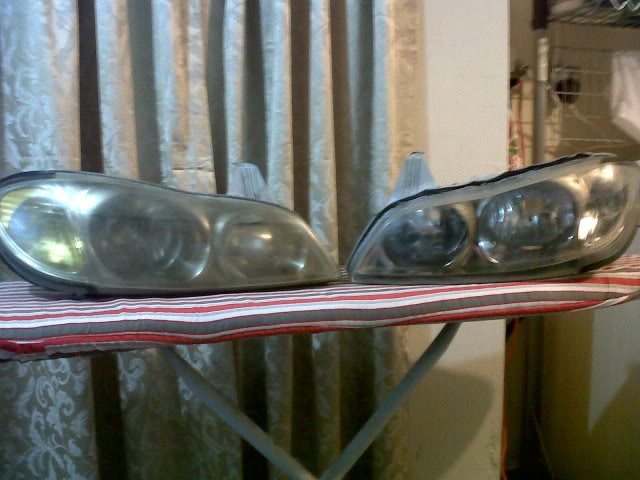
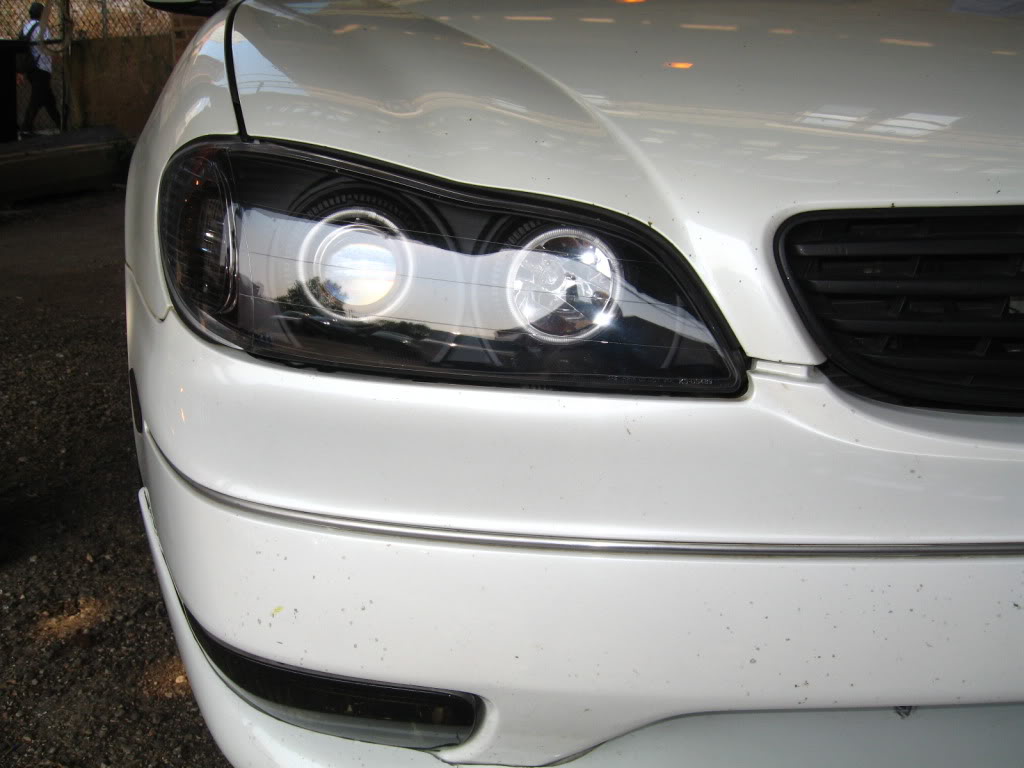
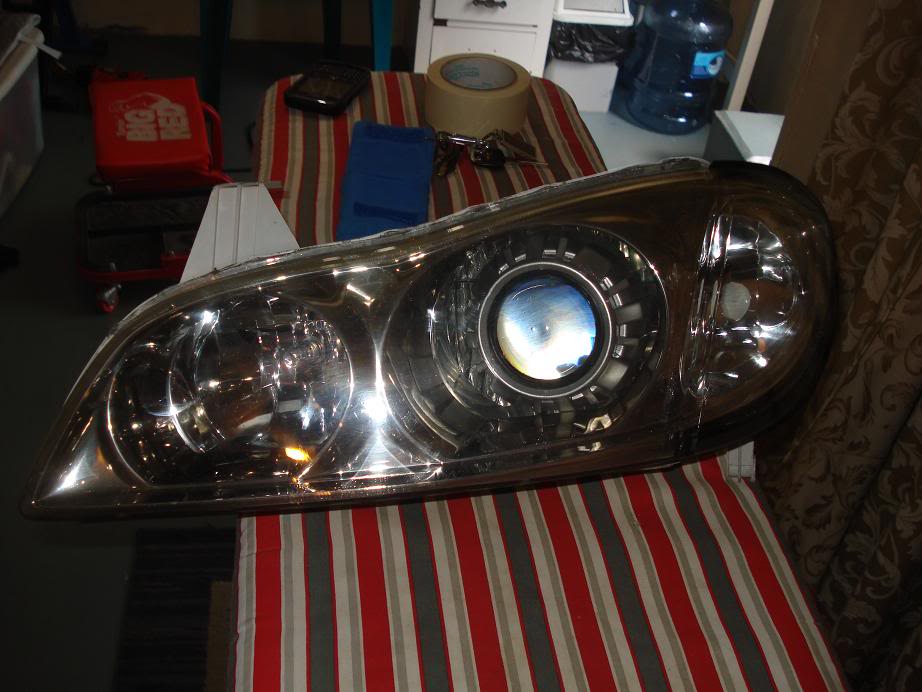
I had to address the yellowing of the headlights...sanding and polishing was not enough as seen below...before on the left and after on the right...
So I sanded down both sides of the headlight lens and had them clearcoated...
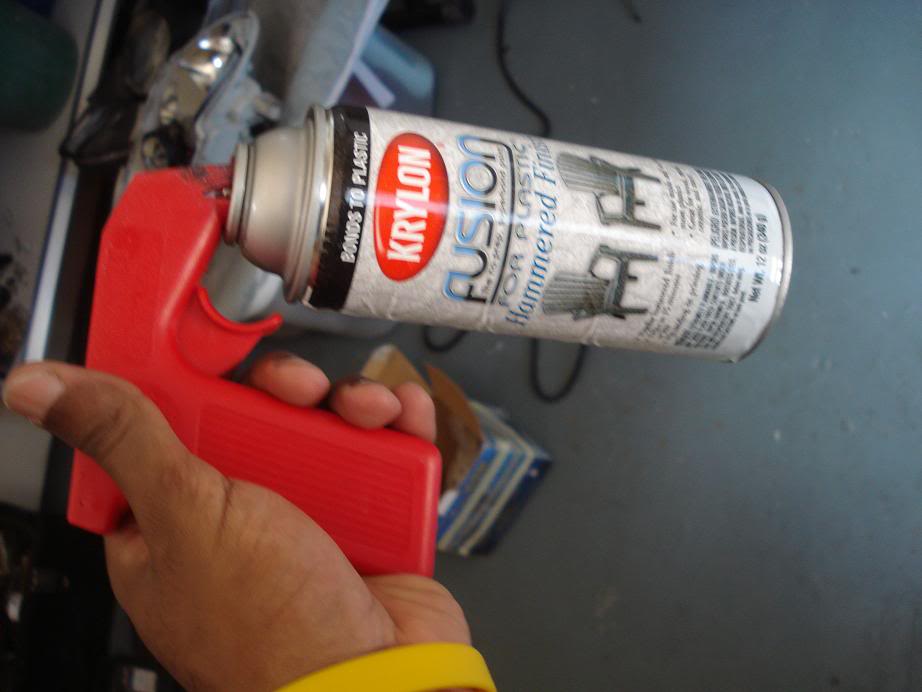
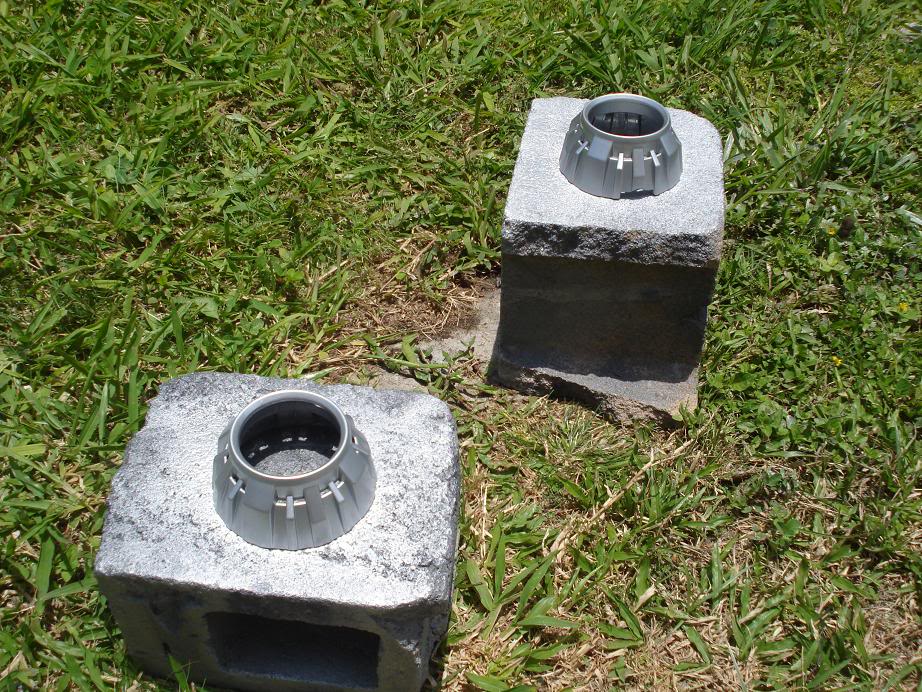
When cleaning the shrouds I mistakenly used an ammonia based glass cleaner and it stripped the shrouds so I ended up painting them but am actually glad I did.
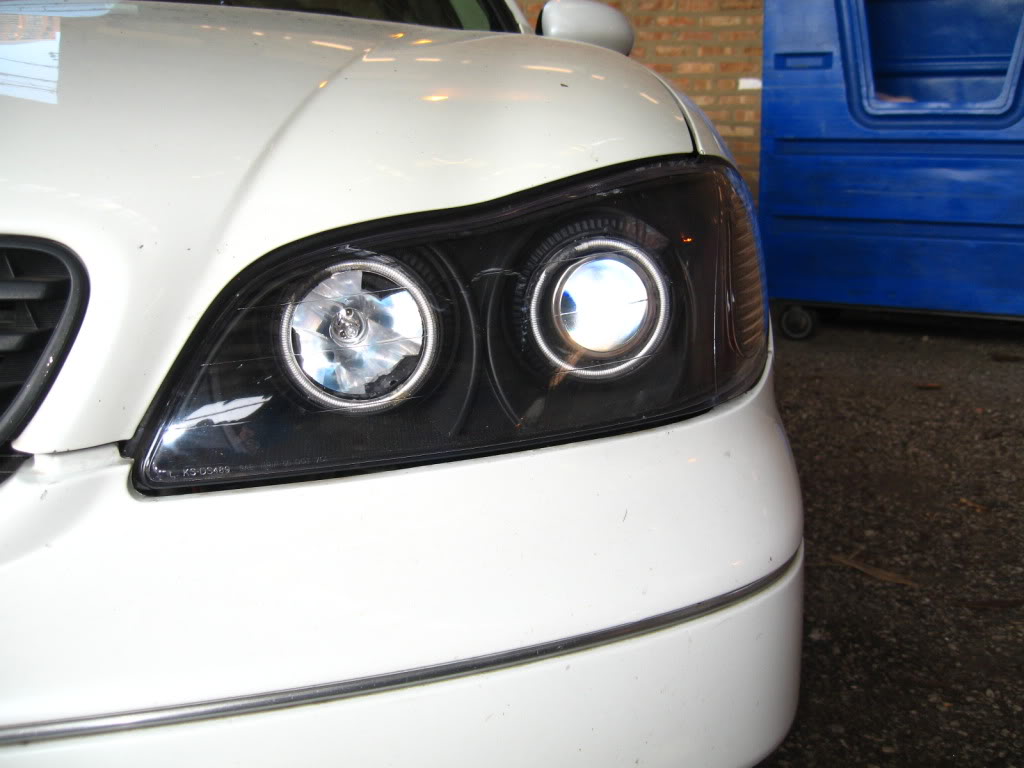
All together...

My modified Denso ballasts from a IS300 donor...will make them look nicer in v2...
Since the OEM HID equipment were missing the back of the lights had a big opening so I made a panel for it. I have yet to paint them and find a grommet for the hole.
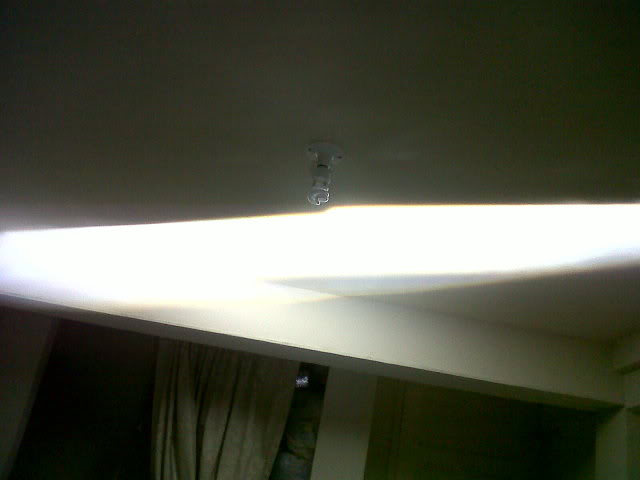
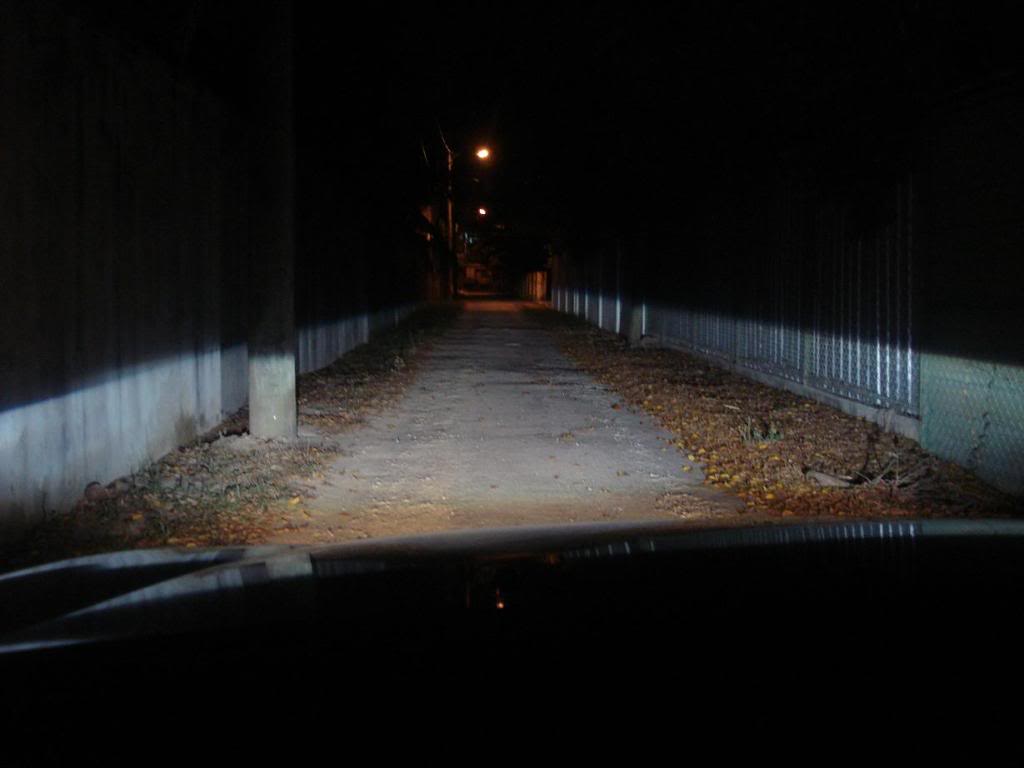
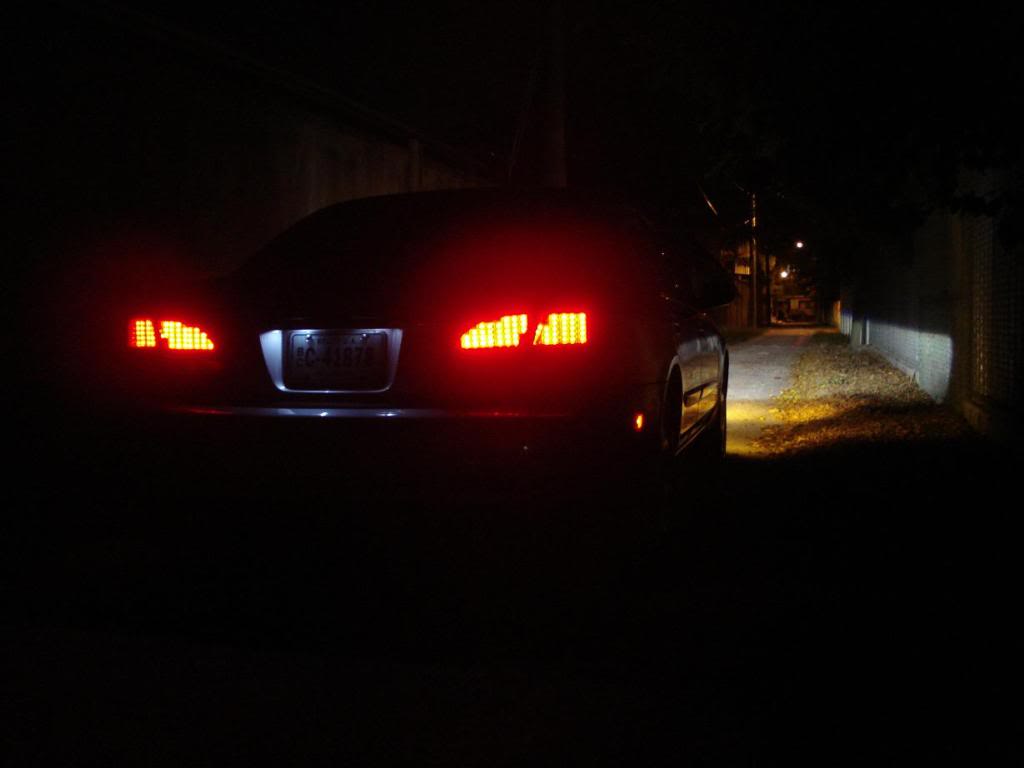
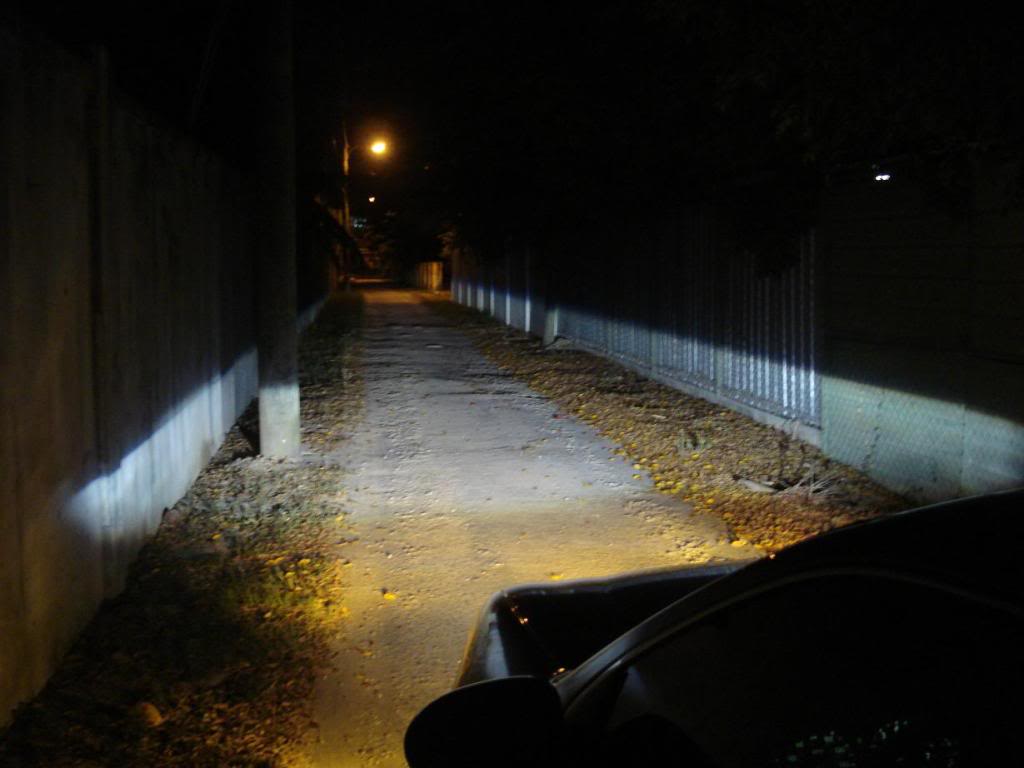
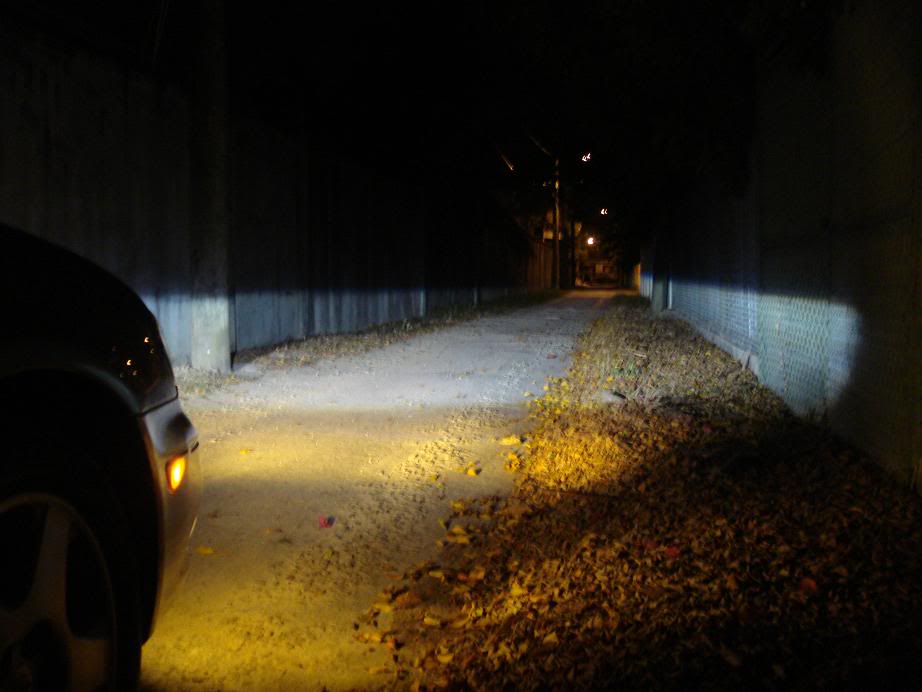
I never got any real output shots as I realized the cutoff was not as sharp as it should be...which is why I need to tweak the shields
NOTE: I originally used the rubber washers and grommets that came with the projectors but they introduced to many vibrations in the projectors so I took them out and now 95% of the vibrations are gone. What is left I attribute to the fact that the headlights aren't bolted in the fenders on the bottom of the headlights due to the tabs being broken, but I will look into this some more in v2.
Before w/ notch...
After w/out notch and h7 adapter fitted...
Projectors mocked up...
I had to address the yellowing of the headlights...sanding and polishing was not enough as seen below...before on the left and after on the right...
So I sanded down both sides of the headlight lens and had them clearcoated...
When cleaning the shrouds I mistakenly used an ammonia based glass cleaner and it stripped the shrouds so I ended up painting them but am actually glad I did.
All together...
My modified Denso ballasts from a IS300 donor...will make them look nicer in v2...
Since the OEM HID equipment were missing the back of the lights had a big opening so I made a panel for it. I have yet to paint them and find a grommet for the hole.
I never got any real output shots as I realized the cutoff was not as sharp as it should be...which is why I need to tweak the shields
NOTE: I originally used the rubber washers and grommets that came with the projectors but they introduced to many vibrations in the projectors so I took them out and now 95% of the vibrations are gone. What is left I attribute to the fact that the headlights aren't bolted in the fenders on the bottom of the headlights due to the tabs being broken, but I will look into this some more in v2.
Thread Starter
Member
Joined: Jan 2012
Posts: 229
I will have more detailed pics when I crack them open this weekend for v2.
v1 done...

v2 will consist of...
Gatling gun 2.0 shrouds (bigger)
shroud centric rings
CCFL w/ a twist
color mod
fixed shields
v2.5 will be...
LED bulbs in highbeam area since I don't need stock highbeams anymore
Morimoto XB35 bulbs
will see if my Ford Fusion fogs will fit in OEM foglight housings
v1 done...
v2 will consist of...
Gatling gun 2.0 shrouds (bigger)
shroud centric rings
CCFL w/ a twist
color mod
fixed shields
v2.5 will be...
LED bulbs in highbeam area since I don't need stock highbeams anymore
Morimoto XB35 bulbs
will see if my Ford Fusion fogs will fit in OEM foglight housings
Last edited by dna59; Apr 27, 2012 at 05:11 PM.


 lol
lol
Thread Starter
Member
Joined: Jan 2012
Posts: 229
Chrisman287 most of them are in my build thread but I have had couple questions about them so I thought I would do a thread about them. I will have up some new pics today and over the weekend since I will be doing more work on them.
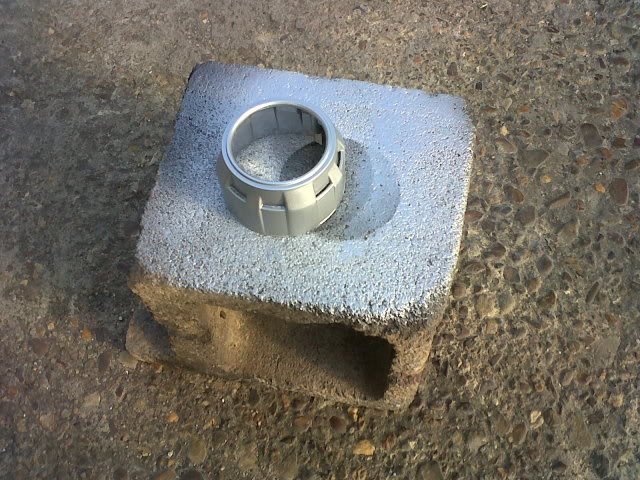
Ihavea2kmaxima as you can see that old ironing board is multi purpose. Sometimes the washer and dryer are turned into one also.
Dhunterx yea those are 4x6 housings. You should check out hid planet.com as they have a couple examples of retros using those. My way was simple but also those projectors were waterproof so I had no need to worry about the from exposed but I still wanted to make a lens for the light itself, but didn't have the car long enough after. All I did was bolt up the lights in the back then cut a piece of plexi for the front....found a hole saw the size of the projector and cut the hole in it. Not only did it act as a bezel to guide everything in the back but it also helped to stabilize the projector in front.
Thread Starter
Member
Joined: Jan 2012
Posts: 229
Got the stuff today for v2. I already have a problem though, one of the shroud centric rings won't stay in the shroud so I guess I will have to do some modding to make it stay. The shrouds are bigger than I expected so I hope I don't have to trim them.
Thread Starter
Member
Joined: Jan 2012
Posts: 229
I got alot of work done today and will post up pics in a few.
Completed:
fitted and painted shrouds
modified and fitted shroud centric rings
rebuilt and preliminary tuning on projector
modified headlight housing to mount ballast under
Completed:
fitted and painted shrouds
modified and fitted shroud centric rings
rebuilt and preliminary tuning on projector
modified headlight housing to mount ballast under


i like your work a lot dude! Good job.
I found it easier to retrofit my aftermarket ebay headlights, since with a little fiberglass and epoxy the existing bracket was easily modified to accept the new projectors.
Also i still retained the aiming ability of those aftermarket lights, albeit it was way crappy. I found it easier to raise the rear end of my car up than to aim the headlights down haha.
Thread Starter
Member
Joined: Jan 2012
Posts: 229
Honestly if I had the money I would probably have went that route and swap in TSX projectors in eBay housings, but the budget is tight and had most of these things laying around.
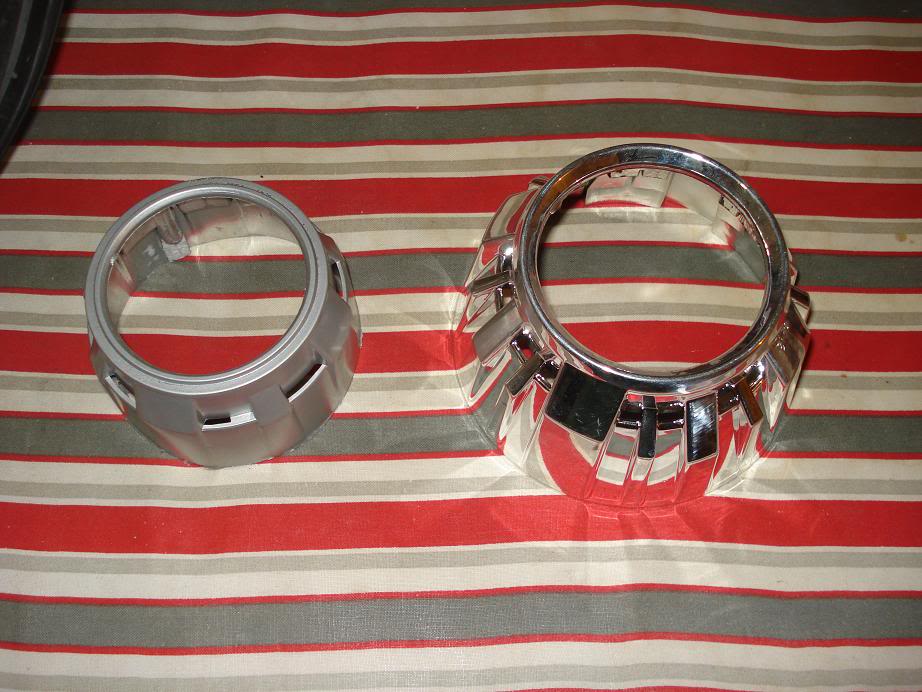
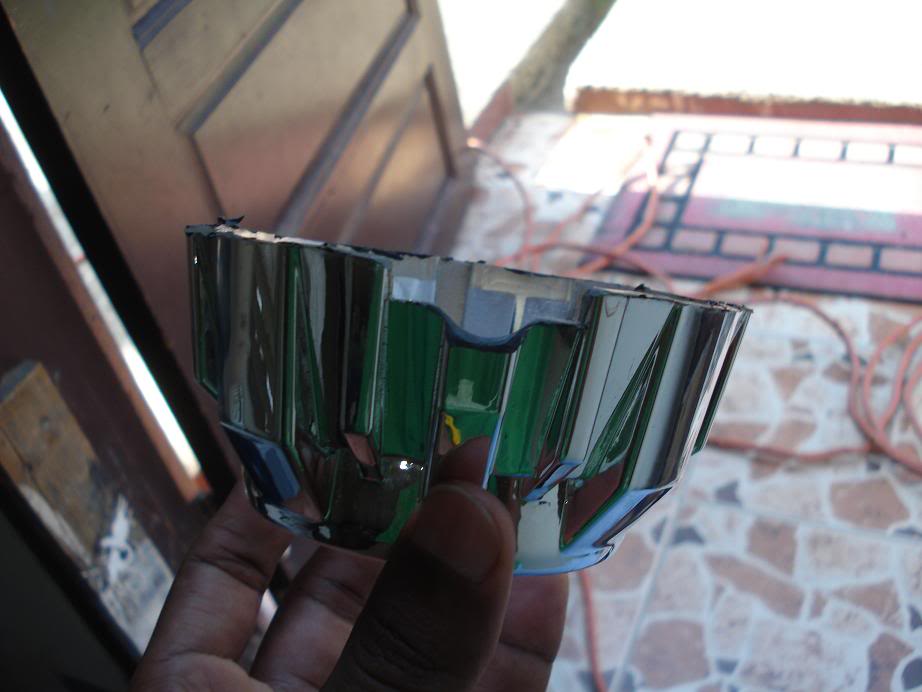
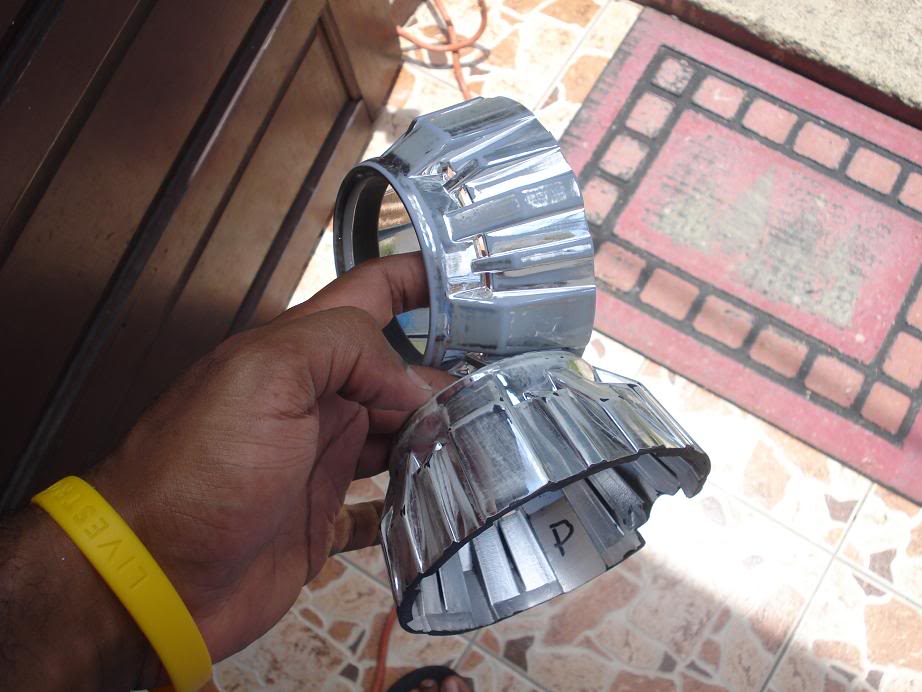
Comparing the mini and 2.0...note the depth of the mini was trimmed
View of how they mount up in the back with the D2R bulb holder and modified H7 adapter plate

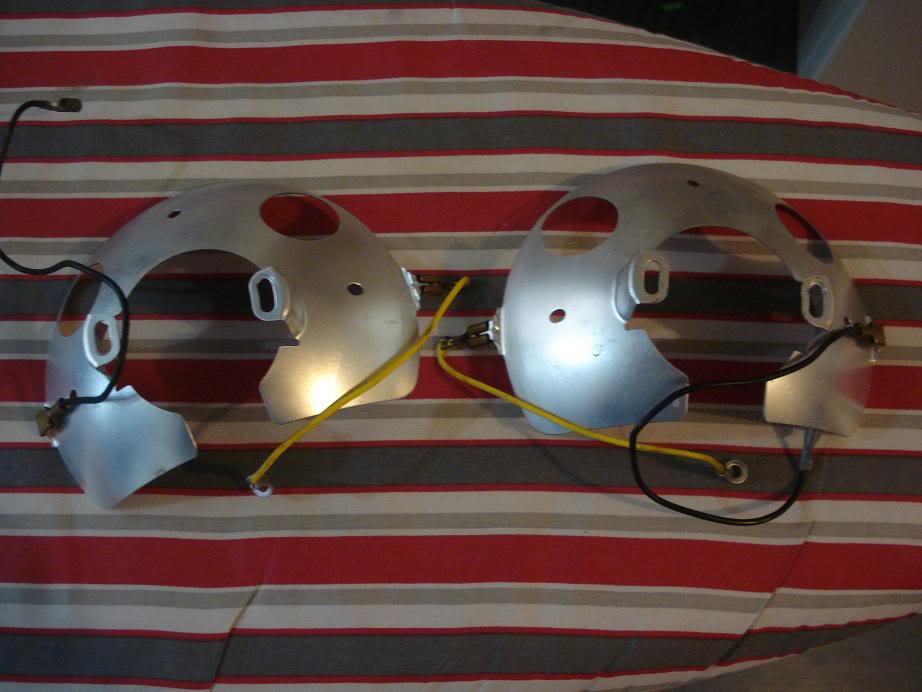
The metal stuff I had to remove left over from the OEM equipment
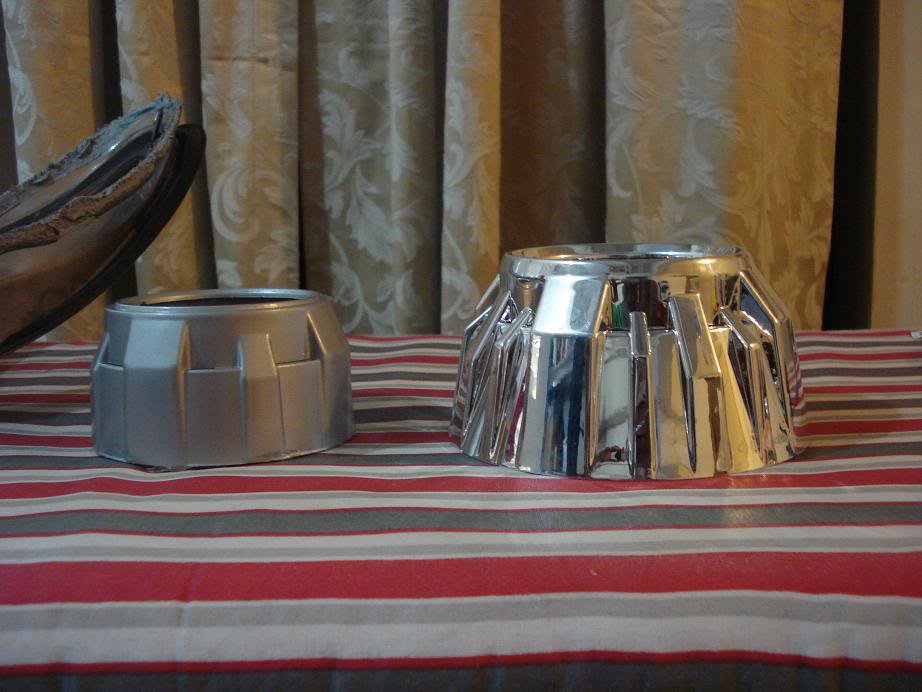
Measuring up getting ready to cut. As predicted I had to trim it due to the depth
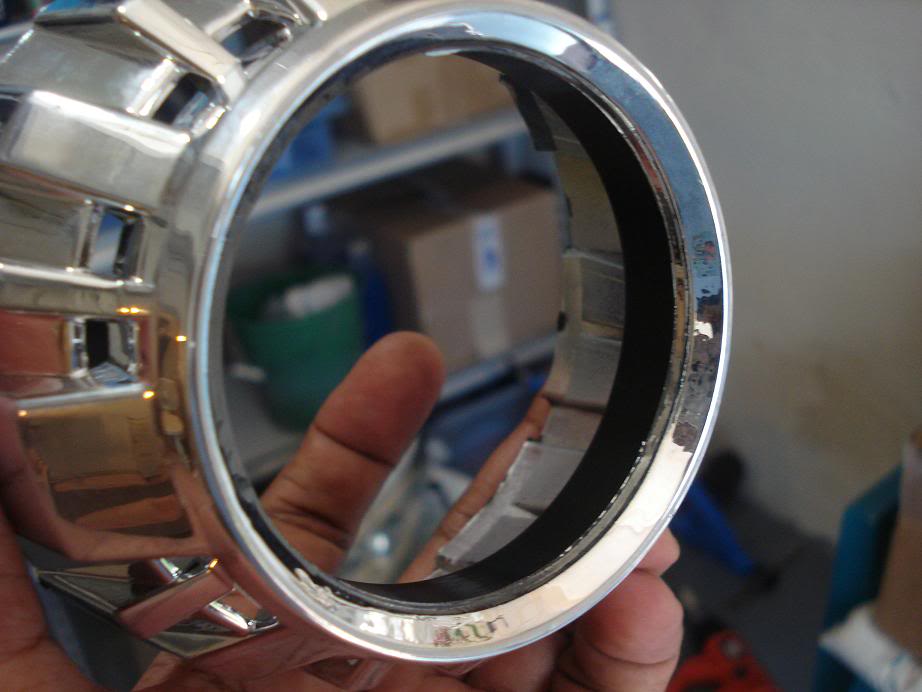
Test fitting but it was touching at the bottom on the reflector bowl so I had to put a notch in the bottom. These were 'value' shrouds and I ended up getting shrouds made of different materials...more on that later.

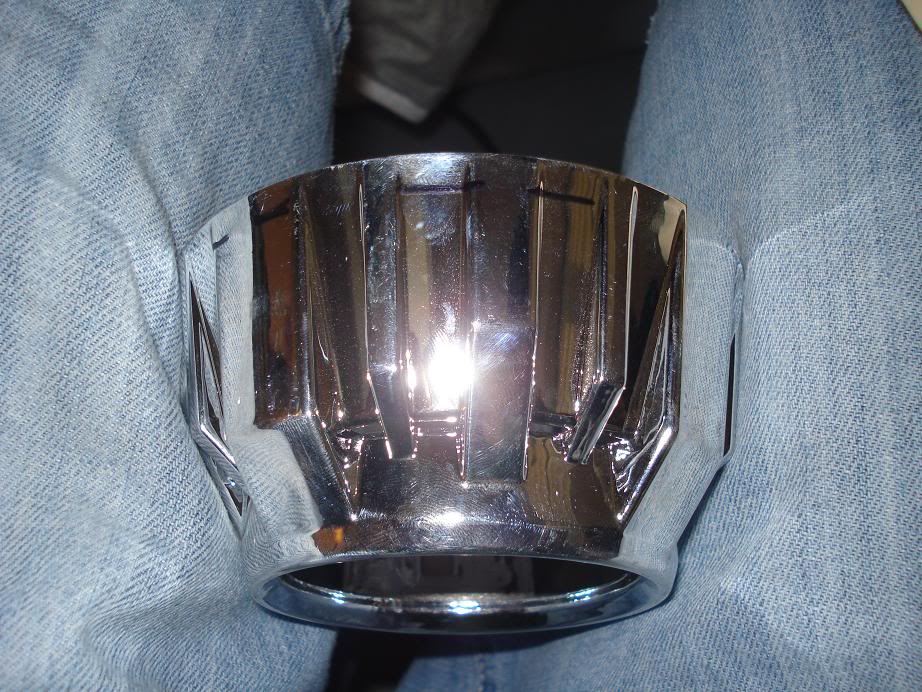
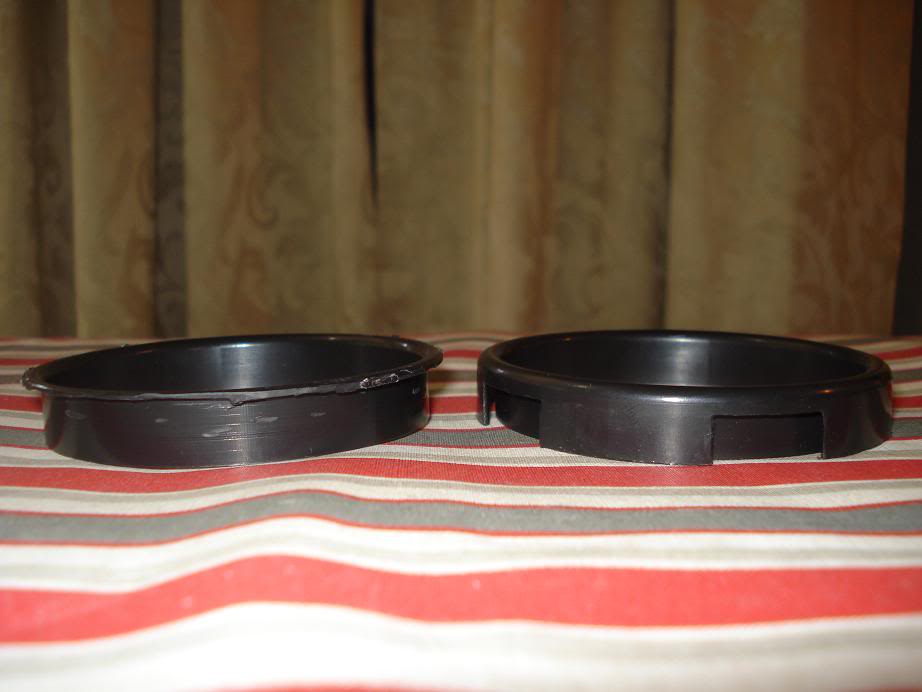
As I said I got two different types of 2.0. One the rings fit fine in and the other it kept popping out so I ended up cutting of the 'springs' and trimming them to fit in. The good thing is that they now fit flush with the front of the shroud.

Comparing the mini and 2.0...note the depth of the mini was trimmed
View of how they mount up in the back with the D2R bulb holder and modified H7 adapter plate
The metal stuff I had to remove left over from the OEM equipment
Measuring up getting ready to cut. As predicted I had to trim it due to the depth
Test fitting but it was touching at the bottom on the reflector bowl so I had to put a notch in the bottom. These were 'value' shrouds and I ended up getting shrouds made of different materials...more on that later.
As I said I got two different types of 2.0. One the rings fit fine in and the other it kept popping out so I ended up cutting of the 'springs' and trimming them to fit in. The good thing is that they now fit flush with the front of the shroud.
Last edited by dna59; Apr 29, 2012 at 02:36 PM.
Thread Starter
Member
Joined: Jan 2012
Posts: 229
Next I turned to the projectors themselves. My bi-xenon solenoid kept sticking but this was my fault for not using high temp lube. As you can see I already had the shield painted black and closed off the 'squirrel finders'. I sanded the paint off everything except the front of the shield. I made sure t sand the top of the shield as I have read that paint on the top may mess with the cutoff.

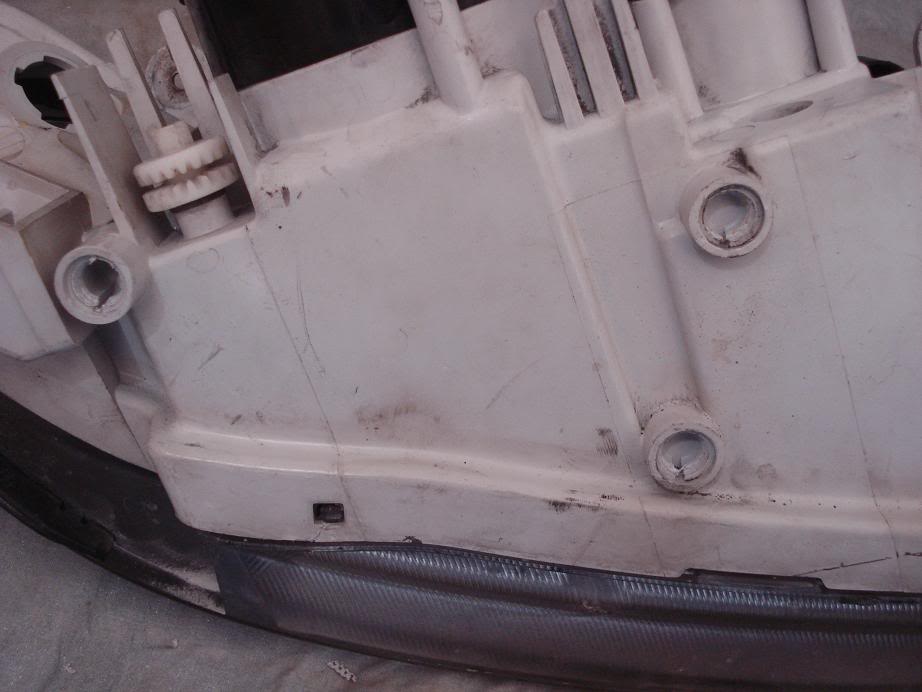
I then modified the bottom of the OEM housings so I could mount my ballasts under there...
Before w/ the studs removed but nit trimmed...
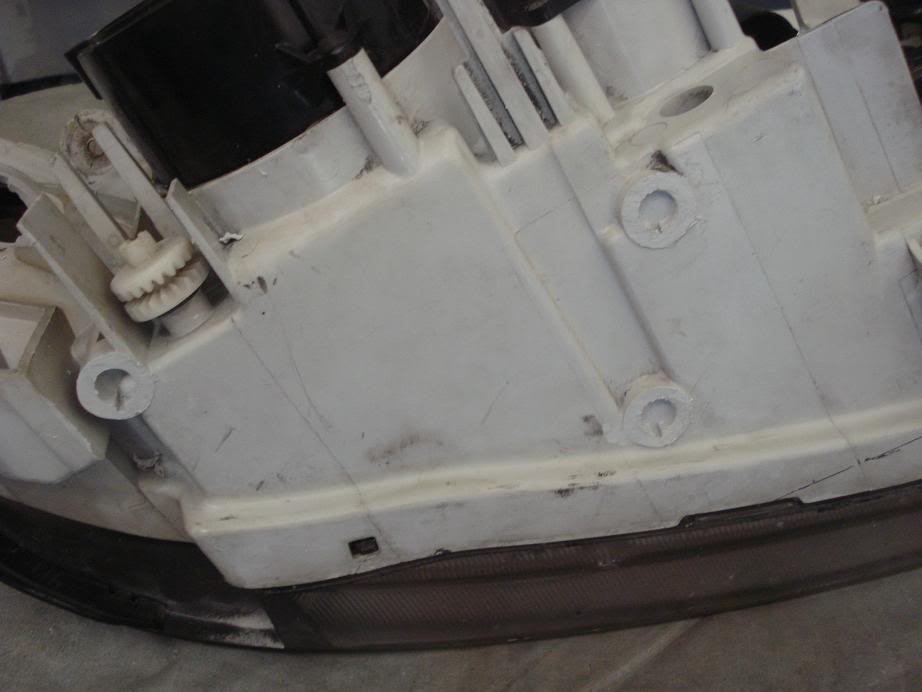
Trimmed down...
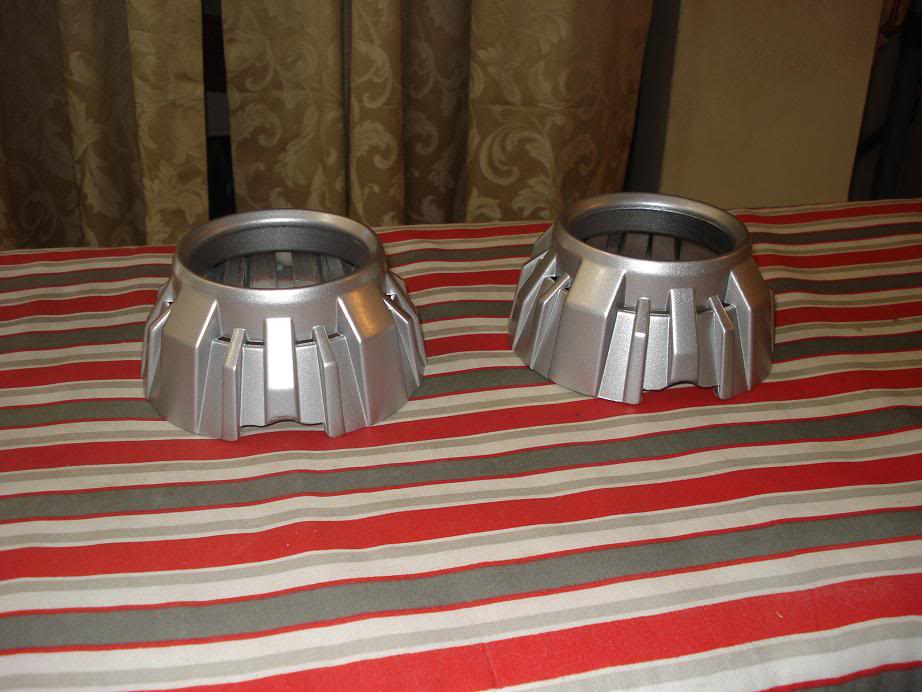
Ended off the day with painting the shrouds...
I should have up some pics later of the CCFLs mounted inside the shrouds.
I then modified the bottom of the OEM housings so I could mount my ballasts under there...
Before w/ the studs removed but nit trimmed...
Trimmed down...
Ended off the day with painting the shrouds...
I should have up some pics later of the CCFLs mounted inside the shrouds.
Thread Starter
Member
Joined: Jan 2012
Posts: 229
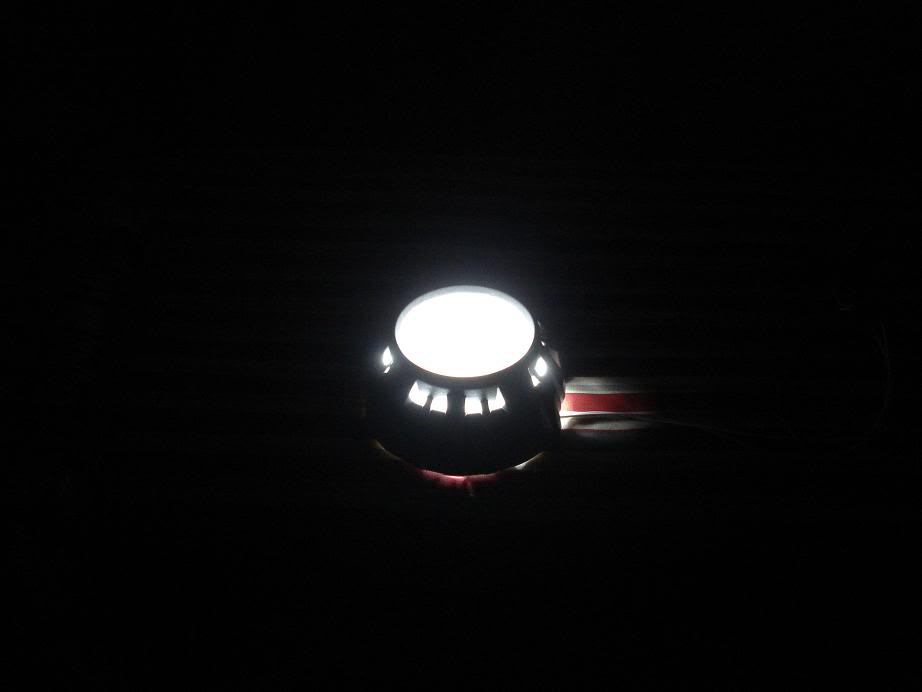
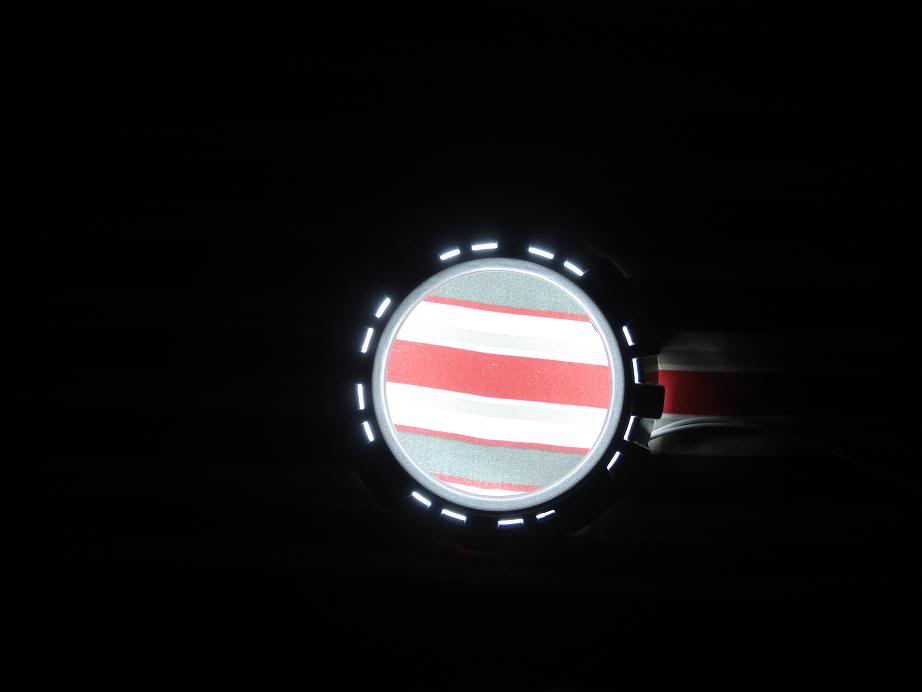
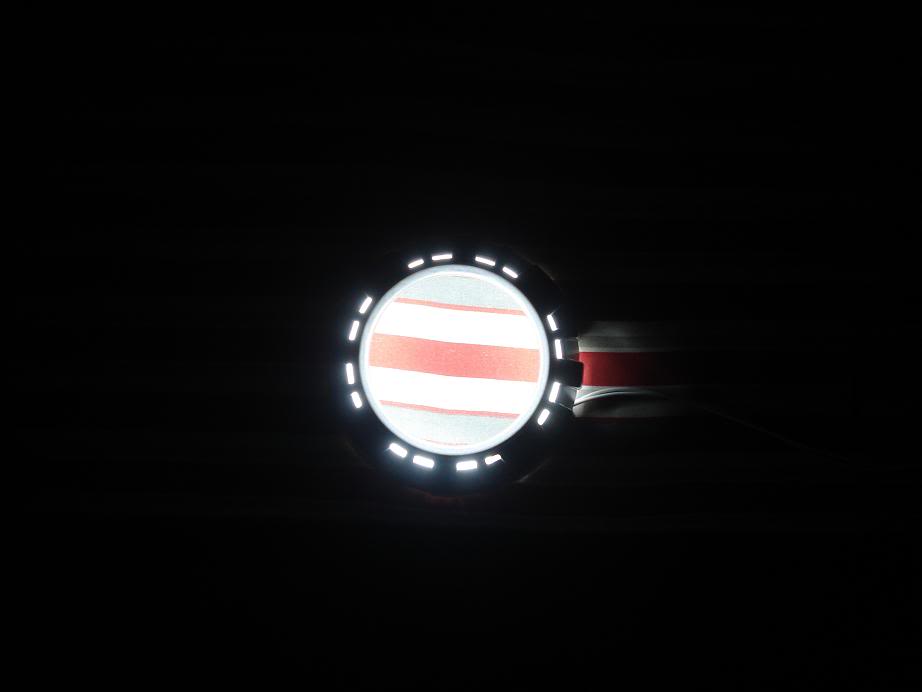
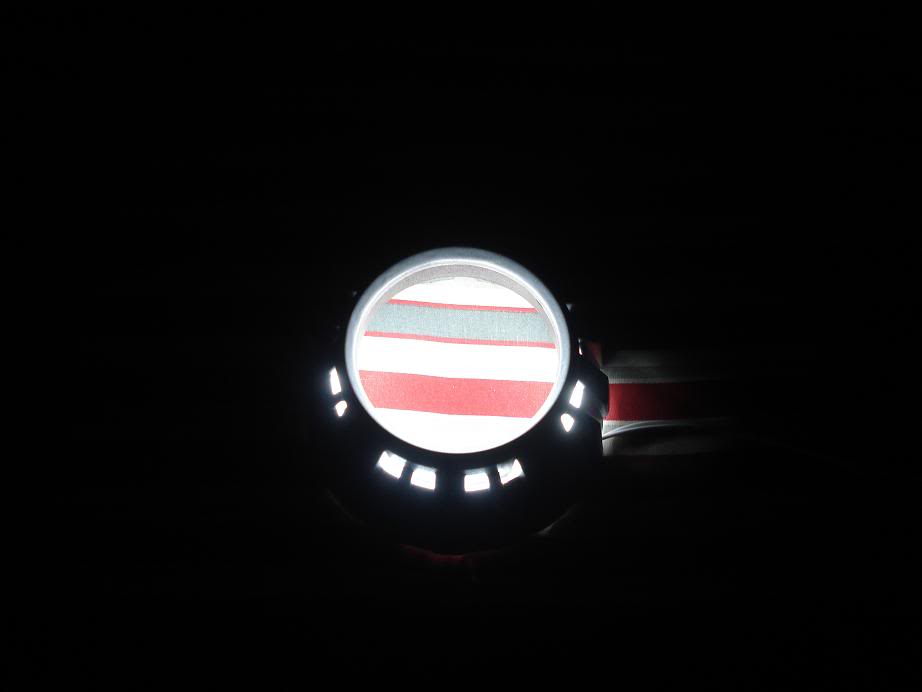
Just got through color modding it and as I suspected the shields needs to be bent back a little bit in order to fix the fuzzy cut off. My battery box died so I did not get to fix it. CCFLs are in though. Gonna fix the shields tomorrow after work then put everything back together Tuesday since its a holiday here.
Gotta rep...

CCFLs...
Gotta rep...
CCFLs...
Thread Starter
Member
Joined: Jan 2012
Posts: 229
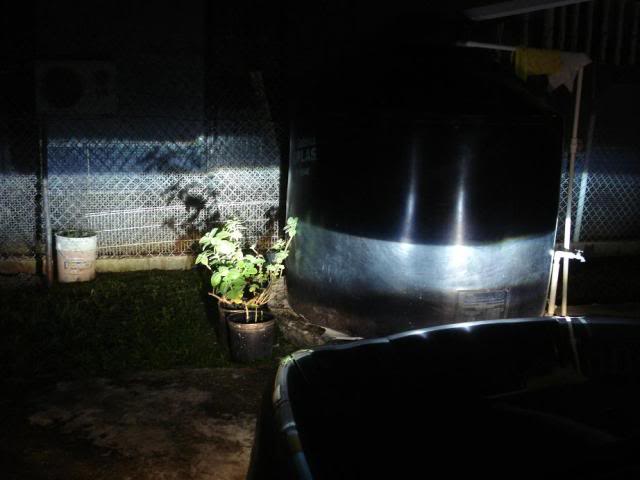
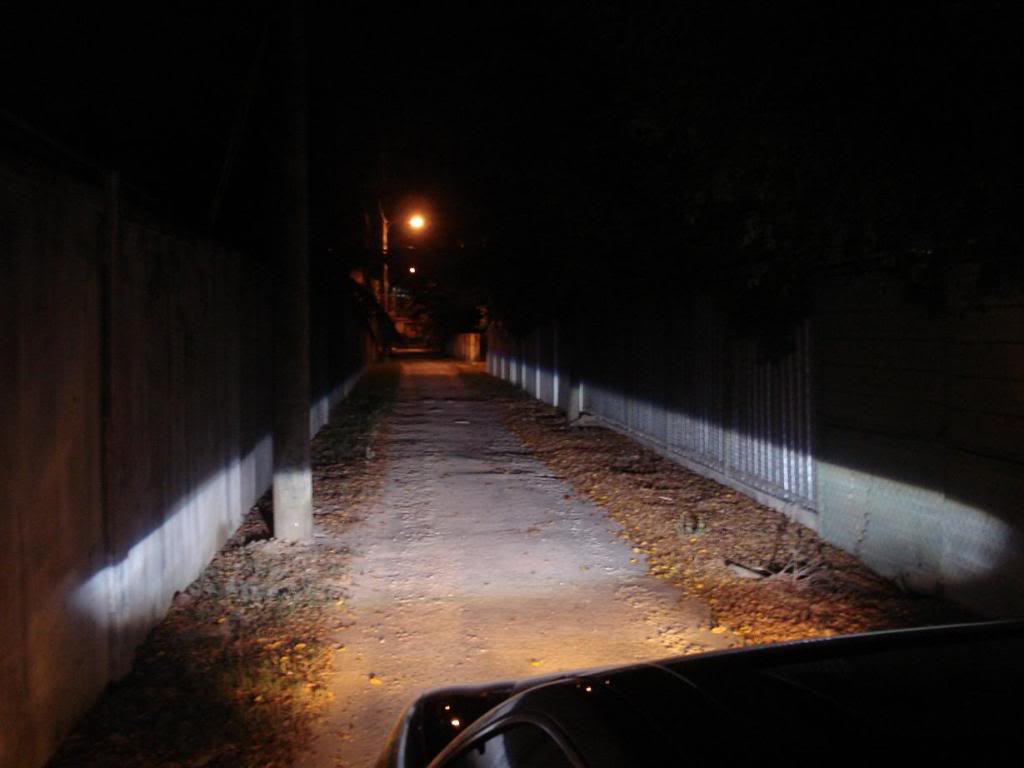
I got color but not as much as I wold like, minimal bowing, and a better cut off line than before. I think v3 will be FX-R 1.1s or 3.0. The ballasts wouldn't fit under the headlight when mounted and my headlight lens affects the sharpness of the cutoff. Even though they are clear the plastic itself is not in the best shape and not as clear as they should be.
ballast location...I also learnt that the foglights actually have a height adjustment screw.

CCFL inverter went under the headlight
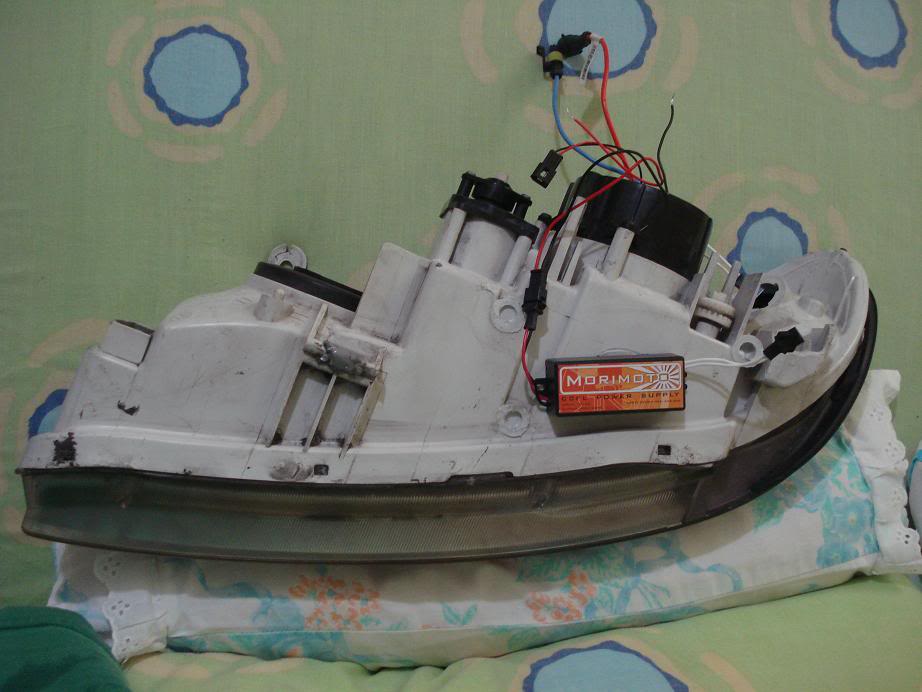
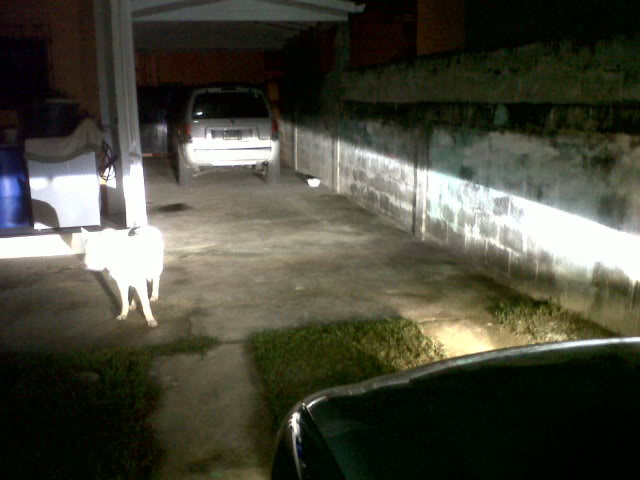
crappy pics but will have more when I actually put them in...
ballast location...I also learnt that the foglights actually have a height adjustment screw.
CCFL inverter went under the headlight
crappy pics but will have more when I actually put them in...
Last edited by dna59; May 14, 2012 at 05:53 AM.


Thread
Thread Starter
Forum
Replies
Last Post
litch
4th Generation Maxima (1995-1999)
123
Jan 4, 2024 07:01 PM
trsandrew
7th Generation Maxima (2009-2015)
17
Apr 8, 2016 06:45 PM
trsandrew
Group Deals / Sponsors Forum
2
Oct 25, 2015 02:47 PM