
OEM Spoiler Installed On 2012 Maxima


Thread Starter
Junior Member
Joined: Apr 2013
Posts: 43
OEM Spoiler Installed On 2012 Maxima - Updated! - Ground Lighting PICS
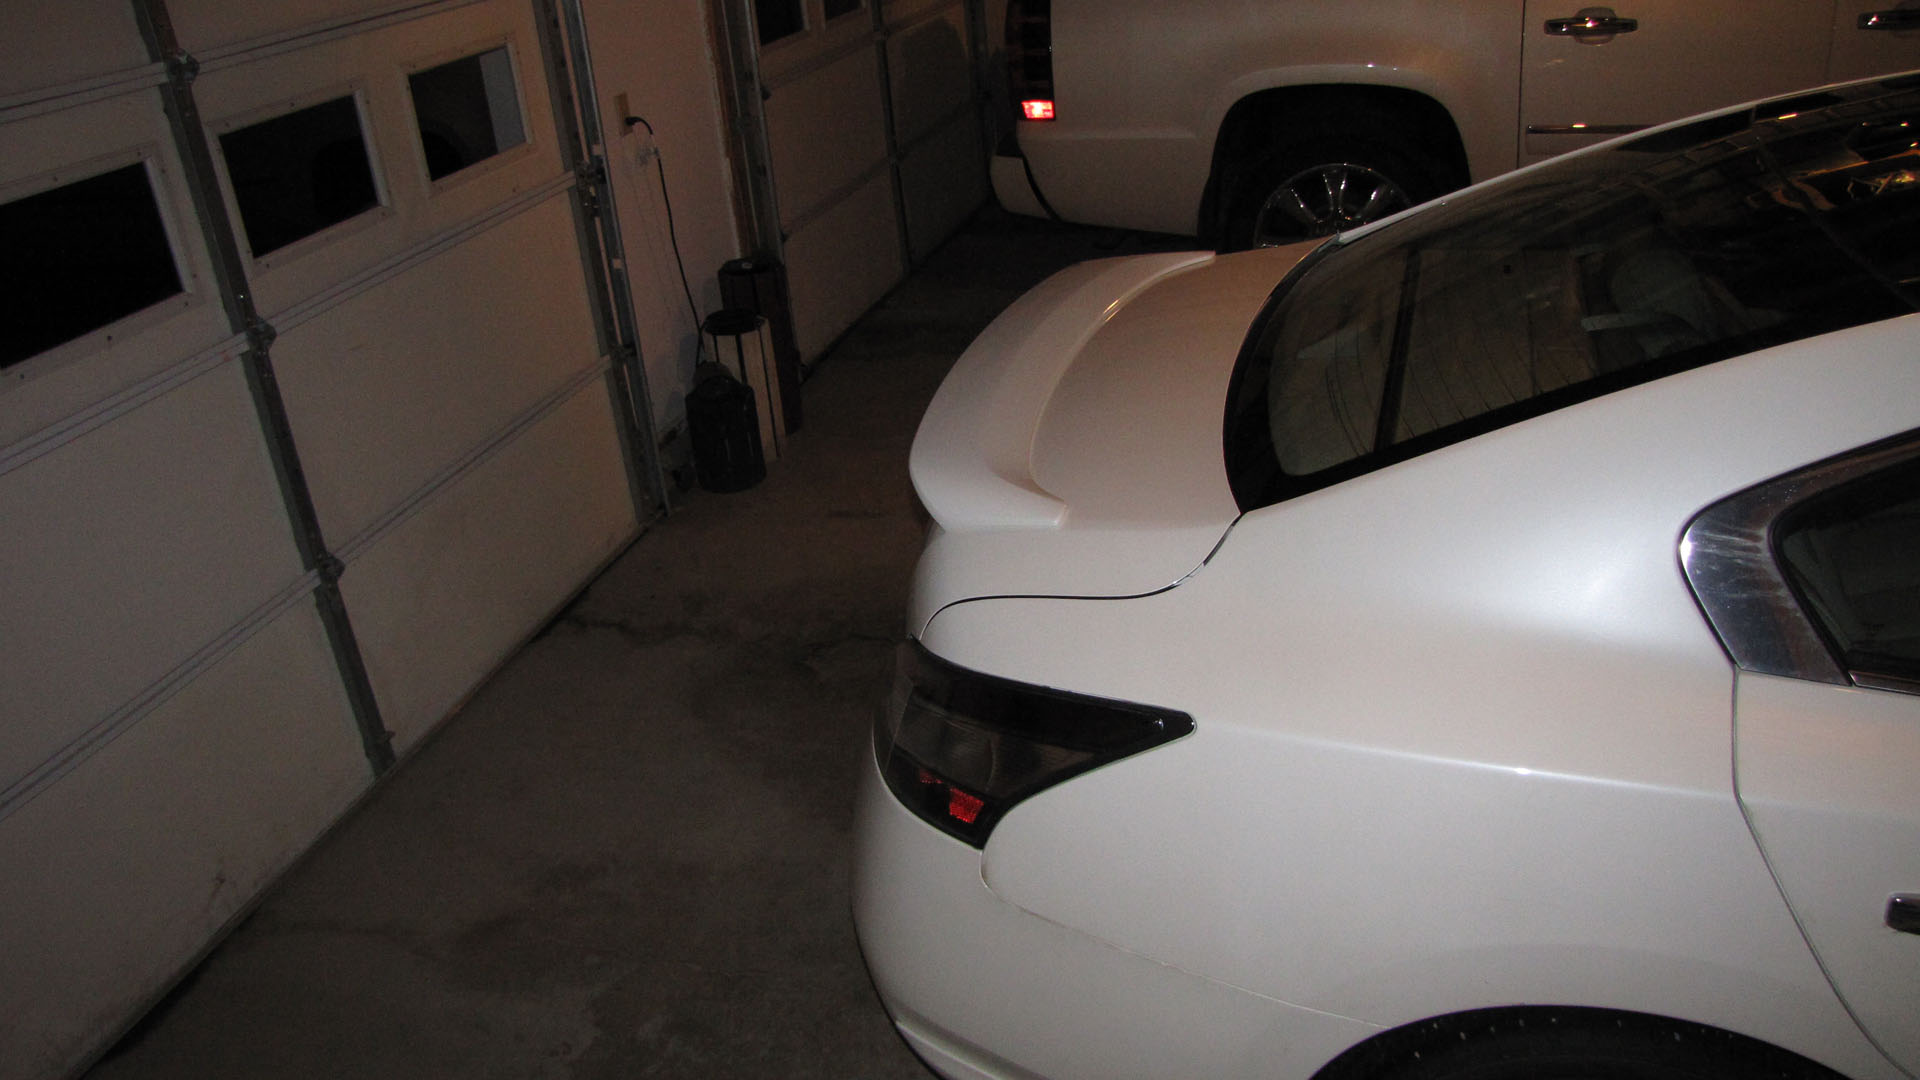
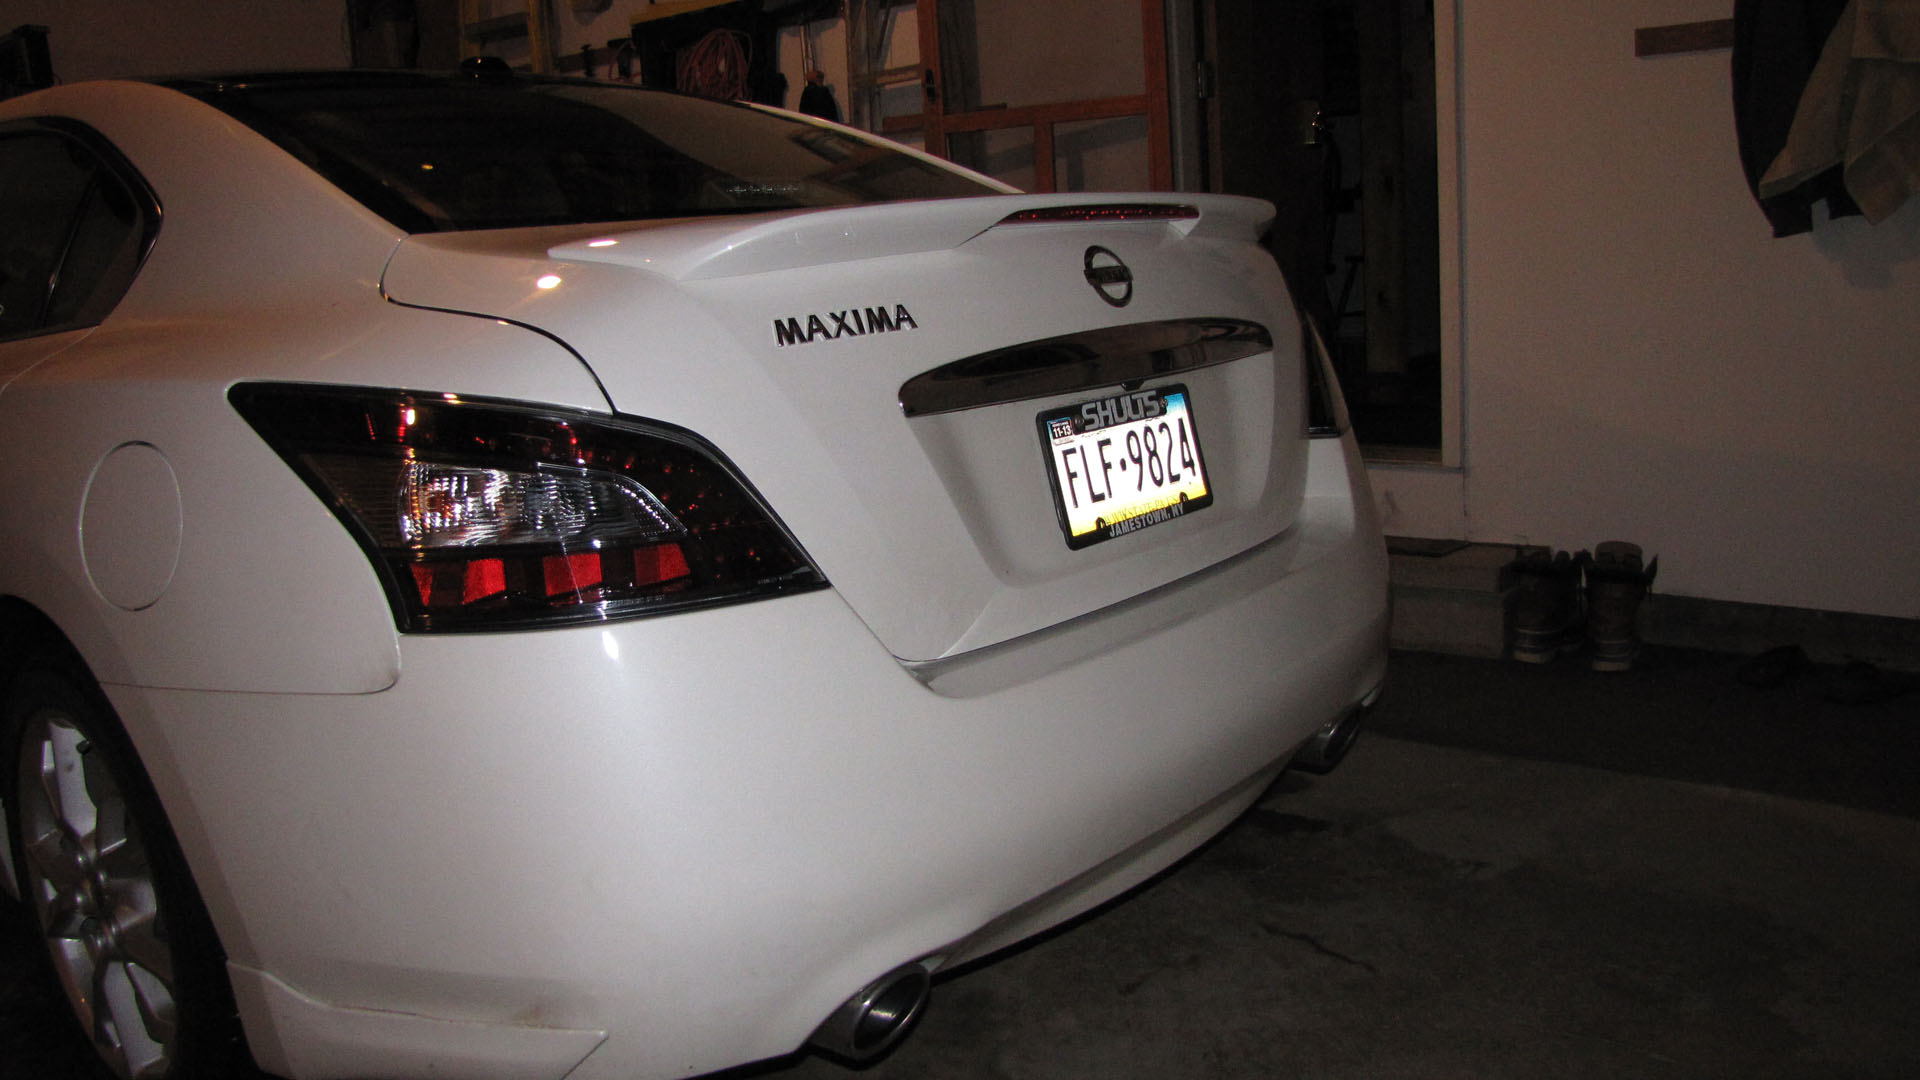
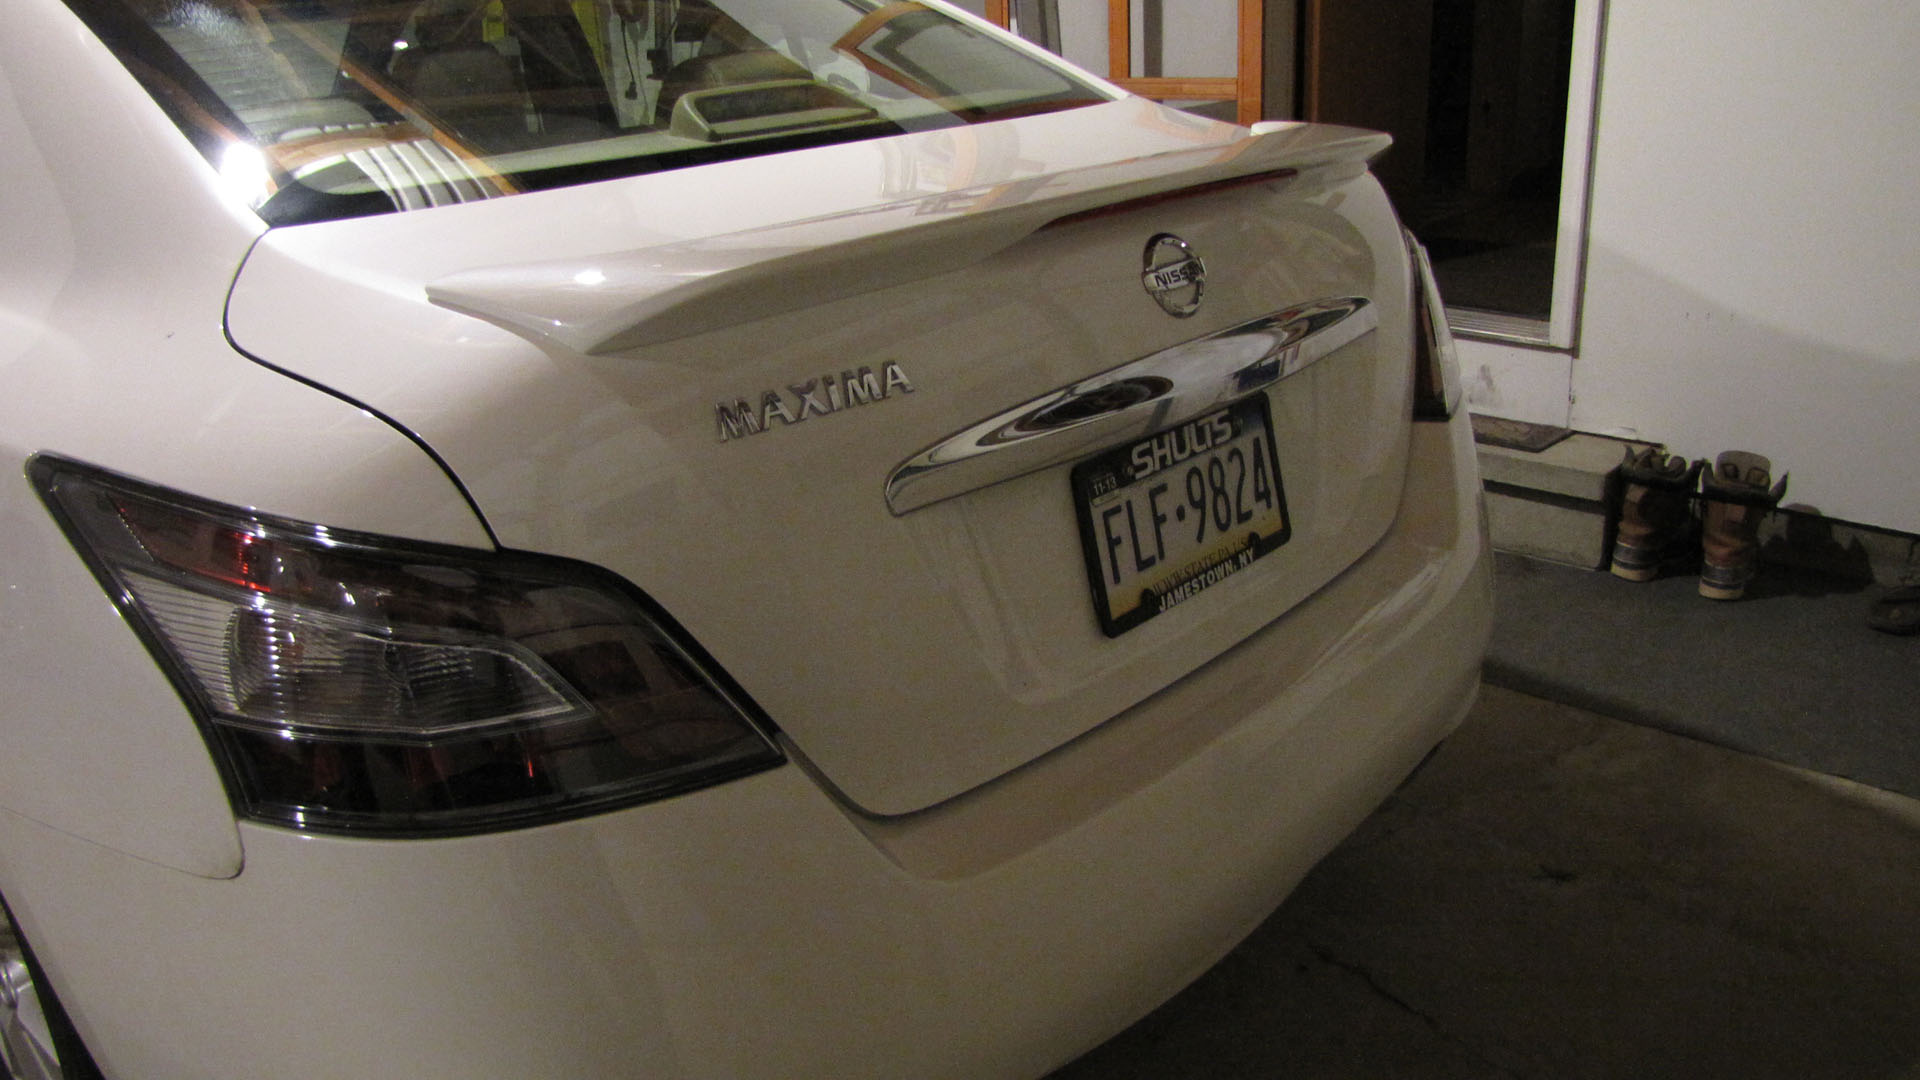
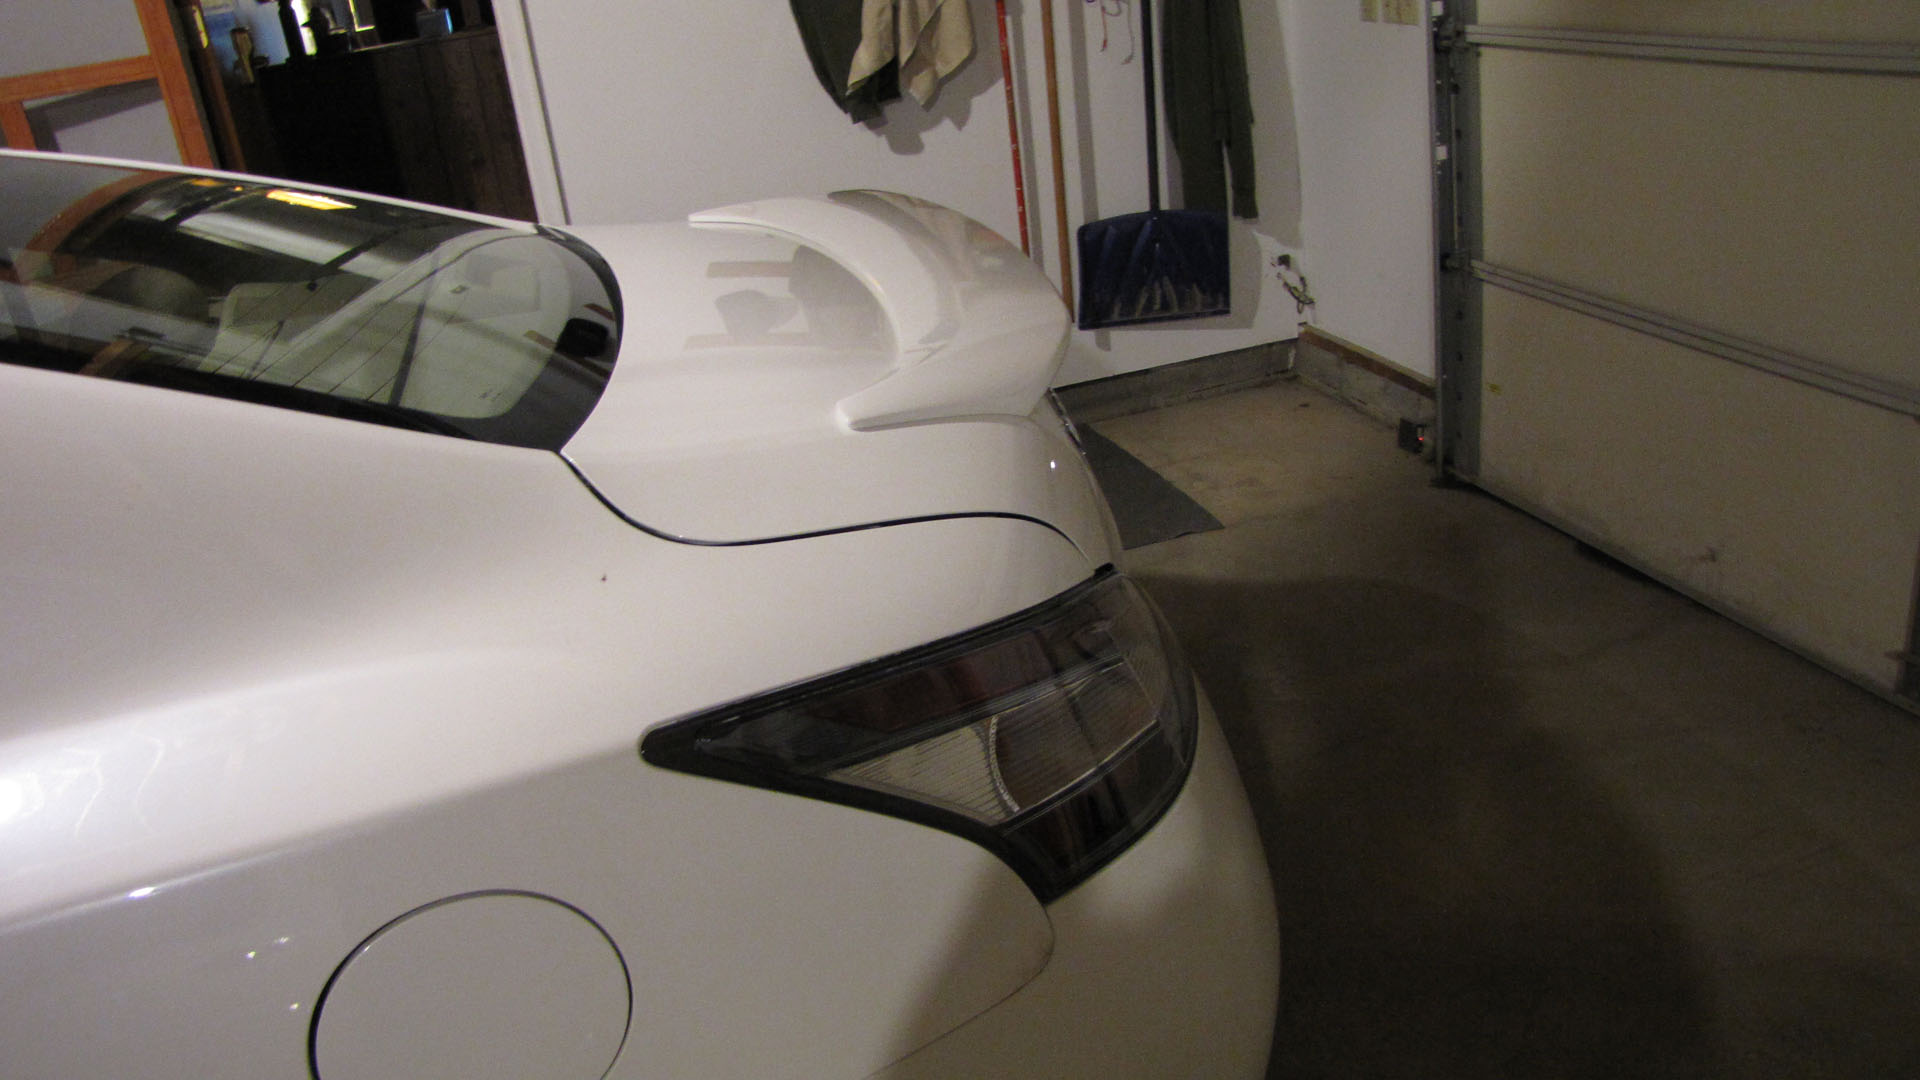
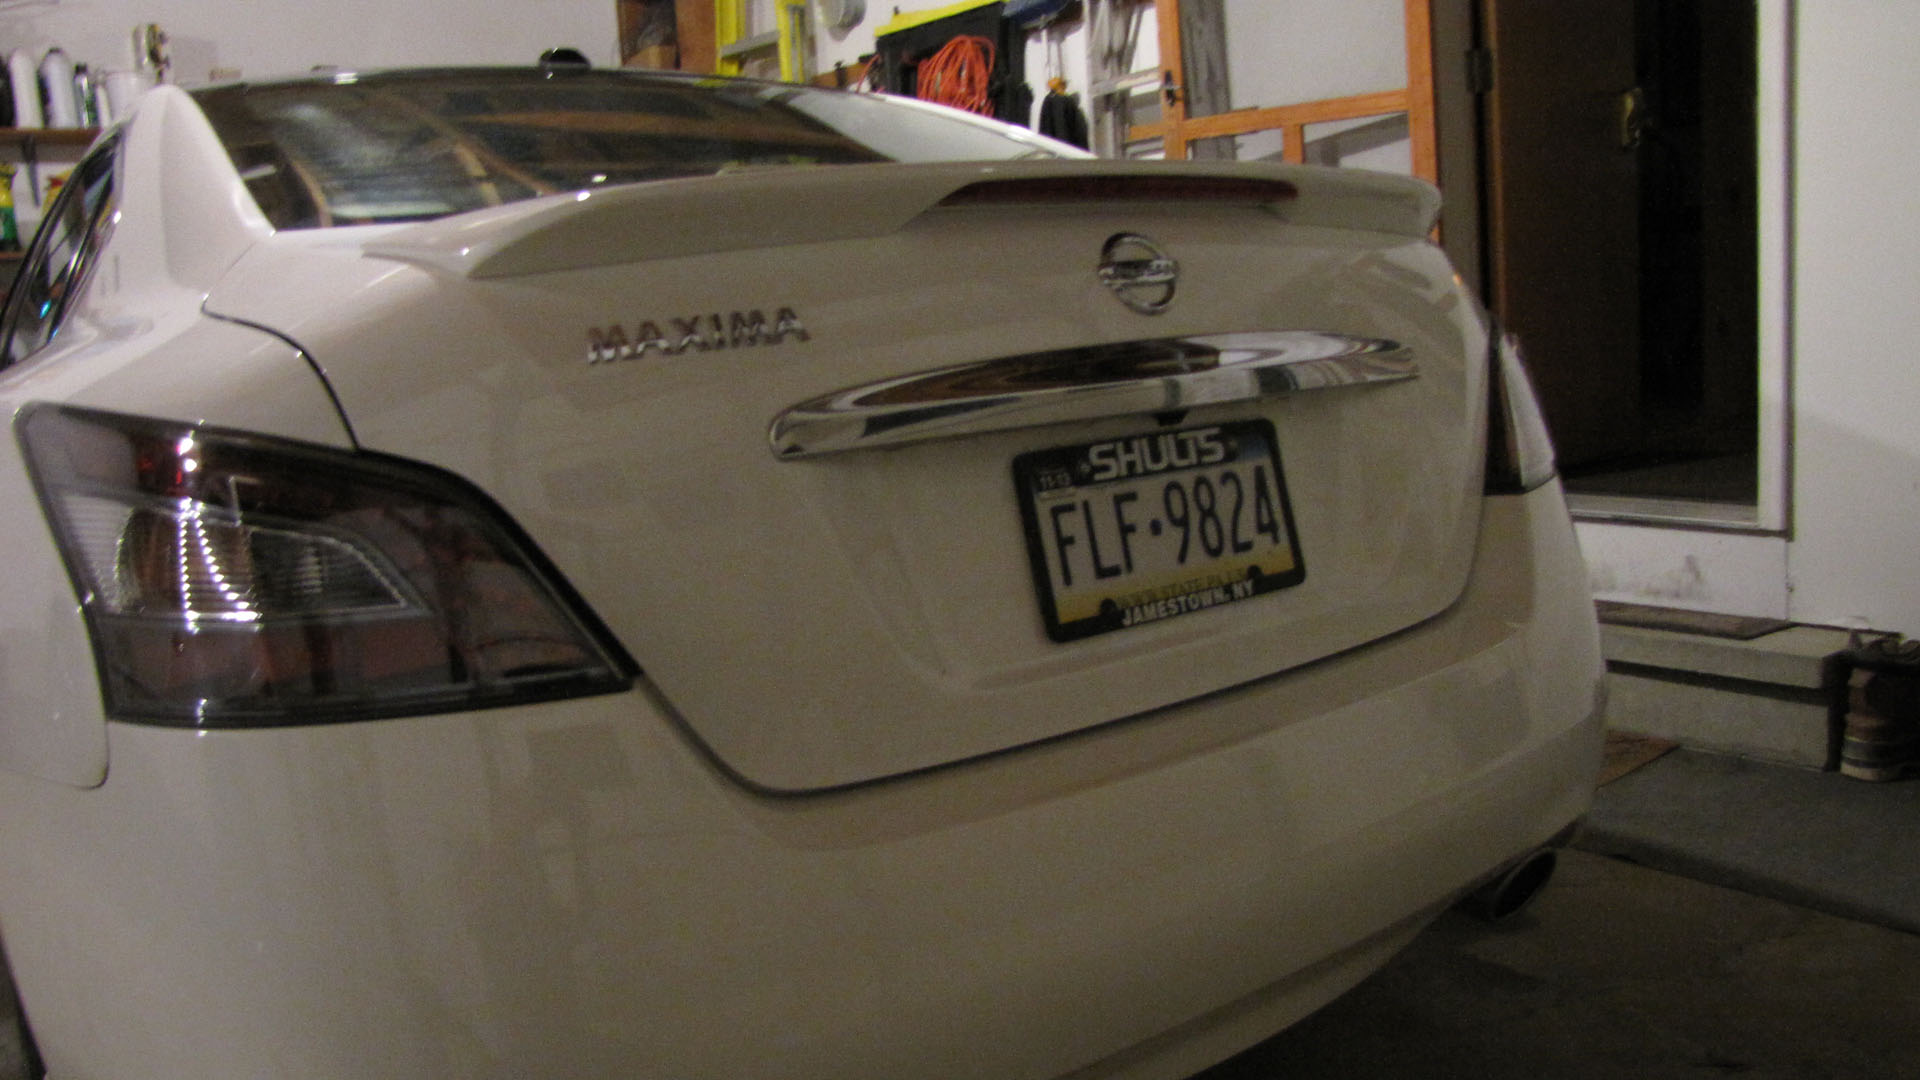
Here's some pics of my self installed OEM spoiler. It took me 4.5 hours including all the clean up. I was able to get 91% isopropyl alcohol locally at the Rite-Aid drug store to clean the paint and spray-on rust preventative from our tool room at work to coat the drilled holes. I used the new factory trunk gas shocks, gasket and wiring harness (supplied with spoiler) and left the back window brake light and spoiler light connected in parallel. Wish the factory install instructions used pictures instead of drawings to show the install steps.
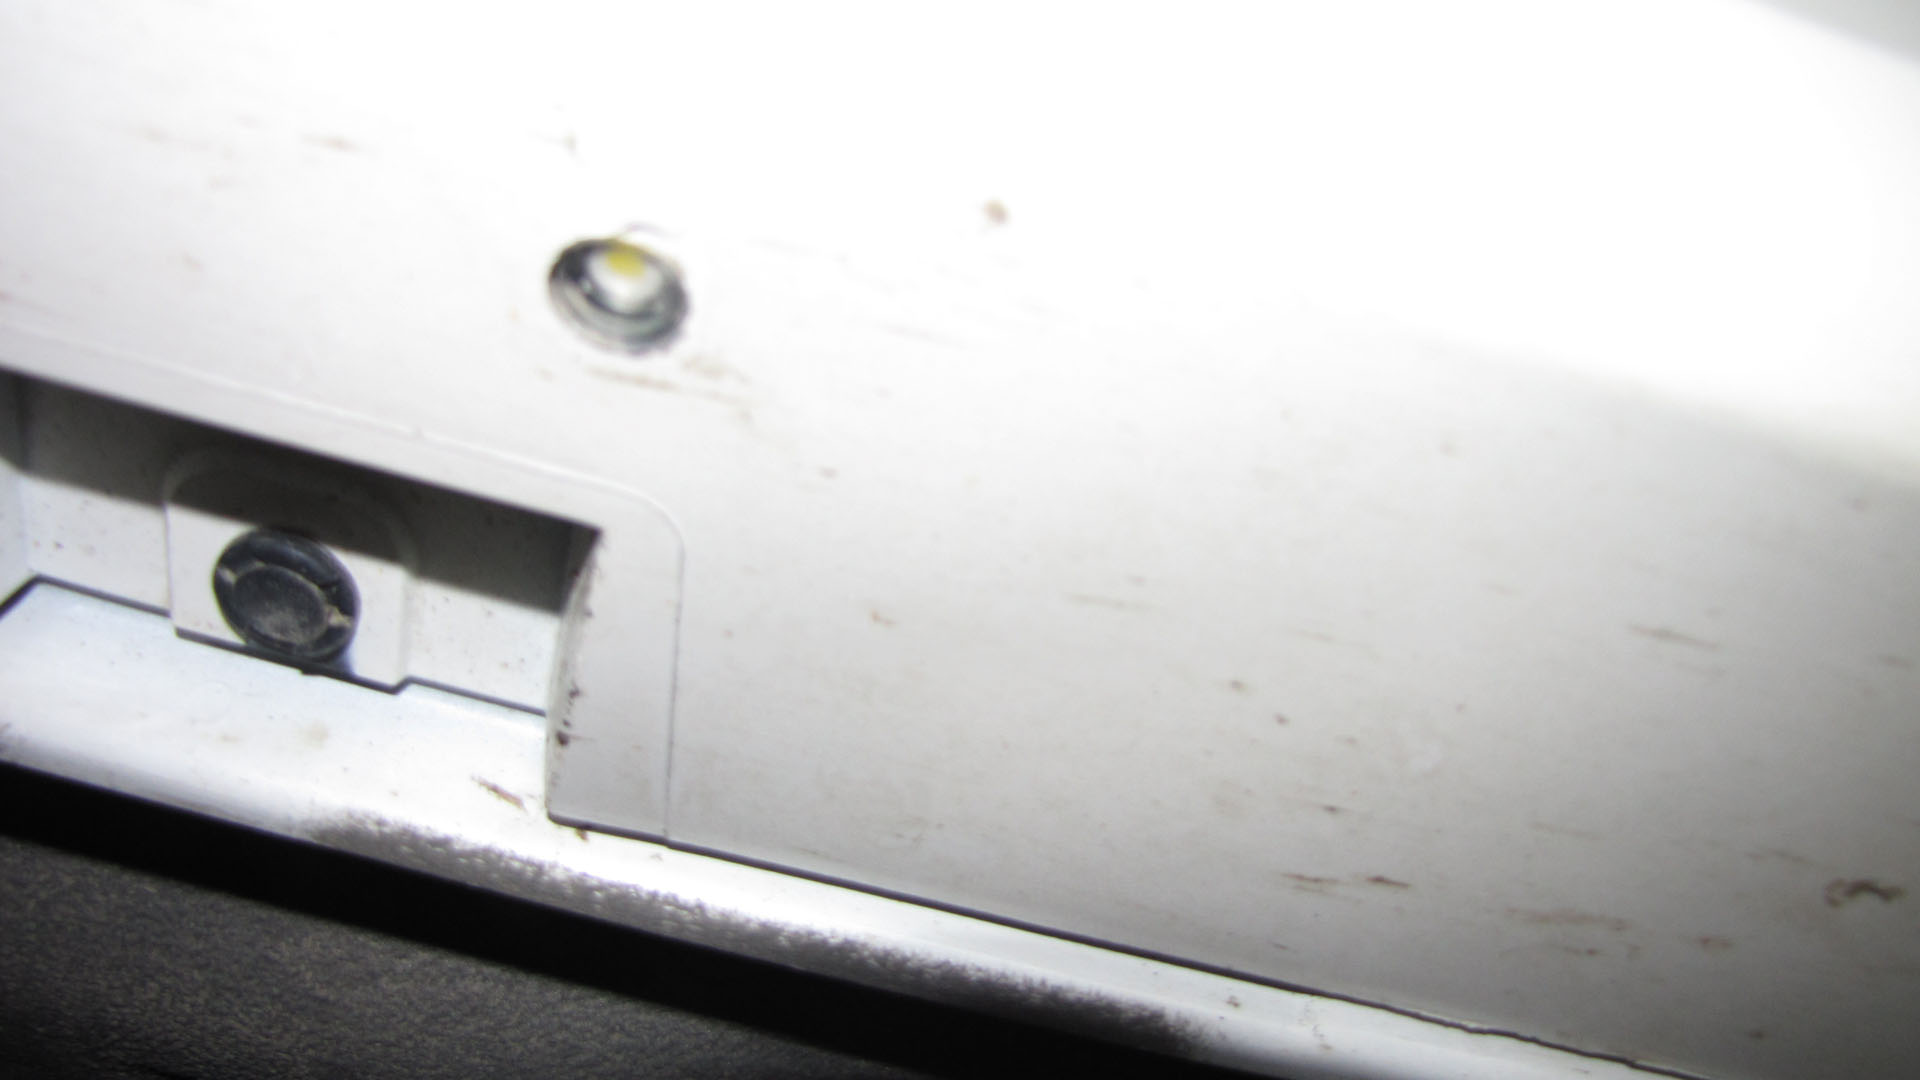
I also had my dealer install LED lites under both sides of the car. They go on and off with the dome light when the door is opened etc. Very nice and they quoted and charged me for 2.5 hours of labor although it took them well over 4 hours to install!
No other mods to report other than I put in Weathertech Digi-Fit floor mats. It's a 2012 Max with all options. I was looking to buy a 2013 Honda Accord Touring but the Nissan dealer offered me $7500 off sticker for this car. Maximas don't sell at all where I am at in NW PA. They sit on dealer's lots forever. This car has a much quieter cabin than the 2013 Accord and a lot nicer seats. Overall I am quite happy with it.
Greg
Last edited by gregjhonda; Apr 25, 2013 at 06:59 PM.


Thread Starter
Junior Member
Joined: Apr 2013
Posts: 43
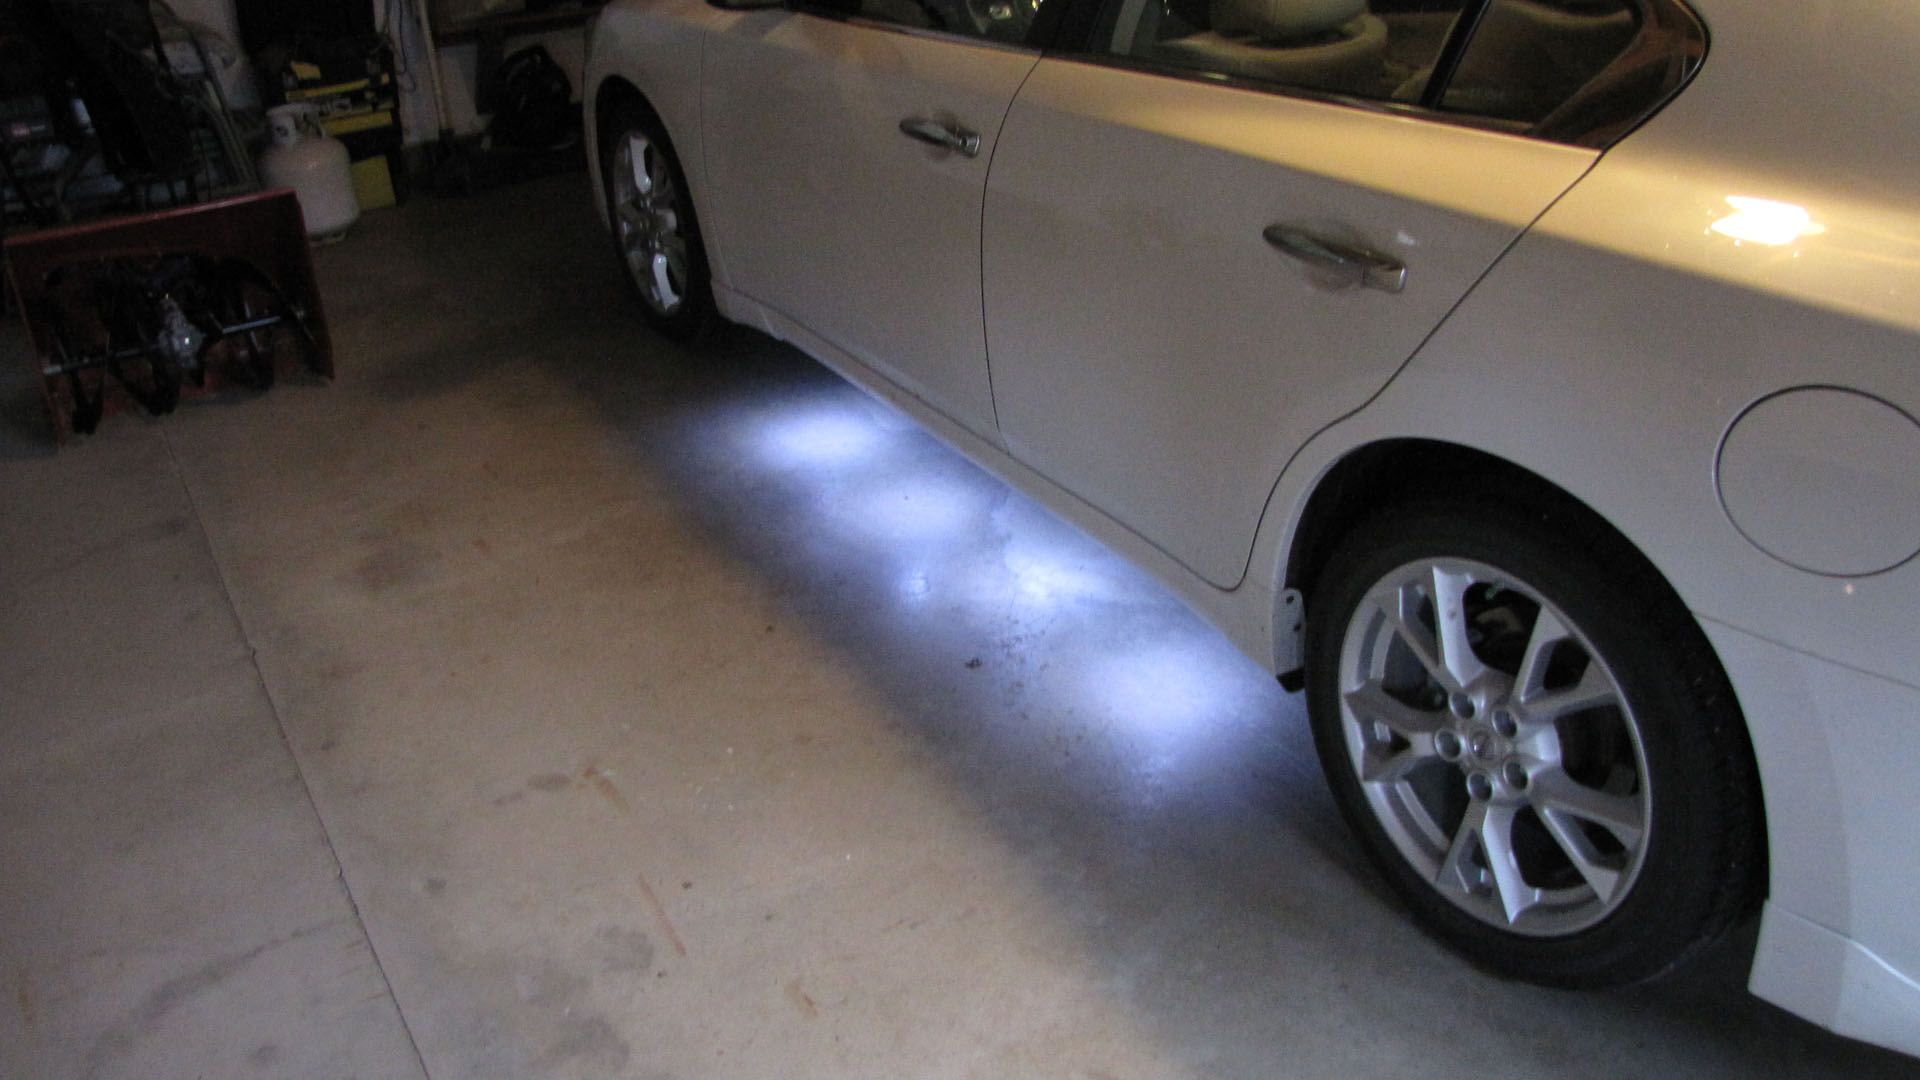
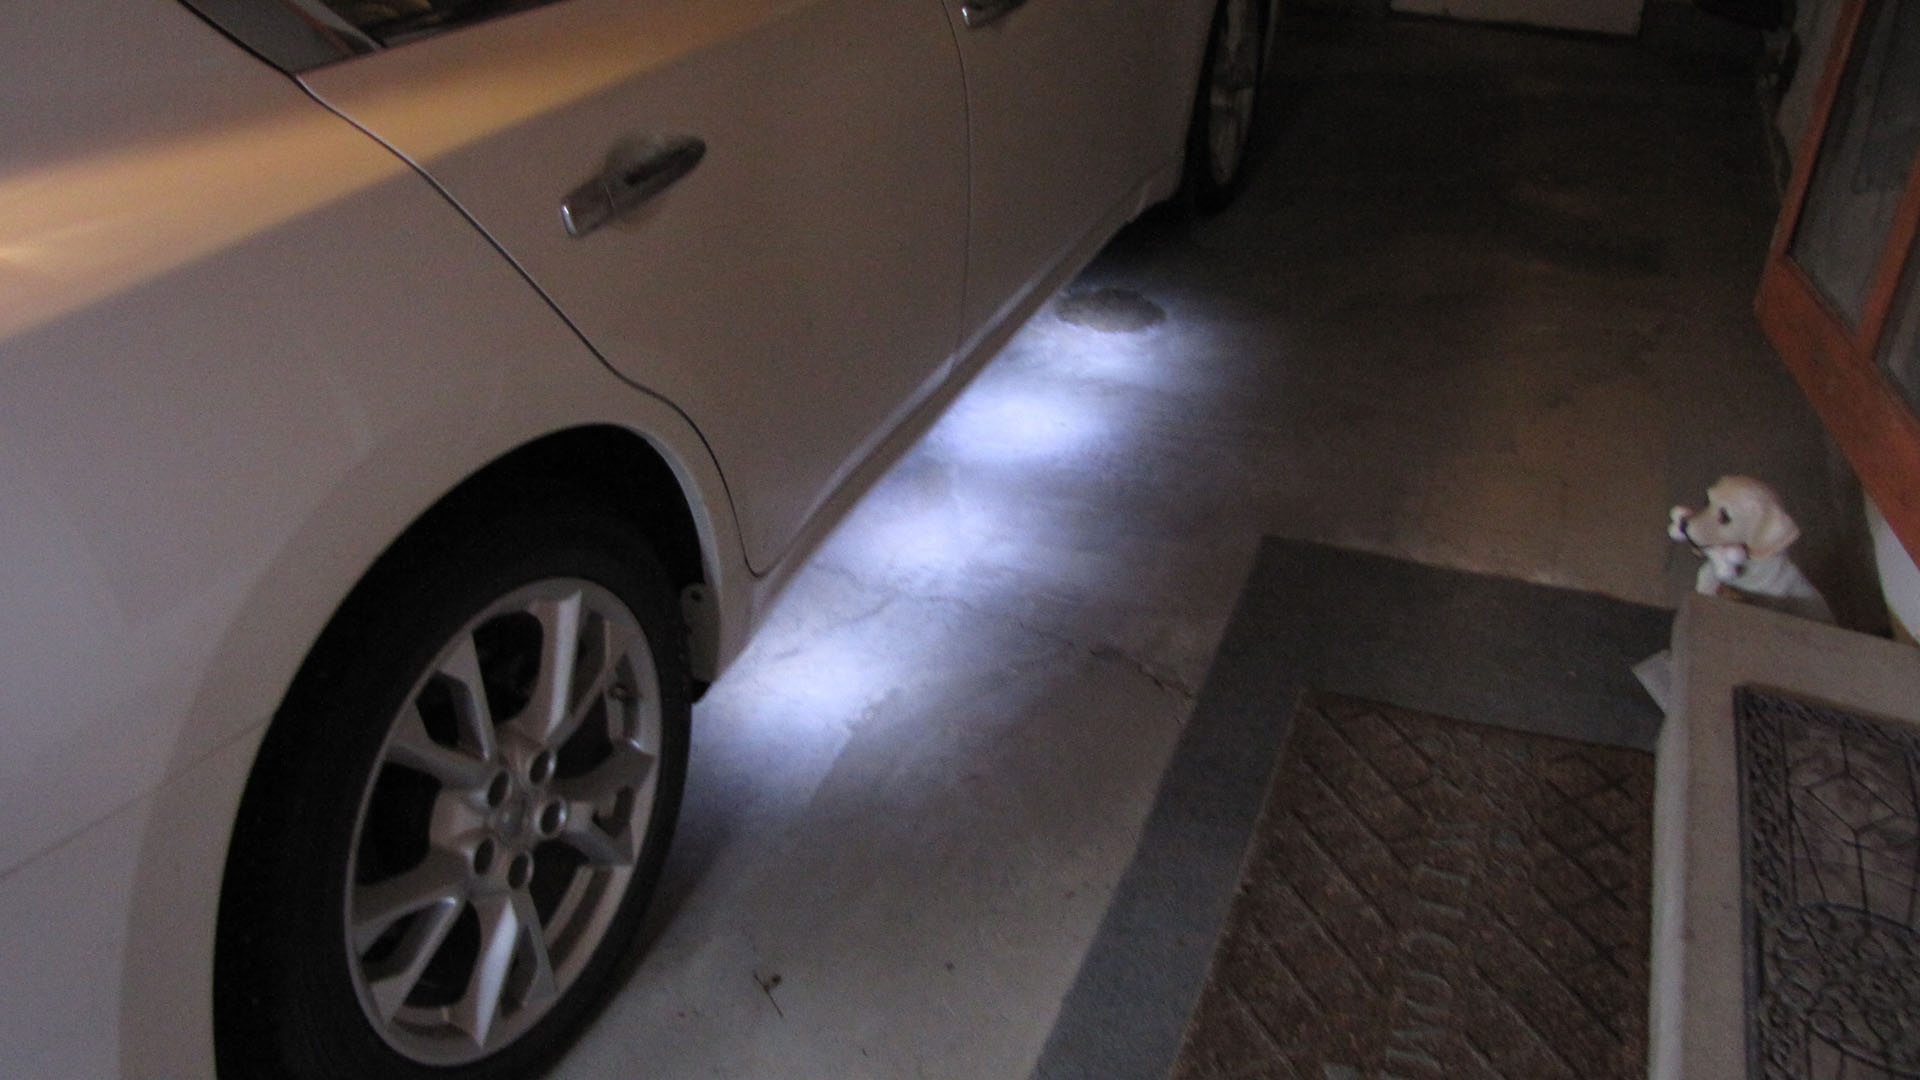
External Ground Lighting - 999F4-AX009 - *MSRP: $120.00 (EA)
Dealer charged me $108 for the parts and $240 labor to install. They work great!
More info from Nissan:
"Just click for a sense of security with lights that brighten up the area beneath and around your vehicle.
Goes on when you press key fob, press entry button or open doors
Fades in and out with the dome light
4 LED lights between front and rear tires"
Greg
Last edited by gregjhonda; Apr 25, 2013 at 07:34 AM.


Thread Starter
Junior Member
Joined: Apr 2013
Posts: 43
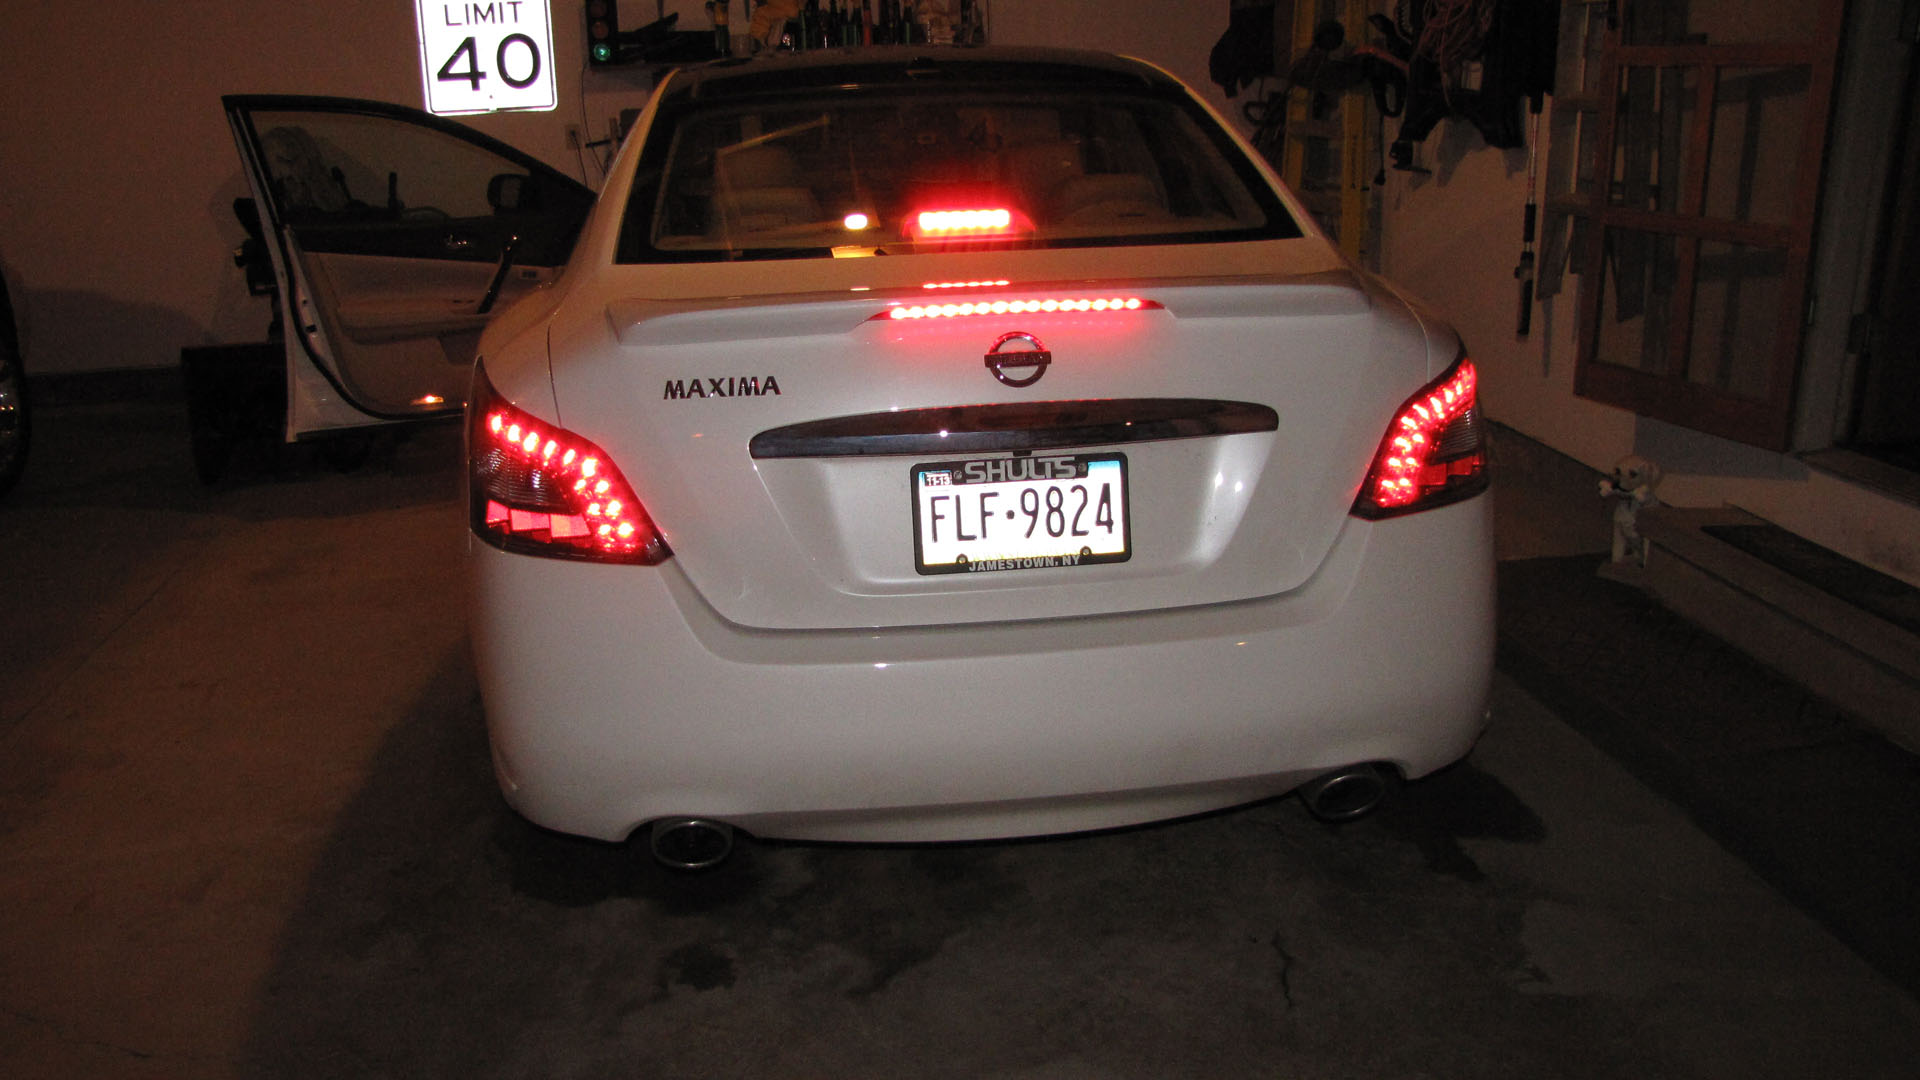
I tried it with just the spoiler light and then added the upper brake lights with it. Second combo wins. Guess I am not too conventional with things like that and photoshopping out the license plates. I'll try to get pics of the LED underlites tonight when it's darker outside.
Greg
Greg


I was lucky, the dealer agreed to switch them from another Max to mine when I bought the car.

Newbie - Just Registered
Joined: Apr 2013
Posts: 10
From: Central Florida
I just have a quick question, I'm also looking to put on my spoiler (that I bought off of eBay) this weekend. I'm just curious to know why or what part takes so long to take a average person 4-5 hours to install a spoiler? I was planning to just quick splice into my window brake light.
Thanks in advance.
Thanks in advance.
Thread Starter
Junior Member
Joined: Apr 2013
Posts: 43
Here's a link to the wiring harness installation guide in pdf format.
http://www.gregcutshaw.com/2012%20ma...iler/1SK17.pdf
I chose to tap into the brake light just below where it sits in the back window. This necessesitates removing the brake light unit and getting two splices in to the cramped area left after you deal with the very short brake wires which don't allow the brake unit to move very far. I also spent a bit of time snaking the wires through the boot between the trunk lid and the back deck. Also took time to ream out the holes and apply anti-rust compound to them and wipe down the truck lid with alcohol. Pry spend another 10 minutes warming up the trunk lid to 70 degress with a hair dryer to ensure proper adhesion of the spoiler stick strips. Not to mention stopping a few times to measure and ensure that the spoiler template was accurately placed before I drilled. There is a bit of play in the spoiler holes as they are somewhat larger than the spoiler studs so you can vary the placement a bit. Yup, then I dry fit the spoiler and marked that with tape.
The OEM spoiler kit I bought also came with new Nissan trunk gasket and two new heavier duty gas shocks to balance the added weight of the spoiler. I think these are pry not necessary but they add a few minutes to the install time. In my case about 15 minutes because I was a bit dense about figuring out how the shock retainer clips come off. Also add a few minutes to wire tie the new wire harness to the old and apply foam pads (also supplied) to the loose wire areas. No doubt there are more convenient places to tap into the brake light wires. I also had to remove the panel under the rear deck to get at the brake wires.
So I wasted a good hour trying to read and understand the instructions and another half hour staring at all the placements before drilling and mounting. I figure this is a 3 hour job the second time around, extreme max! And it's a pretty simple job even for a do it your selfer.
Now I got to go to the store and get some of that Crest Pro-Health 4x better clean stuff!
Greg
Last edited by gregjhonda; Apr 26, 2013 at 07:29 AM.

Member
Joined: Dec 2004
Posts: 192
Do the puddle lights come as apart of the mudguard? Is it a swap?
I am hoping it is since I ran something over yesterday that sprayed some tar on the side of my car and it cracked the passenger side mudguard. Was planning on getting the puddle lights anyway.
I am hoping it is since I ran something over yesterday that sprayed some tar on the side of my car and it cracked the passenger side mudguard. Was planning on getting the puddle lights anyway.
Newbie - Just Registered
Joined: Apr 2013
Posts: 10
From: Central Florida
Here's a link to the wiring harness installation guide in pdf format.
http://www.gregcutshaw.com/2012%20ma...iler/1SK17.pdf
I chose to tap into the brake light just below where it sits in the back window. This necessesitates removing the brake light unit and getting two splices in to the cramped area left after you deal with the very short brake wires which don't allow the brake unit to move very far. I also spent a bit of time snaking the wires through the boot between the trunk lid and the back deck. Also took time to ream out the holes and apply anti-rust compound to them and wipe down the truck lid with alcohol. Pry spend another 10 minutes warming up the trunk lid to 70 degress with a hair dryer to ensure proper adhesion of the spoiler stick strips. Not to mention stopping a few times to measure and ensure that the spoiler template was accurately placed before I drilled. There is a bit of play in the spoiler holes as they are somewhat larger than the spoiler studs so you can vary the placement a bit. Yup, then I dry fit the spoiler and marked that with tape.
The OEM spoiler kit I bought also came with new Nissan trunk gasket and two new heavier duty gas shocks to balance the added weight of the spoiler. I think these are pry not necessary but they add a few minutes to the install time. In my case about 15 minutes because I was a bit dense about figuring out how the shock retainer clips come off. Also add a few minutes to wire tie the new wire harness to the old and apply foam pads (also supplied) to the loose wire areas. No doubt there are more convenient places to tap into the brake light wires. I also had to remove the panel under the rear deck to get at the brake wires.
So I wasted a good hour trying to read and understand the instructions and another half hour staring at all the placements before drilling and mounting. I figure this is a 3 hour job the second time around, extreme max! And it's a pretty simple job even for a do it your selfer.
Now I got to go to the store and get some of that Crest Pro-Health 4x better clean stuff!
Greg
http://www.gregcutshaw.com/2012%20ma...iler/1SK17.pdf
I chose to tap into the brake light just below where it sits in the back window. This necessesitates removing the brake light unit and getting two splices in to the cramped area left after you deal with the very short brake wires which don't allow the brake unit to move very far. I also spent a bit of time snaking the wires through the boot between the trunk lid and the back deck. Also took time to ream out the holes and apply anti-rust compound to them and wipe down the truck lid with alcohol. Pry spend another 10 minutes warming up the trunk lid to 70 degress with a hair dryer to ensure proper adhesion of the spoiler stick strips. Not to mention stopping a few times to measure and ensure that the spoiler template was accurately placed before I drilled. There is a bit of play in the spoiler holes as they are somewhat larger than the spoiler studs so you can vary the placement a bit. Yup, then I dry fit the spoiler and marked that with tape.
The OEM spoiler kit I bought also came with new Nissan trunk gasket and two new heavier duty gas shocks to balance the added weight of the spoiler. I think these are pry not necessary but they add a few minutes to the install time. In my case about 15 minutes because I was a bit dense about figuring out how the shock retainer clips come off. Also add a few minutes to wire tie the new wire harness to the old and apply foam pads (also supplied) to the loose wire areas. No doubt there are more convenient places to tap into the brake light wires. I also had to remove the panel under the rear deck to get at the brake wires.
So I wasted a good hour trying to read and understand the instructions and another half hour staring at all the placements before drilling and mounting. I figure this is a 3 hour job the second time around, extreme max! And it's a pretty simple job even for a do it your selfer.
Now I got to go to the store and get some of that Crest Pro-Health 4x better clean stuff!
Greg
Again Thanks for the info.


Thread
Thread Starter
Forum
Replies
Last Post
03VQMAX
7th Generation Classifieds (2009-2015)
2
Sep 25, 2015 04:19 PM