
How To: Wheel Restoration


How To: Wheel Restoration
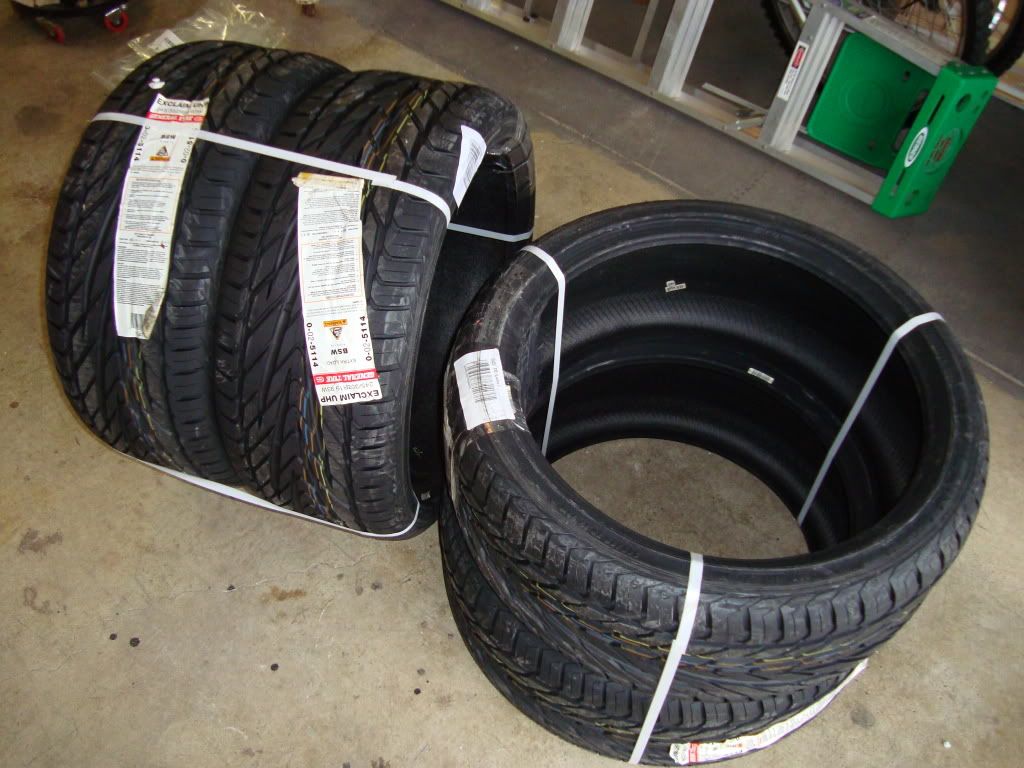
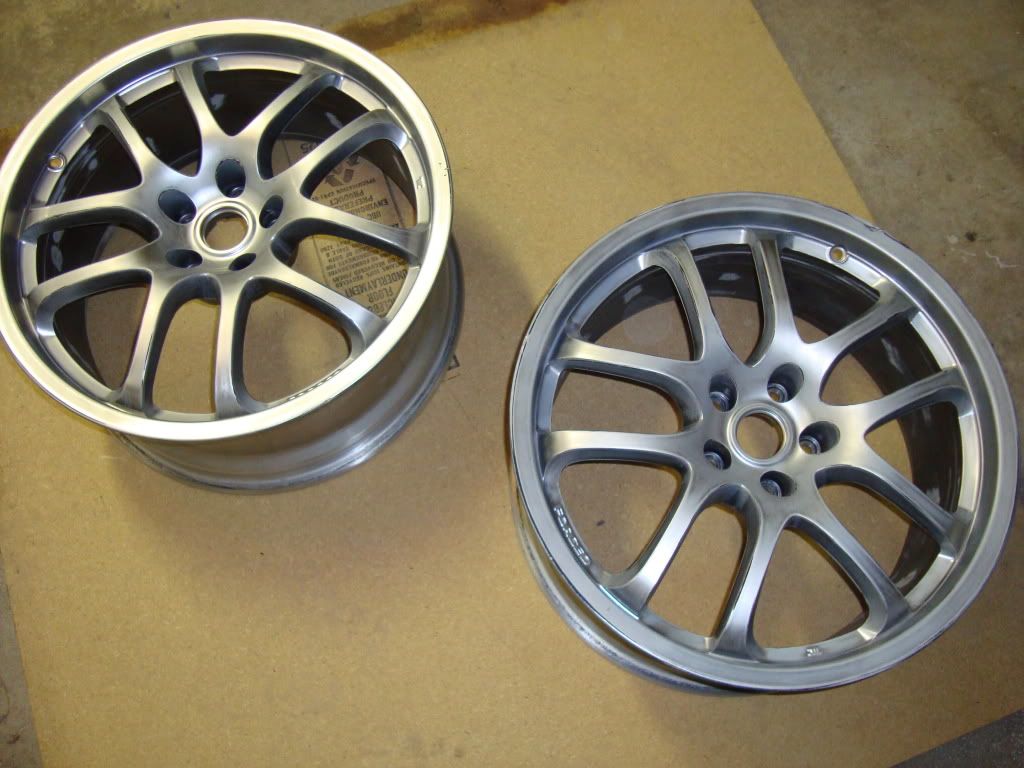
Sold my old wheels. Bought some rough 19" G35 wheels and commenced a major project in restoring them to perfect condition.
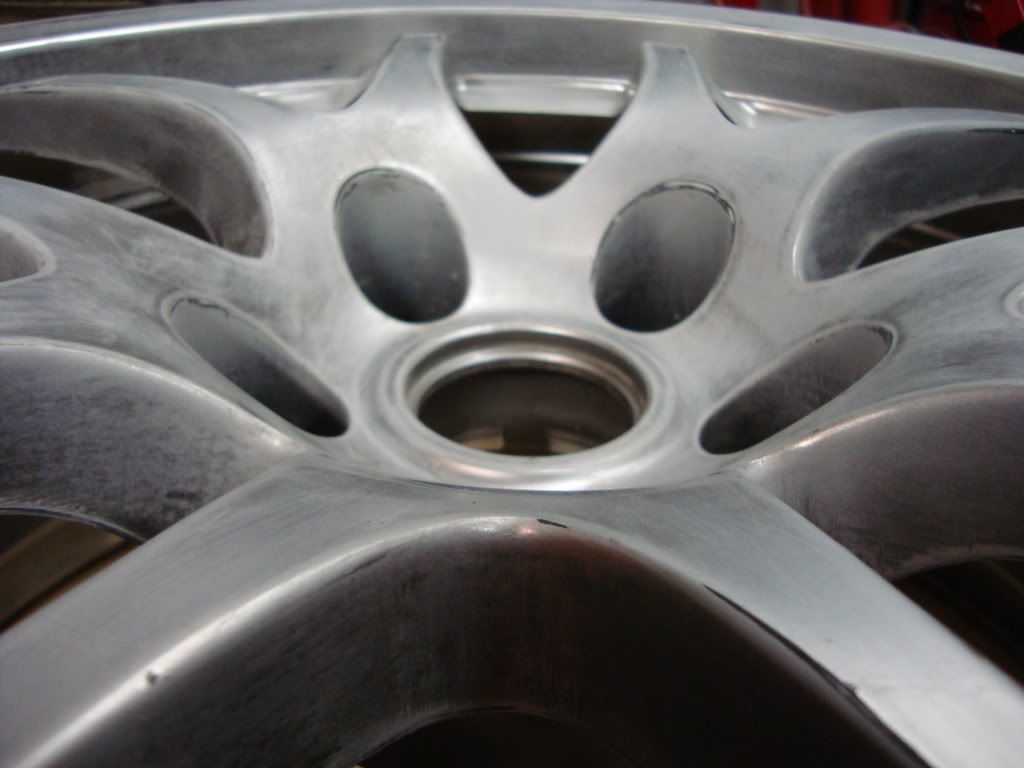
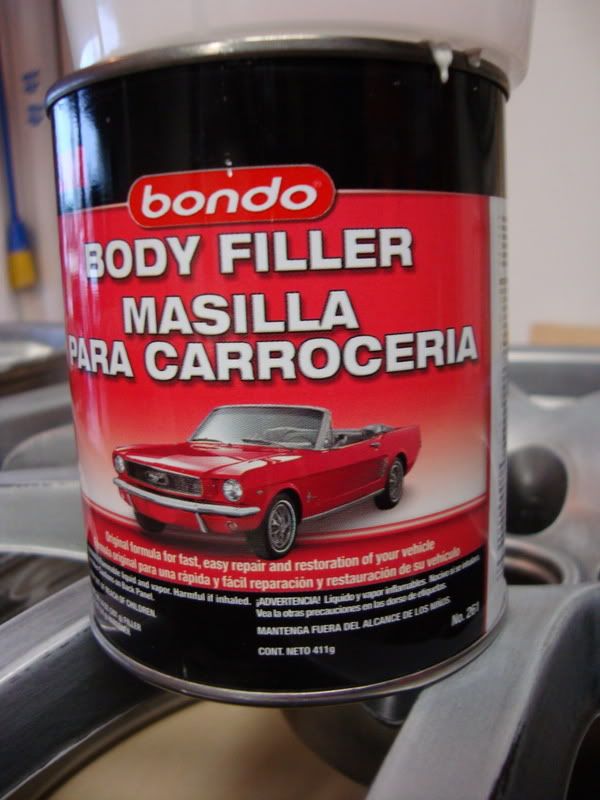
1) I used regular Bondo body filler to repair the curb damage and on the rock chips that were here and there on the wheel surfaces.
2) I used a variation of sand papers, starting with 60 to knock down the Bondo'd areas. I used 180, 220 & 400 to prep the wheel surface before primer. Used 1000 to quickly sand down the primer (sandable primer). Using 1000 & 1500 to wet sand the paint. I used 1500 & 2000 grit to wet sand the clear. All sanding was by hand other than the lug nut holes where I used a dremel sanding wheel to get in the holes.
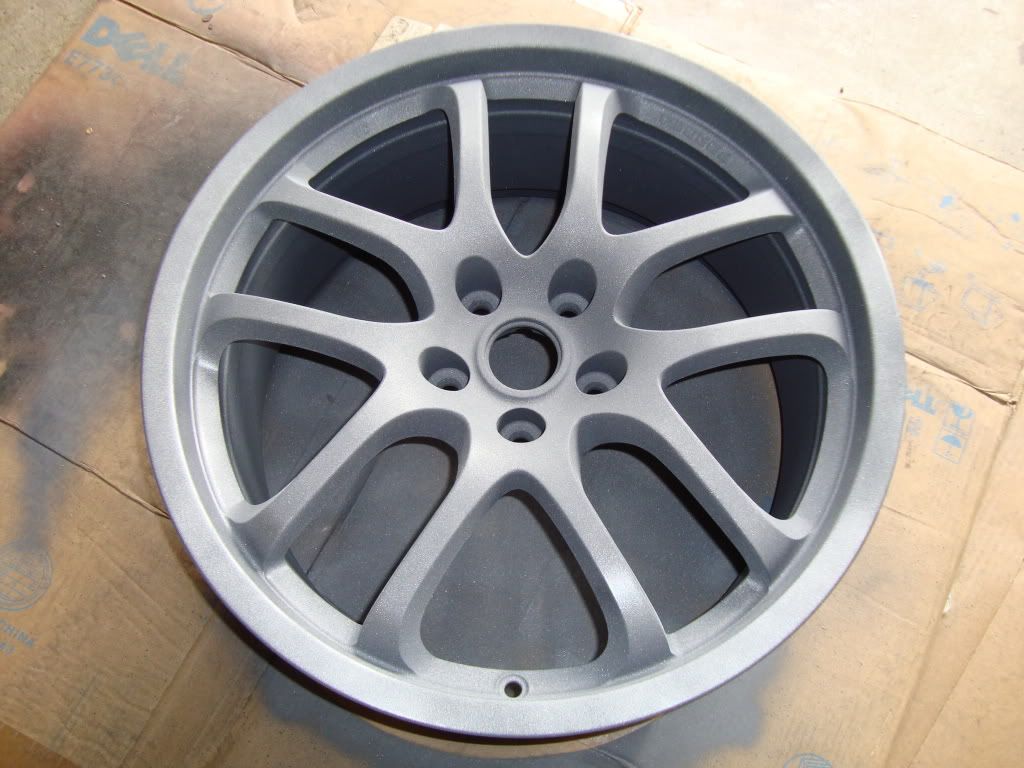
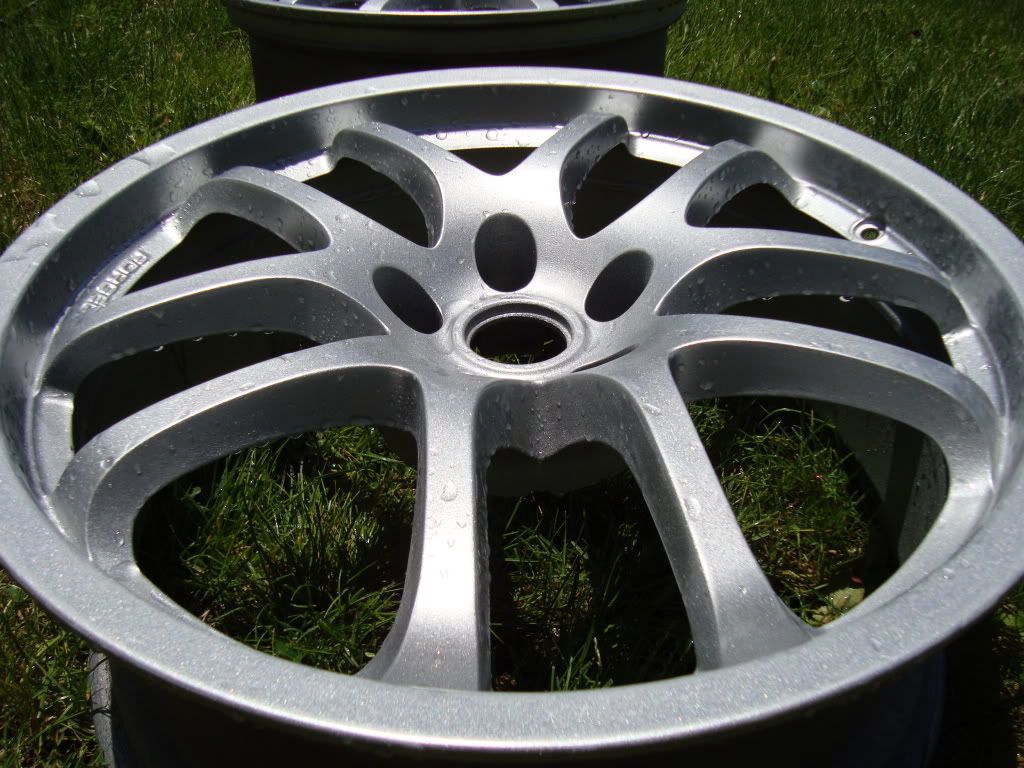
As I got them:

New tires - 245/35/19 General Exclaim UHP
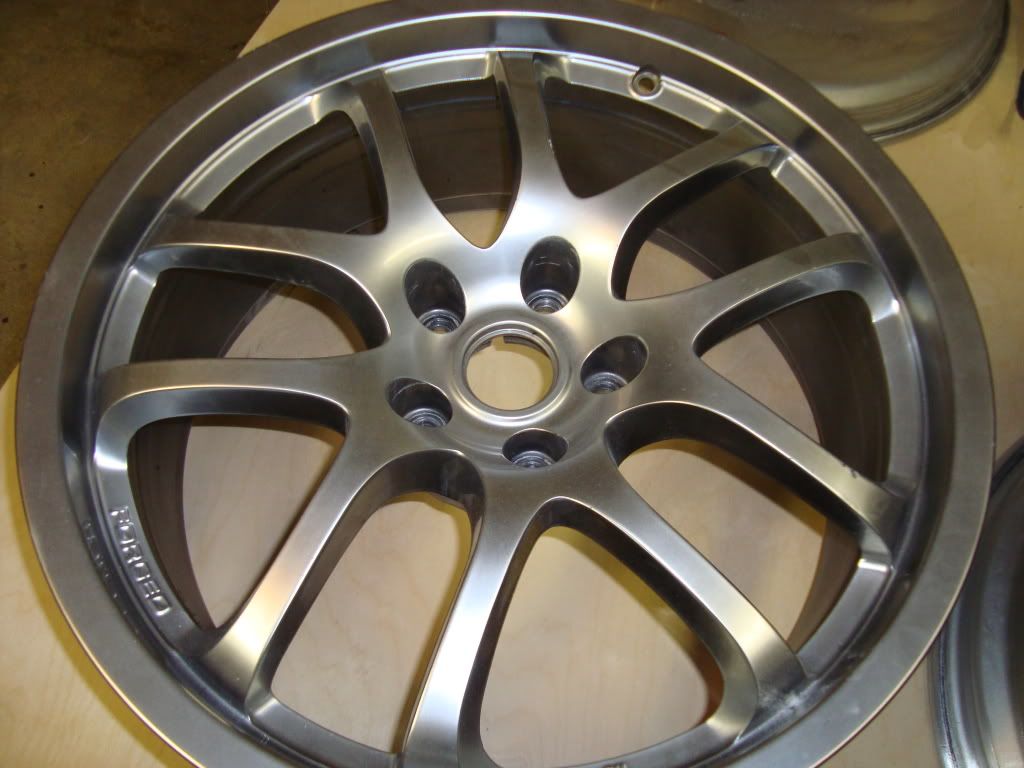
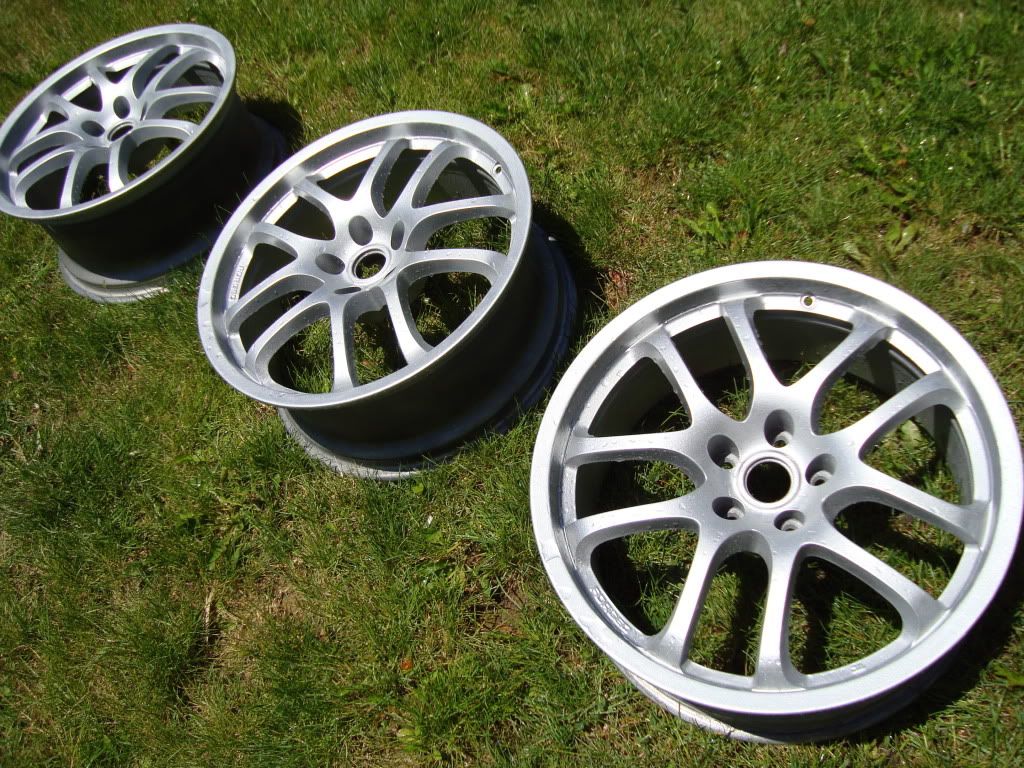
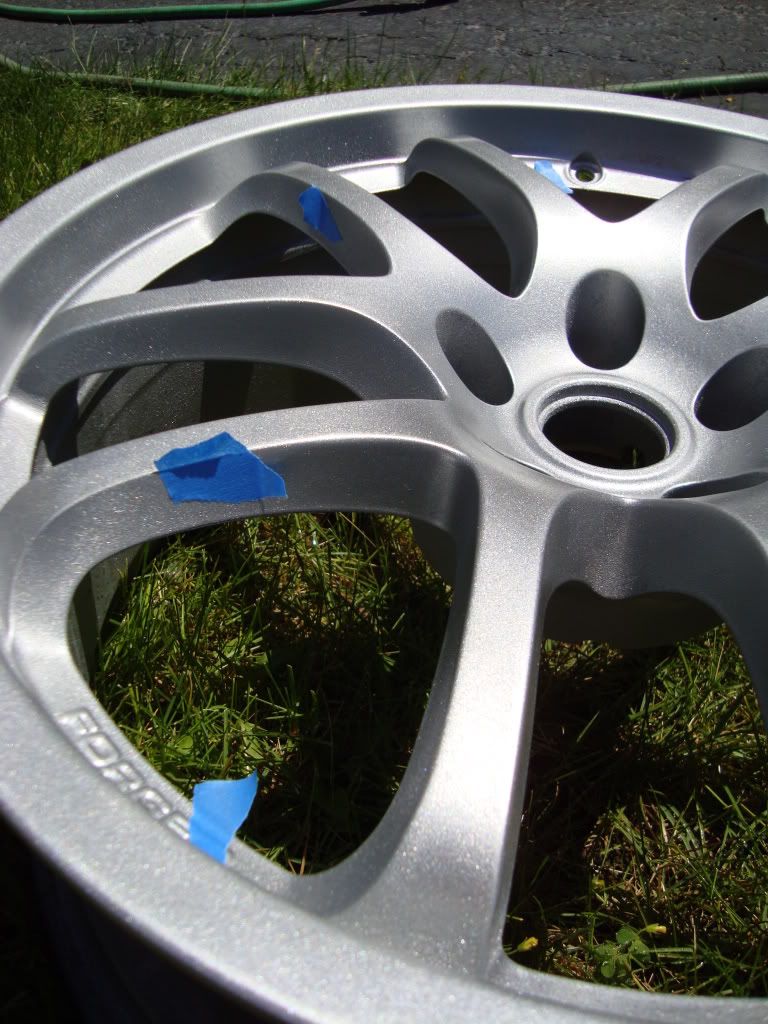
One before & after scuffing:
1) I used regular Bondo body filler to repair the curb damage and on the rock chips that were here and there on the wheel surfaces.
2) I used a variation of sand papers, starting with 60 to knock down the Bondo'd areas. I used 180, 220 & 400 to prep the wheel surface before primer. Used 1000 to quickly sand down the primer (sandable primer). Using 1000 & 1500 to wet sand the paint. I used 1500 & 2000 grit to wet sand the clear. All sanding was by hand other than the lug nut holes where I used a dremel sanding wheel to get in the holes.
As I got them:
New tires - 245/35/19 General Exclaim UHP
One before & after scuffing:
Last edited by SEmy2K2go; Sep 7, 2011 at 10:52 AM.
All scuffed up:

Normal body Bondo used to fill in the imperfections:
Bondo applied to the damaged areas:
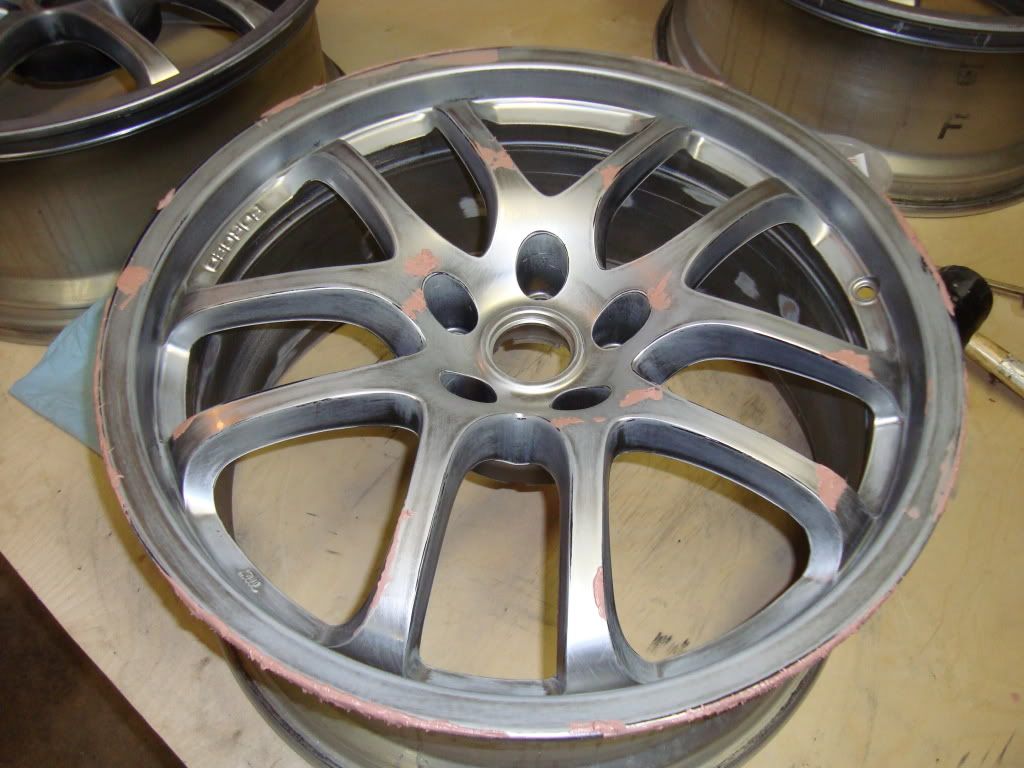
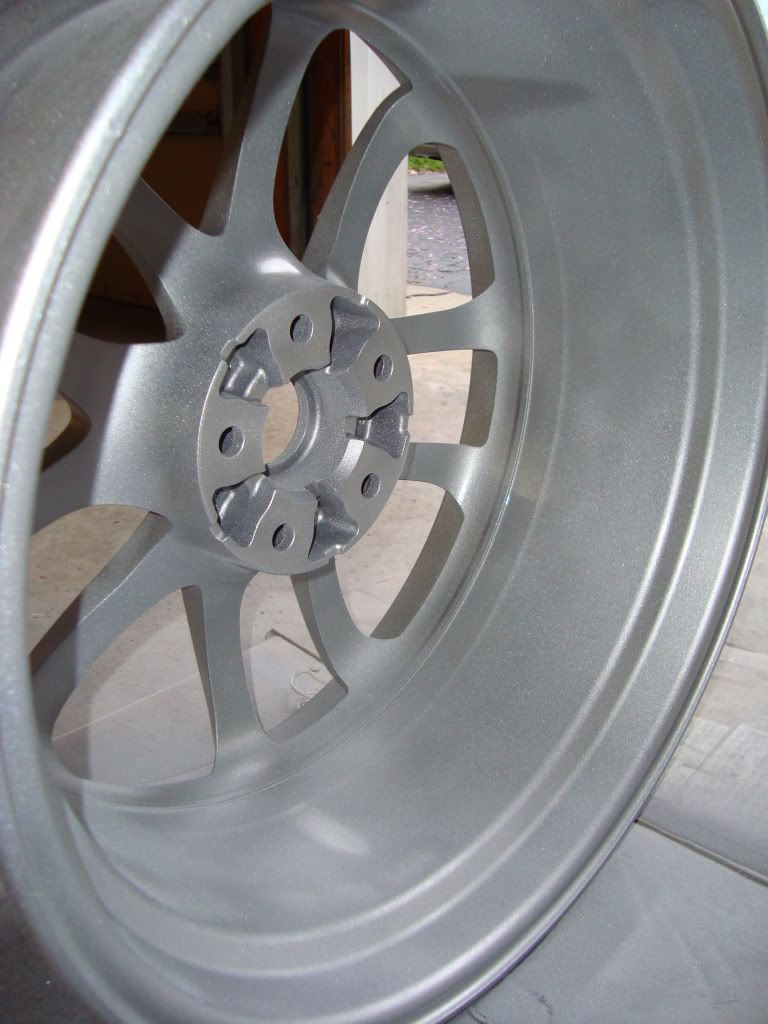
There was damage in the lug holes as well:

Dremel attachment used to clean up the Bondo applied areas:

Normal body Bondo used to fill in the imperfections:
Bondo applied to the damaged areas:
There was damage in the lug holes as well:
Dremel attachment used to clean up the Bondo applied areas:
Last edited by SEmy2K2go; May 21, 2009 at 12:46 PM.
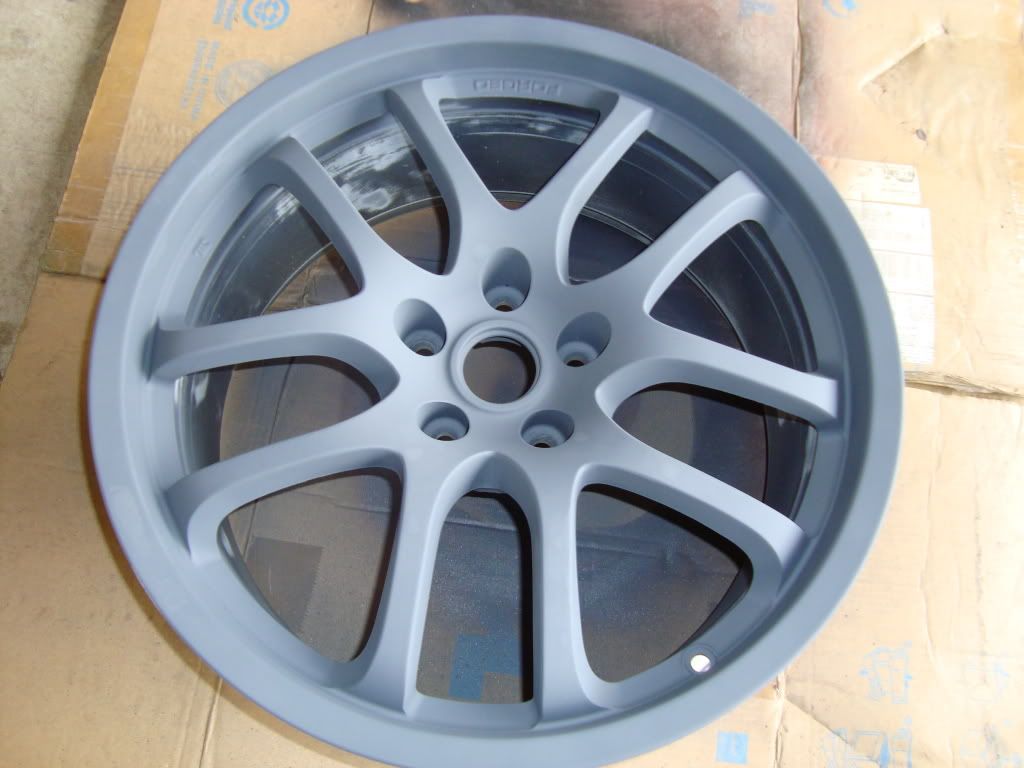
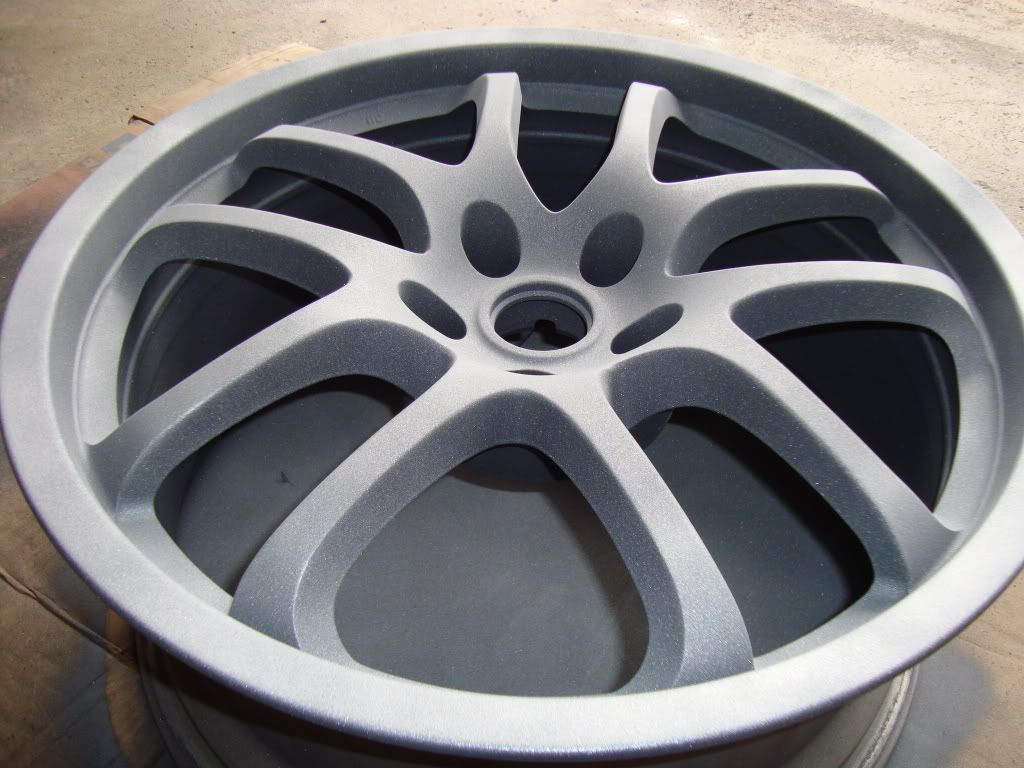
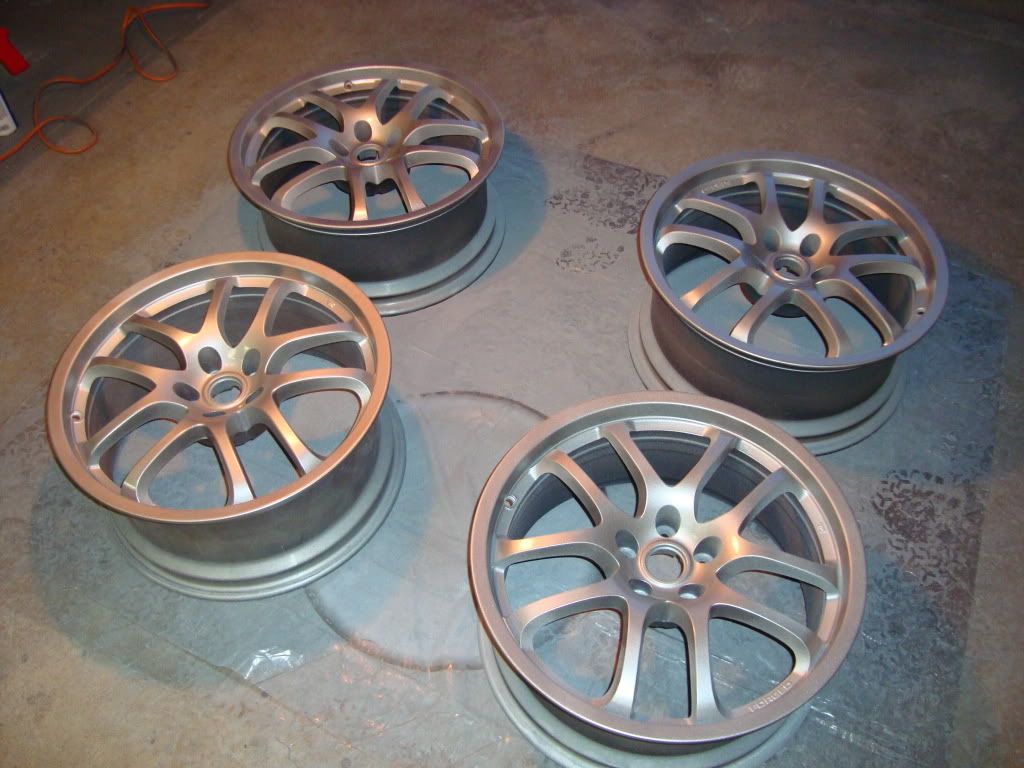
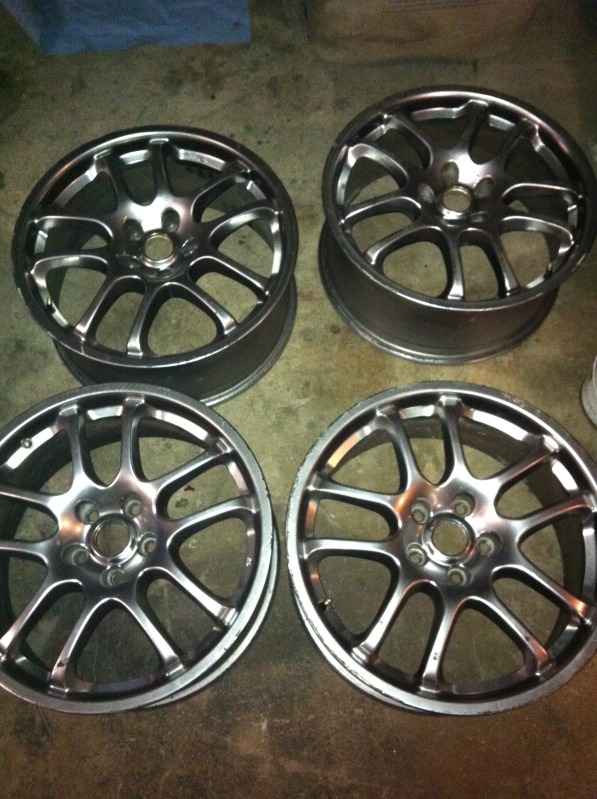
First coat of sandable primer added:

3-4 coats later:
The other wheels getting primer:

The first of the 3 guns I ended up using. This one worked really well, but was flimsy and broke after a short time:
3-4 coats later:
The other wheels getting primer:
The first of the 3 guns I ended up using. This one worked really well, but was flimsy and broke after a short time:
Last edited by SEmy2K2go; May 21, 2009 at 12:56 PM.
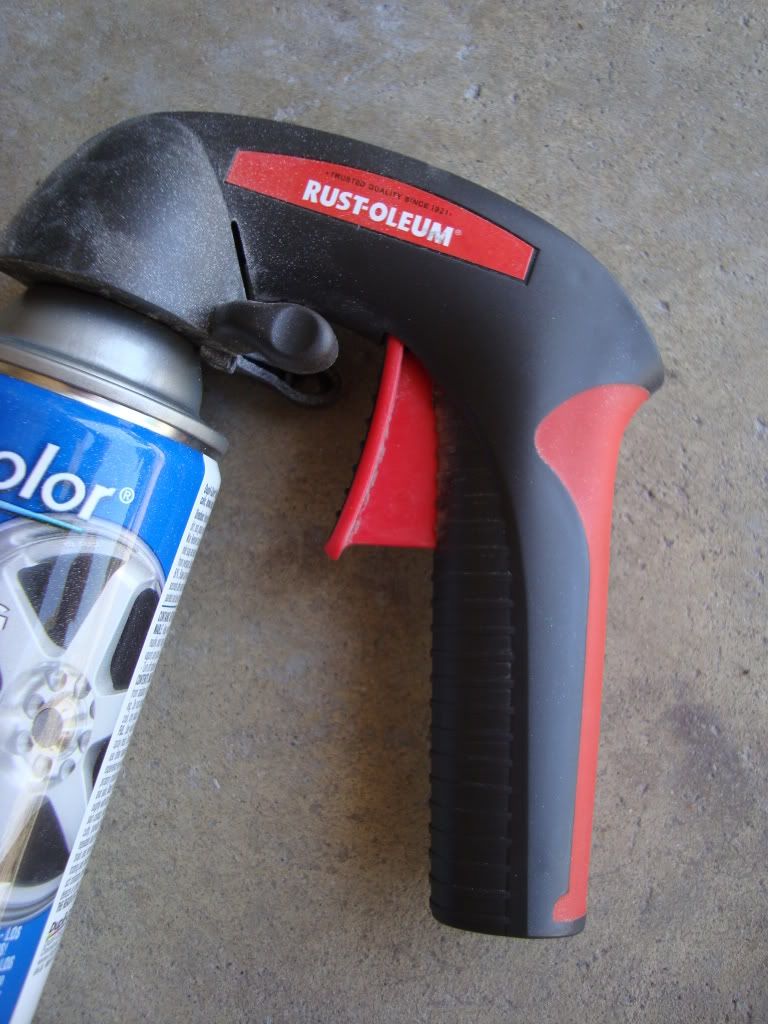
The gun that has worked the best for me during the whole process:
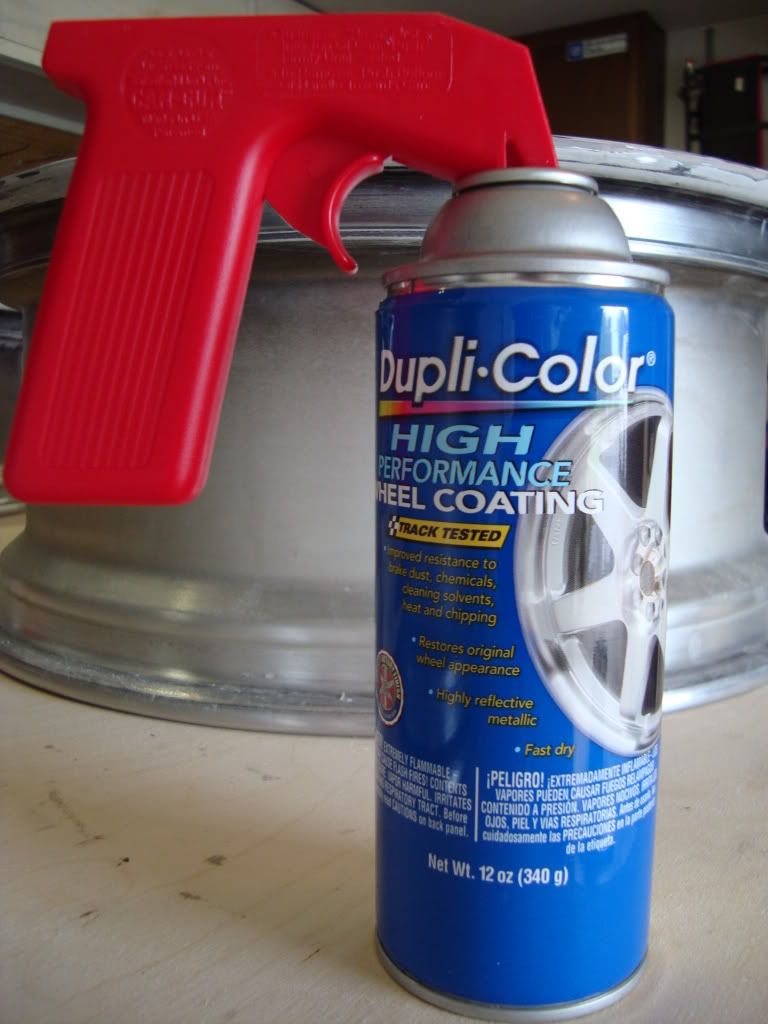
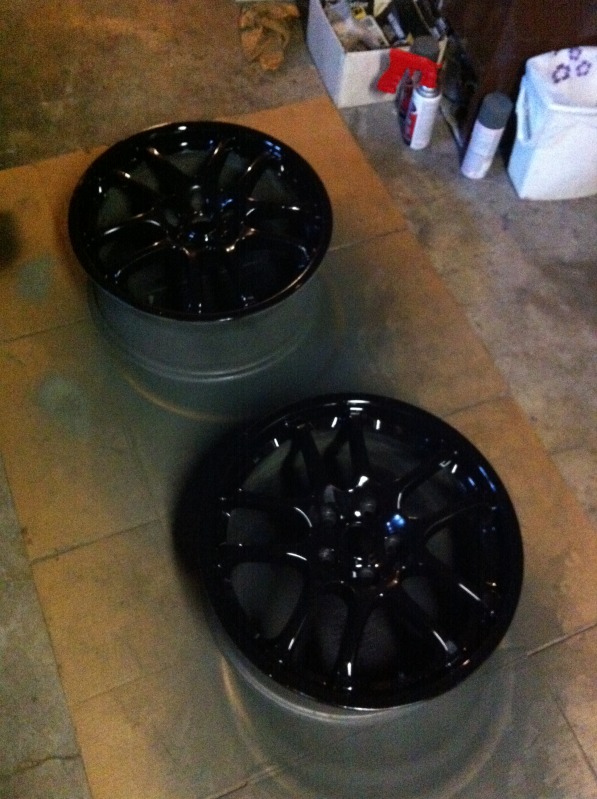
First coat of Dupli-Color Wheel Coating model# WP101
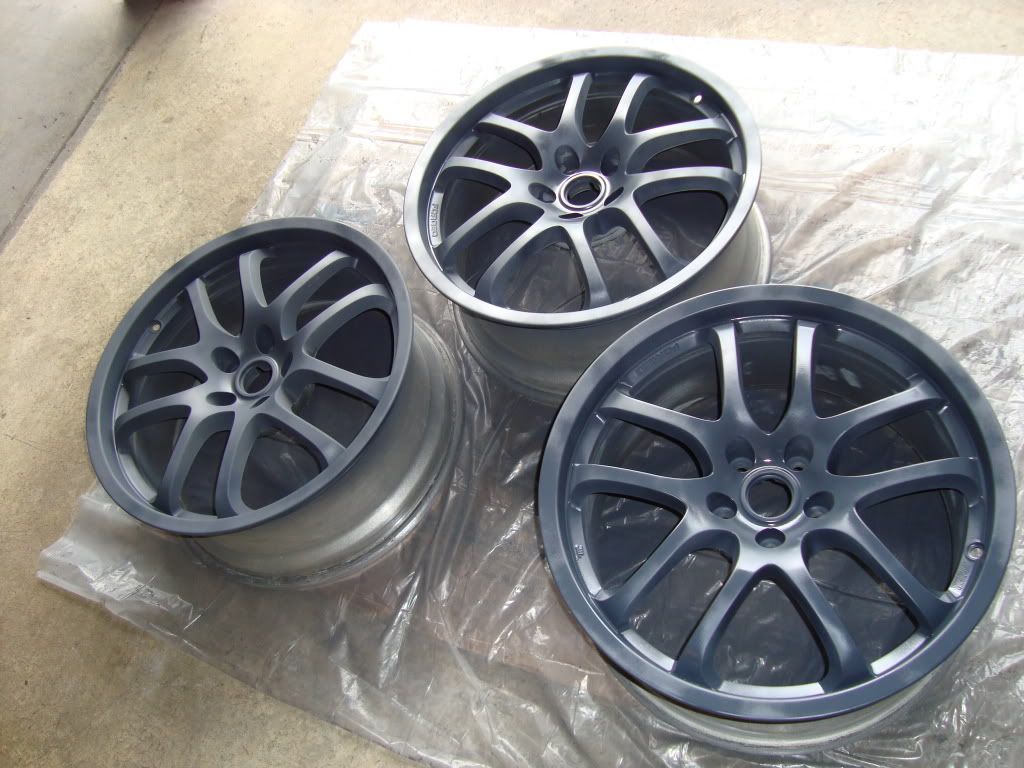
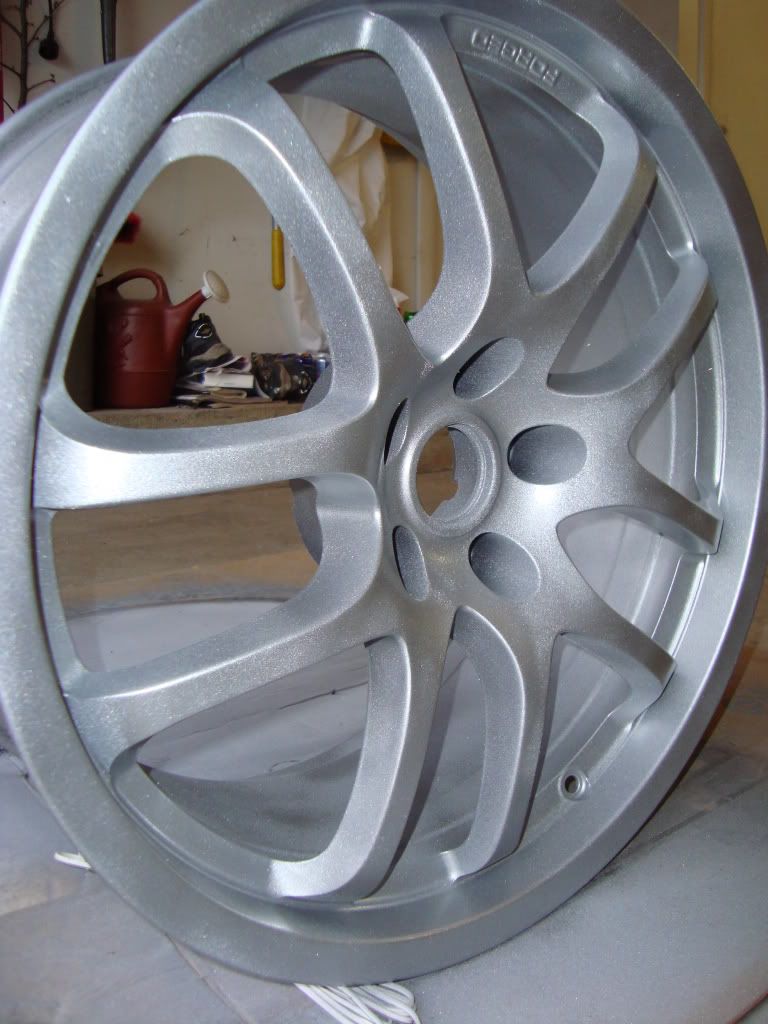
A few coats later:
Inside is getting a fresh coat as well:
First coat of Dupli-Color Wheel Coating model# WP101
A few coats later:
Inside is getting a fresh coat as well:


any more finished product pics? i'm using this as a write-up depending on how they look afterwards. you have done a really great job so far! i'm honestly surprised that the duplicolor paint you used turned out so well!


Newbie - Just Registered
Joined: Sep 2009
Posts: 1
All this is very much correct but he missed a few things
1.when your sanding down the rim or the body of car make sure that u take off ALL the clear coat off it first before priming
2.When sanding make sure the plastic filler is leveled and DONT OVER USE THE HARDENER. For people that dont know hardener is an ezyme that makes the plastic filler become hard with out this the plastic wil not dry.
3.Going back to makeing the plastic leveled if you do not make the plastic filler leveled once you prime it you wont see a difference if the plasitc is either to high or to low. Now if you dont get out these high or low spots you will get waves in your paint. These are VERY noticable in darker color paint such as black. That is the easiest color to see waves on.
Other then that everything else was perfect in description. I just wanted to point out cetain details so that your paint job doesnt mess up.
Have Fun =D PM me for any details
Last if you put run marks in (these are marks from overpainting) you must sand them down before anything. Or these marks will pop up later. And people dont be afraid to keep adding plastic to make your paintjob look nice. Another thing if u have indents on the inside of your rim from hitting curbs THESE ARE NOT REPARABLE FOR SOMEONE WITH NO EXPERIENCE take it to a place where they Specialize in rims
Last edited by Mike1718; Sep 22, 2009 at 06:47 PM.


Junior Member
Joined: Jul 2009
Posts: 33
From: New York
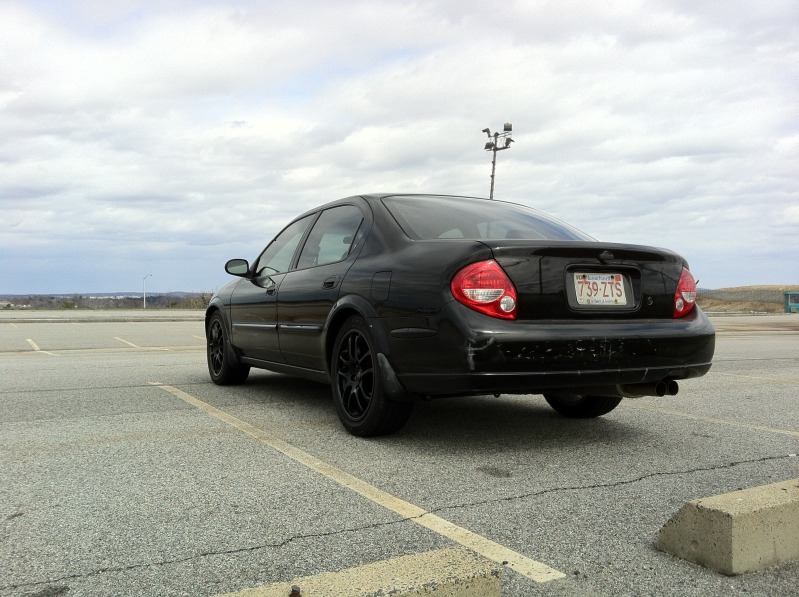
Are you happy with the results. They are a little hard to see from the distance that you took the installed pictures, but they look great from there. How many hours do you think you invested getting all of them painted?
What kind of clear coat did you use? The duplicolor can says not to use clear with the wheel paint.
I painted my wheels already, but I haven't put a clear on them. I am really considering putting a "matte" clear coat on them, too.
thanks
I painted my wheels already, but I haven't put a clear on them. I am really considering putting a "matte" clear coat on them, too.
thanks

Newbie - Just Registered
Joined: May 2010
Posts: 2
Hello guys!
Thanks for the above information and moreover,Be sure to align the wheels each time the rear wheel is removed or the chain or belt is adjusted. Each revolution of an incorrectly aligned wheel can scuff off tread rubber, reduce tire mileage, and impair steering and cornering.
It is essential tire/wheel assemblies be balanced before use and rebalanced each time the tire is removed or replaced. Unbalanced tire/wheel assemblies can vibrate at certain speeds, and tire wear will be greatly accelerated.
 All Dunlop street tires should be installed with the yellow balance dot at the valve. Wheels may be balanced with spoke nipple weights, lead wire or self-adhesive rim weights. Consult the motorcycle manufacturer for approved wheel weights.
Dunlop does not recommend the use of dry or liquid balancers/sealers and will not warrant tires into which these materials have been injected. Tire and wheel assembly balance must be checked with a balance stand or computer wheel balancer.
Thanks for the above information and moreover,Be sure to align the wheels each time the rear wheel is removed or the chain or belt is adjusted. Each revolution of an incorrectly aligned wheel can scuff off tread rubber, reduce tire mileage, and impair steering and cornering.
It is essential tire/wheel assemblies be balanced before use and rebalanced each time the tire is removed or replaced. Unbalanced tire/wheel assemblies can vibrate at certain speeds, and tire wear will be greatly accelerated.
All Dunlop street tires should be installed with the yellow balance dot at the valve. Wheels may be balanced with spoke nipple weights, lead wire or self-adhesive rim weights. Consult the motorcycle manufacturer for approved wheel weights.Dunlop does not recommend the use of dry or liquid balancers/sealers and will not warrant tires into which these materials have been injected. Tire and wheel assembly balance must be checked with a balance stand or computer wheel balancer.


Newbie - Just Registered
Joined: Feb 2009
Posts: 13
From: northern va
I just got a set of 350z touring v.2 rims for $100. the rims have some pretty bad scuffs on them which is why the guy sold them for that price. I am doing the process in this thread to fix them, I will post before and after pix starting tomorrow, I have one wheel done and working on the other three.


Joined: Jan 2007
Posts: 19
Great wheeels
This is inspiring! I have some wheels for my Corvette that have terrible brake dust contamination. I've tried everything to clean them. I'm wondering if I can paint over the brake dust. It's bonded to the aluminum!
If they could end up looking as good as your wheels, I'd be heading to Autozone this weekend.
Great job!
If they could end up looking as good as your wheels, I'd be heading to Autozone this weekend.
Great job!

Junior Member
Joined: Jul 2010
Posts: 81
From: S.L. UT.
The wheels look sick, where did you end up getting them? I've been looking for those wheels for a while now and cant find anything for a reasonable price. Keep up the good work and lets see some pics of them installed.


")

did you not read this thread to see what he used to paint or are you blind? hold up, you cant be blind, because you are on the internet browsing...RETARD
props to the OP i used your thread as a rule of thumb when i restored my G35 18s
props to the OP i used your thread as a rule of thumb when i restored my G35 18s


Pardon the noobness but had anyone done some refinishing/painting of their regular 17s into the glossy looking Titanium Edition finish? I'd love to go that route if I decided to fix up my current ones.. If so what paint brand and code was used?