
Inner/Outer Tierod Replacement (Writeup)

Thread Starter

Joined: Sep 2005
Posts: 4,945
From: Chicago
Inner/Outer Tierod Replacement (Writeup)
Quick lil' story first:
So on Wednesday Stillman (1992Maximase30) came over so we could do his valve cover gaskets and UIM gasket. After dealing with some BS on his car we got hungry and were gonna take mine to get some food. While backing my car out the garage the D-side wheel went one way and the P-side went the other.
For the past month my car had been making some noise while turning the wheel left to right repeatedly, mainly when the car is cold.
So I got a new inner tierod and warrantied one outer tierod since it has lifetime warranty. It wasnt bad but hey, I'm gonna have it apart I might as well do it all new.
DISCLAIMER, DO AT YOUR OWN RISK, This guide is to get basic understanding and not intended to replace a Factory Service Manual or a trained qualified competent mechanic, if you feel you cannot do this on your own please Do NOT and hire someone competent enough. Upon reading this, I wash my hands from your failure
Tools used: ratchet+17mm socket, 22mm or 7/8 wrench, air hammer, 10inch angled needle-nose pliers, greease gun, work-light
Optional: PB Blast or Torch if needed
1. Apply hand brake
2. jack up the car from jacking point under front bumper
3. Set jackstands from support points under doors toward frame
4. remove wheel (if you dont have airtools, loosen nuts priod to jacking)
5. Begin by pulling cotter pin from outer tierod with some pliers
6. Loosen 17mm nut on tierod
7. Pull tierod upward, if too hard then bang stud with hammer.
8. Turn steering wheel toward opposite side of what you're working to get tierod closer to you or vice versa
9. Use the 10in needle nose to remove a ring/clamp style thing that secures the boot onto the rack and pinion, just rip it off and replace with new one or zip tie.
10. Pull boot back to have better access to inner tierod where it meets rack
11. With air hammer/chisel, hit the block part on the inner tierod closest toward the rear of the car, which loosens.
12. Once loose enough, finish removing by hand
13. compare to new part, check length and make sure the 22mm nut is on same location on new as in old tierod so alignment isnt too far off to get to shop. Mark location with marker if necessary.
14. Make sure to use included "washer" so inner tierod does not loosen itself with movement.
15. Make sure the "washer" tabs are facing/going into the rack
16. Install inner tierod by "inserting" in rack and turning clockwise as far as you can by hand and then gently tighten with air hammer or with channel locks (I did this as I didnt have the right size ) If you have the right size wrench then better.
17. once inner has been tightened, start installing outer tierod by turning it clockwise on inner tierod and go until it reaches the 22mm, hold that nut with the wrench and turn the tierod tightly clockwise so the nut doesnt move.
17. Grease the tierod through the nipple and move the ball "stud" so it lubes the inside, apply grease generously and wipe off excess that comes out of boot.
18. Insert tierod stud into knuckle (adjust steering wheel or knuckle if necessary) and tighten 17mm nut, nice and tight and then insert cotter pin. Open cotter pin's ends to prevent from falling out.
19. Turn steering wheel to test, turns both? good!
20. Place wheel back, tighten lugnuts to 87lbs in a cross order, remove jackstands, lower vehicle, once again, test cautiously in low traffic area.
So on Wednesday Stillman (1992Maximase30) came over so we could do his valve cover gaskets and UIM gasket. After dealing with some BS on his car we got hungry and were gonna take mine to get some food. While backing my car out the garage the D-side wheel went one way and the P-side went the other.
For the past month my car had been making some noise while turning the wheel left to right repeatedly, mainly when the car is cold.
So I got a new inner tierod and warrantied one outer tierod since it has lifetime warranty. It wasnt bad but hey, I'm gonna have it apart I might as well do it all new.
DISCLAIMER, DO AT YOUR OWN RISK, This guide is to get basic understanding and not intended to replace a Factory Service Manual or a trained qualified competent mechanic, if you feel you cannot do this on your own please Do NOT and hire someone competent enough. Upon reading this, I wash my hands from your failure
Tools used: ratchet+17mm socket, 22mm or 7/8 wrench, air hammer, 10inch angled needle-nose pliers, greease gun, work-light
Optional: PB Blast or Torch if needed
1. Apply hand brake
2. jack up the car from jacking point under front bumper
3. Set jackstands from support points under doors toward frame
4. remove wheel (if you dont have airtools, loosen nuts priod to jacking)
5. Begin by pulling cotter pin from outer tierod with some pliers
6. Loosen 17mm nut on tierod
7. Pull tierod upward, if too hard then bang stud with hammer.
8. Turn steering wheel toward opposite side of what you're working to get tierod closer to you or vice versa
9. Use the 10in needle nose to remove a ring/clamp style thing that secures the boot onto the rack and pinion, just rip it off and replace with new one or zip tie.
10. Pull boot back to have better access to inner tierod where it meets rack
11. With air hammer/chisel, hit the block part on the inner tierod closest toward the rear of the car, which loosens.
12. Once loose enough, finish removing by hand
13. compare to new part, check length and make sure the 22mm nut is on same location on new as in old tierod so alignment isnt too far off to get to shop. Mark location with marker if necessary.
14. Make sure to use included "washer" so inner tierod does not loosen itself with movement.
15. Make sure the "washer" tabs are facing/going into the rack
16. Install inner tierod by "inserting" in rack and turning clockwise as far as you can by hand and then gently tighten with air hammer or with channel locks (I did this as I didnt have the right size
) If you have the right size wrench then better.17. once inner has been tightened, start installing outer tierod by turning it clockwise on inner tierod and go until it reaches the 22mm, hold that nut with the wrench and turn the tierod tightly clockwise so the nut doesnt move.
17. Grease the tierod through the nipple and move the ball "stud" so it lubes the inside, apply grease generously and wipe off excess that comes out of boot.
18. Insert tierod stud into knuckle (adjust steering wheel or knuckle if necessary) and tighten 17mm nut, nice and tight and then insert cotter pin. Open cotter pin's ends to prevent from falling out.
19. Turn steering wheel to test, turns both? good!
20. Place wheel back, tighten lugnuts to 87lbs in a cross order, remove jackstands, lower vehicle, once again, test cautiously in low traffic area.
Last edited by ColombianMax; Feb 9, 2008 at 10:20 PM.
Thread Starter
Joined: Sep 2005
Posts: 4,945
From: Chicago
Jacked up

Tools used

View of rack from outside without tierods

Making sure length from install point is same to the 22mm nut, looks uneven but its because of the rubber boot piece

new inner tierod + "lock"washer

Tools used
View of rack from outside without tierods
Making sure length from install point is same to the 22mm nut, looks uneven but its because of the rubber boot piece
new inner tierod + "lock"washer

Senior Member
Joined: Jan 2006
Posts: 1,871
From: IT DOESN'T MATTER WHO CARES!!
I am about to attempt this and I was about to ask for a write-up. I am wondering If you have any pics for this project.
I am about to do the inners and outers.
P.S Do you have a pic of a Air hammer and will It be neccessary to have one.
Thanks.
I am about to do the inners and outers.
P.S Do you have a pic of a Air hammer and will It be neccessary to have one.
Thanks.
Thread Starter
Joined: Sep 2005
Posts: 4,945
From: Chicago
Washer on tierod, make sure tabs are facing how they are in picture

both tierods in middle of install

inner tierod/rack and pinion from under car

Final product

Upon starting car, this started squirting out of Rack boots. I kept pouring ATF in reservoir until it stopped leaking from underneath and its kept up to level without leaking so far

both tierods in middle of install
inner tierod/rack and pinion from under car
Final product
Upon starting car, this started squirting out of Rack boots. I kept pouring ATF in reservoir until it stopped leaking from underneath and its kept up to level without leaking so far
Thread Starter
Joined: Sep 2005
Posts: 4,945
From: Chicago
Ok, now just some ramdom pics of maxima stuff I have layin around
waiting for nice weather to wash up engine bay, under carriage, wheel wells and installing these puppies from the JY, they were shiny as hell but got dirty over the months, theres a few that werent in the pics
old drum brake components, 89 rear torque members for z31 upgrade, q45 calipers in need of sandblasting, my friends altimas busted caliper

Brians old door

old drum strut assemblies

waiting for nice weather to wash up engine bay, under carriage, wheel wells and installing these puppies from the JY, they were shiny as hell but got dirty over the months, theres a few that werent in the pics
old drum brake components, 89 rear torque members for z31 upgrade, q45 calipers in need of sandblasting, my friends altimas busted caliper
Brians old door
old drum strut assemblies

I might be mistaken, but isn't squeaking on a cold startup due to a loose power steering belt? Just tighten the belt, and the noise should stop.
Pics of broken tie rod!!
Pics of broken tie rod!!
Last edited by traxtar944; Feb 1, 2008 at 10:49 AM.

Thread Starter
Joined: Sep 2005
Posts: 4,945
From: Chicago
The tierod wasnt broken, its just the threads on the inner tierod where the outer screws on that were stripped and the picture is in page one where its shown side by side with the new part.
Indeed although the floor doesnt bother me as much as slush/water dripping on you from the car!! ugh.
Creeper &l rolling stool FTW

Thread Starter
Joined: Sep 2005
Posts: 4,945
From: Chicago
Oh and I've never hit anyone, they hit me while they dont have insurance! so you know those brakes are just for "looks" in my case until I can get some z32 aluminum ones at least

Senior Member
Joined: Jan 2006
Posts: 1,871
From: IT DOESN'T MATTER WHO CARES!!
I want to know If it's better to go with OEM inner tierods than the Autozone and Napa ones That's if they stock any. Is It neccessary to use the Air machine or Is there any subsitution like a breaker bar with an extention.
Thread Starter
Joined: Sep 2005
Posts: 4,945
From: Chicago
I just used an Air hammer cuz I didnt have the wrench size that fits over this part of the inner tierod but if you have a wrench that size you can just use that.
OEM will always be better than idiotzone, napa, or whatever other place but its just a lot more. I bought TRW from a local parts store cuz I just needed the part urgently and it has lifetime warranty but OEM is better all the way.
OEM will always be better than idiotzone, napa, or whatever other place but its just a lot more. I bought TRW from a local parts store cuz I just needed the part urgently and it has lifetime warranty but OEM is better all the way.
Thread Starter
Joined: Sep 2005
Posts: 4,945
From: Chicago
I dont do Napa, personally I think their service is horrible and they look at you like a moron as soon as they ask what car you have and turns out to be non American car. Autozone I dont know the price either but where I got it Murray's Discount Auto which is now part of CSK (Checker Schucks and Kragen) which is also associated with Advance Auto, the price was 31.99 per inner and 35.99 per outer. No they dont come as a set. Also if I were to buy something at Napa, I'd just go to the dealer considering their prices are nearly up there. Good parts but doubt they're dealer quality. MrGone is so gonna kill me for saying that, he loves his parts guy steve at napa that greets him by the name of Shawn/Shaun(sp?) 
Not to sound like I dont wanna help but you can also check prices online and see pictures from local area so you dont get higher/lower prices from me.
I'm actually about to go do my passenger side inner and outer tierods in an hour or so cuz 1992maximase30's gonna do an aligment for me in the afternoon...also doing the P side cuz if the driver side inner tierod failed, the passenger side shouldn't be too far behind
Thread Starter
Joined: Sep 2005
Posts: 4,945
From: Chicago
Ok, so it took me 1 hour 30 minutes start to stop including a run to the parts store after removing the outer tierod so I could warranty it  I managed to get the wheels straight and the steering wheel even straighter but still heading for an aligment at 5pm
I feel night and day difference from before, going over bumps for some reason is super quiet compared to before. GREENY YOU WERE RIGHT :
:
Alright, I'm out! gonna go to the JY and pick up a MINT black baby butt soft leather interior that looks brand spanking new for the GFs max, its our 6 year anni on monday and I'm gonna pimp her ride by adding leather, hooking her pioneer headunit back up, woofers/amp, taurus cup holder, clean inside/outside, replace blower fan. oh and getting her stock fogs too but not by monday as its not possible. Crazy anni present eh?
I managed to get the wheels straight and the steering wheel even straighter but still heading for an aligment at 5pm I feel night and day difference from before, going over bumps for some reason is super quiet compared to before. GREENY YOU WERE RIGHT
:Alright, I'm out! gonna go to the JY and pick up a MINT black baby butt soft leather interior that looks brand spanking new for the GFs max, its our 6 year anni on monday and I'm gonna pimp her ride by adding leather, hooking her pioneer headunit back up, woofers/amp, taurus cup holder, clean inside/outside, replace blower fan. oh and getting her stock fogs too but not by monday as its not possible. Crazy anni present eh?
Thread Starter
Joined: Sep 2005
Posts: 4,945
From: Chicago
Alright, I'm out! gonna go to the JY and pick up a MINT black baby butt soft leather interior that looks brand spanking new for the GFs max, its our 6 year anni on monday and I'm gonna pimp her ride by adding leather, hooking her pioneer headunit back up, woofers/amp, taurus cup holder, clean inside/outside, replace blower fan. oh and getting her stock fogs too but not by monday as its not possible. Crazy anni present eh?
All cleaned up after that VE had all its windows shattered and glass all over seats
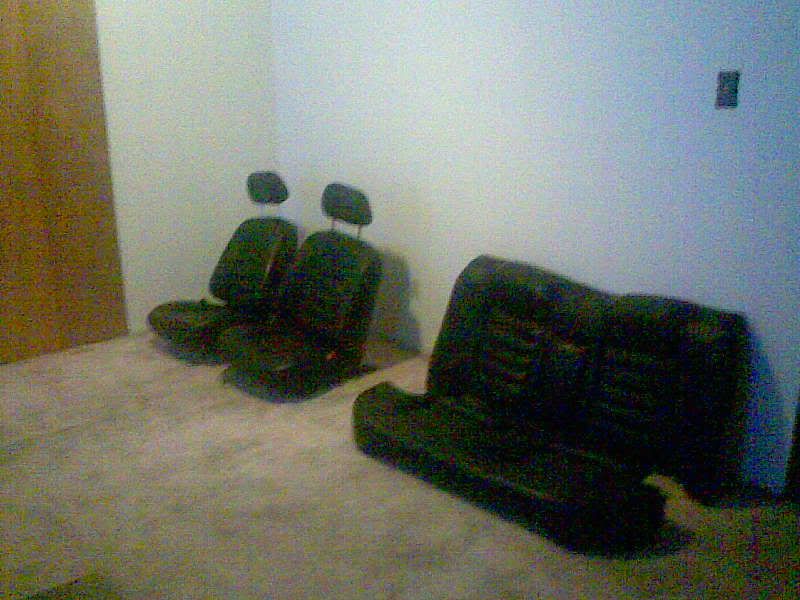

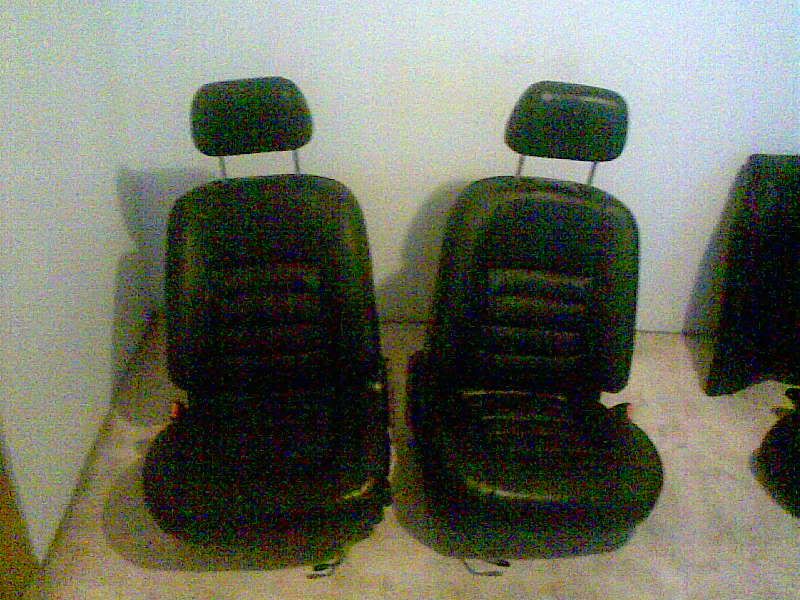
SO SOFT
blurry but SO SOFT


Senior Member
Joined: Jan 2006
Posts: 1,871
From: IT DOESN'T MATTER WHO CARES!!
I went to Autozone and found out that the outters are $51.00 and not only that you have to get the needle and the washers and the bolts seperate .The inner rods are for $30.00 the boots, I will have to buy.
I think I am better off to get some OEM parts as a complete set. I am SO FUGDING pissed at my fraudy mechanic who screwed up my perfect MAX He freakin bent my outer and striped the damn boot. 
and not only that you have to get the needle and the washers and the bolts seperate .The inner rods are for $30.00 the boots, I will have to buy.I think I am better off to get some OEM parts as a complete set. I am SO FUGDING pissed at my fraudy mechanic who screwed up my perfect MAX
He freakin bent my outer and striped the damn boot.
I went to Autozone and found out that the outters are $51.00 and not only that you have to get the needle and the washers and the bolts seperate .The inner rods are for $30.00 the boots, I will have to buy.
I think I am better off to get some OEM parts as a complete set. I am SO FUGDING pissed at my fraudy mechanic who screwed up my perfect MAX He freakin bent my outer and striped the damn boot.
and not only that you have to get the needle and the washers and the bolts seperate .The inner rods are for $30.00 the boots, I will have to buy.I think I am better off to get some OEM parts as a complete set. I am SO FUGDING pissed at my fraudy mechanic who screwed up my perfect MAX
He freakin bent my outer and striped the damn boot. would he admit that he MAY have made a mistake and fix it?
Senior Member
Joined: Jan 2006
Posts: 1,871
From: IT DOESN'T MATTER WHO CARES!!
 that made a mistake,but he really mean't to do damage and expected me being a dumb **** and not knowing anything about cars. He Is one of those losers that wants you to believe that there Is something wrong when there Isn't. He is one of those that say "fix this fix that break this and fix that you know the rest". I am sueing him.
Thread Starter
Joined: Sep 2005
Posts: 4,945
From: Chicago
lol are you serious serious dude? these are for my girlfriend's max but if you are SERIOUS, I do come across a lot of leather interiors and can keep an eye for a non cracked rear seat
in about 20 minutes gonna start replacing this on gfs max:
-cloth for leather
-blower fan
-put in clean original "Maxima" mats
-install her Pioneer graphics head unit
-If i find my spare cables, install her amp/woofers
sad but thats my anniversary present for her lol so broke!!!
Thanks go to 1992maximase30 for being on his way to give me a hand


