
How To: Wrinkle Paint your Valve Covers
 05-25-2009, 07:22 PM
#1
Senior Member
Thread Starter
iTrader: (11)

Join Date: Aug 2006
Location: Sunshine State
Posts: 4,717
How To: Wrinkle Paint your Valve Covers
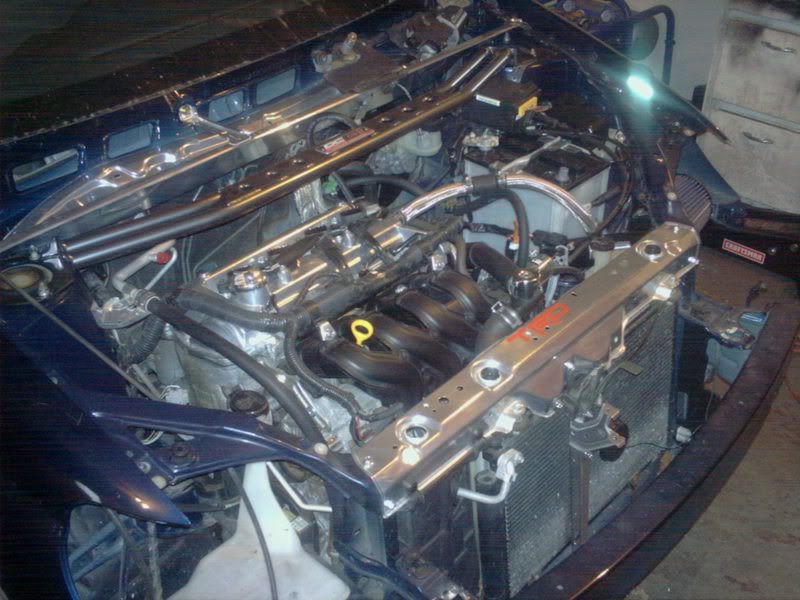
I recently saw a picture of a built VQ35 with wrinkle red valve covers. I got hooked on the look, and although I wanted to do red, I scored a can of Krylon Black Wrinkle Paint at Advance Auto for $0.95. So I tested it out.
This is a short how-to on the steps to paint your Valve Cover. Its pretty straightforward, the can itself describes the painting...
Prep
1. Remove the Valve cover. There are 10 or 12 10mm bolts, along with the 6 coilpack screws, and 2 hoses.
2. Remove the gasket from the cover if its on there.
3. Wash the outside of the valve cover, I used Simple Green and Goo Gone. The combo removed all of the grease and dirt, with an old sponge.
4. Dry. Be sure all the water is soaked up/gone.
Side note: I did not mask anything off. I didnt worry about the brass fittings, and I made sure not to coat the underside of the cover. You can if you are so inclined to.
Painting
5. Start with a single light coat. Within 5 minutes, apply another coat, this time, apply until the paint starts to look "wet", but not too heavy.
6. Apply 2 more coats, both 5 minutes after the other, this time make sure they look "wet".
7. Allow to air dry for about 30 minutes and carefully remove from your painting area
**BE CAREFUL! The paint will still be "soft" even during curing. I waited 24 hours and I could still fingerprint the paint with enough pressure**
Curing
8. Turn the oven on bake to 200. Put it on the middle rack, and leave it in for 10 to 15 minutes.
9. Remove, let sit for at least 4 hours(mine sat overnight). Repeat step 8, oven on bake at 200 for 10 to 15 minutes.
(It wont smell that pleasant, its going to smell like burning paint... dont worry, as long as its not literally melting, bubbling or burning, it will be fine)
10. Remove and let sit for at least 4 hours.
11. Reinstall and enjoy.
***I DO NOT recommend you use you car to cure it, instead of the oven! The paint is really soft before curing, the slightest hit could nick it. I also dont know how the oil and grease would react with the curing process!!***
Final Product: (click on images for larger pics)

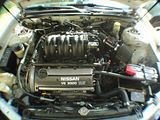
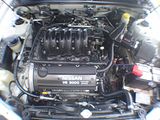
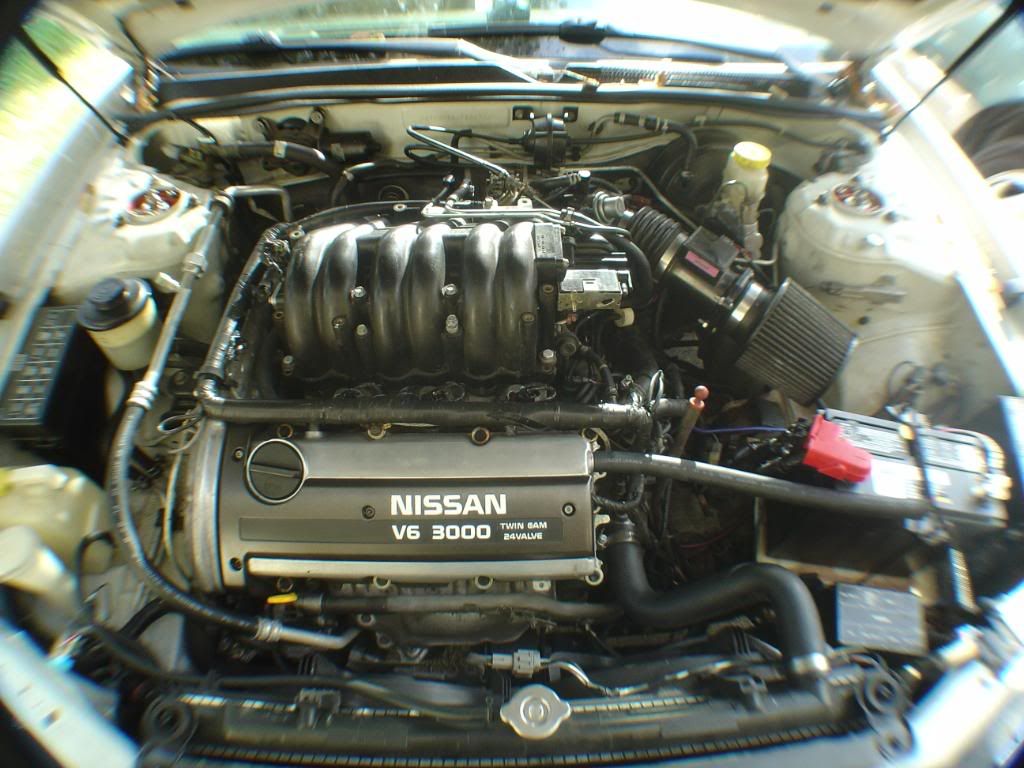
BEFORE:
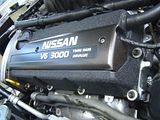
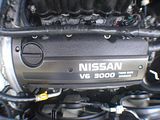
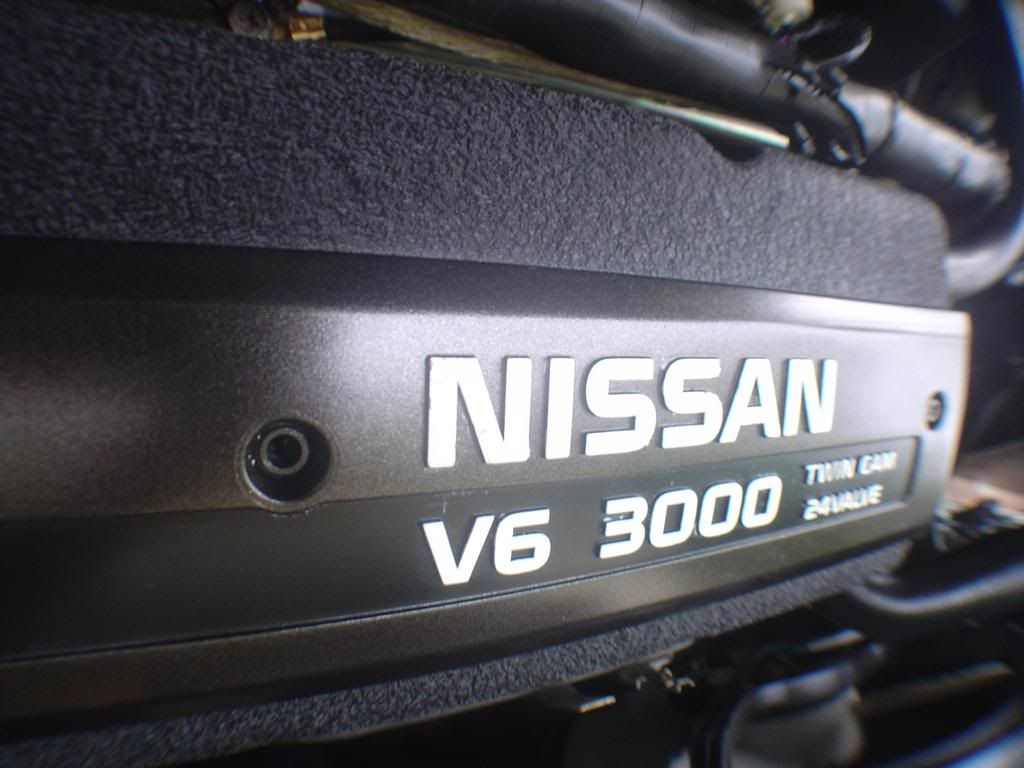
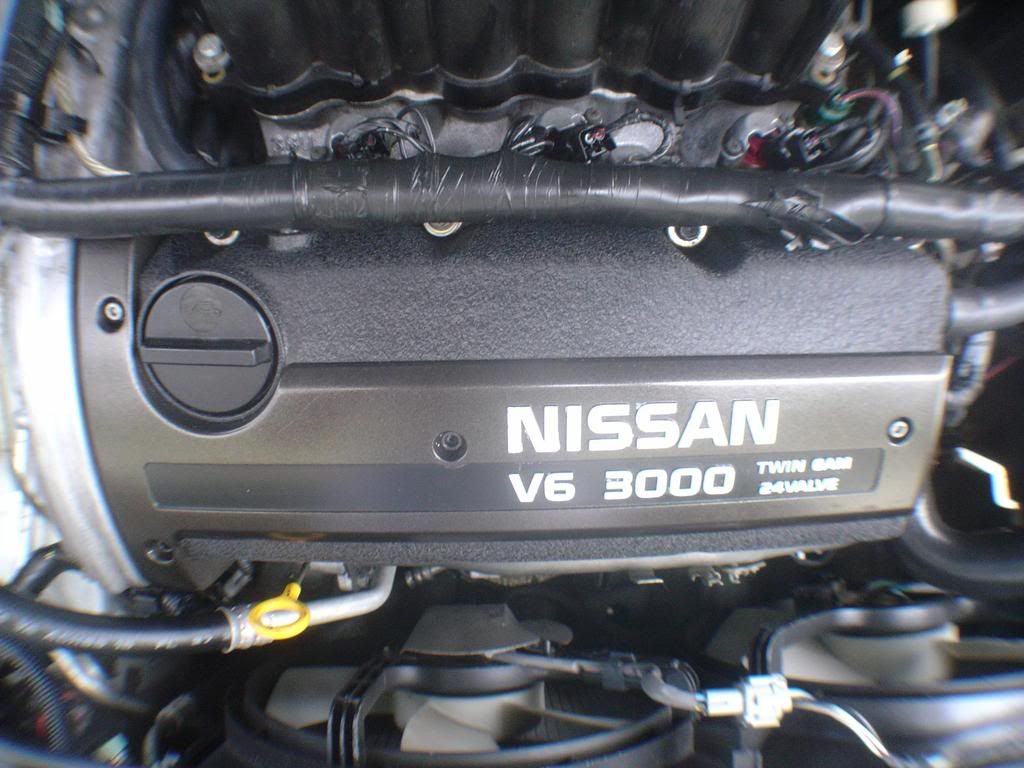
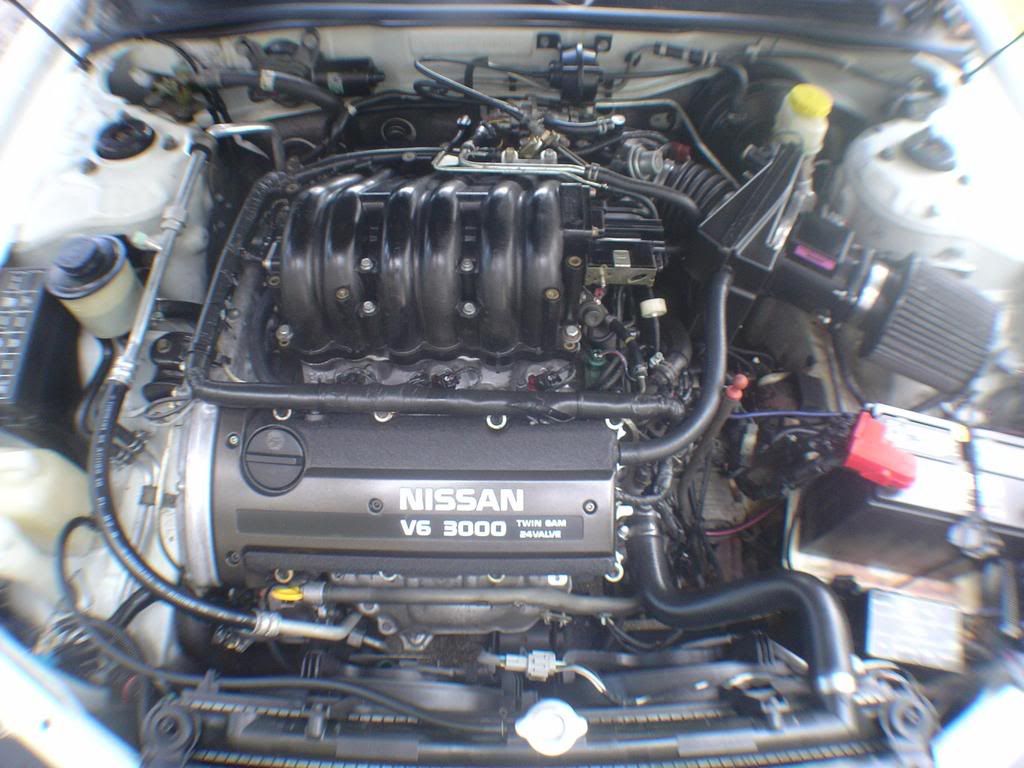
AFTER:
This is a short how-to on the steps to paint your Valve Cover. Its pretty straightforward, the can itself describes the painting...
Prep
1. Remove the Valve cover. There are 10 or 12 10mm bolts, along with the 6 coilpack screws, and 2 hoses.
2. Remove the gasket from the cover if its on there.
3. Wash the outside of the valve cover, I used Simple Green and Goo Gone. The combo removed all of the grease and dirt, with an old sponge.
4. Dry. Be sure all the water is soaked up/gone.
Side note: I did not mask anything off. I didnt worry about the brass fittings, and I made sure not to coat the underside of the cover. You can if you are so inclined to.
Painting
5. Start with a single light coat. Within 5 minutes, apply another coat, this time, apply until the paint starts to look "wet", but not too heavy.
6. Apply 2 more coats, both 5 minutes after the other, this time make sure they look "wet".
7. Allow to air dry for about 30 minutes and carefully remove from your painting area
**BE CAREFUL! The paint will still be "soft" even during curing. I waited 24 hours and I could still fingerprint the paint with enough pressure**
Curing
8. Turn the oven on bake to 200. Put it on the middle rack, and leave it in for 10 to 15 minutes.
9. Remove, let sit for at least 4 hours(mine sat overnight). Repeat step 8, oven on bake at 200 for 10 to 15 minutes.
(It wont smell that pleasant, its going to smell like burning paint... dont worry, as long as its not literally melting, bubbling or burning, it will be fine)
10. Remove and let sit for at least 4 hours.
11. Reinstall and enjoy.
***I DO NOT recommend you use you car to cure it, instead of the oven! The paint is really soft before curing, the slightest hit could nick it. I also dont know how the oil and grease would react with the curing process!!***
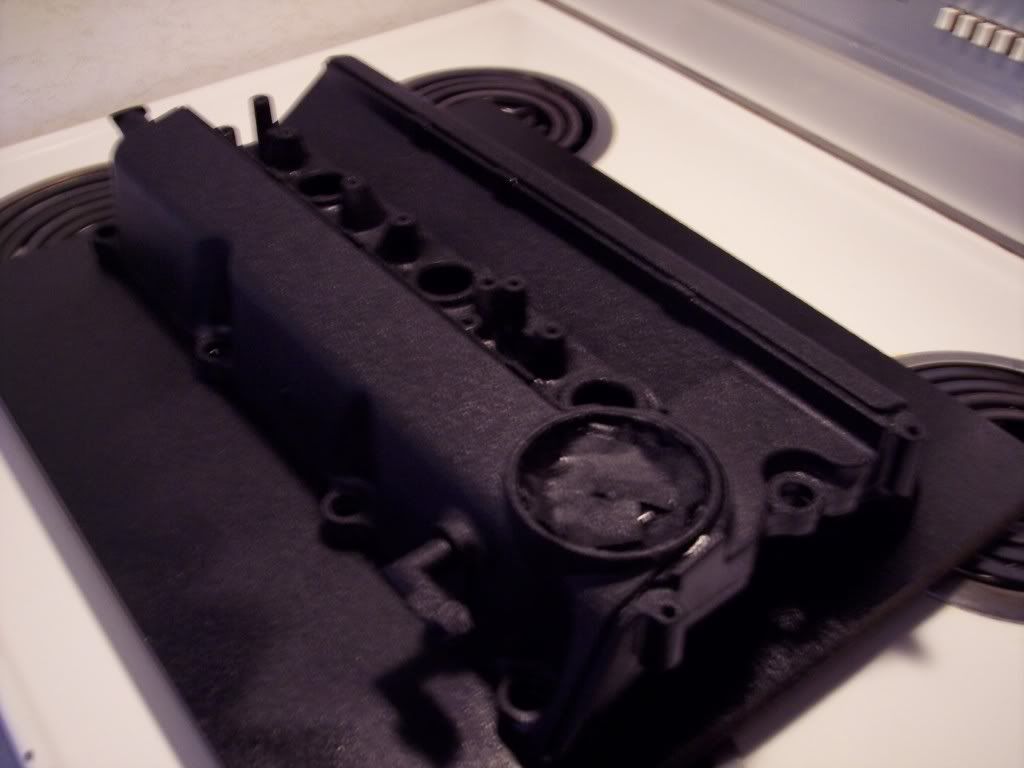
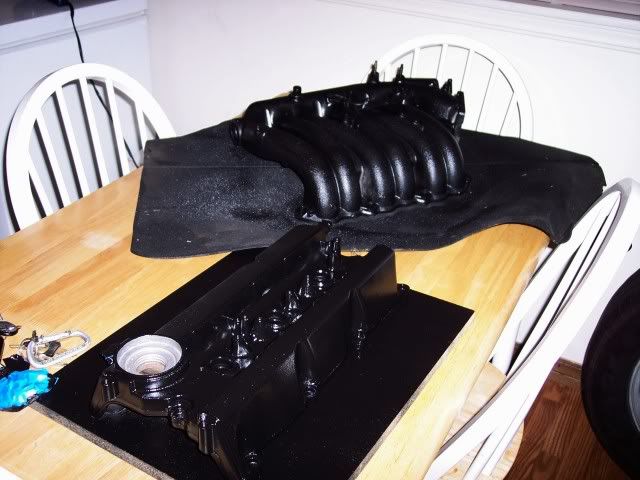
Final Product: (click on images for larger pics)

BEFORE:
AFTER:
Last edited by MOHFpro90; 05-25-2009 at 07:26 PM.


 05-25-2009, 07:43 PM
#4

dude i found some vht wrinkle paint at advance the other day and wanted to try it out and didnt know how it would look but now that i know it looks good imma end up doing my spare valve cover in the vht wrinkle.
looks hella good btw
looks hella good btw
05-25-2009, 07:49 PM
#5
Senior Member
Thread Starter
iTrader: (11)
Join Date: Aug 2006
Location: Sunshine State
Posts: 4,717
VHT does make some 1500* paint, Advance auto carries Red, Red orange, Black and Silver, as far as I know.
05-25-2009, 07:55 PM
#7
05-25-2009, 08:13 PM
#8

looks good man might have to do it with the 3.5...
I wonder how it would look on the timing cover
hmmmmmmmmmmmmmm.................................
and damn those florida cars look clean....
I wonder how it would look on the timing cover
hmmmmmmmmmmmmmm.................................
and damn those florida cars look clean....
Last edited by Product_Of_Korea; 05-25-2009 at 08:15 PM.
 05-25-2009, 08:46 PM
#10
Senior Member
Thread Starter
iTrader: (11)
Join Date: Aug 2006
Location: Sunshine State
Posts: 4,717
Thanks Sam!
Locknuts, I thought about that. I am going to paint the 00VI with it, to make it match perfectly. Then I will go from there to see if I want to do the TC or just polish it up to more of a shine.
Locknuts, I thought about that. I am going to paint the 00VI with it, to make it match perfectly. Then I will go from there to see if I want to do the TC or just polish it up to more of a shine.


 05-25-2009, 10:15 PM
#13
Because I Can


Join Date: Nov 2007
Location: massachusetts son
Posts: 1,723
i work at advance auto in mass. and we carry some new vht stuff...the spray tinty **** that MaximaSpd85 was talkin bout and some other ****
05-25-2009, 10:18 PM
#14

thats a mighty fine lookin engine bay! and my god schnazzzy paint job!!
thanks for the Howto!! hope it holds up! please update us! infact. why not have someone test and see how hot the VC's actually get on a Maxima after some heavy driving, and than heat the temp of the over up to around that range, after its been fully cured and see!
thanks for the Howto!! hope it holds up! please update us! infact. why not have someone test and see how hot the VC's actually get on a Maxima after some heavy driving, and than heat the temp of the over up to around that range, after its been fully cured and see!
 05-25-2009, 11:03 PM
#17
and loose the pics of OTHER people's cars in your sig. They aren't your cars.
and your sig quote is garbage too, my parents have two honda's, they are great cars. Hell I would buy that new Honda Accord coupe if I could.
05-25-2009, 11:26 PM
#18

 that's friggin sexy!!
05-26-2009, 10:00 AM
that's friggin sexy!!
05-26-2009, 10:00 AM
#21

It wouldt..I have had quite a few sets of headers high temp painted [1500 Paint] and it eventually still peels up.If you want to do headers, Do it the right way.get them ceramic coated. heres what it looks like...
Ceramic coating has a dual purpose [imo].It protects the motor in take or whatever you're coating from heat soak and it has a nice looking finish..Like chrome-ish except actually has a purpose.
Ceramic coating has a dual purpose [imo].It protects the motor in take or whatever you're coating from heat soak and it has a nice looking finish..Like chrome-ish except actually has a purpose.
Last edited by slow_yota; 05-26-2009 at 10:05 AM.


 07-26-2009, 09:34 AM
#29
second pic they were still drying and i used vht brand wrinkle paint it was like 9 bucks for the can.. and i didnt stick mine in the oven lol i used a hair dryer to dry it up took bout a hour or so..had a baby in the house so i couldnt be smellin up the house so i had to go outside with the dryer.
Last edited by 1HotA32; 07-26-2009 at 09:36 AM.
 Thanks Ilya!
  07-29-2009, 06:19 PM
#39
Junior Member

Join Date: Mar 2009
Location: Rockford IL
Posts: 36
Has anyone ever seen the "hammered" paint? I beleive its made by rustoleum and I've got it at menards, we used it to paint a welder at work, it has a very cool textured look. The wrinkle finish looks great, but I wonder if the hammered paint would not trap the dirt as much as wrinkle. just my $.02
07-29-2009, 07:54 PM
#40
Senior Member
Thread Starter
iTrader: (11)
Join Date: Aug 2006
Location: Sunshine State
Posts: 4,717
If the only reason you go hammered over wrinkle is because of the dirt, dont. I havent washed my bay since I painted this and it still looks clean. No stains or anything.
That being said, the hammered would just look like its been painted, I dont think it would really have much texture to it. Never know though!
That being said, the hammered would just look like its been painted, I dont think it would really have much texture to it. Never know though!