
My personal experience with the Knock Sensor install!***PICS***


My personal experience with the Knock Sensor install!***PICS***
Well, I installed my new knock sensor this evening! I bought the one off of ebay for $14 w/ free shipping. To take off the knock sensor I used two long extensions, 1/2" ratchet, 1/2" to 3/8" adapter, 12mm socket, gorilla tape and a 3/8" swivel. Taking it off was not that bad but, putting the new one on was a PITA!
First of all let me say this, if you have big hands it is nearly impossible! I saw some little kids in my neighborhood playing and I asked them who has the smallest hands in the group. This one girl had small skinny hands and I asked if she could give me a hand with my car. She volunteered and I told her what to do. Amazingly, her little narrow hands went under the manifold and she caught the bolt with no problem on her first attempt. All i had to do was tighten it, job done! I bought her a Mcdonalds Happy Meal for completing the task!
After the install, I reset my ECU and ran the OBD II Diagnostic Scanner. All was good! I drove it around the block and up the street and noticed a HUGE difference in performance! It was like the car had more power! No lag or anything!
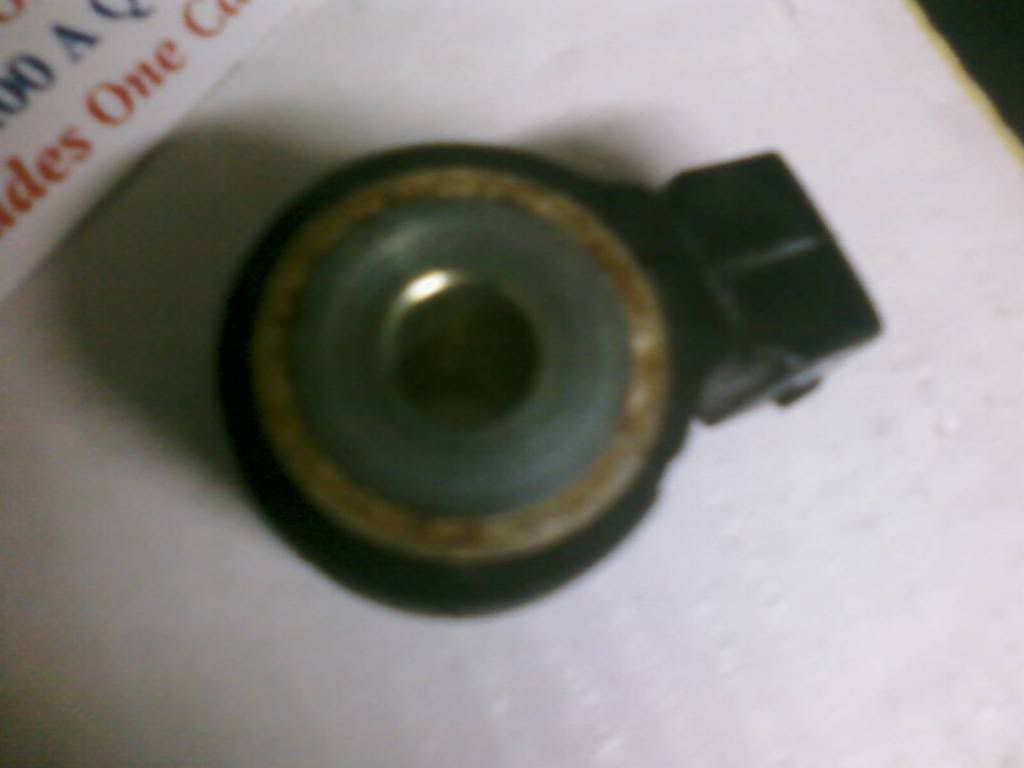
Here are pics of my OLD knock sensor (knock sensor has been in the car since 98, car has currently 252,000 miles)
[IMG] [/IMG]
[IMG]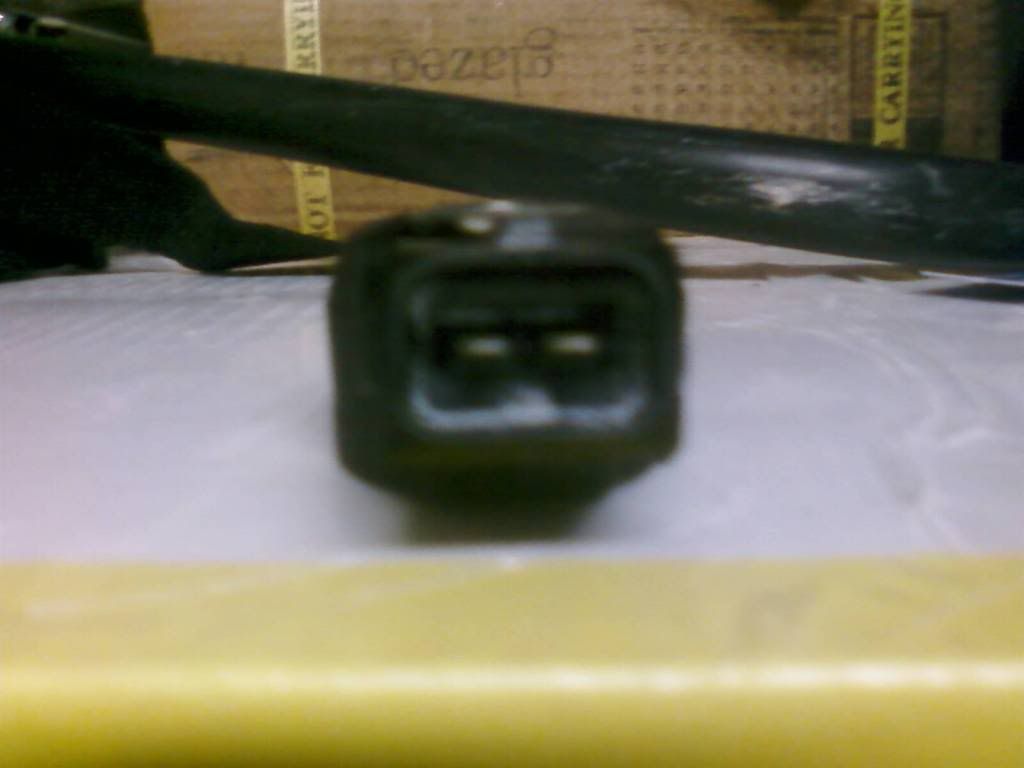 [/IMG]
[IMG]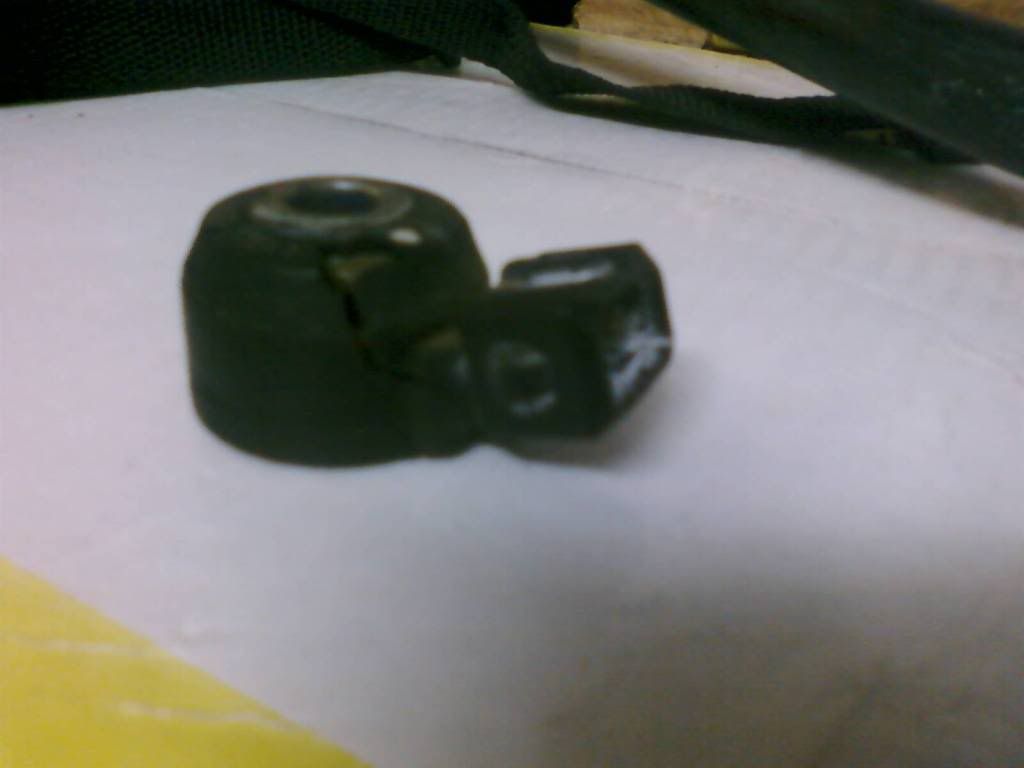 [/IMG]
I bought the one off of ebay for $14 w/ free shipping. To take off the knock sensor I used two long extensions, 1/2" ratchet, 1/2" to 3/8" adapter, 12mm socket, gorilla tape and a 3/8" swivel. Taking it off was not that bad but, putting the new one on was a PITA! First of all let me say this, if you have big hands it is nearly impossible! I saw some little kids in my neighborhood playing and I asked them who has the smallest hands in the group. This one girl had small skinny hands and I asked if she could give me a hand with my car. She volunteered and I told her what to do. Amazingly, her little narrow hands went under the manifold and she caught the bolt with no problem on her first attempt.
All i had to do was tighten it, job done! I bought her a Mcdonalds Happy Meal for completing the task!After the install, I reset my ECU and ran the OBD II Diagnostic Scanner. All was good! I drove it around the block and up the street and noticed a HUGE difference in performance!
It was like the car had more power! No lag or anything!Here are pics of my OLD knock sensor (knock sensor has been in the car since 98, car has currently 252,000 miles)
[IMG]
[/IMG][IMG]
[/IMG][IMG]
[/IMG]


Member
Joined: Aug 2010
Posts: 144
From: Cincinnati, OH
I cheated a bit when I did mine a few weeks ago... I lightly held the harness wire to an 18" extension with a universal and 12mm on the bolt (just enough to keep the 12mm on the end of the bolt), then just took my time from there and guided the bolt back into place w/ new sensor. 
I cheated a bit when I did mine a few weeks ago... I lightly held the harness wire to an 18" extension with a universal and 12mm on the bolt (just enough to keep the 12mm on the end of the bolt), then just took my time from there and guided the bolt back into place w/ new sensor.

Member
Joined: Aug 2010
Posts: 144
From: Cincinnati, OH
Originally Posted by mpvibes
Nice! How long did that procedure take you?
Last edited by BenL; May 4, 2011 at 10:44 PM.

Member who somehow became The President of The SE-L Club
iTrader: (19)
Joined: Jun 2001
Posts: 16,024


Newbie - Just Registered
Joined: Apr 2005
Posts: 7
I've been fighting trying to get my knock sensor changed after discovering it is bad. I can't get the old one off, though. I managed to slip a socket on the bolt, but there's not enough room between the sides of the intake manifold to get it loose. I can only get about 10� of movement at the widest gap, which is just not enough rotation to get to the next point on my ratchet.
Would you (or anyone) mind showing me your setup for getting the old one off, please? I would really appreciate it. I've spent enough time trying different things that I probably could've pulled the whole intake manifold and replaced it by now.
Would you (or anyone) mind showing me your setup for getting the old one off, please? I would really appreciate it. I've spent enough time trying different things that I probably could've pulled the whole intake manifold and replaced it by now.

Senior Member
Joined: Dec 2009
Posts: 469
Mine involved a long screwdriver and a wrench..the u-joint kept turning the socket off the bolt

Get the closed end of the wrench sitting nicely on the screw, and wedge your long, hard tool up against the head for leverage. I spent hours with the socket but it just wasn't working. A wobble socket might work better than a u-joint but I doubt it would make the difference for me.
Seems like most people don't have as much trouble getting it off as did I, but I spent more on extensions and the u-joint than I did on the sensor, and ended up doing it all with tools I already had.
As for getting the new one in, I have small hands...

...but the job was not without cost. (That ain't red paint.)


You guys make me giggle. When I was 16 and just got my Max i had absolutely no Mechanical Experience At All, What-So-Ever. Took me an Hour with a 12mm wrench, I have small hands but I still got eaten Alive by the LIM.

Newbie - Just Registered
Joined: Apr 2005
Posts: 7
I can barely fit a couple fingers between the intake manifold and the mess of hoses & wires.Maybe that's part of my problem.
How are you bypassing it? A fixed value will let the ECU advance the timing too far and risks damaging the cylinder, pistons, etc. when the engine starts knocking instead of having a smooth burn. With the sensor disconnected, the ECU is in failsafe mode, which is what I've been running the last week or so and gets horrible efficiency (~10-15mpg instead of ~25 I historically have achieved) and severely reduced power output.


I initially found it impossible to take this SOB off and gave up. A few months later I renewed my resolve and searched for a way as it seemed teasingly out of reach but doable.
In my experience, there are two keys to tackling this, taking the green sensor off is essential, it gives you that crucial extra room, taking it off made the difference in getting the job done. The green sensor has a 10mm bolt and three vacuum hoses that must come off.
The second is finding a way to keep the socket on the 12 mm bolt as you turn the wrench to loosen it. U joints and extensions just did not work for me, kept coming off the bolt.
What got the job done for me is the GearWrench 81009 1/4-Inch Drive Flex Ratchet, it has three locking positions on it's flex head and once positioned on the bolt, it does not slip off and has a small enough ratcheting arc to work in this constrained place.
But if you have large hands, you may still need to get hold of a kid like the OP just to get this wrench on the bolt and you can loosen and tighten it afterwards.
Last edited by eddie982; May 9, 2011 at 10:35 AM.


Newbie - Just Registered
Joined: Apr 2005
Posts: 7
...
In my experience, there are two keys to tackling this, taking the green sensor off is essential, it gives you that crucial extra room, taking it off made the difference in getting the job done. The green sensor has a 10mm bolt and three vacuum hoses that must come off.
...
But if you have large hands, you may still need to get hold of a kid like the OP just to get this wrench on the bolt and you can loosen and tighten it afterwards.
In my case, yes, but I would not and did not jump to that conclusion. In gear with a manual, the stall would appear as a sudden deceleration, while the momentum of the car would force an immediate restart. When it would do this, it threw codes 0103, 0304 and 0908 and would have severely reduced power output which gradually came back over the next 5-10 miles/10-20 minutes. I cleaned/checked the MAF, IACV, TB, EGR and ETCS to no avail before attempting to replace the KS. I'll be more confident that this was the actual source of my problems after a few more hundred miles without issue.
Newbie - Just Registered
Joined: Apr 2005
Posts: 7

Thread
Thread Starter
Forum
Replies
Last Post
kjlouis
4th Generation Maxima (1995-1999)
11
Nov 24, 2018 06:09 AM
maxinout93
5th Generation Maxima (2000-2003)
3
Aug 20, 2015 02:17 AM