
restoring headlights


restoring headlights
today since it was so nice out i clearcoated my headlights. and i said **** it might as well take pictures since there was someone else asking about it in another thread.
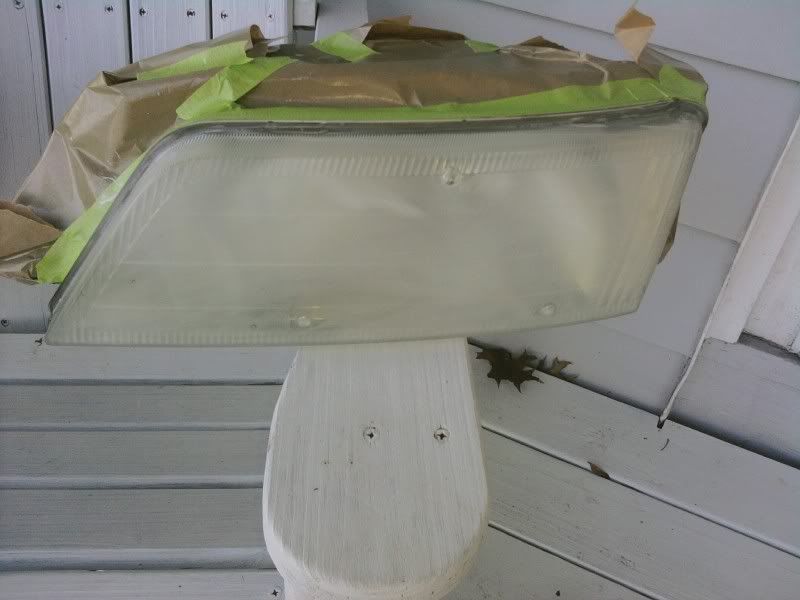
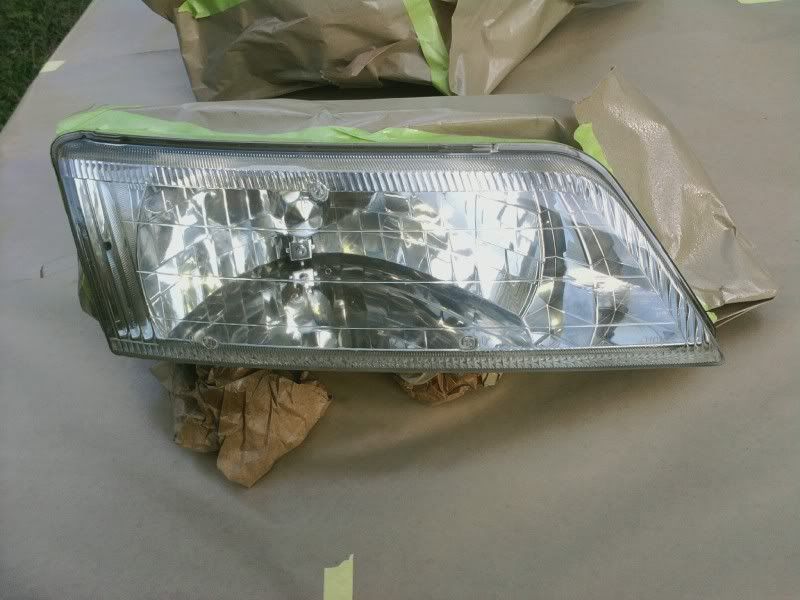
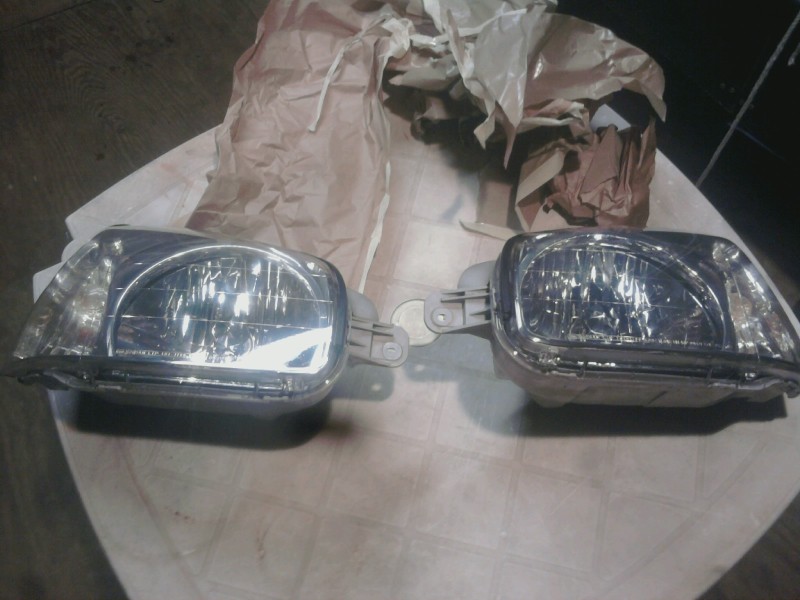
this is how they looked before.
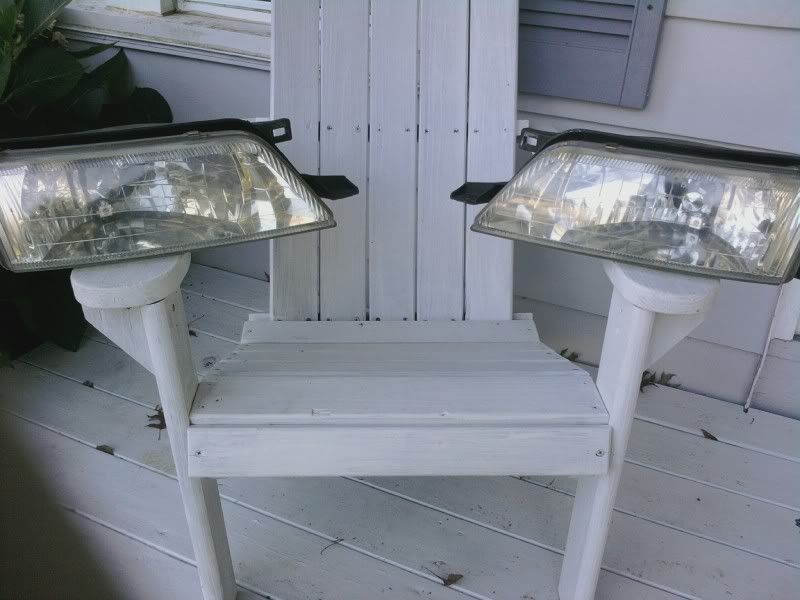
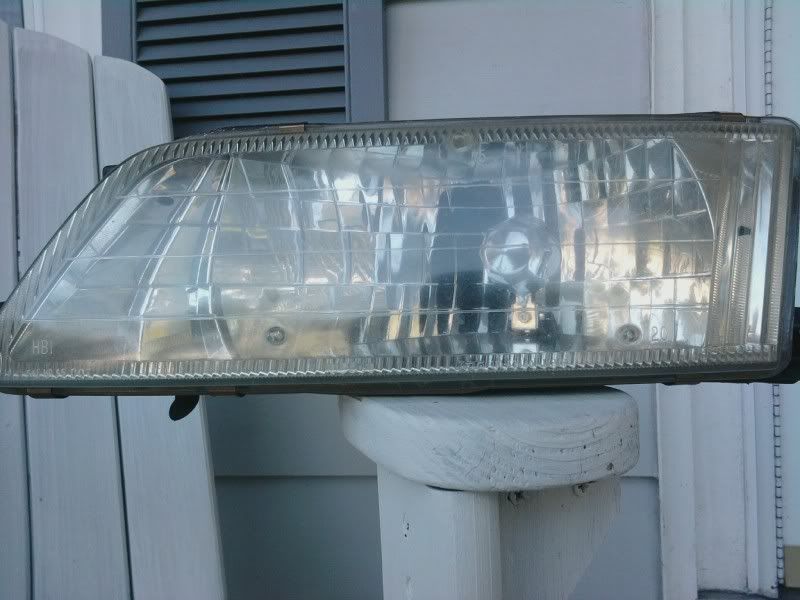
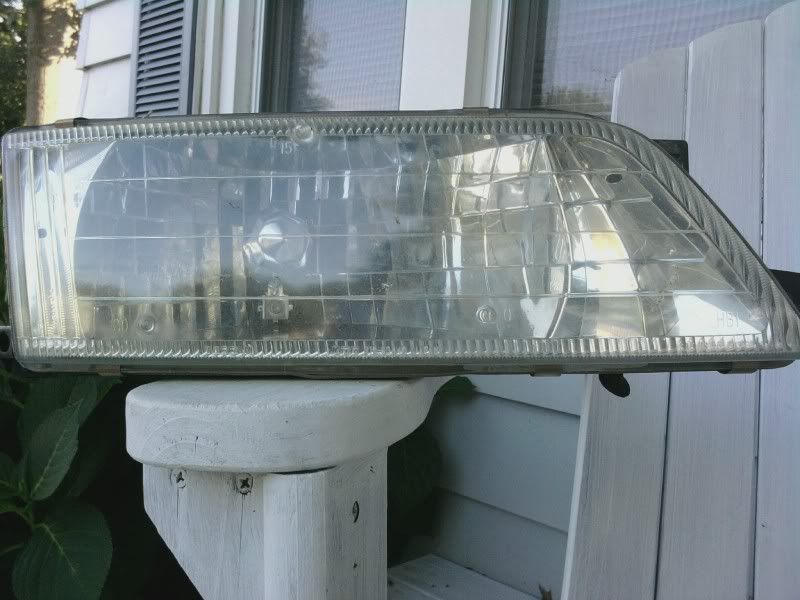
i buffed them like 6 months ago with this. so they really werent in that bad shape.

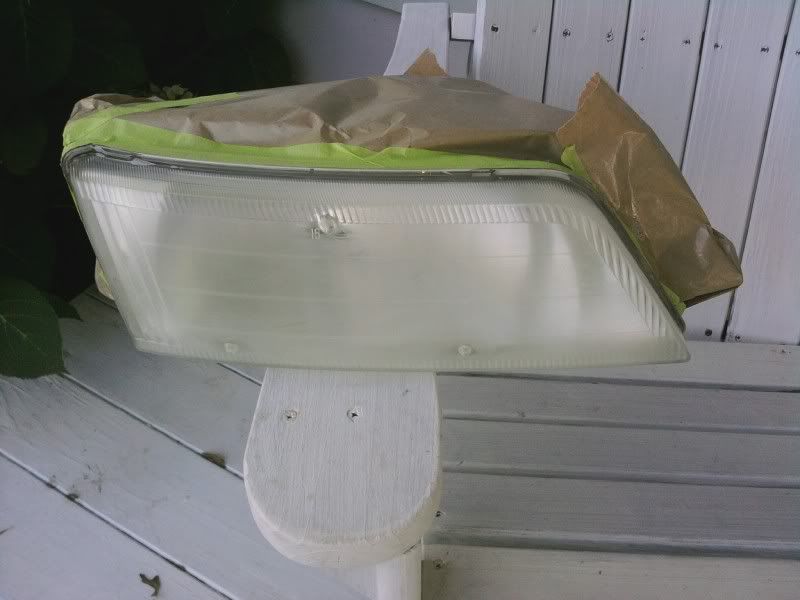
First i masked them off with 3m 1/4" green masking tape and a roll of 12" masking paper. first you perimeter mask the lens and then you use the paper to mask the rest of the headlight off.
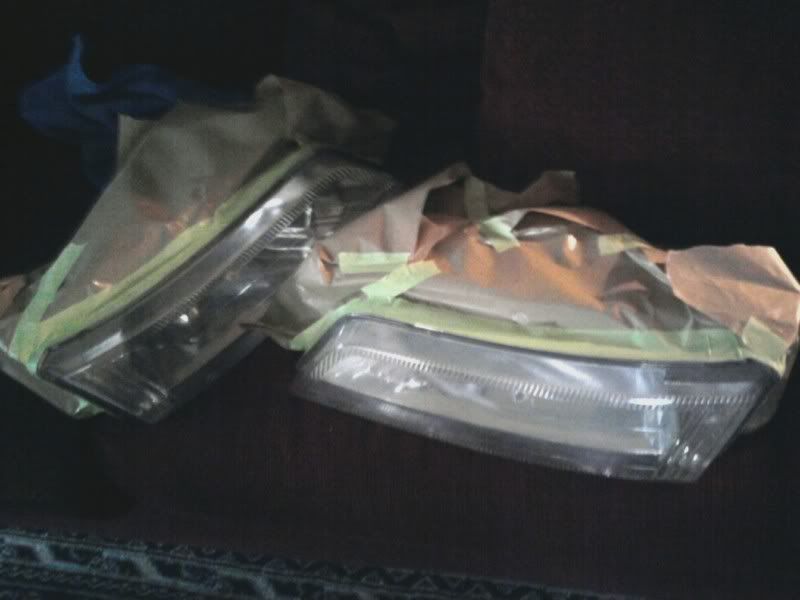
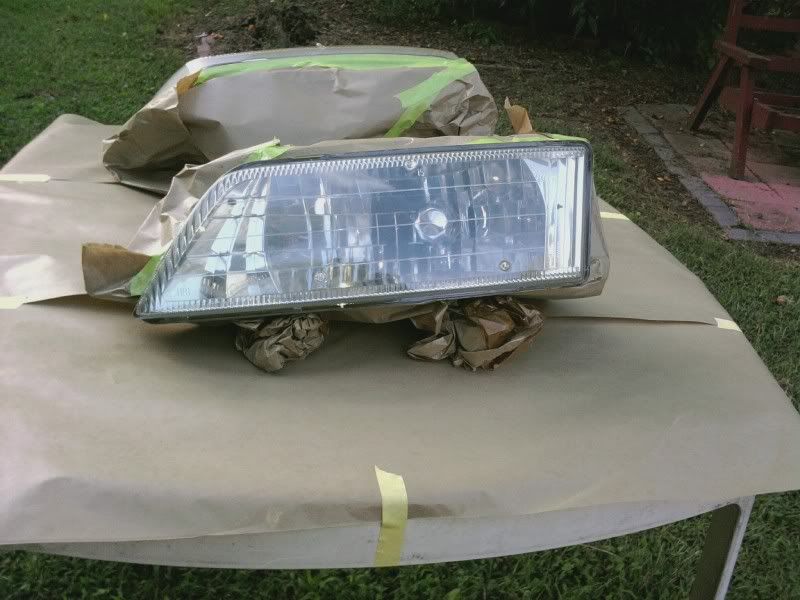
Then i sanded them down with 800g wet. i wouldve used a thousand but 800 was what i had around the house and it works fine. i sanded the sides of the lens too.
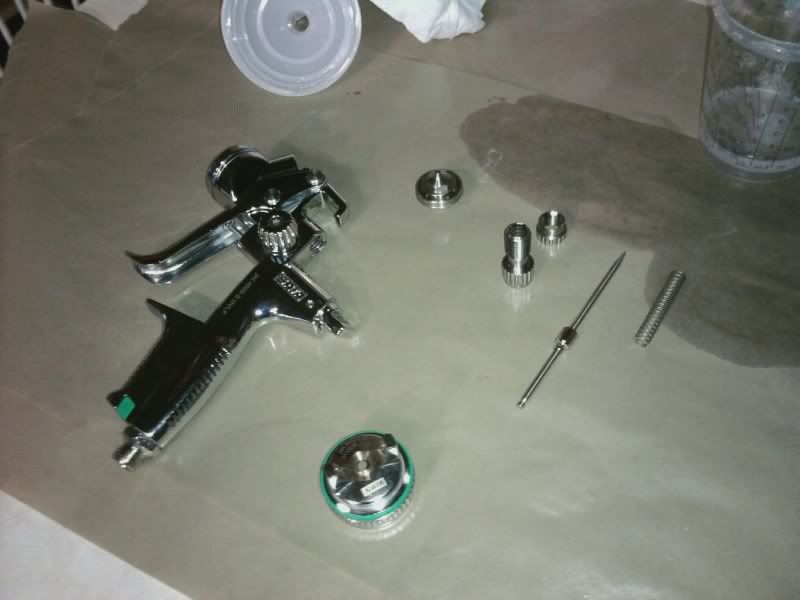
Then i mixed up my clear, filled my compressor, and sprayed away.
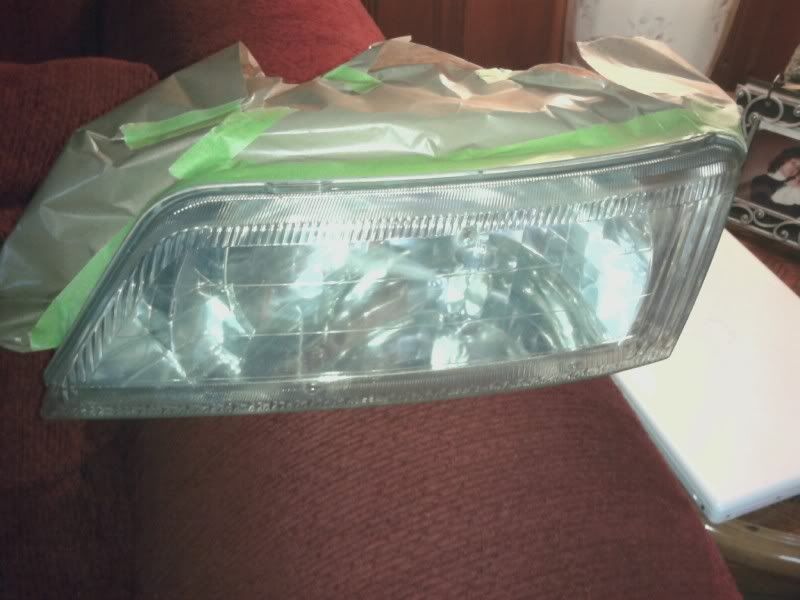
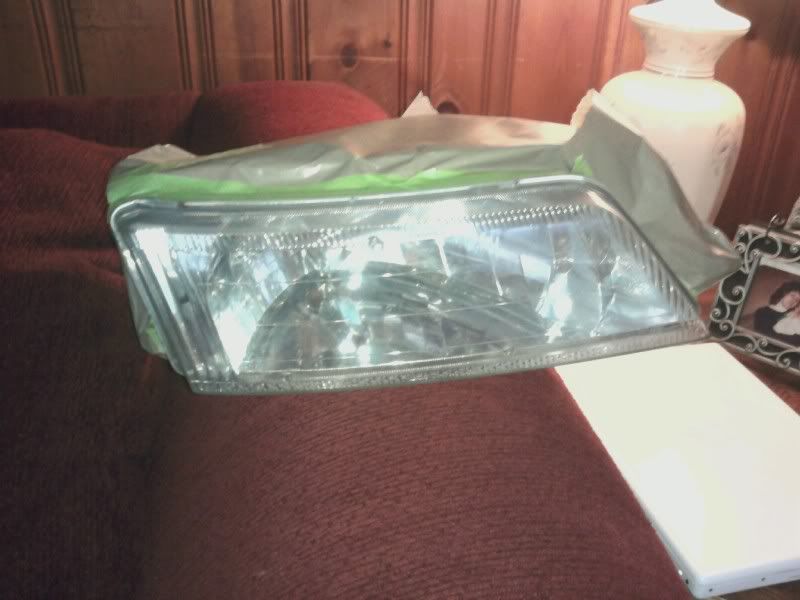
1 Coat
3 coats
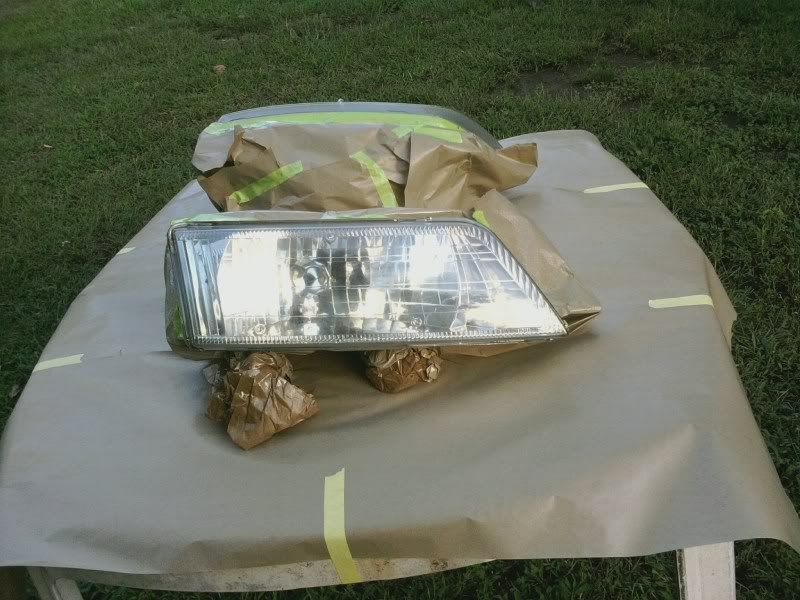
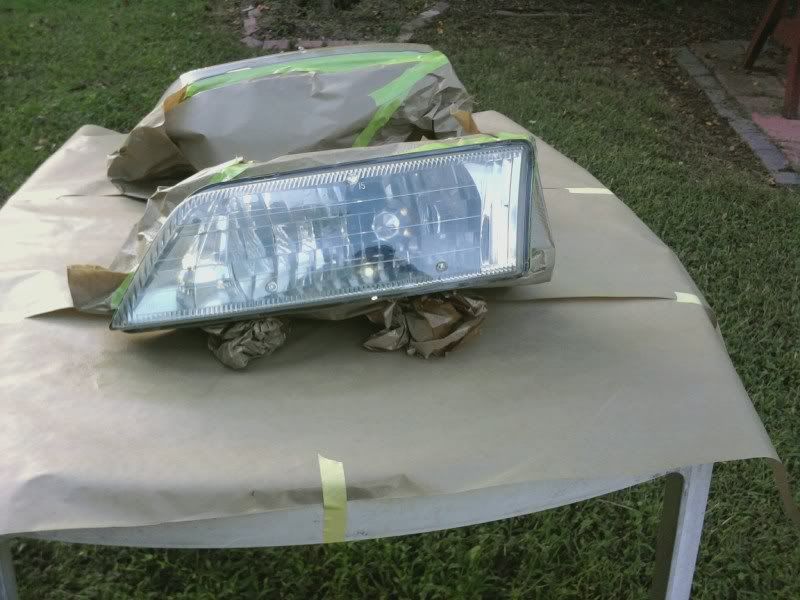
Then youre done! either bake them at 140 degrees for 25 minutes or let them sit over night. and make sure to clean your gun thoroughly.
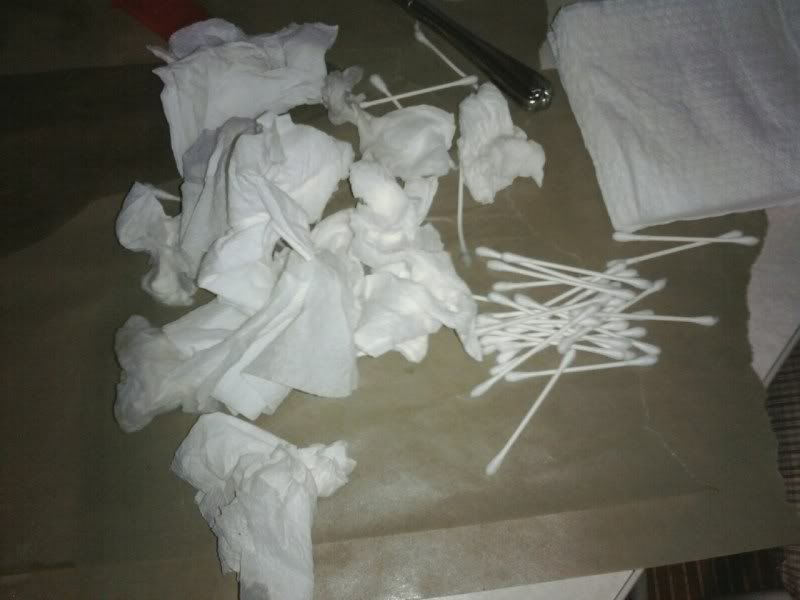
youll need plenty of these
this is how they looked before.
i buffed them like 6 months ago with this. so they really werent in that bad shape.
First i masked them off with 3m 1/4" green masking tape and a roll of 12" masking paper. first you perimeter mask the lens and then you use the paper to mask the rest of the headlight off.
Then i sanded them down with 800g wet. i wouldve used a thousand but 800 was what i had around the house and it works fine. i sanded the sides of the lens too.
Then i mixed up my clear, filled my compressor, and sprayed away.
1 Coat
3 coats
Then youre done! either bake them at 140 degrees for 25 minutes or let them sit over night. and make sure to clean your gun thoroughly.
youll need plenty of these

 .
.


i would offer to do this for people. but with shippin costs, time to wait and everything, i dont think itd be worth it. atleast not in the price range of many people on this board.
probably be more worth it if people wanted the chrome panted as well. or eyebrows painted. or a couple things painted.
probably be more worth it if people wanted the chrome panted as well. or eyebrows painted. or a couple things painted.


At my shop we charged $100 for a headlight resto. We wet sanded (by hand) with 600, 800, 1000, and then 1500. Then we used a random orbit buffer with polishing compound first with a heavy wool cutting pad, then medium wool cutting pad, then a medium foam polishing pad, and finished with a soft foam pad. It usually took about 45mins to 1 hr to do a set of lights...depending on how oxidized they were. We coated the lights with a UV resistant clear fluid to keep them in good shape. (basically the same as clear coating them like you did)
Good job on your resto....looks nice!
Good job on your resto....looks nice!
Same here. Have to make sure all of the old coating is off. It can be a pain. OP, great job


Junior Member
Joined: Apr 2007
Posts: 55
From: Owings Mills MD
Props for a good, albeit old thread.
I took 5 minutes to sand with 800 wet, taped off around the headlights (left them in the car) and used a clear coat rattle can. OK not exactly as good guy in this thread, but I can tell you I'm not looking to buy new headlights anymore!
I took 5 minutes to sand with 800 wet, taped off around the headlights (left them in the car) and used a clear coat rattle can. OK not exactly as good guy in this thread, but I can tell you I'm not looking to buy new headlights anymore!
so rattle can clear worked well enough for you? im glad to hear it, as ive never seen anyone do it that way.
id assume if you wetsanded them with 2000 now and then buffed they would look even better.(because when you spray, your spray-pattern isnt perfect, being that youre human. when you sand with 2000 it makes the clear more flat and cuts off the orange peel.)
id assume if you wetsanded them with 2000 now and then buffed they would look even better.(because when you spray, your spray-pattern isnt perfect, being that youre human. when you sand with 2000 it makes the clear more flat and cuts off the orange peel.)
Last edited by GGENIUS; Jul 17, 2012 at 06:39 PM.

Junior Member
Joined: Apr 2007
Posts: 55
From: Owings Mills MD
so rattle can clear worked well enough for you? im glad to hear it, as ive never seen anyone do it that way.
id assume if you wetsanded them with 2000 now and then buffed they would look even better.(because when you spray, your spray-pattern isnt perfect, being that youre human. when you sand with 2000 it makes the clear more flat and cuts off the orange peel.)
id assume if you wetsanded them with 2000 now and then buffed they would look even better.(because when you spray, your spray-pattern isnt perfect, being that youre human. when you sand with 2000 it makes the clear more flat and cuts off the orange peel.)
For now I'm quite happy with 30 minutes total work including masking off the car.
Junior Member
Joined: Apr 2007
Posts: 55
From: Owings Mills MD
This time 600 wet sand for 5 minutes each. Again, these did not turn out perfect, but (especially considering how worn this car is) not worth me spending 3 hours on, and it's hella improvement. Left side a little less clear, but it was really beat up bad. Maybe 5 more minutes sanding would have helped.
Uh.. sorry guys. Still have to host pic somewhere else, in 2012? I thought those days were over. Anyway, came out fine. You'd never know unless you were going out of your way to scrutinize the headlights.
Uh.. sorry guys. Still have to host pic somewhere else, in 2012? I thought those days were over. Anyway, came out fine. You'd never know unless you were going out of your way to scrutinize the headlights.


so rattle can clear worked well enough for you? im glad to hear it, as ive never seen anyone do it that way.
id assume if you wetsanded them with 2000 now and then buffed they would look even better.(because when you spray, your spray-pattern isnt perfect, being that youre human. when you sand with 2000 it makes the clear more flat and cuts off the orange peel.)
id assume if you wetsanded them with 2000 now and then buffed they would look even better.(because when you spray, your spray-pattern isnt perfect, being that youre human. when you sand with 2000 it makes the clear more flat and cuts off the orange peel.)
I'm assuming the polish would be different since you're polishing the clearcoat as opposed to the plastic, correct?
Would it just be wax? Sorry I don't know much about this stuff.
only reason youd need to buff is if you sprayed too dry, and have orange peel. in which case you would wet sand with 1000g until clear is smooth as glass. then use 1500g, then 2000g to get the 1000g scratches out. some cutting compound and a buffer will buff out 2000g scratches at which point you will be ready to roll.


Look great. Thats how I did my dads 5th gen HL's. Sand and clear. Really the only semi-permanent method as long as you pay them attention every car wash. Yet another reason the 95'-96' is better....Mine dont need all that
Last edited by ShocknAwe; Nov 9, 2012 at 02:21 PM.