When you click on links to various merchants on this site and make a purchase, this can result in this site earning a commission. Affiliate programs and affiliations include, but are not limited to, the eBay Partner Network.
What projectors should I pick for quard retro with halogens
I know I know, it sounds really weird, but its what I want. I don't want HIDs, I just want halogens, but I want 4 projectors, not 2. I was going to use j30s, but all the junkyards were out. I am pretty new to the retro scene, so I am asking for your help. What car can I pull quad projectors off of that will fit in the max, and preferably ones I can find in the junkyard? I don't need the brightest lights in town, but something brighter than stock would really be nice, the stock lights are less than bright. Thanks for your help.
I know I know, it sounds really weird, but its what I want. I don't want HIDs, I just want halogens, but I want 4 projectors, not 2. I was going to use j30s, but all the junkyards were out. I am pretty new to the retro scene, so I am asking for your help. What car can I pull quad projectors off of that will fit in the max, and preferably ones I can find in the junkyard? I don't need the brightest lights in town, but something brighter than stock would really be nice, the stock lights are less than bright. Thanks for your help.
j30 projectors are crap. Some mistubishi 3000GTs also have dual projectors, but those probably suck too. Just because it's a projector, doesn't make it better. Most of the projectors from 90s cars blow. The only good ones were made in the last 15 years and use HID bulbs. LS430, FX45, etc. Good luck finding some of those in the junkyard with intact projectors. If you do, buy a lottery ticket on the way home.
Thanks for the tip on the 3kgt.
There were three or four of them at the junkyard. I used to own one before I really cared much about headlights. When I think back, the light looked pretty good.
I found a 2nd gen Lexus ES 300 with dual projectors, but wasn't sure if they would fit.
I'm not ruling out converting to HID in the future, but I don't want the expense and customization that comes along with it right now. My mom had an 02 celica with low beam projectors, and they looked amazing. IIRC it uses an H7 55w bulb.
I took a look at the retrofit source, very tempting, but I'm low on funds and don't want to dig myself a grave wit the mrs.
Headlights are $25 each no matter what type, where I go for parts, so I can get a set of projectors, plus an extra set of max headlights to use for $100.
Alright, after sitting a couple weeks and thinking about this, I ordered a set of J30 headlights off ebay. I saw a couple toyota threads where people retro'd the low beam projector in with good results. It also looks like a plug n play HID bulb works well in these projectors with no mods to switch from halogen to HID. I still am planning on halogens at first, but It's nice to have my options open.
I will post up pics of my progress when I get them.
Quick question, I saw this come up in conversation but no one really told me how it works. They were talking about spacing the bulb (halogens and HID) with washers. I get the part about the extra space changing the reflector angle and making the pattern narrower or wider. But how do the washers fit over the bulb and still allow the bulb to lock into the housing? How is the bulb held in with washers pushing it out?
Thanks, I hope to have some progress made and posted up here by the beginning of next week.
I saw my sig below, funny I just baked open the housings to paint them black two weeks ago. Ill be doing that again soon.
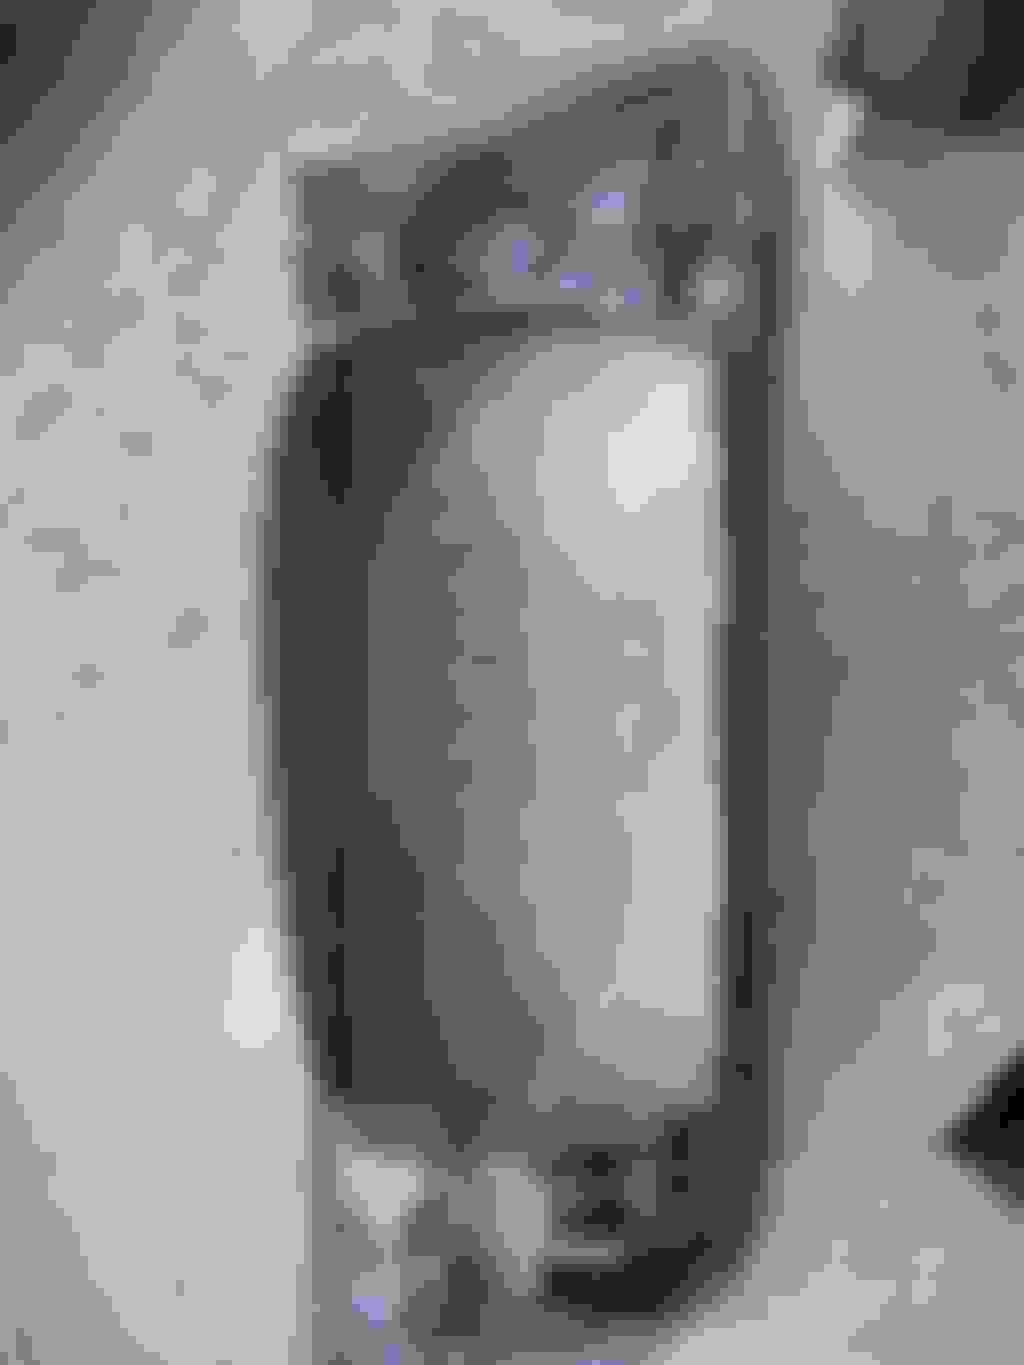
I was convinced that I could make these fit in the stock housing. I also wanted to keep the stock adjustability for up/down and left/right. I want to be able to aim these just like stock. Here is what the old headlight housing looks like:
I was able to save all the stock mounts. There are two bolt holes on one side, and the square box on the other side. I had to trim down the projectors to make them fit. They just barely slide past.
All put together:
With the lenses in, they clear the front glass and I was able to modify the plastic headlight mount so they would also fit inside, keeping the ability to mount and aim them like stock.
I put some JB weld on to lock the position in and called it a night. The fit is pretty tight. They don't move around at all, the top and bottom do a good job of pinching them together. I kept the silver shields from the J30, I am going to try to cut and make it fit around to cover up all the ugliness.
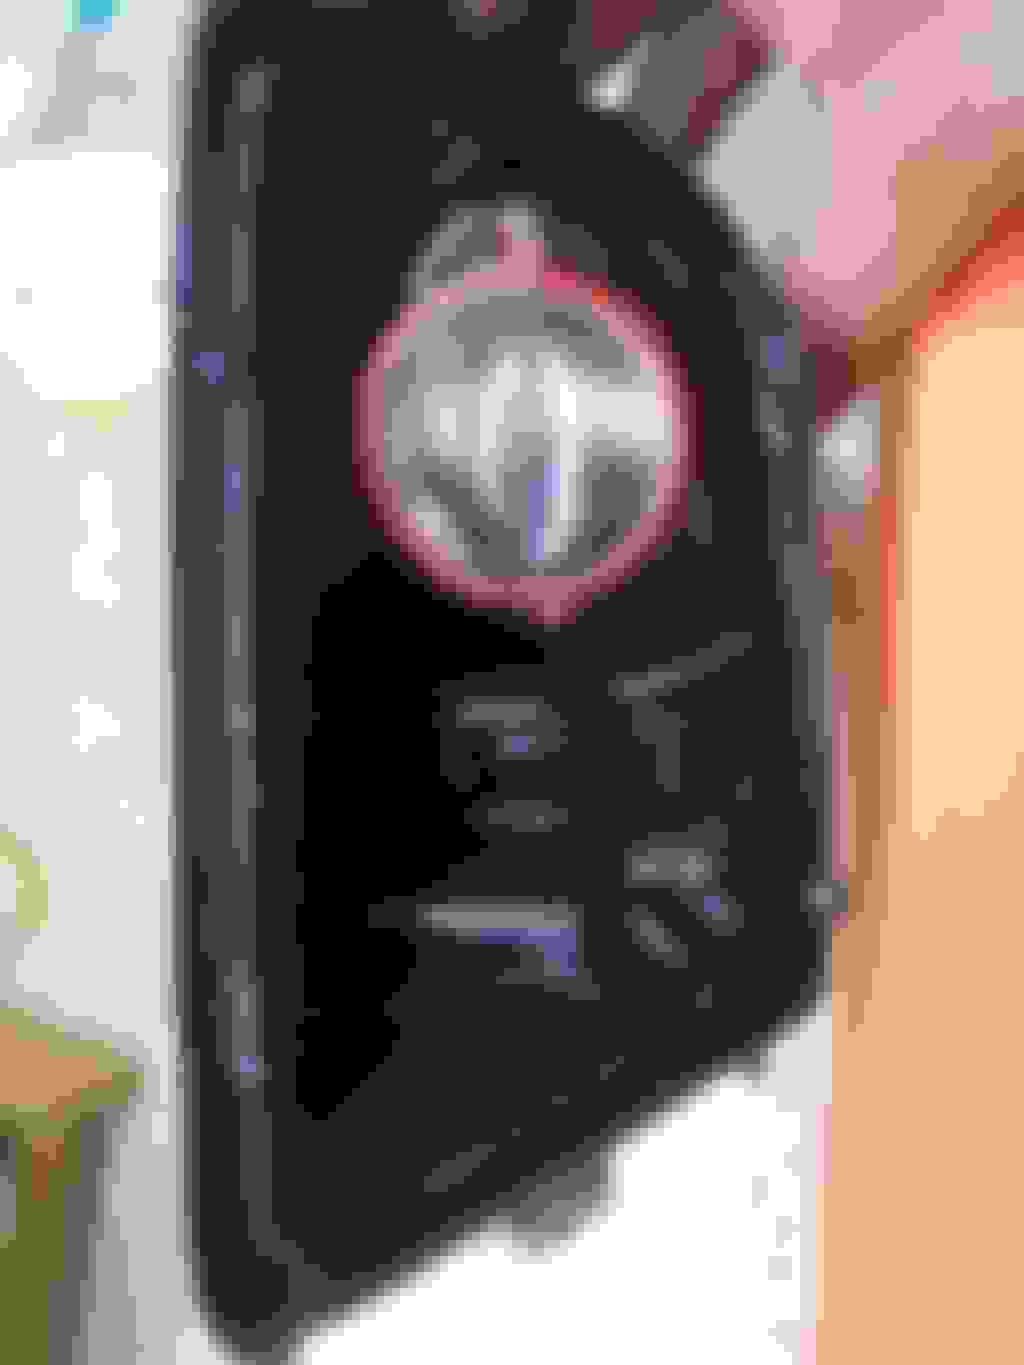
I was woken up by a thunder storm this morning, so I got some extra time to work on these. I tried to use the shields to no avail. They just don't work. They are too tall and at a different angle than the maxima housings. I was going to paint everything black so the only thing that could be seen was the lenses, but I did something different. I needed something to distract the eye from the uneven black backdrop between the projectors, so I painted the rings red. I already have red calipers, so I guess they match.
Everything lines up great, I can use the factory headlight mounts, so I have full adjustment. I had to take a good chunk out of them, and also a little bit out of the car, but its fits. I'll see if I can get the other one done tonight and do the required garage door pics.
Taking a break to let the JB weld harden on the second one.
Chris - I will seal them up. I'm just not sure with what yet. The gaps seem to big for jb weld, but I don't want to use something like expanding foam that can creep too far as it dries. I might play around with some fiberglass, I've only done it once, but it seems to be the best choice I have. I want to take my car to work tomorrow, so I had to put them in.
I know I could have gotten better ones. I guess I had my heart set on dual projectors even if they were not as bring as a single one. I don't like the looks of the single projectors. The headlights are so rectangular, that a single circle in the middle seems out of place. Plus I can wire the relays so the dim stay on with the brights. Can't wait!
- thanks for the answer with the spacing. Someone on a toyota forum retro'd j30s, and he was commenting on how the beam changed depending on the spacing. I wasn't sure what that meant.
I got them all done and working. I have to aim them yet. But so far im happy with the results. Not the best photo, the camera got the white balance off.
I was looking at the fsm to do the bright +dim brights, it looks like there are no relays for the headlights? That sems old fashioned, i thought most all cars of this vintage had relays for headlights?
The camera makes the bright spots in the middle stand out more than they actually do.
Both the passenger and driver's side have a drop in the middle of the beam. This photo was with old 9006 51w bulbs. I through in a pair of 65w 9005s in the lows and am very happy with the results. The projectors do a great job of aiming the extra light from the brighter bulb, and the straight ahead light from the missing shield. It's not as bright as the HID setups, but worlds ahead of the stock setup. I have the wiring done to keep the dims on with the high beams. The high beams begin where the dims end. With only the brights on, the first 80ft or so was black. Really odd looking at first, like there should be something lighting up that area. With the dims on in addition to brights, its a solid ray of light for a good 1/5 of a mile or so.
I will take some dark road night pics tomorrow night after work if I can.
All I can say is good job. I am contemplating on doing a set of modified headlights for my I30, but I hate the plastic lenses since the sun turns them yellow and hazy.
Here is the high beam: (The lows stay on with the highs)
The highs shoot amazingly far. The bushes on the other side of the road past the stop sign in the pic are lit up. The bright foreground washes out the distance of the highs.
I am very happy with the outcome. I urge anyone who is thinking about doing this to take the leap and do it. I didn't think the output would be as good as it is given these projectors are 20 years old. Baking the lights open is very easy. I was worried at first I would have problems with the plastic cracking. In fact, a couple small prys of the screwdriver, and they pop open with ease. I baked mine a little longer than might be required 15 mins at 250. Everything was fine, nothing melted. These lights are so much brighter and the beam pattern so much wider than stock its incredible. Makes me wonder what nissan was thinking when they stuck with 9004 bulbs til 2000 when their sister brand had dual projectors in housings almost the same size.
Sorry, but I had to post one more time. I added something to my setup and I wanted to share it with all of you.
I was looking at the options of a fog light retro. I didn't find anything small enough to put in, until I was walking through the junkyard and found a 00 Celica GT-S sitting there with both fogs ripe for the picking. The projectors are nice and small, so I thought, why not do a fog light retro??
Here are the celica fogs out of the car with the fronts removed:
I have heard on the .org that the fog light housings cannot be baked open, and some that say it can be. It can be baked open, buts its not as easy as the headlights. I had to turn the oven way up to 400. I tried 15 minutes at 300 and they were still very firm and planted in place. The same was true for the celica fog lights. 10 minutes at 400 and they popped out. I found they come apart differently, with headlights you are prying the plastic away from the housing. With the fogs, you are heating up the plastic enough so you can pry the plastic edge down enough to slide the screwdriver under the glass, then popping it out. I found if the plastic was hard enough it wouldn't bend with the screwdriver, it was too cold.
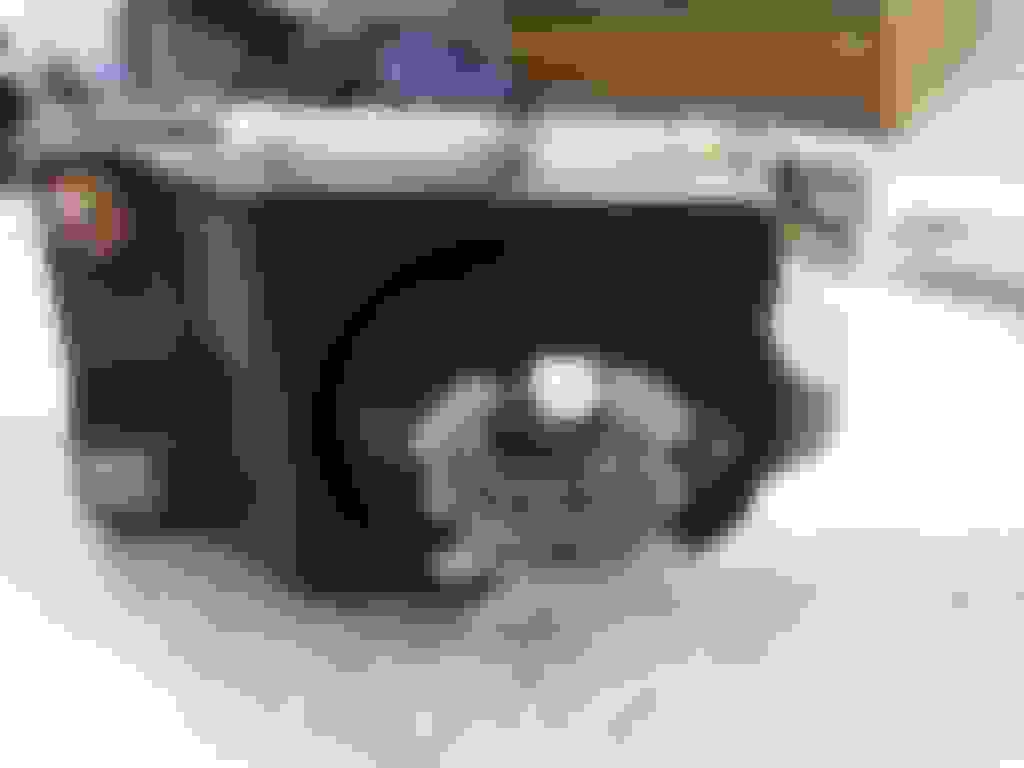
Here is the Max fog light with the glass removed:
Loosen the aiming bolt as far as possible, and the chrome part pops forward. There are two round metal ***** that hold it in, just pull and they will pop off. This is what you are left with:
Here is the projector removed from the celica. Once the front is removed, two screws and it pops out.
It first I was thinking "Wow these will pop right in without any cutting at all!" Not so much. Not as bad as the headlights, but a little dremeling was required to make them fit and point the right way. In the process of this, you lose the vertical adjustment ability of the stock lights. However with the two mounting bolts, adding washers to the top or bottom effectively aim the light the same way. Here is what I had to remove to get it to fit.
I accidentally cut off the pin on the outside of the second one, I got a little dremel happy with it. I kept it on the first one. It is possible to keep the mounting pin on, I was a little rushed and cut too much off. The two bolts hold it on ok.
I had to trim a little off the projector, not too much, one tab and a little trimming on the bottom.
A little JB weld and some paint. I painted them to match the headlights
Re-baked the lens back on:
Sorry I don't have any pics of the final result, my wife came home and made me to do stuff. I am happy with them. They use the same H3 bulbs as stock. The light is shot farther down the road, and more focused in front, although they are wider than the low beam j30 projectors. I will post up some pics tomorrow of the final product with some night shots.
Oh - Funny thing, the silver reflector was cooling off in the sink and a couple drops of water hit it. This is the result. It looked perfect before removal:
All I can say is good job. I am contemplating on doing a set of modified headlights for my I30, but I hate the plastic lenses since the sun turns them yellow and hazy.
I know right
When I got my car, you couldn't even see the reflector they were so yellow. I sanded them with 1000 grit, then 2000 grit. After that I took some plastix to it to bring back the shine and clarity. The plastix is good stuff, I even got some results using it on the glass fog lights. Expect to do it every couple months to keep the headlights in top shape. Just like a wax for paint. I've heard of clear coating the headlights to keep them clear, but I haven't felt that was needed. Plus the plastix smells so good.