TB Cleaning - How to/Writeup w/pics
#1
TB Cleaning - How to/Writeup w/pics
Step 1

After removing everything you can move the air box out of the way, I just placed it on top of my battery so I didn't have to disconnect my MAF.
On to the next step: Step 2

Now slide the coupling off the TB and you can now move this out of the way as well.
Step 3

To remove the throttle linkage just open up the butterfly to make slack on the lines and slide the base section out of their little slot in the linkage setup.
Step 4

Now you can slide the TB forward and remove the plastic gasket/air guide.
Step 5

After this you can completely remove your TB for cleaning.

After removing everything you can move the air box out of the way, I just placed it on top of my battery so I didn't have to disconnect my MAF.
On to the next step: Step 2

Now slide the coupling off the TB and you can now move this out of the way as well.
Step 3

To remove the throttle linkage just open up the butterfly to make slack on the lines and slide the base section out of their little slot in the linkage setup.
Step 4

Now you can slide the TB forward and remove the plastic gasket/air guide.
Step 5

After this you can completely remove your TB for cleaning.
#2
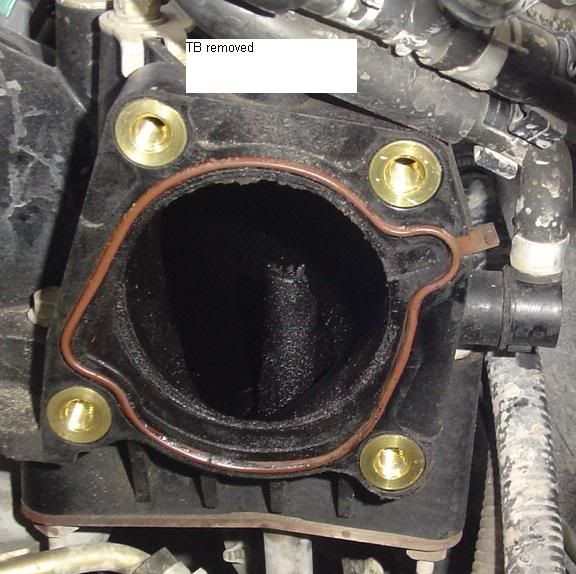
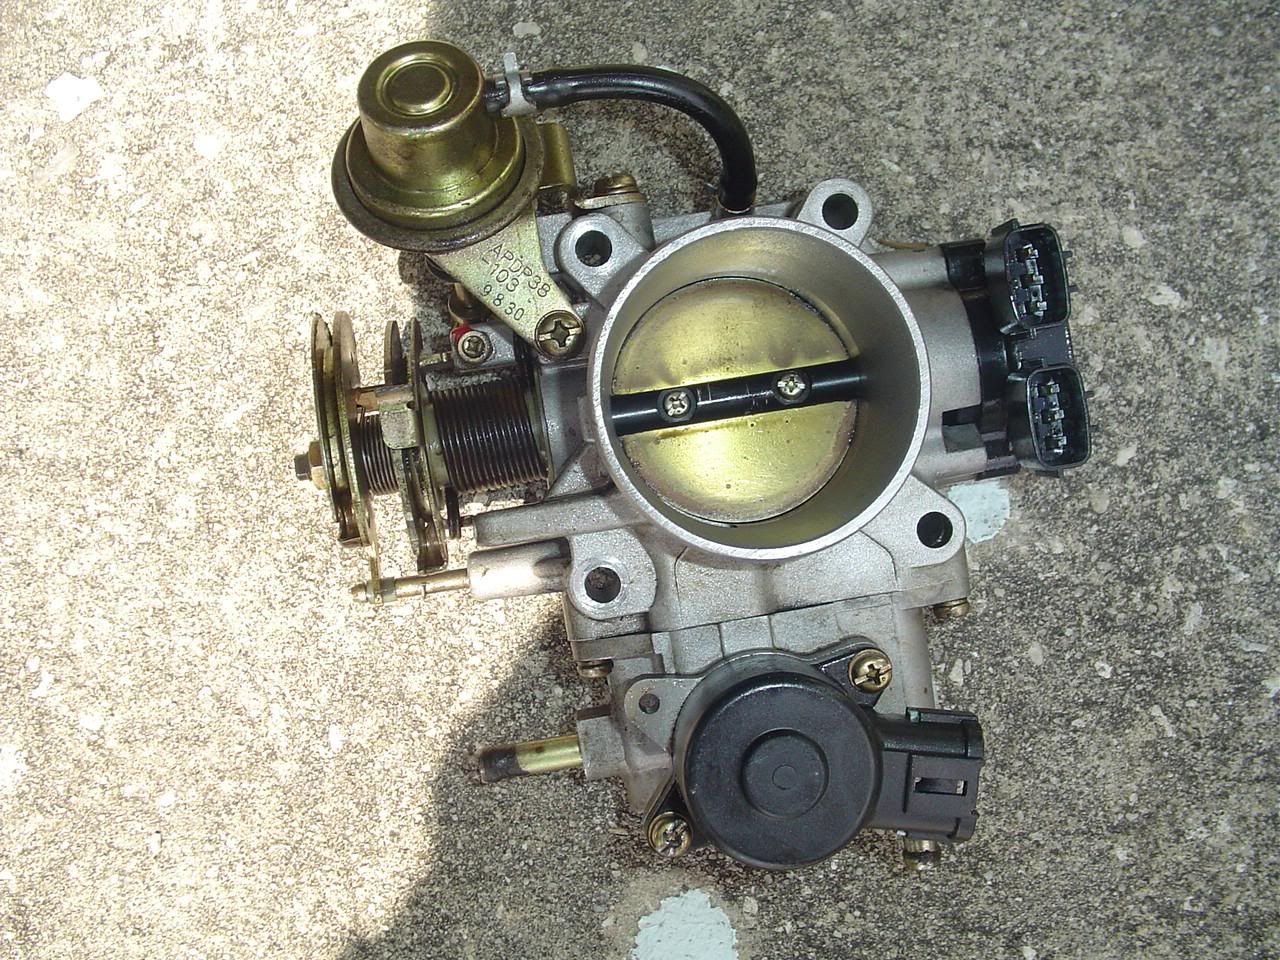
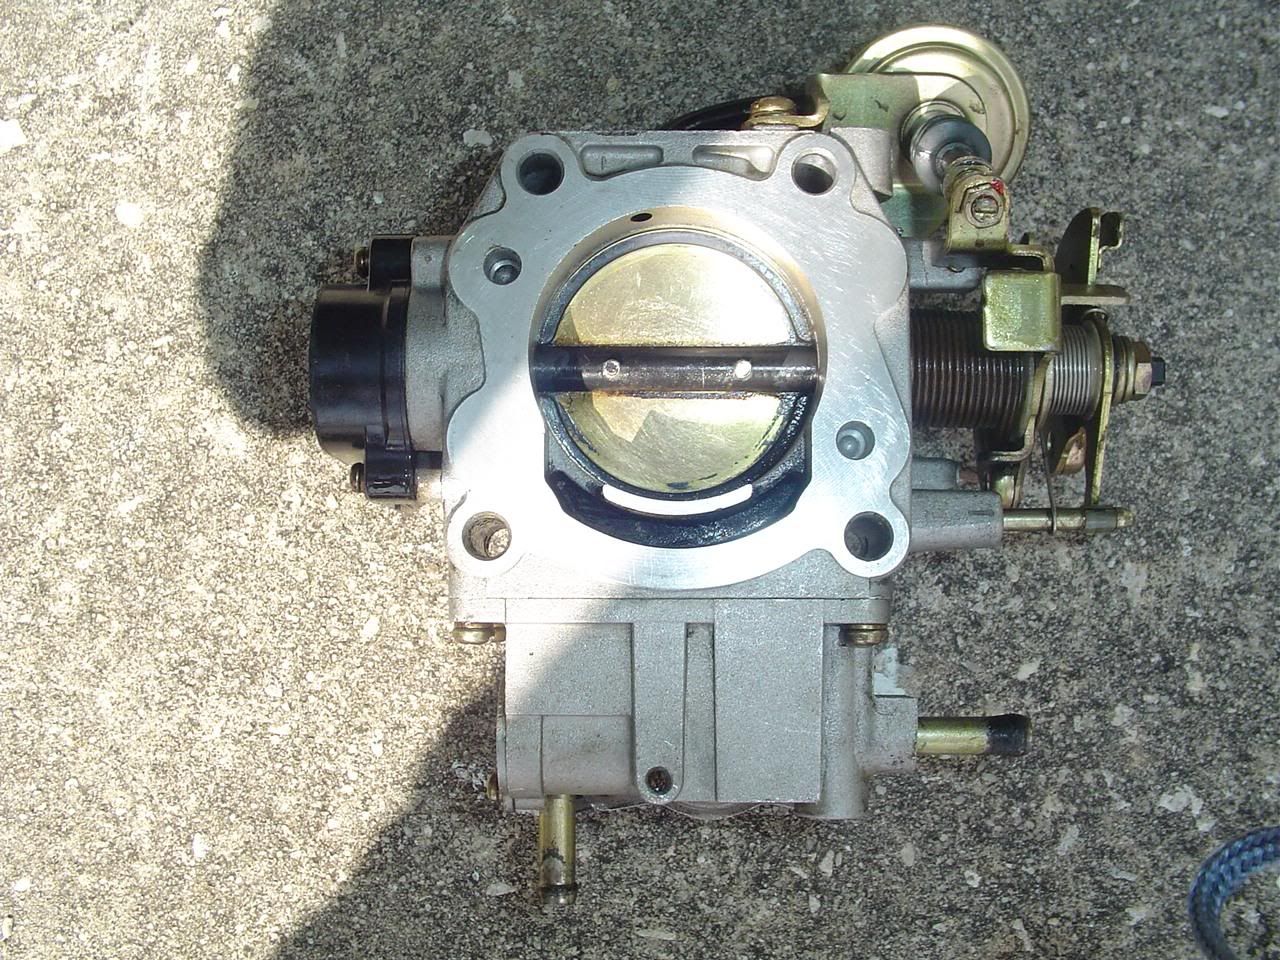
TB removed
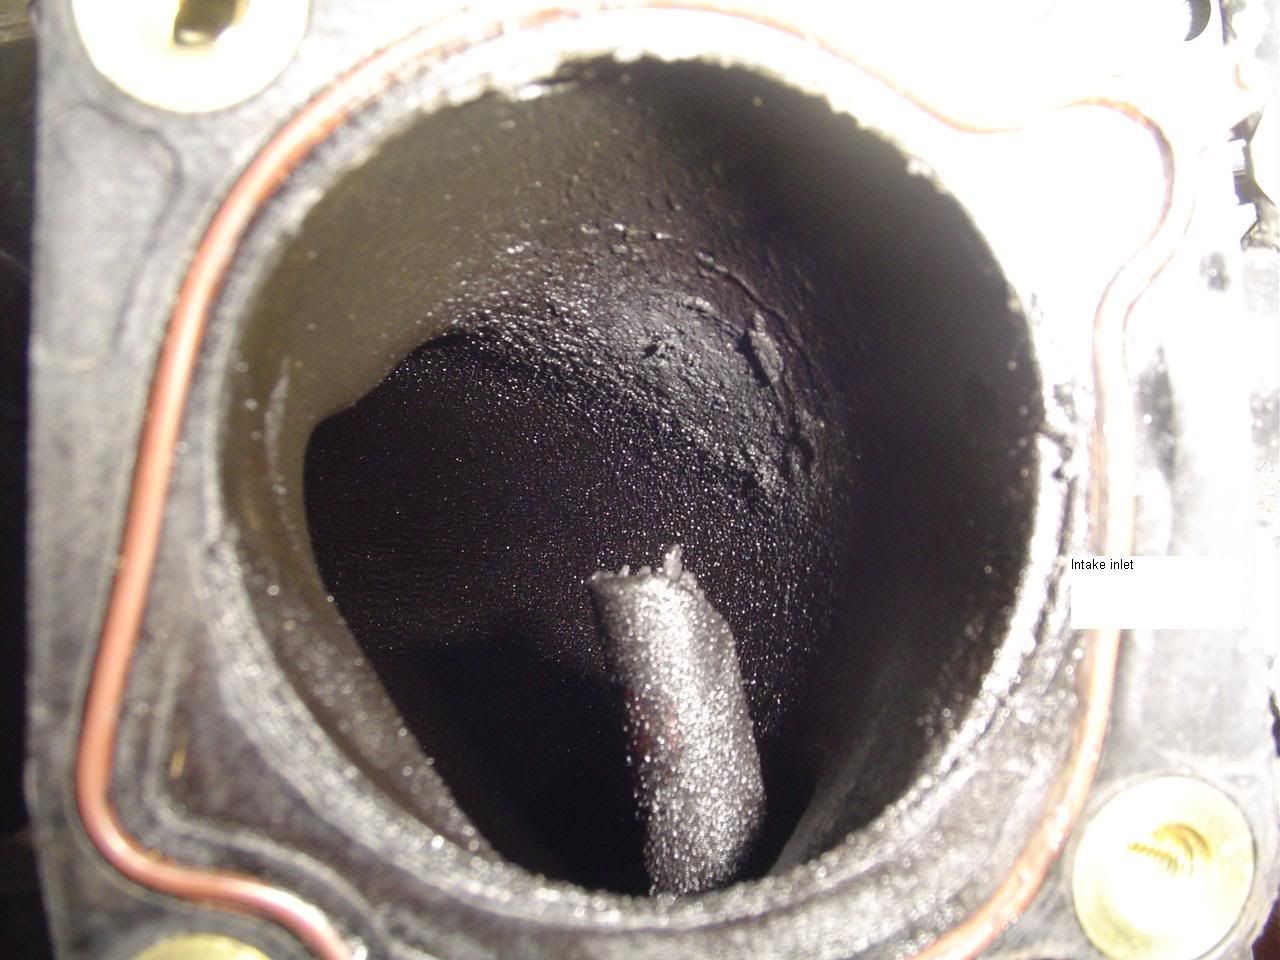
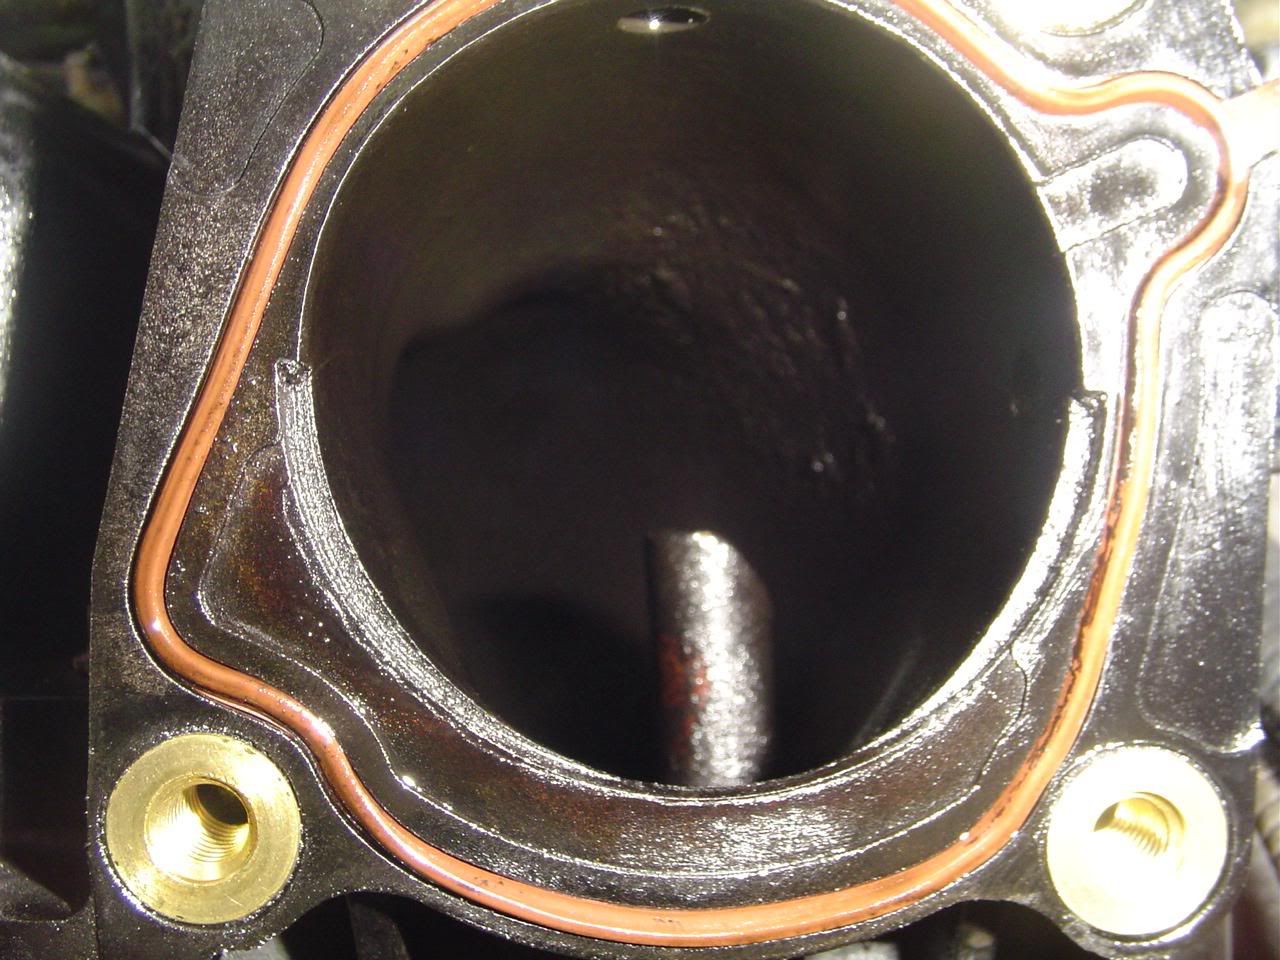
Intake inlet dirty
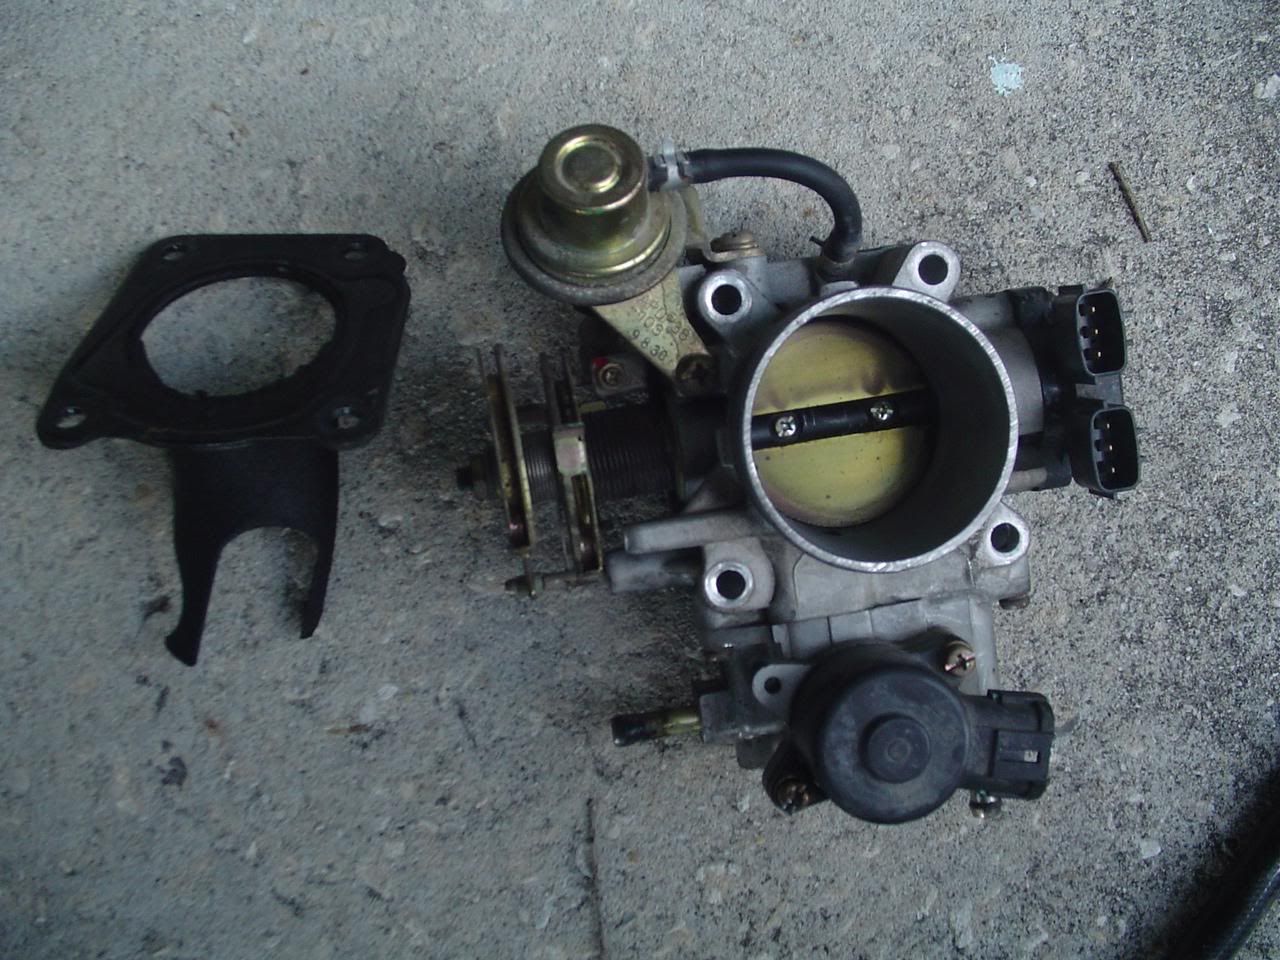
TB dirty front side
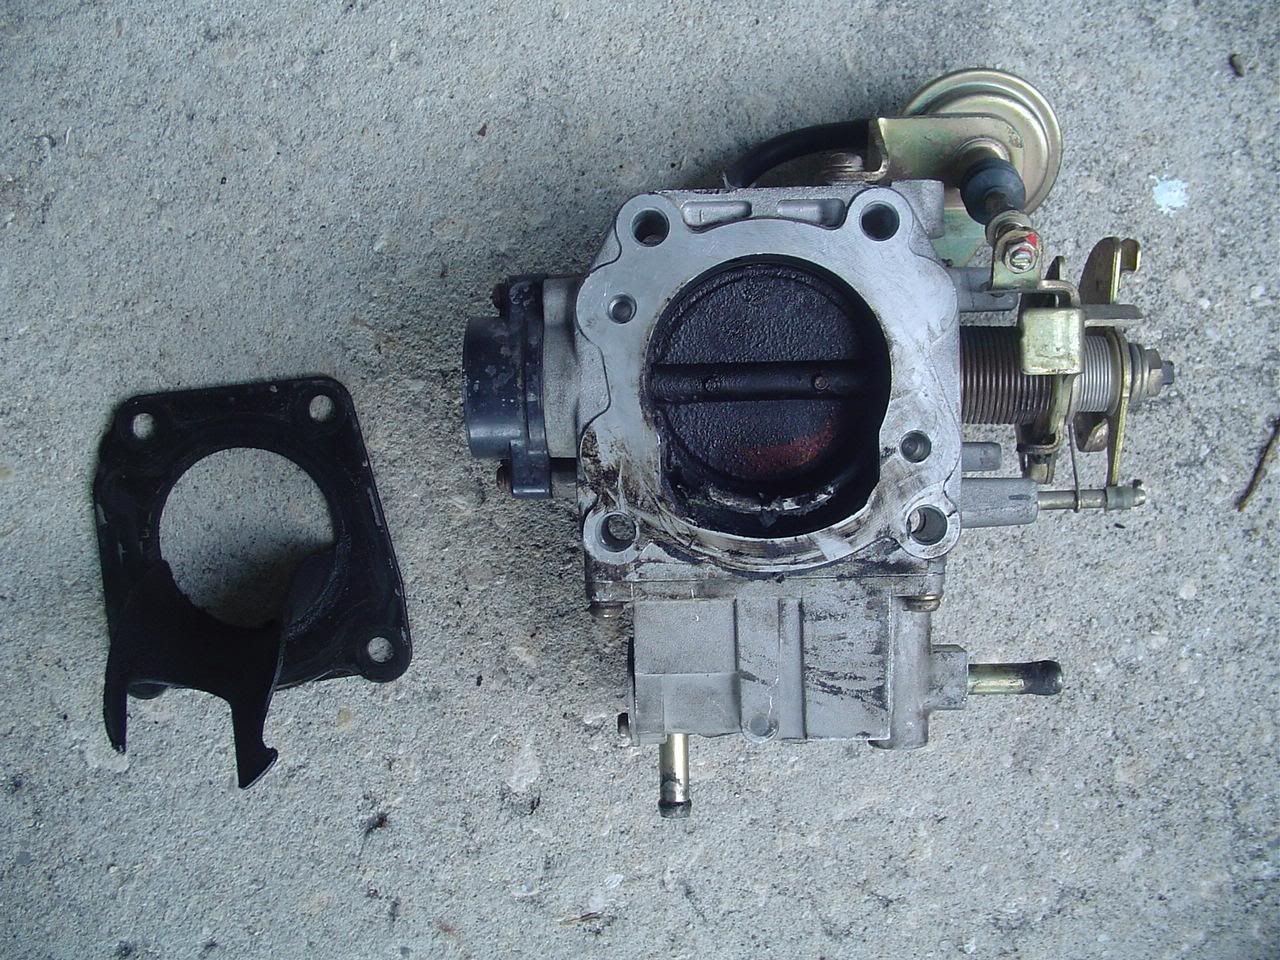
TB dirty backside
If you want to soak your TB in gas or some type of cleaner you should also remove all of the electronic parts at this point (there is only two pieces to remove if you want to do this).
I didn't have time to do that so I cleaned everything with a toothbrush a brilo pad some engine degreaser and Sea Foam Deep Creep.
#3
Everything cleaned up:
Installation is just reverse of removal.
This did not cause any SES for me, but please do this at your own discretion. I am not responsible for anything that you do to your car, please becareful and be sure to reconnect everything you disconnect, especially the two rubber lines which are fuel lines.
#4
looks like the writeup i did 3 years ago using these pics
http://www.cardomain.com/ride/335422/8
http://www.cardomain.com/ride/335422/8
#5
Huh... I did it because I could never find one and I guess most other people couldn't either because last time I posted about cleaning my TB everyone wanted me to do a write up. Oh well, how'd I do on mine? 

#9
I would be aware of using any (not dedicated) solvents to cleaning TB by the risk of damaging the protective coating inside. There are many dedicated TB cleaners. Also, actually it’s not necessary to remove the TB. Just open the butterfly and with a toothbrush you have access all the way down to the intake manifold. (Don’t do this on VQ35!!)
#10
Originally Posted by boris
I would be aware of using any (not dedicated) solvents to cleaning TB by the risk of damaging the protective coating inside. There are many dedicated TB cleaners. Also, actually itís not necessary to remove the TB. Just open the butterfly and with a toothbrush you have access all the way down to the intake manifold. (Donít do this on VQ35!!)
good advice in red,.. sooner warned us all of this a week or so ago. . .

#15
Originally Posted by Mints33
Thanks for the write up, that's great, how long did it take you to get the TB off? Notice any difference after the cleaning?
It only took me about a half hour, making sure to take pictures along the way including cleaning time. Reassembly only took me about 5-7 minutes. Right away I noticed the car started up quicker and seemed to idle a little smoother. So far the only other thing that I have noticed is that there seems to be a little better throttle response.
Thread
Thread Starter
Forum
Replies
Last Post
BPuff57
Advanced Suspension, Chassis, and Braking
33
04-16-2020 05:15 AM
fx4five
1st & 2nd Generation Maxima (1981-1984 and 1985-1988)
0
10-01-2015 04:58 AM


