INTERIOR OVERHAUL WORKLOG (V1.2): Corrections & Upgrades
 11-22-2008, 12:43 PM
#1

INTERIOR OVERHAUL WORKLOG (V1.2): Corrections & Upgrades
Alright, boys and girls, long time no see. In this worklog, we will be revisiting my overhaul project and upgrading some things, as well as repairing some things that did not hold up as well over time. The following will be performed:
(1) Complete strip-down of interior
(2) Repaint of Interior panels
(3) Fiberglass repair of center console, modification of center console
(4) Rewiring of custom-made LED bars
(5) Barrier loading of sound deadening
(6) JDubs body kit install, complete restoration of body and repaint (I'm not doing this, but the car goes in the shop next week)
I'm heading down to the garage to begin stripping the interior down. Time to show you how the OGs do.


 11-22-2008, 07:19 PM
#7
11-22-2008, 09:04 PM
#8
Alright, let us begin. This worklog, I am hoping, will shape up as follows:
STAGE I: Removal of all interior component
STAGE II: Fiberglass Repair of center console
(car will be in shop for about 12 days for repaint and body kit install, meanwhile)
STAGE III: Re-upholstery of door panels
STAGE IV: Soldering of new LED components
STAGE V: LED swapout of Alpine 9833 , you will see why
(car returns from shop, )
)
STAGE VI: Sound deadening with Second Skin Luxury Liner
STAGE VII: Wiring
STAGE VIII: Reinstall
All of this WILL be done before the third week of December
NOW, LET'S GET STARTED!
STAGE I: Removal of all interior component
STAGE II: Fiberglass Repair of center console
(car will be in shop for about 12 days for repaint and body kit install, meanwhile)
STAGE III: Re-upholstery of door panels
STAGE IV: Soldering of new LED components
STAGE V: LED swapout of Alpine 9833
, you will see why(car returns from shop,
)STAGE VI: Sound deadening with Second Skin Luxury Liner
STAGE VII: Wiring
STAGE VIII: Reinstall
All of this WILL be done before the third week of December
NOW, LET'S GET STARTED!
11-22-2008, 09:11 PM
#9
STAGE I - INTERIOR STRIPDOWN
Alright, here we go.
This is the rear door removed. You'll notice some blue stuff around the panel bar, that's some left over carpet padding I tried using as a barrier loader. No good.

Passenger side door. Now is when things get interesting. Note the ridiculous fading the suede had; I'll highlight mistakes in red.
PRO-TIP: DON'T USE SUEDE UNLESS YOU'RE FULL TINTED. IT WILL FADE.


I also noticed my MDF ring dry-rotted over time. I'll be remaking the door-rings again in another material this time around as I am hella dissapionted with it's lifespan. OH, btw, those are 8" speakers in the door (thanks, Don)

Always organize your hardware!
 11-22-2008, 09:17 PM
#10
STAGE I - INTERIOR STRIP DOWN
Ugh, here's where things get really ugly. Now, I have hella LEDs in my car, all of which get powered through this mess. The only redeeming factor is that I made it clean through the A-Pillar. Obviously, this will need to be SIGNIFICANTLY cleaner the second time around.
PROTIP: MAKE SURE YOU'RE **** WHEN YOU WIRE!!!


 11-22-2008, 09:20 PM
#11
anybody who can do fiberglass work (and I've seen your fiberglass work its awesome) I have the most absolute respect for, I just tried to dabble in fiberglass work and its not easy at all.
Can't wait to see it done and I've always liked that J-dub front bumper
Can't wait to see it done and I've always liked that J-dub front bumper
11-22-2008, 09:22 PM
#12
STAGE I - INTERIOR STRIP DOWN
So, here's where we're at at the conclusion of Day I. The entire passenger side is stripped, the rear driver side is stripped, A, B, C pillars are taken care of along with all items mounted to the roof.


Tomorrow this will be the first on the hit-list. The bottom line needs to be leveled, a center recess cut for the hazard lights, holes drilled for the switches, FG repair to the climate control and fasica / shifter console area. Thanks for viewing, see you tomorrow.
 11-22-2008, 09:25 PM
#13
Thank-you, kind sir! It's been a learning experience. Biggest thing so far is use as little body filler as humanly possibly as it WILL shrink if too much is used. Fortunately, I know how I can repair what happened, so it'll be even better this time around!

 11-23-2008, 05:57 AM
#16
Dude, I KNOW. Want to hear the funny part? Technically, this is the THIRD time I'm doing this; the second time I took everything out, I soaked the suede in a UV-resistant solution and allowed to cure for 3 days!
BTW: I'm hoping to have LED tails done before Christmas, or at least the first prototype board. NOT the Dr.Roy style; the circuitry is the same as his (you the man, Roy), but the light layout is more akin to a G35. Maaaaaybe a GD, these things are not going to be easy/cheap to make
BTW: I'm hoping to have LED tails done before Christmas, or at least the first prototype board. NOT the Dr.Roy style; the circuitry is the same as his (you the man, Roy), but the light layout is more akin to a G35. Maaaaaybe a GD, these things are not going to be easy/cheap to make
Last edited by Metal Maxima; 11-23-2008 at 05:59 AM.


 11-23-2008, 08:21 AM
#21
STAGE I - INTERIOR STRIP DOWN
Morning, all. Ok, so the fiberglass repair is in and curing. Now, I have not done this in a year or two, so while I knew I needed some extra MEKP for the cure to occur quickly due to the cold, I used wayyyy too much, as you can see in the second pic. On other other hand, at least it will cure quickly. SO, here's some pics. I have to run out for a bit, upon my erturn I should be good to start sanding and using filler to round everything out. BTW, the second pic was taken like 8 minutes after everything was set in place, lol. I LOVE THE SMELL OF RESIN IN THE MORNING!!!!


Morning, all. Ok, so the fiberglass repair is in and curing. Now, I have not done this in a year or two, so while I knew I needed some extra MEKP for the cure to occur quickly due to the cold, I used wayyyy too much, as you can see in the second pic. On other other hand, at least it will cure quickly. SO, here's some pics. I have to run out for a bit, upon my erturn I should be good to start sanding and using filler to round everything out. BTW, the second pic was taken like 8 minutes after everything was set in place, lol. I LOVE THE SMELL OF RESIN IN THE MORNING!!!!

 11-23-2008, 08:27 AM
#22
Besides, if this is now a corporate site, I'd like my donation back, or at least use my donated money to buy me some bandwidth for posting images.


 11-23-2008, 08:22 PM
#28
UPDATE: Interior nearly fully stripped. Only dash, dash vents, cluster, driver door panel, and clock remain. I don't know how the hell I'm getting to work with my coffee now, I probably should have waited to take the middle console out.
Center console is 'glassed and bond-oh'ed, need to borrow hole-saw from work for buttans.
Would have pics, but lo, someone drained the damn camera battery. More tomorrow, good night all.
Center console is 'glassed and bond-oh'ed, need to borrow hole-saw from work for buttans.
Would have pics, but lo, someone drained the damn camera battery. More tomorrow, good night all.
11-23-2008, 08:45 PM
#29

Wow, you have alot of work at your feet and your moving fast lol If my car wasn't too much of a DD, i would do alot of custom interior stuff just like you did.
Nice work, looking forward to seeing the results.
Oh btw, you should do a rear window shade ;D
Nice work, looking forward to seeing the results.
Oh btw, you should do a rear window shade ;D


 11-24-2008, 09:16 PM
#33
[QUOTE=Metal Maxima;6719936]STAGE I - INTERIOR STRIP DOWN
Ok, short post before bed. The repair is done, and I am SUPER pleased with the results. No pics of the install, I'll try and get that tomorrow. Now, I'm going to need to reinstall my hazards button, so I routered the hole and am not making a small trim piece for the button; this will match the other switches for the interior lights, which will be tomorrows undertaking.


Ok, short post before bed. The repair is done, and I am SUPER pleased with the results. No pics of the install, I'll try and get that tomorrow. Now, I'm going to need to reinstall my hazards button, so I routered the hole and am not making a small trim piece for the button; this will match the other switches for the interior lights, which will be tomorrows undertaking.


 11-28-2008, 10:27 PM
#34
STAGE I - INTERIOR STRIP DOWN
Alright, here's where everything stands. Right now we've got about 80% of the interior panels sanded down to a 400-grit wetsand, and obviously it's all been removed. Time for everything to pile in the car!

Here we can see the lovely view of the cockpit. So what's next?
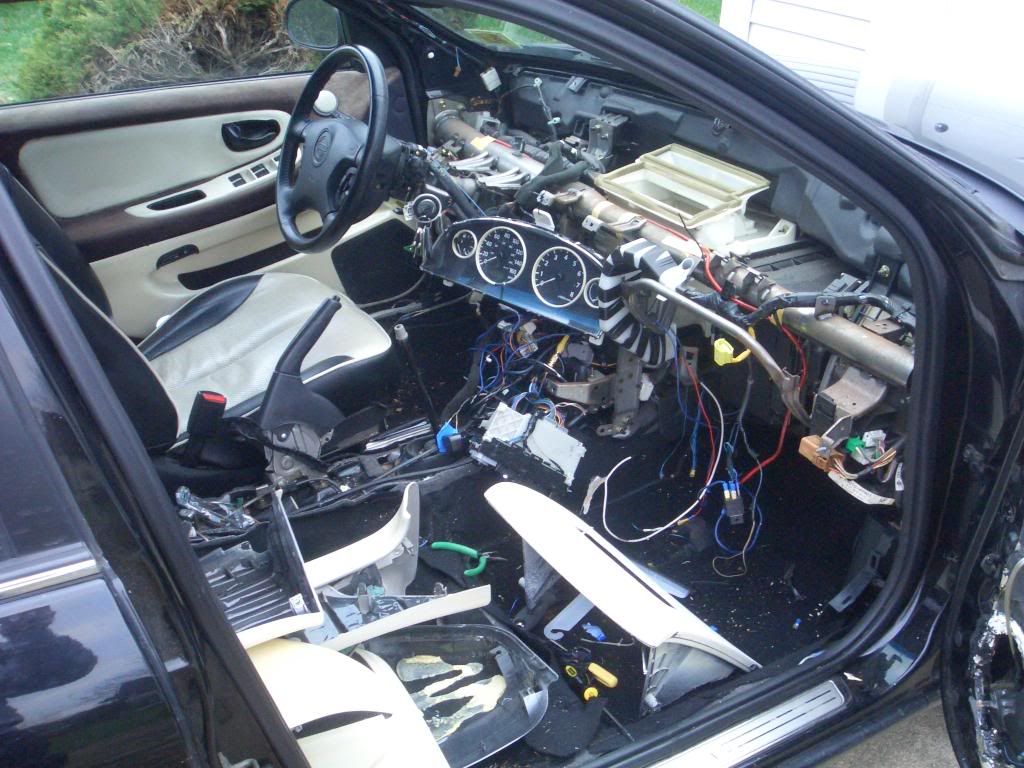
MAYBE A DRIVE TO ATLANTIC CITY???
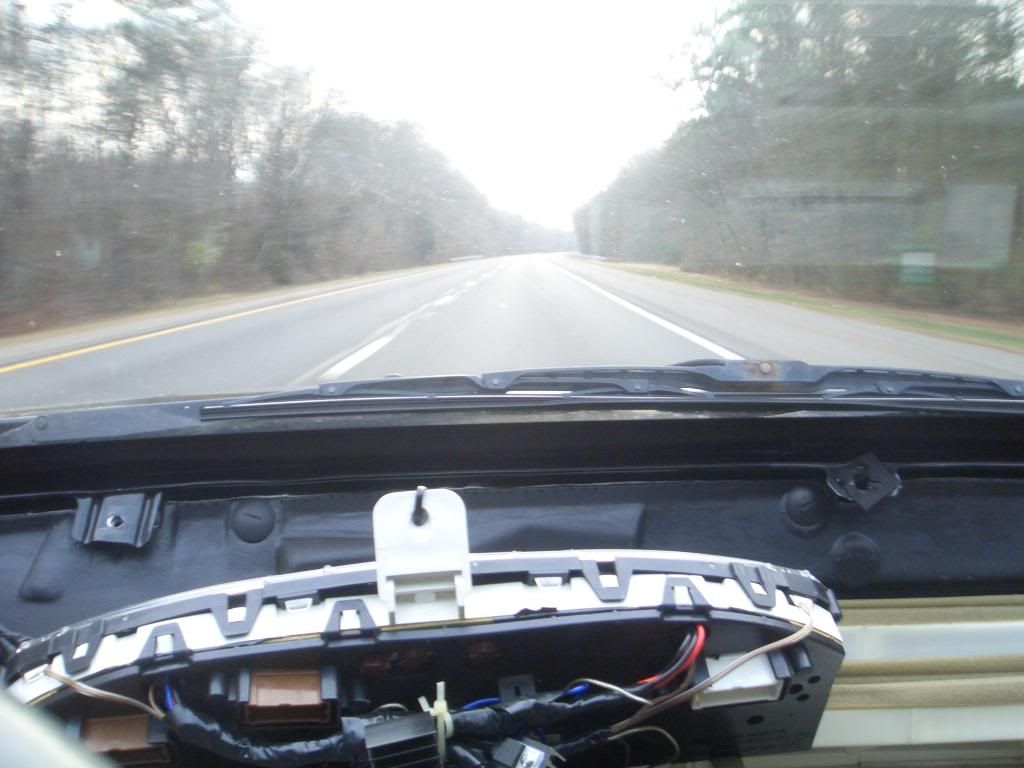
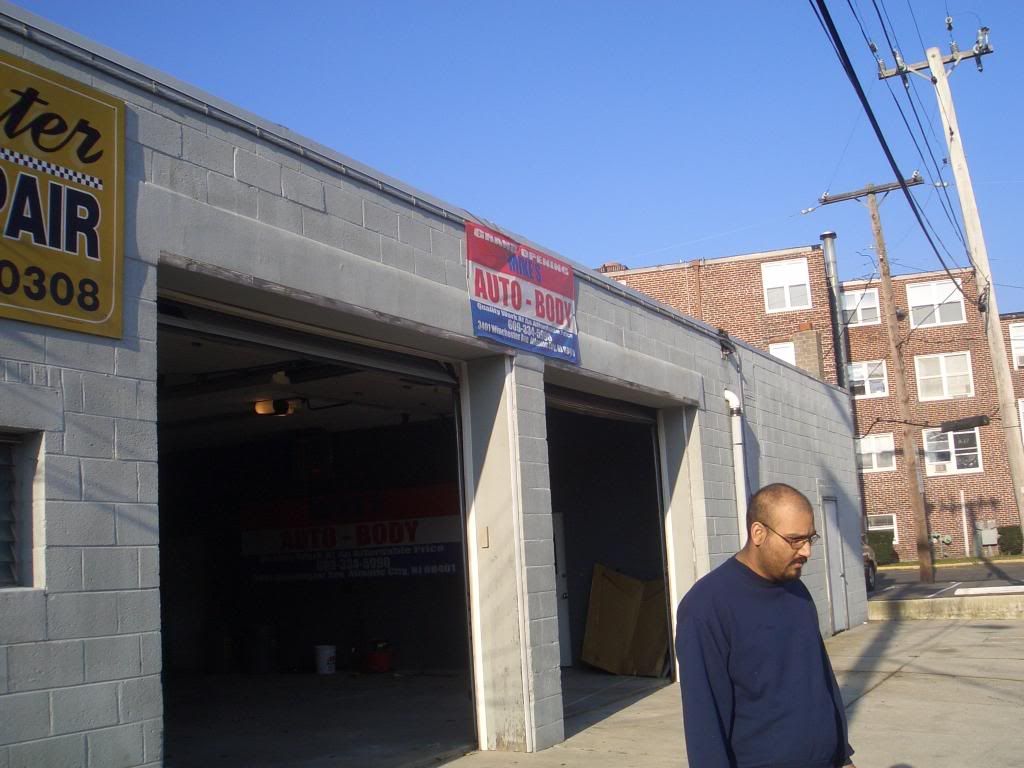
Here we arrive at our destination, where great things will happen...
Alright, here's where everything stands. Right now we've got about 80% of the interior panels sanded down to a 400-grit wetsand, and obviously it's all been removed. Time for everything to pile in the car!
Here we can see the lovely view of the cockpit. So what's next?
MAYBE A DRIVE TO ATLANTIC CITY???
Here we arrive at our destination, where great things will happen...
11-28-2008, 10:37 PM
#35
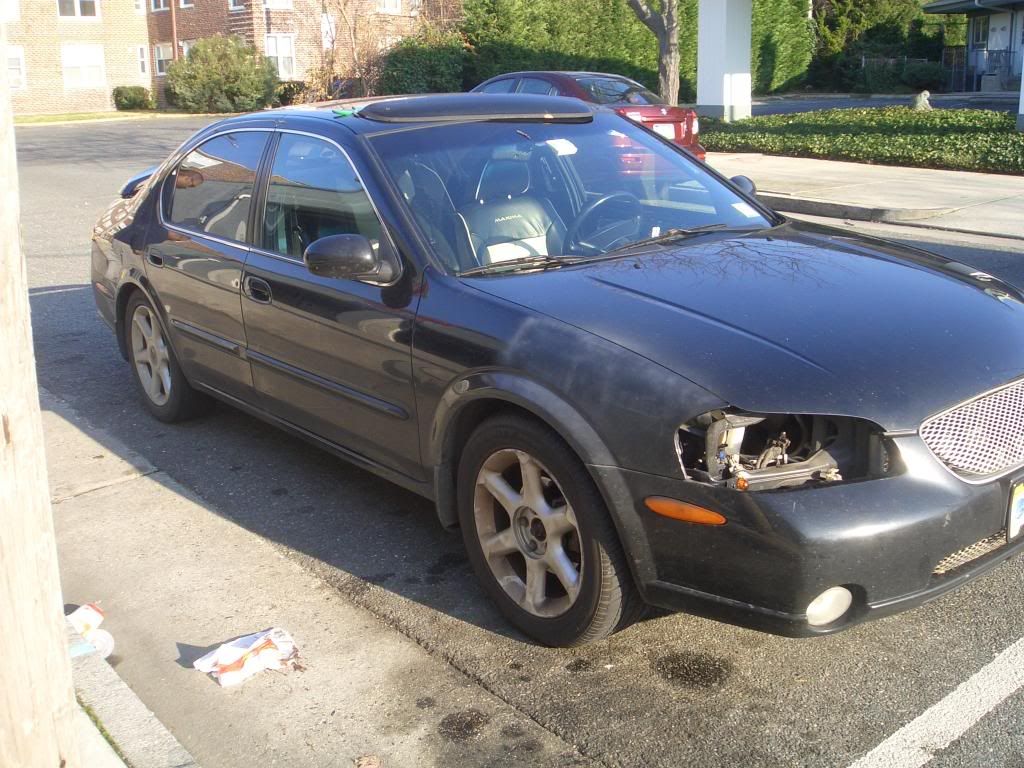
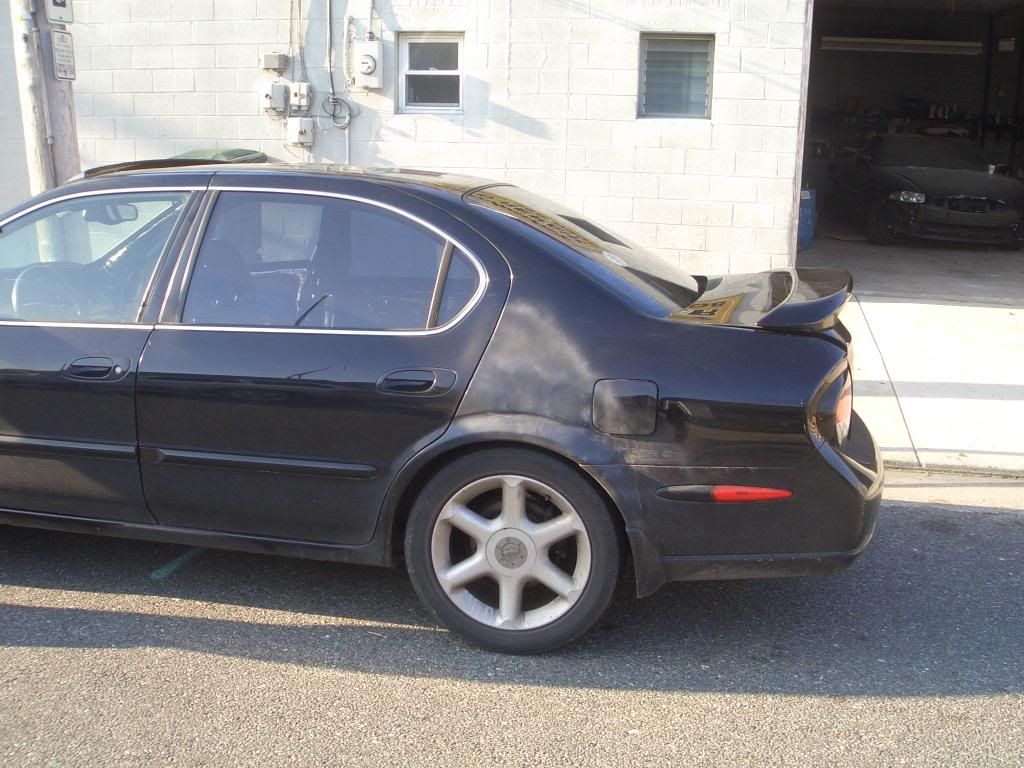
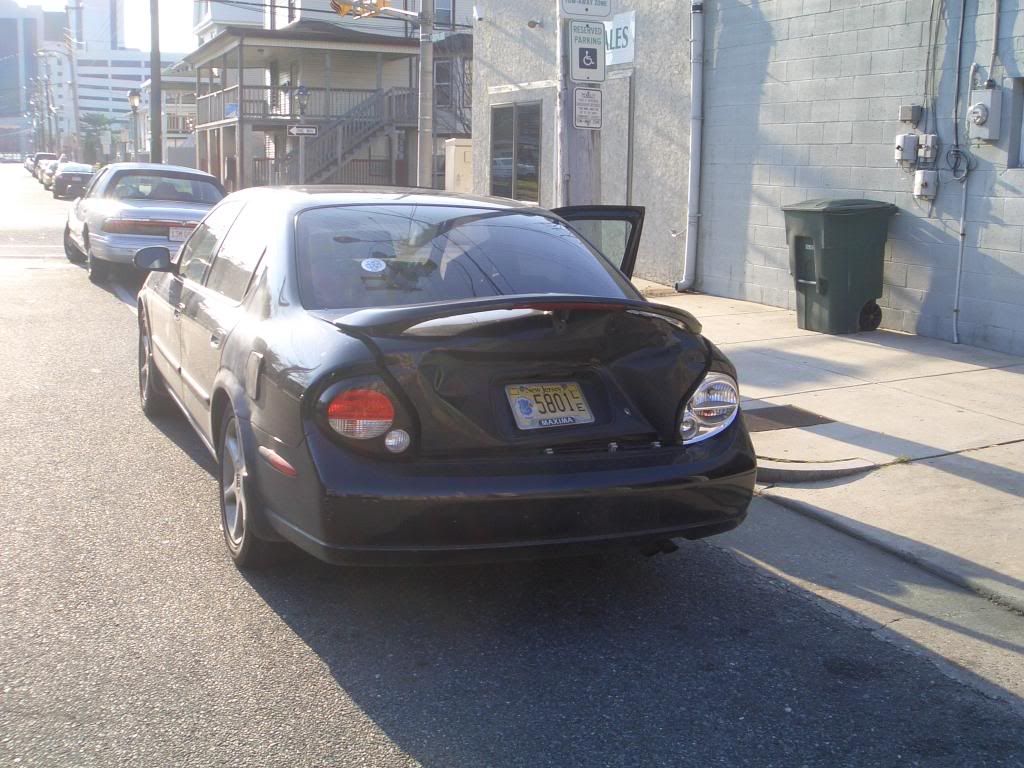
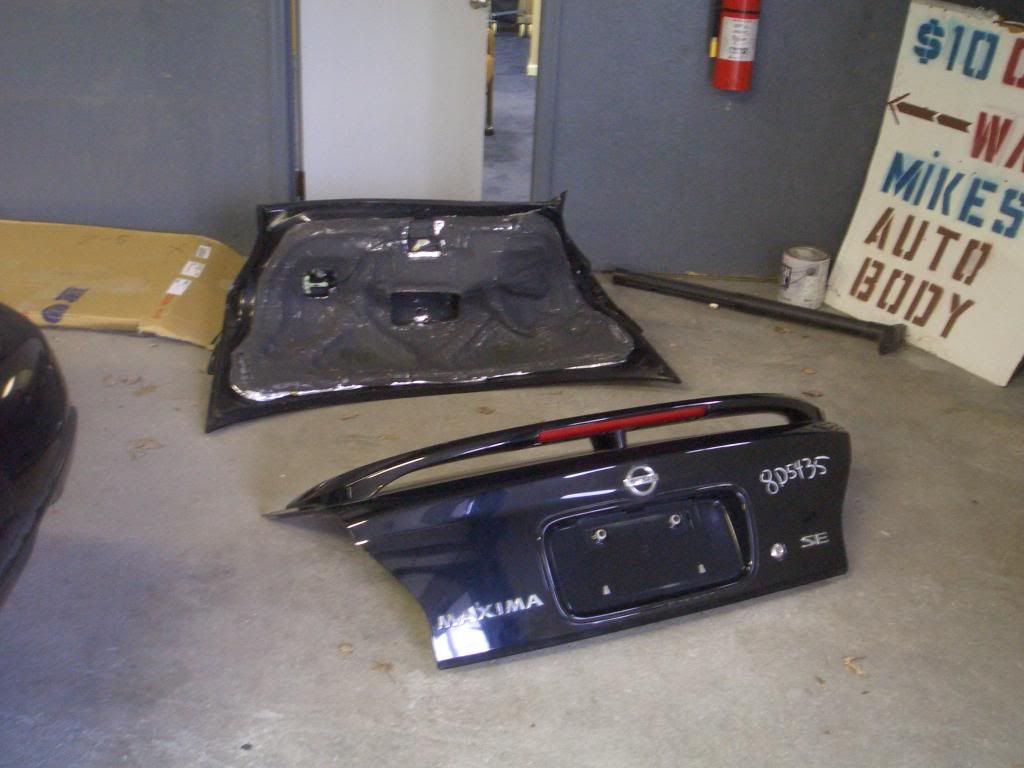
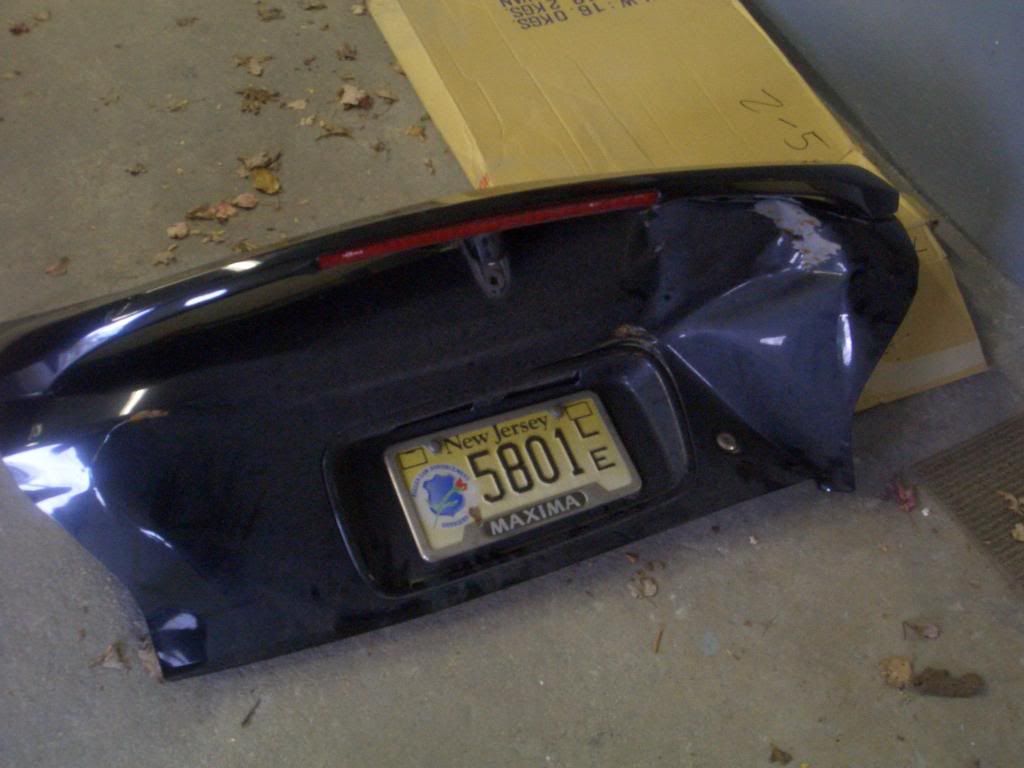
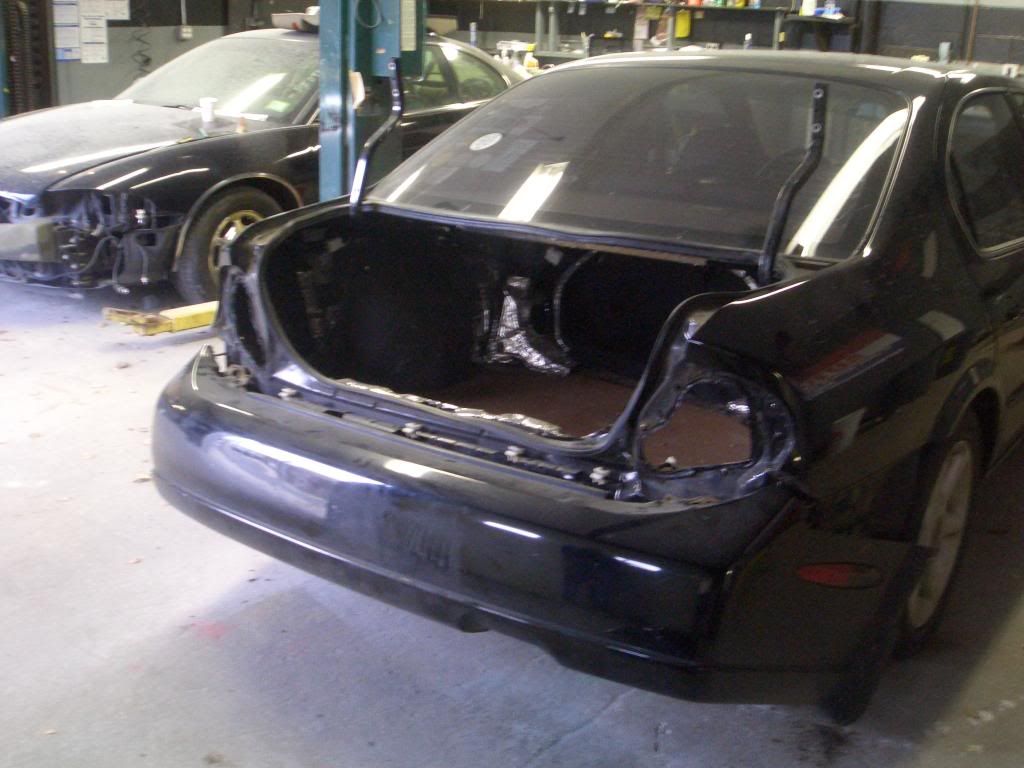
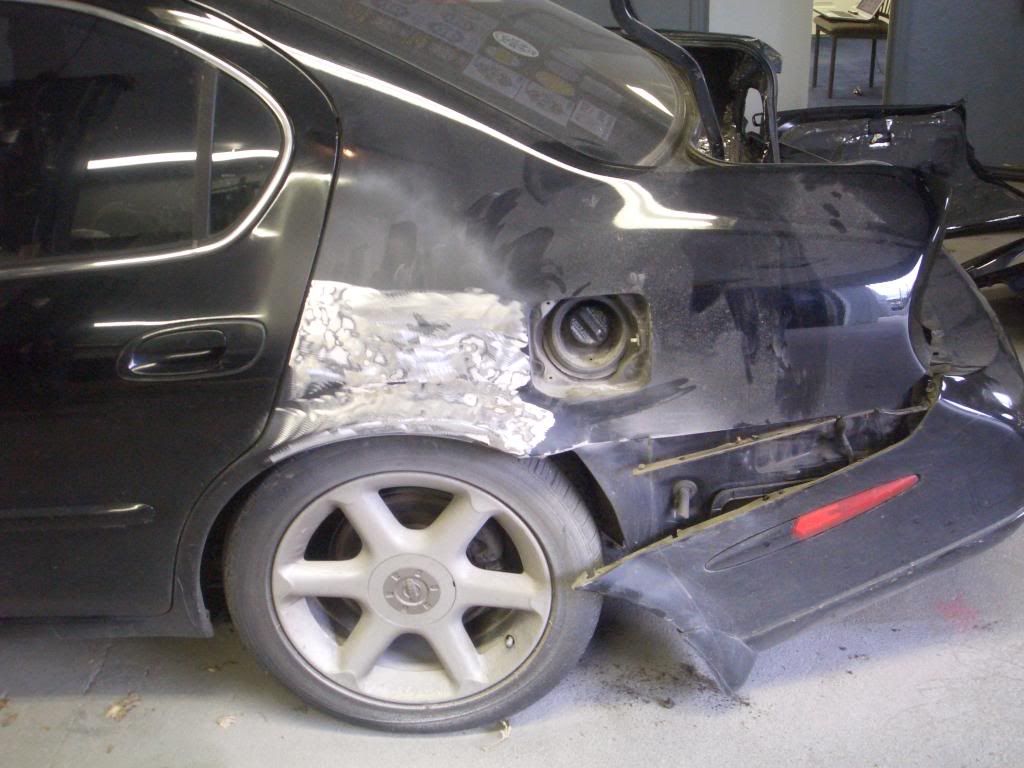
Just some shots of my step-child beaten ride. The rear quarter panel was smashed in about 2 years ago, about 3 years ago my ******* neighbor (which one, that is the problem) hit my fender, and then I get the trunk a taste of guardrail thanks to an ill-positioned guardrail in the company parking lot.
 11-28-2008, 10:50 PM
#38
Oh, and the suspension? Yes, QUITE nicely! If you want to pat yourself on the back, my periodic checks of the RSB have revealed that no re-tightening has been required.
