Trying to piece together mods.
 06-15-2013, 06:46 AM
#41
Member
Thread Starter

Join Date: May 2013
Posts: 294
ya, I know......
I have the struts all assembled and in. I'm not quite sure how the kyb covers make noise. They seem to fit pretty well. I'm having a bit of trouble getting the stock sway bar end links off. I had to torch both of them off.
Now I'm trying to figure out how the ES poly sway bushings fit. The stock ones sit in an indentation on the frame. The ES ones aren't formed like that......
Last edited by NmexMAX; 06-18-2013 at 06:49 AM.
 06-15-2013, 07:39 PM
#42
Junior Member

Join Date: Jan 2011
Location: MN and MI
Posts: 35
I envy your ability to drop large amounts of dough on revitalizing your car.
The sway bar end links are junk anyway and cause many problems. My right front required grinding off. The consensus is to replace with MOOG, you won't be disappointed. Are you sure you bought the correct bushings? I saw that you asked this question earlier. SE's require 23mm while GLE and GXE require 22mm.
Interesting Pontiac BTW. Usually no one gives two ****s about those cars but I always find it cool to see older uncommon cars in great shape. It's a time warp. Even if it was a Plymouth Sundance.

 06-16-2013, 01:18 PM
#45
Member
Thread Starter
Join Date: May 2013
Posts: 294
9.5159
they are greasable and the same shape as the non-greaseable ones and were cheaper.
How are these shaped any different than the ones I bought?
http://www.energysuspensionparts.com...sp?prod=7.5125
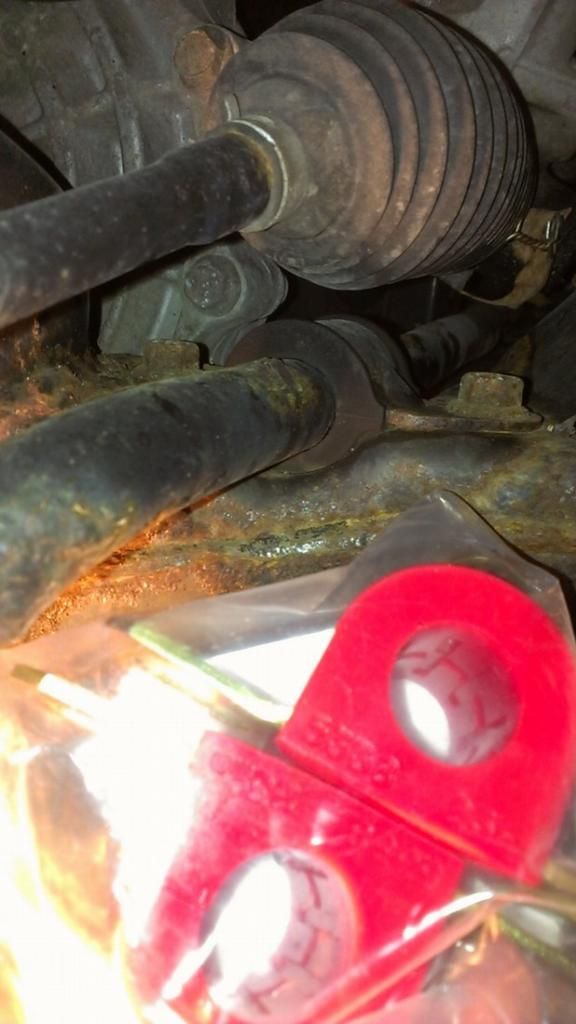
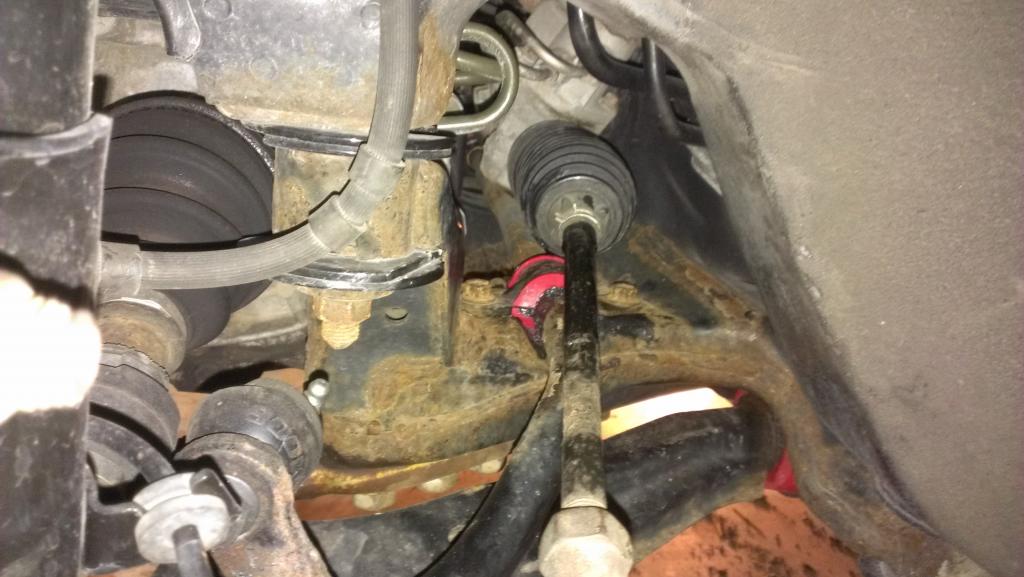
how does this bushing fit in to that indentation?
I think I could modify it so, but would take some time. I would round off the corners and make the bushing the same shape as the stock one.....

On my old 2001 Aurora, I had to do this because the stock bushings had the same design. But on the Maxima, there isn't any room above because of the inner tie rod.
worn out stock bushing


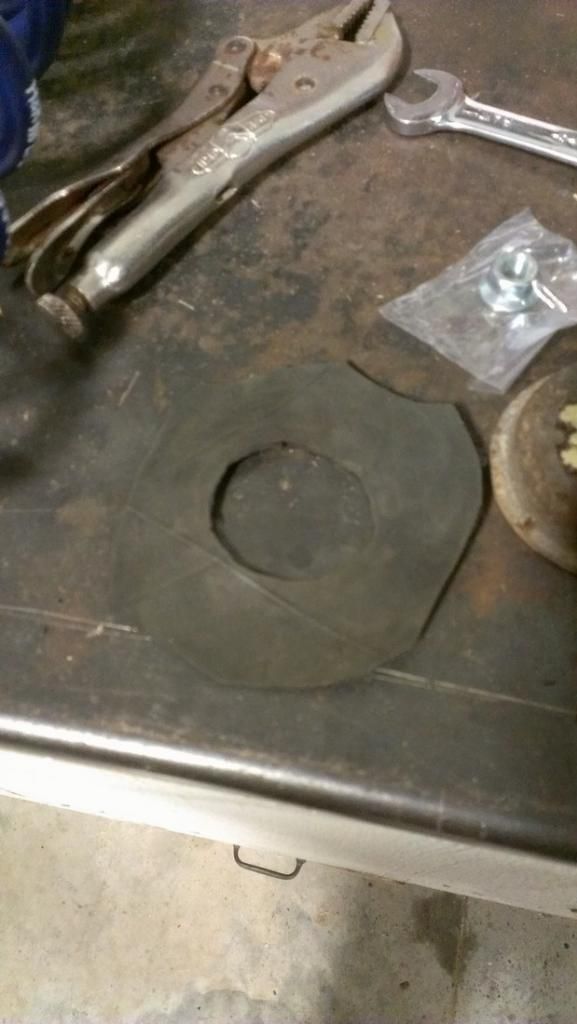
Here are some other pics in the mean time.
I've found that an old tire inner-tube is a great barrier material. I've used this on my GP for my Coil over mounts.
The stock spring isolator on my rear springs was in pretty sad shape, so I used this instead
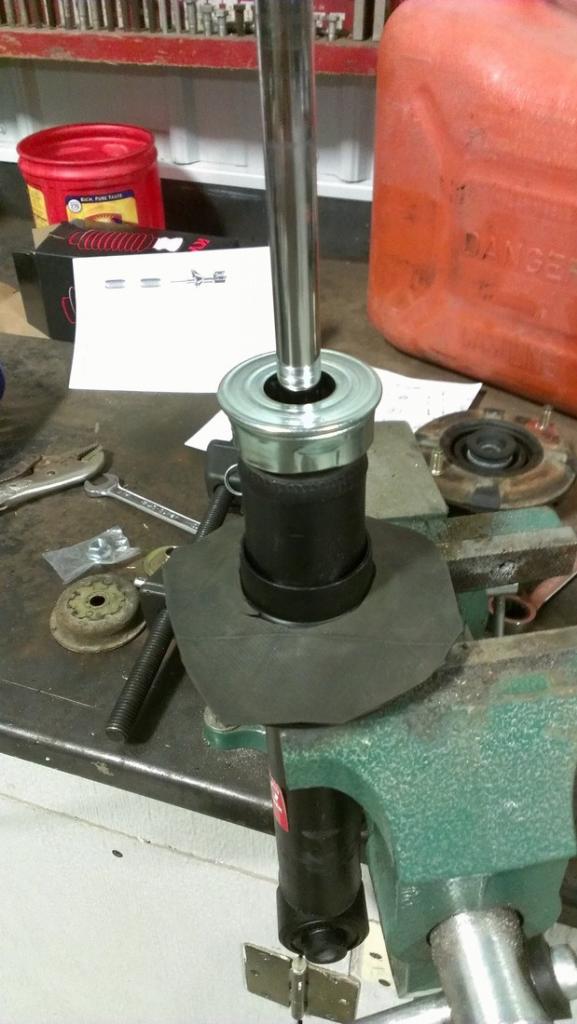
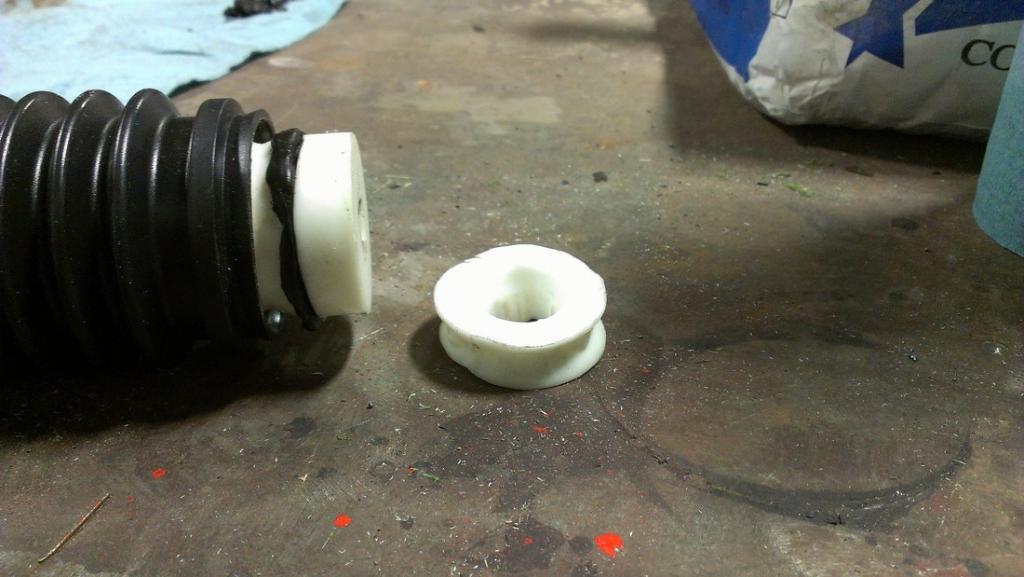
On the rear bump-stop, I didn't like how when the spring was compressed, there wasn't much travel in the strut. So I cu out the middle 1/3 of the bump-stop and siliconed it back together and let it dry over night before install. Worked great.
The bottom 1/3 of the bump-stop is where the bellow snaps on and the top 1/3 is where it grips the strut.
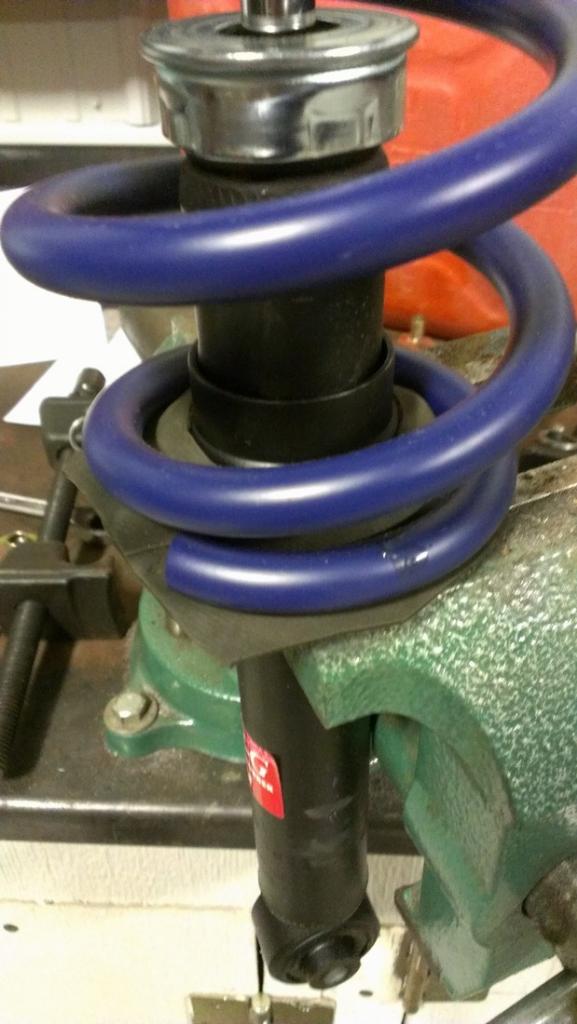
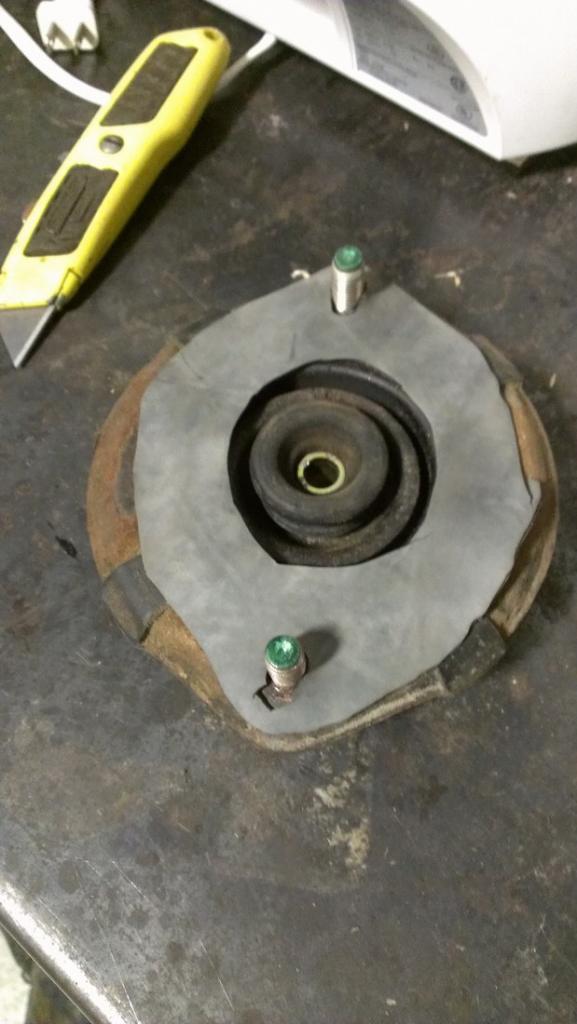
I used the inner-tube again for the top of the mounts for all 4 struts. The stock red gasket was in pieces.
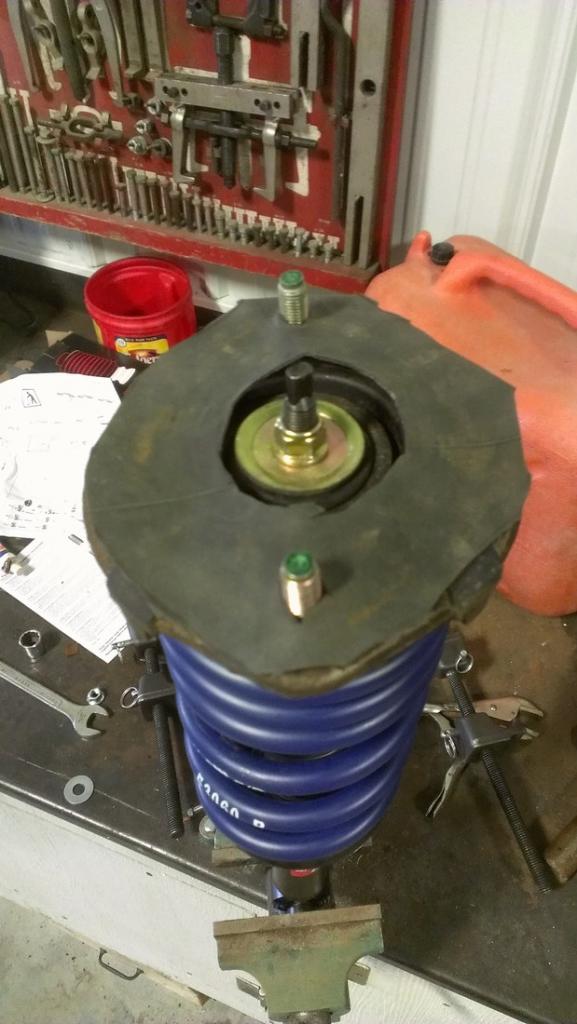
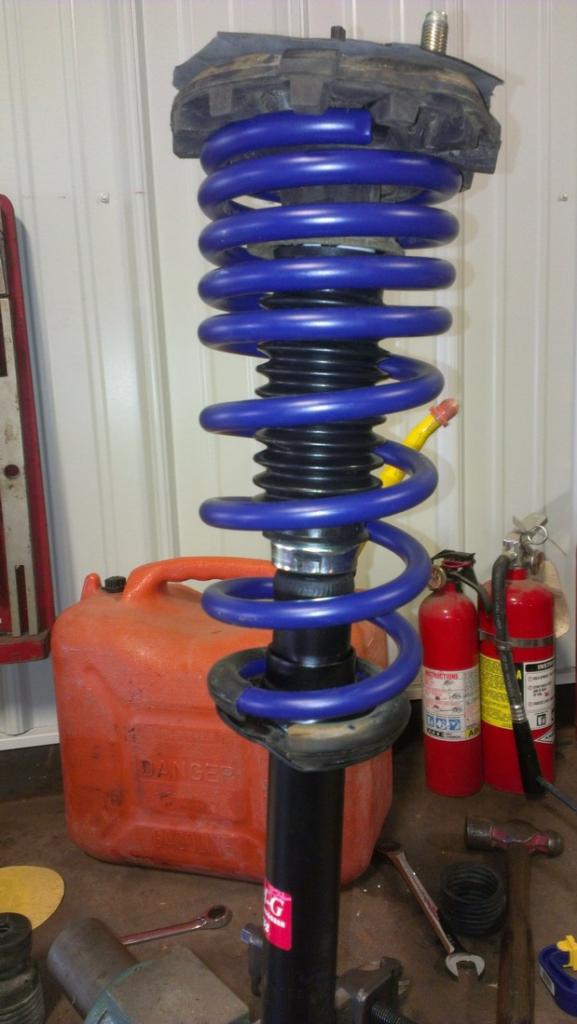
completed rear strut
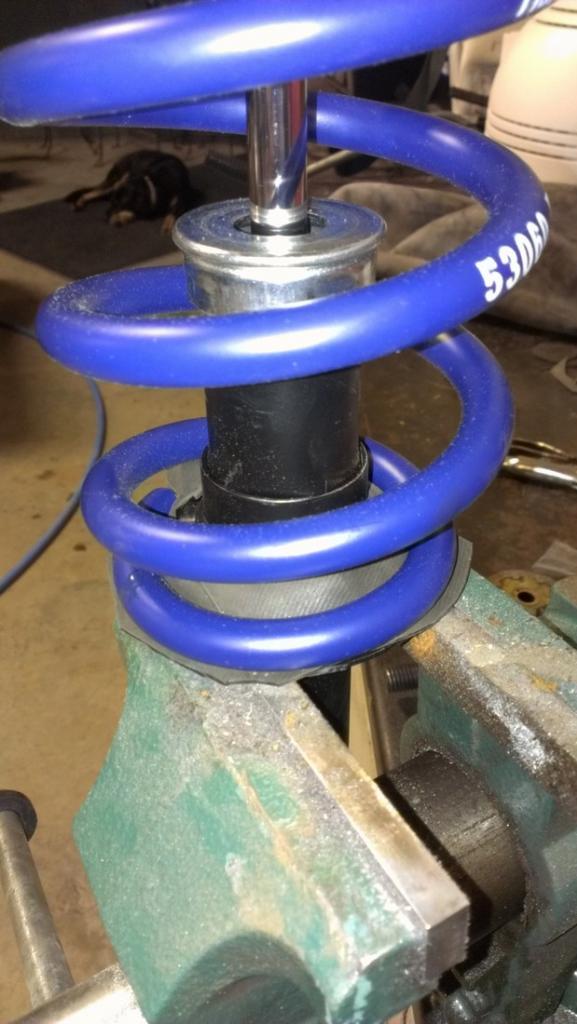
incase anyone is curious, this is the strut 'bearing' for the front struts that allows them to rotate when steering. Really weak design I would think, I've seen better....but I guess it works. The stock ones were all blown out with the inner grease all over the mount.
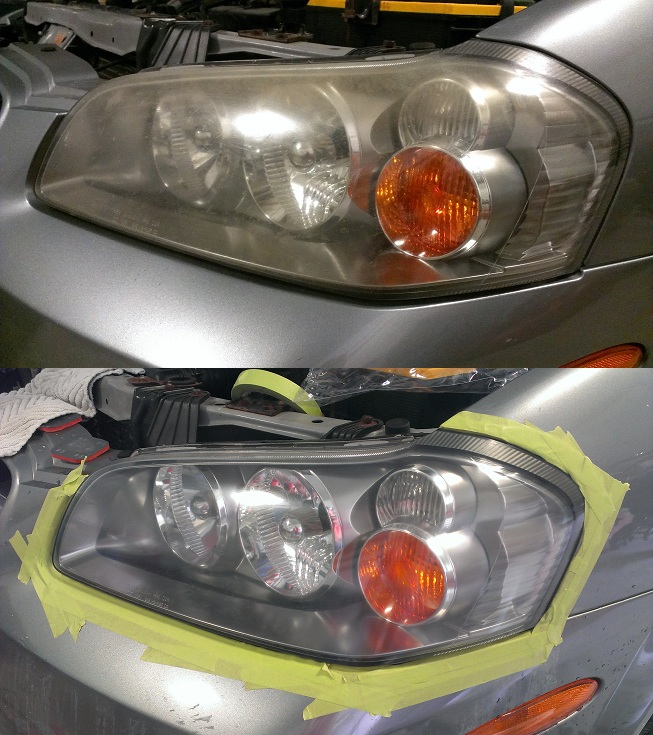
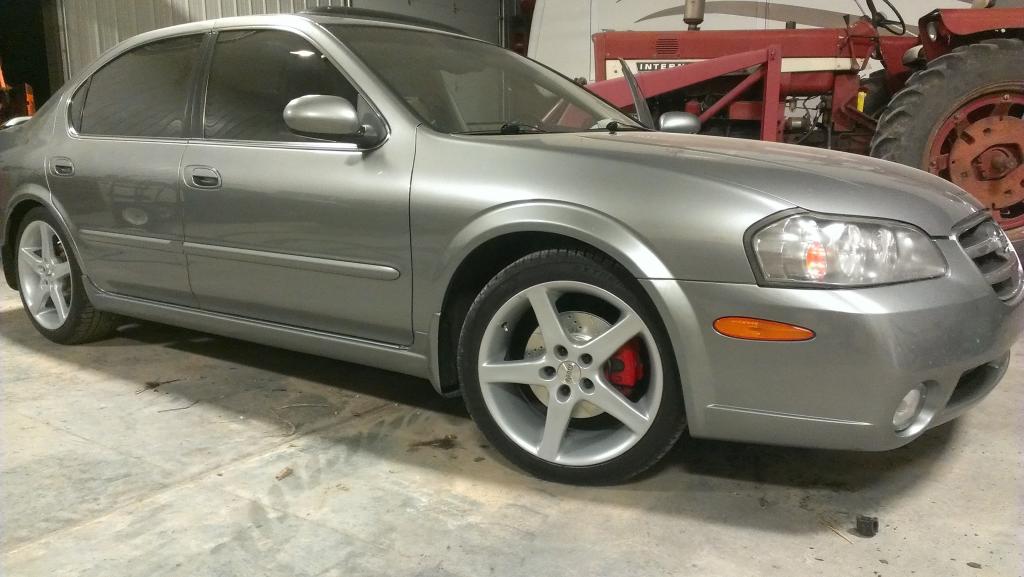
How the car sits now.

they are greasable and the same shape as the non-greaseable ones and were cheaper.
How are these shaped any different than the ones I bought?
http://www.energysuspensionparts.com...sp?prod=7.5125
how does this bushing fit in to that indentation?
I think I could modify it so, but would take some time. I would round off the corners and make the bushing the same shape as the stock one.....
On my old 2001 Aurora, I had to do this because the stock bushings had the same design. But on the Maxima, there isn't any room above because of the inner tie rod.
worn out stock bushing
Here are some other pics in the mean time.
I've found that an old tire inner-tube is a great barrier material. I've used this on my GP for my Coil over mounts.
The stock spring isolator on my rear springs was in pretty sad shape, so I used this instead
On the rear bump-stop, I didn't like how when the spring was compressed, there wasn't much travel in the strut. So I cu out the middle 1/3 of the bump-stop and siliconed it back together and let it dry over night before install. Worked great.
The bottom 1/3 of the bump-stop is where the bellow snaps on and the top 1/3 is where it grips the strut.
I used the inner-tube again for the top of the mounts for all 4 struts. The stock red gasket was in pieces.
completed rear strut
incase anyone is curious, this is the strut 'bearing' for the front struts that allows them to rotate when steering. Really weak design I would think, I've seen better....but I guess it works. The stock ones were all blown out with the inner grease all over the mount.
How the car sits now.
Last edited by NmexMAX; 06-18-2013 at 06:50 AM.
06-17-2013, 07:08 AM
#47
Member
Thread Starter
Join Date: May 2013
Posts: 294
I haven't down the gasket yet. It's for the oil pan as my stock one has very heavy rust on it. A quick jab with something and it would go through. A new pan on Amazon was ~$55 and a gasket was ~$5. So I figured a gasket is worth it for that cheap price. I'll do the pan/gasket next oil change.
06-17-2013, 07:55 AM
#48
I was referring to the tire that you cut up as a gasket between the suspension and chassis. It's not necessary. I've installed plenty of suspensions without the OEM orange paper gasket - no issues. But again, doesn't hurt 
Last edited by djfrestyl; 06-17-2013 at 07:57 AM.
 06-17-2013, 02:55 PM
#53
Member
Thread Starter
Join Date: May 2013
Posts: 294

 06-18-2013, 05:41 PM
#58
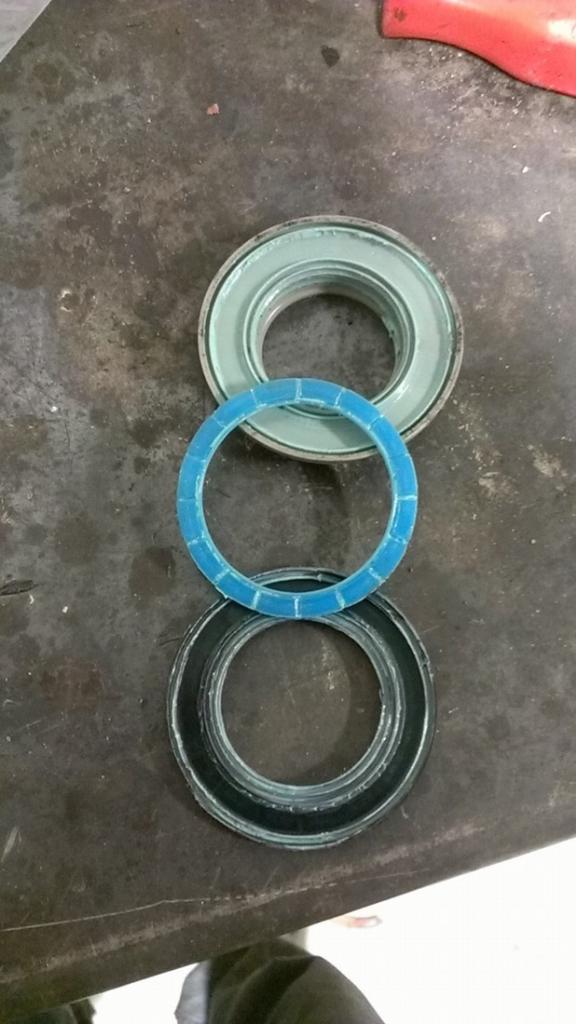
You have the right part linked above - 7.5125.
The stock picture is just wrong on that site.
Here's what they actually look like.

You shouldn't need an install thread for these bushings, especially if you can do your own struts.
The stock picture is just wrong on that site.
Here's what they actually look like.
You shouldn't need an install thread for these bushings, especially if you can do your own struts.
06-19-2013, 05:13 AM
#60
The right bushings don't squeak. I've installed 50+ pairs.
What's worse - greasable that don't fit or non-greasable that do?
I'd imagine bushings that are not the right fit would squeak due to movement.
Do it right.
What's worse - greasable that don't fit or non-greasable that do?
I'd imagine bushings that are not the right fit would squeak due to movement.
Do it right.
06-21-2013, 08:09 AM
#63
 06-21-2013, 08:49 AM
#64
I typically buy from Amazon.
Price varies daily. Right now they're $24.90, free 2 day shipping with Prime. I've seen them between $21 and $26, shipping included.
Price varies daily. Right now they're $24.90, free 2 day shipping with Prime. I've seen them between $21 and $26, shipping included.
06-21-2013, 10:16 PM
#67
Member
Thread Starter
Join Date: May 2013
Posts: 294
currently in the process of putting the ES poly control arm bushings in. What a huge pain in the *** this is.
If you don't have access to a decent press with the PERFECT size items to press them out, you will hate yourself. Luckily, I found a few sockets that barely worked.
It was hard enough getting the rusted BJ nut off. I had to torch it red hot. I also had to remove the axle from the hub to get access to the nut with my impact. I also had to heat the 6 bolts that hold the CA bushings on. They were FROZE in there. My impact at 150psi wouldn't even budge them till I heated the **** out of them. So frustrating.
Last edited by AWeb80; 06-21-2013 at 10:20 PM.
06-22-2013, 01:27 PM
#69
Member
Thread Starter
Join Date: May 2013
Posts: 294
Finally done with the CA bushings. what a nightmare. Don't ever attempt this on your car if there is any semblance of rust. My car body is fine, but all of the fasteners are rusted to ****.
Car rides nice....now to do the rear. I can feel it dance a tad since the front is planted now. I don't think I'll be doing those though. I hate paying a shop to work on my cars/bike, but I don't think anyone could pay me enough to make it worthwhile to do the fronts again.
Car rides nice....now to do the rear. I can feel it dance a tad since the front is planted now. I don't think I'll be doing those though. I hate paying a shop to work on my cars/bike, but I don't think anyone could pay me enough to make it worthwhile to do the fronts again.
09-21-2013, 11:13 PM
#70

currently in the process of putting the ES poly control arm bushings in. What a huge pain in the *** this is.
If you don't have access to a decent press with the PERFECT size items to press them out, you will hate yourself. Luckily, I found a few sockets that barely worked.
It was hard enough getting the rusted BJ nut off. I had to torch it red hot. I also had to remove the axle from the hub to get access to the nut with my impact. I also had to heat the 6 bolts that hold the CA bushings on. They were FROZE in there. My impact at 150psi wouldn't even budge them till I heated the **** out of them. So frustrating.
If you don't have access to a decent press with the PERFECT size items to press them out, you will hate yourself. Luckily, I found a few sockets that barely worked.
It was hard enough getting the rusted BJ nut off. I had to torch it red hot. I also had to remove the axle from the hub to get access to the nut with my impact. I also had to heat the 6 bolts that hold the CA bushings on. They were FROZE in there. My impact at 150psi wouldn't even budge them till I heated the **** out of them. So frustrating.
What size socket did you use to press the bushings out?luckily i have access to a good press
09-22-2013, 08:16 PM
#72
Member
Thread Starter
Join Date: May 2013
Posts: 294
here is a quick run down of stuff so far.
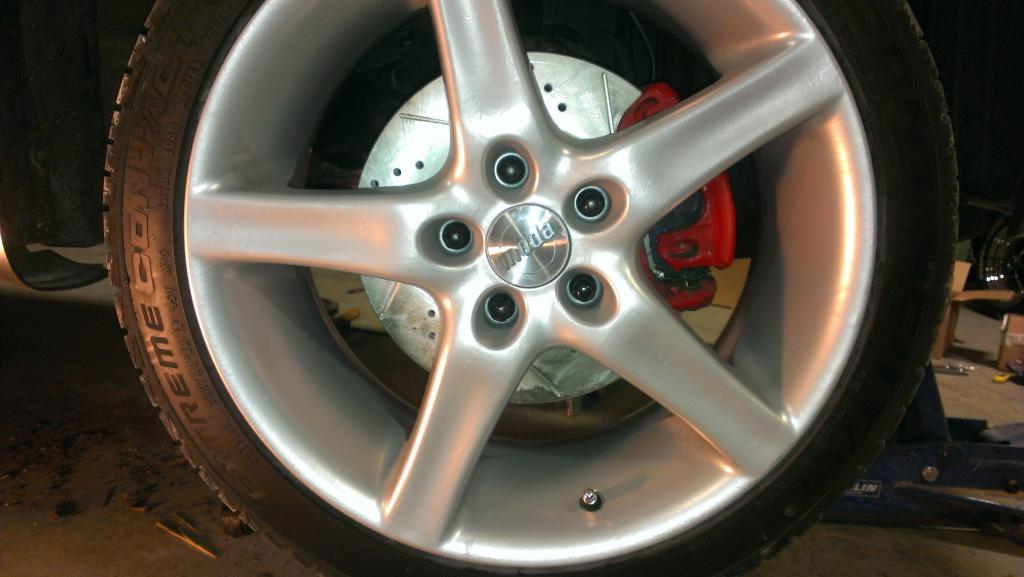
Refinished wheels
New Continental DWS tires
All new struts - KYB
H&R lowering springs
New front strut mounts - Moog
New Rear calipers - powerstop
New Rear pads
New Rear rotors
Moog Front sway bar endlinks
ES poly front lower control arm bushings
Subframe collars
Cabin air filter
Red Line MT-85 Synthetic trans fluid
Rotella T6 5w-40 synthetic oil and Purolator filter
Fuel filter
Tint
Soon:
New lug nuts
Next oil change will be getting a new oil pan and gasket.
Soon to do front sway bar bushings and a possible rear sway bar.

 10-13-2013, 08:27 PM
#79
Member
Thread Starter
Join Date: May 2013
Posts: 294
Here are the new PowerStop rotors/pads
New black lug nuts as the ones on the car had the chrome plating rusting and chipping off everywhere.
ES Poly sway bar bushings.
I really like the PowerStop combo. For a few bucks more than white-box ****ty rotors and crappy pads, these are well worth the money. Not bad at all for ~$130
I didn't need new brakes up front, I was just fed up w/ the cheap pads on there that kept me washing off the brake dust every half a tank. I couldn't believe how dirty those front wheels would get.
The poly bushings seem to have cured some of the pull to the right this car has always had, even after it was aligned.
Last edited by AWeb80; 10-13-2013 at 08:35 PM.

