
All Plasti-DIP threads.


Member
Joined: Mar 2010
Posts: 251
From: Walls, MS
Yeah i haven't done it myself yet. That's next weeks project, but i remember from WAYYYYYY back when a member here posting pics of his removed and before and after they were painted.

Senior Member
Joined: Nov 2010
Posts: 4,020
From: Maryland
Oh aight that's wassup then. Just curious, has anyone used plastidip as kind of a "base coat" and then done a glossy clear coat over it with paint? I already had to touch up my grill once cause a rock chipped it. I saw some others are doing the rims but would almost assume that gets torn up by rocks. Do you just apply lots of coats of plastidip or something? Or are people sealing it all with something else?

Thread Starter
Member
Joined: Nov 2010
Posts: 222
Oh aight that's wassup then. Just curious, has anyone used plastidip as kind of a "base coat" and then done a glossy clear coat over it with paint? I already had to touch up my grill once cause a rock chipped it. I saw some others are doing the rims but would almost assume that gets torn up by rocks. Do you just apply lots of coats of plastidip or something? Or are people sealing it all with something else?
i plasti dipped my grille and did 1 clear coat after to kinda protect it alittle more from rocks i wanted to touch up parts of it and i pealed it off clear coat and all came off
Senior Member
Joined: Nov 2010
Posts: 4,020
From: Maryland
nice, that's good to know. how many coats of plastidip did you do and how thick are your coats? i kinda felt like i didnt get a complete coating until the 3rd coat or so...should i do thicker coats/slower passes?

Junior Member
Joined: Feb 2011
Posts: 41
From: Southern Ontario, Canada
How to: Plastidip your Nissan Maxima
Plastidip vs Nissan Maxima rear bumper
This is commonly used in the show scene to test how a paint job would look with out risking the cost of a paint job. Plastidip is a rubberized paint that goes on like spray paint but holds like vinyl. It's an easy process and very fast drying. If done correctly and taking your time, this how to can be done with a "painted look"
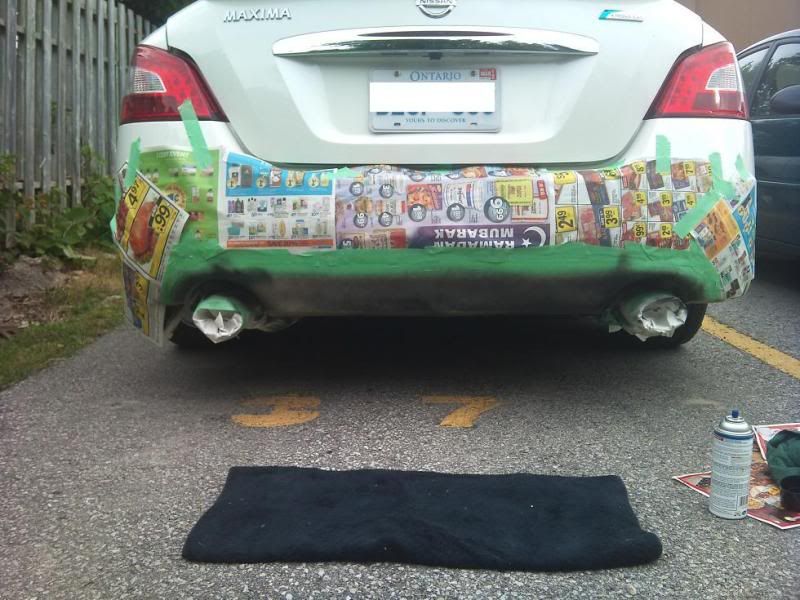
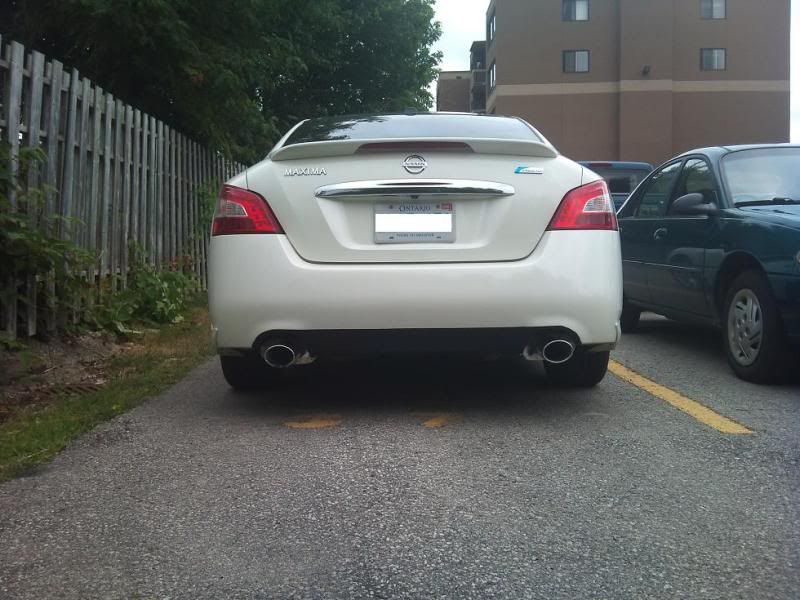
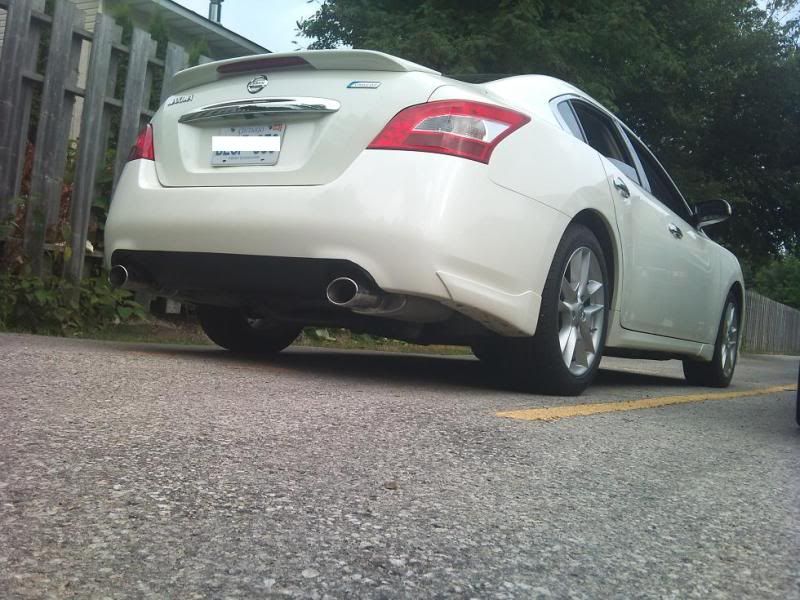
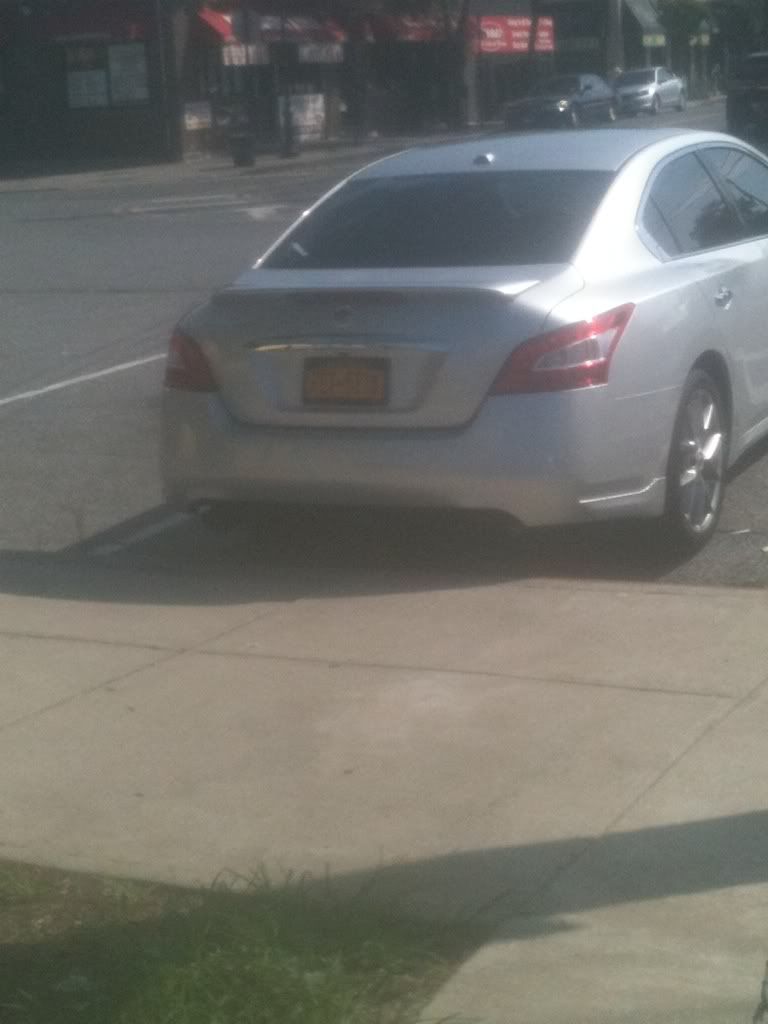
For this how to, I used plastidip on my rear bumper inbetween my tail pipes. In due time I'll be trying this on my front bumper with a certain design I have in mind.
Q&A are always useful in How to's so dont hesitate to ask!
Enjoy!
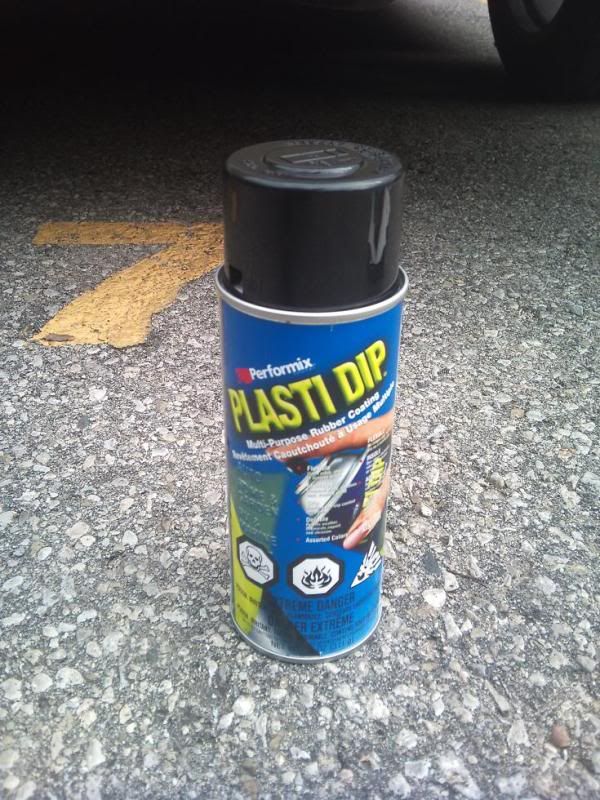
Plastidip
Area of attack!!!
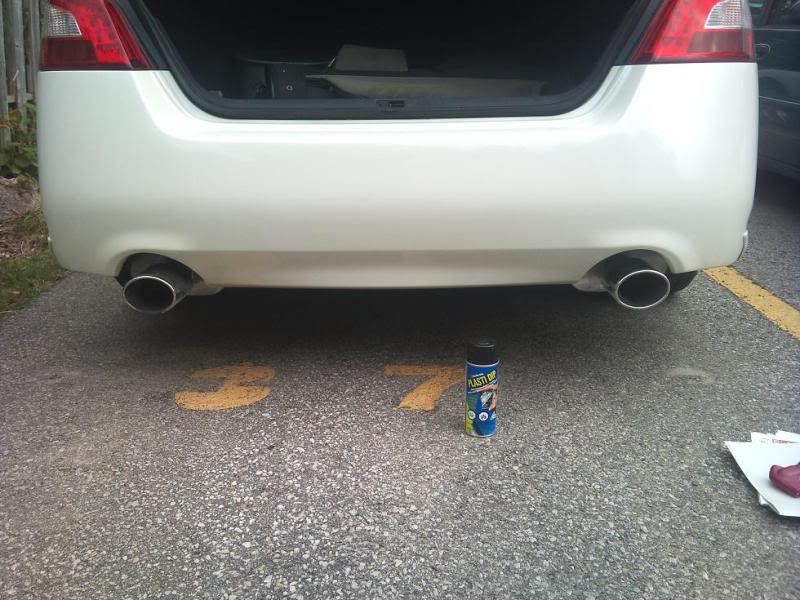
1) Clean the surface area
2) Mask the area with 3M removable painters tape
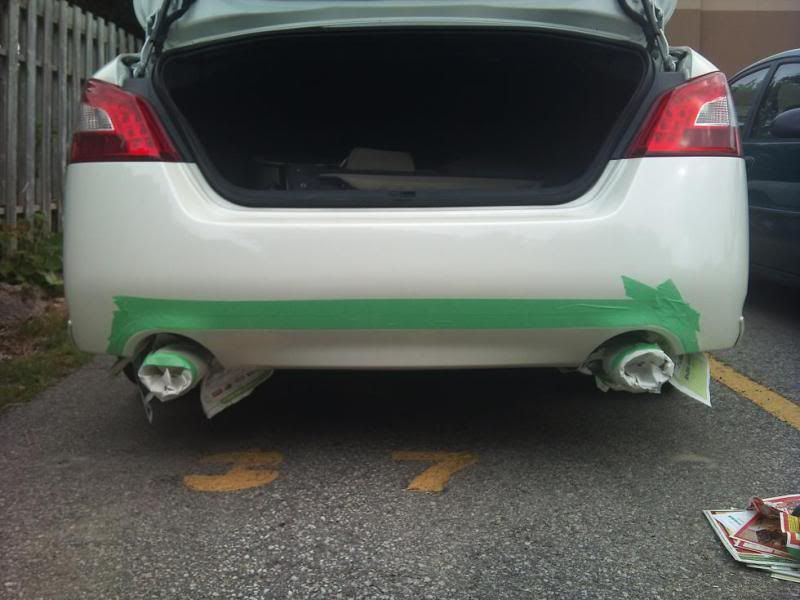
3) Mask off other over spray area's

4) Lightly spray 1 coat
5) 2nd coat (drying should only take 5-10mins depending on temperature and humidity
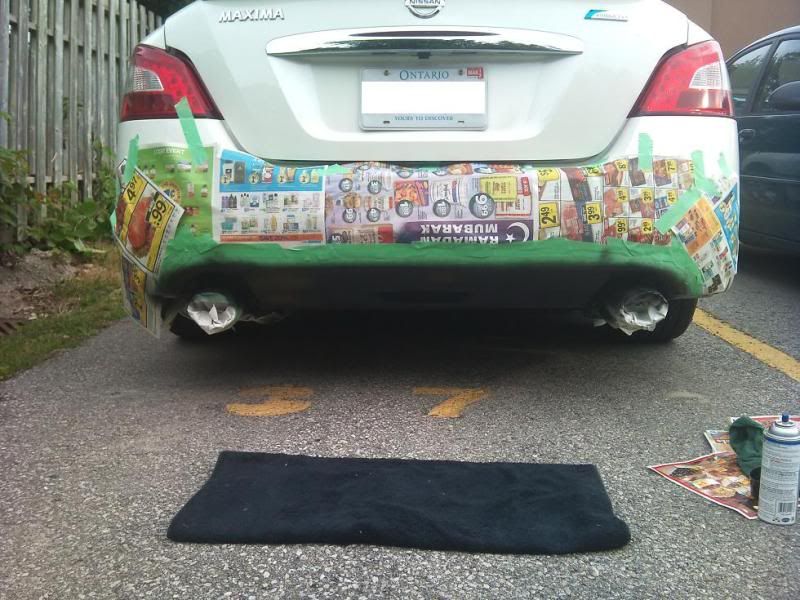
6) 3rd and final coat. (you may do more coats depending on the look you want to achieve) Dry for 10-15mins

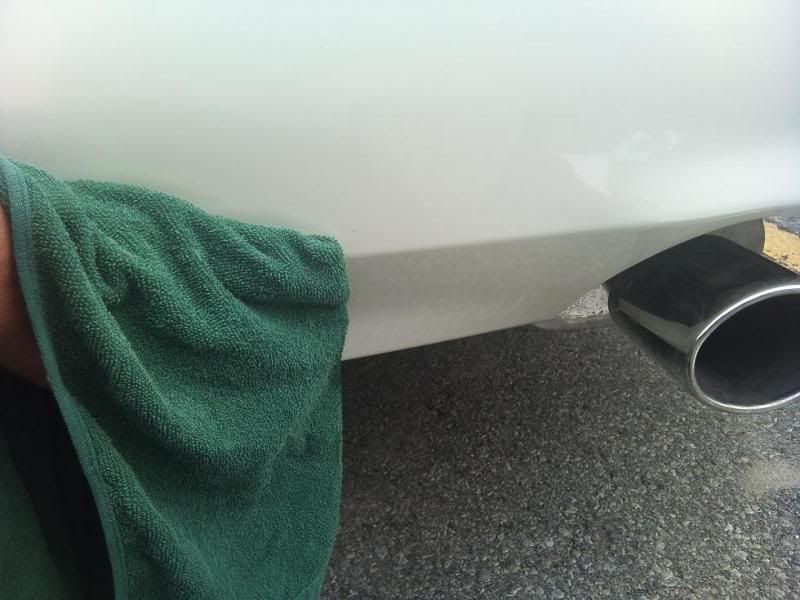
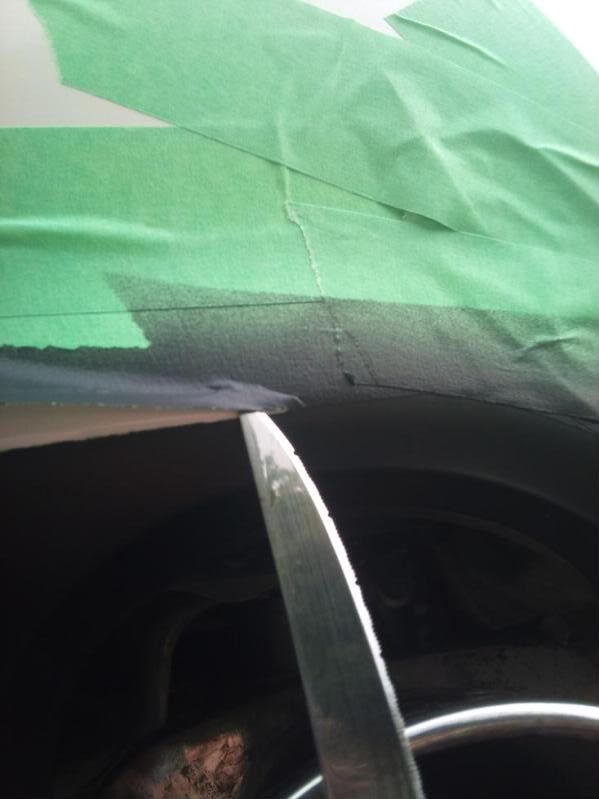
7) This is the part where you take your time. The first picture shows how rubberized the product will be at this point. I pulled the tape to show the effect. Do not pull the tape.
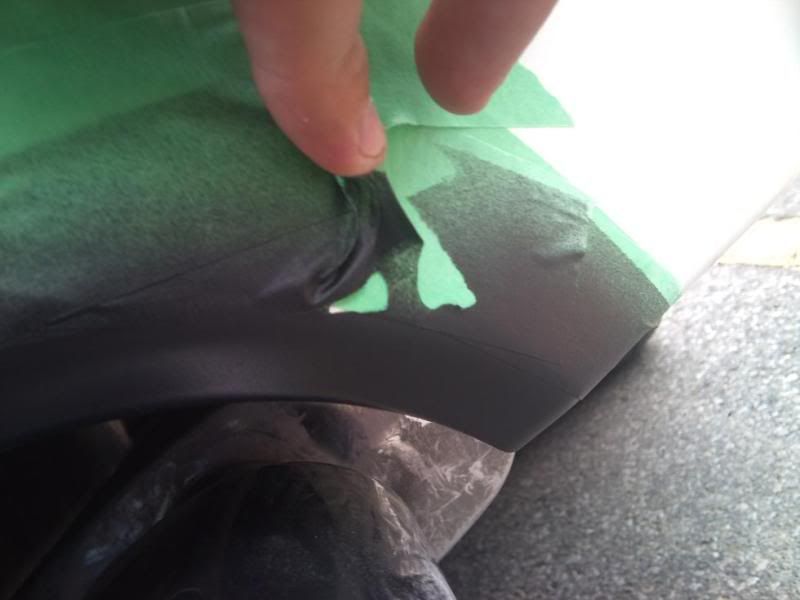
8) Use a knife or razor blade, and follow along the tape. If you're carefull, you will not cut your OEM paint job. Take your time.
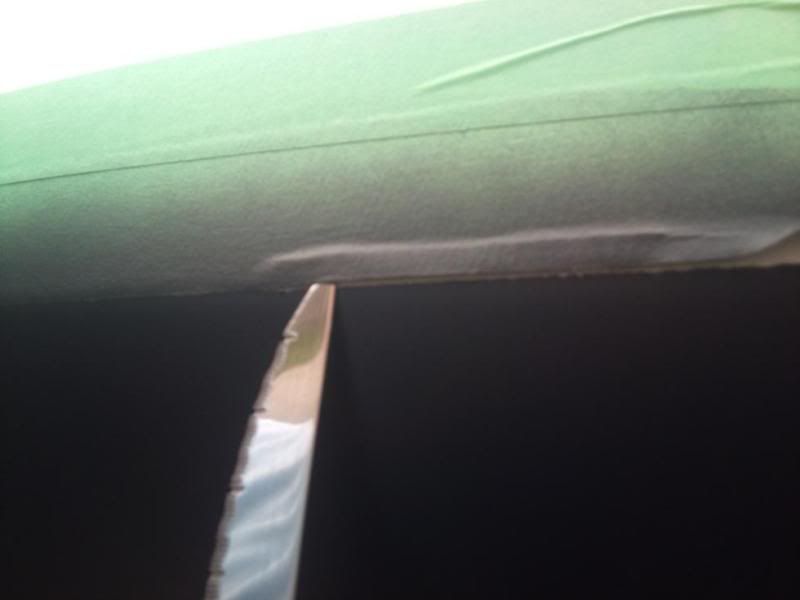
9) And you're done!!! You may want to go along some rough and pulled edges to clean them up with the razor blade.
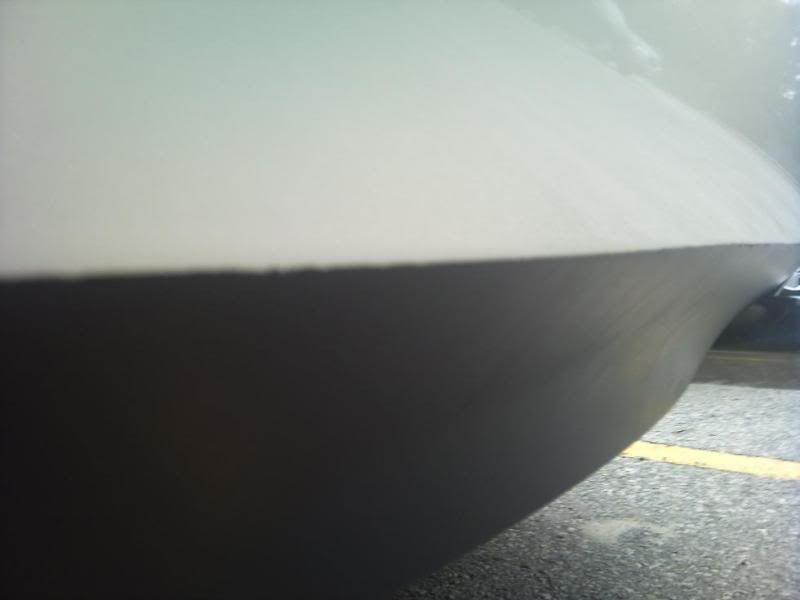
If you dont like the outcome.... peel it off.
As for Impact, debris cleaning and heat... Others who have done this modification have not had any issues (even on front bumpers). How it holds up to pressure washing.. I'll have to find that one out for myself.
Other than that, it only took me about 45mins... to come out with a whole new look.
This product can be removed with out damaging your OEM paint.. to test it for yourself... spray this product on a test panel, or an area you're not worried about on your car to find out for yourself.
Enjoy!
Disclaimer: I will not be held responsible for any Oops or fails... and if you spray on the wrong product... that's your own damn fault. lol.
This is commonly used in the show scene to test how a paint job would look with out risking the cost of a paint job. Plastidip is a rubberized paint that goes on like spray paint but holds like vinyl. It's an easy process and very fast drying. If done correctly and taking your time, this how to can be done with a "painted look"
For this how to, I used plastidip on my rear bumper inbetween my tail pipes. In due time I'll be trying this on my front bumper with a certain design I have in mind.
Q&A are always useful in How to's so dont hesitate to ask!
Enjoy!
Plastidip
Area of attack!!!
1) Clean the surface area
2) Mask the area with 3M removable painters tape
3) Mask off other over spray area's
4) Lightly spray 1 coat
5) 2nd coat (drying should only take 5-10mins depending on temperature and humidity
6) 3rd and final coat. (you may do more coats depending on the look you want to achieve) Dry for 10-15mins
7) This is the part where you take your time. The first picture shows how rubberized the product will be at this point. I pulled the tape to show the effect. Do not pull the tape.
8) Use a knife or razor blade, and follow along the tape. If you're carefull, you will not cut your OEM paint job. Take your time.
9) And you're done!!! You may want to go along some rough and pulled edges to clean them up with the razor blade.
If you dont like the outcome.... peel it off.
As for Impact, debris cleaning and heat... Others who have done this modification have not had any issues (even on front bumpers). How it holds up to pressure washing.. I'll have to find that one out for myself.
Other than that, it only took me about 45mins... to come out with a whole new look.
This product can be removed with out damaging your OEM paint.. to test it for yourself... spray this product on a test panel, or an area you're not worried about on your car to find out for yourself.
Enjoy!
Disclaimer: I will not be held responsible for any Oops or fails... and if you spray on the wrong product... that's your own damn fault. lol.
Last edited by Se7enth_Gen; Jul 28, 2011 at 05:02 PM.


Junior Member
Joined: May 2011
Posts: 29
I had some vinyl left over from the roll I bought for the roof so I also did this little section. The areas around the muffler tips was a B*TCH! This would have been sooo much easier. I never thought about how you wouldn't be able to just pull the tape off though, good point.


Junior Member
Joined: Feb 2011
Posts: 41
From: Southern Ontario, Canada
Thanks everyone, the process was easy and is extremely cheaper in materials and labour than vinyl or paint.
For raz76 and anyone else who tilts their head at the pictures ghetto style....
As stated in the original post this is to review how a paint job or vinyl work may look before spending the $$$$.
Real life photoshoping in other words.
For raz76 and anyone else who tilts their head at the pictures ghetto style....
As stated in the original post this is to review how a paint job or vinyl work may look before spending the $$$$.
Real life photoshoping in other words.


Senior Member
Joined: Jan 2011
Posts: 439
I realize it's purpose... It's a cheap way to make your car different. Again, I said it's not my style but if it's yours then good for you!
Unless applying plastidip to your car adds 10th and I have not been told... I understand the purpose
Unless applying plastidip to your car adds 10th and I have not been told... I understand the purpose
Last edited by maxxxxspeed; Aug 2, 2011 at 04:28 AM.

Senior Member
Joined: Jul 2010
Posts: 424
From: Central N.J.
I just did this on my stock grille to see if I like it before buying the real deal grille.It was a very hot and humid day with a few rain drops here and there that kept me from adding other coats for long periods of time. In the end it looks great but it def looks like I used rubberized undercoating on it.Its thick and super flat in color and looks to be textured sorta like leather is. No runs,drips, fish eyes.Maybe some orange peel looking.But this peels right off just as easy and now that alone made up my mind to buy the black grille I really wanted once this chips and peels from car washes, bugs,road sand blasting from particals on the freeway.
I also say this is ideal for all that chrome trim and items alike that people want blacked out.Vinyl just cost to much in labor and takes so much time to do correctly.
To whomever posted about this stuff a long time ago on here a big thanks goes out to you!!!
*** ALSO, A TIP : WHEN USING A RAZOR TO SCORE/TRACE OUT THE TAPE LINE JUST USE THE NATURAL WEIGHT OF YOUR INDEX FINGER WHILE CUTTING SO YOU DEF WONT CUT THE PAINT.THIS IS A ERROR WAY OF MAKING SURE YOU DONT CUT YOUR PAINT AND BEING ABLE TO LIFT THE TAPE WITHOUT IT PEELING THE PLASTIDIP***
Last edited by Juggernaut23; Aug 2, 2011 at 05:23 AM.
Junior Member
Joined: Feb 2011
Posts: 41
From: Southern Ontario, Canada
^^^^ lol clearly you don't.
So I took this idea to my painter yesterday, to review the concept, and he actually thanked me for being able to show him what I wanted, instead of the typical... "I want this done, or a priceless microsoft paint job" that he gets 99% of the time. He has been painting for almost 20years and has done this himself to see what the outcome would be.... even the fact that he has access to paint anytime he wants... its the prep work that he saves on. As we all know, time is money.... trust me when I say, these techniques are useful, as I have put 1000's of hours and 1000's of dollars in to cars... and there were somethings I regret doing.
Absolutely this is my thing, there's more I'm going to do with this car, and I'm going to be confident in my paint scheme.
I highly encourage ppl to try this before painting or vinyl to review the look you want...... a side from the "ricer comments" don't let these ridiculous comments stop you from trying it.
Last edited by Se7enth_Gen; Aug 2, 2011 at 05:31 AM.
Senior Member
Joined: Jan 2011
Posts: 439
OK. obviously I didnt... I should of read the entire post, stuck in traffic and just saw the pics...
I am NOT saying that the paint scheme is ricer... I am saying that using Plasti-dip is (if you leave it on the car)...
I am NOT saying that the paint scheme is ricer... I am saying that using Plasti-dip is (if you leave it on the car)...
Senior Member
Joined: Nov 2010
Posts: 4,020
From: Maryland
I agree, plastidip is ghetto if you are using it in a permanent sense. I used plastidip though to black out my grill, once I got comfortable enough that I knew I wanted to keep it I took the plastidip off (which actually was kind of a pain on the grill honeycomb area) and sanded/painted forreal. Definitely an awesome temporary paint job that is 1,000,000 times better than a Microsoft Paint picture. I just wish plastidip came in different colors.

Senior Member
Joined: Feb 2009
Posts: 433
plasti dip--pretty cool
seems like a pretty good idea for a inexpensive way to change color of wheel etc..
http://www.youtube.com/results?searc...l=f&oq=plasti+
also a be good for protecting that front bumper in the northeast during winter from rock chips etc....
http://www.youtube.com/results?searc...l=f&oq=plasti+
also a be good for protecting that front bumper in the northeast during winter from rock chips etc....


Junior Member
Joined: Nov 2005
Posts: 53
From: SF Bay Area, CA


