
Eibach Spring Installation Help!


Thread Starter
Junior Member
Joined: Apr 2010
Posts: 47
From: Bethesda, MD
Eibach Spring Installation Help!
Hey guys/gals, trusted my instincts and abilities and decided to install my Eibach springs myself with help from my boyz. Got done with rear springs pretty straight forward using the DIY guide from here.
The problem I am having is removing the bolt and nut from the top of the strut bar. It is really a PITA. I borrowed a coil compressor and compressed the OEM springs as tight as possible, but that nut and bolt will not budge. My question is, is there any trick to loosening this bolt or do i have to take this to a shop to have them help me out.
Thanks in advance for any tips.

Senior Member
Joined: Oct 2010
Posts: 1,326
From: WA
The actual trick is to use an impact driver.
I always try to break it loose before removing it from the car. If that isn't possible you need to get it in a big vise and break it loose (don't remove it completly) BEFORE fully compressing the spring.
You always want the compressor to have some spring compression to prevent serious injury of the spring flying off.
Last edited by dr_2010SV; May 3, 2013 at 07:40 AM.


Member
Joined: Feb 2013
Posts: 119
From: Charleston
When it comes to tough nuts and I don't have an impact drill/wrench at hand, I typically go with spraying it with Liquid Wrench™, letting it penetrate for a while, then tapping it along the sides with a hammer then trying to screw it off.


Senior Member
Joined: Jun 2012
Posts: 696
From: Honolulu, Hawaii
The actual trick is to use an impact driver.
I always try to break it loose before removing it from the car. If that isn't possible you need to get it in a big vise and break it loose (don't remove it completly) BEFORE fully compressing the spring.
You always want the compressor to have some spring compression to prevent serious injury of the spring flying off.
I always try to break it loose before removing it from the car. If that isn't possible you need to get it in a big vise and break it loose (don't remove it completly) BEFORE fully compressing the spring.
You always want the compressor to have some spring compression to prevent serious injury of the spring flying off.
Loosen it up while its still mounted, but don't fully remove it until you've got the strut out and compressed the spring. Then you can go at the nut with your wrench holding the strut shaft in place with an Allen wrench.


Thread Starter
Junior Member
Joined: Apr 2010
Posts: 47
From: Bethesda, MD
LOL at torching it, the frustration of getting that close and not being able to finish does make you wanna torch it
But I think I'll go find me an impact driver. Thank you all for the speedy replies
But I think I'll go find me an impact driver. Thank you all for the speedy replies

Senior Member
Joined: Oct 2010
Posts: 1,326
From: WA
Sketchy mechanics not with my car.
Thread Starter
Junior Member
Joined: Apr 2010
Posts: 47
From: Bethesda, MD
So I ended up compressing the springs and getting the bolt off the top of the strut with a impact wrench. Another problem came up, I could not compress the Eibach springs enough to bolt on the strut top. I was sweating and nervous because my car was on jack stand and it was late on Saturday. I was able to find a shop to put the strut back together for me for $58.
I moved to the other side to pull out the strut, and the dawg on bottom bolt would not budge, I needed a breaker bar. I was just so frustrated at this time, I drove to a shop and they charged me $140 for the passenger side swap.
My advise to anyone planning on doing this mod is this. Make sure you have the right tools, jack, jack stand, power tool, impact tool, a shop grade coil/spring compressor, the autozone rented tool is no good IMO. You need a good buddy too to help. The rears are easy as pie, the fronts are the beast. Like someone said above, you can take out the struts and have a shop swap the springs for about $40 each. If you don't have all of the tools you need, do not DYI this project, it was a PITA for me mainly because of inadequate tools.
But the great thing is that I love the look of the car, and already I noticed less rollover on corners and turn, the car feels better grounded and just look delicious, lol.
Next mod is sway bar and strut bar
Senior Member
Joined: Jun 2012
Posts: 696
From: Honolulu, Hawaii
So I ended up compressing the springs and getting the bolt off the top of the strut with a impact wrench. Another problem came up, I could not compress the Eibach springs enough to bolt on the strut top. I was sweating and nervous because my car was on jack stand and it was late on Saturday. I was able to find a shop to put the strut back together for me for $58.
I moved to the other side to pull out the strut, and the dawg on bottom bolt would not budge, I needed a breaker bar. I was just so frustrated at this time, I drove to a shop and they charged me $140 for the passenger side swap.
My advise to anyone planning on doing this mod is this. Make sure you have the right tools, jack, jack stand, power tool, impact tool, a shop grade coil/spring compressor, the autozone rented tool is no good IMO. You need a good buddy too to help. The rears are easy as pie, the fronts are the beast. Like someone said above, you can take out the struts and have a shop swap the springs for about $40 each. If you don't have all of the tools you need, do not DYI this project, it was a PITA for me mainly because of inadequate tools.
But the great thing is that I love the look of the car, and already I noticed less rollover on corners and turn, the car feels better grounded and just look delicious, lol.
Next mod is sway bar and strut bar
I moved to the other side to pull out the strut, and the dawg on bottom bolt would not budge, I needed a breaker bar. I was just so frustrated at this time, I drove to a shop and they charged me $140 for the passenger side swap.
My advise to anyone planning on doing this mod is this. Make sure you have the right tools, jack, jack stand, power tool, impact tool, a shop grade coil/spring compressor, the autozone rented tool is no good IMO. You need a good buddy too to help. The rears are easy as pie, the fronts are the beast. Like someone said above, you can take out the struts and have a shop swap the springs for about $40 each. If you don't have all of the tools you need, do not DYI this project, it was a PITA for me mainly because of inadequate tools.
But the great thing is that I love the look of the car, and already I noticed less rollover on corners and turn, the car feels better grounded and just look delicious, lol.
Next mod is sway bar and strut bar
So... Congrats! Pics?

Junior Member
Joined: Apr 2013
Posts: 22
Another option if you dont have an impact... get a pipe wrench, get the socket that fits the nut. Put the allen key in the center, put the socket over the nut and turn the socket using the pipe wrench. Simple and cheap... although an impact makes life so much easier


Thread Starter
Junior Member
Joined: Apr 2010
Posts: 47
From: Bethesda, MD
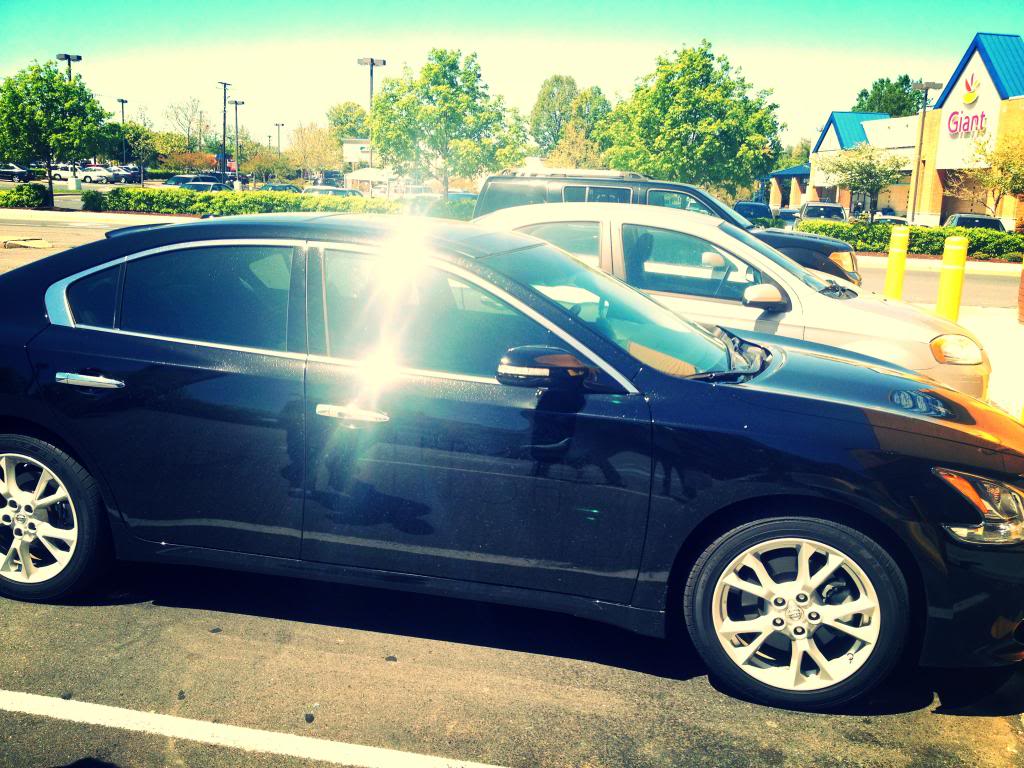
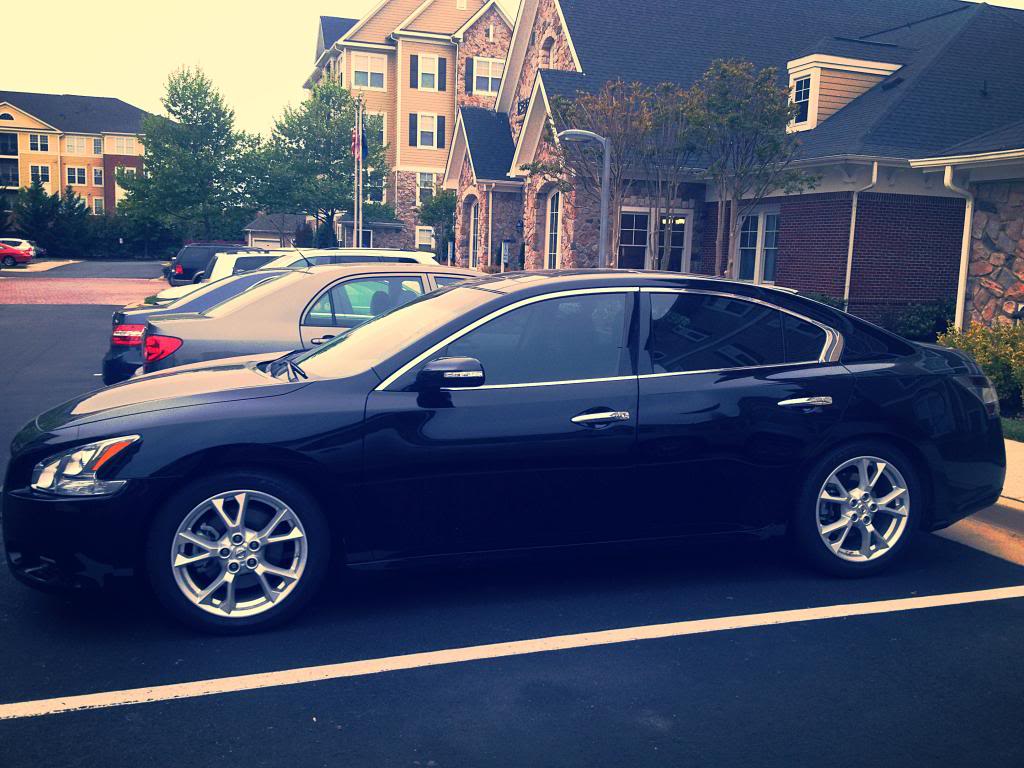
As promised, here are the pics. Treated my boys to some kicking Popeyes before starting installation. ride was quite dirty, can you see the "HIGH" scribbled on the Blax WarHead
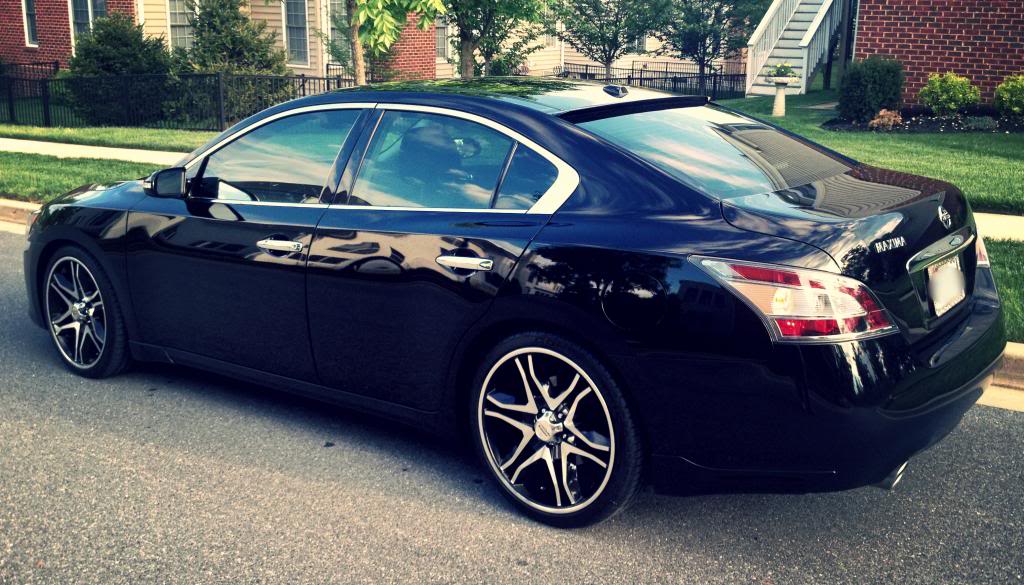
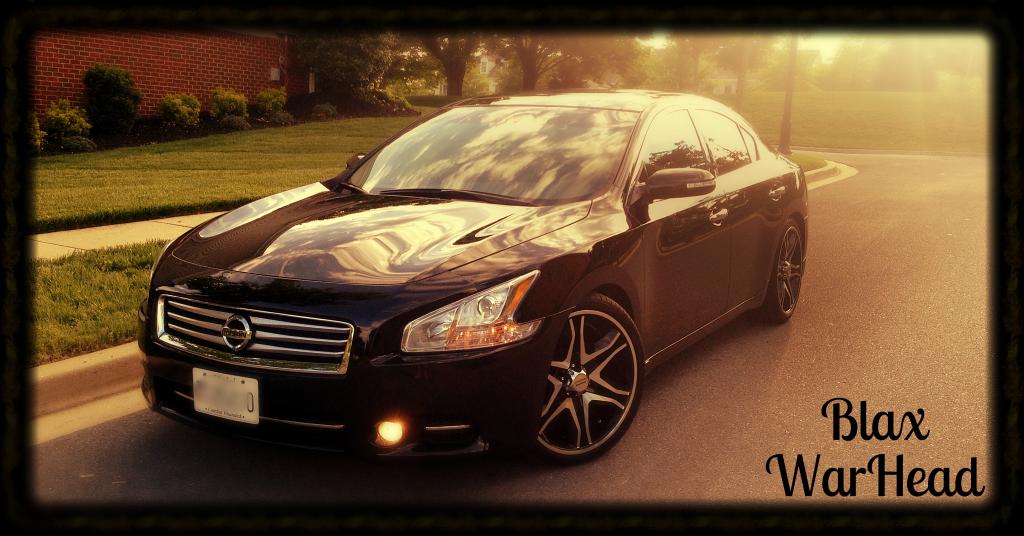
Here you see it dropped after the install, worth every Penty and drives so much stickier to the road in twisties.
I threw on the 20 inch American Racing Wheels, they are decently priced for the guy on a budget :-P . Went to go get an alignment and the shop told me the car is well aligned, that i don't need one except if i just feel like paying them extra money for the day. Love my auto shop, free diagnostics and decent charges.


Here you see it dropped after the install, worth every Penty and drives so much stickier to the road in twisties.

I threw on the 20 inch American Racing Wheels, they are decently priced for the guy on a budget :-P . Went to go get an alignment and the shop told me the car is well aligned, that i don't need one except if i just feel like paying them extra money for the day. Love my auto shop, free diagnostics and decent charges.


Last edited by wolexity21; May 9, 2013 at 04:42 PM.
Senior Member
Joined: Oct 2010
Posts: 1,326
From: WA
Though it still won't fill your tires, I bought an 18V impact driver that does quite well for just occasional home use. It worked great for my spring install and knocks the lug nuts off every time with ease.

Not to bump an old thread but for anyone looking for tools for this job etc, if you go to lowes they have an electric impact wrench made by kobalt for like $150 which is usually on sale for anywhere from $100 to $135 that is a beast. knocks off anything you can throw at it including suspension bolts etc. Best value for a tool i have ever bought!

Thread
Thread Starter
Forum
Replies
Last Post
MaxLife17
8th Generation Maxima (2016-)
43
Jun 27, 2019 01:37 PM
lowpost99
1st & 2nd Generation Maxima (1981-1984 and 1985-1988)
1
Sep 8, 2015 05:06 AM

