Progress on 3.5L swap.
#1
Progress on 3.5L swap.
Well it's coming along. I wish I weren't taking so long. I just want my car back  But alas, I am being OCD about it. I was supposed to have this done so I could goto the opening day at the track tommorrow but right now I'll just be glad if it's back in the car tomorrow, but for now it sits pretty on an engine stand, Just had to share some pics.
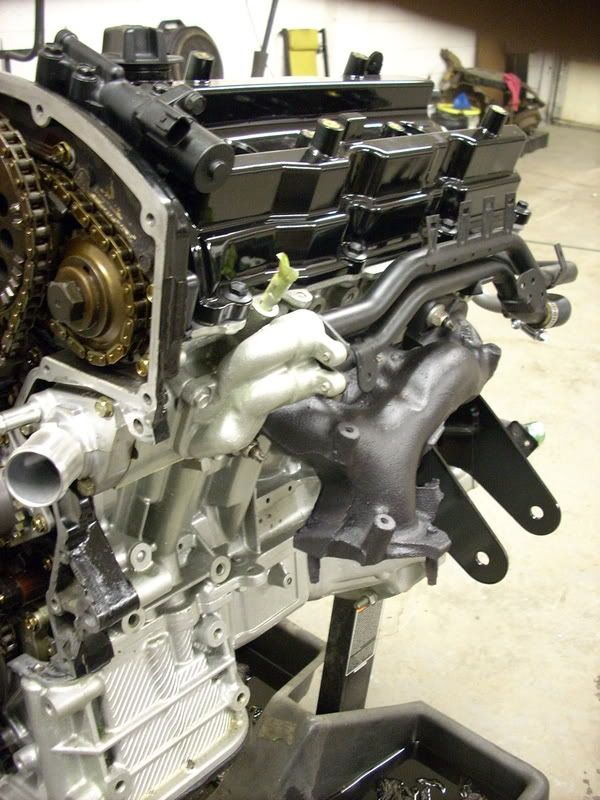
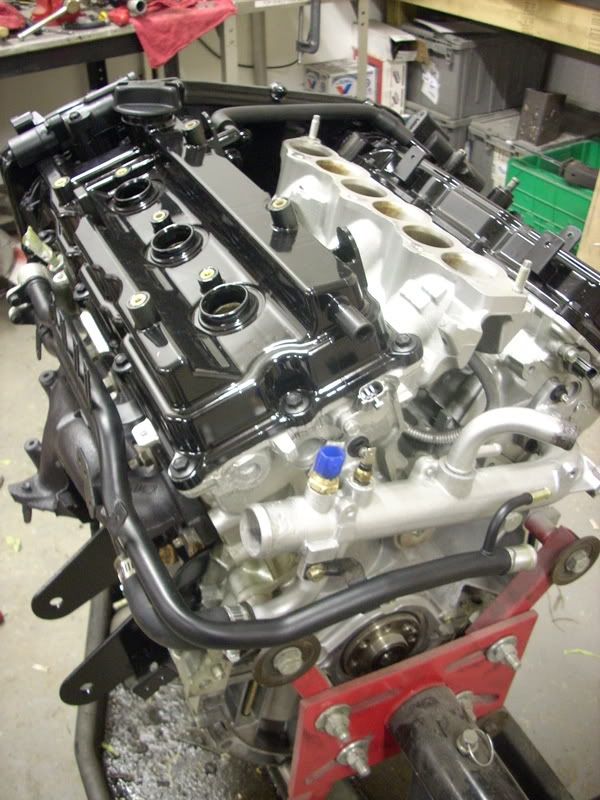
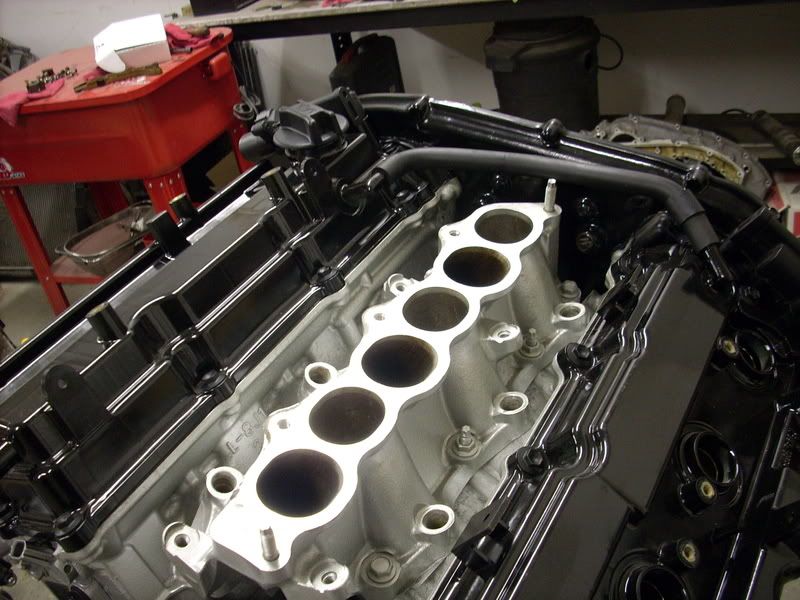
I really wanted to build some headers for it, however I'm already like 3 weeks too long into this project, so I figured I better just get it in and running for now. Can't wait
 But alas, I am being OCD about it. I was supposed to have this done so I could goto the opening day at the track tommorrow but right now I'll just be glad if it's back in the car tomorrow, but for now it sits pretty on an engine stand, Just had to share some pics.


I really wanted to build some headers for it, however I'm already like 3 weeks too long into this project, so I figured I better just get it in and running for now. Can't wait

#6
Thanks for the comments! 2 coats of gloss black, 3 coats of clear. Turned out really good except the shop isn't exactly dust free so there's some dust in it. Oh well. Still didn't get it in today. Ran out of gas on the welder, doing some motor mount fab so need to fill the bottle tommorrow. Hopefully,,,,
3 more pics, just because.
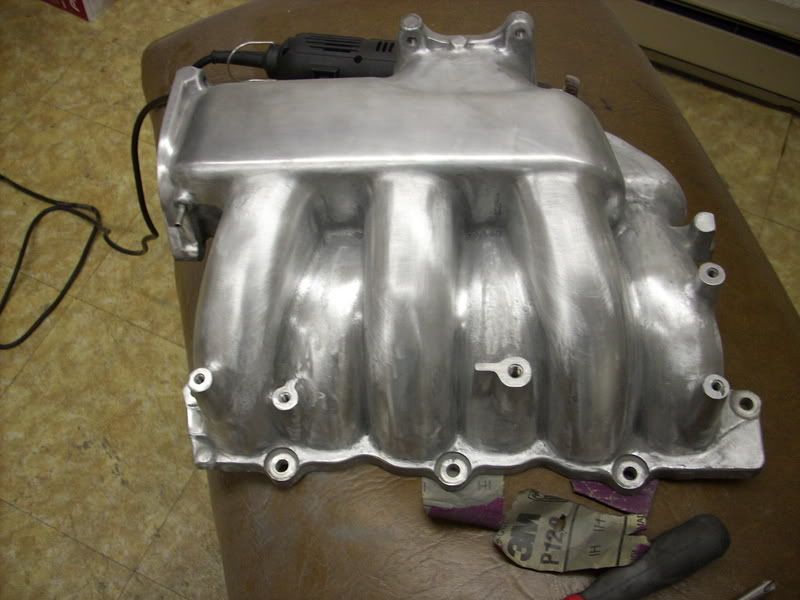
just so you know it IS worth the cost to have someone else do this for you.
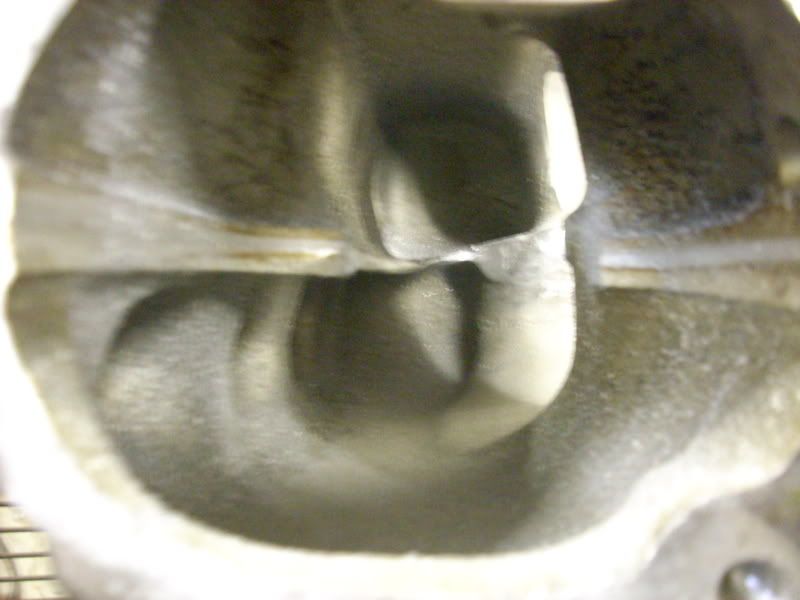
All opened up.
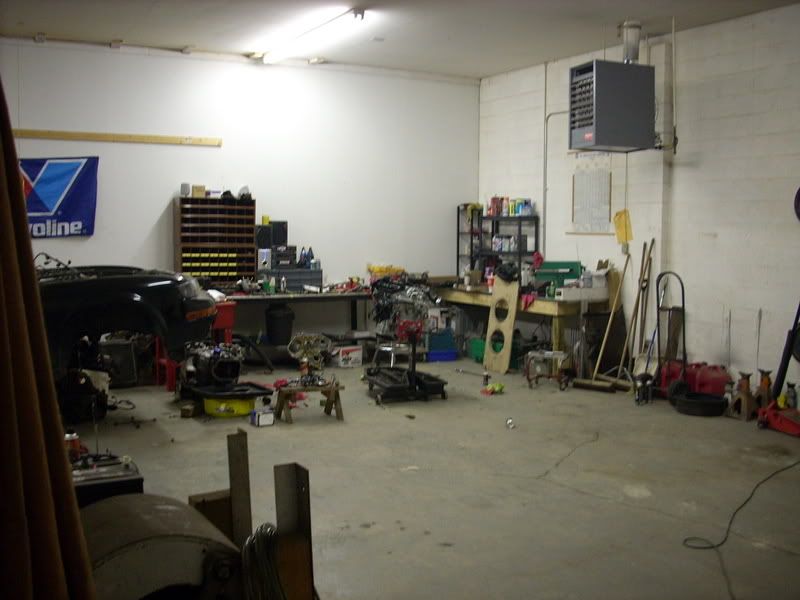
Where's the easy button?
3 more pics, just because.

just so you know it IS worth the cost to have someone else do this for you.

All opened up.

Where's the easy button?
Last edited by HM_Motorsports; 04-06-2008 at 08:12 PM.
#7
Clean
Great job so far. You have a nice shop.Yeah the ssim is worth the cost of someone else doing it lol
"Easy button" haha I wish I had a easy button. My longblock is on the stand like yours Im waiting for money to fall out of the sky so I can buy the headers.
Goodluck
"Easy button" haha I wish I had a easy button. My longblock is on the stand like yours Im waiting for money to fall out of the sky so I can buy the headers.
Goodluck
#11
A little more progress.
It's IN the car finally!! I've seen the question asked about what FSTB will fit. This is the Alutec one from Paradox-Systems, fits just fine, it is sitting on the strut bolts in the pic, it'll go down about .5" when its actually mounted, but still has plenty of clearance.
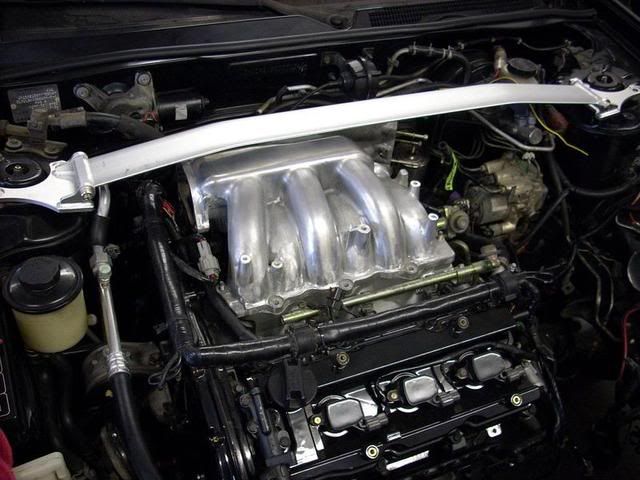
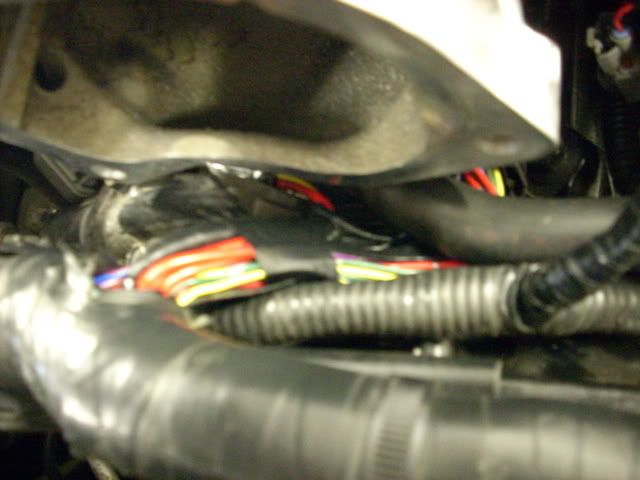
Had to reroute the portion of the harness on the back bank, as well as lengthen the last coil pack lead and the EVAP sol lead to get them where I wanted. That plastic cover they put over the wiring is good stuff, lemme tell ya! (btw this is routed for mock up, it WILL be recovered before anyone busts me up about it )
)
She's back on the ground! I've got little things to do now, it's been slow going with a day job and the shop being busy lately, no time! It's getting closer now. The car is mad at me I'm sure, I was stupid and left the windows down during this ordeal, the same amount of dust on the outside of the car was on the inside until my lovely gf helped me out this week and spent an hour cleaning it out. The windows are up now.
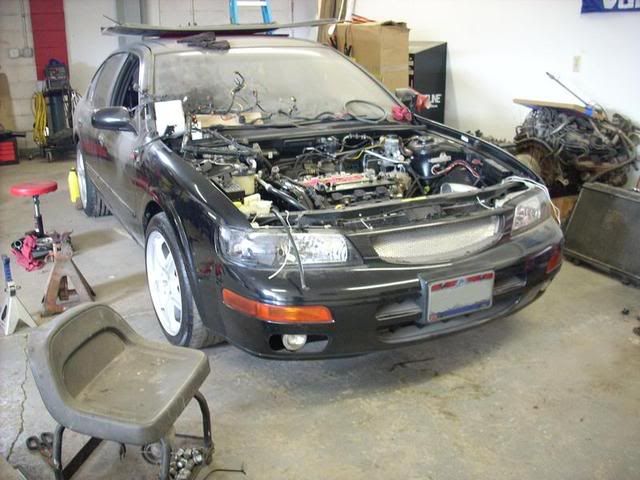

Had to reroute the portion of the harness on the back bank, as well as lengthen the last coil pack lead and the EVAP sol lead to get them where I wanted. That plastic cover they put over the wiring is good stuff, lemme tell ya! (btw this is routed for mock up, it WILL be recovered before anyone busts me up about it
 )
)
She's back on the ground! I've got little things to do now, it's been slow going with a day job and the shop being busy lately, no time! It's getting closer now. The car is mad at me I'm sure, I was stupid and left the windows down during this ordeal, the same amount of dust on the outside of the car was on the inside until my lovely gf helped me out this week and spent an hour cleaning it out. The windows are up now.

#12
Joined: Oct 2005
Posts: 4,572
From: Middleboro/Carver, Ma
Awesome man, glad to see you putting those adaptors to use! Sucks about the dust, but you've got a girlfreind so you can't biotch. Yeah oh man that back harness, I've found that violently snapping it like the incredible hulk trying to bend a steel rod, yeah that's the best way to do it.
#13
Awesome man, glad to see you putting those adaptors to use! Sucks about the dust, but you've got a girlfreind so you can't biotch. Yeah oh man that back harness, I've found that violently snapping it like the incredible hulk trying to bend a steel rod, yeah that's the best way to do it.
#14
Joined: Oct 2005
Posts: 4,572
From: Middleboro/Carver, Ma
Oh know I agree, it's best to just rip the entire thing apart ALL the way back to the main part of the harness and start from scratch, I just meant that if you snap the hard plastic shell's kinda like a glow stick it's easier than starting at the end and being gentle and safer than cutting it, I didn't learn that until I did it a few times, the last one took me like under 2 minutes to expose all the pretty colors.
#15
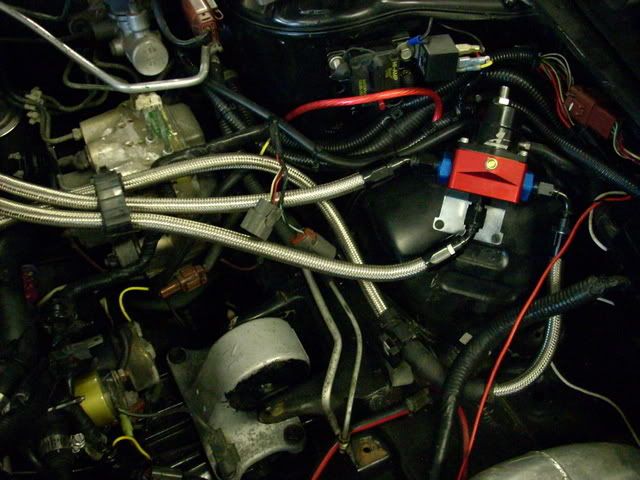
Fuel lines installed and wiring harness done.
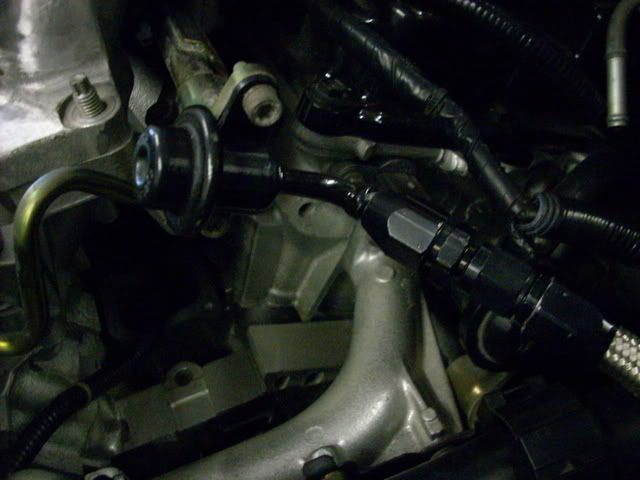
Tig welded an AN fitting to the rail inlet.
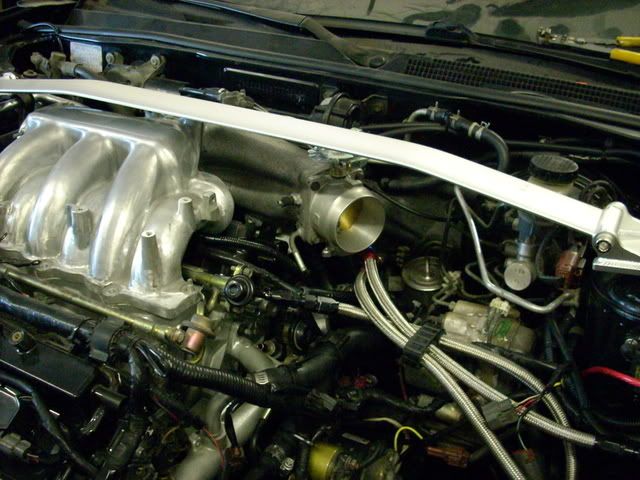
Lookin like a motor again!
Hopefully started by Sunday!
I think I hold the record for the longest 3.5L 4th gen swap in history.
#16
Thread
Thread Starter
Forum
Replies
Last Post
zzznightmarezz
Maximas for Sale / Wanted
0
09-21-2015 06:32 PM


