
Z31 Rear Brake Conversion/Upgrade Write up

Thread Starter

Joined: Sep 2005
Posts: 4,945
From: Chicago
Z31 Rear Brake Conversion/Upgrade Write up
Ok so for a while I've been wanting to do this but was waiting for my junk yard Maxima rotors and pads wear some more. Finally bought new pads and 300zx rotors and converted on Tuesday.
Some clarifying, I'm using Maxima calipers and pads, all I've changed was the torque member with one off an 89-90 maxima (shown in last picture) and the rear rotors from a 1986 300zx
Needed parts for swap:
-2- 1986 300zx rotors part number:31136
-Maxima brake pads
-torque member off 1989-90 Maxima
-caliper grease for guidepins
-brake parts cleaner
Tools needed for swap:
**Air tools (compressor, grinder, ratchet, impact gun) are optional but very helpful**
-jack stands
-jack
-13/16 or 22mm
-14mm socket
-17mm wrench
-30mm socket
-Needle nose pliers
-hammer
-brake piston cube
-3/8 extension 4"+ preferable
-and obviously a ratchet 3/8 and 1/2 would be nice.
1. Start by jacking up car from rear "crossmember" or subframe
2. support car with jackstands under jacking points
3. Remove wheels (loosen nuts prior to lifting if no airtools available)
4. Remove 14mm bolts on caliper to separate from caliper braket
5. Remove 17mm bolts holding caliper bracket to torque member
6. Cut dust shield with air grinder using metal cutting disc. (If no air grinder, you might have to remove rotors and shield prior to cutting)
7. Remove rotor, if not loose enough to pull, simply hit it with the hammer
8. Remove dust cap from hub with screw driver or just bang it with hammer like I did, remove cotter pin with needle nose plies and pull hub after removing 30mm nut.
9. Remove 4- 14mm bolts and pull dust shield, torque member should come out too but you will need to bang it with hammer as well.
10. position correct side torque member from 89-90 max where it belongs, place trimmed dust shield over as well and tighten all 4- 14mm bolts (i tightened them in a cross pattern, figured it worked like wheels do)
11. Put hub back in place, make sure that "squared off" washer goes in as well, tighten 30mm nut and install a new cotter pin.
12. Pull guide pins from caliper bracket, clean them and re-grease them as well as the rubber boots, if these suckers rust out, it's completely worthless to even have any upgrade in the back.
13. After inserting guidepins back, take the caliper and the piston tool along with a ratchet and extension and turn in a clockwise motion until the piston is fairly flush with the caliper so your new pads fit. (Be sure not to rip your piston seal/boot with the piston tool..it can easily slip off the piston)
14. Once caliper piston and guidepins are good to go, take the rotors out the box/bag, clean them up with Brake parts cleaner to get rid of anti rusting oils and place rotors on hub.
15. Once rotor is on, install caliper bracket with the 2-17mm bolts, might as well install pads too.
16. slide caliper over bracket/pads and tighten the 14mm bolts (you might have some difficulty as the caliper will extend a bit farther up but keep trying)
17. ok, try turning the disc and see if theres any resistance, just a bit? good enough, put the wheel on tighten the lugs to 87 lbs in a cross pattern and you're good to go on that side. Do the same for the other.
Last edited by ColombianMax; Feb 22, 2008 at 10:42 PM.

Thread Starter
Joined: Sep 2005
Posts: 4,945
From: Chicago
the pads are cheap Morse and just got done breaking in...at first I didnt notice a difference but now I'm starting to feel a bit.
The way it works is that the calipers are further out having more angular leverage. That is the explanation I've gotten. Makes sense.
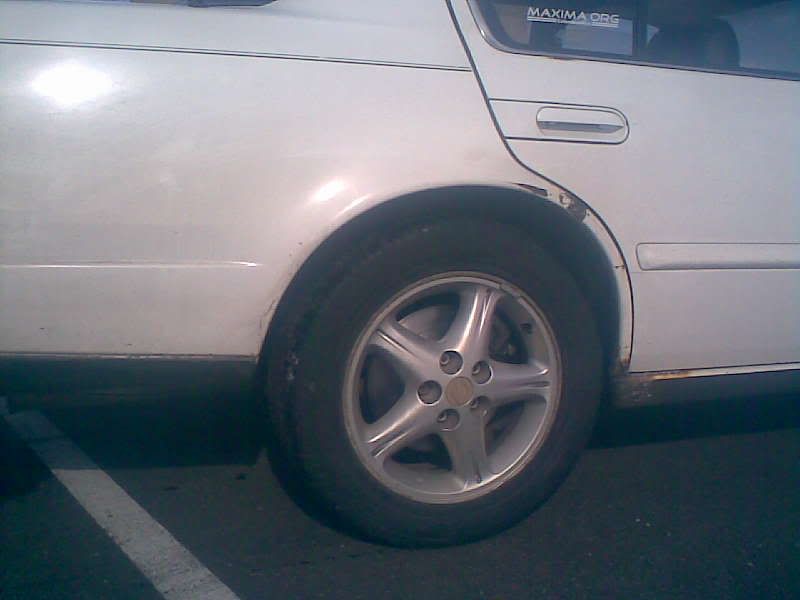
After having the conversion done, your rear disc end up nearly if not the same size as the stock front rotors so it looks nice and even. If the stock rims clear the front rotors, I would assume the rears would clear as well, dont mark my words though as I've got 16" 97-99 SE rims.
I got some pics with the stock setup and I will try to snap some shots with the new rotors for ya soon.
Last edited by ColombianMax; Feb 23, 2008 at 03:45 PM.

Thread Starter
Joined: Sep 2005
Posts: 4,945
From: Chicago


Thread Starter
Joined: Sep 2005
Posts: 4,945
From: Chicago


 I'll wait for Wayne to do it
like axle seals. zomg. differential oil seals, axle seals, driveshaft seals, transmission output shaft seals (that's where we finally found them at Advanced last night).. thank god brake rotors are just brake rotors.


Thread Starter
Joined: Sep 2005
Posts: 4,945
From: Chicago
Alright so I have 2 pics I took with my cell here they are...before and after
Pardon the rust and body damage, it should be gone soon (yay)
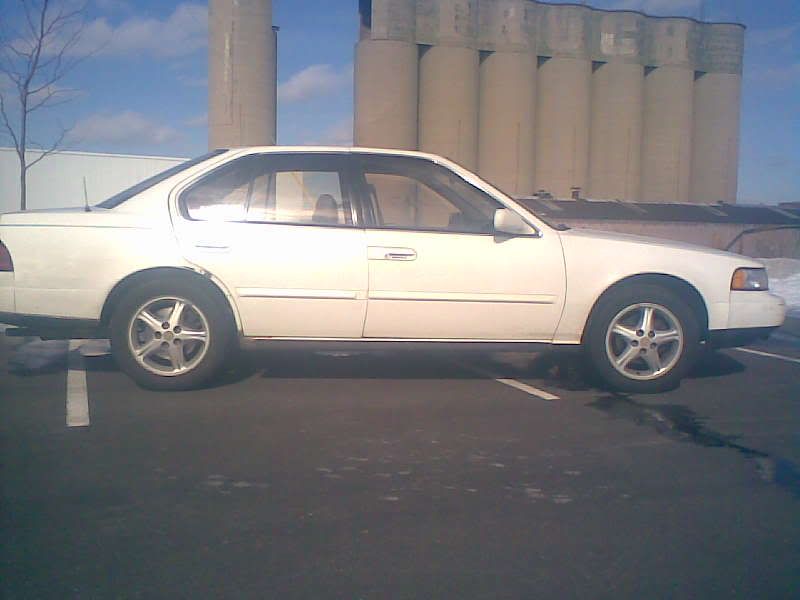
BEFORE (notice how much gap between rotor and inside of rim)

AFTER (notice how smaller that gap got )
)
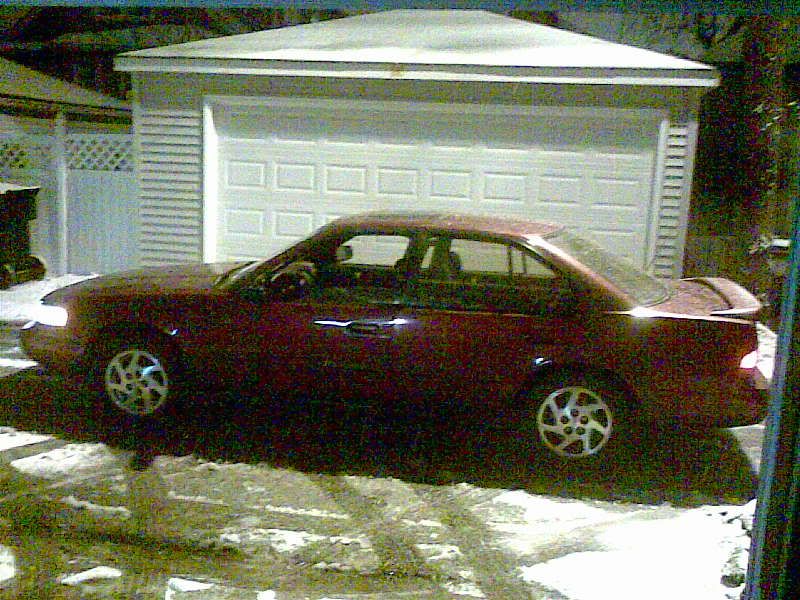
OT, picked up my gf some sawblades and now she's pimpin that max
Pardon the rust and body damage, it should be gone soon (yay)
BEFORE (notice how much gap between rotor and inside of rim)
AFTER (notice how smaller that gap got
)OT, picked up my gf some sawblades and now she's pimpin that max
Thread Starter
Joined: Sep 2005
Posts: 4,945
From: Chicago


availability. IIRC, Jeff's are copies of them- the OEM brackets are unavail from the dealer, so you gotta go junkyard diving to find them. often yards won't let you pull just that bracekt off the car- they make you take the whole rear axle or the whole brake assembly for $$$$.
Ugh. Here are some pics from when I was offering the brackets custom made:
[img]http://inlinethumb27.webshots.com/14042/1157945523044714720S600x600Q85.jpg[//img]
[img]http://inlinethumb56.webshots.com/32695/1156103789044714720S600x600Q85.jpg[//img]
[img]http://inlinethumb13.webshots.com/39820/1156103603044714720S600x600Q85.jpg[//img]
[img]http://inlinethumb27.webshots.com/14042/1157945523044714720S600x600Q85.jpg[//img]
[img]http://inlinethumb56.webshots.com/32695/1156103789044714720S600x600Q85.jpg[//img]
[img]http://inlinethumb13.webshots.com/39820/1156103603044714720S600x600Q85.jpg[//img]

