Yellow Foglight Capsules
#1
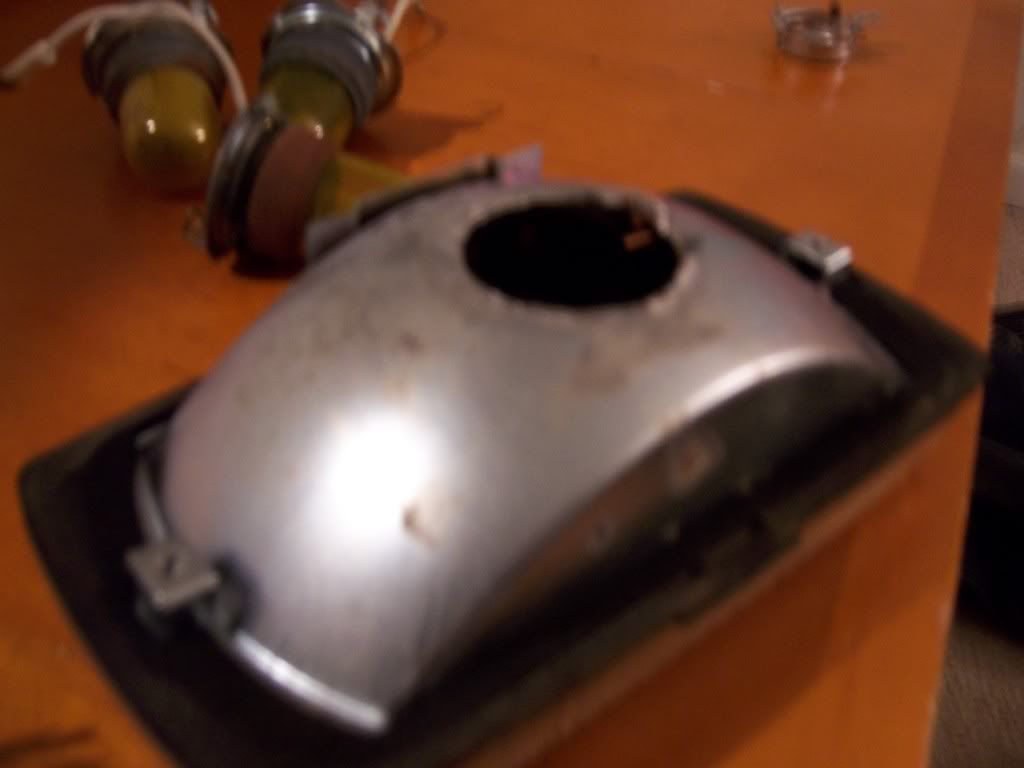
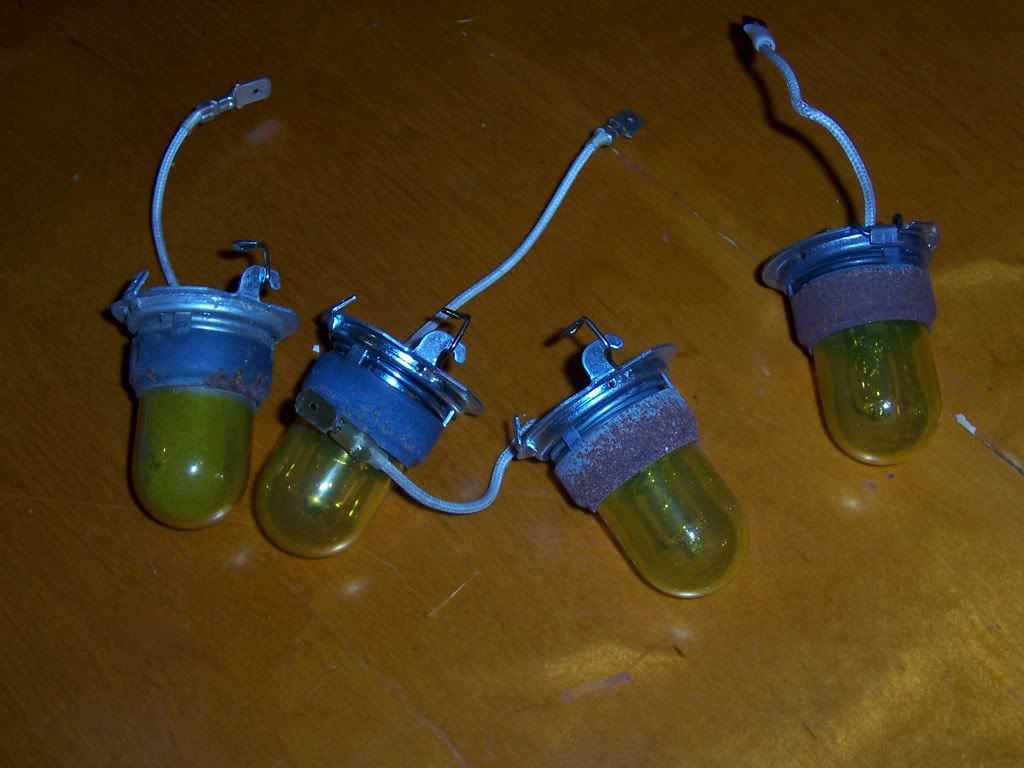
***PICS***Retro Yellow Foglight Capsules***PICS***
I did a "retrofit" yesterday on my foglights using some yellow capsules much like the ones on the lexus. Heres the cool part...i got my capsules off the earlier (1989-1992) Honda prelude foglights. I got two pairs of capsules for REALLY cheap. Ill be going to the junkyard again to try and dig up more. If i find more capsules i will be doing this retro for a small price.
***Tools***
10mm socket + wrench
Phillips head screw driver
flat head screw driver
dremmel + sanding and cutting disks
double sided tape.
Pliers
***Directions***
First remove the foglight housing from the car. There are 2 10mm bols holding each light bracket to the bumper.(refer to chiltons or haynes manual)
After removing the light and bracket assembly, turn it around and you will notice 2 screws on the back of the black housing. Take these 2 screws off and separate the reflector and lens from the black housing.
Remove the bulb and bulb holder. Remove the bulb holder by using a flathead screw driver to pry the tabs holding it in place off. You will probably need to use a set of pliers o remove the bulb holder once you have pried the tabs up.

Now use your dremmel grind material away from the existing hole. Test fit the capsules periodically to keep from grinding too much away.

I then notched one side of the metal tab on the capsule and drilled a small hole just above the opening for the capsule on the reflector housing. (this is to allow you to hold the capsule in place using a screw)

I chose to put two layers of double sided tape over the hole i enlargened on the reflector housing. This does two things: 1) it acts as a weather stripping and 2) helps hold the capsule in place as well. I then trimmed the tape so i could fit the capsule into the hole and screw it in place.
Reverse the steps to put the reflector back into the housing and bracket back onto the bumper. Wait for evening and find a nice level ground and wall and aim them.


***Tools***
10mm socket + wrench
Phillips head screw driver
flat head screw driver
dremmel + sanding and cutting disks
double sided tape.
Pliers
***Directions***
First remove the foglight housing from the car. There are 2 10mm bols holding each light bracket to the bumper.(refer to chiltons or haynes manual)
After removing the light and bracket assembly, turn it around and you will notice 2 screws on the back of the black housing. Take these 2 screws off and separate the reflector and lens from the black housing.
Remove the bulb and bulb holder. Remove the bulb holder by using a flathead screw driver to pry the tabs holding it in place off. You will probably need to use a set of pliers o remove the bulb holder once you have pried the tabs up.

Now use your dremmel grind material away from the existing hole. Test fit the capsules periodically to keep from grinding too much away.

I then notched one side of the metal tab on the capsule and drilled a small hole just above the opening for the capsule on the reflector housing. (this is to allow you to hold the capsule in place using a screw)

I chose to put two layers of double sided tape over the hole i enlargened on the reflector housing. This does two things: 1) it acts as a weather stripping and 2) helps hold the capsule in place as well. I then trimmed the tape so i could fit the capsule into the hole and screw it in place.
Reverse the steps to put the reflector back into the housing and bracket back onto the bumper. Wait for evening and find a nice level ground and wall and aim them.


#2
please do.
I bought the Lexus style ones like the 4th gen guys have. They were a bit too long and I had to tear apart my fog housings to make them fit.
I get lots of nice compliments on the "true yellow" of the fogs, but they are pretty much ghetto rigged in there now.
I bought the Lexus style ones like the 4th gen guys have. They were a bit too long and I had to tear apart my fog housings to make them fit.
I get lots of nice compliments on the "true yellow" of the fogs, but they are pretty much ghetto rigged in there now.
#3
are you^ using yellow H3's as well? Mine are pretty yellow but because of the "frosty" foglight lenses iam thinking of using yellow h3 bulbs to see if the color is more vibrant. either that or sticking the fogs in the oven, separating the glass from the housing and polishing the sh*t out of it.
#4
I have the stock white bulbs in mine. They look normal in the daytime (look at my current signature pic), but very yellow at night. I am pleased with the color, but no so much tearing up my stock fog lights. They are not really that great for actual light output. Pretty much weak like all of the lights associated with a 3rd gen. I am thinking about getting some yellow aftermarket fogs.
Here is what mine looks like. I used this pic as my sig for a while, but can't find the original off hand:

Here is what mine looks like. I used this pic as my sig for a while, but can't find the original off hand:

Thread
Thread Starter
Forum
Replies
Last Post
Heat0212
7th Generation Maxima (2009-2015)
10
10-24-2020 12:36 AM
ricky7780
7th Generation Maxima (2009-2015)
15
11-03-2015 03:22 PM
Hdnseek
5th Generation Maxima (2000-2003)
3
09-09-2015 05:55 AM


