
How To: Wrinkle Paint your Valve Covers


Someone wanted an update... Its been over 2 years and I finally got one spot that is peeling on the front side just above the header. My valve cover was polished smooth, and I painted it without sanding it, and I didnt use high-heat paint. Had I done so, it would still be good.


Senior Member
Joined: Oct 2011
Posts: 1,245
I recently saw a picture of a built VQ35 with wrinkle red valve covers. I got hooked on the look, and although I wanted to do red, I scored a can of Krylon Black Wrinkle Paint at Advance Auto for $0.95. So I tested it out.
This is a short how-to on the steps to paint your Valve Cover. Its pretty straightforward, the can itself describes the painting...
Prep
1. Remove the Valve cover. There are 10 or 12 10mm bolts, along with the 6 coilpack screws, and 2 hoses.
2. Remove the gasket from the cover if its on there.
3. Wash the outside of the valve cover, I used Simple Green and Goo Gone. The combo removed all of the grease and dirt, with an old sponge.
4. Dry. Be sure all the water is soaked up/gone.
Side note: I did not mask anything off. I didnt worry about the brass fittings, and I made sure not to coat the underside of the cover. You can if you are so inclined to.
Painting
5. Start with a single light coat. Within 5 minutes, apply another coat, this time, apply until the paint starts to look "wet", but not too heavy.
6. Apply 2 more coats, both 5 minutes after the other, this time make sure they look "wet".
7. Allow to air dry for about 30 minutes and carefully remove from your painting area
**BE CAREFUL! The paint will still be "soft" even during curing. I waited 24 hours and I could still fingerprint the paint with enough pressure**
Curing
8. Turn the oven on bake to 200. Put it on the middle rack, and leave it in for 10 to 15 minutes.
9. Remove, let sit for at least 4 hours(mine sat overnight). Repeat step 8, oven on bake at 200 for 10 to 15 minutes.
(It wont smell that pleasant, its going to smell like burning paint... dont worry, as long as its not literally melting, bubbling or burning, it will be fine)
10. Remove and let sit for at least 4 hours.
11. Reinstall and enjoy.
***I DO NOT recommend you use you car to cure it, instead of the oven! The paint is really soft before curing, the slightest hit could nick it. I also dont know how the oil and grease would react with the curing process!!***
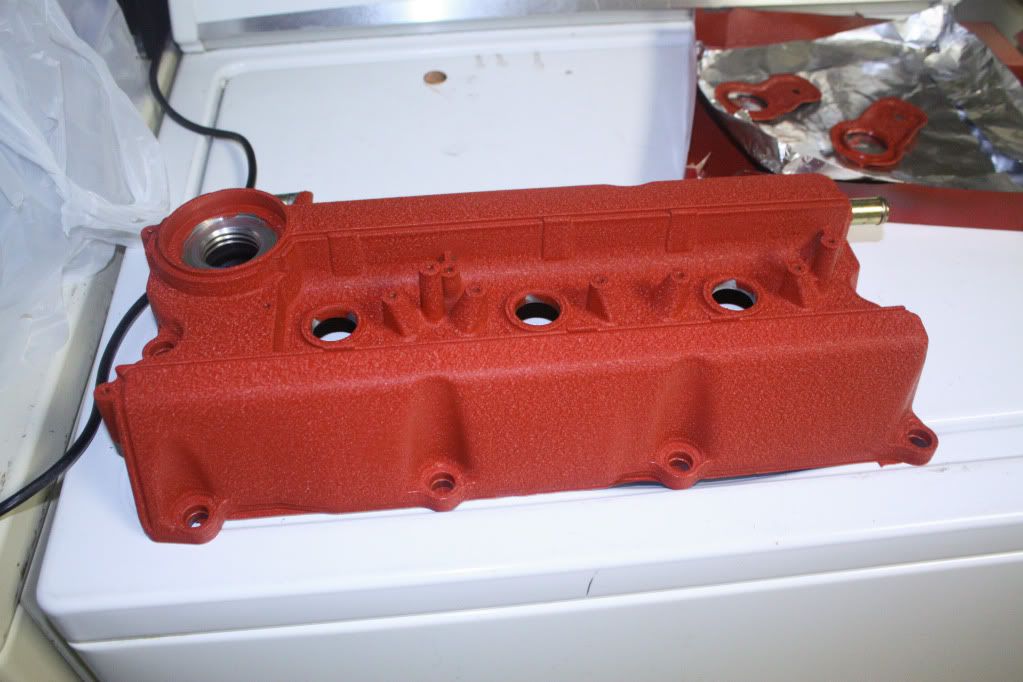
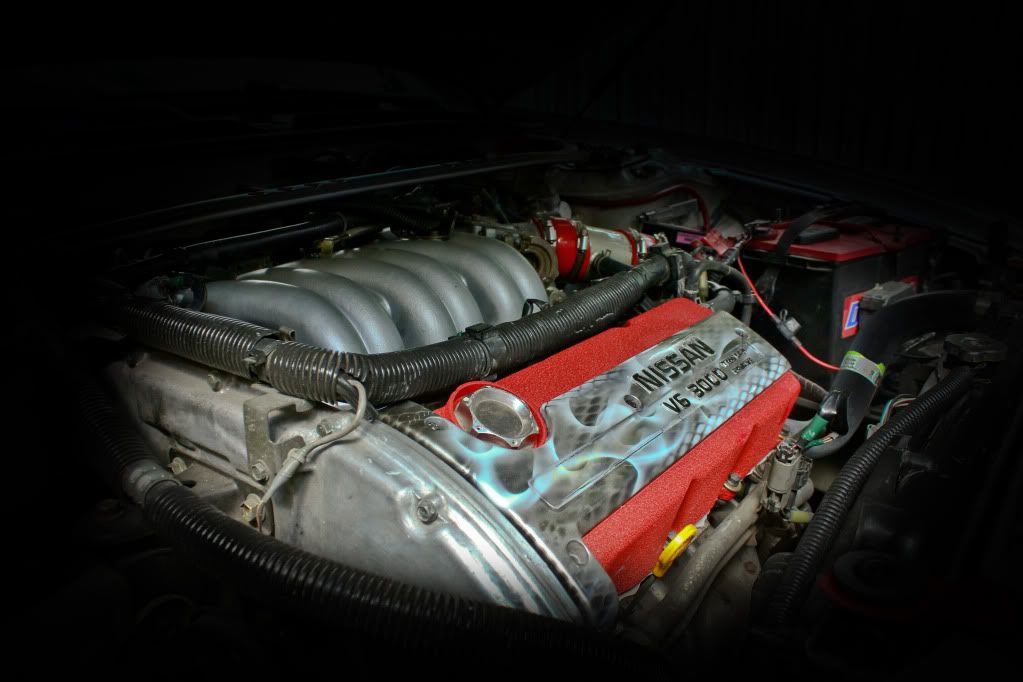
Final Product: (click on images for larger pics)
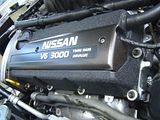

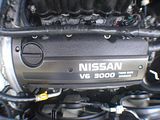
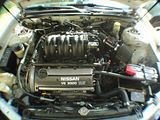
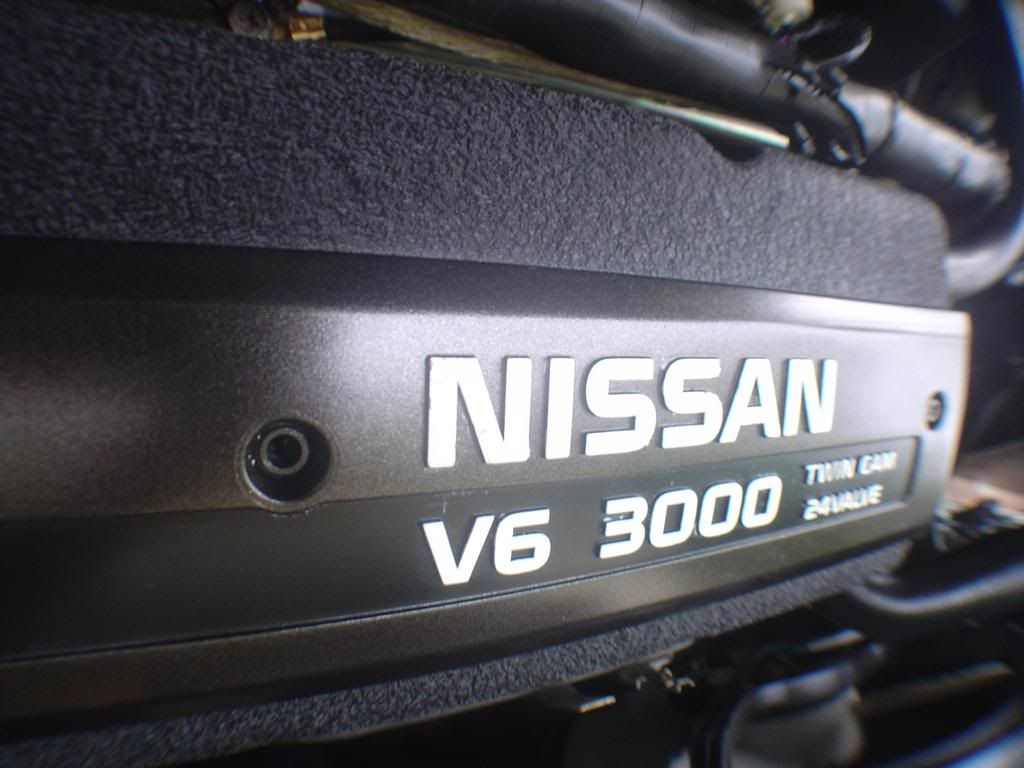
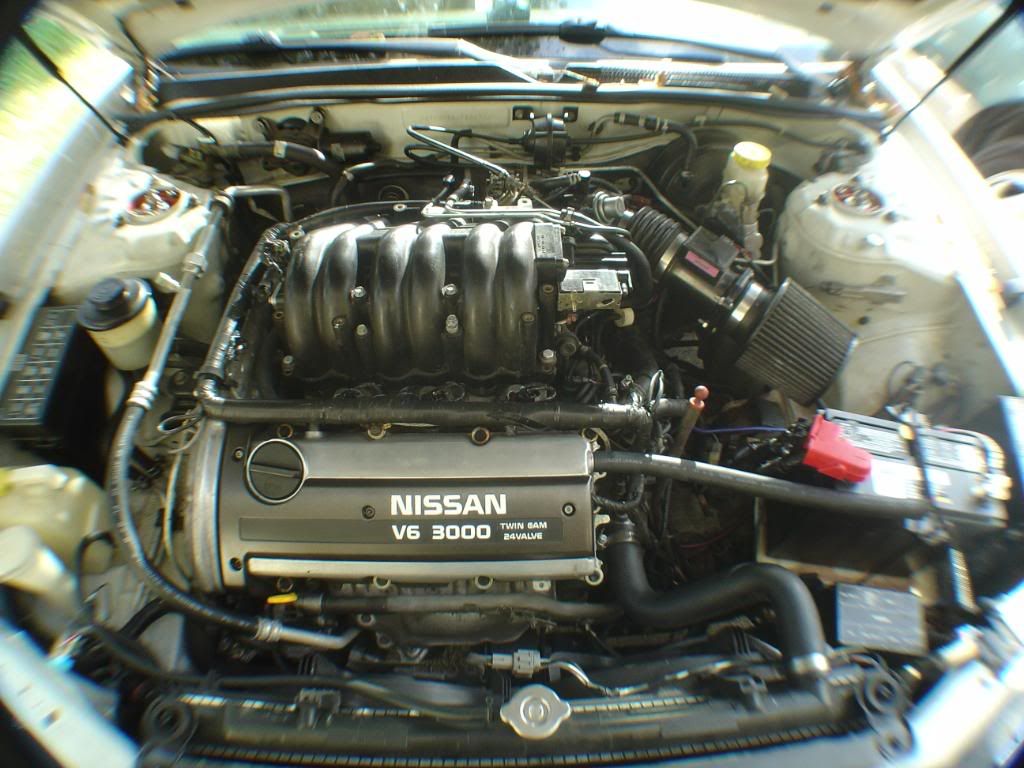
BEFORE:
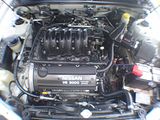
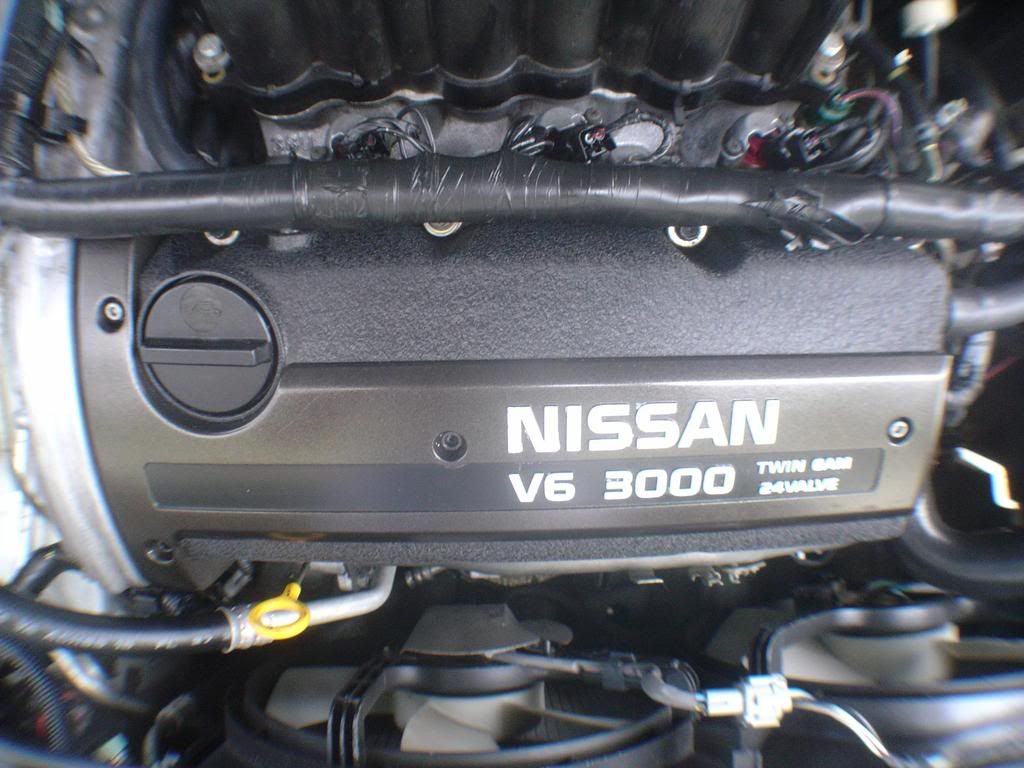
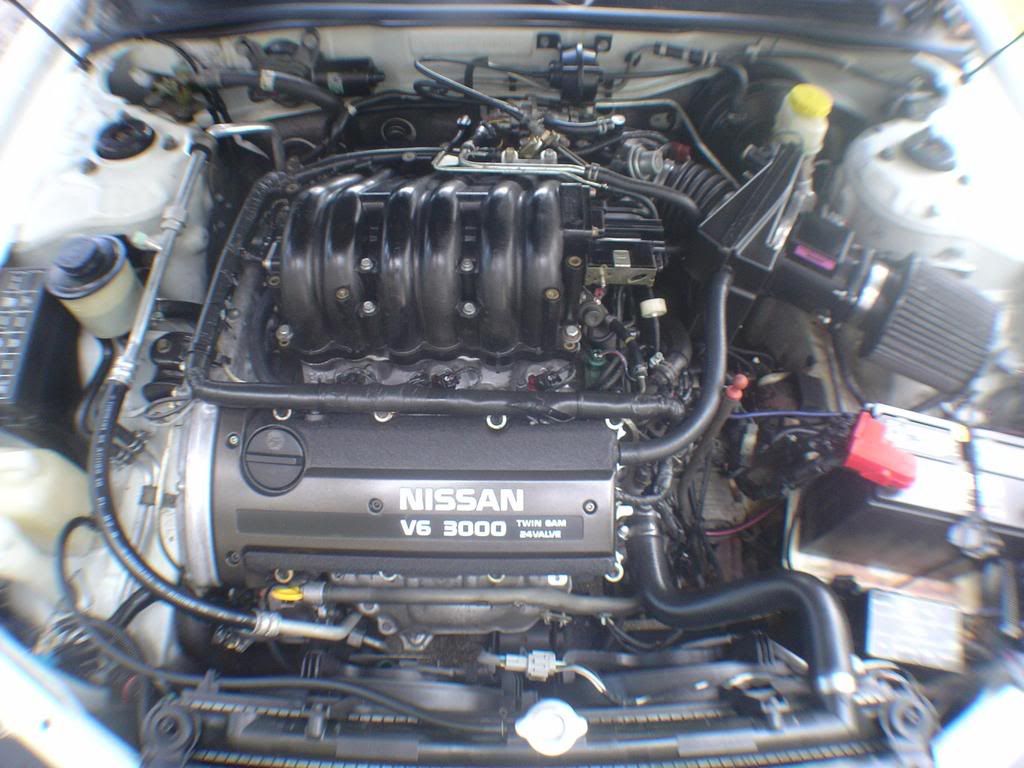
AFTER:
This is a short how-to on the steps to paint your Valve Cover. Its pretty straightforward, the can itself describes the painting...
Prep
1. Remove the Valve cover. There are 10 or 12 10mm bolts, along with the 6 coilpack screws, and 2 hoses.
2. Remove the gasket from the cover if its on there.
3. Wash the outside of the valve cover, I used Simple Green and Goo Gone. The combo removed all of the grease and dirt, with an old sponge.
4. Dry. Be sure all the water is soaked up/gone.
Side note: I did not mask anything off. I didnt worry about the brass fittings, and I made sure not to coat the underside of the cover. You can if you are so inclined to.
Painting
5. Start with a single light coat. Within 5 minutes, apply another coat, this time, apply until the paint starts to look "wet", but not too heavy.
6. Apply 2 more coats, both 5 minutes after the other, this time make sure they look "wet".
7. Allow to air dry for about 30 minutes and carefully remove from your painting area
**BE CAREFUL! The paint will still be "soft" even during curing. I waited 24 hours and I could still fingerprint the paint with enough pressure**
Curing
8. Turn the oven on bake to 200. Put it on the middle rack, and leave it in for 10 to 15 minutes.
9. Remove, let sit for at least 4 hours(mine sat overnight). Repeat step 8, oven on bake at 200 for 10 to 15 minutes.
(It wont smell that pleasant, its going to smell like burning paint... dont worry, as long as its not literally melting, bubbling or burning, it will be fine)
10. Remove and let sit for at least 4 hours.
11. Reinstall and enjoy.
***I DO NOT recommend you use you car to cure it, instead of the oven! The paint is really soft before curing, the slightest hit could nick it. I also dont know how the oil and grease would react with the curing process!!***
Final Product: (click on images for larger pics)

BEFORE:
AFTER:


Thread
Thread Starter
Forum
Replies
Last Post
REDinLV
7th Generation Maxima (2009-2015)
5
Aug 15, 2024 12:30 AM
litch
4th Generation Maxima (1995-1999)
123
Jan 4, 2024 07:01 PM
BPuff57
Advanced Suspension, Chassis, and Braking
33
Apr 16, 2020 05:15 AM
tseng1023
5th Generation Classifieds (2000-2003)
3
Oct 15, 2015 08:30 AM