
HOW-TO: Clean, remove the haze, de-yellow your headlights


HOW-TO: Clean, remove the haze, de-yellow your headlights
I'm going to be doing a HID Projector retrofit soon so I decided to clean the headlights on my wife's maxima.
The following is a write up with pictures of the products and procedure I used. Hopefully this can help someone else.
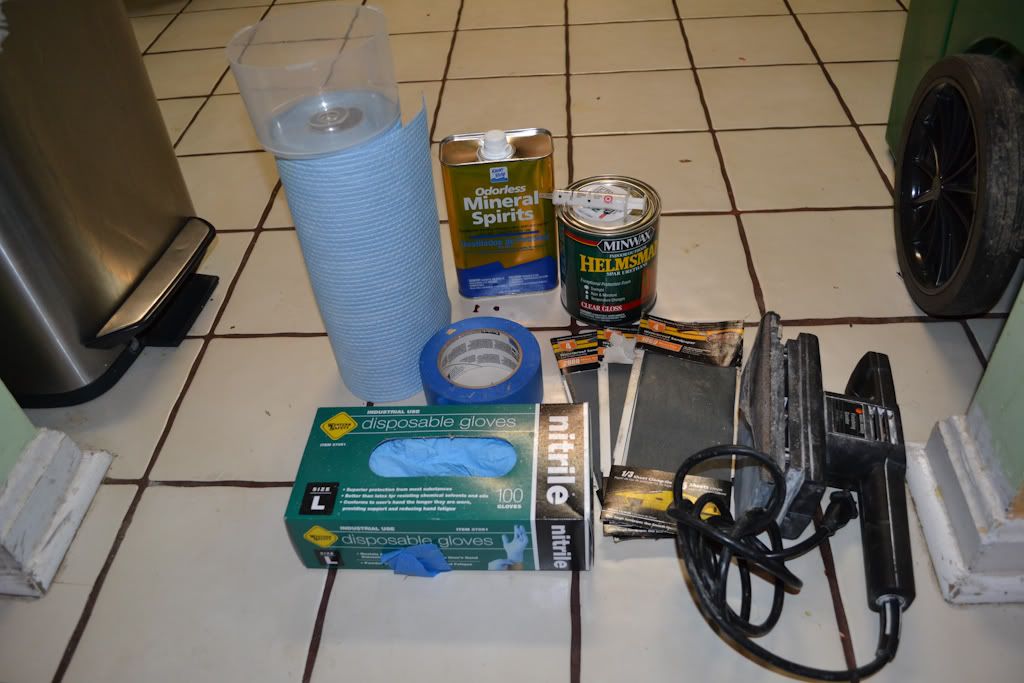
Sandpaper for Wet sanding : 1000, 1500 and 2000 grit.
Painters tape
Nitrile golves to protect your hand
Oderless Mineral Spirits Model # QKSP94005 / Store SKU # 200658 Home Depot Link
Minwax Helmsman UV Sealer Model # 63210 / Store SKU # 422541 Home Depot Link
An old drywall sander I found
A shop towel
Container to mix the UV sealer
measuring instrument for UV sealer mix
Not pictured - spray bottle for wet sanding.
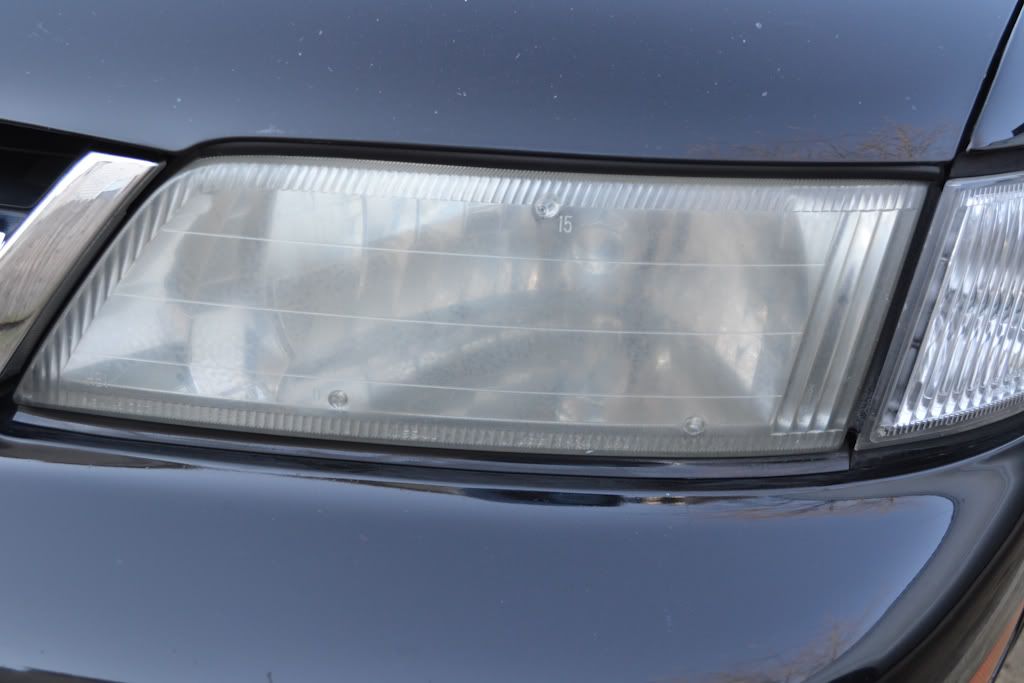
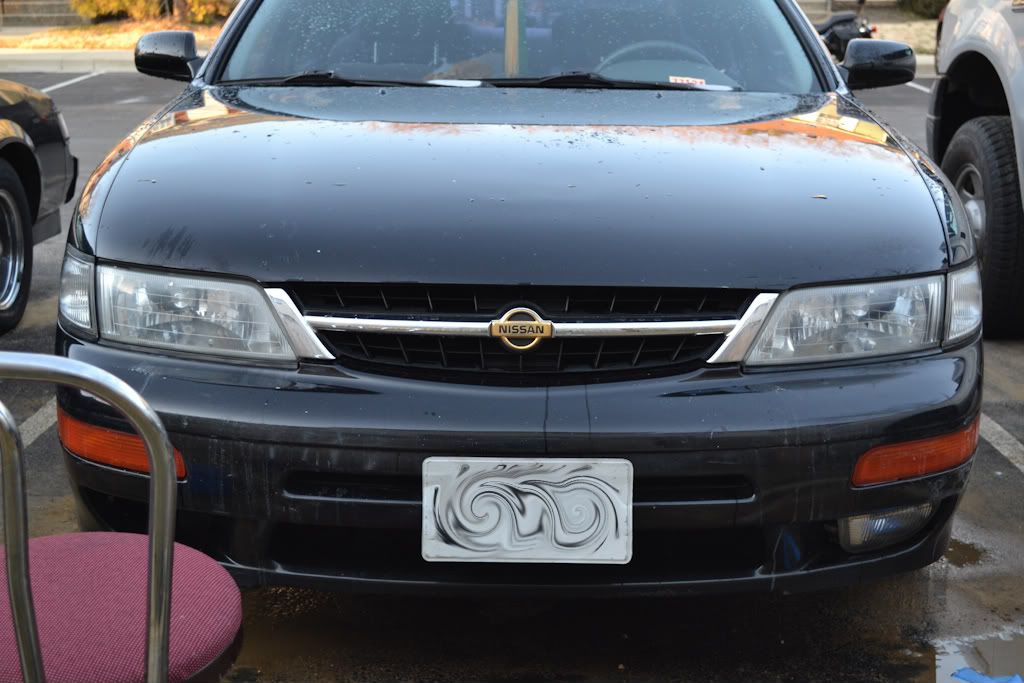
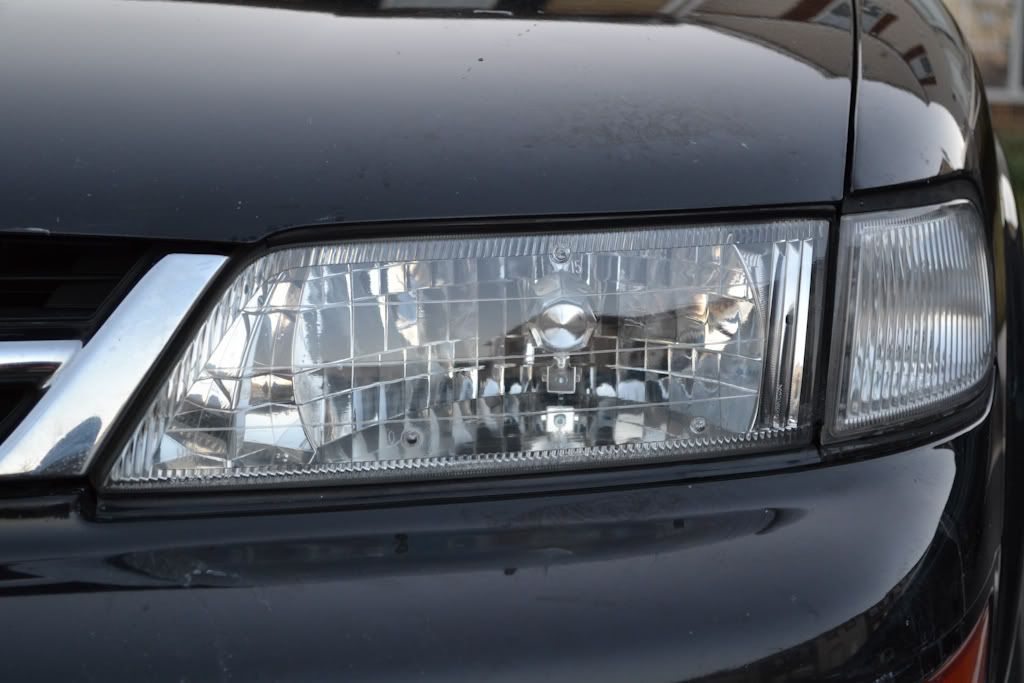
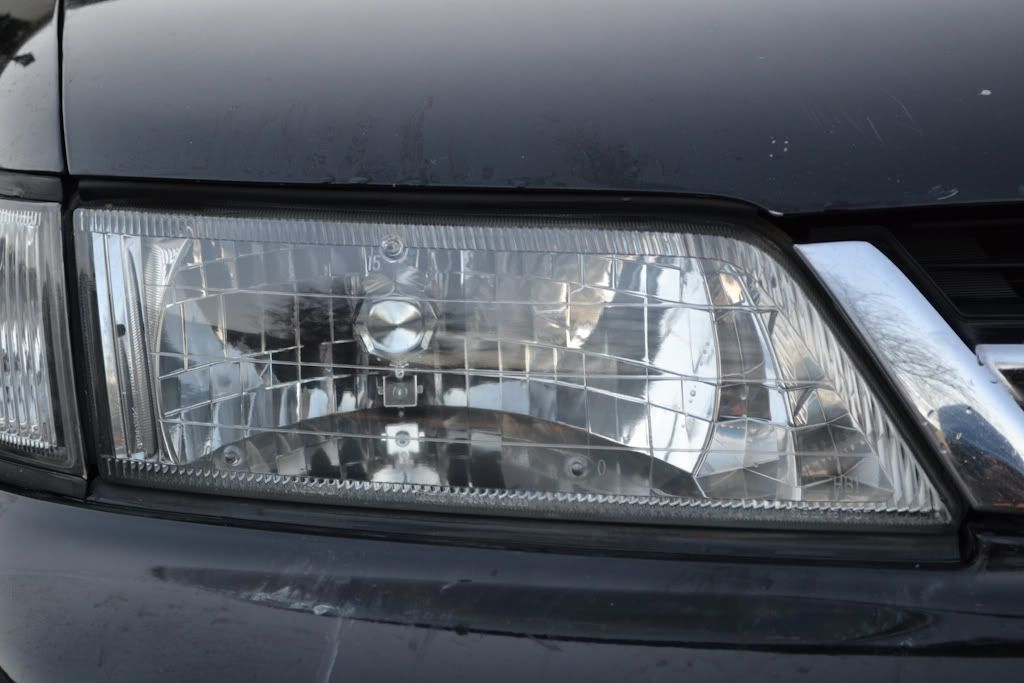
Before Pictures
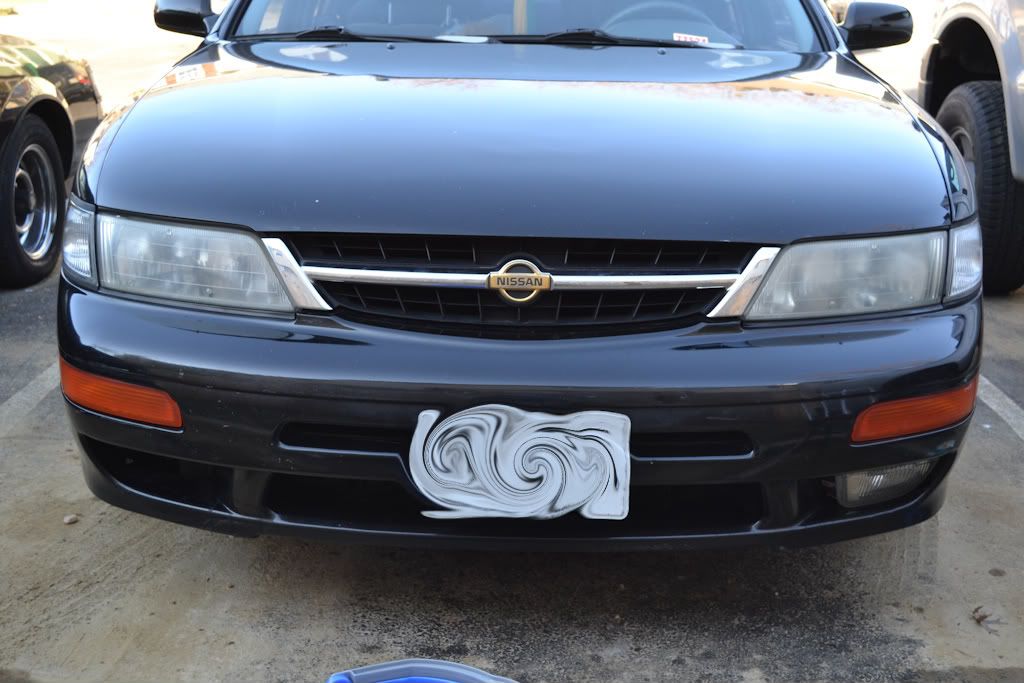
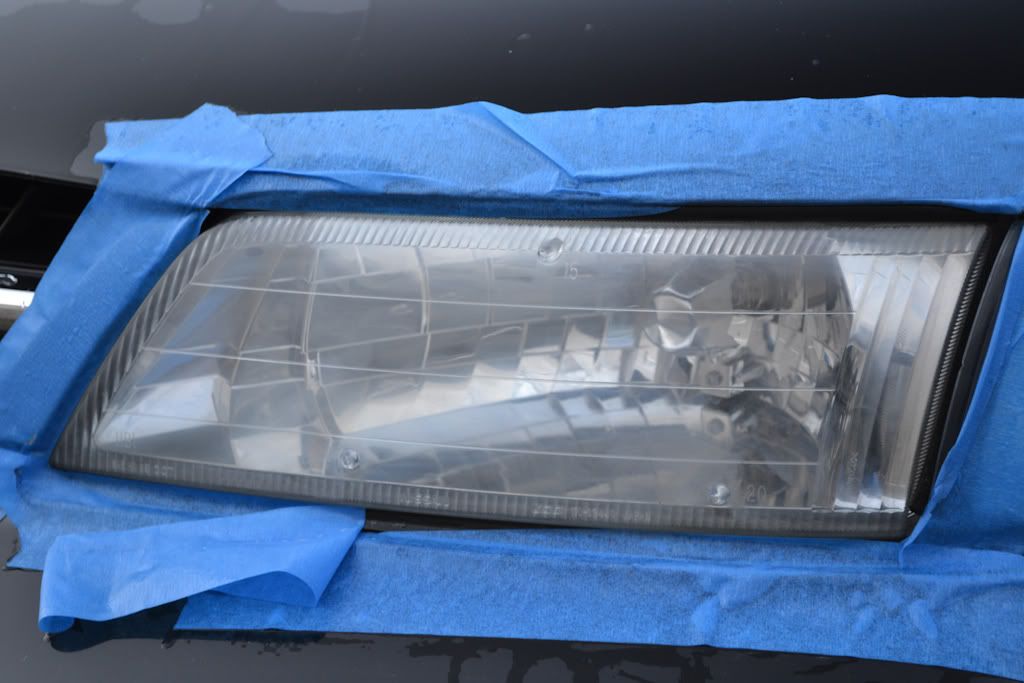
Wash the lights and tape off the areas you do not want the sandpaper to scratch.
After sanding with the 1000 grit, I got this:
Move on to the 1500 grit and got this result
2000 girt gets.....
Opps, gotta find those pictures.
Next step is to rinse and dry the lights off and prepare your UV treatment.
Since the sanding is removing the old protection from the elements and UV rays, you are now going to replace it. I found out about this method from another forum which pointed to yet another forum. The person who did this had some pictures a year adn a half later and the lights still looked the same.
Here we go.
Mix 1 part mineral spirits to 1 part Minwax helmsman sealer. I used a shop towel to gently "paint" the lens. Be careful not to let it run. If it does, clean it off with some of the mineral spirits and start again. When I do this to the 240sx, I'll use a 1" foam brush to apply the sealer.
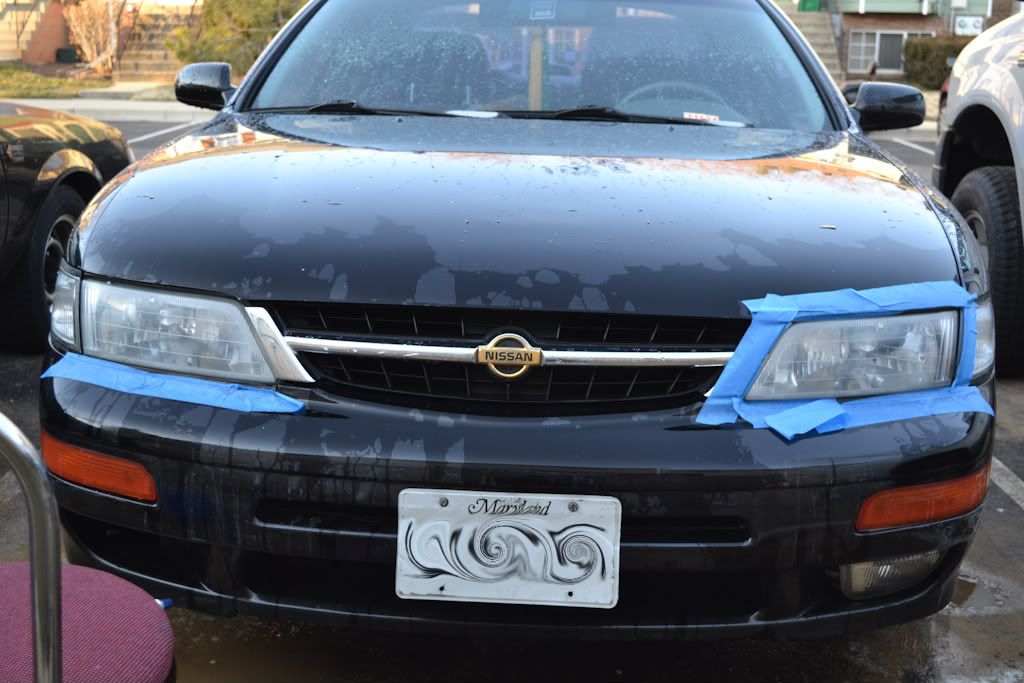
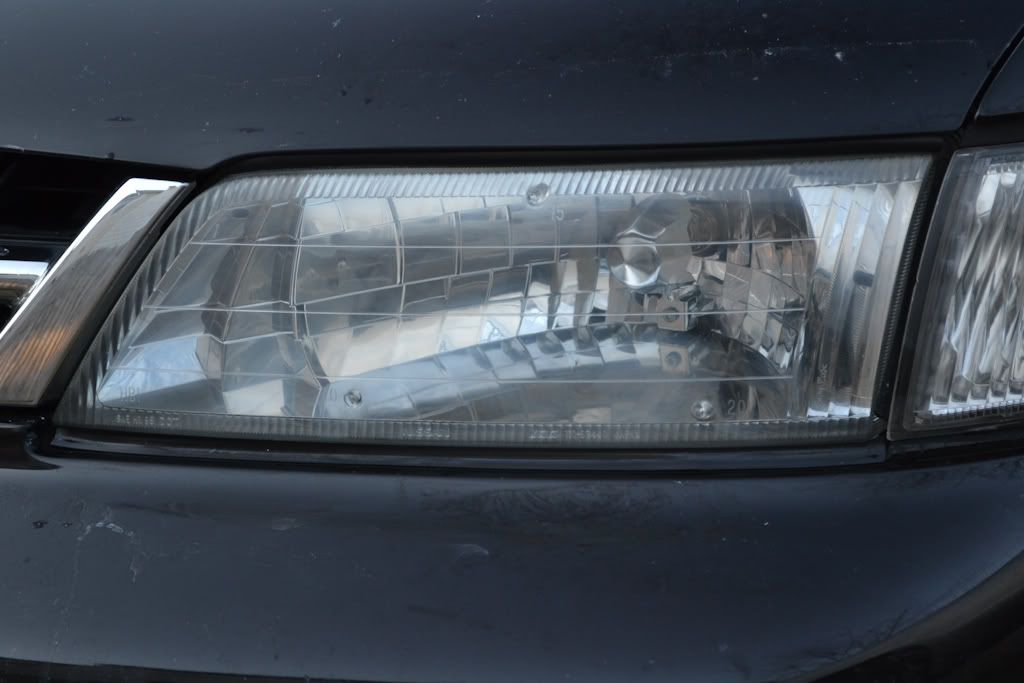
UV sealer stage after 1 application.
Took the car for a drive at night and there was a lot more light on the road than before.
I wonder what this method will do for the 240SX?


The following is a write up with pictures of the products and procedure I used. Hopefully this can help someone else.
Sandpaper for Wet sanding : 1000, 1500 and 2000 grit.
Painters tape
Nitrile golves to protect your hand
Oderless Mineral Spirits Model # QKSP94005 / Store SKU # 200658 Home Depot Link
Minwax Helmsman UV Sealer Model # 63210 / Store SKU # 422541 Home Depot Link
An old drywall sander I found
A shop towel
Container to mix the UV sealer
measuring instrument for UV sealer mix
Not pictured - spray bottle for wet sanding.
Before Pictures
Wash the lights and tape off the areas you do not want the sandpaper to scratch.
After sanding with the 1000 grit, I got this:
Move on to the 1500 grit and got this result
2000 girt gets.....
Opps, gotta find those pictures.
Next step is to rinse and dry the lights off and prepare your UV treatment.
Since the sanding is removing the old protection from the elements and UV rays, you are now going to replace it. I found out about this method from another forum which pointed to yet another forum. The person who did this had some pictures a year adn a half later and the lights still looked the same.
Here we go.
Mix 1 part mineral spirits to 1 part Minwax helmsman sealer. I used a shop towel to gently "paint" the lens. Be careful not to let it run. If it does, clean it off with some of the mineral spirits and start again. When I do this to the 240sx, I'll use a 1" foam brush to apply the sealer.
UV sealer stage after 1 application.
Took the car for a drive at night and there was a lot more light on the road than before.
I wonder what this method will do for the 240SX?
More Cleaning
I purchased a second set of lights to do the retro and went through this same process again, but this time at night, in the house with the wife and kids sleeping upstairs; so I had to had sand everything.
I added one more step to the process. I had some Novus 123 laying around so I used the Novus 2 and Novus 1 after the wet sanding and before the UV sealer application.
The headlights and been pulled apart by the previous owner and an Anniversary Edition mod was done to the reflector shield. This is how they were when I got them and after I removed the lens.
All pictures were taken with a Nikon D3100 and were only converted to jpeg to upload. They were not tweaked in any way.


Novus Product

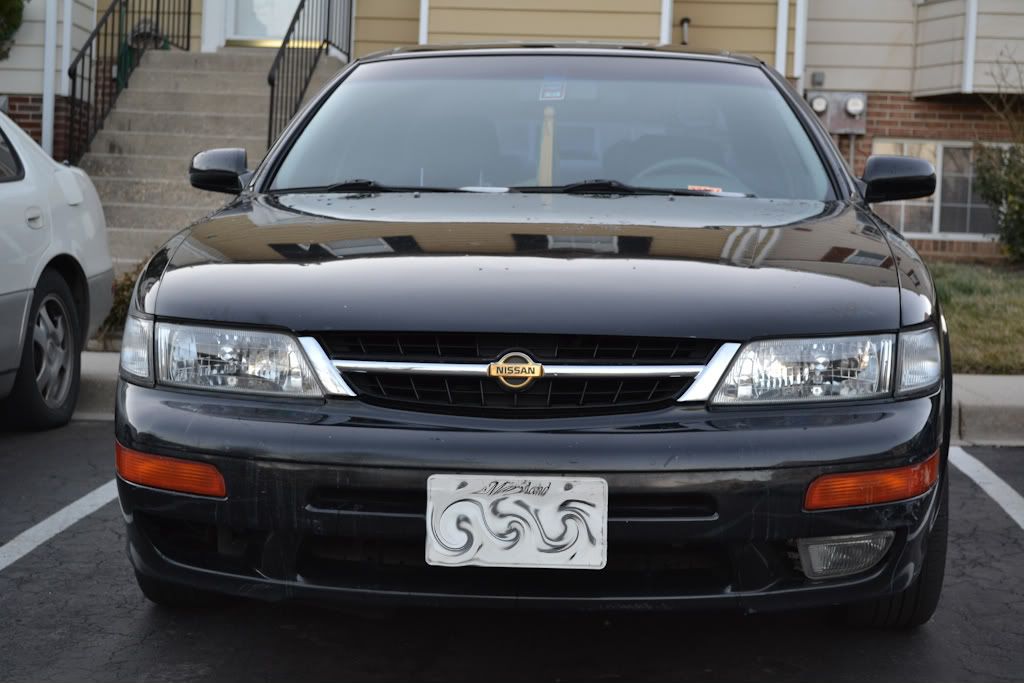
Final Results.


Since I sanded and polished it with a bum shoulder, I was not able to get all the fine marks out. This is where a buffer with a 4" pad would come in really handy.
You can see the fine marks here.

Needles to say, I am really pleased with the outcome.
Now go forth and clean!
I added one more step to the process. I had some Novus 123 laying around so I used the Novus 2 and Novus 1 after the wet sanding and before the UV sealer application.
The headlights and been pulled apart by the previous owner and an Anniversary Edition mod was done to the reflector shield. This is how they were when I got them and after I removed the lens.
All pictures were taken with a Nikon D3100 and were only converted to jpeg to upload. They were not tweaked in any way.
Novus Product
Final Results.
Since I sanded and polished it with a bum shoulder, I was not able to get all the fine marks out. This is where a buffer with a 4" pad would come in really handy.
You can see the fine marks here.
Needles to say, I am really pleased with the outcome.
Now go forth and clean!

Good job!
If you don't want to buy all that stuff 3M makes a kit that they sell at Autozone for around 15 bucks. Does the exact same thing, several stages of sanding and polishing too. I used it on mine and they look like yours now. Oh, and you use a corded or cordless drill for the sanding/polishing instead of that big sander you used.
If you don't want to buy all that stuff 3M makes a kit that they sell at Autozone for around 15 bucks. Does the exact same thing, several stages of sanding and polishing too. I used it on mine and they look like yours now. Oh, and you use a corded or cordless drill for the sanding/polishing instead of that big sander you used.
http://www.youtube.com/watch?v=_t1RBw0IGXA
The video sounds like the same people who do driver's safety videos for driver's ed.
The video sounds like the same people who do driver's safety videos for driver's ed.


I start with wet (has to be 3m wet n dry) sand paper too , but I start with 400 grit --> 800 grit --> 1000 grit --> 2000 grit; switching direction perpendicularly after each grit change (i.e. 400 grit -- left to right, 800 grit -- top to bottom, etc.). I mix water with a half a teaspoon of dish washing liquid. I use that to keep the headlights wet at all times. Next, after completing the 2000 grit process, I follow it with some mothers mag & polish with some elbow grease and a microfiber cloth. Then I follow it with meguiars plastx and elbow grease, then meguiars cleaner wax, followed finally by meguiars nxt 2.0 wax. The nxt 2.0 does a nice job of polishing and has uv protection as well. Either way, same results.
I start with wet (has to be 3m wet n dry) sand paper too , but I start with 400 grit --> 800 grit --> 1000 grit --> 2000 grit; switching direction perpendicularly after each grit change (i.e. 400 grit -- left to right, 800 grit -- top to bottom, etc.). I mix water with a half a teaspoon of dish washing liquid. I use that to keep the headlights wet at all times. Next, after completing the 2000 grit process, I follow it with some mothers mag & polish with some elbow grease and a microfiber cloth. Then I follow it with meguiars plastx and elbow grease, then meguiars cleaner wax, followed finally by meguiars nxt 2.0 wax. The nxt 2.0 does a nice job of polishing and has uv protection as well. Either way, same results.
I've done this before on my 240SX, about 3 years ago, but I used 400, 600, then 800 grit. I didn't know better then. My worst mistake was I did not use any UV sealer. The way they look now is what happens when you do not replace the UV protection. Any sanding/ polishing method will remove the haze/yellow and get your lights clear, but you have to seal/protect them somehow to maintain the clarity.
I'll have to revisit this in a year and post some follow up pictures.


Hey OP you sure moved headlight restoration to next level.but i got some crazy idea...
have you ever use polishing paste? in case i have some pastes up to 15000 grid that my brother used to polish his sword to mirror finish. wondering how would that finish look like on headlights...
have you ever use polishing paste? in case i have some pastes up to 15000 grid that my brother used to polish his sword to mirror finish. wondering how would that finish look like on headlights...
I'd still use the UV coating thought to keep it looking nice in the long run.


Bumping this thread, I am looking to restore my headlights in preparation for my new FX-R projectors.
Does anyone have any experience with the:
Turtle Wax kit? Link
Sylvania Kit? Link
I am looking at these mainly because I don't have a cord/cordless drill that I can attach the sanders/polishers to. Hand sanding all the way..
Does anyone have any experience with the:
Turtle Wax kit? Link
Sylvania Kit? Link
I am looking at these mainly because I don't have a cord/cordless drill that I can attach the sanders/polishers to. Hand sanding all the way..
Worse comes to worse, I'll swap my old lenses from before my retrofit over. They're slightly better, but not by much.


Member
Joined: Jun 2003
Posts: 278
I've had great results on many different vehicles just using Meguiars Cleaner Wax - the "cleaner" part is a very mild abrasive that also works wonders on scuffs and paint rubs from door dings. It can take some elbow grease but it's well worth it. It leaves a good protective wax coating as well. When I got my Maxima the headlights were ROUGH but after hitting them hard with the Meguiars they are almost totally clear now.
I may try the wetsanding and sealing deal though - the UV protection seems like a smart idea.
I may try the wetsanding and sealing deal though - the UV protection seems like a smart idea.

Thread
Thread Starter
Forum
Replies
Last Post
Hdnseek
5th Generation Maxima (2000-2003)
3
Sep 9, 2015 05:55 AM
sdotcarter
6th Generation Maxima (2004-2008)
2
Sep 2, 2015 09:53 PM