
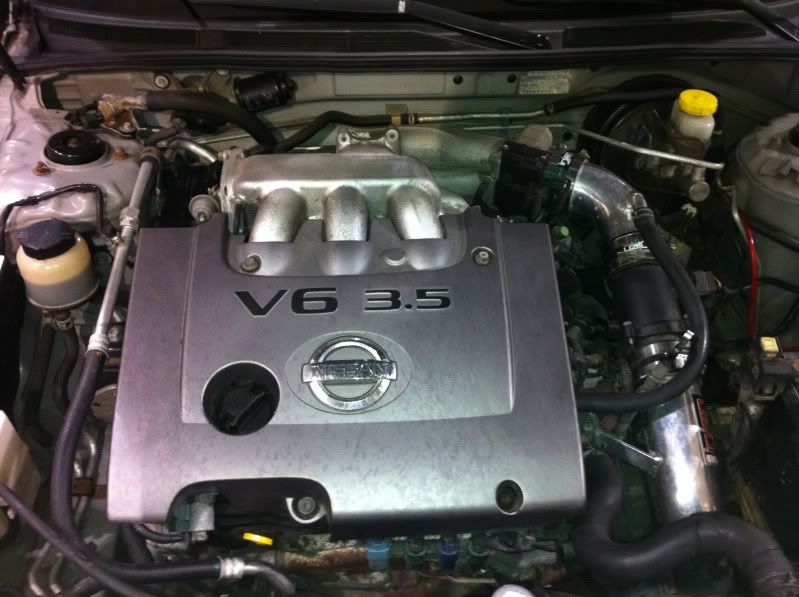
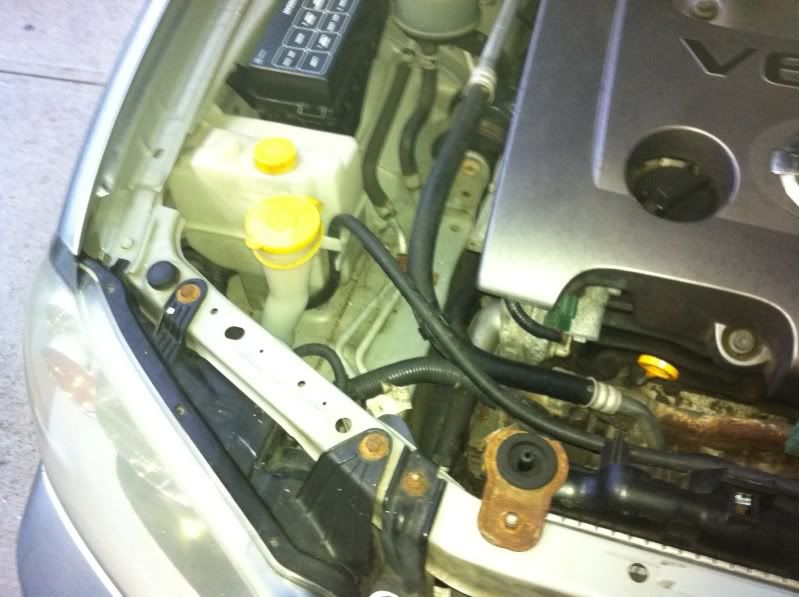
What do you do to make your engine look pretty? :)

finally got some time to spend on the engine bay, lots more to do still

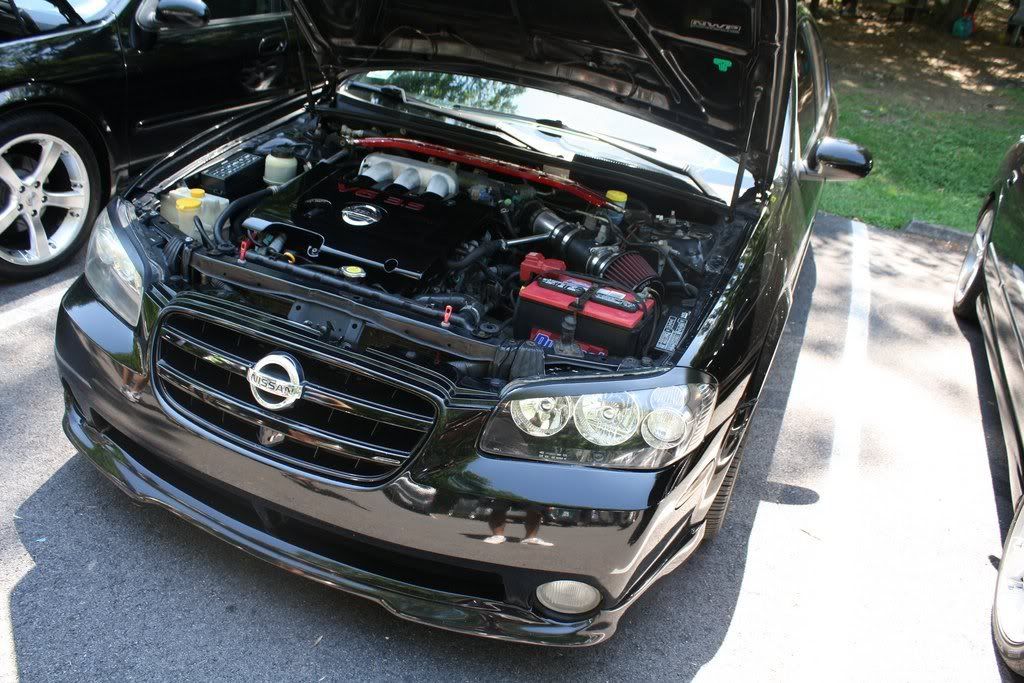
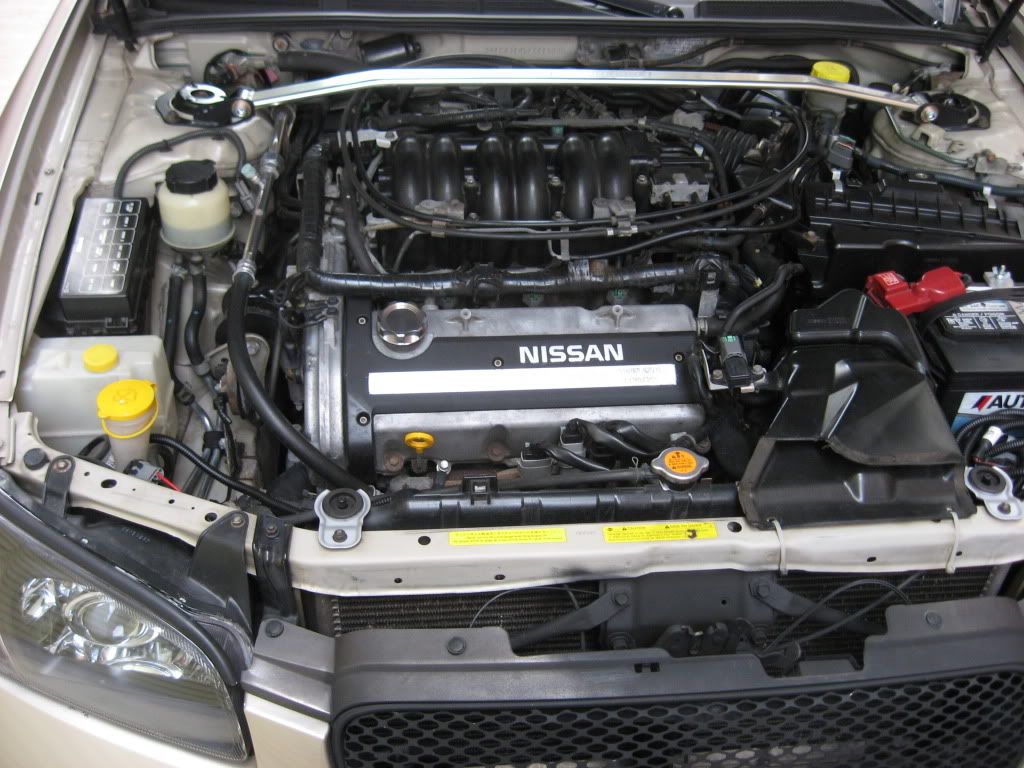
hoping to install and dyno tune in a few weeks or so, ceramic coated aluminum (80mm)BBMAF

can't see it but cermaic coated as well

hoping to install and dyno tune in a few weeks or so, ceramic coated aluminum (80mm)BBMAF
can't see it but cermaic coated as well


Damn, Zero... that looks fantastic! (From 6 feet away  )
)
I think I like your red Stillen FSTB, and the red hood-pins. But Kevin is spot-on about getting rid of the yellow accents. I even think I like those eye-lids, which I usually can't stand, but for some reason it appeals to me on your car... probably because it's black.
)I think I like your red Stillen FSTB, and the red hood-pins. But Kevin is spot-on about getting rid of the yellow accents. I even think I like those eye-lids, which I usually can't stand, but for some reason it appeals to me on your car... probably because it's black.
Damn, Zero... that looks fantastic! (From 6 feet away )
I think I like your red Stillen FSTB, and the red hood-pins. But Kevin is spot-on about getting rid of the yellow accents. I even think I like those eye-lids, which I usually can't stand, but for some reason it appeals to me on your car... probably because it's black.
)I think I like your red Stillen FSTB, and the red hood-pins. But Kevin is spot-on about getting rid of the yellow accents. I even think I like those eye-lids, which I usually can't stand, but for some reason it appeals to me on your car... probably because it's black.

Member

Joined: May 2011
Posts: 72
From: Suffolk, Long Island
This is a great thread guys...It only took me 3 days to read through the entire thread and clean up the bay with ideas from here as I went.. ")
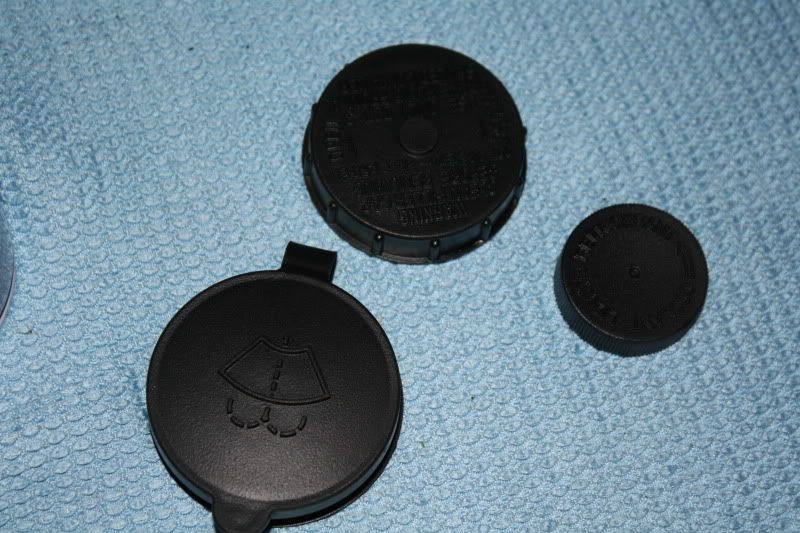
So far I have swapped out my coolant and wiper fluid caps with the black coolant cap and gray wiper cap. I did the evap tuck and swapped out all front nuts and bolts. (Lights, Bumper tie downs, Radiator nuts, etc.) I am currently waiting for new radiator brackets to come in to match the new nuts. I rotated my MAF downwards so the plug is not as visible and rotated all the clamps downwards to clean up that look on my CAI. I removed and tucked the bracket on the drivers side (not sure what its called it has one plug running into the kind of T shaped lookign bracket held in by two bolts). I started steel wooling the UIM and other parts to clean up the look a little more.
I will hopefully be painting the dipstick and evap cap black today and continue steel wooling some more rusted things. Hopefully if I get to it can metal polish some of the stuff as well.
Hopefully have a nice picture up by the weekend after I get the brackets and the paint done.
Rochester why'd you let this thread die you run out of things to do?
Either way, thanks for all the great advice, ideas, and pictures to all who added.
Pretty much, yes, that's it.
I have a few things that were on my list (wiper motor and bolts, starter motor, PS fluid hose end-caps, etc.) But since I'm selling the Maxima in 6 months, I'll leave that to the next owner... if he's so inclined.
Glad you found inspiration here. This made my day.
Pretty much, yes, that's it.
I have a few things that were on my list (wiper motor and bolts, starter motor, PS fluid hose end-caps, etc.) But since I'm selling the Maxima in 6 months, I'll leave that to the next owner... if he's so inclined.
Glad you found inspiration here. This made my day.
 Your selling the max?????
 You have a buyer!!!! Let me know when and how much!
Very reasonably priced, because I only have a 2-car garage, and I know both guys pretty well; or well enough to know they'll appreciate the car. However, if both can't come through in the April-May 2012 time frame, I'll sell it here on the Org. I can't have a 3rd car hanging around.
Last edited by Rochester; Oct 25, 2011 at 08:04 AM.
Member
Joined: May 2011
Posts: 72
From: Suffolk, Long Island
The only thing is, call it noobie or what not, I am a little nervous to take off parts and clean them and such. For example, how you took off the water pipes to have them cleaned and painted, theres no liquid or anything in them left over that you have to worry about? (Dont make fun of me for this. ) I want to take off and clean as much as I can without having any codes come up or anything squirting out all over me. This is the first engine I have worked on so I do not know what always has coolant or other fluids in it with the engine off.
I have also been reading through the thread about what is what in the engine and could not find anything in reference to this in there. Considering it seems you messed around with just about everything under the hood you think you could make up a quick list of things that are safe to take off and clean without any problems for the noobie engine workers here? Not sure if you'd rate this as off topic but it would definitly help me in getting my engine looking nice and spiffy so I can post some pictures.
) I want to take off and clean as much as I can without having any codes come up or anything squirting out all over me. This is the first engine I have worked on so I do not know what always has coolant or other fluids in it with the engine off. I have also been reading through the thread about what is what in the engine and could not find anything in reference to this in there. Considering it seems you messed around with just about everything under the hood you think you could make up a quick list of things that are safe to take off and clean without any problems for the noobie engine workers here?
Not sure if you'd rate this as off topic but it would definitly help me in getting my engine looking nice and spiffy so I can post some pictures.
You'll have to drain most of the coolant when removing the water pipes. And the underside bolt on the bottom bracket is a major PITA to remove without stripping the head. And the O-ring gaskets can very easily tear when re-inserting the pipes, which you won't know until you fill up with fluid and start the car. Which means a total loss in fluid, and round-and-round you go.
Assuming you only have the one car, the best approach is to save up the water pipe swap for your next trip to the mechanic. Buy the pipes new, powdercoat them, and hand them to someone who can do the job.


Last edited by Rochester; Oct 25, 2011 at 08:29 AM.
Member
Joined: May 2011
Posts: 72
From: Suffolk, Long Island
Fair enough. Guess I will be learning the hard way. Hopefully this will go better then expected.
I will take the advise on leaving those pipes alone for now as it is my only car, but man do they need some cleaning. I will see what I can do with them still in the car.
I will get pictures up asap to hopefully get some more advise on going further with it.
Thanks again.
I will get pictures up asap to hopefully get some more advise on going further with it.
Thanks again.

Member
Joined: May 2011
Posts: 263
From: Culiacan, Sinaloa, Mexico
MAN, that water pipes are just... SEXY!
Damn Rochester, even when I got only a fews months in the ORG your engine bay looks so clean and shiny. That's effort and dedication my friend. Impressive job that you have done in your car and lucky bastard the future owner of that car.
Well, talking back about my car I cleaned the engine bay (again) this weekend because with the work and dusty environment my car just can't keep clean for more than 3 days until a nasty layer of dust covers my car. Gggrrrrr!!!
Also I installed a DIY grounding kit and the color of the cables fits perfectly with my car.


Thanks for noticing.

Last edited by Rochester; Oct 25, 2011 at 12:47 PM.
Member
Joined: May 2011
Posts: 72
From: Suffolk, Long Island
Anyone have any idea if I can buy the nissan logo on the engine cover without buying the entire cover? If so, can someone let me know where I can get it? If not, how can I clean up mine thats all heat bubbled and crappy?
In other words, have them look up the chrome plastic logo for the engine cover on a 2004 Altima SE. It costs between $15 - $20.
Last edited by Rochester; Oct 25, 2011 at 06:14 PM.


Your engine bay looks great Rochester. Anyone know the part # for the rubber piece that you can get for the top of our headlights? It's a Nissan part. I know someone on here has them, but the search function sucks right now
I spent all of $18 two years ago.

Last edited by Rochester; Oct 25, 2011 at 06:58 PM.

Member
Joined: May 2011
Posts: 72
From: Suffolk, Long Island
Yes, at your local Nissan parts department. Nissan doesn't part out the logo separate from the engine cover for the Maxima, but they do for the 3.5 Altima. Don't ask why, it doesn't make sense.
In other words, have them look up the chrome plastic logo for the engine cover on a 2004 Altima SE. It costs between $15 - $20.
In other words, have them look up the chrome plastic logo for the engine cover on a 2004 Altima SE. It costs between $15 - $20.
He is going to think I'm crazy buying all these murano and altima parts instead of maxima. Thanks!I painted my engine cover black now because previously my radiator blew up and stained my cover with coolant. I tried getting it out but I was just ruining the cover so figured I would just paint it. Only thing is, I used high heat black paint for the cover to be safe, but could not find any high heat gloss to add the shine, it is just flat black. Dont get me wrong it looks nice and clean, but I would like that extra shine. Will I be safe using regular gloss paint and not high heat?
EDIT: Also, I just got off the phone with the dealership near me, they said they dont have that emblem on the cover seperate for any model. I tried telling him another Nissan employee in another state said they sell it seperatly and he just told me I would need to buy the whole cover.
Last edited by guarj17; Oct 26, 2011 at 06:04 AM.

If only the parts manager told me that instead of saying he can not sell it seperatly for my car. He is going to think I'm crazy buying all these murano and altima parts instead of maxima. Thanks!
I painted my engine cover black now because previously my radiator blew up and stained my cover with coolant. I tried getting it out but I was just ruining the cover so figured I would just paint it. Only thing is, I used high heat black paint for the cover to be safe, but could not find any high heat gloss to add the shine, it is just flat black. Dont get me wrong it looks nice and clean, but I would like that extra shine. Will I be safe using regular gloss paint and not high heat?
EDIT: Also, I just got off the phone with the dealership near me, they said they dont have that emblem on the cover seperate for any model. I tried telling him another Nissan employee in another state said they sell it seperatly and he just told me I would need to buy the whole cover.
He is going to think I'm crazy buying all these murano and altima parts instead of maxima. Thanks!I painted my engine cover black now because previously my radiator blew up and stained my cover with coolant. I tried getting it out but I was just ruining the cover so figured I would just paint it. Only thing is, I used high heat black paint for the cover to be safe, but could not find any high heat gloss to add the shine, it is just flat black. Dont get me wrong it looks nice and clean, but I would like that extra shine. Will I be safe using regular gloss paint and not high heat?
EDIT: Also, I just got off the phone with the dealership near me, they said they dont have that emblem on the cover seperate for any model. I tried telling him another Nissan employee in another state said they sell it seperatly and he just told me I would need to buy the whole cover.
http://www.courtesyparts.com/14041p-...033_4034_4045&
EDIT: Also, I just got off the phone with the dealership near me, they said they dont have that emblem on the cover seperate for any model. I tried telling him another Nissan employee in another state said they sell it seperatly and he just told me I would need to buy the whole cover.
Then call the Service Manager and tell him his Parts Department guy is turning away customers.
And then... find a better Nissan Dealership.
Member
Joined: May 2011
Posts: 72
From: Suffolk, Long Island
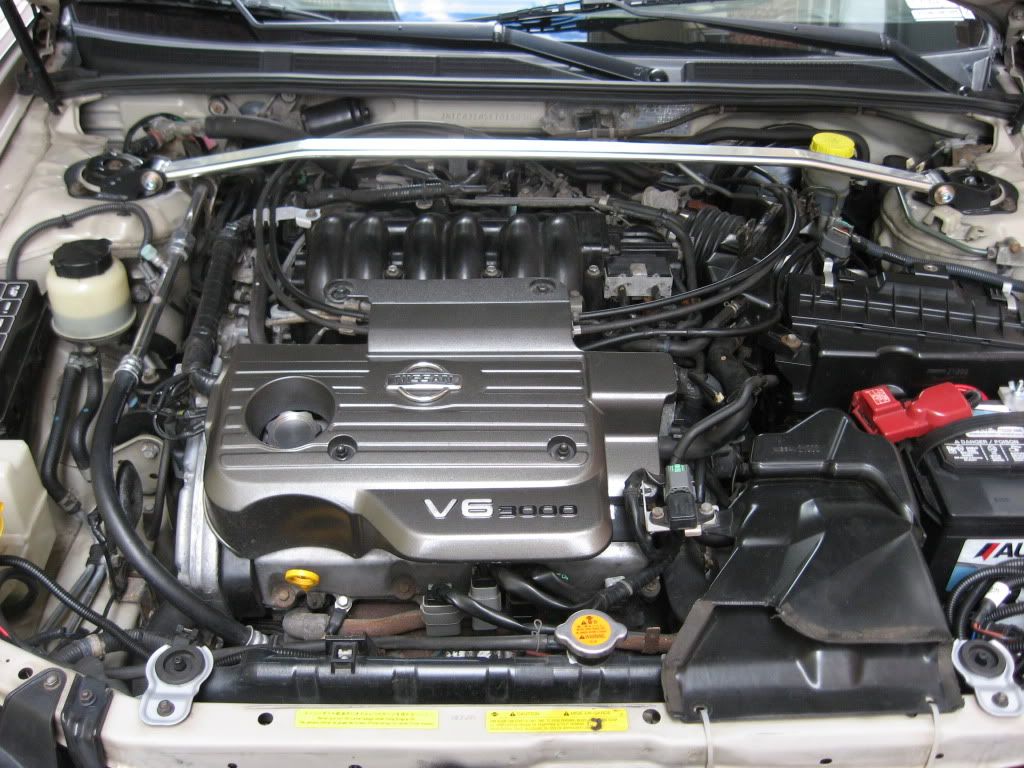
Here is 2 pictures of what it looked like in the beginning of the week: (After the tuck to the right of the UIM and trying to get that damn stain out of the cover.)
And now for what it looks like after some cleaning up:
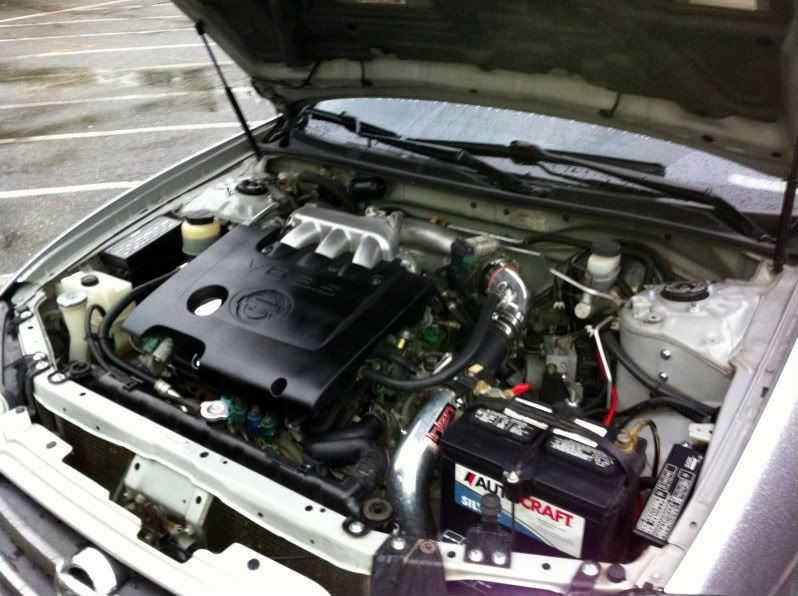

And a quick picture of the outside to give you an idea:
As you can see, I am in need of getting that emblem on the cover.
Other then that, what do you think for a first time engine clean up? Any advice would be appreciated.
Last edited by guarj17; Oct 27, 2011 at 06:27 AM.

That is a HUGE improvement! Very well done. It's a nice feeling to open the hood and feel proud.
http://forums.maxima.org/5th-generat...l?ref=esp-link
 About 100 miles a week, give or take. Driven every winter, too. Usually throw the snows and steelies on around Thanksgiving time.
Very well done. It's a nice feeling to open the hood and feel proud.http://forums.maxima.org/5th-generat...l?ref=esp-link
About 100 miles a week, give or take. Driven every winter, too. Usually throw the snows and steelies on around Thanksgiving time.
You've got an AT, right? I can't see the tranny fluid stick under your Injen CAI, but the ABS module is offset and I think that orientation is only on AT cars.
Anyway, on the 6MT, the clutch bleeder valve is mounted to the driver-side strut tower. And on AT cars, the drop-resistor module is there (or something like that, not an expert.) But on your car... nothing.
What gives?
Anyway, on the 6MT, the clutch bleeder valve is mounted to the driver-side strut tower. And on AT cars, the drop-resistor module is there (or something like that, not an expert.) But on your car... nothing.
What gives?
Member
Joined: May 2011
Posts: 72
From: Suffolk, Long Island
That is a HUGE improvement! Very well done. It's a nice feeling to open the hood and feel proud.
http://forums.maxima.org/5th-generat...l?ref=esp-link
Very well done. It's a nice feeling to open the hood and feel proud. http://forums.maxima.org/5th-generat...l?ref=esp-link
After looking at all the specifics on the thread you posted, looks like I am getting some more nuts and bolts. I read that before I started this and wasn't going to bother, but once I started....I got pulled in.
Member
Joined: May 2011
Posts: 72
From: Suffolk, Long Island
You've got an AT, right? I can't see the tranny fluid stick under your Injen CAI, but the ABS module is offset and I think that orientation is only on AT cars.
Anyway, on the 6MT, the clutch bleeder valve is mounted to the driver-side strut tower. And on AT cars, the drop-resistor module is there (or something like that, not an expert.) But on your car... nothing.
What gives?
Anyway, on the 6MT, the clutch bleeder valve is mounted to the driver-side strut tower. And on AT cars, the drop-resistor module is there (or something like that, not an expert.) But on your car... nothing.
What gives?
Regarding the drop-resistor, I am not sure why it was where it was, or if it had a reason of being there, so I unmounted it and slid it under the fuse box on the driver side leaving it plugged in and went for a drive to see if there was any change or not. Everything ran exactly the same so I just left it there and put clean bolts in its place until I get a chance to really clean that thing up because it is horribly rotted. I am hoping your not going to tell me there was an important reason for it being mounted in that exact spot....I tried looking it up and couldnt find any reason for it being placed there.
 I hope you have life insurance!
Member
Joined: May 2011
Posts: 72
From: Suffolk, Long Island
lolNot sure where to go from here...thinking of getting the VIAS block plate. After reading many threads about it I understand it gives you more power top end and its even better if you get a extended rev limiter, but are there any cons when it comes to being a daily highway driver and I dont see anything about it actually being better or worse for the engine and such. Also, is it difficult to take out the VIAS? I know the kit comes with instructions but just wondering in advance. (I searched and got nothing regarding write ups or more details about it.) It sure does look alot better though as far as the dress up topic goes.
FSTB.
Not at all. Here's some reading for you:
http://forums.maxima.org/5th-generat...l?ref=esp-link
Not at all. Here's some reading for you:
http://forums.maxima.org/5th-generat...l?ref=esp-link
Last edited by Rochester; Oct 27, 2011 at 08:26 AM.
Member
Joined: May 2011
Posts: 72
From: Suffolk, Long Island
I will most likely do this soon. Do you have a link to where you got yours? With this to, I know there are most likely posts and threads about this but my search once again is doing me no good.
I want to replace headlights first. I have tried cleaning mine up with Mothers and 3M and I have no luck. They are just faded and seems there is nothing left to try. I am thinking about getting either the Anzo or Sonars from JM Auto Racing:
http://forums.maxima.org/group-deals...hid-combo.html
Will try and get it ordered today. From all the reviews, it seems to be a good choice. Plus it looks awsome as a dress up.
I want to replace headlights first. I have tried cleaning mine up with Mothers and 3M and I have no luck. They are just faded and seems there is nothing left to try.
I am thinking about getting either the Anzo or Sonars from JM Auto Racing:http://forums.maxima.org/group-deals...hid-combo.html
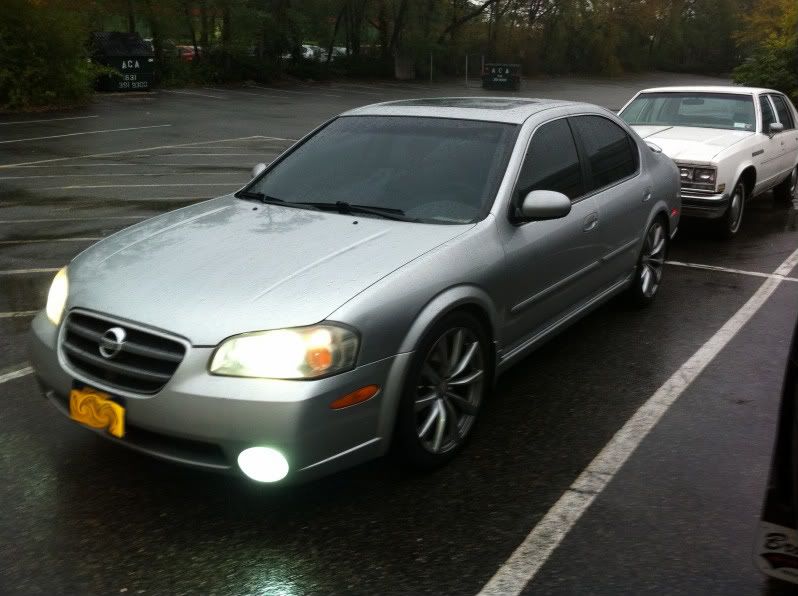
(That's my car on their website, still. Cool.)
Well, the Premium Plate looks great, that's true. The basic plate is just that... basic.