
removing possibly stripped bolt


removing possibly stripped bolt
Mmk.... So I'm in the process of installing headers... I'm 99.9% done removing the stock header which is a really overlooked factor in the pain in installing headers.... Any good advice on how to remove the rear header bolt that's possibly stripped (not 100% sure)....

The bolts where the headers meet the y-pipe? Grind them off
If you are talking about the nuts that hold the headers to the head, you can remove the studs from the head with the nut still on them.
If you are talking about the nuts that hold the headers to the head, you can remove the studs from the head with the nut still on them.
Yea the bolts to the head..... I may have to try that... About 4 of em came out like that... But what tool would I use?


Im guessing its the damn firewall side the top passengerside nut when i did it i ended takint the mani off and laying across the top of the engine to reach down there because from the bottom i couldnt get the right angle on the nut i also heated it with a torch and sprayed it with pb blaster i know aackshun had pics of taking them off in the old thread
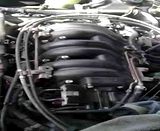
The manifold isn't off... I honestly just don't know how to n isn't comfortable with the infinite vacuum lines.... Plus there is no really good how to, on removing it.... Just how to install em on 4th gens
http://www.autozone.com/autozone/acc...entifier=70112
http://www.sears.com/shc/s/search_10...Redirect=false
theres only 4 main vacuum lines that are off the mani just unbolt the upper mani and you can move it out the way by removing the 2 large hoses on the passenger side if its like the one on the 97 max i dont know if the dek is different
reach down with camera phone and take pic of area to conferm if the nut is really stripped this will also tell you if you not getting the socket on it right just make sure the flash is on
last resort is to loosen all motor mounts and nudge engine with 2x4 to get better access of area dont get discourged it will happen and you will be enjoying them it just takes time patients

Senior Member

Joined: Sep 2010
Posts: 10,344
From: Jacksonville, FL
Me and a friend had to do something similar to get to the rear spark plugs on the Grand Prix GTP I used to own. Unless you have go-go Gadget arms, they're a real bish to get to.
Naw bro.... More than 4 vacuum lines on the DEK... It's like a big **** cluster in that bay
If you're really careful & lucky enough to have the room you can use a Dremel w/cutoff wheel. If not there's a tool called a nut splitter (not kidding) you could probably rent or buy. It uses a screw & wedge to split the nut. AutoZone & Sears sell them. Personally I'd go with the Craftsman, a Chinese cheapo could get you into more trouble.
http://www.autozone.com/autozone/acc...entifier=70112
http://www.sears.com/shc/s/search_10...Redirect=false
http://www.autozone.com/autozone/acc...entifier=70112
http://www.sears.com/shc/s/search_10...Redirect=false

Junior Member
Joined: Jun 2006
Posts: 46
From: South Florida
http://www.lanknights.net/VQHeaders.pdf
Get the intake manifold out of the way so you can first verfiy whether the nut is stripped or not, and second get enough working room to remove the stripped nut. Craftsman sells a rounded nut removal set that I've used on some serisouly rounded nuts. It's a socket looking tool that fits over the rounded nut and cuts into the nut for grip. But you need space to put it on straight.
http://www.craftsman.com/craftsman-1...2&blockType=L2
Also that link seems to be for a 3.5.... Those are the easiest manifold to remove, I can do those..... The car is a 2001 Maxima with 3.0 DEK... WAAAAY harder than the 3.5... No write up I find on removing that manifold
Go to page 9 here... It shows all the bolts you have to remove.
http://www.nicoclub.com/FSM/maxima/2001/EM.pdf
The best word of advice is to remove all bolts to the IM first. Then remove the visible vacum lines. Pull up on the IM and feel where it snags. Look in that area and you will see the rest of the lines you need to disconnect. Keep using this technique and you will eventually get it. Dont be scurred... Its just a bunch of bolts and clamps.
Junior Member
Joined: Jun 2006
Posts: 46
From: South Florida
If you go to www.craftsman.com and search "stripped bolt remover" and you'll see what I'm talking about. I have part #52061, but part #52166 looks like a better set.
Another option would be to file or grind down the nut so that you can grip it with either a smaller socket or a set of vice grips. You'll have to pound the smaller socket on there, and it may split.
this was a 2 man job ill say, im aching and hands torn up...
To update i got the bolt off without even using a bolt extractor it just, after yanking the heat sheild to where we had a slight better view of the bolt and finally getting a lift we had a better grip on the bolt and it came off with the stud, i wanted to toss that bish with all energy i had (because i had a spare one still from my 5.5 lol) but i kept the headache bolt. The install is complete but still have a big **** leak to fix tomorrow... i didnt have 1 gasket where the header met the catalytic converter and didnt get it til 9pm tonight but had to drive my friend home about 45mins away lol...
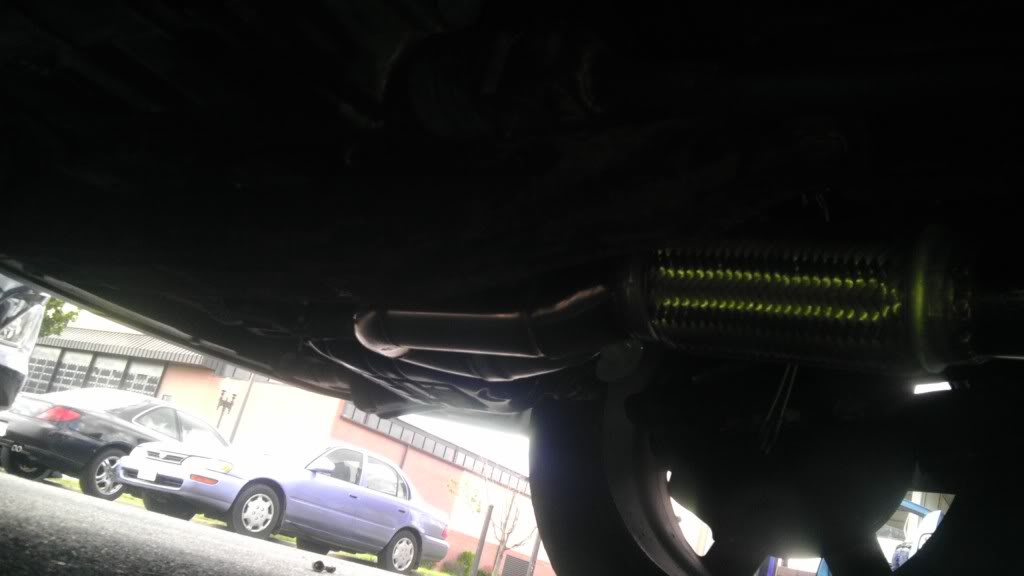
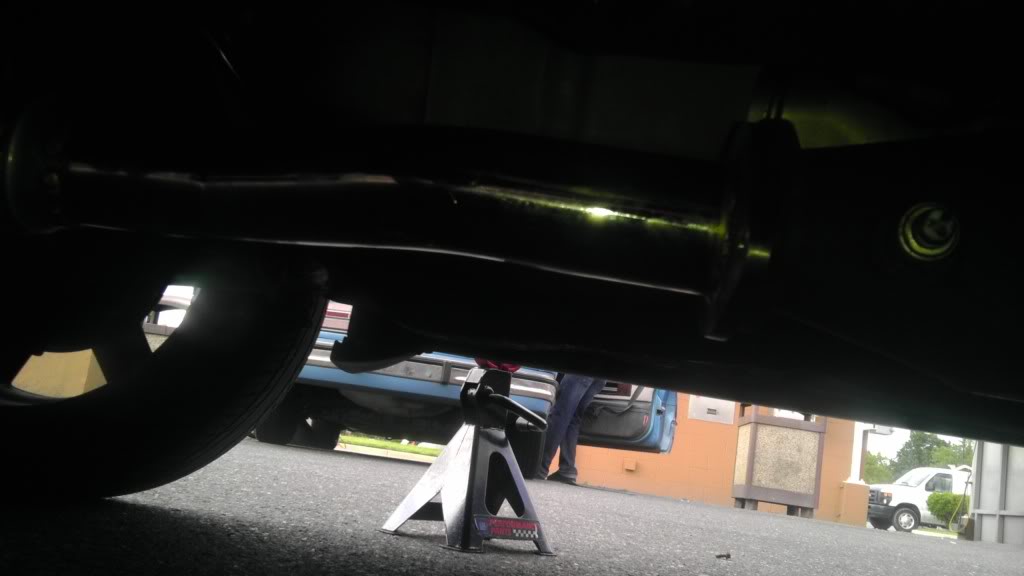
To update i got the bolt off without even using a bolt extractor it just, after yanking the heat sheild to where we had a slight better view of the bolt and finally getting a lift we had a better grip on the bolt and it came off with the stud, i wanted to toss that bish with all energy i had (because i had a spare one still from my 5.5 lol) but i kept the headache bolt. The install is complete but still have a big **** leak to fix tomorrow... i didnt have 1 gasket where the header met the catalytic converter and didnt get it til 9pm tonight but had to drive my friend home about 45mins away lol...

lemme tell you what i kinda find odd or overly exaggerated here... the OBX fitment.... i dont know where that came from but my V2 OBX line up perfectly, didnt have to yank it to get the bolts to fit, didnt shave any of the crossmember, however its pretty close... the absolute only issue i have with the OBX out the box is the rear o2 sensor that needs to be relocated... (mines isnt)... n im sure flex in a few lol
^^  if you choose to go that route a would absolutely recommend a lift lol... hell if you installing headers which after this install i wont ever recommend to anybody unless they are paying for the labor, just pay a shop for a lift or something lol... literally you will go to hell n stay there for a few n back to get the extra virgin OEM stuff off.. longest part of the install was grinding the stock cat off the Y-pipe and like stated before the OEM trash
if you choose to go that route a would absolutely recommend a lift lol... hell if you installing headers which after this install i wont ever recommend to anybody unless they are paying for the labor, just pay a shop for a lift or something lol... literally you will go to hell n stay there for a few n back to get the extra virgin OEM stuff off.. longest part of the install was grinding the stock cat off the Y-pipe and like stated before the OEM trash
^^ if you choose to go that route a would absolutely recommend a lift lol... hell if you installing headers which after this install i wont ever recommend to anybody unless they are paying for the labor, just pay a shop for a lift or something lol... literally you will go to hell n stay there for a few n back to get the extra virgin OEM stuff off.. longest part of the install was grinding the stock cat off the Y-pipe and like stated before the OEM trash
if you choose to go that route a would absolutely recommend a lift lol... hell if you installing headers which after this install i wont ever recommend to anybody unless they are paying for the labor, just pay a shop for a lift or something lol... literally you will go to hell n stay there for a few n back to get the extra virgin OEM stuff off.. longest part of the install was grinding the stock cat off the Y-pipe and like stated before the OEM trashI did mine w/o removing the upper IM....
But I also took off the heatshield and loosened and re-tightened the bolts when I swapped the motor

Made my header install HELLA easy

Only problem I had was getting the crossmember and the shifter linkage back up and connected once the headers were in, that took some fancy bolt work but I got it all in w/o any fabrication.
Last edited by aackshun; May 21, 2012 at 01:00 PM.

Thread
Thread Starter
Forum
Replies
Last Post
The Frye
7th Generation Maxima (2009-2015)
6
Sep 2, 2021 11:03 AM
hez8813
5th Generation Maxima (2000-2003)
11
Mar 12, 2020 12:06 AM
rbarnes
1st & 2nd Generation Maxima (1981-1984 and 1985-1988)
4
Dec 31, 2015 06:29 PM