
BIG 3 Upgrade


Thread Starter
Senior Member
Joined: Jul 2004
Posts: 743
From: Columbia, SC //Goldsboro, NC
BIG 3 Upgrade
So I popped the hood this afternoon to try and check things out before I upgrade the wires, well i should have known better! Does anyone have any pics after they did the big 3, also where is the engine ground wire, and I lost the battery negative wire somewhere under the air box , and I guess the power to alt wire runs across the engine somewhere, also if you did the upgrade, did you use 4gauge or 0gauge, and how many feet?
Thanks
Thanks


Thread Starter
Senior Member
Joined: Jul 2004
Posts: 743
From: Columbia, SC //Goldsboro, NC
is this the kit your talking bout cause it says it for the 3.5 or does that matter
http://www.courtesyparts.com/Merchan..._Code=GRND-A33
http://www.courtesyparts.com/Merchan..._Code=GRND-A33
Yeah thats the one. I don't know what year your car is so I gave that as an example. The 3.5L probably matters because one of the wires needs to be grounded to the engine. You can find kits for other maxima's, like on stillen.com. Those are a bit more expensive though.

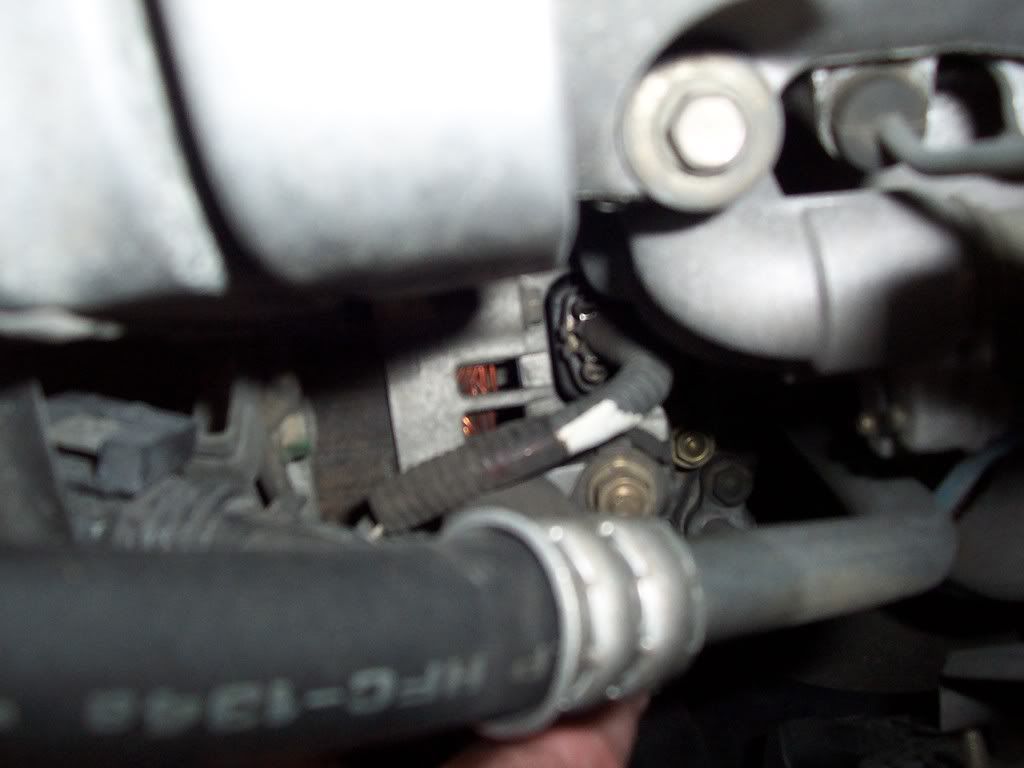
This is the top of the alternator. I used all black wire due to preference, use what ever you want. This wire will go directly to the positive post on your battery.
I tried to get a good pic of the engine side of the engine/chassis ground. The bolt is directly behind the wire in the center of the pic. Man I need photoshop so I can circle things. Fortunately the ring terminal is the most shiney object in the pic.
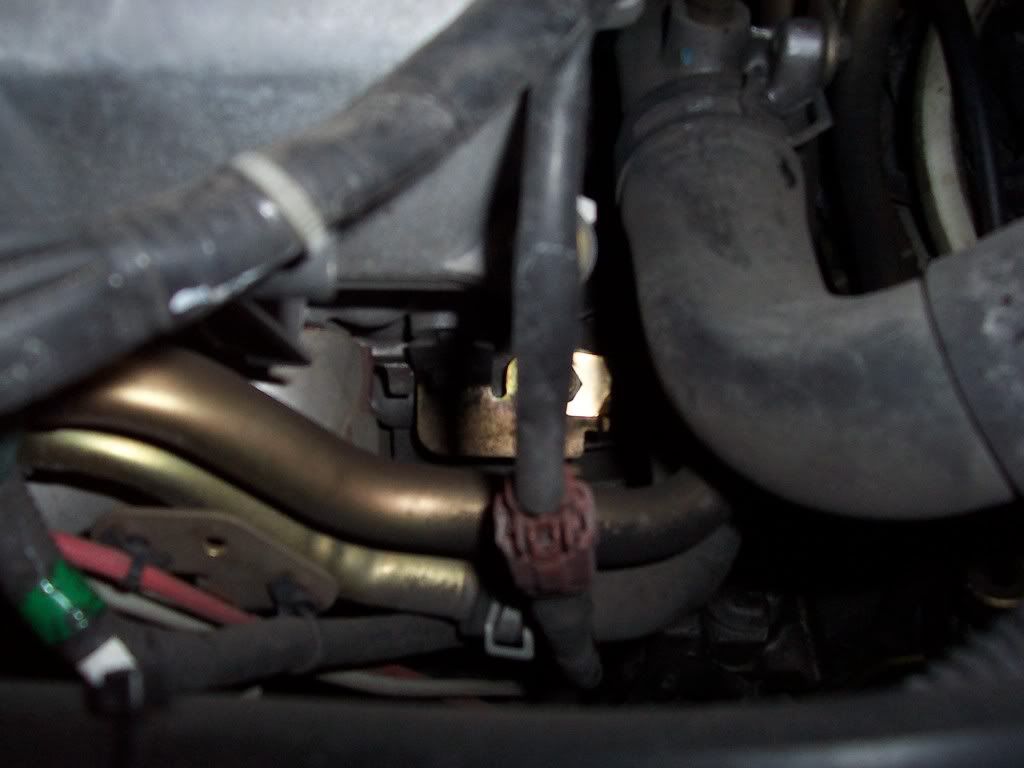
I tried to get a good pic of the engine side of the engine/chassis ground. The bolt is directly behind the wire in the center of the pic. Man I need photoshop so I can circle things. Fortunately the ring terminal is the most shiney object in the pic.
Last edited by filtor1; Mar 3, 2008 at 05:36 PM.
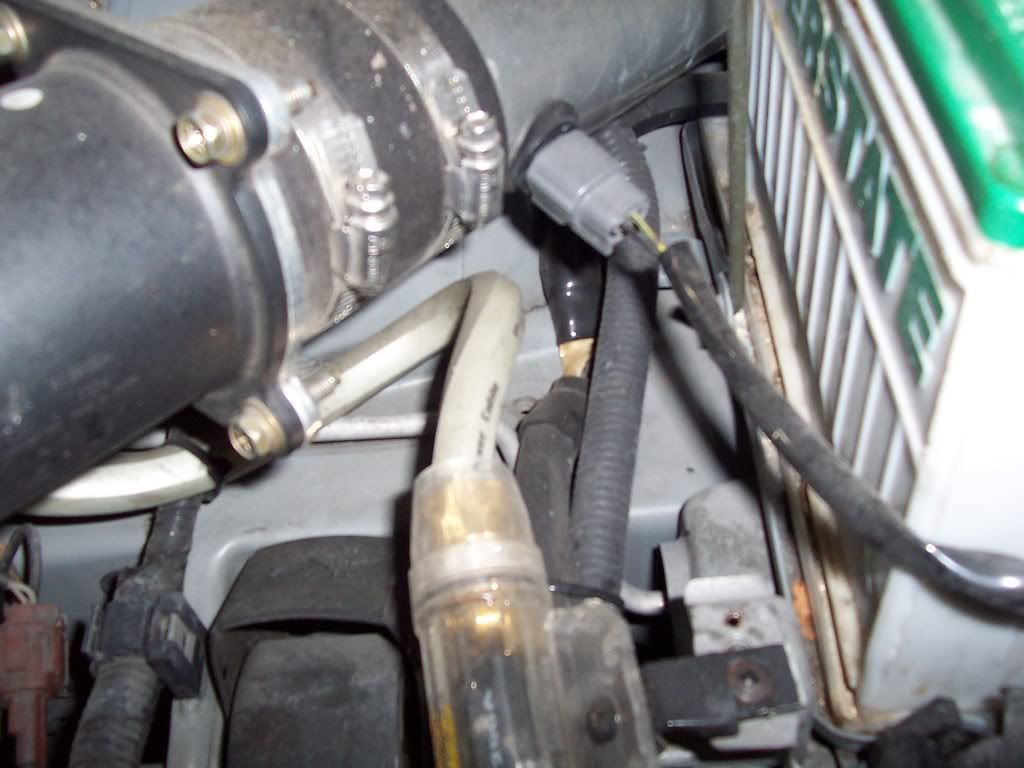
That is correct. Route them where you want, just pay attention to possible hot spots and/or moving parts. I have the positive run along the top of the radiator. The others I just cut to fit.


Also fuse the wire for more security
I added a fuse near the alternator and another near the battery. Overkill? Probably, but I had the fuse holders laying around anyway
Just added it where the radiator touched the wire, there was really no way it would get hot enough to burn through the wire's insulation unless the car was burning up or something, but better safe than sorry...
I added a fuse near the alternator and another near the battery. Overkill? Probably, but I had the fuse holders laying around anyway
I added a fuse near the alternator and another near the battery. Overkill? Probably, but I had the fuse holders laying around anyway

Thread
Thread Starter
Forum
Replies
Last Post