
New Auto Climate Control LED Upgrade


New Auto Climate Control LED Upgrade
After checking out the write-up to change the climate control lighting to LEDs I decided to try it myself. I followed this how-to, but it seemed strange to me to make the LEDs run off of a separate source rather than the power source the original bulbs actually ran off.
To complete the job I used:
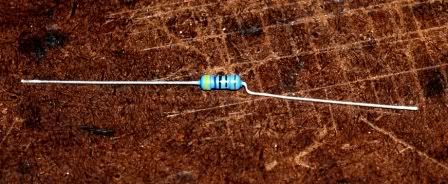
4 LEDs (they can be 3mm or 5mm, I've done this with both and they both work fine)
4 resistors (i got these with my LED purchase on ebay, many auctions come with them)
Solder
Phillips screw driver
Small flathead screw driver
Butter knife
Needle Nose pliers
1. Follow Step 1 on previously stated how-to to remove climate control from the vehicle. I used the butter knife and flat head screw driver to un-clip the climate control pieces. It says to remove small brown plastic pieces, mine were blue.
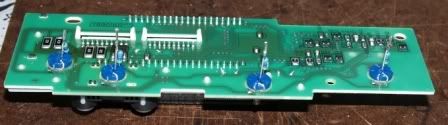
2. Remove the little bulbs from the brown or blue bulb holders with pliers and/or flathead screw driver. Now you should have this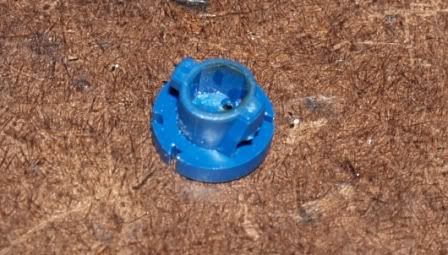
3. Slide LED into bulb holder,
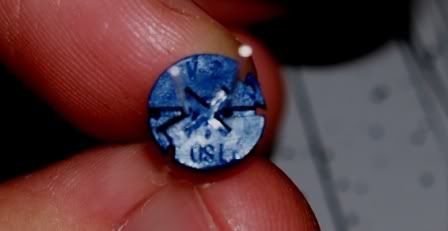
making sure the positive lead is closest to the "2" in "V-2"
4. Using the needle nose pliers and/or screw driver, bend the negative lead of the LED down, through the notch in the bulb holder, and then back down to the back of it and bend in over so it stays in securely.
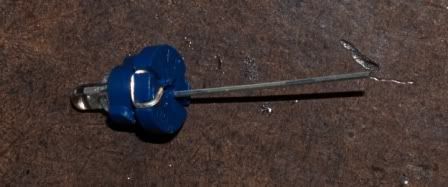
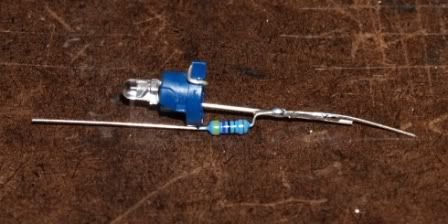
5. Next, take a resistor and using the needle nose, bend the resistor like so.
To complete the job I used:
4 LEDs (they can be 3mm or 5mm, I've done this with both and they both work fine)
4 resistors (i got these with my LED purchase on ebay, many auctions come with them)
Solder
Phillips screw driver
Small flathead screw driver
Butter knife
Needle Nose pliers
1. Follow Step 1 on previously stated how-to to remove climate control from the vehicle. I used the butter knife and flat head screw driver to un-clip the climate control pieces. It says to remove small brown plastic pieces, mine were blue.
2. Remove the little bulbs from the brown or blue bulb holders with pliers and/or flathead screw driver. Now you should have this
3. Slide LED into bulb holder,
making sure the positive lead is closest to the "2" in "V-2"
4. Using the needle nose pliers and/or screw driver, bend the negative lead of the LED down, through the notch in the bulb holder, and then back down to the back of it and bend in over so it stays in securely.
5. Next, take a resistor and using the needle nose, bend the resistor like so.
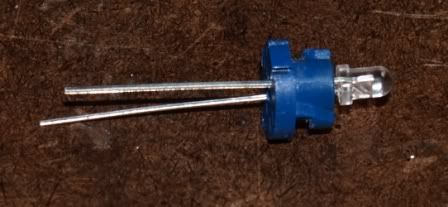
6. Solder the resistor to the Positive lead of the LED as shown, and clip off the extra leads afterwards.
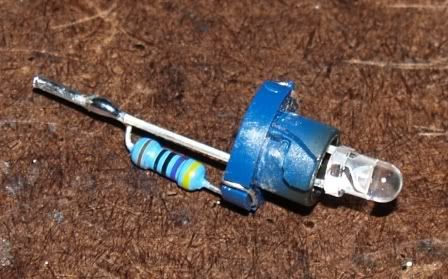
7. Repeat Step 4 for the Positive lead (the long leg of the resistor) and bend it around the bulb holder to secure it. After you should have this.
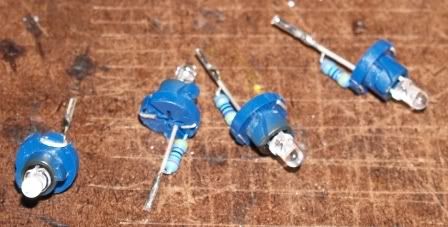
8. Do this for all 4 bulb holders
9. Put the newly modified bulb holders into the circuit board and twist them into place. Since they are modified, it may be difficult to twist them with a Phillips screw driver, I used the needle-nose to do this.
10. After they are all in, connect the back of the Climate control to the front making sure the LED leads/resistors do not get in the way. Once it is back together, reinstall in your car, turn on the lights, and enjoy.
Night shots coming soon!
7. Repeat Step 4 for the Positive lead (the long leg of the resistor) and bend it around the bulb holder to secure it. After you should have this.
8. Do this for all 4 bulb holders
9. Put the newly modified bulb holders into the circuit board and twist them into place. Since they are modified, it may be difficult to twist them with a Phillips screw driver, I used the needle-nose to do this.
10. After they are all in, connect the back of the Climate control to the front making sure the LED leads/resistors do not get in the way. Once it is back together, reinstall in your car, turn on the lights, and enjoy.
Night shots coming soon!


Night Pic
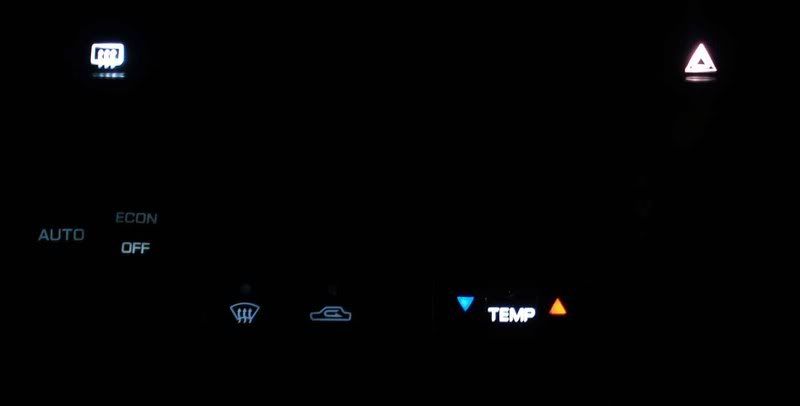
The mode and fan speed buttons don't light up on mine, and for some reason the "TEMP" button is much brighter than the rest, but it's still better than stock.
(they light up bright white in person, not slightly blue as the appear)
The mode and fan speed buttons don't light up on mine, and for some reason the "TEMP" button is much brighter than the rest, but it's still better than stock.
(they light up bright white in person, not slightly blue as the appear)
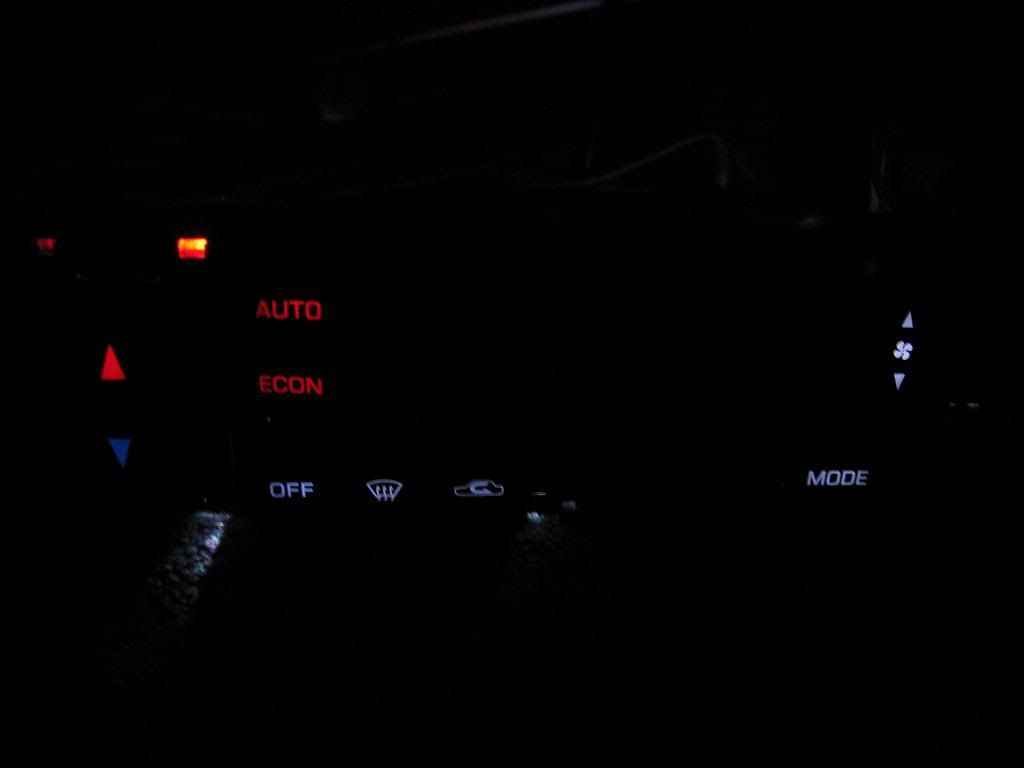
You need to sand the LEDS so you don't have hot spots. I had originally did that but I had to ditch the idea since it wasn't bright enough. Now I have 2 leds per hole lol. And they are 5mm leds, it was a ***** to made it fit.

Member
Joined: Sep 2006
Posts: 217
From: Clifton, New Jersey
nice clean job, yea i agree with Kevlo911 definitely sand your led's it will make a much smoother light... no hot spots or get some wider angle LED's i used the ones with the flat ends and it looks real nice
I have some brighter 5mm white leds coming in soon so maybe ill redo it and sand them a little. For now it's good tho. I'm working on putting some leds in the ring that goes around the ignition but it's tough.


Also, pieces behind the other buttons aren't as clear as the pieces behind the temp buttons, so that doesn't help much either.

Senior Member
Joined: Jun 2006
Posts: 479
From: New Haven, CT
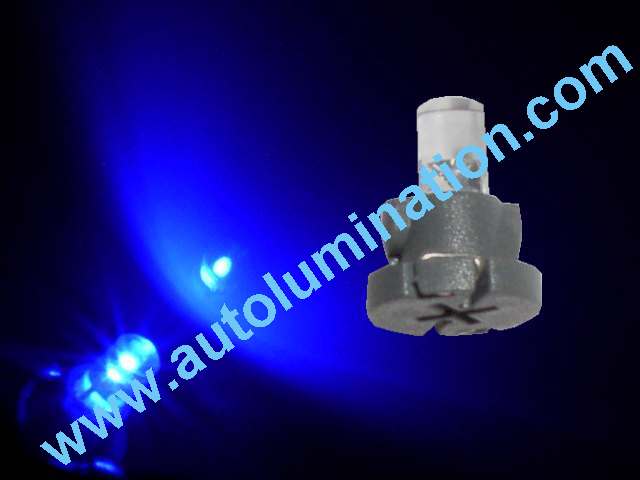
Which type of bulb did you buy and what color ? There are lots of them :
Is it type A ( 8mm) ?
http://autolumination.com/74.htm
Could these bulbs fit ?
http://cgi.ebay.com/ebaymotors/_Car-...3756.m14.l1318
Senior Member
Joined: Jun 2006
Posts: 479
From: New Haven, CT
Looks nice man
What led colors did you use ?
I want to have blue illumination like on my Premier mp3 screen:
Would UV color mixed with the climate control green panel produce blue ?
What brightness leds should I buy if I need to sand them ?
Thanks

What led colors did you use ?
I want to have blue illumination like on my Premier mp3 screen:
Would UV color mixed with the climate control green panel produce blue ?
What brightness leds should I buy if I need to sand them ?
Thanks
Last edited by matrix11229; Jul 17, 2008 at 09:42 AM.


I dont remember what the mcd was for the leds i used but they're bright enough

Thread
Thread Starter
Forum
Replies
Last Post
mikeg75
4th Generation Maxima (1995-1999)
12
Nov 30, 2015 05:12 PM