When you click on links to various merchants on this site and make a purchase, this can result in this site earning a commission. Affiliate programs and affiliations include, but are not limited to, the eBay Partner Network.
Last week I installed a pair of moog strut assemblies on the rear of my wife�s 96 maxima. Immediately we noticed at lower speeds on residential roads a noise emanating from the struts. I stuck my head in the trunk via the pass-through and the noise is definitely emanating from the struts. I�ve checked all the other bushings involved in the suspension and the exhaust system, everything looks good there. Something is definitely up with these new struts.
Any tips/suggestions greatly appreciated.
If you haven't done it already, I'd suggest that all mounting bolts (upper and lower) be loosened ... remove the load from the struts (i.e. raise the rear end) and just loosen so that, if forced, the assembly can move.
Then, with the strut assemblies back under full load (i.e. car sitting on the ground), re-tighten all bolts.
You probably want to do this in phases ... raise the rear end, loosen the upper bolts, drop the car, tighten the bolts. Then do that same for the lower.
I've found that when struts are mounted and secured with the vehicle in the air and the suspension extended, a secure/firm mounting may not happen. Shocks and struts should be battened down under full load.
I'd add retorque when back on the ground to SPEC. Back upper nuts are something like 15 ft pounds. Research that.
Hopefully you used new gaskets and didn't leave it metal on metal.. The OEM paper ones seemed boney to me so I bought 1/8" High Grade Neoprene Sheet Rubber and cut out my own. Just another cushion to reduce road noise transfer.. I also replaced my Moog assemblies and went all OEM with Koni Orange Struts.. NICE and quiet again. Been through my share of aftermarket assemblies and they all sucked compared with OEM components. However the back struts weren't as noticeable.
I actually wasn�t able to reuse the paper isolators on top & applied orange hi temp silicon. Good idea on torquing under load.
you wouldn�t happen to have the pn of the Koni assemblies you mentioned?
Breif history; we purchased the car new in September of 96, it�s been well maintained & always garaged. It�s really been a remarkable car, especially impressed with the engine.
I sincerely appreciate the quick responses and will hopefully reply back with a success.
I used the four Koni STR-T struts. Back two are the same part number and the front two have different part numbers. Mirror imaged.
These are NOT assemblies. They are the Struts only and require springs and a bunch of other parts along with them and a spring compressor to put everything together. If you still have your old ones, you can reuse the springs and hard parts. But I'd suggest using NEW OEM consumable parts. Anything with rubber and/or bearings and the likes that wear and break down over the years and mileage.
Do a search here. Both CS_AR and I did the same thing. And we both are completely satisfied, despite the extra cost and labor.
Guess the KONIs are my next move as no success eliminating the gremlin. Took both assemblies apart & added washers to enable a tighter squeeze on the top bushings. Even made a couple replacements for the paper gaskets on top. Still can�t believe I tossed the originals in the trash so soon. Going to put the *** end back on the jack stands today & start looking around for other sources of the noise while I wait for the next setup to arrive. I may have lost the battle...
Before you spend any money, CHECK the trailing control arm bushings for movement and noise, as well as the Lateral Link and Control Rod bushings and where they attach the the chassis and axle beam. Although IME, these cars when they make a racket underneath, it's usually the strut assemblies. Especially the top components AND spring insulators.
When I did mine, I went overboard on my version of spring insulators and used heavy walled (1/8") heat shrink tubing on each end of each spring. CS_AR did the same.
KP11520; Thanks, every tidbit of information is valuable to me.
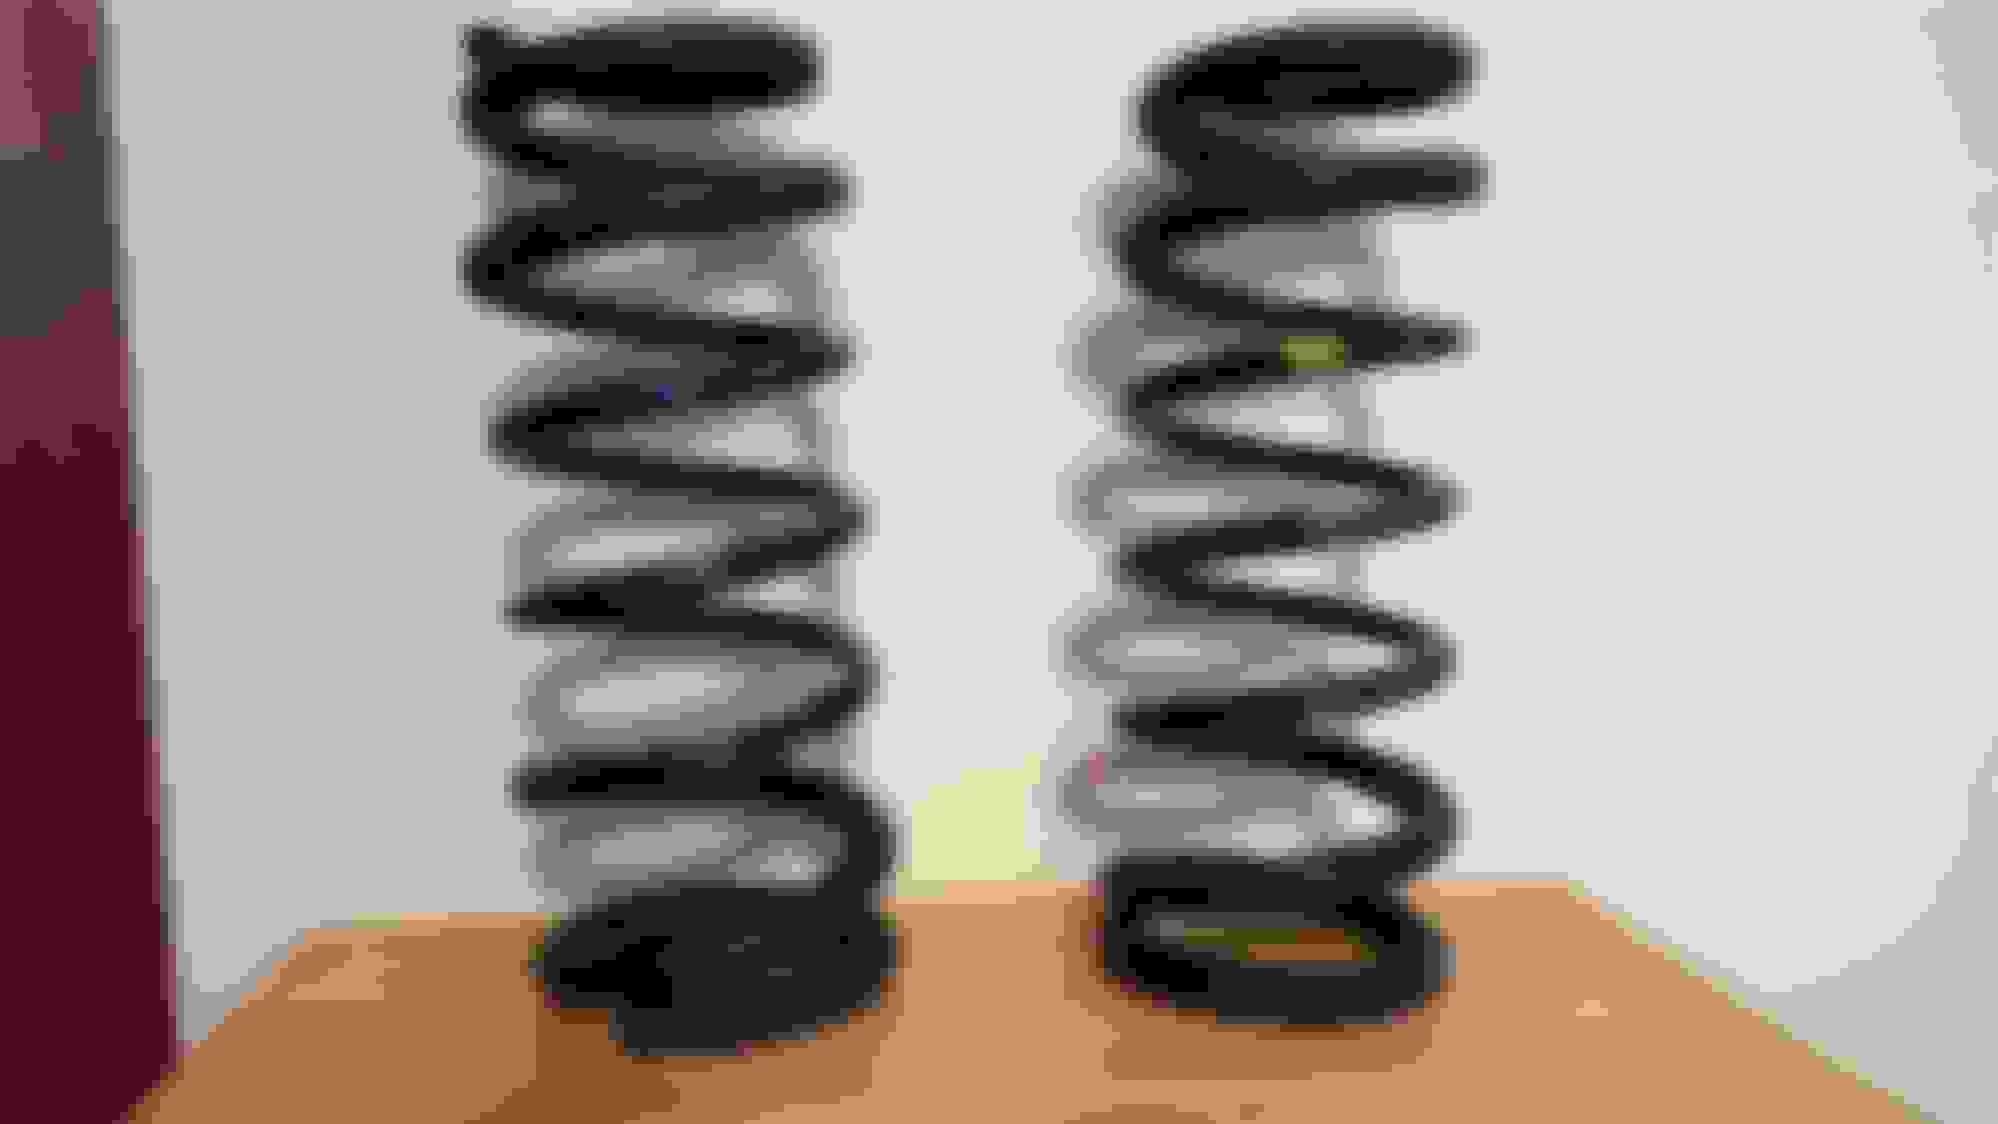
The moog setup I got doesn�t seem to have the springs under much tension, at least relative to others I�ve dealt with and the base of the spring is metal on metal.
my biggest mistake was disposing of the original assemblies as to rule out the source.
Thanks to all & please don�t hesitate to chime in with ideas.
Well for the back OEM strut assemblies, the only parts you would reuse if going for a new OEM ride would be the springs and shock absorber mount bracket and nuts and lower bolt and nut washer.
Everything else new. You can probably buy the springs here from someone who used lowering springs and have the OEM stored. That leaves the bracket for around $35. Plus everything else.
These cars NEED what Nissan designed for best results and LONG results. All these aftermarket offerings miss the mark with generic fit components. Close, but not close enough for a grenade to do damage, IMO.
And make your own gaskets. More than enough for all four corners and mistakes:
But I'd start with that heat shrink tubing and get two. One for each spring split between the top and bottom. You'll need a heat gun or put the wrapped springs in the oven for 15 to 20 minutes. CS_AR can advise on what temp.
Well for the back OEM strut assemblies, the only parts you would reuse if going for a new OEM ride would be the springs and shock absorber mount bracket and nuts and lower bolt and nut washer.
Everything else new. You can probably buy the springs here from someone who used lowering springs and have the OEM stored. That leaves the bracket for around $35. Plus everything else.
These cars NEED what Nissan designed for best results and LONG results. All these aftermarket offerings miss the mark with generic fit components. Close, but not close enough for a grenade to do damage, IMO.
But I'd start with that heat shrink tubing and get two. One for each spring split between the top and bottom. You'll need a heat gun or put the wrapped springs in the oven for 15 to 20 minutes. CS_AR can advise on what temp.
I think I started with the oven temp at 200. Increment as needed. You need to work fast and wear heavy leather gloves so you can stretch the tubing over the coils once it becomes flexible from the heat. You can't leave it unattended while in the oven. I used a pair of pliers to pinch off the tubing on each end once I had it stretched out.
With all due respect to Keith and Craig and their inane efforts to show us all up, these work pretty well to and you don't need to interrupt your batch of chocolate fudge brownies ... https://www.tein.com/products/silencer_rubber.html
With all due respect to Keith and Craig and their inane efforts to show us all up, these work pretty well to and you don't need to interrupt your batch of chocolate fudge brownies ... https://www.tein.com/products/silencer_rubber.html
HA! That's like using adhesive to keep the condom on rather than a painted on fit that becomes one with the......spring.
What I did feeeeeelz better. LOL
My main motivation was to finally be done with Strut noise that was over 100K long. Gritting my teeth every one of those miles. Made me NUTZ!
Had to go to the coast for a day but back home & back to the issue of concern.
so spring slap as I see it called seems to be the most likely & next possibility to eliminate?
And so far as the heat shrink tubing, select an appropriate size to allow installation & finish in the oven until golden brown?
as far as I see the only unsecured metal on metal contact is where the spring rests on the strut support and between the coils themselves.
and again thanks are in order for disclosure of ideas and new products.
The Nissan diagram above doesn't show spring insulators on BOTH ends of the spring despite the top end marrying to a rubber seat. But the front diagrams do. From first hand experience, I agree with their recipe wholeheartedly. Remember I threw my Moog strut assemblies in the garbage in less than 2 years and 10K miles.
Insulate both ends on the back springs and go as much as 24" long each end. When the car is loaded and hits bumps the ends is where the coils themselves hit each other as well. This will do more to keep them quiet than anything else in all load conditions.
Just use QUALITY spring insulators that won't move or degrade way short of the assembly's life. The tubing we used might be considered overkill, but we'll never have to address it again. Especially because we both rebuilt them new from scratch and the Koni Struts have a lifetime warranty. If it goes bad, just swap the strut for FREE.
The exact tubing you need if you go this route is in the link above. You'd need two pieces at 48" x .75" I.D. to do both ends of both springs decisively.
With 212K, it's been a LONG time since my Maxima rode quiet and right. And maybe even better than new. I also did the LCAs as well.
KP11520; I understand the KONI setup is � la cart so do they (koni) have the other components available, bushings, washers, mount plates , springs...?
I�m continuing to pursue a remedy just because I�d like to know were the design error is and over the course of the next few weeks I�ll collect the parts for an eventual quality replacement.
I stopped at a local electrical supply shop on the way in this evening & procured some shrink sleeving.
If the rattling was of an absolute known source it wouldn�t be so irritating. I�ve driven cars for years thinking someday I�ll get to it.The fact this isn�t identified drives me up a wall & down the other side.
The only things you see in that picture above that isn't Nissan OEM parts is the Koni Struts, the heat shrink and the gaskets I made from neoprene rubber sheeting. Everything else is NISSAN for my year and model Maxima.
NISSAN OEM is the way to go. Any other aftermarket components have their shortcomings. Cheaper yes and problematic prematurely too.
Thanks all , been sick & had to put issue on hold but back on my game & just installed shrink tubing on springs but wondering if it matters which way the the assembly faces on the car. Spring ends out or in?
Thanks all , been sick & had to put issue on hold but back on my game & just installed shrink tubing on springs but wondering if it matters which way the the assembly faces on the car. Spring ends out or in?
If you look at the NIssan diagram above, you'll notice the bottom mounting bolt and nut which will be mirrored on the other side. And if that's the case, one side will be in and one side out. IOW, I don't think it matters which is which.
Paper gaskets make no difference at all. My 96 I30 doesn't have them anymore, and I used Gabriel quick struts at the rear, and they are awesome. No noise or any other problems with them after 2 years and 20k. They will probably last the 50k Gabriel says they last.
The Monroe quick struts are probably better than Gabriel, but certainly nothing wrong with what I have on it now. I got the Gabriels because they were $40 each from Amazon warehouse deals