
HID Fog-light Install


HID Fog-light Install
So my dad and I finally got around to installing the fog-light HID's
1. First you need to take off the bumper (follow Jsmiths write up)
2. Take the old fog-light bulb out
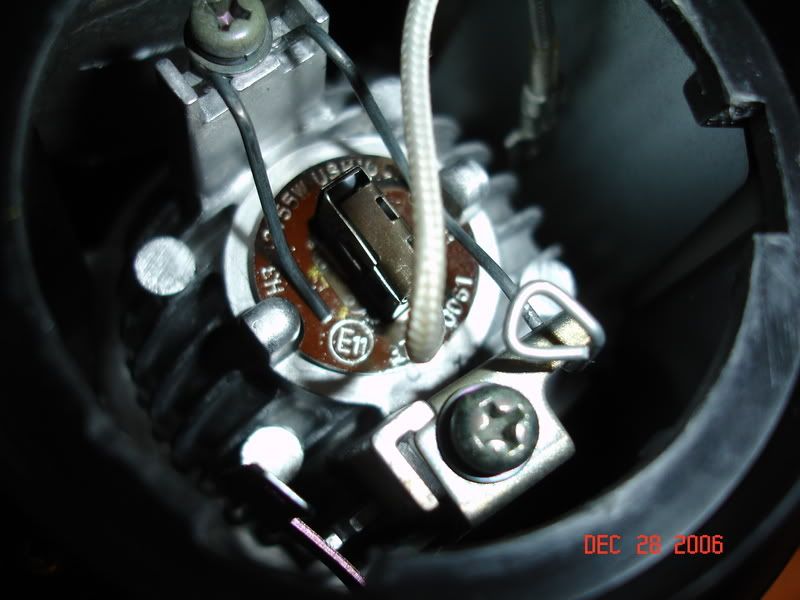
3. Take a phillips screw driver and un-screw the bottom screw to remove the little metal thing. When removed you will have to wiggle the connector off and screw the metal thing back in because it clips the bulb in (you can do this without taking the metal thing out, but you risk ripping something, so take the extra minute to take the thing out)
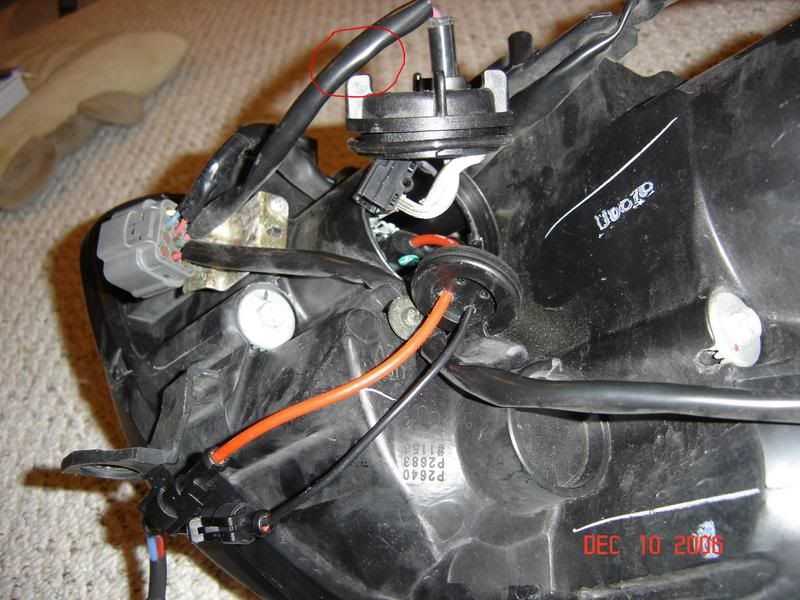
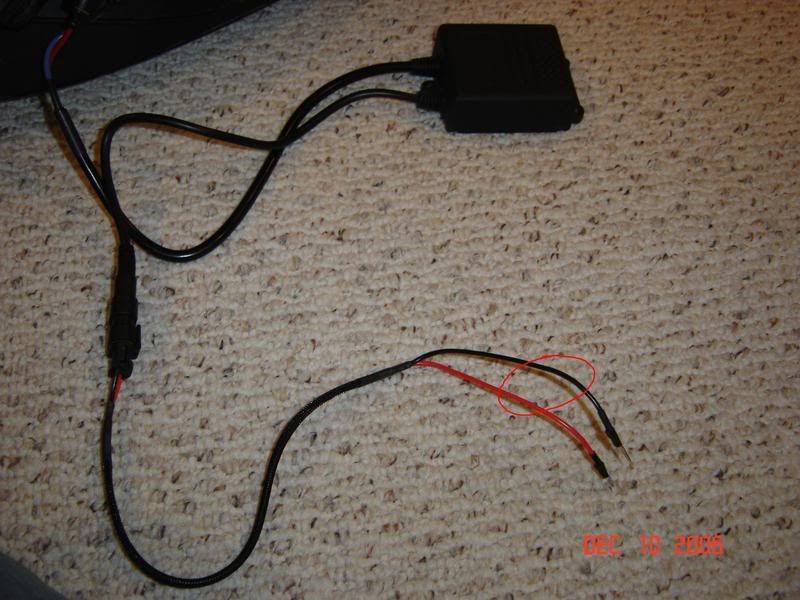
4. Once that is done you will need to CUT the red/black wires as shown in the picture. Push the black covering back a little so that you can cut about where the red circle is.
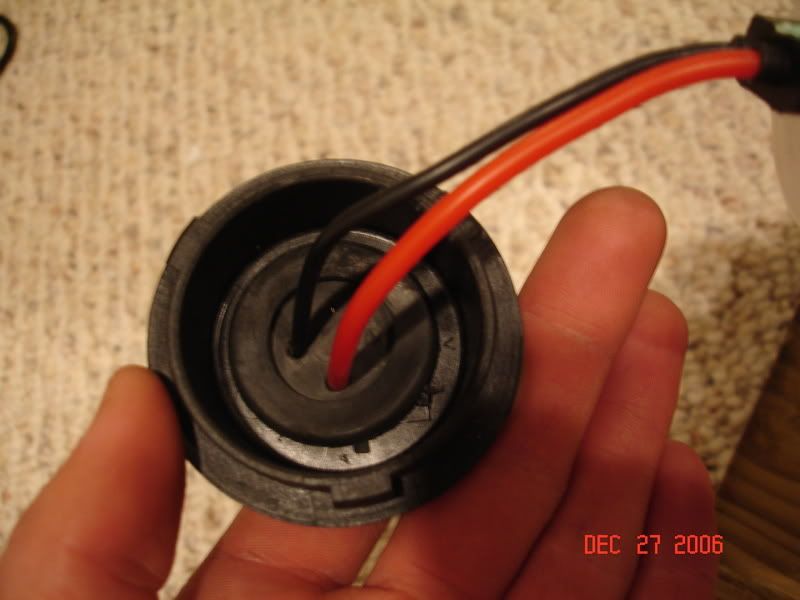
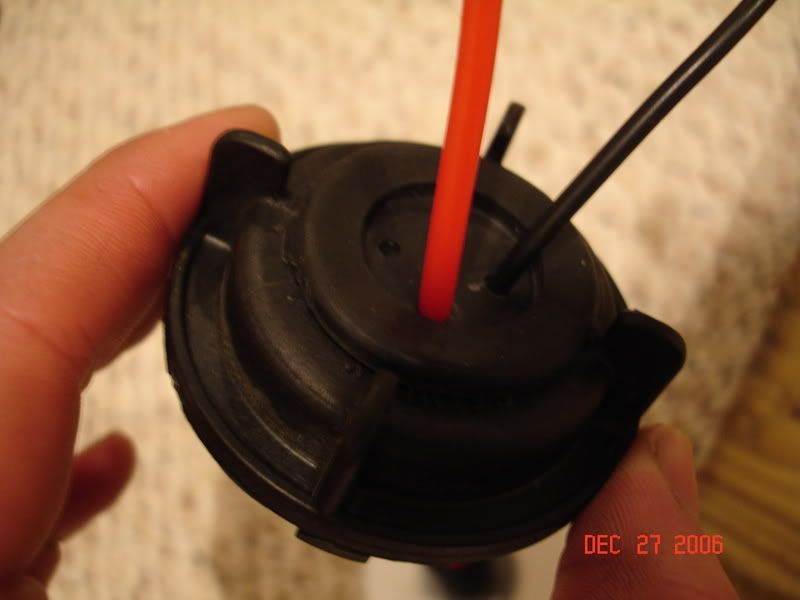
5. Now you are holding the little black cap with 2 short wires in it. Pull those and the black rubber boot that held them in out of the cap.
6. Take needle nose pliers and start breaking off all the little hedges inside the cap that held the little black box. Do the same on the outside of the cap where the rubber boot was held.
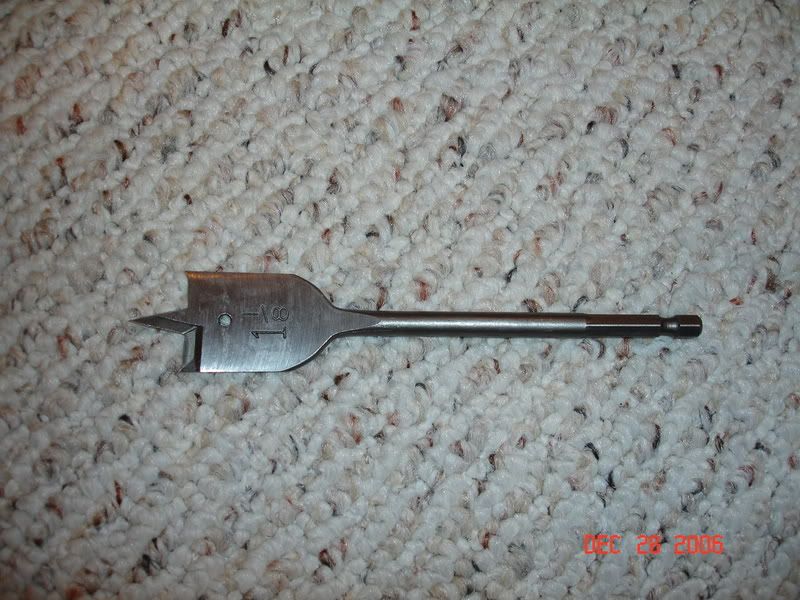
7. Now you will need two(2) people for the next step. Both with steady hands. One will be DRILLING a 1 1/8in. hole in the cap as close to the existing hole from the rubber boot as possible. And the other will be holding the cap as carefully as possible.
8. Now after doing so clean up the edges with a knife and proceed to installing the circular rubber boot that is with the HID bulb.
Go to next thread please.
1. First you need to take off the bumper (follow Jsmiths write up)
2. Take the old fog-light bulb out
3. Take a phillips screw driver and un-screw the bottom screw to remove the little metal thing. When removed you will have to wiggle the connector off and screw the metal thing back in because it clips the bulb in (you can do this without taking the metal thing out, but you risk ripping something, so take the extra minute to take the thing out)
4. Once that is done you will need to CUT the red/black wires as shown in the picture. Push the black covering back a little so that you can cut about where the red circle is.
5. Now you are holding the little black cap with 2 short wires in it. Pull those and the black rubber boot that held them in out of the cap.
6. Take needle nose pliers and start breaking off all the little hedges inside the cap that held the little black box. Do the same on the outside of the cap where the rubber boot was held.
7. Now you will need two(2) people for the next step. Both with steady hands. One will be DRILLING a 1 1/8in. hole in the cap as close to the existing hole from the rubber boot as possible. And the other will be holding the cap as carefully as possible.
8. Now after doing so clean up the edges with a knife and proceed to installing the circular rubber boot that is with the HID bulb.
Go to next thread please.
How to-Install Fog-light HID's (2)
9. Now back to the "cut wires." You will also need to cut the black/red wires that came with the HID kit. Do so around the red line so that the connectors are still somewhat useable.
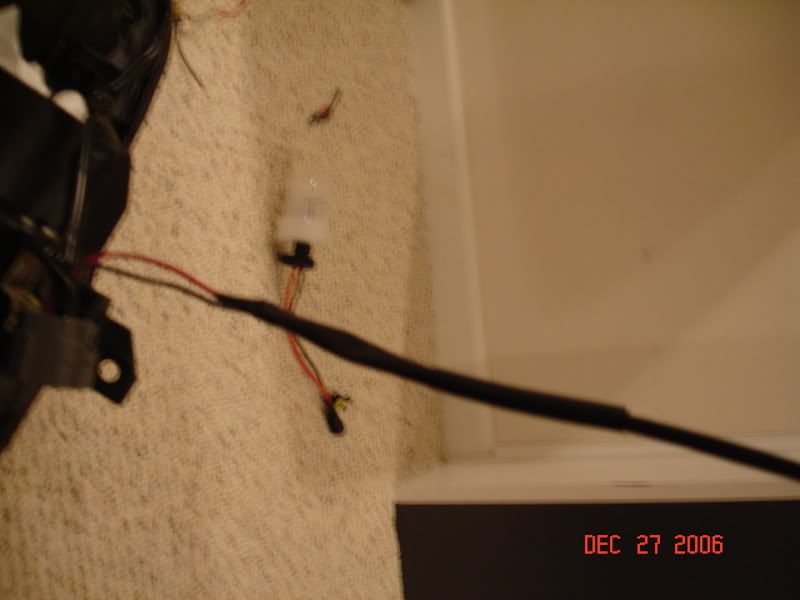
10. Now carefully peel off the rubber coating on both black and red wires and connect red/red and black/black. Once connected make sure to put electrical tape around the red/red and the black/black. (You can also solder and do other types of connections, but this was the quickest way yet still effective.
11. Now you are READY TO GO. The best place to mount the ballast for me was snug in a little metal place by the bumper. My dad drilled ONE hole in the metal part and then just used one screw in there and it will definately NOT MOVE from that spot.
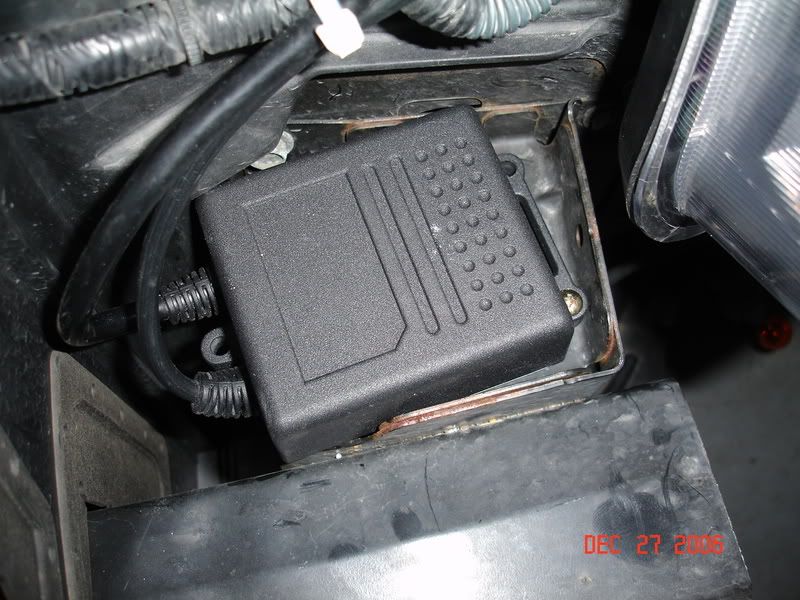
12. Now just zip-tie all of the wires in appropriate spaces so that they do not rub on other components of the car and you are set!
I DO NOT TAKE ANY RESPONSIBILTY FOR ANY DAMAGE DONE TO ITEMS OR PEOPLE. DO AT YOUR OWN RISK AND WITH SOME COMMON SENSE PLEASE.
Feel free to PM me with questions.
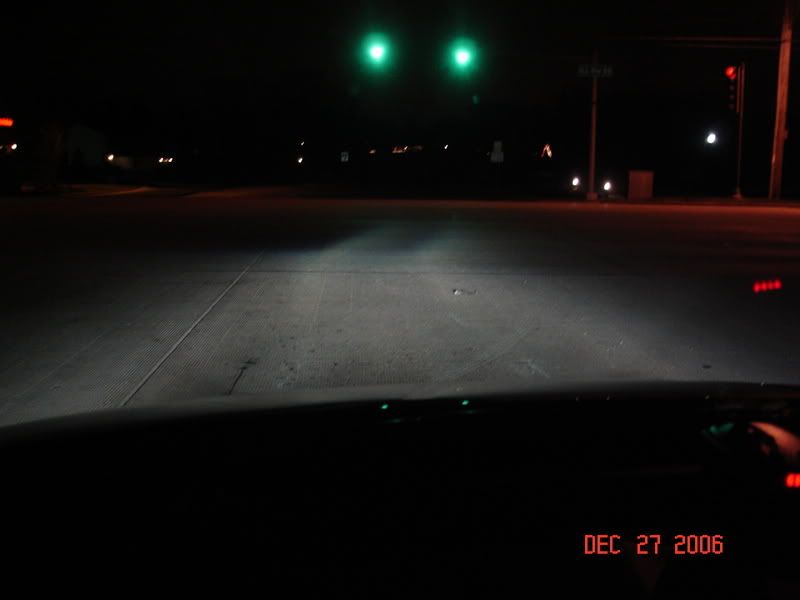
ONLY stock HID's
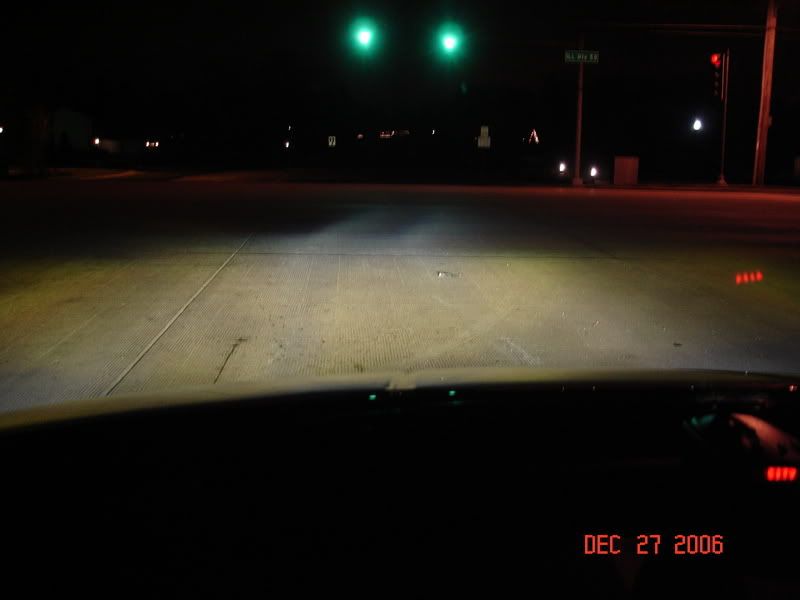
HID's WITH 3k fog-lights
Oh yeah, I bought these from automax95, as i'm sure that most of you know how great of a guy he is to deal with!
Big thanks goes out to my DAD and kamilkluczewski for their help.
10. Now carefully peel off the rubber coating on both black and red wires and connect red/red and black/black. Once connected make sure to put electrical tape around the red/red and the black/black. (You can also solder and do other types of connections, but this was the quickest way yet still effective.
11. Now you are READY TO GO. The best place to mount the ballast for me was snug in a little metal place by the bumper. My dad drilled ONE hole in the metal part and then just used one screw in there and it will definately NOT MOVE from that spot.
12. Now just zip-tie all of the wires in appropriate spaces so that they do not rub on other components of the car and you are set!
I DO NOT TAKE ANY RESPONSIBILTY FOR ANY DAMAGE DONE TO ITEMS OR PEOPLE. DO AT YOUR OWN RISK AND WITH SOME COMMON SENSE PLEASE.
Feel free to PM me with questions.
ONLY stock HID's
HID's WITH 3k fog-lights
Oh yeah, I bought these from automax95, as i'm sure that most of you know how great of a guy he is to deal with!
Big thanks goes out to my DAD and kamilkluczewski for their help.

Thread
Thread Starter
Forum
Replies
Last Post
MaxLife17
8th Generation Maxima (2016-)
43
Jun 27, 2019 01:37 PM