
What do you do to make your engine look pretty? :)
 03-09-2011, 04:47 PM
#881
There's a heater hose that's about four inches long, and bends 90 degrees. With the new water pipes, I went and got this too. Here it is with those 1" t-bolt clamps.
There's something weirdly pornographic about taking this photo and putting on the Org.
But there it is. A little rubber hose with mouse-ear clamps.

There's something weirdly pornographic about taking this photo and putting on the Org.
But there it is.
A little rubber hose with mouse-ear clamps.


 03-11-2011, 06:11 PM
#886

 03-11-2011, 07:27 PM
#887
Newbie - Just Registered

Join Date: Feb 2011
Posts: 6
I need to clean my engine bay and know to use an engine degreaser to clean it, but some websites say that I should cover all electrical components. What exactly do I need to cover before I begin? Also can anyone recommend a good product to use?
03-11-2011, 07:49 PM
#888
Go search that on google.
03-11-2011, 11:18 PM
#889
Come on man. Are you serious?
03-12-2011, 05:19 AM
#890
")
This is the only engine cleaner that you need, right here:
 03-12-2011, 06:24 AM
#891
There is a detailing sub-forum with threads on exactly what you are looking for. This thread is mainly about parts/modifications to enhance the appearance of the engine bay... It goes without saying you wouldn't modify it for appearance if the engine bay wasn't clean first.
03-20-2011, 07:12 PM
#892
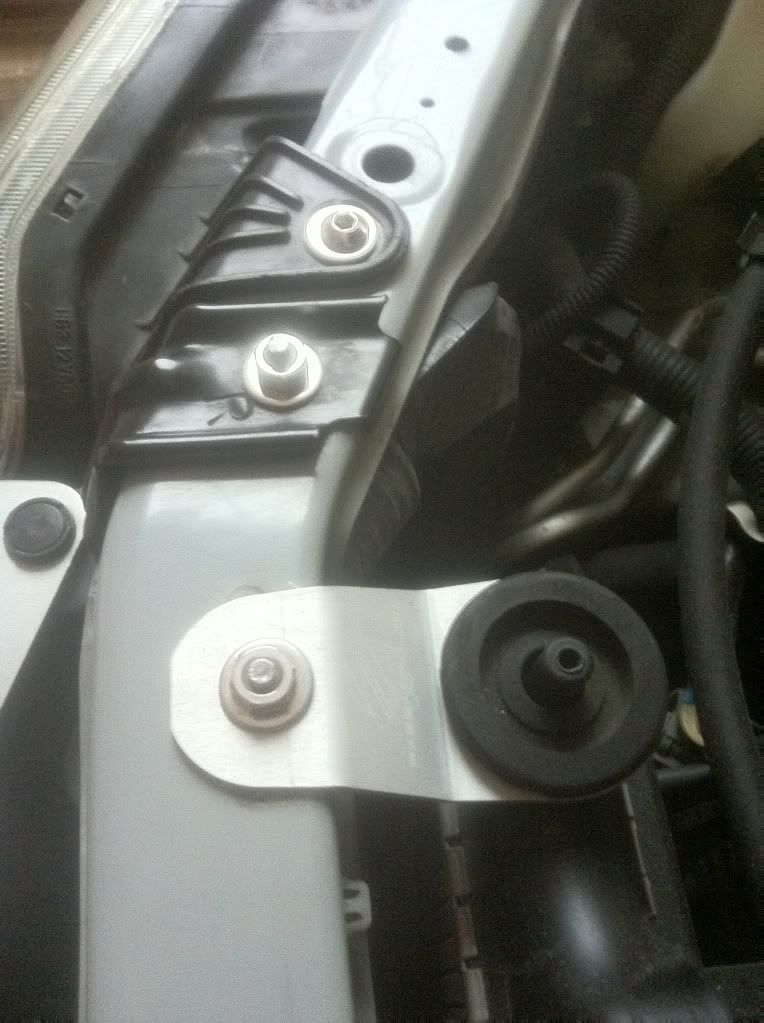
I've been working towards re-installation of the NWP Torque Link, and fitted the new parts in this afternoon. Still not going to drive the car with the bar installed until I get off these snow tires, but it was good enough for a new photo.
Isn't it weird how chrome-like those PS lines can get, with just a little bit of Maguires Metal Polish? I've never polished them before today. Ever. In 9 years. And yet, look at how nice they came out.
I also realized this afternoon how stupidly simple it is to remove the radiator overflow tank; (which isn't in this picture.) It was filthy underneath, and there was a 1/8" lining of crud on the inside bottom-half. So I soaked it in bleach for most of today, then rinsed it out all clean and white. A new one would be $65, which is kind of pricey for that tank, I think.
Last edited by Rochester; 03-20-2011 at 07:19 PM.
 03-20-2011, 10:03 PM
#895

Oddly enough, yes, I have been. In the last two years, I've spent exactly $8,600 on the car in total. $1,700 of that was purely for cosmetics, under the hood and elsewhere.
For two years prior to that, I spent virtually zero dollars (except for the exhaust). And for five years prior to that, I was making car payments.
All told... not a good financial investment. Figure I'll probably be selling it next year for around $6K, because that's realistically all I could get for it. Certainly whomever buys the car will be far more lucky than they could realize.
All in, I have no regrets. It's been fun.
For two years prior to that, I spent virtually zero dollars (except for the exhaust). And for five years prior to that, I was making car payments.
All told... not a good financial investment.
Figure I'll probably be selling it next year for around $6K, because that's realistically all I could get for it. Certainly whomever buys the car will be far more lucky than they could realize.All in, I have no regrets. It's been fun.
that's going to be a crazy deal, let me know if you really decide to sell it. I will take it with no questions asked

 03-24-2011, 06:08 PM
#899
I clean my car on a regular basis
Well essentially it's one unit but there is a top piece that screws off the bottom so yeah...The coolant overflow tank is still there because it actually serves a purpose otherwise it would be gone too.
Well essentially it's one unit but there is a top piece that screws off the bottom so yeah...The coolant overflow tank is still there because it actually serves a purpose otherwise it would be gone too.
03-24-2011, 10:50 PM
#900
I've been working towards re-installation of the NWP Torque Link, and fitted the new parts in this afternoon. Still not going to drive the car with the bar installed until I get off these snow tires, but it was good enough for a new photo.
Isn't it weird how chrome-like those PS lines can get, with just a little bit of Maguires Metal Polish? I've never polished them before today. Ever. In 9 years. And yet, look at how nice they came out.
I also realized this afternoon how stupidly simple it is to remove the radiator overflow tank; (which isn't in this picture.) It was filthy underneath, and there was a 1/8" lining of crud on the inside bottom-half. So I soaked it in bleach for most of today, then rinsed it out all clean and white. A new one would be $65, which is kind of pricey for that tank, I think.
Now, polish that power steering lines bracket.
 03-25-2011, 04:54 AM
#901
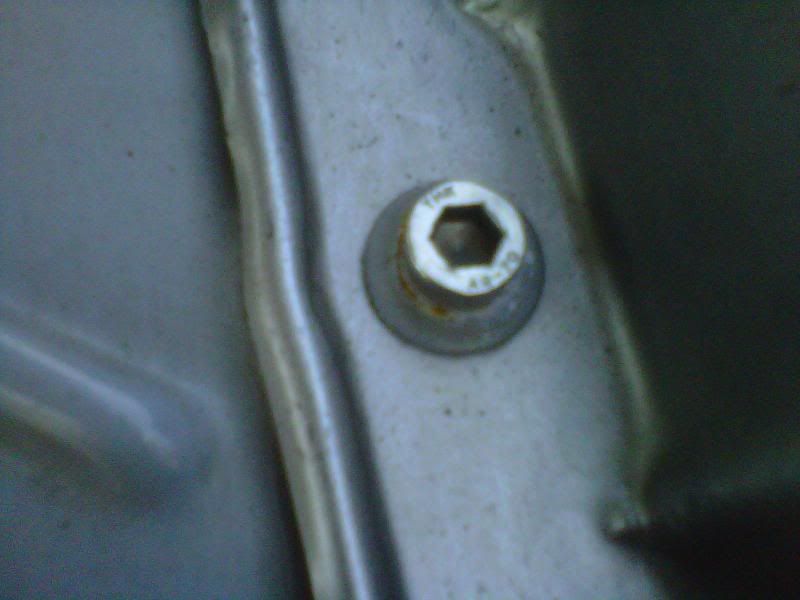
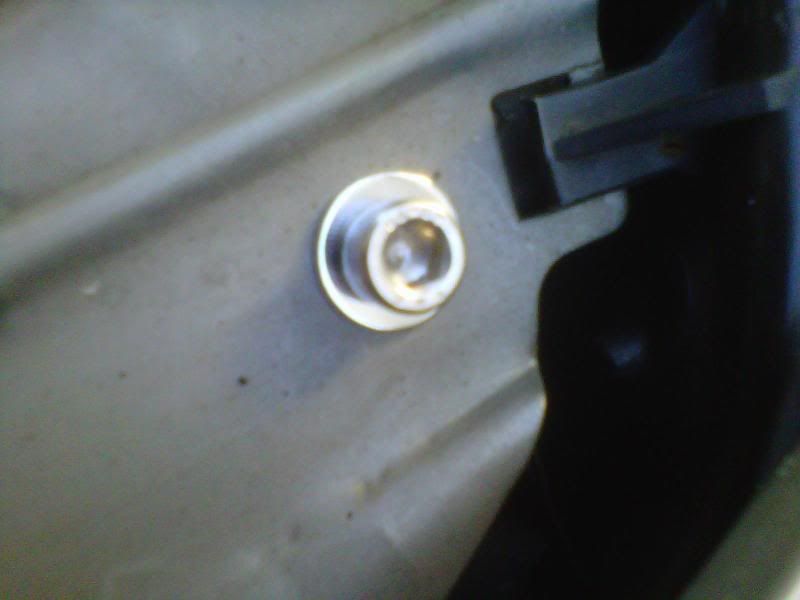
The little retainer bracket... I'll have to get a new one. That one is too far gone. But I'm really pleased it could be turned around so easily. The new hole is a stack of two pieces of sheet metal, with one folded lip. It's all welded together... so my point is, there's enough metal to tap a threaded hole, and you can use a bolt instead of a metal screw. It worked out real well.
Last edited by Rochester; 03-25-2011 at 05:09 AM.
03-25-2011, 05:31 AM
#902
Isn't it weird how chrome-like those PS lines can get, with just a little bit of Maguires Metal Polish? I've never polished them before today. Ever. In 9 years. And yet, look at how nice they came out.
I also realized this afternoon how stupidly simple it is to remove the radiator overflow tank; (which isn't in this picture.) It was filthy underneath, and there was a 1/8" lining of crud on the inside bottom-half. So I soaked it in bleach for most of today, then rinsed it out all clean and white. A new one would be $65, which is kind of pricey for that tank, I think.
I also realized this afternoon how stupidly simple it is to remove the radiator overflow tank; (which isn't in this picture.) It was filthy underneath, and there was a 1/8" lining of crud on the inside bottom-half. So I soaked it in bleach for most of today, then rinsed it out all clean and white. A new one would be $65, which is kind of pricey for that tank, I think.
Thanks!
03-25-2011, 12:02 PM
#903
Thanks, Roy!
The little retainer bracket... I'll have to get a new one. That one is too far gone. But I'm really pleased it could be turned around so easily. The new hole is a stack of two pieces of sheet metal, with one folded lip. It's all welded together... so my point is, there's enough metal to tap a threaded hole, and you can use a bolt instead of a metal screw. It worked out real well.
The little retainer bracket... I'll have to get a new one. That one is too far gone. But I'm really pleased it could be turned around so easily. The new hole is a stack of two pieces of sheet metal, with one folded lip. It's all welded together... so my point is, there's enough metal to tap a threaded hole, and you can use a bolt instead of a metal screw. It worked out real well.
03-25-2011, 12:14 PM
#904
No, I think there's a reason why those little PS fluid pipes are secured, and not loose. In this particular instance, it feels more functional than otherwise. There are lots of things under the hood which are the way they are because of manufacturing-line requirements, but I don't think this is one of them. Know what I mean?

 03-29-2011, 03:19 PM
#906
No, I think there's a reason why those little PS fluid pipes are secured, and not loose. In this particular instance, it feels more functional than otherwise. There are lots of things under the hood which are the way they are because of manufacturing-line requirements, but I don't think this is one of them. Know what I mean?

Plus it gives you one more thing to beautify
 03-29-2011, 03:27 PM
#907
At the moment, I'm lining things up to swap those front water pipes. Figuring out how to un-clip the O2 harnesses, and how to pull them off the upper pipe. What size and depth sockets I need for the various bolts. Some penetrating oil prep on the bolts. A gallon of coolant to replace whatever gets dumped. Some high-temp, 3/8" wire loom and black zip-ties. Stuff like that.
I don't want to get into the middle of a small project and have it turn into a *large* project. Not like that's ever happened before.
Pics for sure whenever I'm done, which may still be a while. It was barely 40 degrees today.
I don't want to get into the middle of a small project and have it turn into a *large* project. Not like that's ever happened before.
Pics for sure whenever I'm done, which may still be a while. It was barely 40 degrees today.
Last edited by Rochester; 03-29-2011 at 03:30 PM.
03-29-2011, 06:06 PM
#908
At the moment, I'm lining things up to swap those front water pipes. Figuring out how to un-clip the O2 harnesses, and how to pull them off the upper pipe. What size and depth sockets I need for the various bolts. Some penetrating oil prep on the bolts. A gallon of coolant to replace whatever gets dumped. Some high-temp, 3/8" wire loom and black zip-ties. Stuff like that.
I don't want to get into the middle of a small project and have it turn into a *large* project. Not like that's ever happened before.
Pics for sure whenever I'm done, which may still be a while. It was barely 40 degrees today.
I don't want to get into the middle of a small project and have it turn into a *large* project. Not like that's ever happened before.
Pics for sure whenever I'm done, which may still be a while. It was barely 40 degrees today.
I'm afraid that's happening with me right now
This is how she sits as of today...I deleted windshield wiper fluid tank, relocated HID balasts, relocated air filter so it doesn't sit right behind the radiator, new radiator support brackets w/ bushings, installed and painted new upper and lower radiator hoses, and replaced most bolts with polished new ones. I also painted something that connects the air hoses by the upper IM silver and next want to start polishing out some stuff like rochester did then maybe fab up some type of way of covering up all these damn wires!!!!
Btw does anyone know of what size bolts the ones in the upper IM cover thing are as well as the size of the bolts on the front VC?

Last edited by NissanTun3r; 03-30-2011 at 09:47 PM.
03-31-2011, 09:25 AM
#909
I can't break free the 12mm M8 bolt holding the lower water-pipe against the block just below the front valve cover. It's at an awkward angle, and you have to use a deep socket to reach it... and nothing. It won't budge. 
With a great deal of humility, I now have to take the car to my mechanic just to replace these pipes. It's a little embarrassing, but it also means the wife isn't freaking out about me getting coolant fluid all over everything. And I want him to replace my lower oil pan anyway.
Still, I feel like a tool. Or at least, not the right tool for the job.
03-31-2011, 10:18 AM
#910
I can't break free the 12mm M8 bolt holding the lower water-pipe against the block just below the front valve cover. It's at an awkward angle, and you have to use a deep socket to reach it... and nothing. It won't budge.
With a great deal of humility, I now have to take the car to my mechanic just to replace these pipes. It's a little embarrassing, but it also means the wife isn't freaking out about me getting coolant fluid all over everything. And I want him to replace my lower oil pan anyway.
Still, I feel like a tool. Or at least, not the right tool for the job.
03-31-2011, 10:59 AM
#912
DO NOT DO BUSINESS WITH THIS MEMBER - OWES PEOPLE MONEY
iTrader: (7)

Join Date: Jan 2008
Location: Greensboro, NC
Posts: 3,468
I can't break free the 12mm M8 bolt holding the lower water-pipe against the block just below the front valve cover. It's at an awkward angle, and you have to use a deep socket to reach it... and nothing. It won't budge.
With a great deal of humility, I now have to take the car to my mechanic just to replace these pipes. It's a little embarrassing, but it also means the wife isn't freaking out about me getting coolant fluid all over everything. And I want him to replace my lower oil pan anyway.
Still, I feel like a tool. Or at least, not the right tool for the job.
With a great deal of humility, I now have to take the car to my mechanic just to replace these pipes. It's a little embarrassing, but it also means the wife isn't freaking out about me getting coolant fluid all over everything. And I want him to replace my lower oil pan anyway.
Still, I feel like a tool. Or at least, not the right tool for the job.
04-13-2011, 04:20 PM
#913

 04-13-2011, 04:35 PM
#915
04-13-2011, 05:03 PM
#916
04-13-2011, 05:05 PM
#917
04-13-2011, 06:18 PM
#919
04-13-2011, 06:20 PM
#920
Hope it's not too huge of a PITA to get out.