
How to Repair Your Damaged Wheels *PICS*
 06-19-2012, 11:24 PM
#1
Senior Member
Thread Starter

Join Date: Mar 2012
Posts: 410
How to Repair Your Damaged Wheels *PICS*
So let's suppose your wheels have more curbage than your Grandmothers buick? It's time to refinish them. Let's get started!
Items Needed:
Wax and Grease Remover
Bondo
Bondo Board
Bondo Knife
Cream Hardener
80 Grit Sand Paper
160 Grit Sandpaper
600 Grit Wet sandpaper
Tennis Ball (explained later)
Wheel stand (work make works well)
12 pack Coke in provided Cardboard box (explained later)
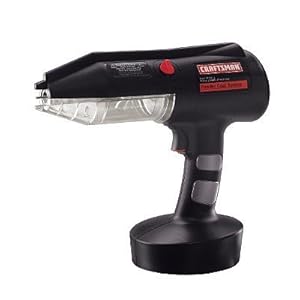
Spray paint Trigger
High Build Sandable Primer
Paint color of your choice
Enamel Clearcoat
4 wheels needing refinishing
Step One:
Clean wheels with wax and grease remover, This is to ensure all the brake dust is removed, so we don't contaminate our sandpaper.
Step Two:
Sand ALL Damaged areas down to bare Metal with 80 Grit Wrapped around a tennis ball, as its squishy soft side will prevent low and high spots, as well as allowing you to get into those curvy 5th gen wheels. You may leave non damaged areas with SOME paint, but scuffed at the least.
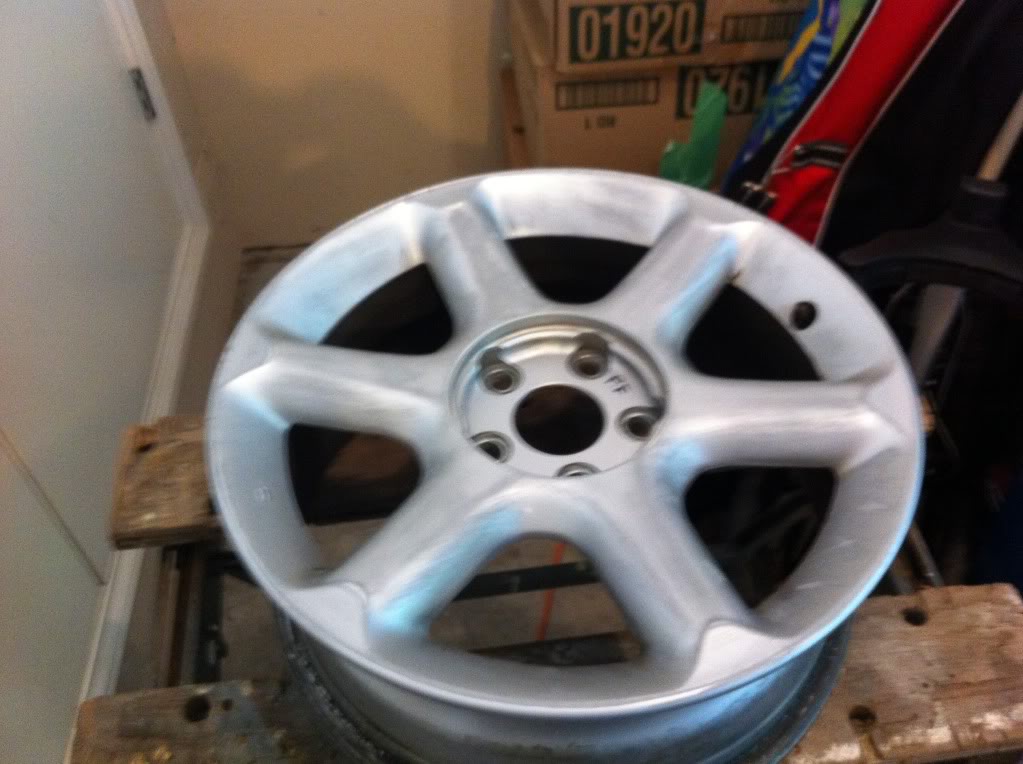
Step Three:
Sand the WHOLE WHEEL with 160 Grit, smoothing some of the curbage as we go. We do not use 80 grit here, as the sanding scratches can be remarkably deep in un damaged parts of the wheel, as aluminum is quite soft.
Step Four:
Mix Bondo with Cream based hardener on Bondo Board (Approx. 1 small bead across enitire "gob" of bondo will be enough) Thoroughly mix, and apply to rashed areas with Bondo Knife. Apply a THIN layer as this will save time later.
Step Five:
Take the 80 grit we used earlier, and knock down the high areas of bondo after allowing to dry for approx. 15 mins. This will clog the paper and make it useless, but it was already pre used.
Step Six:
Sand down to final contours with 160 grit, paying special attention to the curvature of the lip of the rim.
Step Seven:
Clean with Wax and Grease Remover, and set up wheel at a 30 degree angle on the work mate, by laying one side on the 12 pack of coke mentioned earlier. This allows us to apply a MUCH more unified layer of paint.
Step Eight:
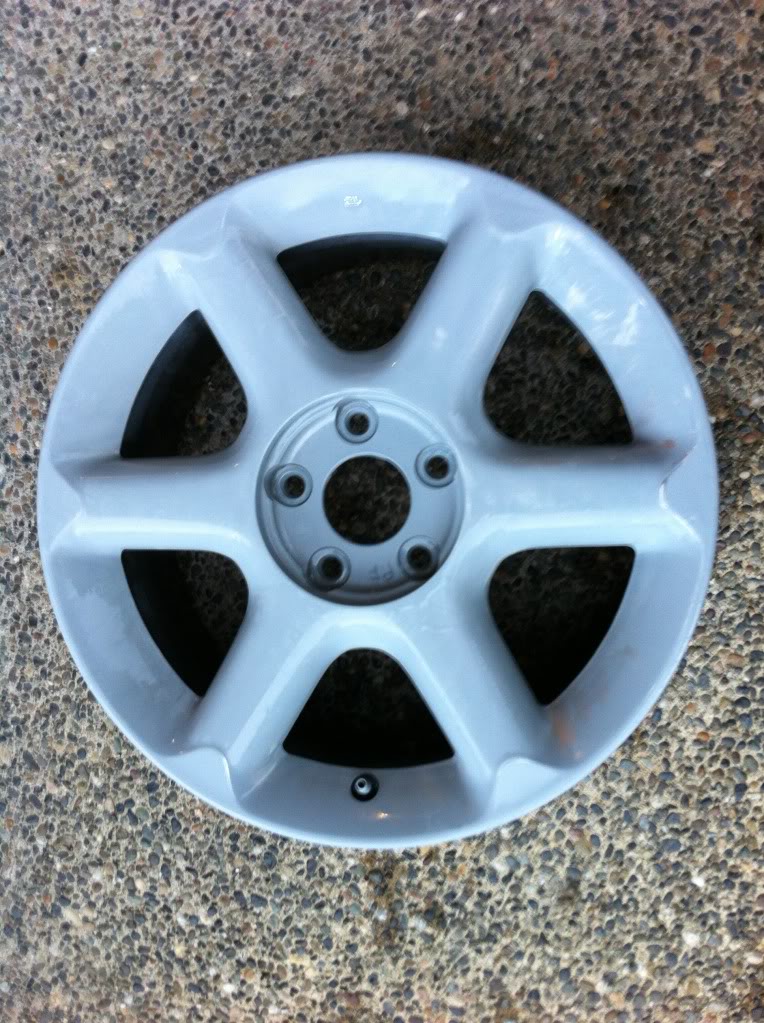
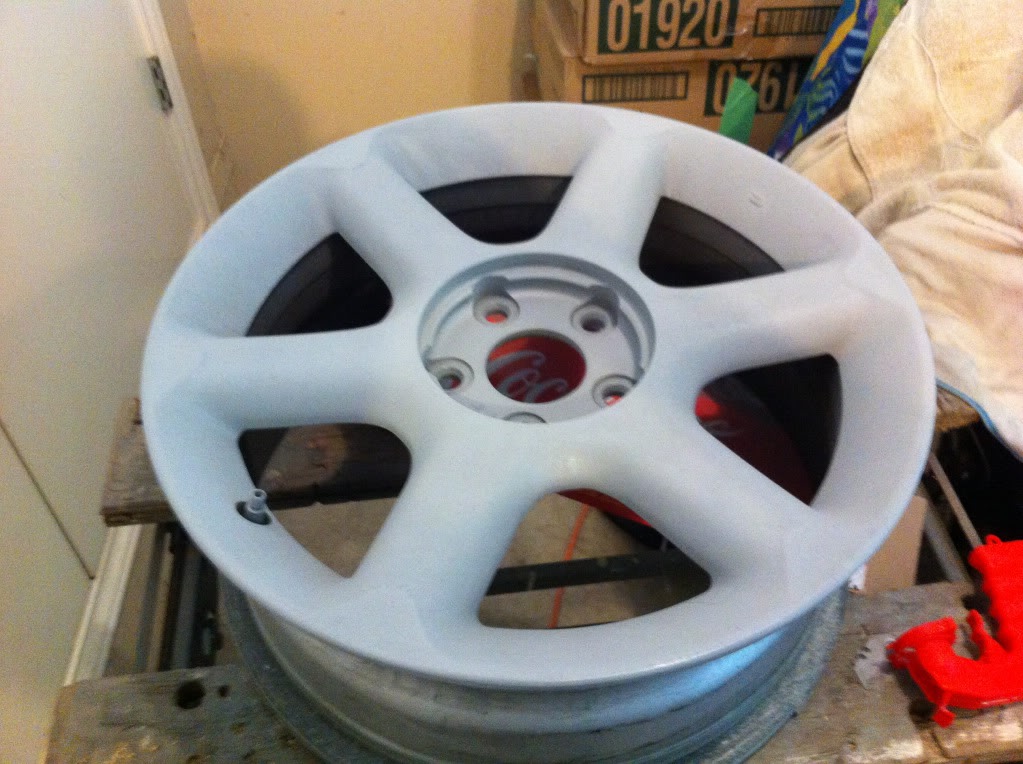
Apply ONE thick Coat of High Build Sandable Primer, and allow Approx. 2-4 hours to dry completely, depending on humidity.
Step Nine:
Wet sand Primer with 600 Grit sandpaper, until smooth to the touch. In spots, it may be down to bare metal but this is not recommended. Clean once again with Wax and Grease Remover.
And after wet sanded, and allow to air dry. If low on time as i was, towel dry with a microfiber cloth. Do not use a rubbing motion unless it has been 24 hours since the last coat of primer, as it could leave marks. Simply dab at it, and then wait 30 mins for the water residue to dry.
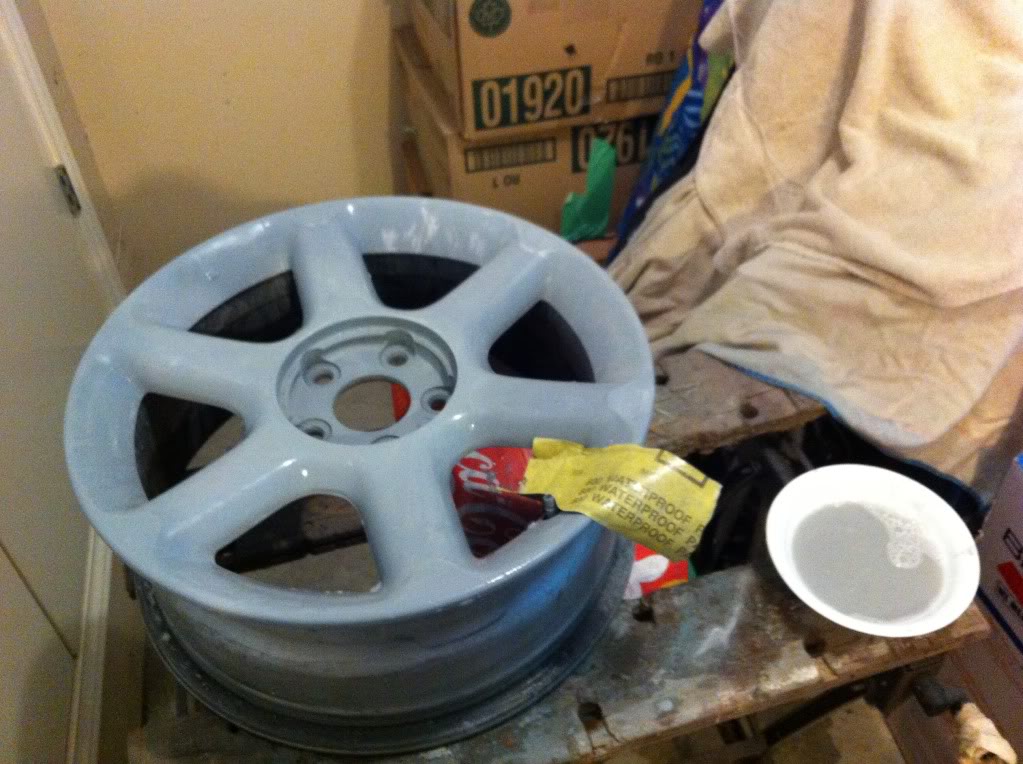
Step Ten:
Allow 20-30 minutes between Major coats of Paint color chosen. A strategy to use, is apply one SUPER LIGHT Minor Coat of paint, rotate wheel one spoke distance and apply another Minor coat, with 2-5 mins flash time in between. B rotating the wheel you will ensure even coverage. 3-5 Major Coats is a good idea, but common sense is necessary in determining amount.
Step Eleven:
Apply 2-3 Coats of Enamel Clear as described in step Ten.
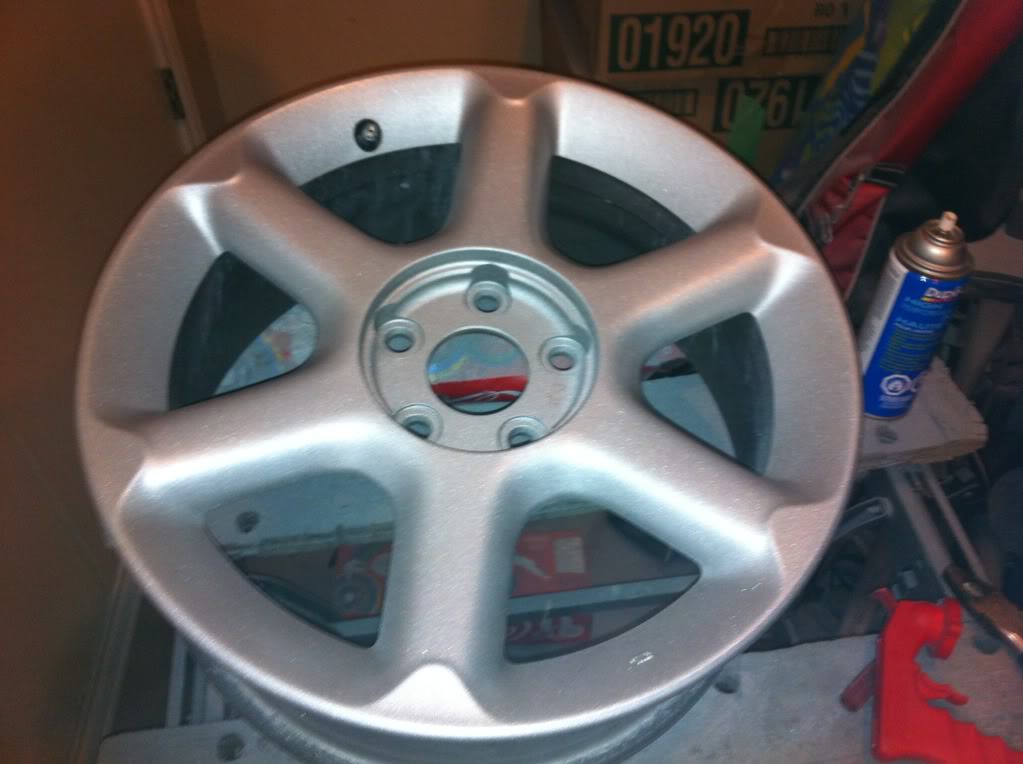
After Plasti-dip is sanded off and metallic silver & clear applied:
Step Twelve:
AVOID CURBS
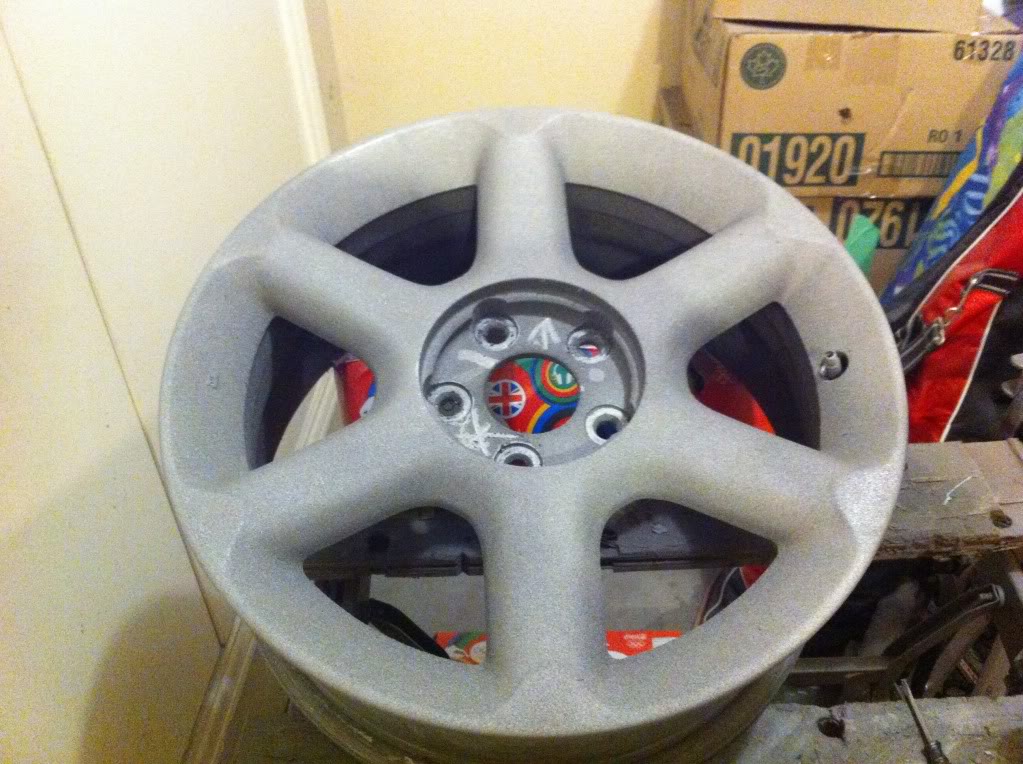
Fun Facts:
- I used Mettalic Silver Plasti-Dip for my test wheel, and i did not like the way it started but i decided to finish the wheel for this guide
- Suprisingly, all the curbage was from a previous owner.
- Budget $30 per wheel, and you will be most certainly OK.
- I bought the stuff from Lordco, and i had the only non Riced car in the parking lot.
- I have had my license for 3 months
- I am 17 years old.
Apply
Items Needed:
Wax and Grease Remover
Bondo
Bondo Board
Bondo Knife
Cream Hardener
80 Grit Sand Paper
160 Grit Sandpaper
600 Grit Wet sandpaper
Tennis Ball (explained later)
Wheel stand (work make works well)
12 pack Coke in provided Cardboard box (explained later)
Spray paint Trigger
High Build Sandable Primer
Paint color of your choice
Enamel Clearcoat
4 wheels needing refinishing
Step One:
Clean wheels with wax and grease remover, This is to ensure all the brake dust is removed, so we don't contaminate our sandpaper.
Step Two:
Sand ALL Damaged areas down to bare Metal with 80 Grit Wrapped around a tennis ball, as its squishy soft side will prevent low and high spots, as well as allowing you to get into those curvy 5th gen wheels. You may leave non damaged areas with SOME paint, but scuffed at the least.
Step Three:
Sand the WHOLE WHEEL with 160 Grit, smoothing some of the curbage as we go. We do not use 80 grit here, as the sanding scratches can be remarkably deep in un damaged parts of the wheel, as aluminum is quite soft.
Step Four:
Mix Bondo with Cream based hardener on Bondo Board (Approx. 1 small bead across enitire "gob" of bondo will be enough) Thoroughly mix, and apply to rashed areas with Bondo Knife. Apply a THIN layer as this will save time later.
Step Five:
Take the 80 grit we used earlier, and knock down the high areas of bondo after allowing to dry for approx. 15 mins. This will clog the paper and make it useless, but it was already pre used.
Step Six:
Sand down to final contours with 160 grit, paying special attention to the curvature of the lip of the rim.
Step Seven:
Clean with Wax and Grease Remover, and set up wheel at a 30 degree angle on the work mate, by laying one side on the 12 pack of coke mentioned earlier. This allows us to apply a MUCH more unified layer of paint.
Step Eight:
Apply ONE thick Coat of High Build Sandable Primer, and allow Approx. 2-4 hours to dry completely, depending on humidity.
Step Nine:
Wet sand Primer with 600 Grit sandpaper, until smooth to the touch. In spots, it may be down to bare metal but this is not recommended. Clean once again with Wax and Grease Remover.
And after wet sanded, and allow to air dry. If low on time as i was, towel dry with a microfiber cloth. Do not use a rubbing motion unless it has been 24 hours since the last coat of primer, as it could leave marks. Simply dab at it, and then wait 30 mins for the water residue to dry.
Step Ten:
Allow 20-30 minutes between Major coats of Paint color chosen. A strategy to use, is apply one SUPER LIGHT Minor Coat of paint, rotate wheel one spoke distance and apply another Minor coat, with 2-5 mins flash time in between. B rotating the wheel you will ensure even coverage. 3-5 Major Coats is a good idea, but common sense is necessary in determining amount.
Step Eleven:
Apply 2-3 Coats of Enamel Clear as described in step Ten.
After Plasti-dip is sanded off and metallic silver & clear applied:
Step Twelve:
AVOID CURBS
Fun Facts:
- I used Mettalic Silver Plasti-Dip for my test wheel, and i did not like the way it started but i decided to finish the wheel for this guide
- Suprisingly, all the curbage was from a previous owner.
- Budget $30 per wheel, and you will be most certainly OK.
- I bought the stuff from Lordco, and i had the only non Riced car in the parking lot.
- I have had my license for 3 months
- I am 17 years old.
Apply
Last edited by dared3vil0; 06-21-2012 at 09:35 PM.


 06-20-2012, 09:12 AM
#6


i been wanting to do this but with a twist i have a powder coating gun and eastwood sells metalic sparkle wheel powder for oe wheels total cost bout $50 to do them all just got to have a oven big enuff to put a wheel in without the wife slaughtering me
06-20-2012, 09:15 AM
#7
Senior Member
Thread Starter
Join Date: Mar 2012
Posts: 410
Powder coat would look great.
06-20-2012, 09:22 AM
#8


 I have no idea why...


Thread
Thread Starter
Forum
Replies
Last Post
londonflu
3rd Generation Maxima (1989-1994)
40
09-25-2015 09:11 AM
Hdnseek
5th Generation Maxima (2000-2003)
3
09-09-2015 05:55 AM