
Need Some Help - Crank Pulley


Thread Starter
Junior Member
Joined: Dec 2014
Posts: 53
From: Colorado & Michigan
Need Some Help - Crank Pulley
So I'm replacing my crankshaft pulley, because mine was getting wobbly. I've already got the old crank pulley off using the breaker bar and quick start method. I've got the new crank pulley sitting where it's supposed to go, but I just realized I have no idea how I'll install and torque the crank pulley bolt for the new pulley.
I don't have an impact gun, unfortunately. I do have a torque wrench. I've been searching through the forums about it, and the best thing I can find so far is here - https://maxima.org/forums/4th-genera...lley-bolt.html. There's some information in this thread, but I'm not getting it. There's something about putting the car in 5th gear and holding the brakes, but I'm not sure what that is about. I've tried looking through the FSM, but I can't find anything related to installing the bolt for the crank pulley.
I just need some help figuring out how to keep the pulley in place while I torque down the bolt. Which in the other thread the torque specs mentioned was 29-36 ft-lbs, but it would be nice to have that verified too.
Any help is appreciated!

Senior Member
Joined: Jul 2014
Posts: 413
From: Indianapolis
Hey friend, check this out. http://www.nicoclub.com/FSM/Maxima/2000/em.pdf
This section of the service manual might help you. I searched around a bit, and it's got some info here.
EDIT...
I did some more reading - had time. On page 32 for the timing chain replacement instructions, step 30, it says,
"30. Install crankshaft pulley to crankshaft.
+ Lubricate thread and seat surface of the bolt with new
engine oil.
a. Tighten to 39 to 49 N�m (4.0 to 5.0 kg-m, 29 to 36 ft-lb).
b. Put a paint mark on the crankshaft pulley.
c. Again tighten by turning 60� to 66�, about the angle from one
hexagon bolt head corner to another."
I'm no expert, but this is what I found.
Last edited by Cotozic; Feb 10, 2015 at 07:41 PM.
Thread Starter
Junior Member
Joined: Dec 2014
Posts: 53
From: Colorado & Michigan
Ah, thanks for the info! I'm a little mad at myself for not thinking of how to do this step before I actually started the job haha.
Truth be told I'm still fairly confused. I'm trying to think of a way to hold the pulley in place while I tighten the bolt (step a). All I can think of so far is trying to find a big wrench to wedge in between the pulley and the lower control arm, or something like that. I have a harmonic balancer install kit, but I don't think I need that. . ?
The whole putting a mark on the pulley and then turning it further has me pretty confused too. Is the reasoning behind that to torque the bolt much more than the torque wrench can provide?
Sorry, I may be overthinking this quite badly.
Senior Member
Joined: Jul 2014
Posts: 413
From: Indianapolis
It's all good. I don't have the ability to do much advanced DIY stuff like this, but I still look through the FSMs to see how repairs are done when I read about other people's stuff or my own work when I take my car in.
As far as I've read, getting the thing off to begin with is the hard part. It seems you need to get a large wrench to hold the crankshaft pulley still and lodge it somewhere to keep the whole thing from moving as you torque the bolt down. There are some tools out there too that I found could be used for this.
Seems like in the other thread about the crankshaft pulley removal, they were using some braking method to tighten the pulley, but I think the safest bet would be to try to wedge something to keep it still. This video shows a method for getting it off, though I don't believe it can be used in reverse...
Again, I'm no expert. Good luck with the replacement though!
As far as I've read, getting the thing off to begin with is the hard part. It seems you need to get a large wrench to hold the crankshaft pulley still and lodge it somewhere to keep the whole thing from moving as you torque the bolt down. There are some tools out there too that I found could be used for this.
Seems like in the other thread about the crankshaft pulley removal, they were using some braking method to tighten the pulley, but I think the safest bet would be to try to wedge something to keep it still. This video shows a method for getting it off, though I don't believe it can be used in reverse...
HTML Code:
https://www.youtube.com/watch?v=7G-adEVjfWI
Last edited by Cotozic; Feb 10, 2015 at 09:36 PM.

You take the access panel off the transmission to wedge something in to keep the engine from turning.
I think it's two bolts maybe just one, for a very small opening in the bottom the the bellhousing. Maybe 1"x3".
It faces the passenger side and is located right by where the engine and trans meet.
There are a few ways to do it, but that's the most common that I know of.
I think it's two bolts maybe just one, for a very small opening in the bottom the the bellhousing. Maybe 1"x3".
It faces the passenger side and is located right by where the engine and trans meet.
There are a few ways to do it, but that's the most common that I know of.
Last edited by Fakie J Farkerton; Feb 10, 2015 at 11:36 PM.
Thread Starter
Junior Member
Joined: Dec 2014
Posts: 53
From: Colorado & Michigan
I got the bolt back on and I'm pretty positive it's going to stay torqued on there well. I'm seriously considering doing a write-up for this job, because it's been a decent PITA to try and figure out what all is going on. There's some info here on the org, but not enough. I found that the FSM was a little too vague as well. Pics to come.
Thread Starter
Junior Member
Joined: Dec 2014
Posts: 53
From: Colorado & Michigan
Nevermind, I uploaded the files to imgur.
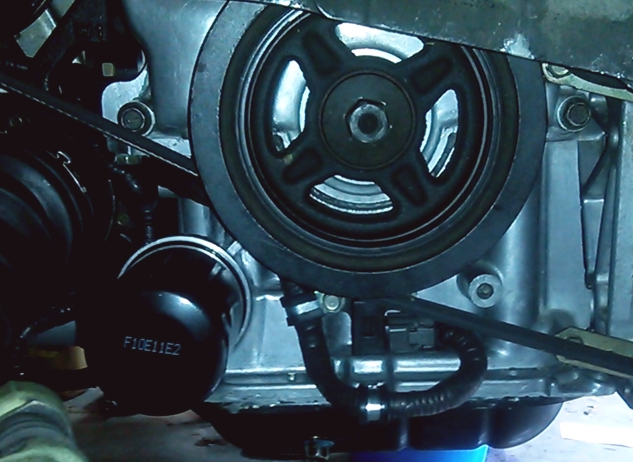
Here we have the old crank pulley. If you look closely at the bottom edge, you can see that the rubber was beginning to split apart, causing said wobbles mentioned earlier.

Here's the new Dorman crank pulley, purchased on RockAuto for $96, installed with new Gates' drive belts. Feels good man.
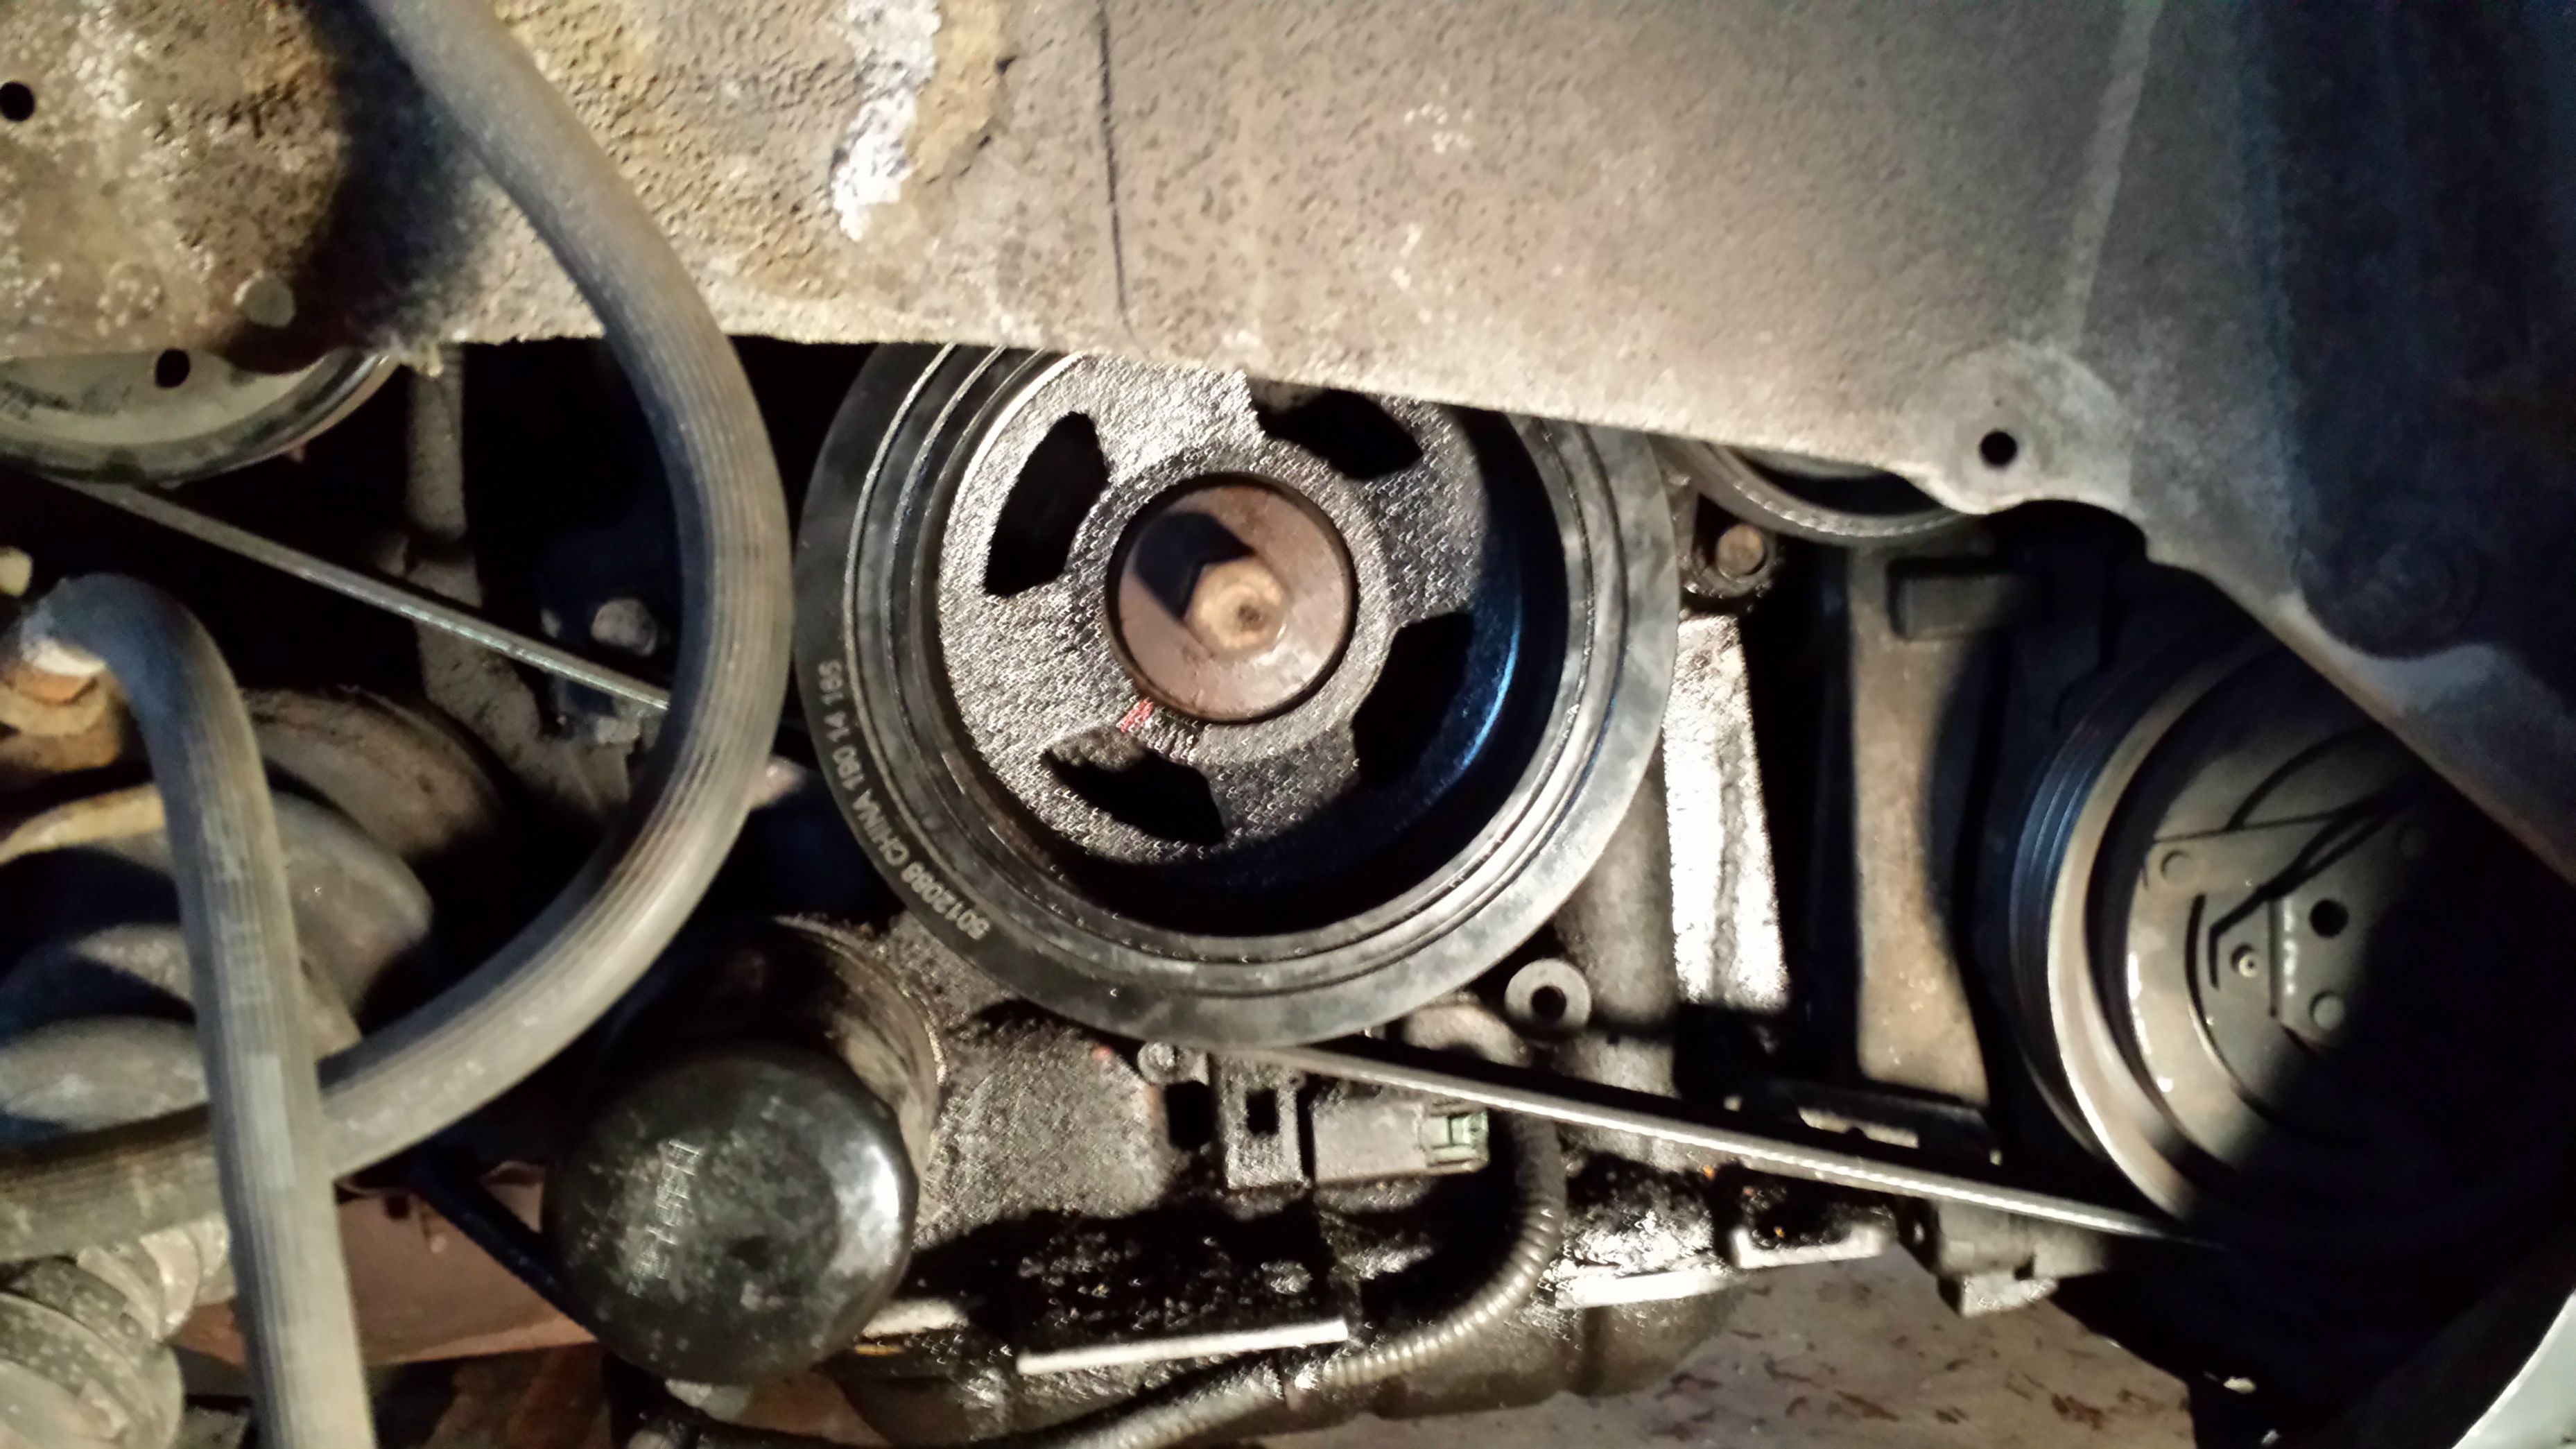
So far the engine is still making the whining noise that it was before replacing the pulley. I think I may have the drive belts too tight. . and yes, I know that deflection on the new belts is around 7 mm for the power steering belt and around 4 mm for the alternator/AC/tensioner belt. However, the wobble from the crank pulley is gone. I'm going to loosen the belts a little and see if the whine leaves.
And for anyone who's interested, I ended up not jamming the flywheel using the access hole for the transmission, although I did find that access hole. I discovered that the FSM actually advises this way of keeping the engine from turning, but they don't take into account that it's impossible to fit a screwdriver into the access hole without removing a gigantic exhaust pipe in the way that's somehow missing from their illustration.
What I ended up doing was hand tightening the crank pulley bolt, followed by attaching and tightening the drive belts. I figured the drive belts attached and tightened would add a little friction to keep the crank pulley from turning. Probably a negligible amount of friction, but I digress. I had a friend sit in the driver's seat, put the car in 5th gear, and keep his foot down on the brakes. This created a situation in which the engine would need massive amounts of torque to actually turn. And so, I was able to use my torque wrench to give the bolt the necessary torque, followed by torquing the bolt a further 60 degrees as described in the FSM. If anyone wishes for me to expand on any of that, I will gladly do so. The torque I had to put on the bolt was massive to get it to turn that extra 60 degrees, and I'm pretty sure that bolt isn't going anywhere.
Anyways, now it's on to troubleshooting engine whine. . I may take a video.
Here we have the old crank pulley. If you look closely at the bottom edge, you can see that the rubber was beginning to split apart, causing said wobbles mentioned earlier.
Here's the new Dorman crank pulley, purchased on RockAuto for $96, installed with new Gates' drive belts. Feels good man.
So far the engine is still making the whining noise that it was before replacing the pulley. I think I may have the drive belts too tight. . and yes, I know that deflection on the new belts is around 7 mm for the power steering belt and around 4 mm for the alternator/AC/tensioner belt. However, the wobble from the crank pulley is gone. I'm going to loosen the belts a little and see if the whine leaves.
And for anyone who's interested, I ended up not jamming the flywheel using the access hole for the transmission, although I did find that access hole. I discovered that the FSM actually advises this way of keeping the engine from turning, but they don't take into account that it's impossible to fit a screwdriver into the access hole without removing a gigantic exhaust pipe in the way that's somehow missing from their illustration.
What I ended up doing was hand tightening the crank pulley bolt, followed by attaching and tightening the drive belts. I figured the drive belts attached and tightened would add a little friction to keep the crank pulley from turning. Probably a negligible amount of friction, but I digress. I had a friend sit in the driver's seat, put the car in 5th gear, and keep his foot down on the brakes. This created a situation in which the engine would need massive amounts of torque to actually turn. And so, I was able to use my torque wrench to give the bolt the necessary torque, followed by torquing the bolt a further 60 degrees as described in the FSM. If anyone wishes for me to expand on any of that, I will gladly do so. The torque I had to put on the bolt was massive to get it to turn that extra 60 degrees, and I'm pretty sure that bolt isn't going anywhere.
Anyways, now it's on to troubleshooting engine whine. . I may take a video.

Thread Starter
Junior Member
Joined: Dec 2014
Posts: 53
From: Colorado & Michigan
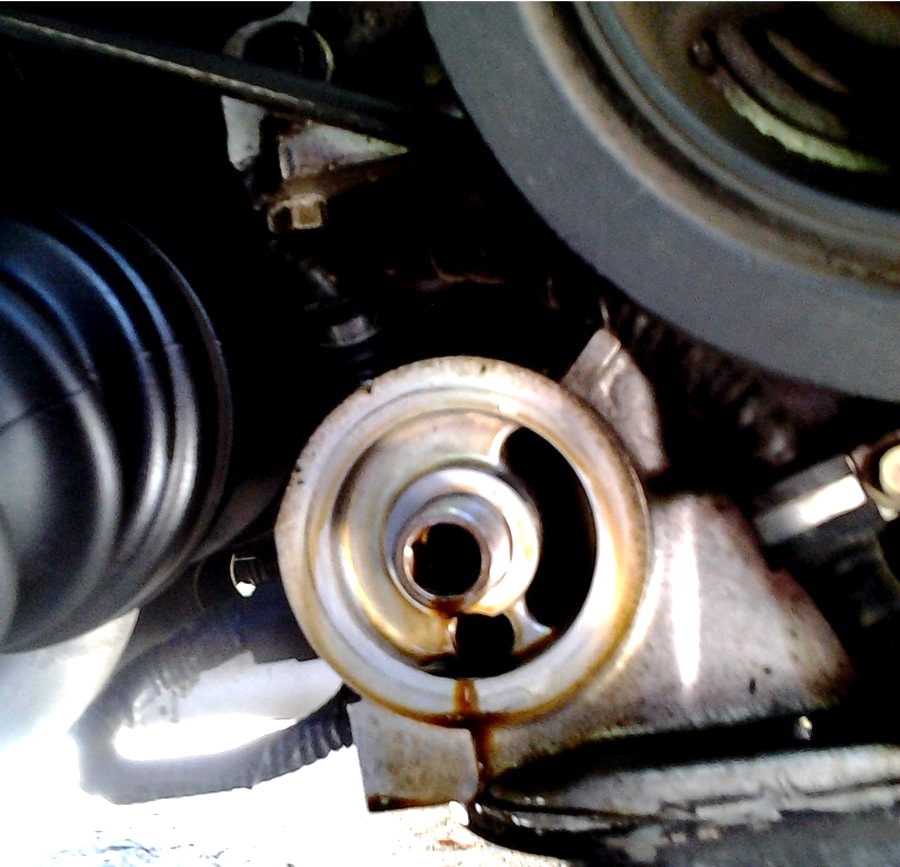
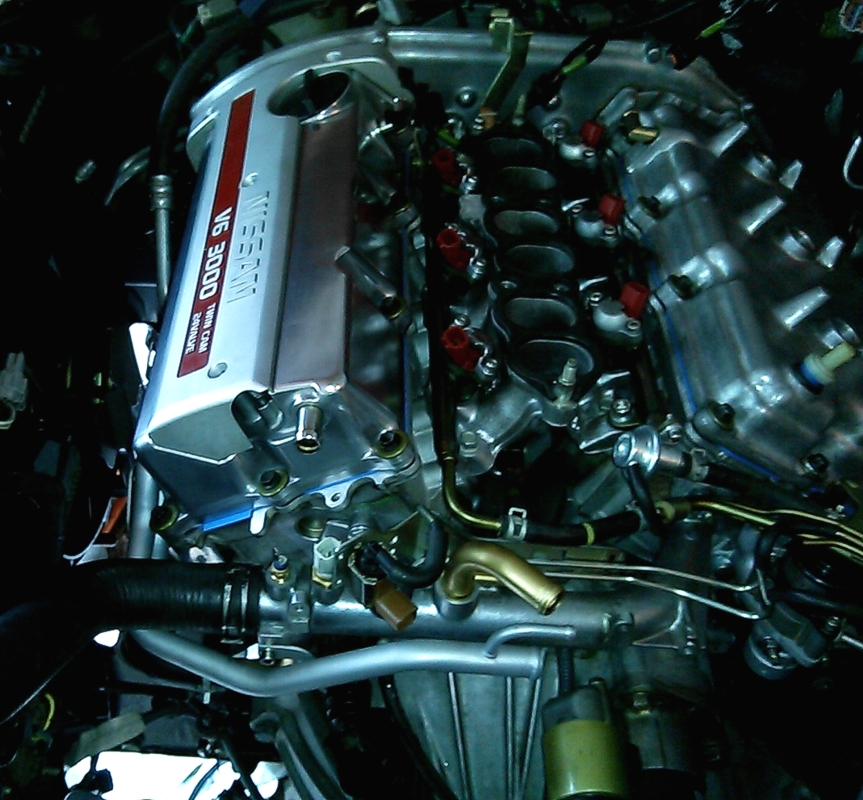
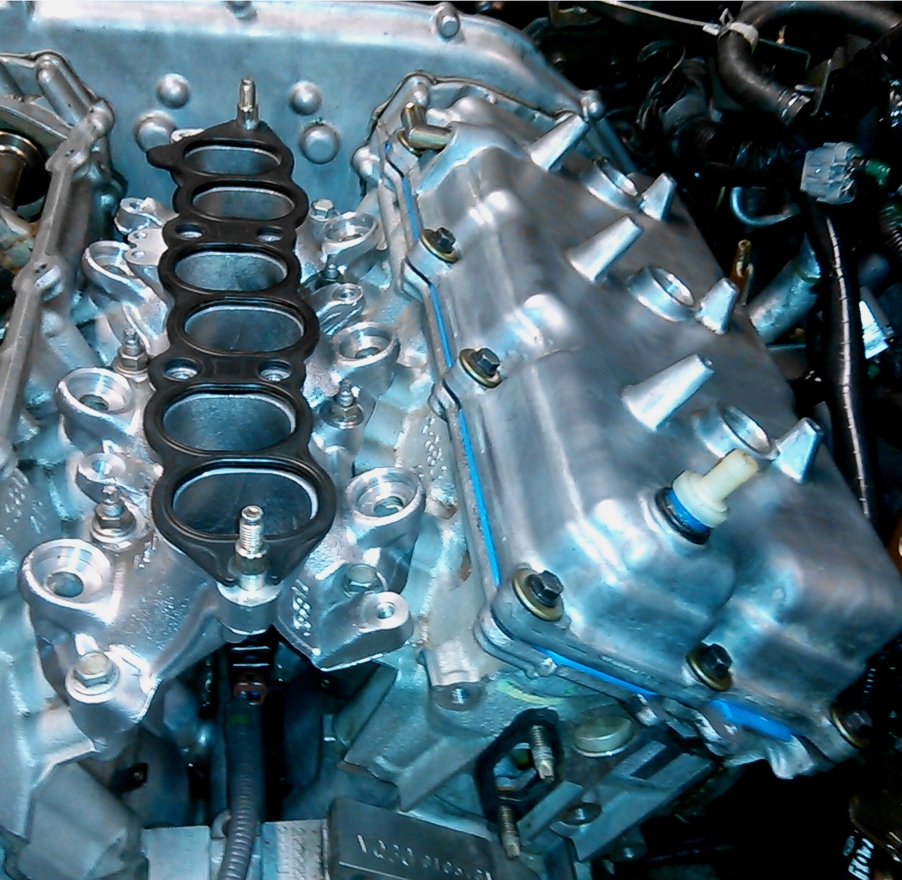
There aren't any oil leaks, believe it or not. There is a small coolant leak, but I think it's just a hose clamp that needs to be replaced. Believe me, I hate how dirty this engine is. You should see the engine bay, it's absolutely filthy. I just bought the car used, and it looks as if the previous owner didn't clean the engine bay, ever. As soon as it gets a little warmer (it was a high of 7 degrees F today) I'm gonna give this baby's engine a deep clean and get her looking like she's been properly looked after. Trust me, the dirtiness bothers me too.
I should post a picture of the engine bay of my previous car. I kept that engine bay squeaky clean.
I should post a picture of the engine bay of my previous car. I kept that engine bay squeaky clean.

 ..... just post before amd after pics of this one once it's clean
Thread Starter
Junior Member
Joined: Dec 2014
Posts: 53
From: Colorado & Michigan
Lol don't worry I wasn't serious about posting pictures of that car. However, I'm definitely planning on doing a before/after post of how nice and clean I'm going to get the Nissan looking. I'm probably going to dedicate an entire Saturday to it, considering there are so many nooks and crannies in the engine.
Lol don't worry I wasn't serious about posting pictures of that car. However, I'm definitely planning on doing a before/after post of how nice and clean I'm going to get the Nissan looking. I'm probably going to dedicate an entire Saturday to it, considering there are so many nooks and crannies in the engine.

 &
& 

Nevermind, I uploaded the files to imgur.
Here we have the old crank pulley. If you look closely at the bottom edge, you can see that the rubber was beginning to split apart, causing said wobbles mentioned earlier.

Here's the new Dorman crank pulley, purchased on RockAuto for $96, installed with new Gates' drive belts. Feels good man.

So far the engine is still making the whining noise that it was before replacing the pulley. I think I may have the drive belts too tight. . and yes, I know that deflection on the new belts is around 7 mm for the power steering belt and around 4 mm for the alternator/AC/tensioner belt. However, the wobble from the crank pulley is gone. I'm going to loosen the belts a little and see if the whine leaves.
And for anyone who's interested, I ended up not jamming the flywheel using the access hole for the transmission, although I did find that access hole. I discovered that the FSM actually advises this way of keeping the engine from turning, but they don't take into account that it's impossible to fit a screwdriver into the access hole without removing a gigantic exhaust pipe in the way that's somehow missing from their illustration.
What I ended up doing was hand tightening the crank pulley bolt, followed by attaching and tightening the drive belts. I figured the drive belts attached and tightened would add a little friction to keep the crank pulley from turning. Probably a negligible amount of friction, but I digress. I had a friend sit in the driver's seat, put the car in 5th gear, and keep his foot down on the brakes. This created a situation in which the engine would need massive amounts of torque to actually turn. And so, I was able to use my torque wrench to give the bolt the necessary torque, followed by torquing the bolt a further 60 degrees as described in the FSM. If anyone wishes for me to expand on any of that, I will gladly do so. The torque I had to put on the bolt was massive to get it to turn that extra 60 degrees, and I'm pretty sure that bolt isn't going anywhere.
Anyways, now it's on to troubleshooting engine whine. . I may take a video.
Here we have the old crank pulley. If you look closely at the bottom edge, you can see that the rubber was beginning to split apart, causing said wobbles mentioned earlier.
Here's the new Dorman crank pulley, purchased on RockAuto for $96, installed with new Gates' drive belts. Feels good man.
So far the engine is still making the whining noise that it was before replacing the pulley. I think I may have the drive belts too tight. . and yes, I know that deflection on the new belts is around 7 mm for the power steering belt and around 4 mm for the alternator/AC/tensioner belt. However, the wobble from the crank pulley is gone. I'm going to loosen the belts a little and see if the whine leaves.
And for anyone who's interested, I ended up not jamming the flywheel using the access hole for the transmission, although I did find that access hole. I discovered that the FSM actually advises this way of keeping the engine from turning, but they don't take into account that it's impossible to fit a screwdriver into the access hole without removing a gigantic exhaust pipe in the way that's somehow missing from their illustration.
What I ended up doing was hand tightening the crank pulley bolt, followed by attaching and tightening the drive belts. I figured the drive belts attached and tightened would add a little friction to keep the crank pulley from turning. Probably a negligible amount of friction, but I digress. I had a friend sit in the driver's seat, put the car in 5th gear, and keep his foot down on the brakes. This created a situation in which the engine would need massive amounts of torque to actually turn. And so, I was able to use my torque wrench to give the bolt the necessary torque, followed by torquing the bolt a further 60 degrees as described in the FSM. If anyone wishes for me to expand on any of that, I will gladly do so. The torque I had to put on the bolt was massive to get it to turn that extra 60 degrees, and I'm pretty sure that bolt isn't going anywhere.
Anyways, now it's on to troubleshooting engine whine. . I may take a video.
You mentioned a whining noise, it might be your AC compressor whining, is your splash shield still there to prevent water hitting the compressor and alternator and crank pulley? If not than water will continuously hit the AC comp and the noise will get louder and rust out the compressor bearing,
Thread Starter
Junior Member
Joined: Dec 2014
Posts: 53
From: Colorado & Michigan
I'll check out CS_AR Max's engine bay cleaning sometime soon!
I do still have the splash shield, and it's been re-attached. I just didn't have it attached when I took the photo. Thanks for the offered advice though! I double checked the deflection on both drive belts and they are within spec. So the search continues for where the whine is coming from. Although I suppose it should be noticed that the whine isn't as audible now with the new crank pulley.
You mentioned a whining noise, it might be your AC compressor whining, is your splash shield still there to prevent water hitting the compressor and alternator and crank pulley? If not than water will continuously hit the AC comp and the noise will get louder and rust out the compressor bearing,

Senior Member
Joined: Jan 2011
Posts: 3,037
From: Central AR

Pretty sure he soaks the engine in carb cleaner every 4,000 miles though, so the real time to catch it dirty is at 3,999~but I think he does that secretly on jack stands.
He may or may not use extra virgin expeller pressed organic synthetic oils too..not sure yet..
Thread Starter
Junior Member
Joined: Dec 2014
Posts: 53
From: Colorado & Michigan
Originally Posted by CS_AR
Well I hate to burst your bubble.. But I let it enjoy all the dirt and grime the road has to offer a daily driver. Ha!
And in case anyone is interested, I figured out where the whine is coming from. It's the power steering pump. There's something wrong with the pump itself, even though there aren't any leaks and the power steering levels are good. I might just wait until this summer to replace the pump. It seems like it's going to be really difficult to get to considering where it is in the engine.
 CS_AR has the scrubbing bubbles.

Thread Starter
Junior Member
Joined: Dec 2014
Posts: 53
From: Colorado & Michigan

Senior Member
Joined: Jan 2011
Posts: 3,037
From: Central AR
Here's a slideshow on refurbishing the wiring harness below.
http://s286.photobucket.com/user/Rid...Harness?sort=9
Check out the info on F-4 military grade silicone fusion tape below.
Resists 500F Degrees (260C)
Insulates 8,000 Volts per layer
950PSI Tensile Strength
Resistance to oils, fuels, and many chemicals
Never comes unraveled
http://www.f4tape.com/

http://s286.photobucket.com/user/Rid...Harness?sort=9
Check out the info on F-4 military grade silicone fusion tape below.
Resists 500F Degrees (260C)
Insulates 8,000 Volts per layer
950PSI Tensile Strength
Resistance to oils, fuels, and many chemicals
Never comes unraveled
http://www.f4tape.com/

Thread
Thread Starter
Forum
Replies
Last Post
TKHanson
5th Generation Maxima (2000-2003)
6
Nov 24, 2018 01:39 AM
My Coffee
New Member Introductions
15
Jun 6, 2017 02:01 PM