When you click on links to various merchants on this site and make a purchase, this can result in this site earning a commission. Affiliate programs and affiliations include, but are not limited to, the eBay Partner Network.
Without going into it to much i have spent a lot of time running down a starting problem.
I am not new at all to this stuff. But i 99% knew what the problem was right from the beginning. But knowing it was what made it so frustrating. I worked for hours like a person trying to put a puzzle together ,that knew what it looked like but couldn't figure it out.
1 . POR 15 is a really good insulator,bad for grounding.
2 . Surgical stainless steel bolts washers = bad idea for grounds.
3 . Dielectric grease Bad for terminals of grounds and bolts.Anti Seize with
graphite should be used on all bolts.
I did many many many tests, with multiple starters 3 different batteries.Grease no grease. Different types of bolts. Also transmission was cleaned and sanded at bell housing ahead of time...........
Grounds was the problem .cleaned paint off with grinder. Things started getting better .Horns wouldn't work until paint was ground bare ............Car starts up much faster now.
sometimes i get a click when turning key forward but starts up after,another try.
I ran 3 cheap ground straps from the starter to different points.(i did many variations to many too say) I found a real good grounding kit i will get. And it should help even more.
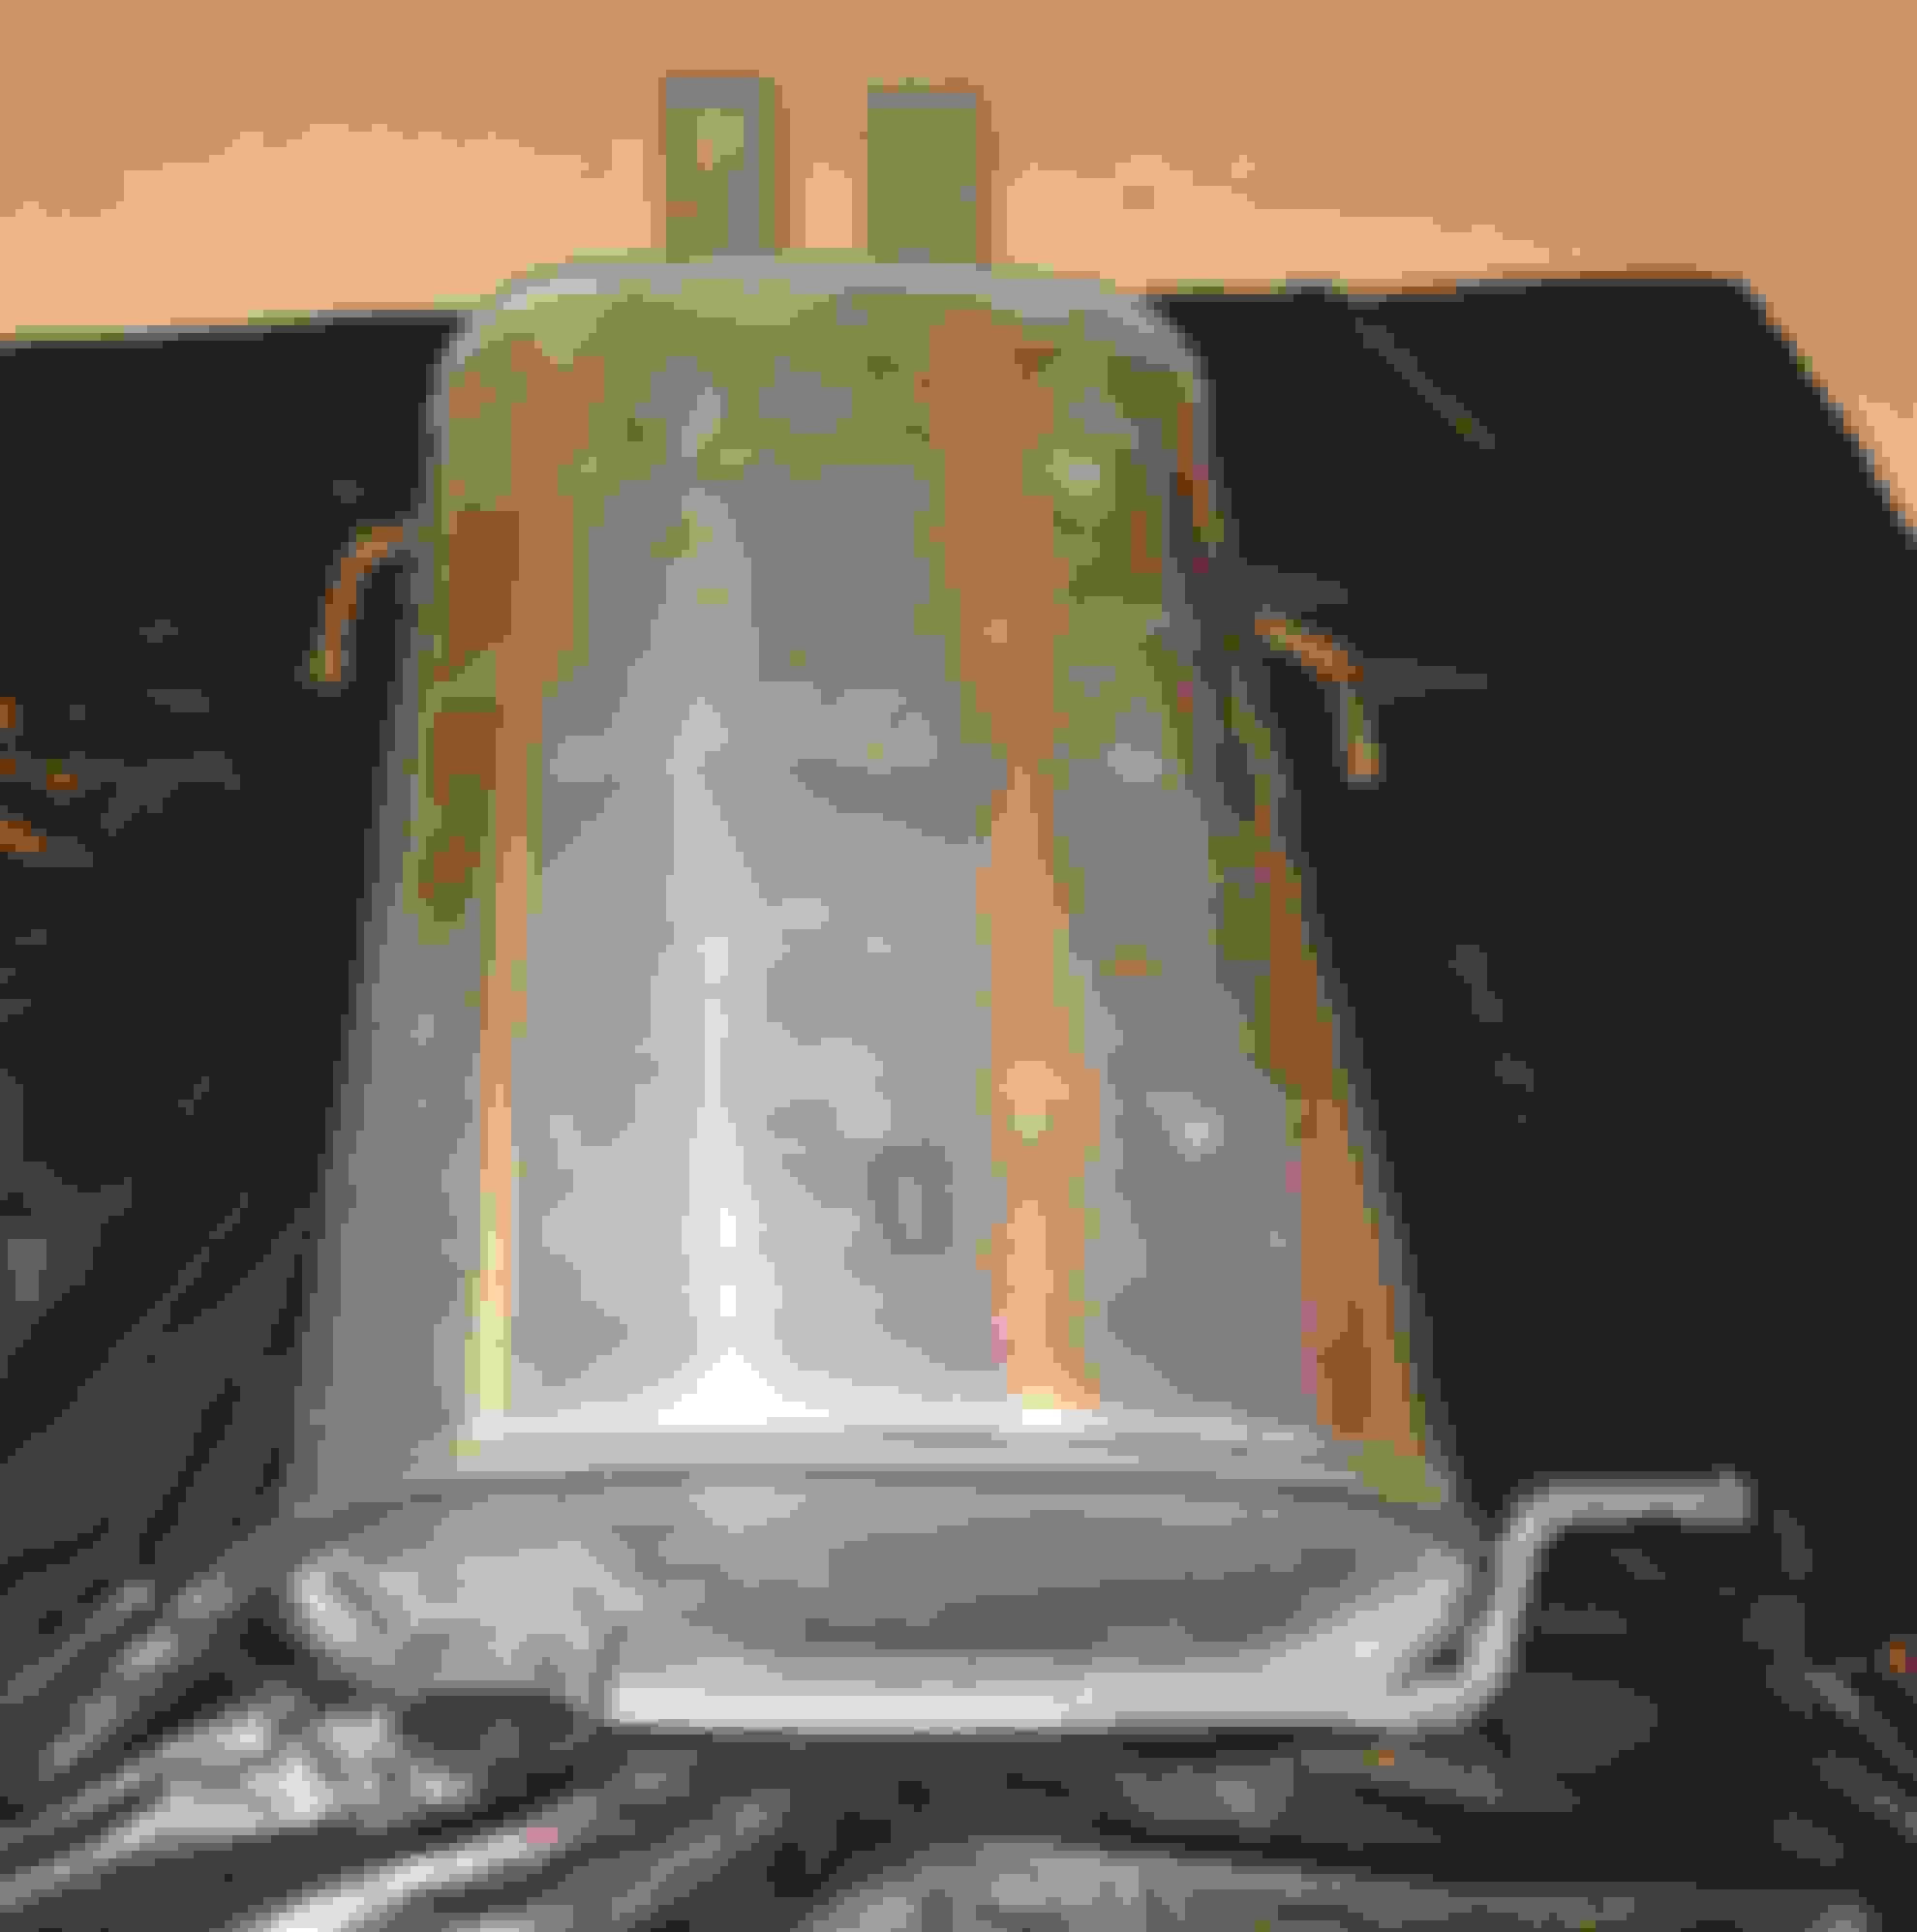
But here's some progress pictures. Much of this was done a while ago. So i am farther ahead than pictures show.
Pictures show SRS exhaust muffler,shifter area under car,terminal bought to help,cleaning horns free of paint because they ground through brackets not a ground wire,New trans seals and TB,engine area pictures and last i used a 3.5 starter and it works ?!
If you're actually adding a new ground location, particularly where high currents are involved, welding a bolt to the body metal may be the best option for minimum fastener to car resistance.
I did that in at least two places (might have been three, it's been a couple of decades) when I relocated the battery to the trunk on the 1979 RWD Malibu I used to own. Never had any starting problems other than when a starter went bad on me.
Without going into it to much i have spent a lot of time running down a starting problem.
I am not new at all to this stuff. But i 99% new what the problem was right from the beginning. But knowing it was what made it so frustrating. I worked for hours like a person trying to put a puzzle together ,that knew what it looked like but couldn't figure it out.
1 . POR 15 is a really good insulator,bad for grounding.
2 . Surgical stainless steel bolts washers = bad idea for grounds.
3 . Dielectric grease Bad for terminals of grounds and bolts.Anti Seize with
graphite should be used on all bolts.
I did many many many tests, with multiple starters 3 different batteries.Grease no grease. Different types of bolts. Also transmission was cleaned and sanded at bell housing ahead of time...........
Grounds was the problem .cleaned paint off with grinder. Things started getting better .Horns wouldn't work until paint was ground bare ............Car starts up much faster now.
sometimes i get a click when turning key forward but starts up after,another try.
I ran 3 cheap ground straps from the starter to different points.(i did many variations to many too say) I found a real good grounding kit i will get. And it should help even more.
But here's some progress pictures. Much of this was done a while ago. So i am farther ahead than pictures show.
Pictures show SRS exhaust muffler,shifter area under car,terminal bought to help,cleaning horns free of paint because they ground through brackets not a ground wire,New trans seals and TB,engine area pictures and last i used a 3.5 starter and it works ?!
So if surgical stainless steel bolts/washers are bad for grounds, what did you find to be good? Where were the most important ground points for starting that you had to clean up?
I've been considering what to do with old ground points in the engine bay. I know they need to be down to bare metal, but then that invites rust. So what are you supposed to do to keep rust at bay? I've heard you can put the dielectric grease around the connection after it's made to prevent water from getting in, but from what I understand you're not supposed to put the dielectric grease between the body and the connector. I have three different types of anti-seize and I don't think any of them have graphite in them. Graphite is more for lubrication than for electrical benefits, right?
I'm in the process of choosing/buying some 0/4/8 AWG wire to re-do a bunch of wiring and grounds in my cars. I think I'm going to go with some nice welding wire since it's high quality and much cheaper than power wire for car stereos. Tell us more about the nice grounding kit that you found and where you ended up putting your starter to ground points!
If you're actually adding a new ground location, particularly where high currents are involved, welding a bolt to the body metal may be the best option for minimum fastener to car resistance.
I did that in at least two places (might have been three, it's been a couple of decades) when I relocated the battery to the trunk on the 1979 RWD Malibu I used to own. Never had any starting problems other than when a starter went bad on me.
Norm
Great idea wish i did it before engine and wires were in. Nissan's ground locations are poor.
I don't weld on the cars in the engine area at all. And other things.
So if surgical stainless steel bolts/washers are bad for grounds, what did you find to be good? Where were the most important ground points for starting that you had to clean up?
I've been considering what to do with old ground points in the engine bay. I know they need to be down to bare metal, but then that invites rust. So what are you supposed to do to keep rust at bay? I've heard you can put the dielectric grease around the connection after it's made to prevent water from getting in, but from what I understand you're not supposed to put the dielectric grease between the body and the connector. I have three different types of anti-seize and I don't think any of them have graphite in them. Graphite is more for lubrication than for electrical benefits, right?
I'm in the process of choosing/buying some 0/4/8 AWG wire to re-do a bunch of wiring and grounds in my cars. I think I'm going to go with some nice welding wire since it's high quality and much cheaper than power wire for car stereos. Tell us more about the nice grounding kit that you found and where you ended up putting your starter to ground points!
Here is the link to the grounding kit. I like it all copper and it has a distribution block to the battery.
As for fasteners,i take the zinc coated ones off Nissan's in junk yards . That look brand new. I replaced the stainless with those.
I will post pictures when i finish car.As to the grounds.
As for fasteners,i take the zinc coated ones off Nissan's in junk yards . That look brand new. I replaced the stainless with those.
I will post pictures when i finish car.As to the grounds.
Ehh, there's a lot that could be improved upon with that kit.
-They don't say what gauge the wire is, and if it's actual AWG or not
-The lugs/terminals don't appear to be copper
-The wire to battery negative looks puny
-What's the temperature rating for the jacket?
-How long are the wires?
You could make something a lot better for a lot less yourself. Given what you've done so far, it's clearly within your abilities!
I also steal as many good bolts from the junkyard as I can whenever I go! And thanks for the link on anti-seize, I didn't know the graphite stuff existed and was good for conductivity. Unfortunately, it looks pretty uncommon, and I can only find a one pound jug of it for $50
Ehh, there's a lot that could be improved upon with that kit.
-They don't say what gauge the wire is, and if it's actual AWG or not
-The lugs/terminals don't appear to be copper
-The wire to battery negative looks puny
-What's the temperature rating for the jacket?
-How long are the wires?
You could make something a lot better for a lot less yourself. Given what you've done so far, it's clearly within your abilities!
I also steal as many good bolts from the junkyard as I can whenever I go! And thanks for the link on anti-seize, I didn't know the graphite stuff existed and was good for conductivity. Unfortunately, it looks pretty uncommon, and I can only find a one pound jug of it for $50 here on Amazon.
Yeah i agree ..i look at grounding in two phases . The smaller grounds the tiny thin gauge wires used to ground most things and then much thicker stuff.
I will use the kit you see for the little stuff i want to connect to all the small grounds in the engine bay with it.
Then get some good thick copper wire. to use in the battery starter area.
OK here is some pictures off the progress on the car.
I rushed the paint and body process, because i got lazy, but it still looks good. The paint is a 100% match AMAZING.
You have to spray this stuff very lightly and take your time.The metal flake builds up if you don't finely mist it.
The clearcoat has to be done the same way. But the problem is it was very hard to see how much was applied.
Sometimes i applied to much.
I did 0 wet sanding.I didn't feel like doing it I will wash the car and then buff it lightly and see how it looks after.
This ebay listing was made for me. I have enough paint left to do the same amount again.
I did other areas on the car i'll show them later.
Yeah, props on getting those arches done. I'm going to have to do one of mine this year and I'm not looking forward to it. Hopefully I'll be able to limit my area of work to a smaller area than you, because that looks like a lot of work! I'm pretty picky about paint quality and stuff, so it will be interesting to see how a DIY approach works out. Post up more pics of the paint when it's all washed, I wanna see how the orange peel matches up to stock.
Great progress on those wheel arches. You must be out in the garage every night?
Actually the funny thing is i only took about 3 hours to finish bondo and paint. (everything seen in pictures)
I gobbed the bondo on and used a jitter sander.Just wanted it done. Then just spray the fill primer then used finish primer. After that used the paint ,then the clearcoat.
I sanded the primers but no sanding on base or clear coat.
I could do a MUCH better job but i thought to myself . I may repaint the whole car later in time.
OK here is some pictures off the progress on the car.
Damn dude, that's really starting to come along. I just went back & looked at the beginning of the thread & noticed you've been working on this for almost 2 years. You should seriously give yourself a big pat on the back for all the work you've done on this car. You ever come to the Albany/Colonie area?
Damn dude, that's really starting to come along. I just went back & looked at the beginning of the thread & noticed you've been working on this for almost 2 years. You should seriously give yourself a big pat on the back for all the work you've done on this car. You ever come to the Albany/Colonie area?
Yeah it has been a while. It would be bad if i really worked on it for 2 years straight. the truth is i get bored of it .
And i have gone months without seeing it.
The fire set me back probably a year . If i hadn't done all the work before that happen i would have parted it out.
As for Albany area just for dinner and movies sometimes with the family.
Went with the HPS cool white,side markers.$24 free shipping with ORG code.
They are nuts to change. The rear ones are bad. Incandescent don't last long in that environment .
Gonna check the quality,if they are good i will try the HID LED type headlight kit.
I don't see any hood bump stoppers ! I'll be a shame if you finish this project just to find out the hood is rattling making awful noise
That's funny, i actually forgot about them. I stand and stare at the car in different locations .
Because i have removed so much,i want to make sure of the proper order and i don't forget anything.
i also part out cars. So i have all kinds of parts from different years and cars intermixed .
My garage is a mess.
Here is a car 07 camry LE i was working on,while working on the maxima. Also bought another trunk in better shape.
Went with the HPS cool white,side markers.$24 free shipping with ORG code.
They are nuts to change. The rear ones are bad. Incandescent don't last long in that environment .
Gonna check the quality,if they are good i will try the HID LED type headlight kit.
Yea let us know ! i have autozone - Pilot red LEDs in the rear right now, front I have classic incandescent amber.
Seems like LEDs are so standard now, and thats about the price I paid in a store
Ok here is an update . put the lights and front on. did all the plastic in the fender wells.Just have to put the plastic under the rad support back on.
I am also sanding and painting the wiper arms.I also took the cowl out to clean it inside and out. And the wiper linkage is shot ordered another one used in excellent shape. Pictures later.
This hid setup was on the car when i bought it. Any ideas on the the quality of the setup?
Also put the LED side marker bulbs in.first picture of bulb is stock second is LED .,from the ORG. sponsor. price and link above
so hard to tell, but they look extra bright for side marker use.... so nothing against the bulbs themselves. best to see a night shot w them installed. i will say the red Pilot LEDs i have on the rear side markers are a bit bright too almost light up the ground like footwell light, the red color helps in that case tho.
Where do i get projectors, i know nothing about that stuff??
What's the difference ?
You can get them plenty of places, but I get my stuff from The Retrofit Source. Good parts and helpful guys. I put the top of the line FX-R projectors in my lights and couldn't be happier. The output is simply incredible. They take some work to install correctly (see my thread for details) but they're really not that expensive to purchase.
You can get them plenty of places, but I get my stuff from The Retrofit Source. Good parts and helpful guys. I put the top of the line FX-R projectors in my lights and couldn't be happier. The output is simply incredible. They take some work to install correctly (see my thread for details) but they're really not that expensive to purchase.
sounds easier to replace with 2002-2003 housings. Are they hard to find?
sounds easier to replace with 2002-2003 housings. Are they hard to find?
Are what hard to find? Projectors to install or 02/03 headlights? 02/03 headlights still don't have projectors, so their output will be inferior to a good projector setup. Projectors are everywhere these days. Like I said, check TRS.
OK this is great stuff for use on any ground or metal to metal contact,that needs to be conductive.
I would only use it for terminals. NOT for plugs.
eBay link below explains a lot more ,in depth.
I squeeze it on a piece of cardboard and use a Q tip to apply.
I national grid linemen that i know gave it to me.thats what i use.
yes you can but... ebay.. aftermarket... you can assume its not worth it. either look for used 2002-2003 keep a stock look, or retrofit projectors for probably same price if u factor in the fab time.
or save money and just get nice halogen light bulbs , sylvania ultra silvers are pretty sweet, clear and extra bright white.
i wonder if LED's have glare in the old halogen housings.. because LED has actually evolved so much they are starting to be legit headlight bulbs i think,
I cavity waxed plus the entire car, every hollow. Front rails ,where front fenders are on.
Then the bottom ones. crossmember,radiator support,engine cradle.
Rockers the inner rails next to the tunnel.
I did the doors ,make sure the windows are up.And it doesn't bend upwards .
You don't want this stuff on your glass.I used the weep holes at the bottom,of the doors.
Shown in pictures.First time doing doors and i didn't get any on the glass.
Every rail behind the gas tank. And then anything hollow even the rear beam tube that runs the middle of it.
Rear mount lateral link,also.Even inside the rear,door lock latches i took off. to get into the hollows of the rear quarter panels. Two ways into them through the trunk and the latches.
The cavity wax plus kit from 3M has three tubes that spray. Two that i believe,spray 360 degree 3D mist.2 and 4 feet long . And i third that is about a foot long ,that sprays a normal jet .i never use this one.
I have used 6 18 oz cans on this car. I did all these areas twice.I'll probably get two more cans and spray some in the trunk wheel area.
You see in one picture shin itzsu a honda product. I put it on all rubber. great protector.
Great job!!! I'm totally adding this to my list of things to do to my car.
this is the cheapest place i have found it,anywhere. it's also $9.99 shipping but they combine it.
They also sell the spray kit,you can't do it without it.
OK also my SRS catback . I hate to say it it sounds deep and throaty(sounds like more displacement than it has) but i can't keep the sound.
I relized that i want a quiet exhaust.
I am going to use this b-pipe ,with the SRS muffler see how that sounds.If that don't work i will swap the whole SRS exhaust off.
It sounds like a 350z,but deeper. Don't know how. And a drone from 2000-2500 rpm.
Sad thing is it is stock sounding, once you cruise at highway speeds. But i drive little highway with it.
I will show some pictures, today i am working on it. I hope the Northeastern exhaust B-pipe does the trick. If not ,then the whole NE goes on.


 I will wash the car and then buff it lightly and see how it looks after.


 . If i hadn't done all the work before that happen i would have parted it out.