
2007 Headlight painting


Senior Member
Joined: May 2010
Posts: 1,506
From: inside my own mind
You can use high temp paint OR you can use krylon fusion, Duplicolor, Rustoleum, etc. Make sure you apply 3 coats of each (primer, base coat, and clear coat) and you should be good.
Last edited by 6.5affiliate; Jun 5, 2011 at 12:35 AM.
Senior Member
Joined: May 2010
Posts: 1,506
From: inside my own mind
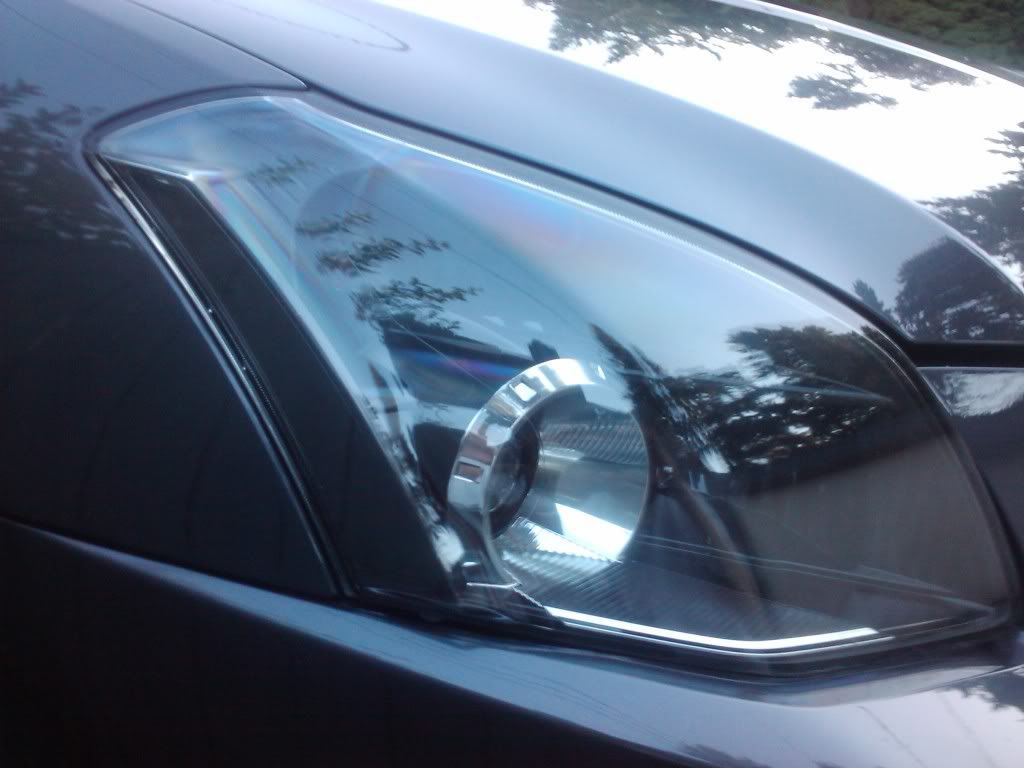
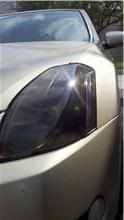
Gotta correct myself. With the Krylon Fusion, you don't need primer. Just spray it on, sand it in between coats and clear it. Easiest out of the three to use. Looks pretty good too. Here's a pic of one of my earlier designs:
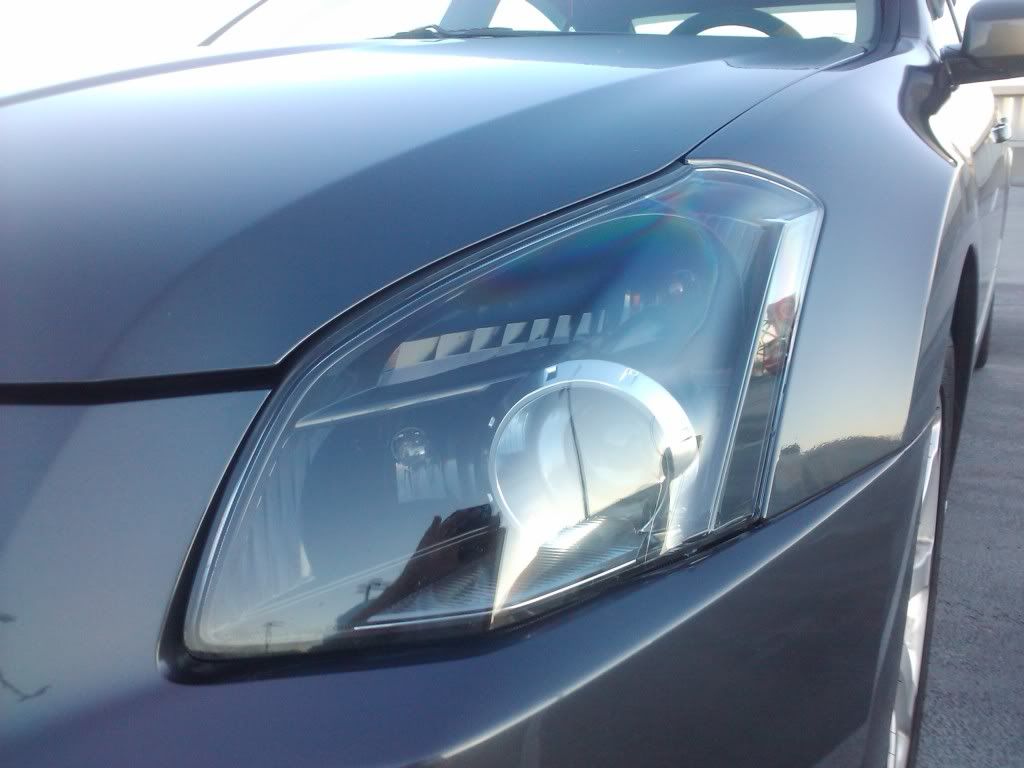
This is NOT what it looks like now though....
This is NOT what it looks like now though....
Last edited by 6.5affiliate; Jun 5, 2011 at 12:41 AM.

Senior Member
Joined: May 2010
Posts: 1,625
Gotta correct myself. With the Krylon Fusion, you don't need primer. Just spray it on, sand it in between coats and clear it. Easiest out of the three to use. Looks pretty good too. Here's a pic of one of my earlier designs:
This is NOT what it looks like now though....
This is NOT what it looks like now though....
Senior Member
Joined: May 2010
Posts: 1,506
From: inside my own mind


Gotta correct myself. With the Krylon Fusion, you don't need primer. Just spray it on, sand it in between coats and clear it. Easiest out of the three to use. Looks pretty good too. Here's a pic of one of my earlier designs:
This is NOT what it looks like now though....
This is NOT what it looks like now though....
Senior Member
Joined: May 2010
Posts: 1,506
From: inside my own mind
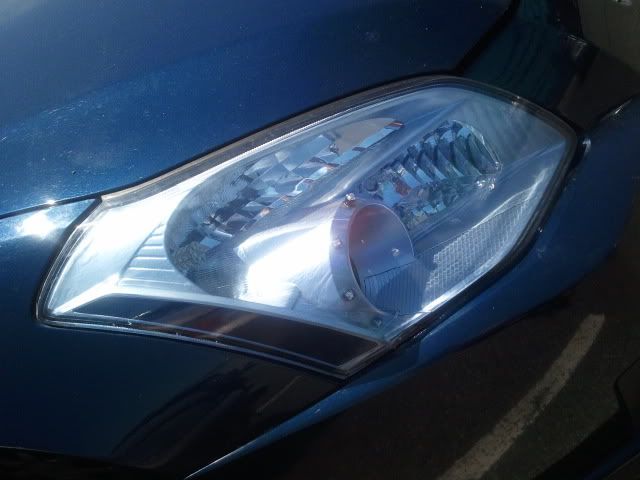
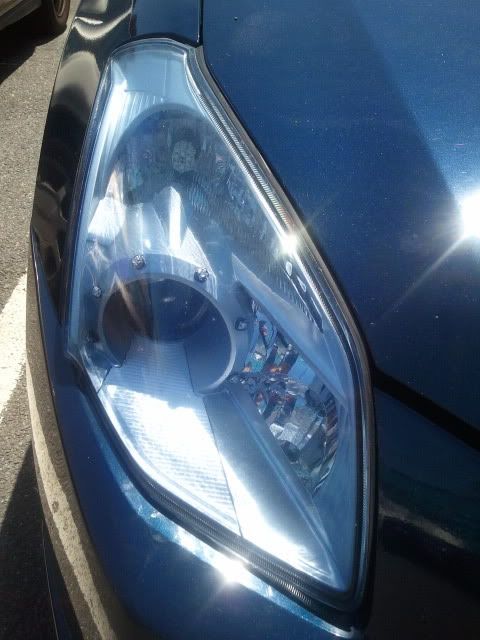
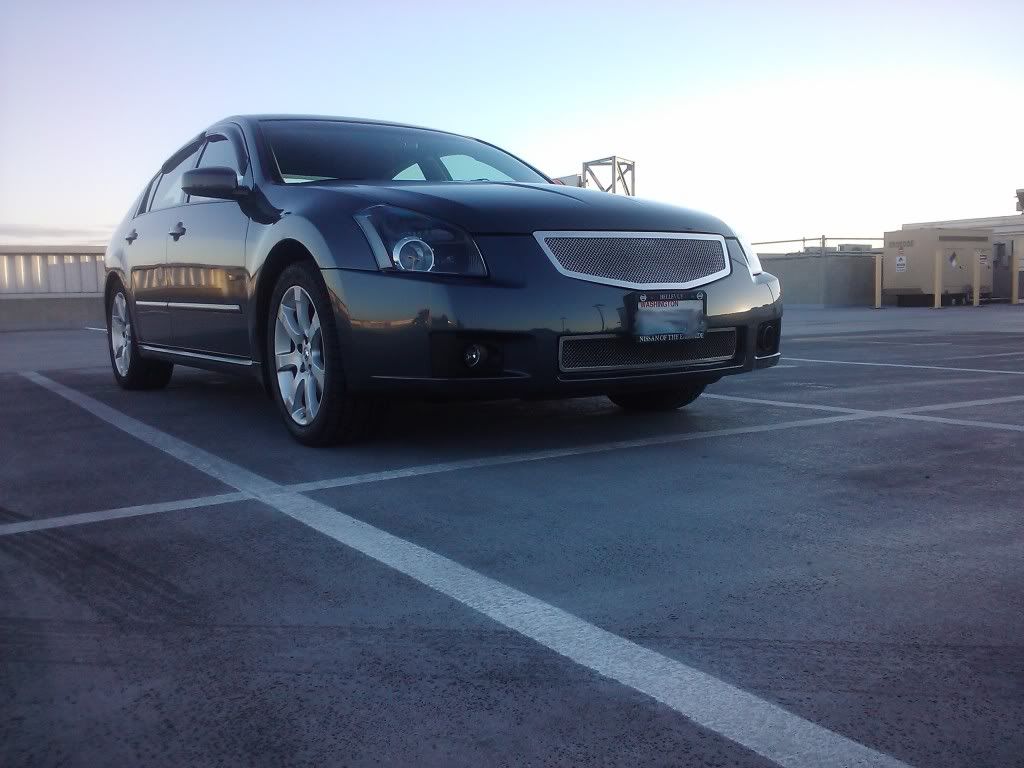
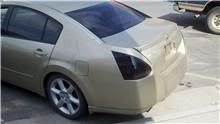
Yup, here's a couple more pics:
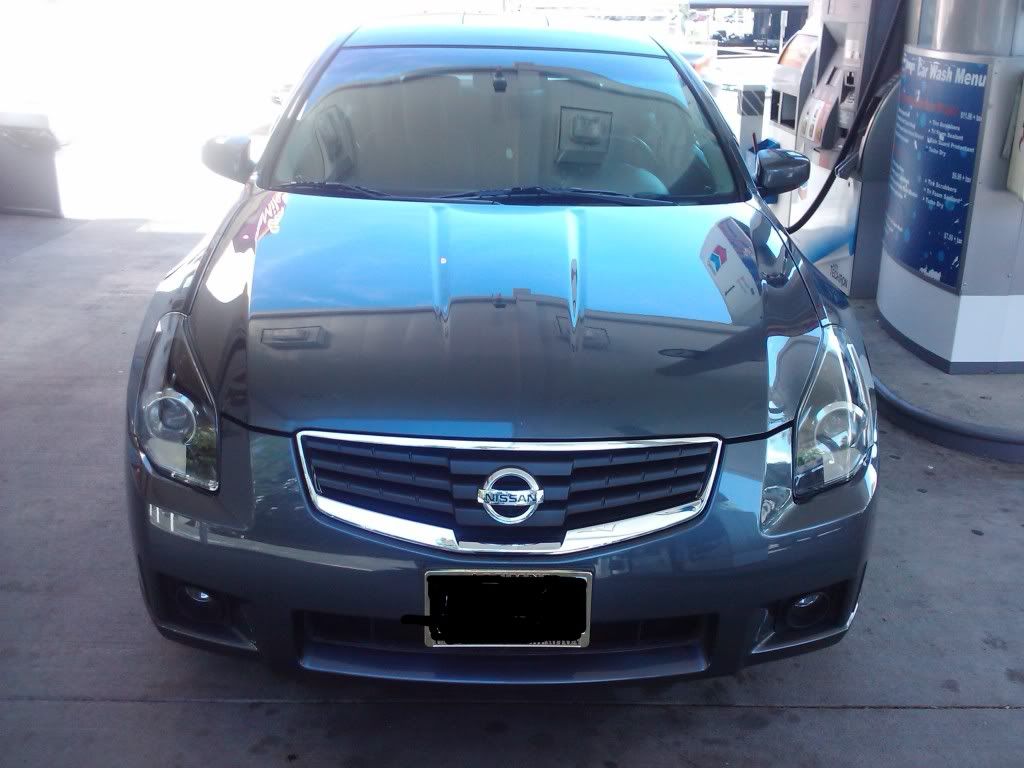
If you mean the sidemarker than all I did was scuff it up with some 800 grit wet/dry sandpaper, primed it with some Duplicolor Adhesive Promoter and painted it.
Also, if your gonna use Krylon Fusion than you don't have to sand it at all. Just spray it and finish it with some clear coat. Easy as pie.
Last edited by 6.5affiliate; Jun 5, 2011 at 10:36 PM.

Junior Member
Joined: Mar 2011
Posts: 70
From: Thornton, CO
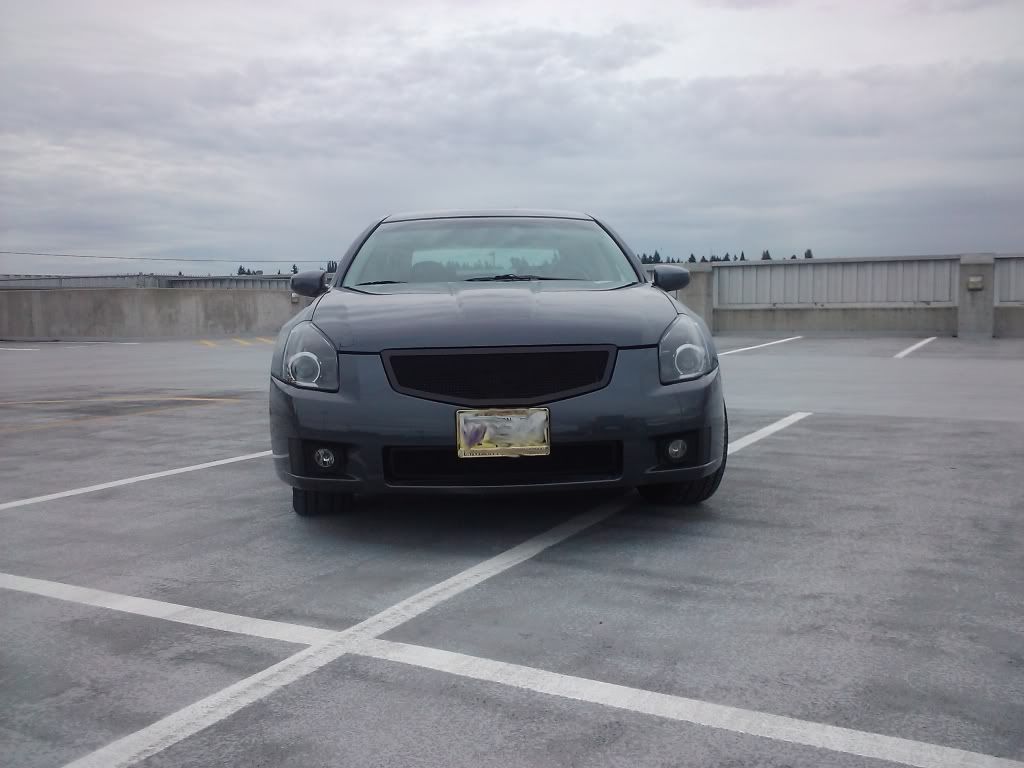
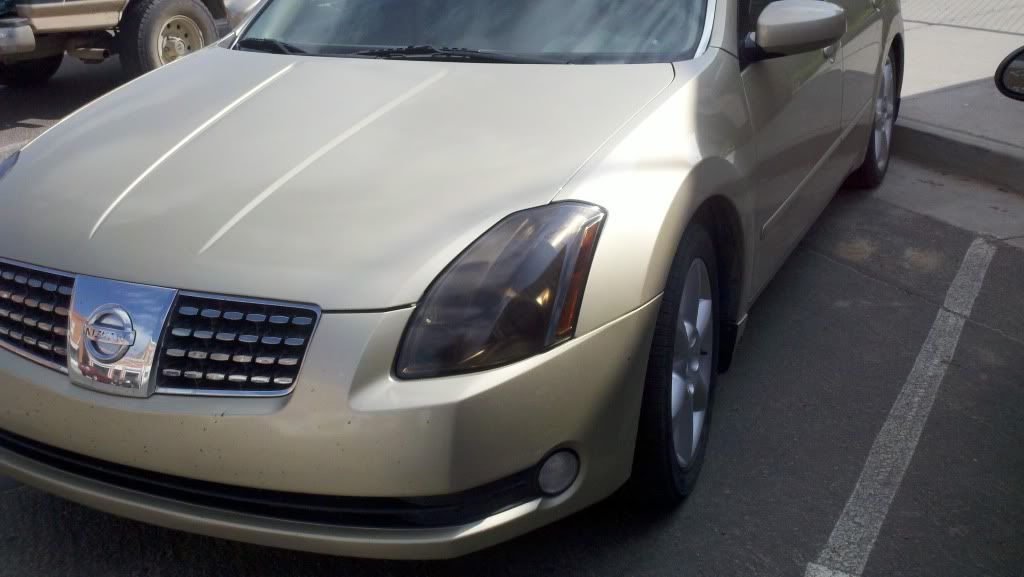
I went way darker with mine but it was easy. Front and rear was a 3 hour job not including dry time. Im not sure the brand of paint my buddy used but we learned not to use reducer in it. Thinner works better and wont cause that spider web like cracking that reducer can do to plastic.
Junior Member
Joined: Mar 2011
Posts: 70
From: Thornton, CO
Thanks. I wasnt real excited about the gold color, looked like grandma's car. After some tint and painted lights it made a huge difference. Now gonna work on getting rims and doing the rain strips black like I saw on this forum.
Senior Member
Joined: May 2010
Posts: 1,506
From: inside my own mind
Looking forward to seeing an update man. You should make a build thread or something. It'll be a nice change of pace on this forum.

Thread Starter
Senior Member
Joined: Jul 2010
Posts: 365
From: Columbus OhighO
Wow thanks for all the replies.. Is it pretty simple to pull the HL assembly out and disassemble it??
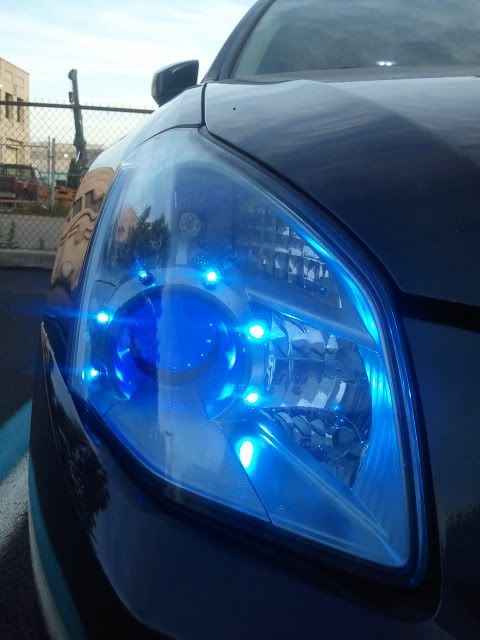
I was also thinking of doing some Iron Man LEDs, but i hve found some that i believe i could flush mount, so they don't stick out like nipples..LOL..
I was also thinking of doing some Iron Man LEDs, but i hve found some that i believe i could flush mount, so they don't stick out like nipples..LOL..
Senior Member
Joined: May 2010
Posts: 1,506
From: inside my own mind
As for the iron man. There's a LOT of things that can go wrong with that mod. Bulbs going out during the modification process. Or a few months down the line for example. Which is why I didn't do it myself.
Yeah man, you can hit me up whenever you have any questions about this mod. I can walk you through the whole thing. It really isn't as hard as some make it out to be. You just have to be patient with it.


Thread
Thread Starter
Forum
Replies
Last Post
REDinLV
7th Generation Maxima (2009-2015)
5
Aug 15, 2024 12:30 AM
BPuff57
Advanced Suspension, Chassis, and Braking
33
Apr 16, 2020 05:15 AM
My Coffee
New Member Introductions
15
Jun 6, 2017 02:01 PM
Dennis Twohy
1st & 2nd Generation Maxima (1981-1984 and 1985-1988)
0
Oct 1, 2015 06:01 PM