When you click on links to various merchants on this site and make a purchase, this can result in this site earning a commission. Affiliate programs and affiliations include, but are not limited to, the eBay Partner Network.
(1) Remove front strut mounting nuts ... 6 of them;
(2) Install tower bar brackets on each strut tower;
(3) Reinstall strut mounting nuts ... 6 of them, retorquing nuts to manufacturer specs;
(4) Install tower bar into tower bar brackets;
(5) Adjust tower bar tension, using adjustment nuts, so that even/equal, yet notable force is exerted outward (i.e. toward each strut tower/strut mount).
(6) Use tower bar jamb nuts to secure tower bar adjustment nuts in place.
Have the car on even ground, loosen and remove the upper strut mount nuts, install the bar, reinstall upper strut mount nuts, torque to 50ft/lbs and call it a day?
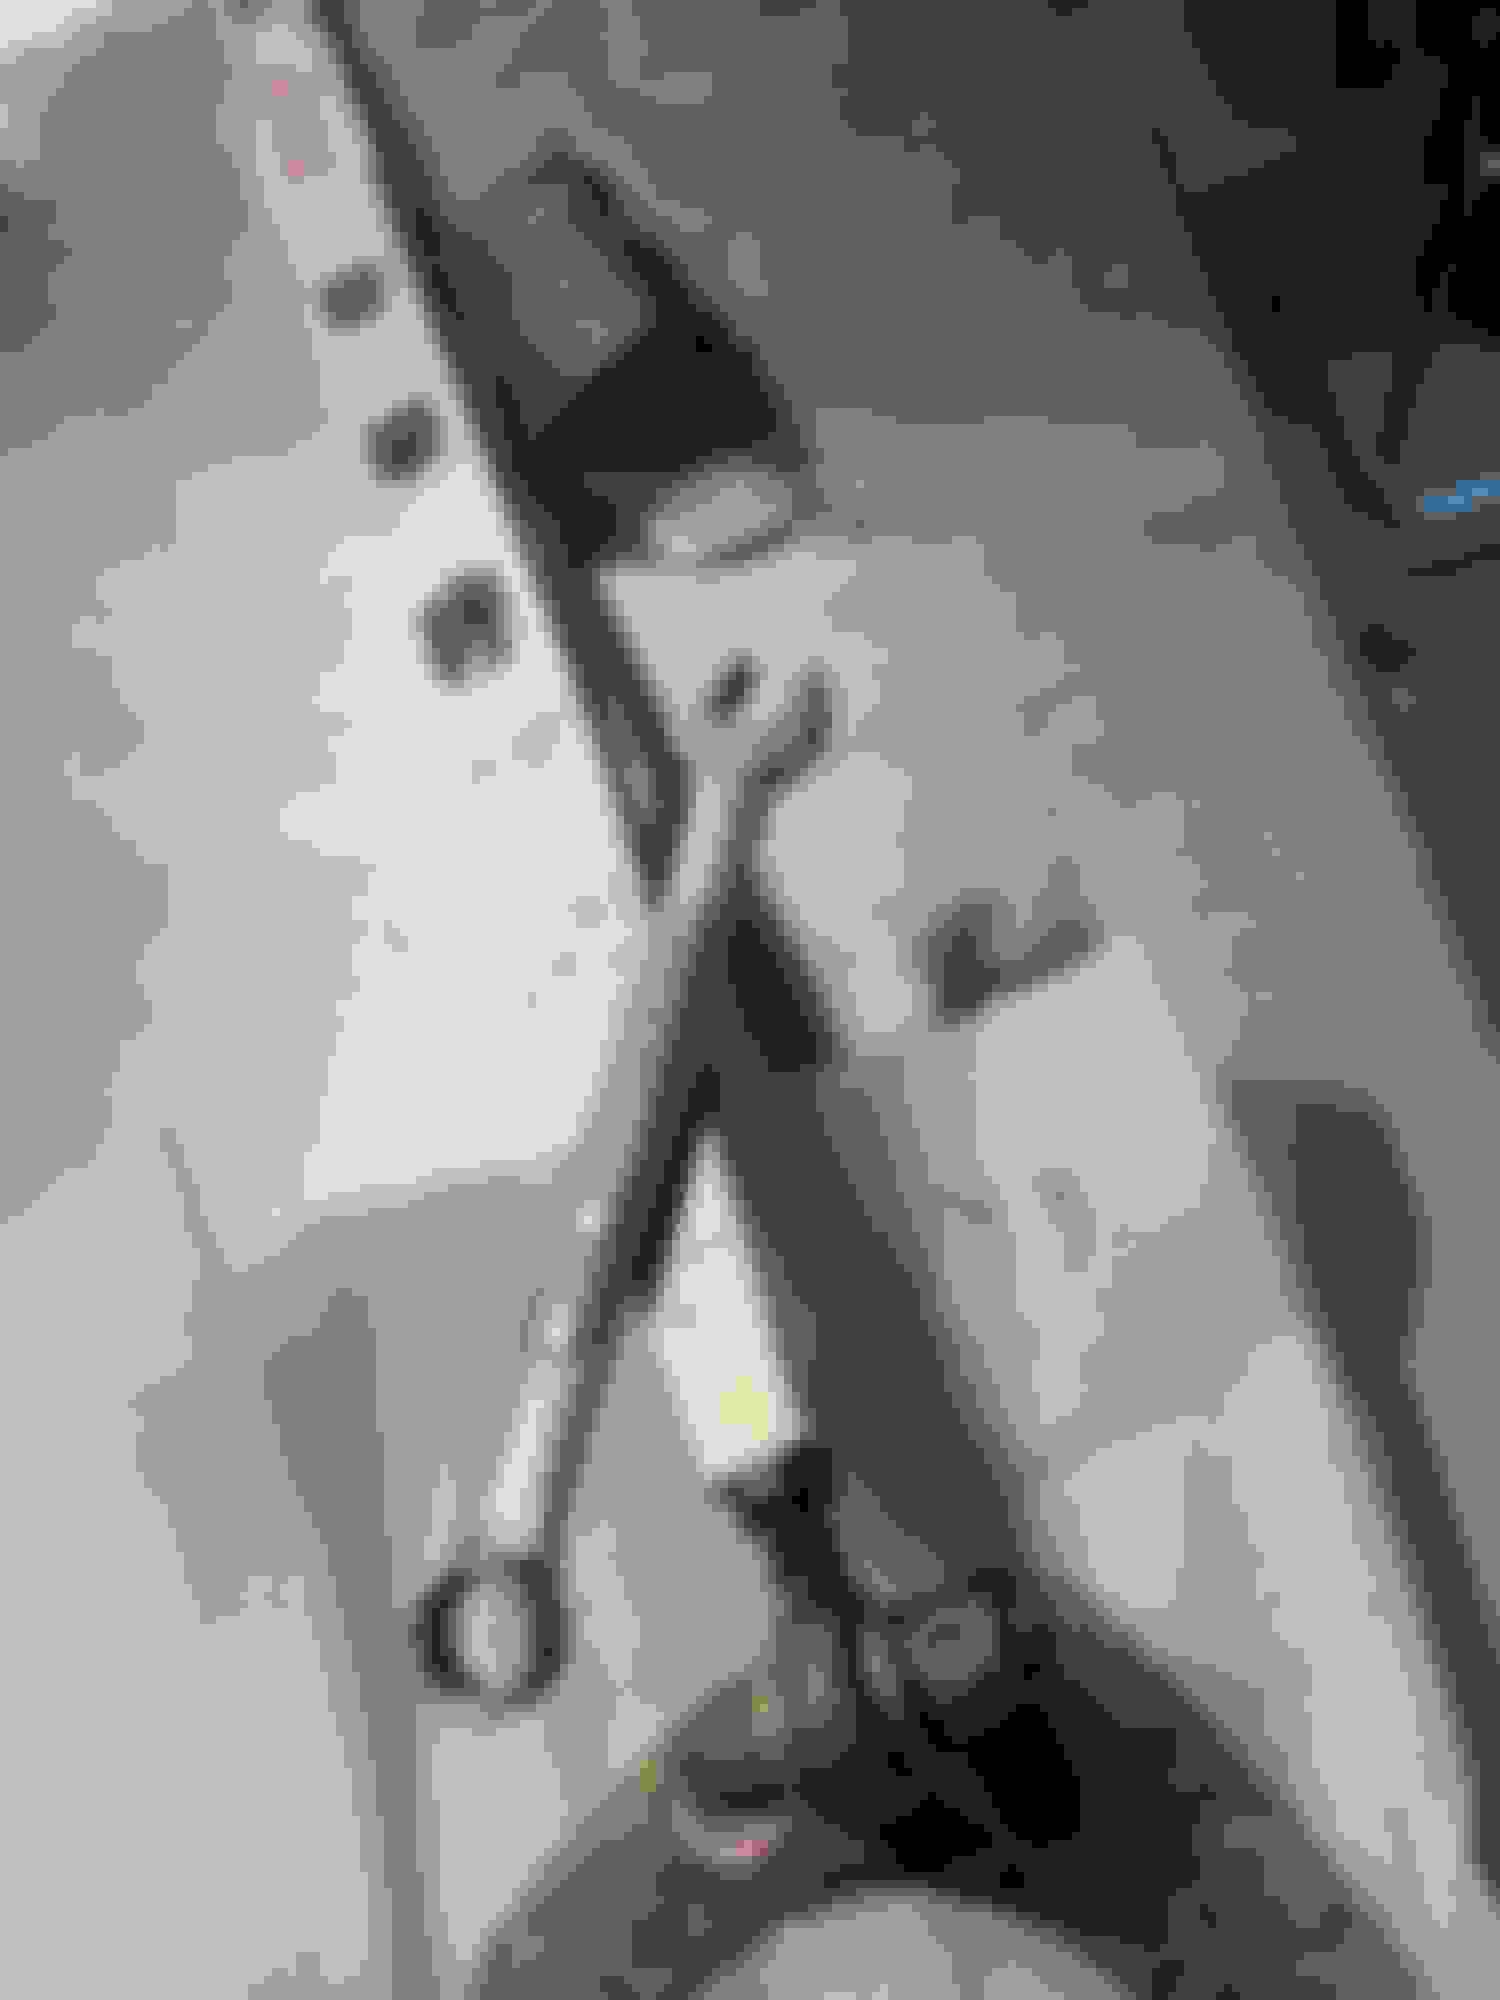
i'm cleaning up the used Stillen piece before installation. i'm trying to loosen it's adjustment / lubricate it and WITHOUT breaking it. Is the adjustment nut reverse thread ?
the "adjusting nut" ? did not turn counter-clockwise under moderate force...i put some kroil on it and will come back to it. it was rusty - but not _that_ rusty
the allen key bolts and nuts as delivered seem a) backwards (allen keys should face forward - if only for looks right?) and also b) beat up. What Grade bolt is necessary for replacement ?
what material are the end links made out of? they have mild corrosion on them - whats the best way to clean them up? i was thinking "wire wheel"...
i only staged this photo a little the nut in question
the term "counter-clockwise" is relative to one's position.....ie bar side vs mounting bracket side. Assuming you turned the nut counter-clockwise relative to the mounting bracket, it should break free. I don't recall those eyelit bolts being reverse threaded. You said you gave it moderate force, it won't hurt anything giving it light to moderate force the other way to see if indeed they are reverse threaded. Have you tried both sides?
I would re-use the allen bolt, just clean it up. How it's mounted is personal preference. I agree with you, the allen head should be pointing towards the front of the car.
Wire-wheeling the brass looking mounting bracket will work, but keep in mind you'll have light scratches remaining. Perhaps start with a buffer wheel.
Nut should come off like any nut should, you just need more leverage it sounds like. Why adjust it though if it doesnt need it? Its not like theres a variation in the gap between strut towers with different maximas.
Nut should come off like any nut should, you just need more leverage it sounds like. Why adjust it though if it doesnt need it? Its not like theres a variation in the gap between strut towers with different maximas.
All of them were frozen in place - better to R&R it before putting it on the car.
Originally Posted by The Wizard
Rather than trying to bust the nut free, why nut try spinnning the whole bracket/eyelet bolt counter-clockwise?
Once I disassembled the end pieces this was easy, The eyelet and its stop nut are regularly threaded.
Wire-wheeling the brass looking mounting bracket will work, but keep in mind you'll have light scratches remaining. Perhaps start with a buffer wheel.
i buffed them with a wheel but it didn't do much. i didn't do a wire wheel yet...what are these made of (that they corrode like that) ? Is there a way to chemically treat them - either before or after using a wire wheel ? or no wheel at all ?
"Use acetone or brake cleaner and mild-grit sandpaper or other mild metal abrasive to clean the parts. The parts are all simple steel, not copper. They are painted with metal-bonding paint from the factory. Then, spray the sanded product with a brass or gold color of your choice, and it should look good-as-new! That is literally how it is colored from manufacturing."
i wonder what "metal bonding paint" means...it looks like they're supposed to be a color similar to milodon "gold irridated" oil pans but I don't know what's a match...
there's also rust in the channel of the piece that's going to be challenging to remove (without sandblasting it) before paint...
Many years ago I had the tower braces powder coated for the Q45. That has worked out well over the years. Also had the aluminum bar polished and sprayed with a clear.