5th Gen: What did you do to your 5th Gen today?
 12-19-2013, 05:26 PM
#441
Senior Member
Thread Starter

Join Date: Sep 2012
Location: Vancouver, Canada
Posts: 315
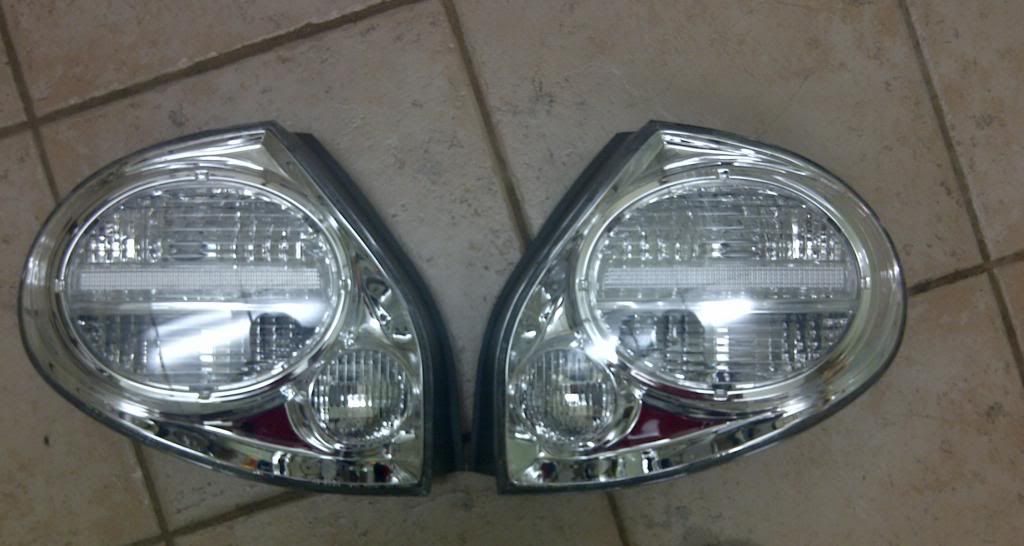
Here ya go http://forums.maxima.org/general-max...-a33-sale.html
Just read it carefully and you see what is going on, and why it works. You will buy one after
Just read it carefully and you see what is going on, and why it works. You will buy one after
 12-19-2013, 05:33 PM
#442

I believe it's in the FSM. It involves getting the car in the air, loosening the bolt that goes thru the links between the axle and the body. Setting the wheels on ramps to load the suspension, and retightening the bolt. Obviously not the complete process of doing it, but really a general summary.
What happens is when you do a lower on the car, the rear axle actually will actually start sitting to one side. It gives the rear the look of one wheel looking like it is flush or even sticking out (usually the driver side), and the other side looks super tucked. The lowering pulls the rear out of spec, so it's just a matter of resetting it.
S
12-19-2013, 05:38 PM
#443
Senior Member
Thread Starter
Join Date: Sep 2012
Location: Vancouver, Canada
Posts: 315
You just need a new link. The bushing in the link is probably worn out, hence the 15mm sag.
This is what you need http://www.autopartswarehouse.com/sh...an/maxima.html
Unless you are going to lower it, then buy the adjustable one.
This is what you need http://www.autopartswarehouse.com/sh...an/maxima.html
Unless you are going to lower it, then buy the adjustable one.
12-19-2013, 05:56 PM
#444
You just need a new link. The bushing in the link is probably worn out, hence the 15mm sag.
This is what you need http://www.autopartswarehouse.com/sh...an/maxima.html
Unless you are going to lower it, then buy the adjustable one.
This is what you need http://www.autopartswarehouse.com/sh...an/maxima.html
Unless you are going to lower it, then buy the adjustable one.


 12-21-2013, 06:06 PM
#450
Senior Member

Join Date: Dec 2005
Posts: 1,215
Replaced valve cover gaskets, intake manifold gaskets.
All the hard and cracking lines, hoses. New pcv valve.
cleaned throttle body and idle control valve.
Cleaned maf and used a 4'' coupler on the cold air snorkel instead of that
junk stock thing that always comes off.
Feels great Everything that wasn't supposed to be rock hard and cracking was,
and sludged up. lol
I just hope that was my oil leakage problem in the rear.
All the hard and cracking lines, hoses. New pcv valve.
cleaned throttle body and idle control valve.
Cleaned maf and used a 4'' coupler on the cold air snorkel instead of that
junk stock thing that always comes off.
Feels great
Everything that wasn't supposed to be rock hard and cracking was,and sludged up. lol
I just hope that was my oil leakage problem in the rear.
12-21-2013, 06:16 PM
#451
Junior Member

Join Date: Nov 2009
Location: North Jersey, NJ
Posts: 35
Got a pretty good deal so I put in new NGK iridium ix plugs today. Less than $5/plug at advance. Didn't notice any real driving difference though. Old plugs were NGK R's. New MAF on the way too which I should receive on Mon. Hoping it'll correct this stalling issue at startup in cold temps. If not it'll be time for a new UIM gasket. No ses light so it feels like I'm chasing a ghost.
Maximase86: Very clean max man, it looks great with those rims
Maximase86: Very clean max man, it looks great with those rims
12-22-2013, 09:11 PM
#452
Senior Member

Join Date: Sep 2012
Location: The Northeast
Posts: 681
Did a tranny D&F w/ Matic D and some Lube Guard Red, changed oil to Pennzoil Ultra w/ Purolator PureOne filter, used turkey baster to freshen up the PS fluid w/ some Dexron III I had laying around, and put in a bottle of Techron cleaner during the last fill up before the oil change. PU is some good oil and the VQ35 is SO quiet when I run it.


 12-23-2013, 05:59 PM
#457

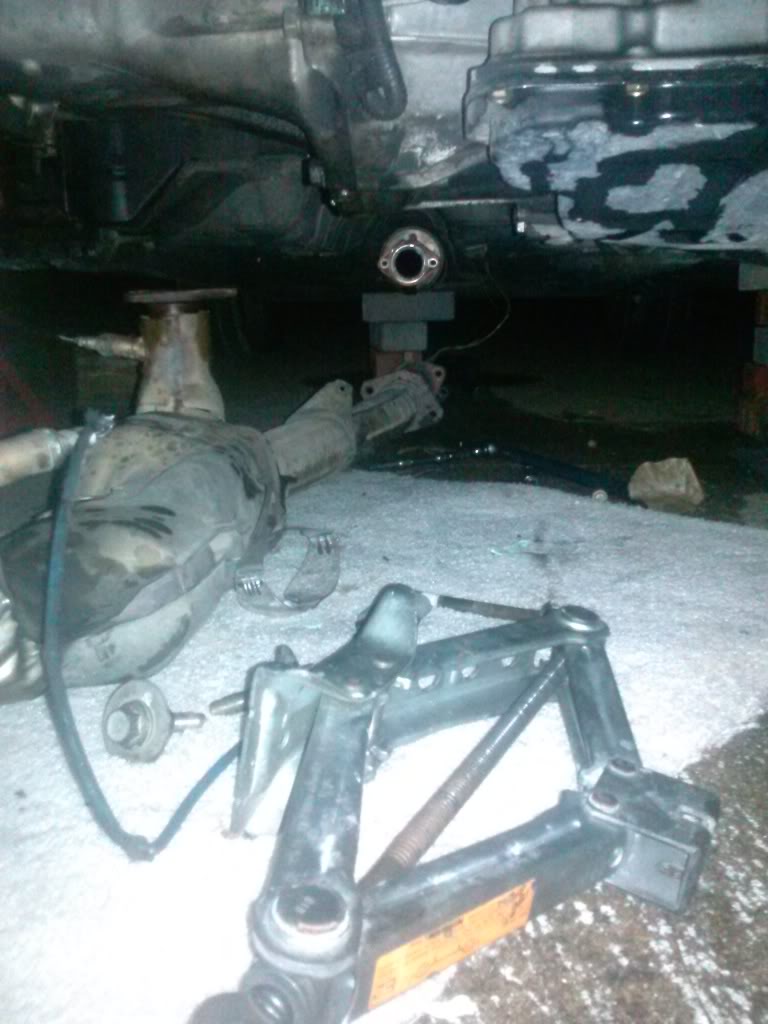
 rear mount was totally separated from rubber(no fluid),front was in bad shape also...dropped the center beam and y-pipe project "X" is officially under way...
1.Timing Kit
2.Knock sensor
3.Oxygen sensors
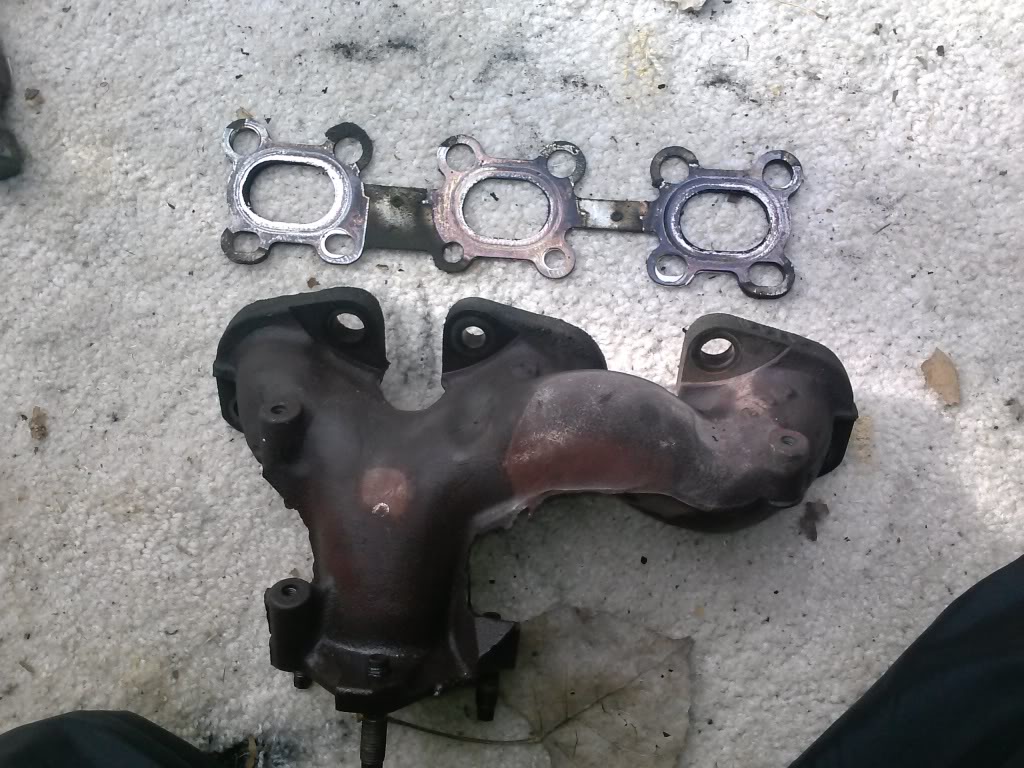
4.Exhaust manifold gaskets
And lots of cleaning ...
 ^^^rear mount
 ^^^
^^^
 12-24-2013, 12:51 PM
#461
I will...thanks! Its been uneventful so far although seized pretty good all bolts on y pipe came out clean... will be taking next few days off !Merry Xmas .ORG!
Last edited by nestorlugo; 12-24-2013 at 12:55 PM.


 ok i lied I'm still at it....
12-25-2013, 03:02 PM
ok i lied I'm still at it....
12-25-2013, 03:02 PM
#464
Senior Member
Join Date: Dec 2005
Posts: 1,215
Tightened up the slack in my cruise control cable.
It always would be an abrupt on/off with the CC.
Thinking it was just another one of those "it's an old car, just the way things were"
But now after taking out the slack it holds a steady smooth MPH.
I use it allot now.
It always would be an abrupt on/off with the CC.
Thinking it was just another one of those "it's an old car, just the way things were"
But now after taking out the slack it holds a steady smooth MPH.
I use it allot now.
12-25-2013, 06:11 PM
#467
Member

Join Date: Jun 2013
Posts: 164

 12-30-2013, 03:23 PM
#470
Supporting Maxima.org Member

Join Date: Sep 2005
Location: NH
Posts: 311
Where did you find the OBX headers? I was told they weren't available anywhere until at least February.


 01-03-2014, 03:26 PM
#477
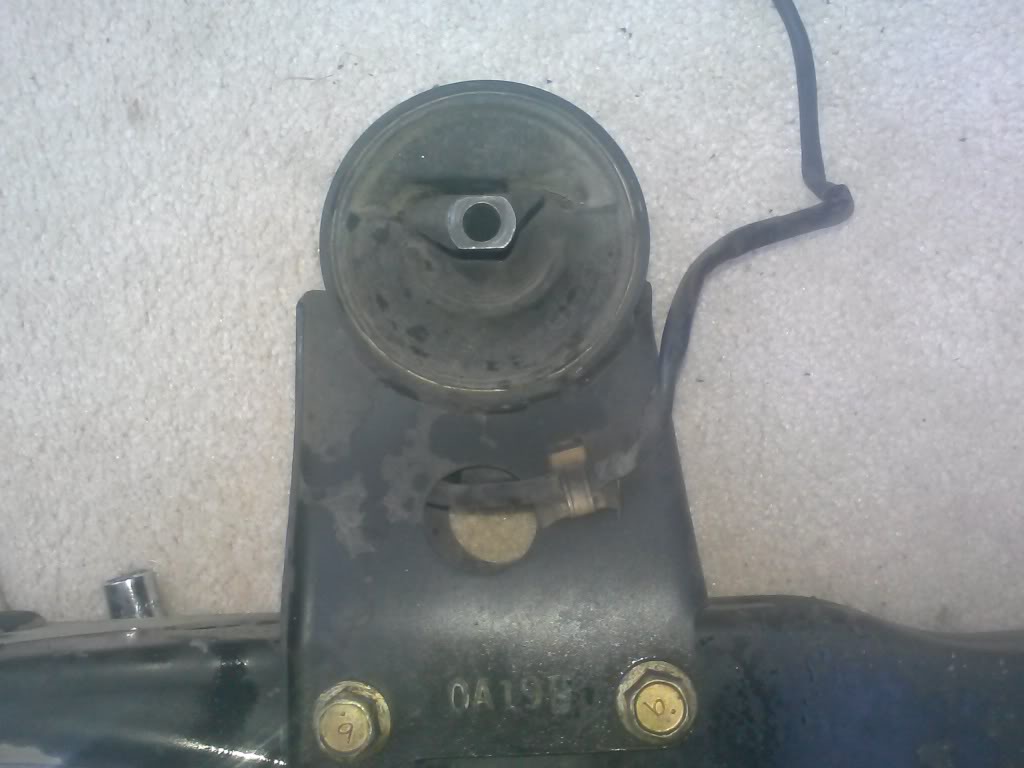
 ok so after the weather has been stationed around mid 40's to low 30's around the metroplex(DFW) "project X" hit a major snag.
Scrapped no.1 on the list, all other objectives were completed
shipping around the holiday sucked...i just received the lca yesterday at 6pm when ordered was made on 28th...so six days ups ground from Dallas to Arlington...well....other than that the only non issue i had was the trans mount(buy the aluminum one,save the hassle)needed 3/4 of an inch spacer on the bolts since the new mount was not as beefy. .Tomorrow it should be buttoned up and ready to fire...However i did strip the two rear mounting bolts on the driver lca...i was able (with a lot of hevos)to screw them all the way in ....well i guess i can get a sub frame from a donor in February when i plan to drop the vq and overhaul.timing and piston rings,comp cams..Barrett Jackson here i come....
01-03-2014, 04:19 PM
#478
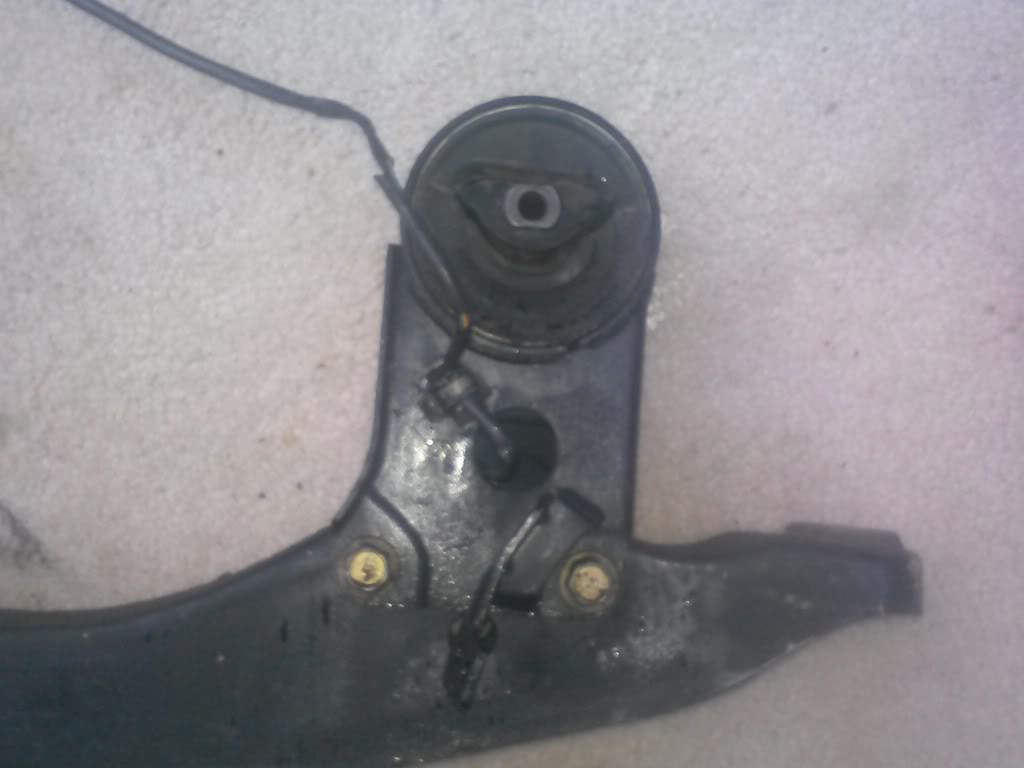
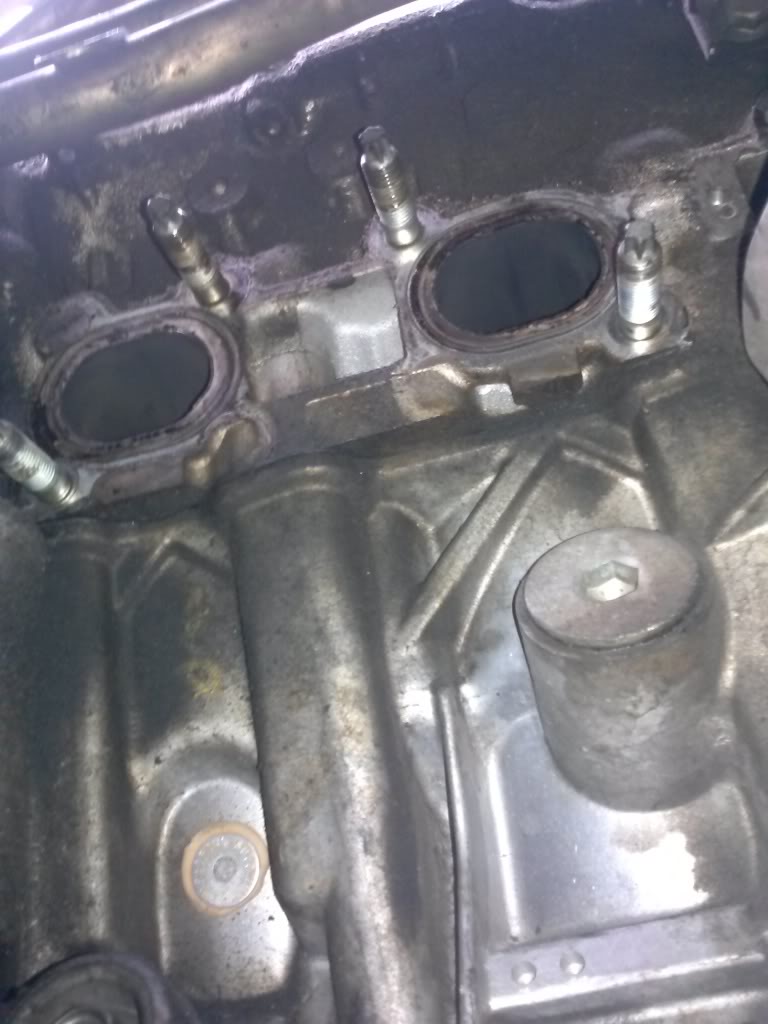
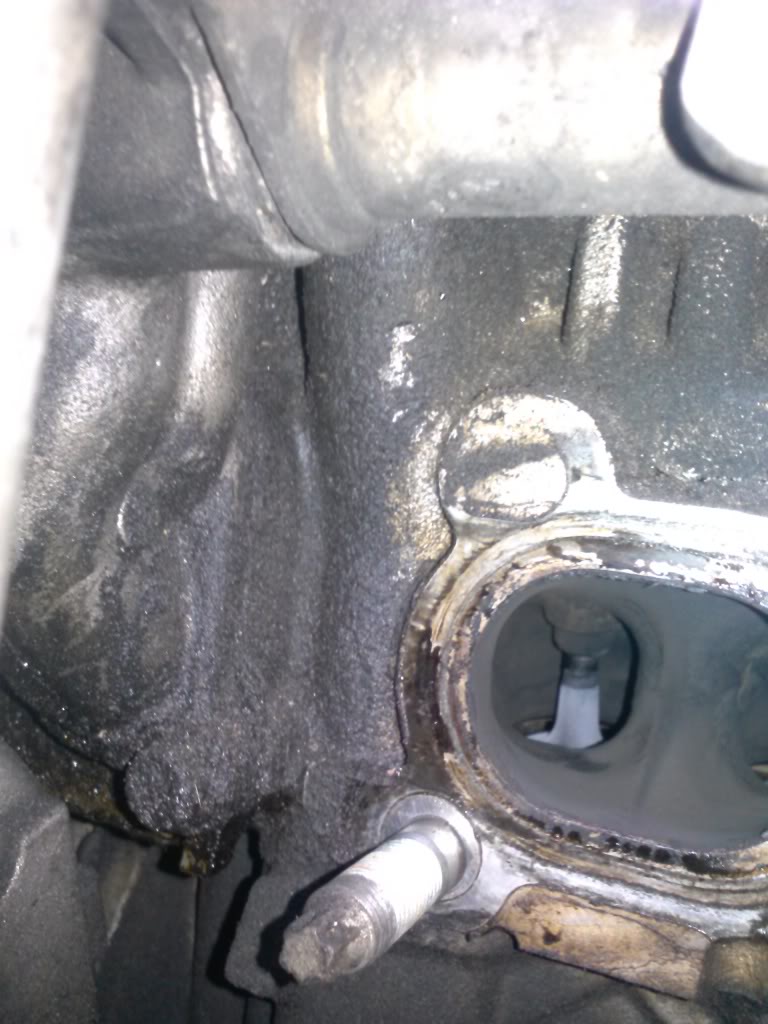 bank2 leak went oem on the gasket worth the extra money (18sumn mi.)I'll take that!
Bank1 was clean besides the permanent oil residue from past valve cover leaks but nothing around manifold beside a small amount of rust on shield screws...backed out of the replacement on it when i realized that there's no way to torque the four bolts on the engine mount bracket without removing the engine
Last edited by nestorlugo; 01-03-2014 at 04:34 PM.
 started on the first two then quickly put them back
01-03-2014, 04:43 PM
started on the first two then quickly put them back
01-03-2014, 04:43 PM
#480
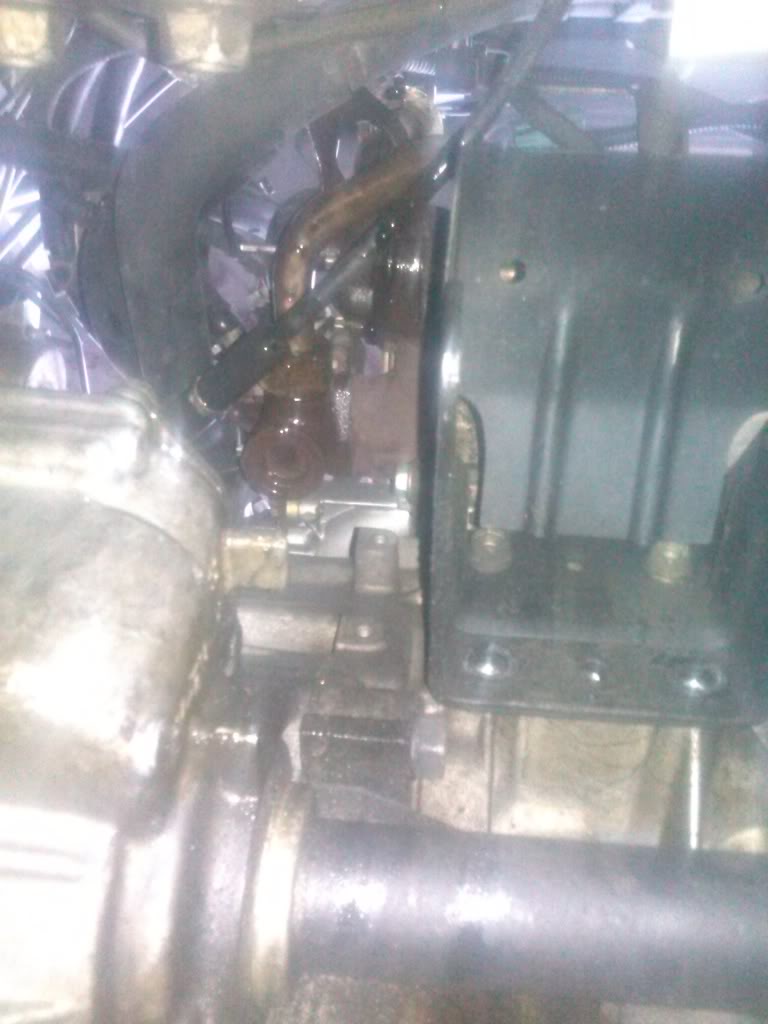
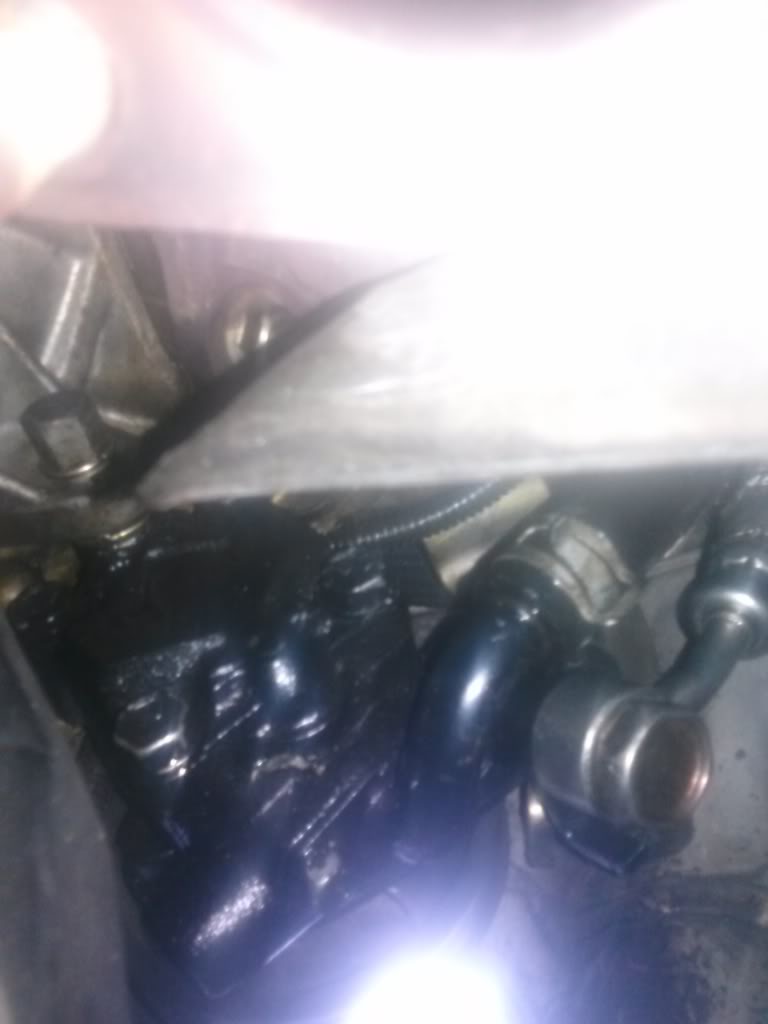 previous owner had replaced power steering hp hose, after some wipe down nothing on the bolt but a leak remained on the return hose sniped an inch of this end and changed clamp to worm style clamp ...we'll see!