When you click on links to various merchants on this site and make a purchase, this can result in this site earning a commission. Affiliate programs and affiliations include, but are not limited to, the eBay Partner Network.
Ok so there are threads related to this but no solid answers. Ive pretty much narrowed it down to my crankshaft sensors, and im also going to check my fuel pressure regulator as I smell gas from time to time and my gauge seems to drop much faster. Anyway the problem is when the car is warm and say I turn it off to get gas, when I go to start it back up itll cough and then cut out. So then ill put my foot on the pedal slightly and itll start up. It runs fine otherwise. When the engine it cold it starts perfectly. Regardless, im going to take my crankshaft sensors out and clean them with MAF cleaner and see if that changes anything, then ill move on to deciding if I need to replace them. My question is, does anyone have an exact answer or pictures of where these are located. All im finding is info on the Vq35. I have the Vq30 obv. Any help is appreciated
I would just replace to ensure no further issues if that's what it is. If there's metal debris on one, then it should have the same starting characteristic regardless of temp. There's no need to use spray to clean them. They're magnetic, so you just rub it clean with a rag.
I'd also spray out the IACV, b/c that's a possible cause. Do the coolant bypass and unplug engine mounts if you haven't already.
Driver's side one is in the same spot as the rest - in front where engine mates to tranny. Pass side is just below the crank pulley.
Last edited by Child_uv_KoRn; Dec 4, 2019 at 07:42 AM.
I would just replace to ensure no further issues if that's what it is. If there's metal debris on one, then it should have the same starting characteristic regardless of temp. There's no need to use spray to clean them. They're magnetic, so you just rub it clean with a rag.
I'd also spray out the IACV, b/c that's a possible cause. Do the coolant bypass and unplug engine mounts if you haven't already.
Driver's side one is in the same spot as the rest - in front where engine mates to tranny. Pass side is just below the crank pulley.
Awesome thanks for the help. Im gonna do more research on the coolant bypass. Never heard of it
Wow I didnt even know this existed. This is awesome and really opens my eyes to some immediate work I need to do to my car. Thanks a ton. Thankfully im running MT so the mounts arent an issue
It's possible, b/c stealerships and the like will lie and say 1k to fix.
So im doing the bypass and before I start pulling hoses off, which is input and output? The instructions are clear otherwise, but Im confused which is which. Id assume input is the hose that comes in on the side on a horizontal, and output is the bottom hose that leads down on a vertical
So im doing the bypass and before I start pulling hoses off, which is input and output? The instructions are clear otherwise, but Im confused which is which. Id assume input is the hose that comes in on the side on a horizontal, and output is the bottom hose that leads down on a vertical
It doesn't matter - you don't need to know.
Just take the IACV "out of the loop", and connect the other other two ports.
This is my final job and how I would have loved to see the write up done as im a visual learner. Thanks to the help of all org members
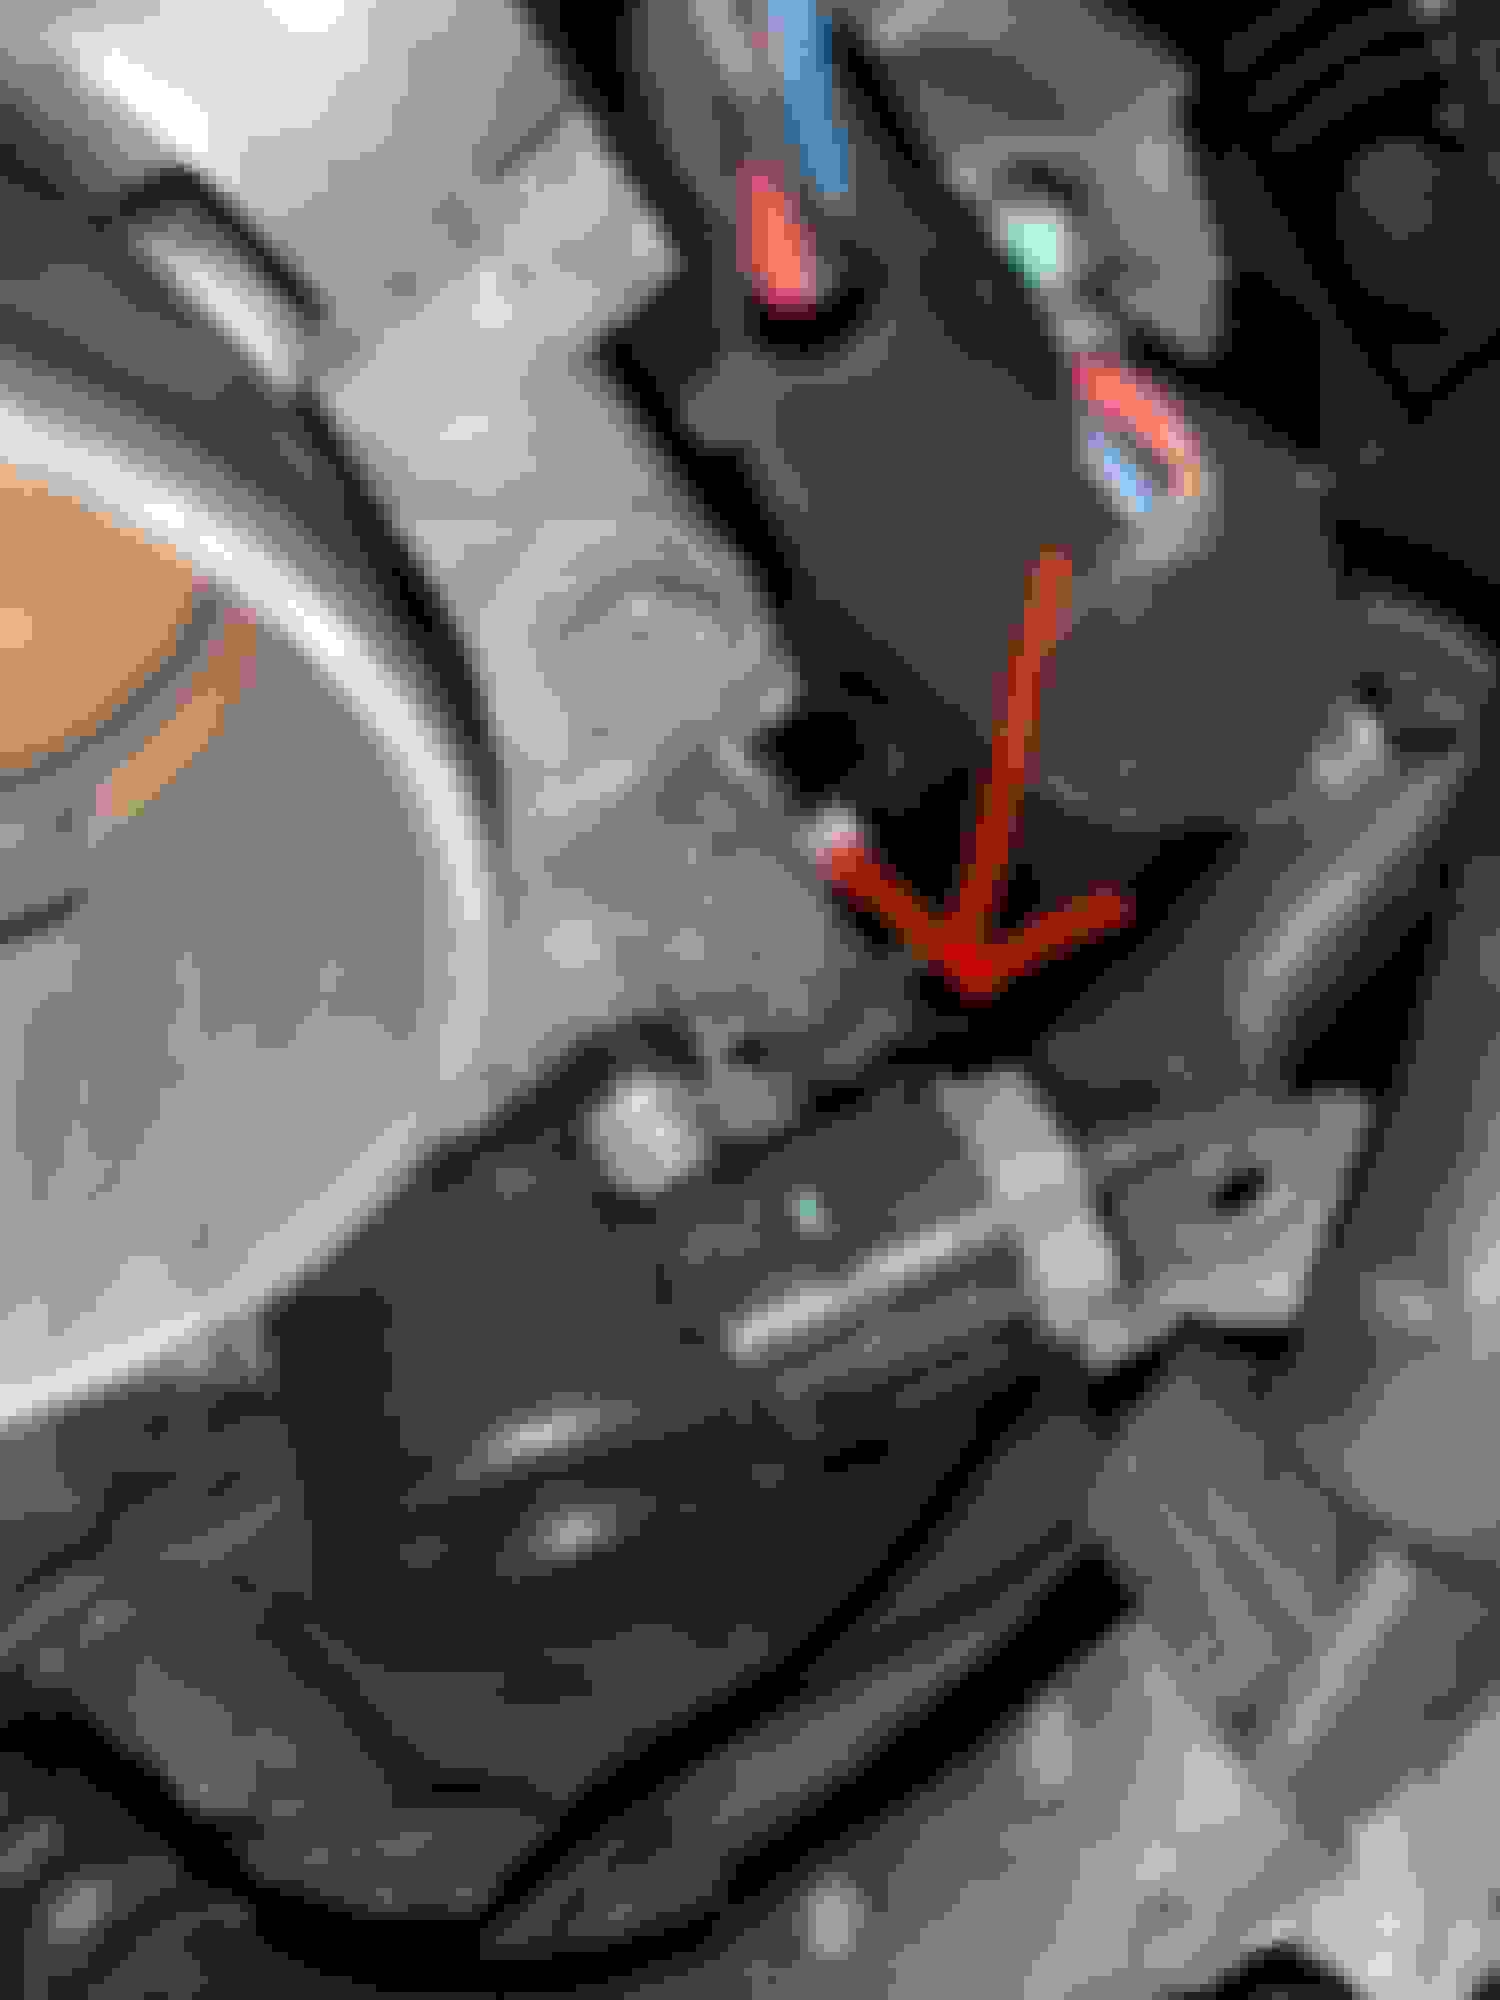
This points to the Input hose, or H1, destination(on the IACV) and you will take this off of the iacv, and connect it to the output (H2) destination. (see further pics) The output hose(H2) You dont touch this as it isnt an important part of the bypass. What it looks like overall. H1 (input) connected to H2 (output) destination This picture shows the H1(input) hose connected to the H2(output) destination. The bypass is technically done at this step This is the final product on the throttle body. H2 connects to H1 destination. You dont have to do this as it serves no purpose, but it was recommended so its not just hanging free and its unconnected.
Originally Posted by maxiiiboy
You needn't to purchase any brass splits. Apart from removing the air intake, it's very simple: There are two hoses coming in and out of the IACV/TB - let's call the inflow hose H1 and the outflow hose H2:
Disconnect the destination end of H1 (the one on the IACV) from the IACV.
Disconnect the destination end of H2 (the end not on the IACV).
Connect the end of H1 you just freed in #1 above to the engine port you just freed in #2 above. At this point, you just by-passed the IACV.
Now, you may want to do something about H2 - its one end is connected to the IACV, the other end is hanging free. Most people suggest looping it back to the other IACV port that is now free. You should try to blow out any coolant remaining in the IACV before closing the loop. Alternately, don't close the loop just yet, and let the coolant dry out first (that's what I did).
The hoses happen to be long enough that you can do all this without purchasing any brass splits, new hoses, and not even clamps. What you may need though is a good set of hose pliers to move the clamps and hoses around. I bought some very good ones (and very inexpensive) at HarborFreight tools.
I guess my car differs from the one in this write up. Not a chance my hoses would have connected together. I did indeed end up with two brass splits and new hose to get this job done. Maxii did a great job explaining
Last edited by Murdered01; Dec 5, 2019 at 03:02 PM.
This is my final job and how I would have loved to see the write up done as im a visual learner. Thanks to the help of all org members This points to the Input hose, or H1, destination(on the IACV) and you will take this off of the iacv, and connect it to the output (H2) destination. (see further pics)
The output hose(H2) You dont touch this as it isnt an important part of the bypass.
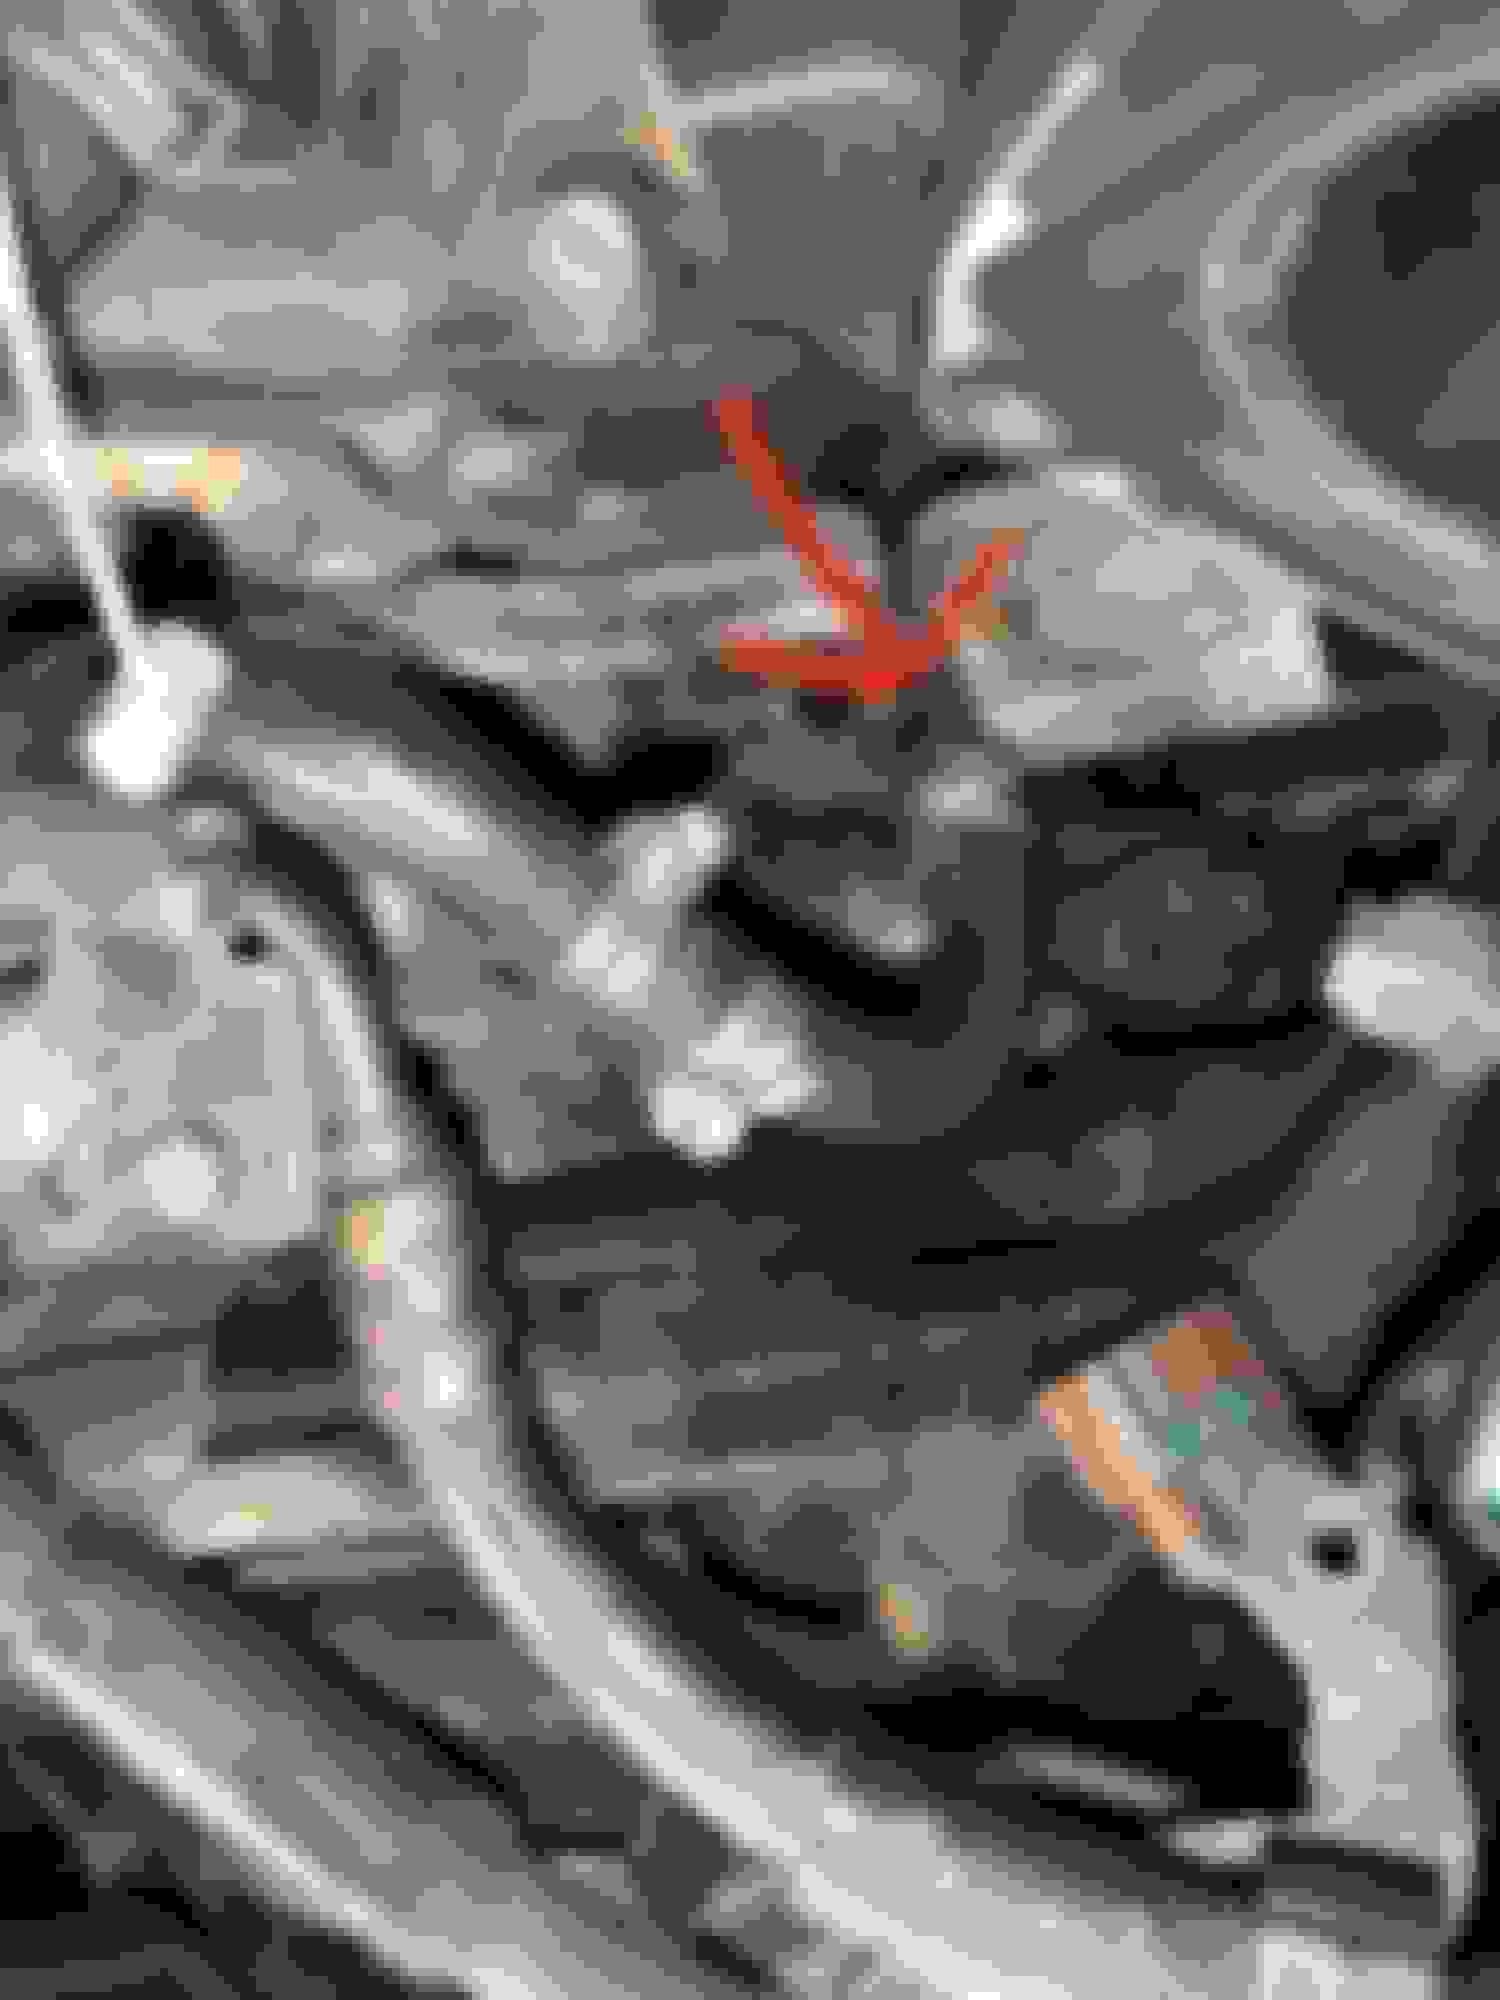
What it looks like overall. H1 (input) connected to H2 (output) destination
This picture shows the H1(input) hose connected to the H2(output) destination. The bypass is technically done at this step
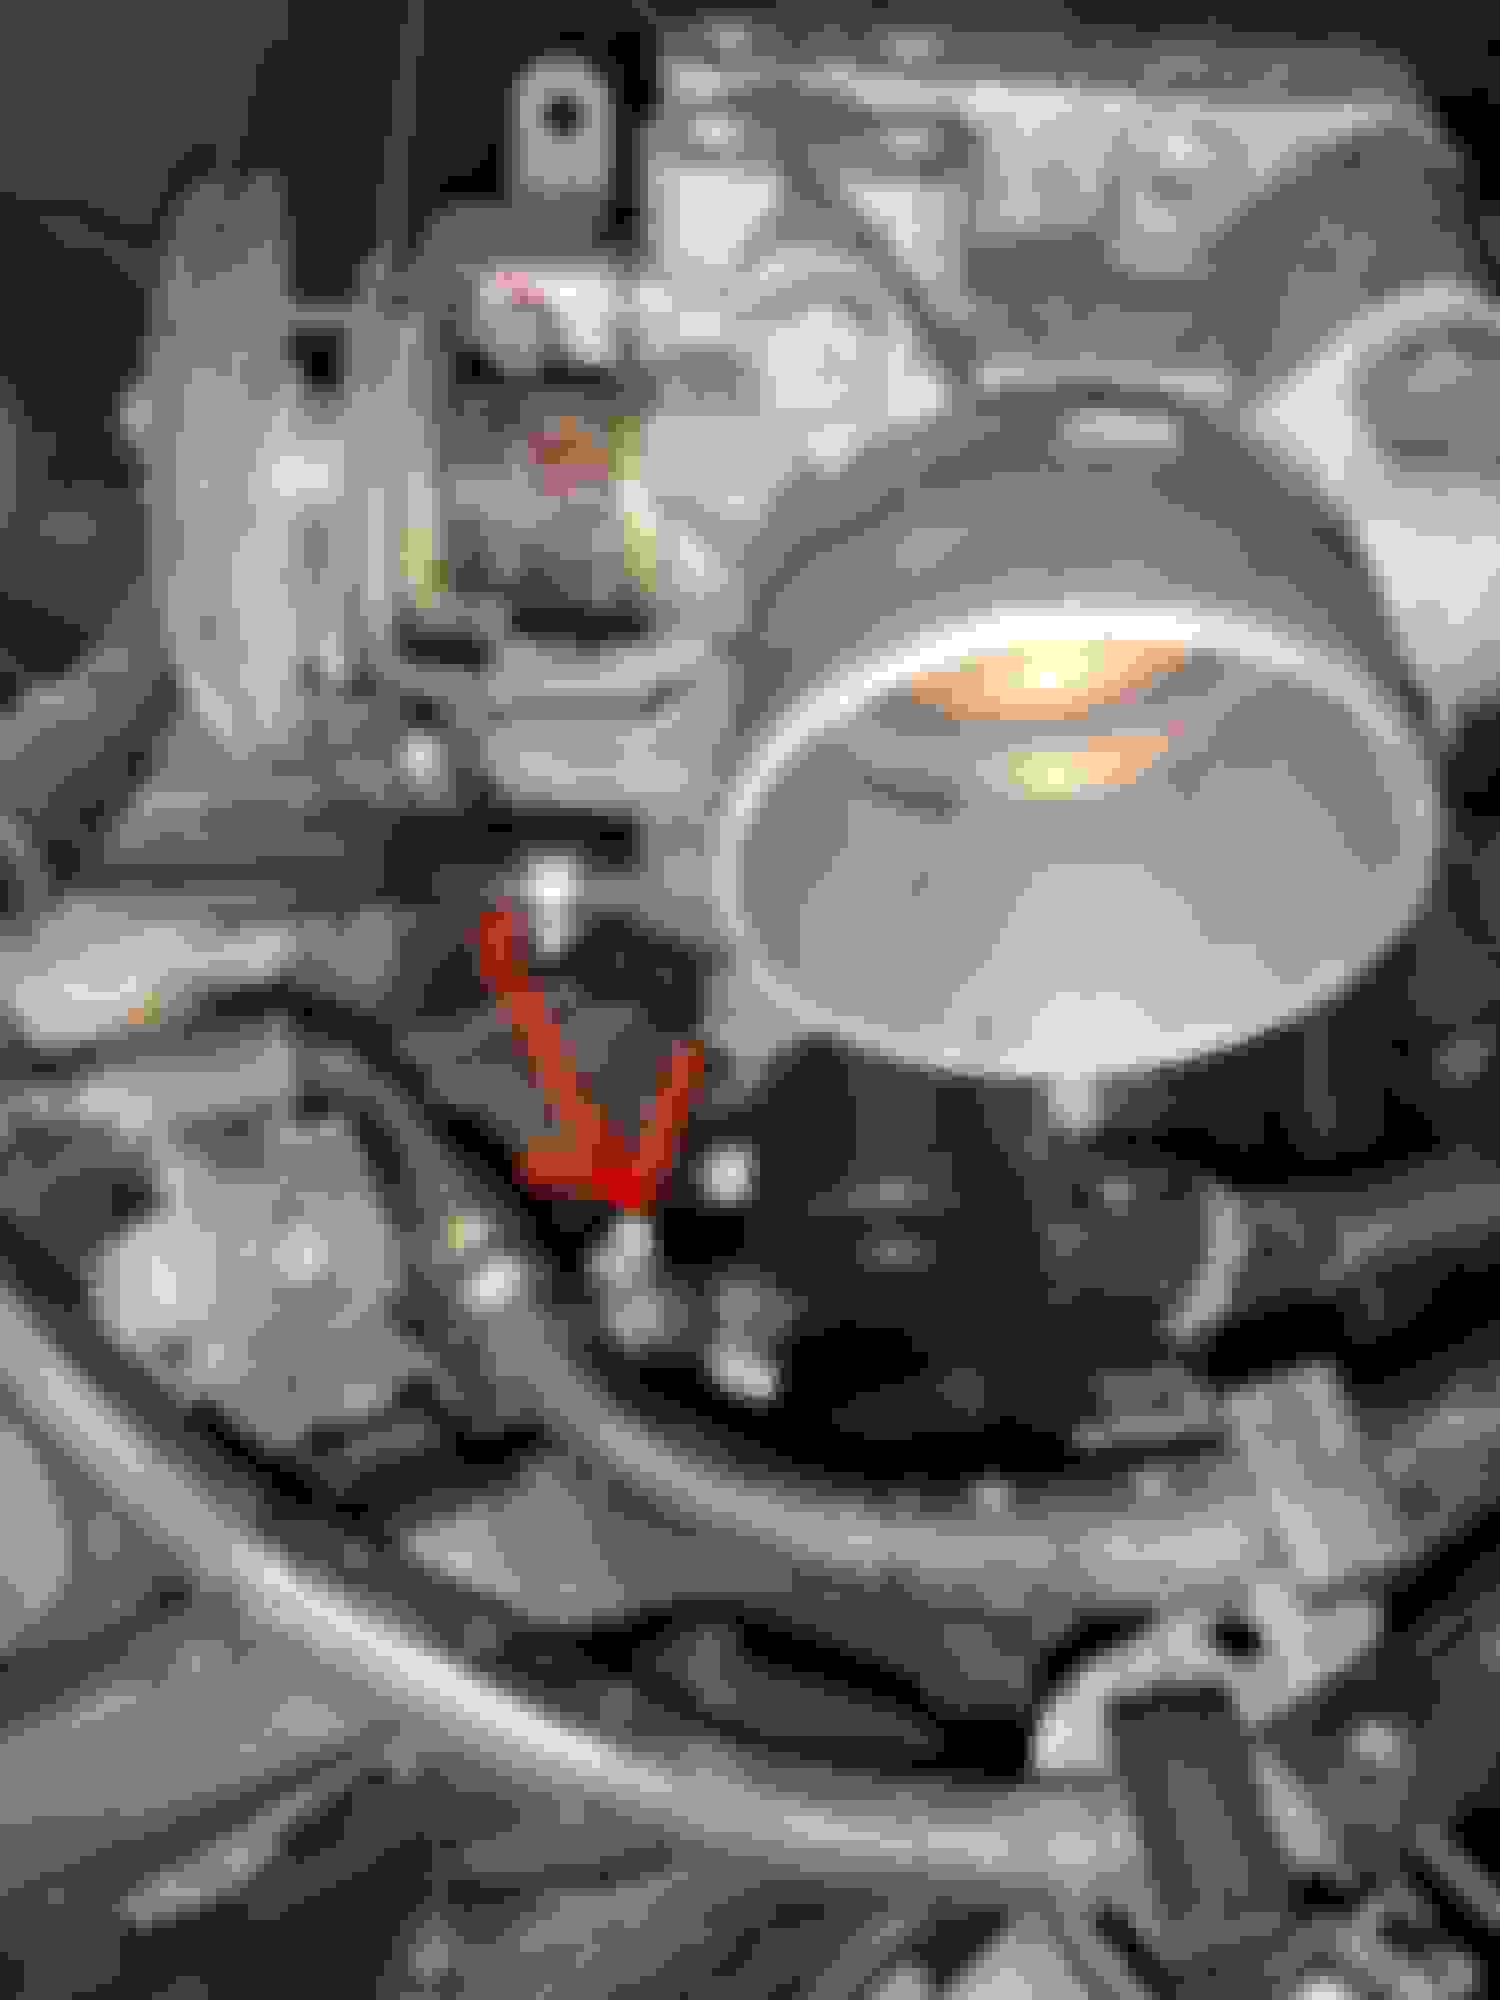
This is the final product on the throttle body. H2 connects to H1 destination. You dont have to do this as it serves no purpose, but it was recommended so its not just hanging free and its unconnected.
I guess my car differs from the one in this write up. Not a chance my hoses would have connected together. I did indeed end up with two brass splits and new hose to get this job done. Maxii did a great job explaining
3.5 doesnt need the bypass to prevent ecu damage. 3.0 problems😪
No, but it just makes heat soak worse. It's stupid and has no business on a car. There was probably one car in the history of cars 70 years ago that had a throttle freeze up and now every goddamn car does.
Last edited by Child_uv_KoRn; Dec 5, 2019 at 08:48 PM.
No, but it just makes heat soak worse. It's stupid and has no business on a car. There was probably one car in the history of cars 70 years ago that had a throttle freeze up and now every goddamn car does.
Child, good point, you know what you are talking about! :clap: